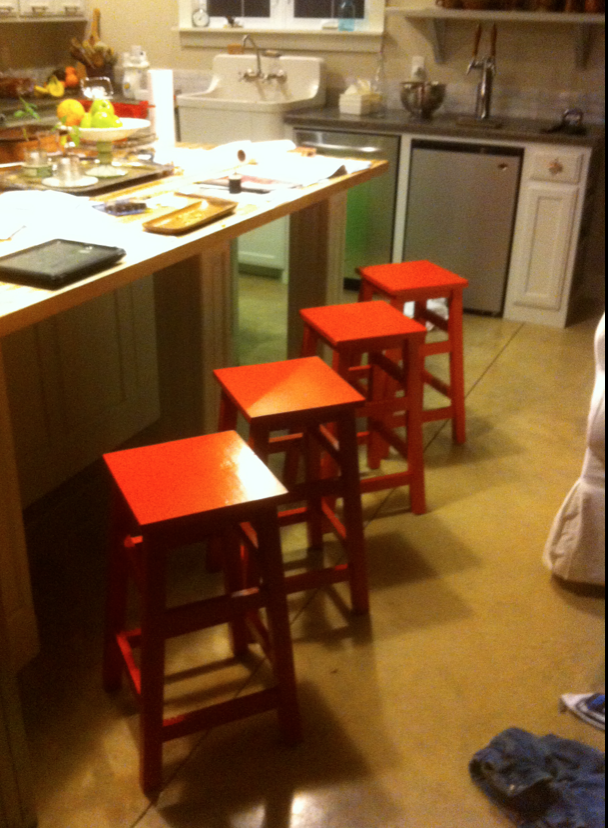
Sturdy Kids Chair
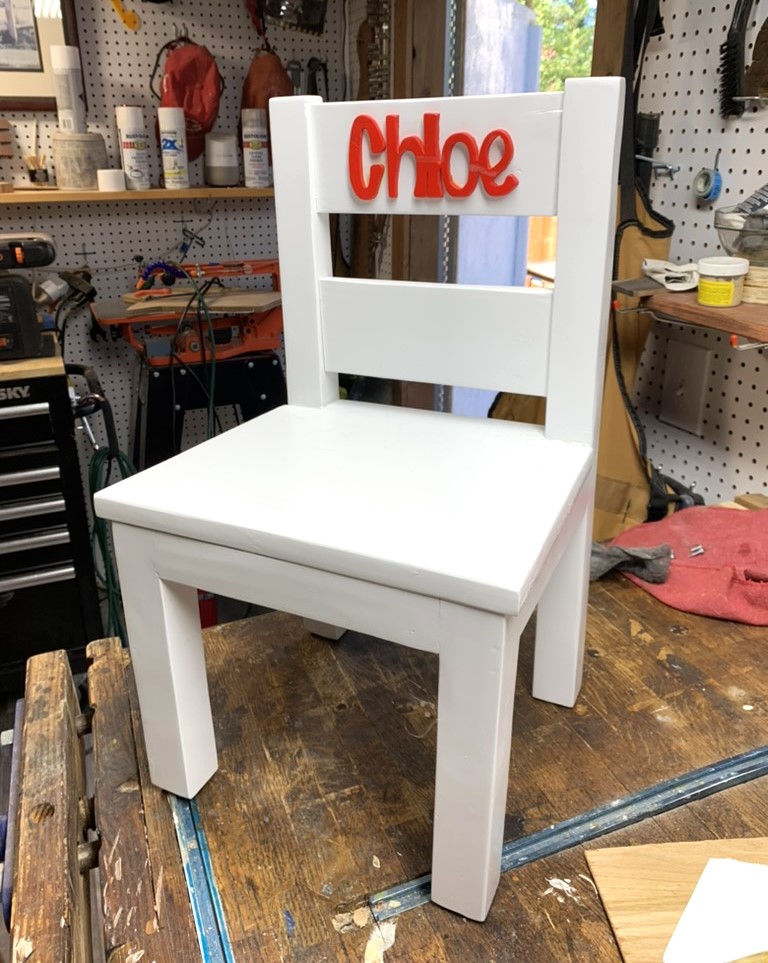
Very sturdy. Gets lots of use. Need to make one for new baby brother.
Built from Plan(s)
Very sturdy. Gets lots of use. Need to make one for new baby brother.
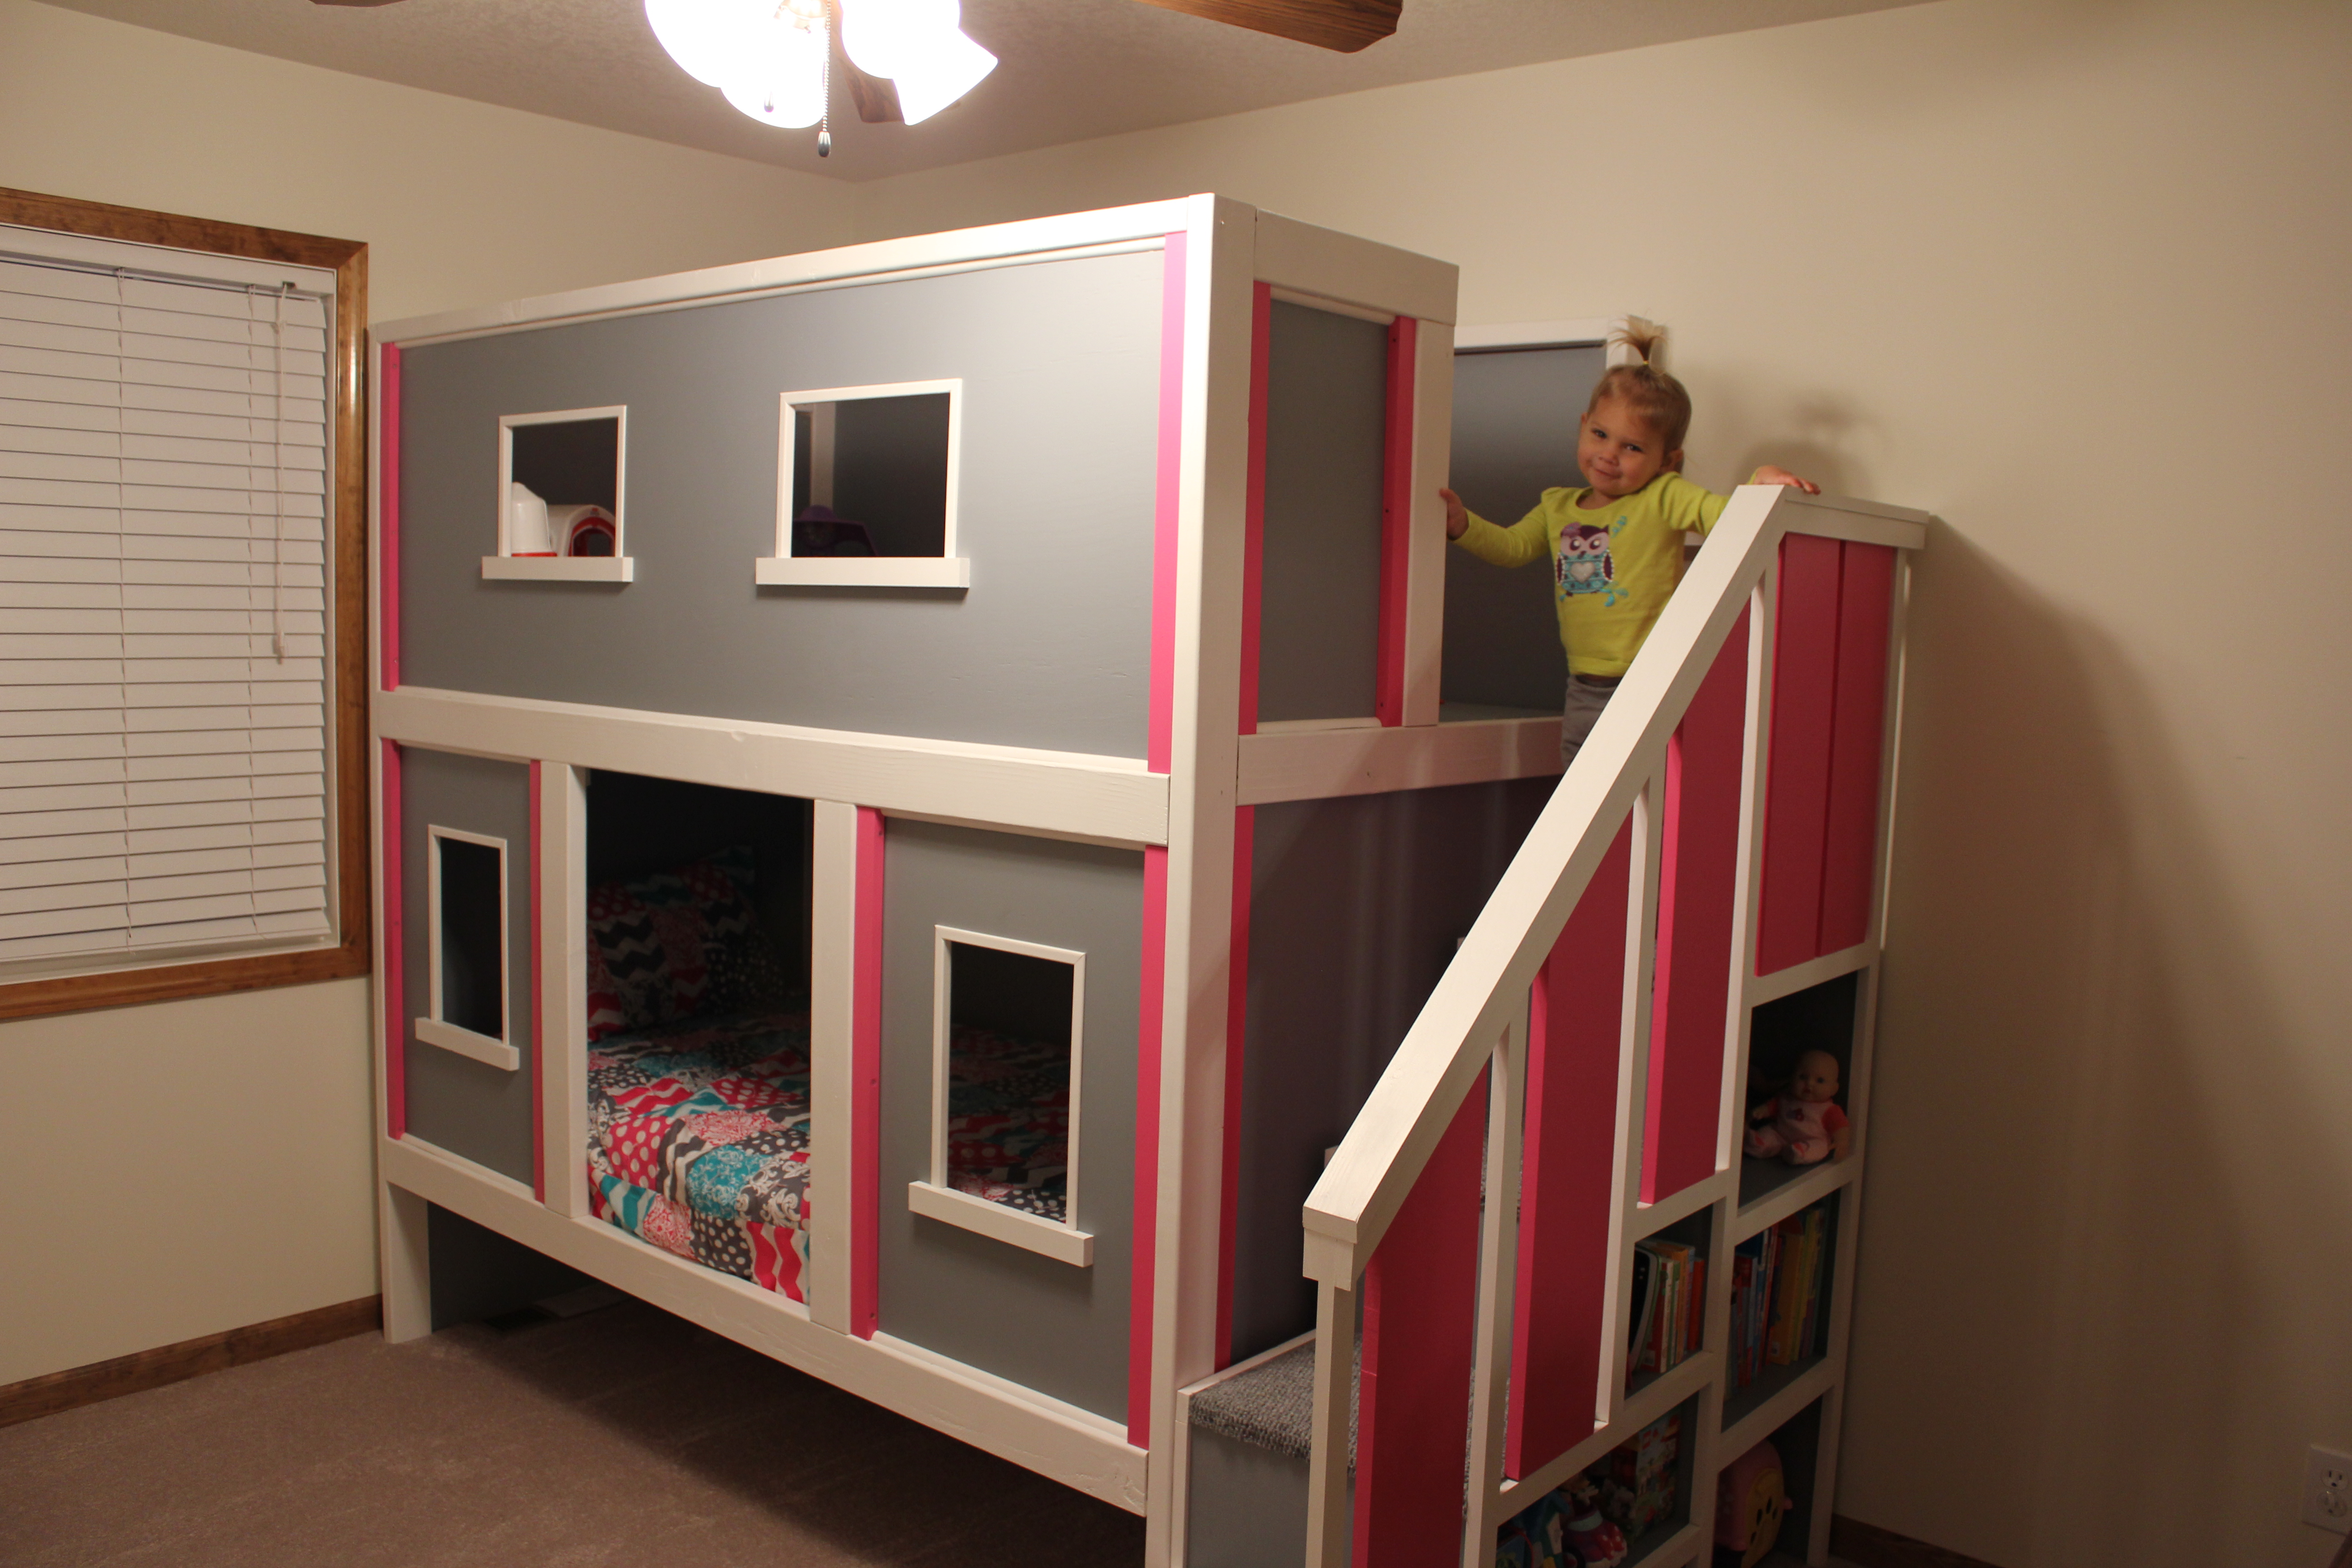
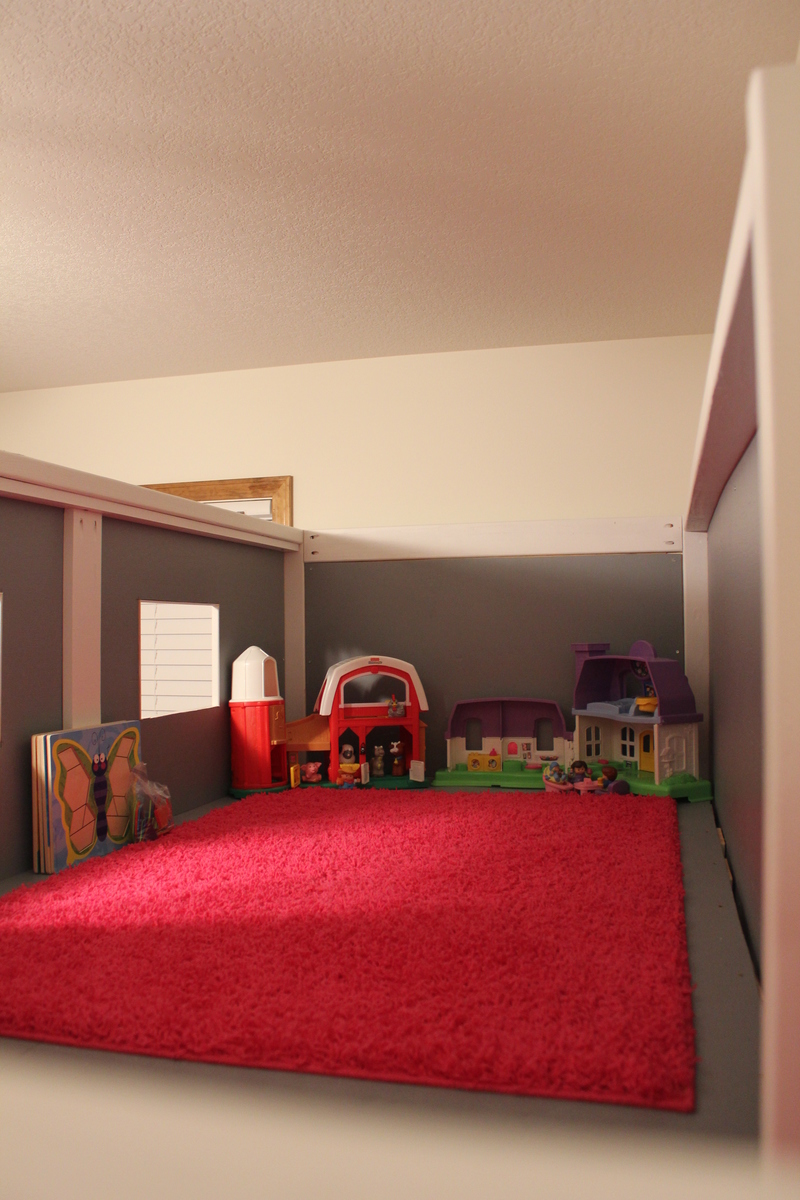
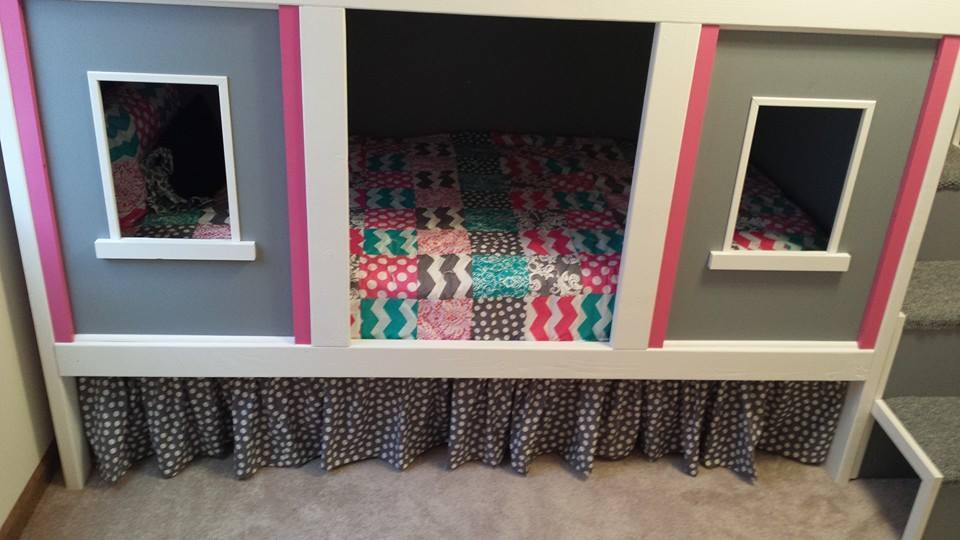
My husband and I are expecting our second child this April. We knew we wanted to move our 2 year old out of her crib and into a “big” girl bed so that the new baby could use the crib. I saw the Play House Loft Bed on Pinterest and fell in love. I showed it to my husband and convinced him it would be a great winter project for us. He of course started his research and had nightmares of our daughter falling over the top bunk. So when I saw the Sweet Pea bed I knew it was perfect. I pitched the idea to my husband that the bottom bunk could be her bed and the top would be her play area. He was sold. We went to Lowes and bought our first round of lumber and immediately realized this project was going to be more expensive than expected but we were still up for the challenge. My husband worked on the project two full days, I worked on it a half day and then together we worked on it a few hours over nap time or after putting our daughter to bed.
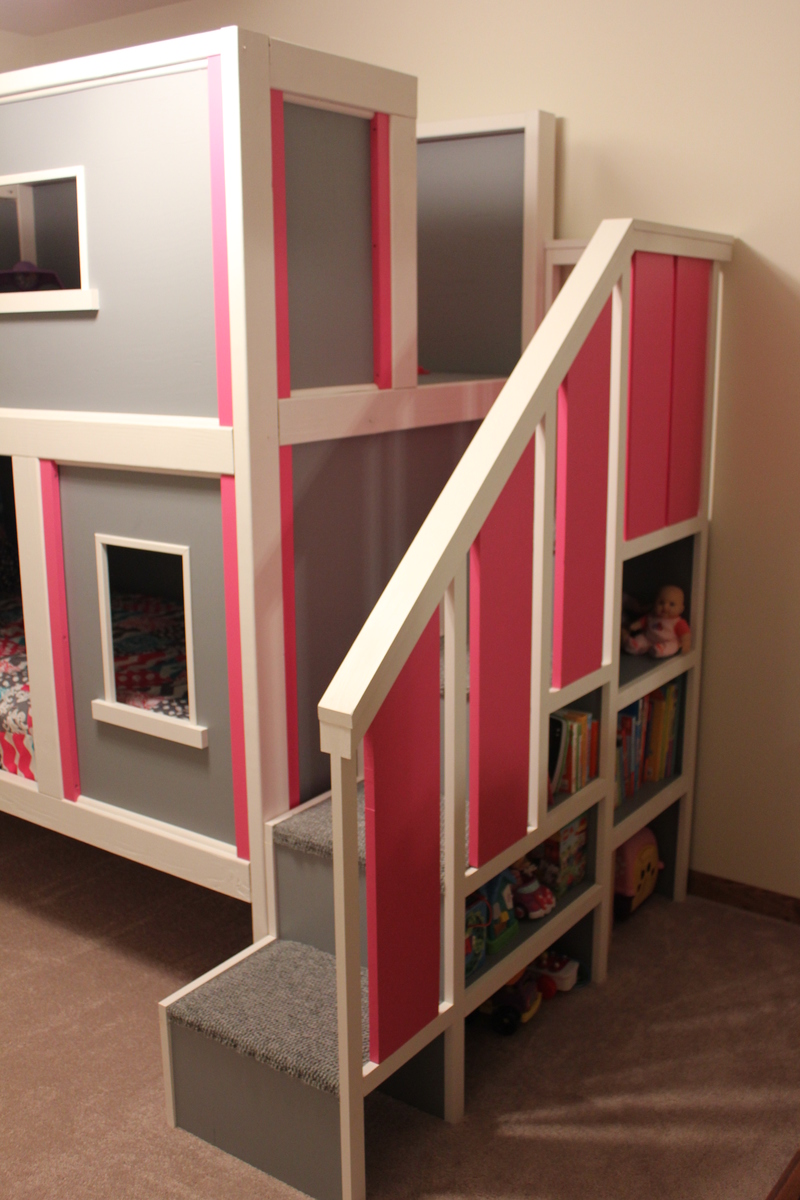
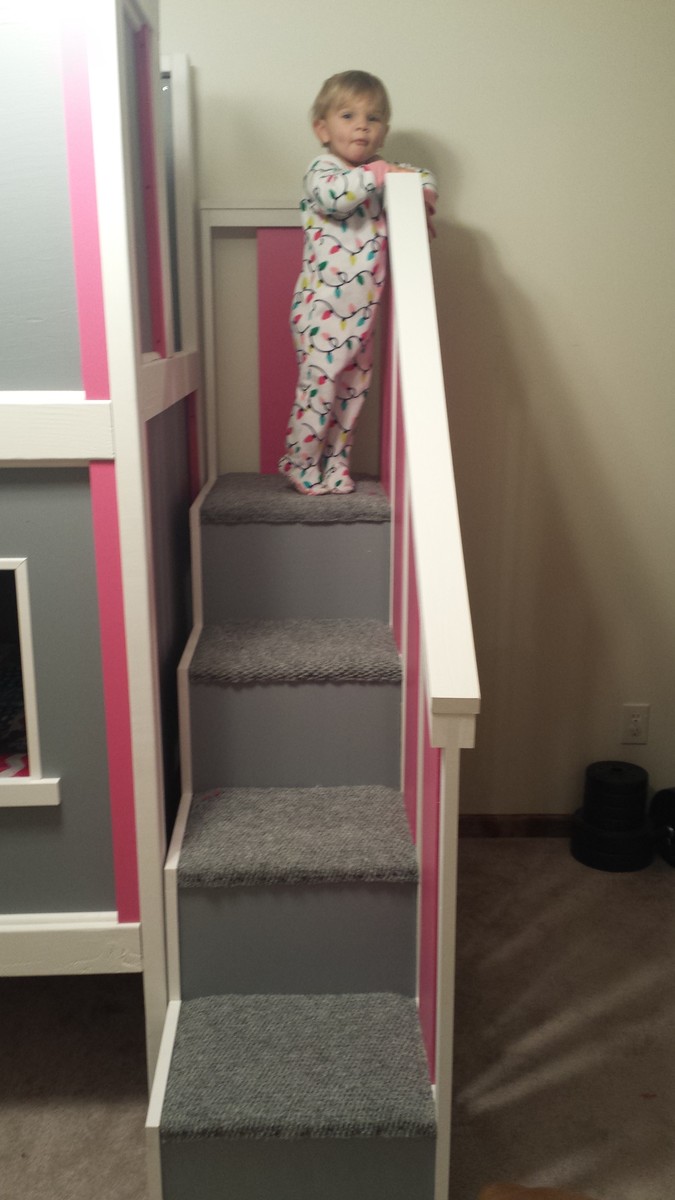
We made some modification to the plans, we liked the look of a flat front rather than 2x4’s so we used a flat sheet of ply wood. We added carpet to our stairs to help prevent any major injuries if fallen down. We left the roof off for now but may add it on later. We also decided to leave the bottom open for any size storage we needed. We added a fabric ruffle to hide the space.
Looking back we wish we would have done this project in the spring/summer and not dead winter. We had to park our cars outside and use our garage to cut and paint all the wood which meant space was limited. This also prevented us from being able to use a spray gun to paint. Had we been able to spray the paint this project would have moved a lot quicker!
Once the project was complete we were so happy with the outcome. Our daughter absolutely LOVES her new bed and loves her play area upstairs!


Wed, 01/29/2014 - 11:12
I love the color combo. This is a great bed to transition to from a crib, we did that with my youngest daughter too. I hope she enjoys it, both kids will be sharing a bunk in no time!
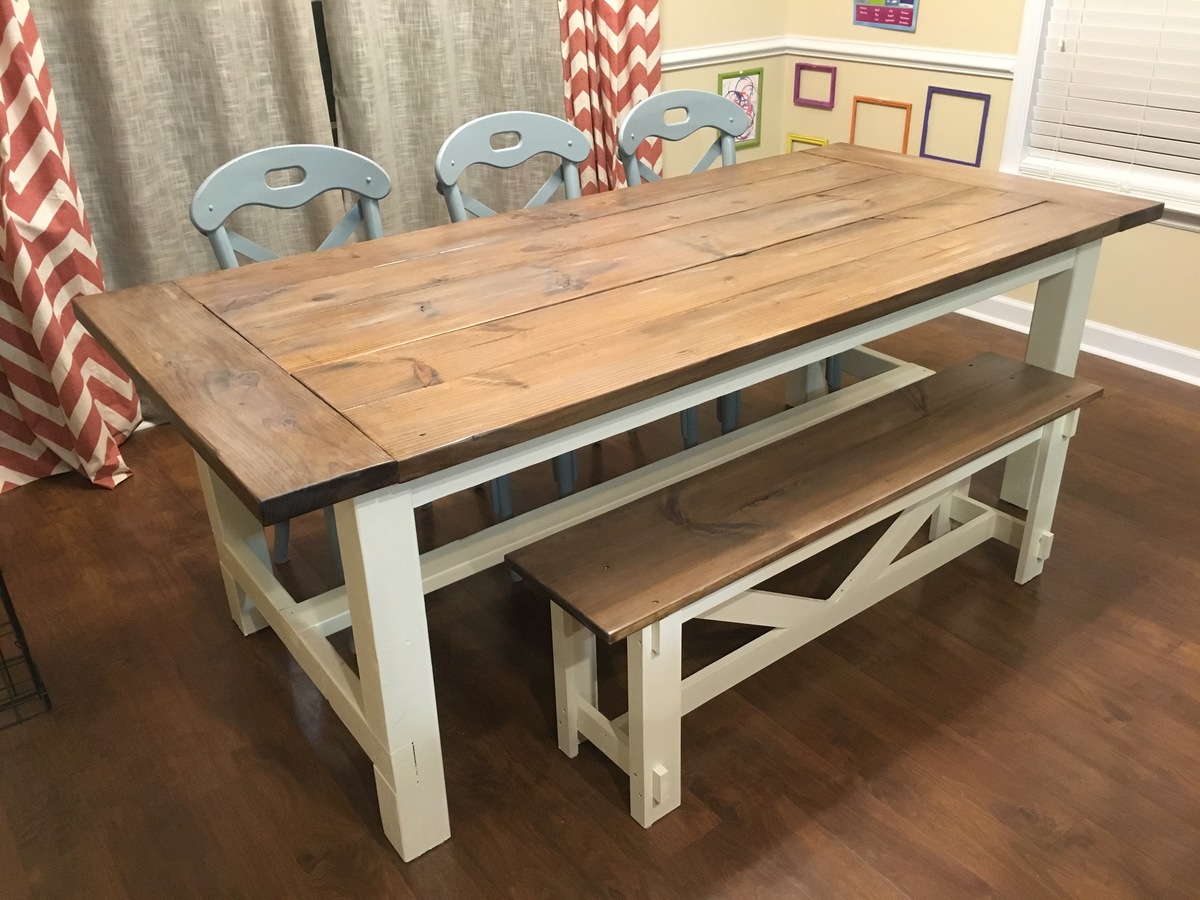
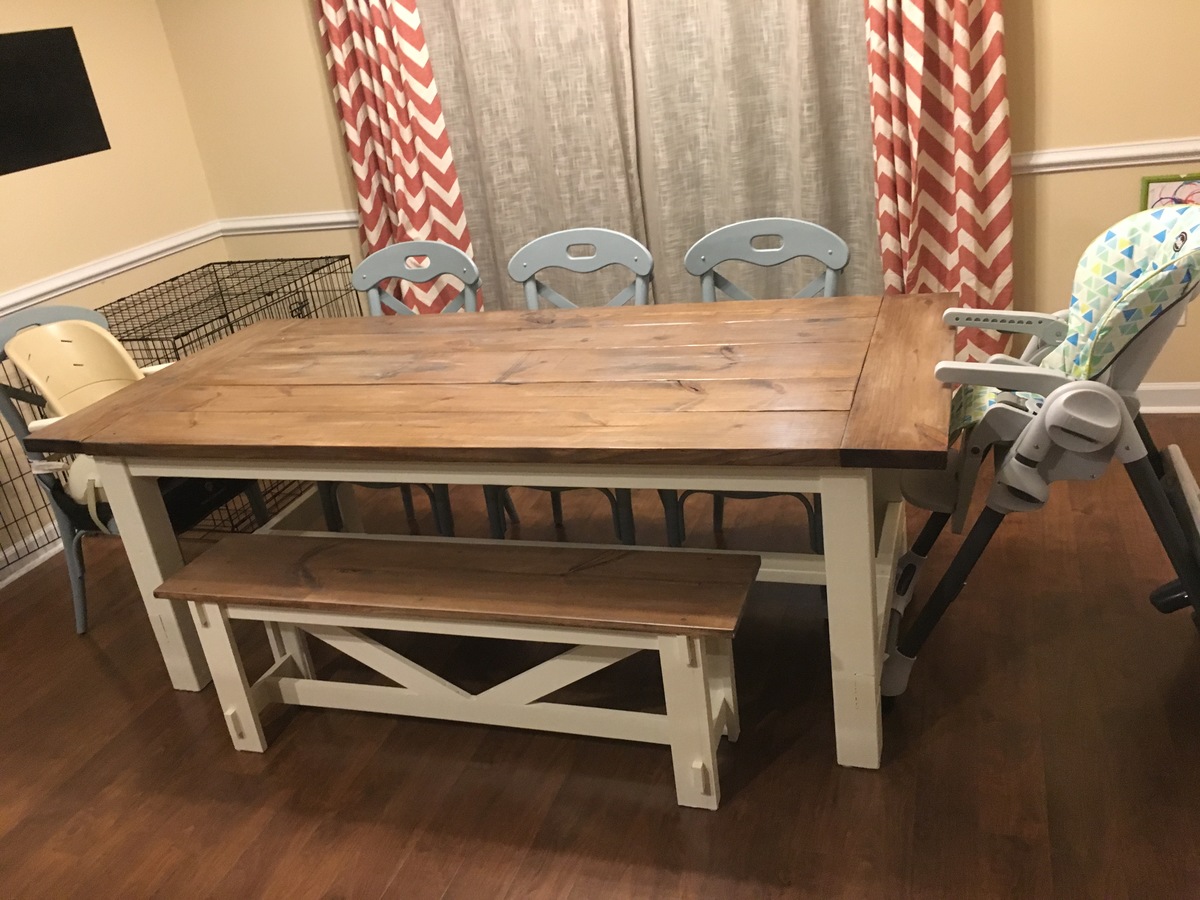
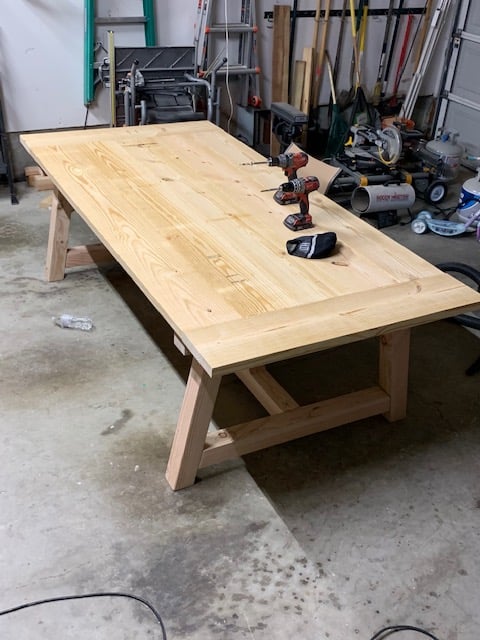
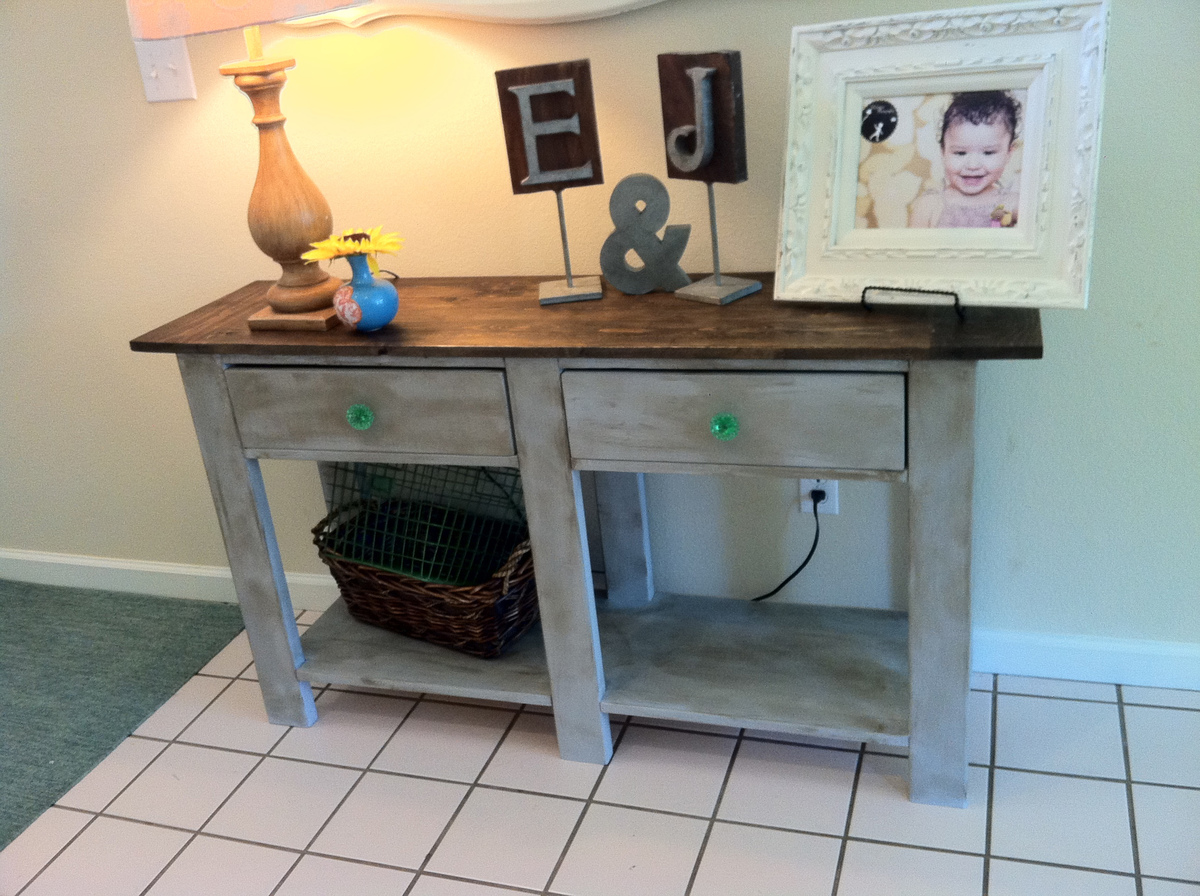
My husband built this following the plans for the farmhouse table and I painted and stained it using 2 different stains and a whitewash. We are so pleased with how it turned out.
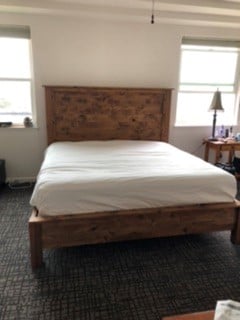
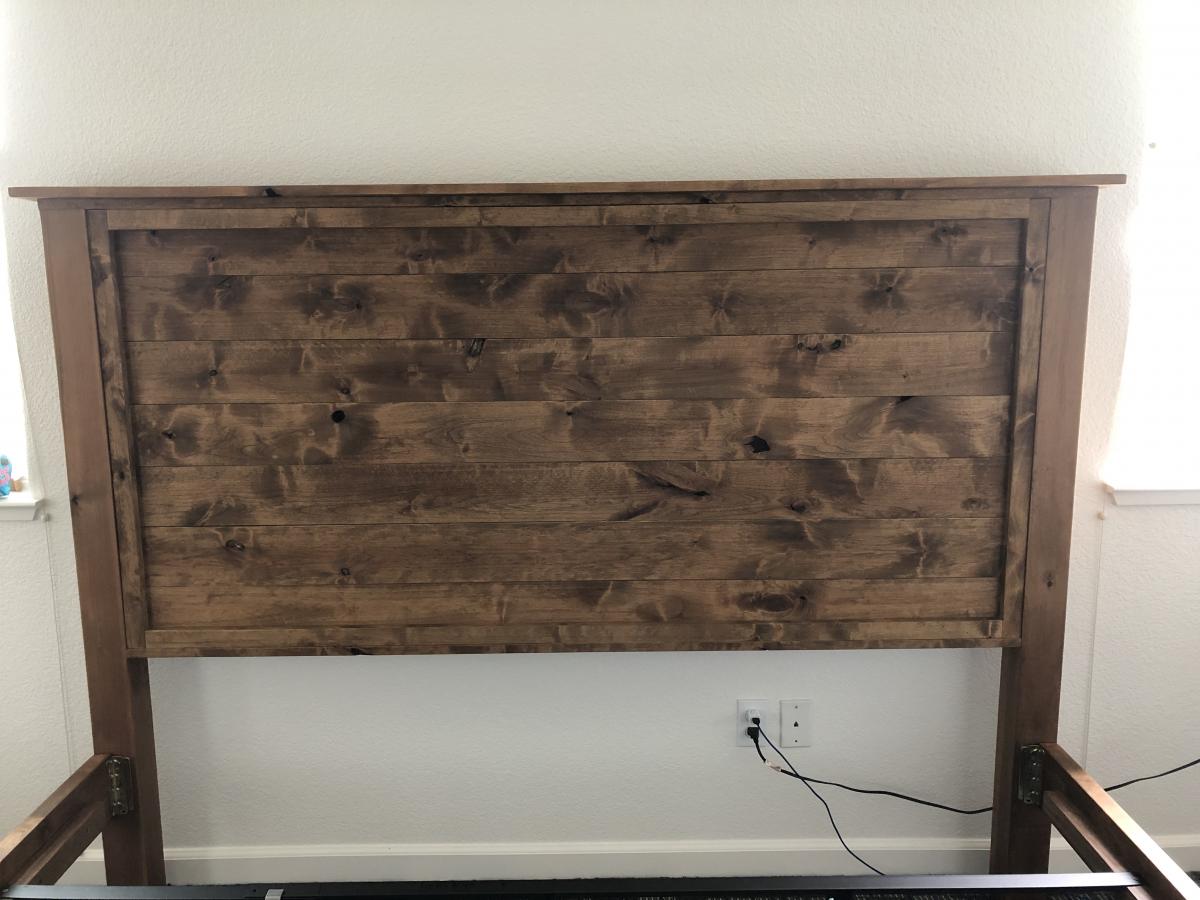
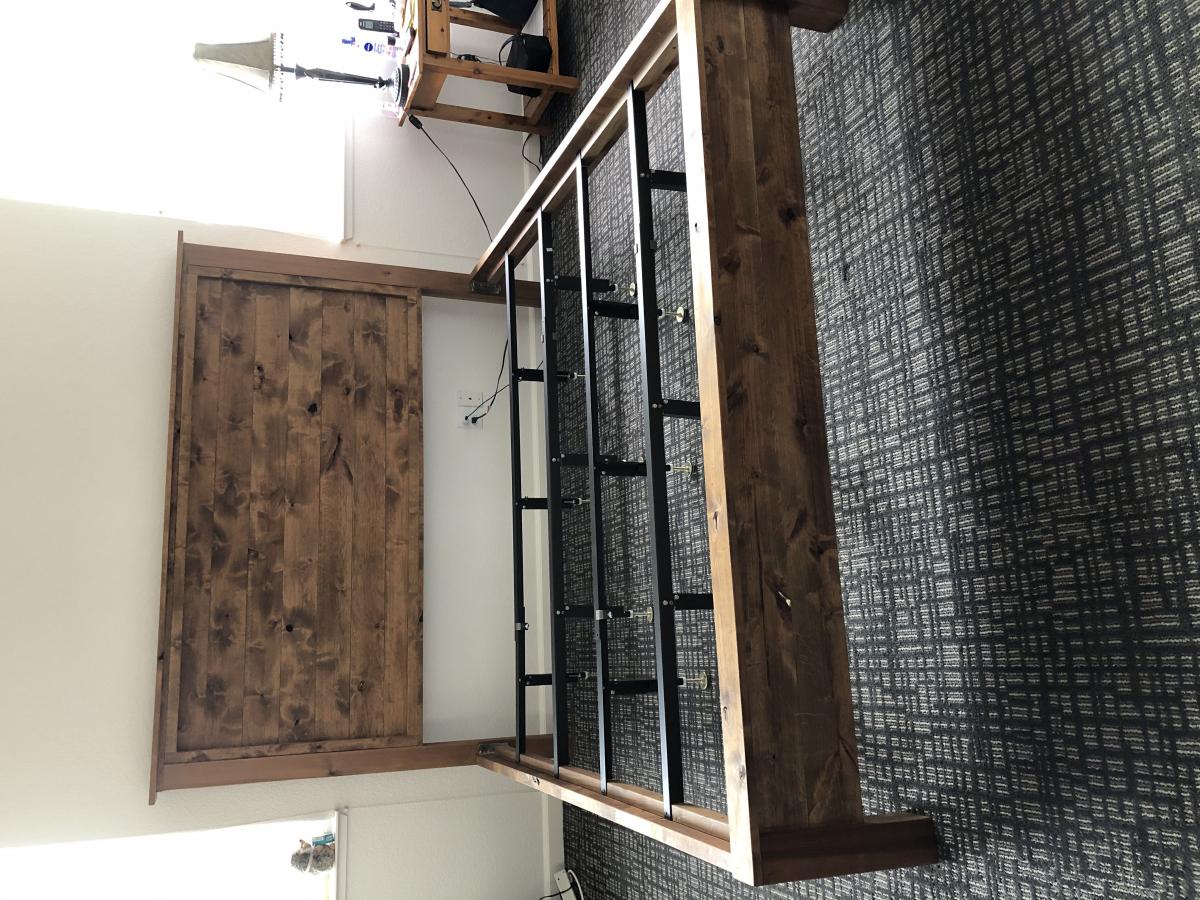
I love the farmhouse look and wanted to start changing out pieces in my bedroom. Good quality furniture is expensive, so I thought I would checkout DIY projects and came across Ana’s plans for a king bed. Her plans got me started and I changed a few things along the way. I LOVE the end result.
I used Knotty Alder and Danish Oil in Dark Walnut. Alder is an easy wood to work with and the Danish Oil brings out all the beautiful grain. I highly recommend both.
I decided to buy the metal frame and plywood to place the mattress on.
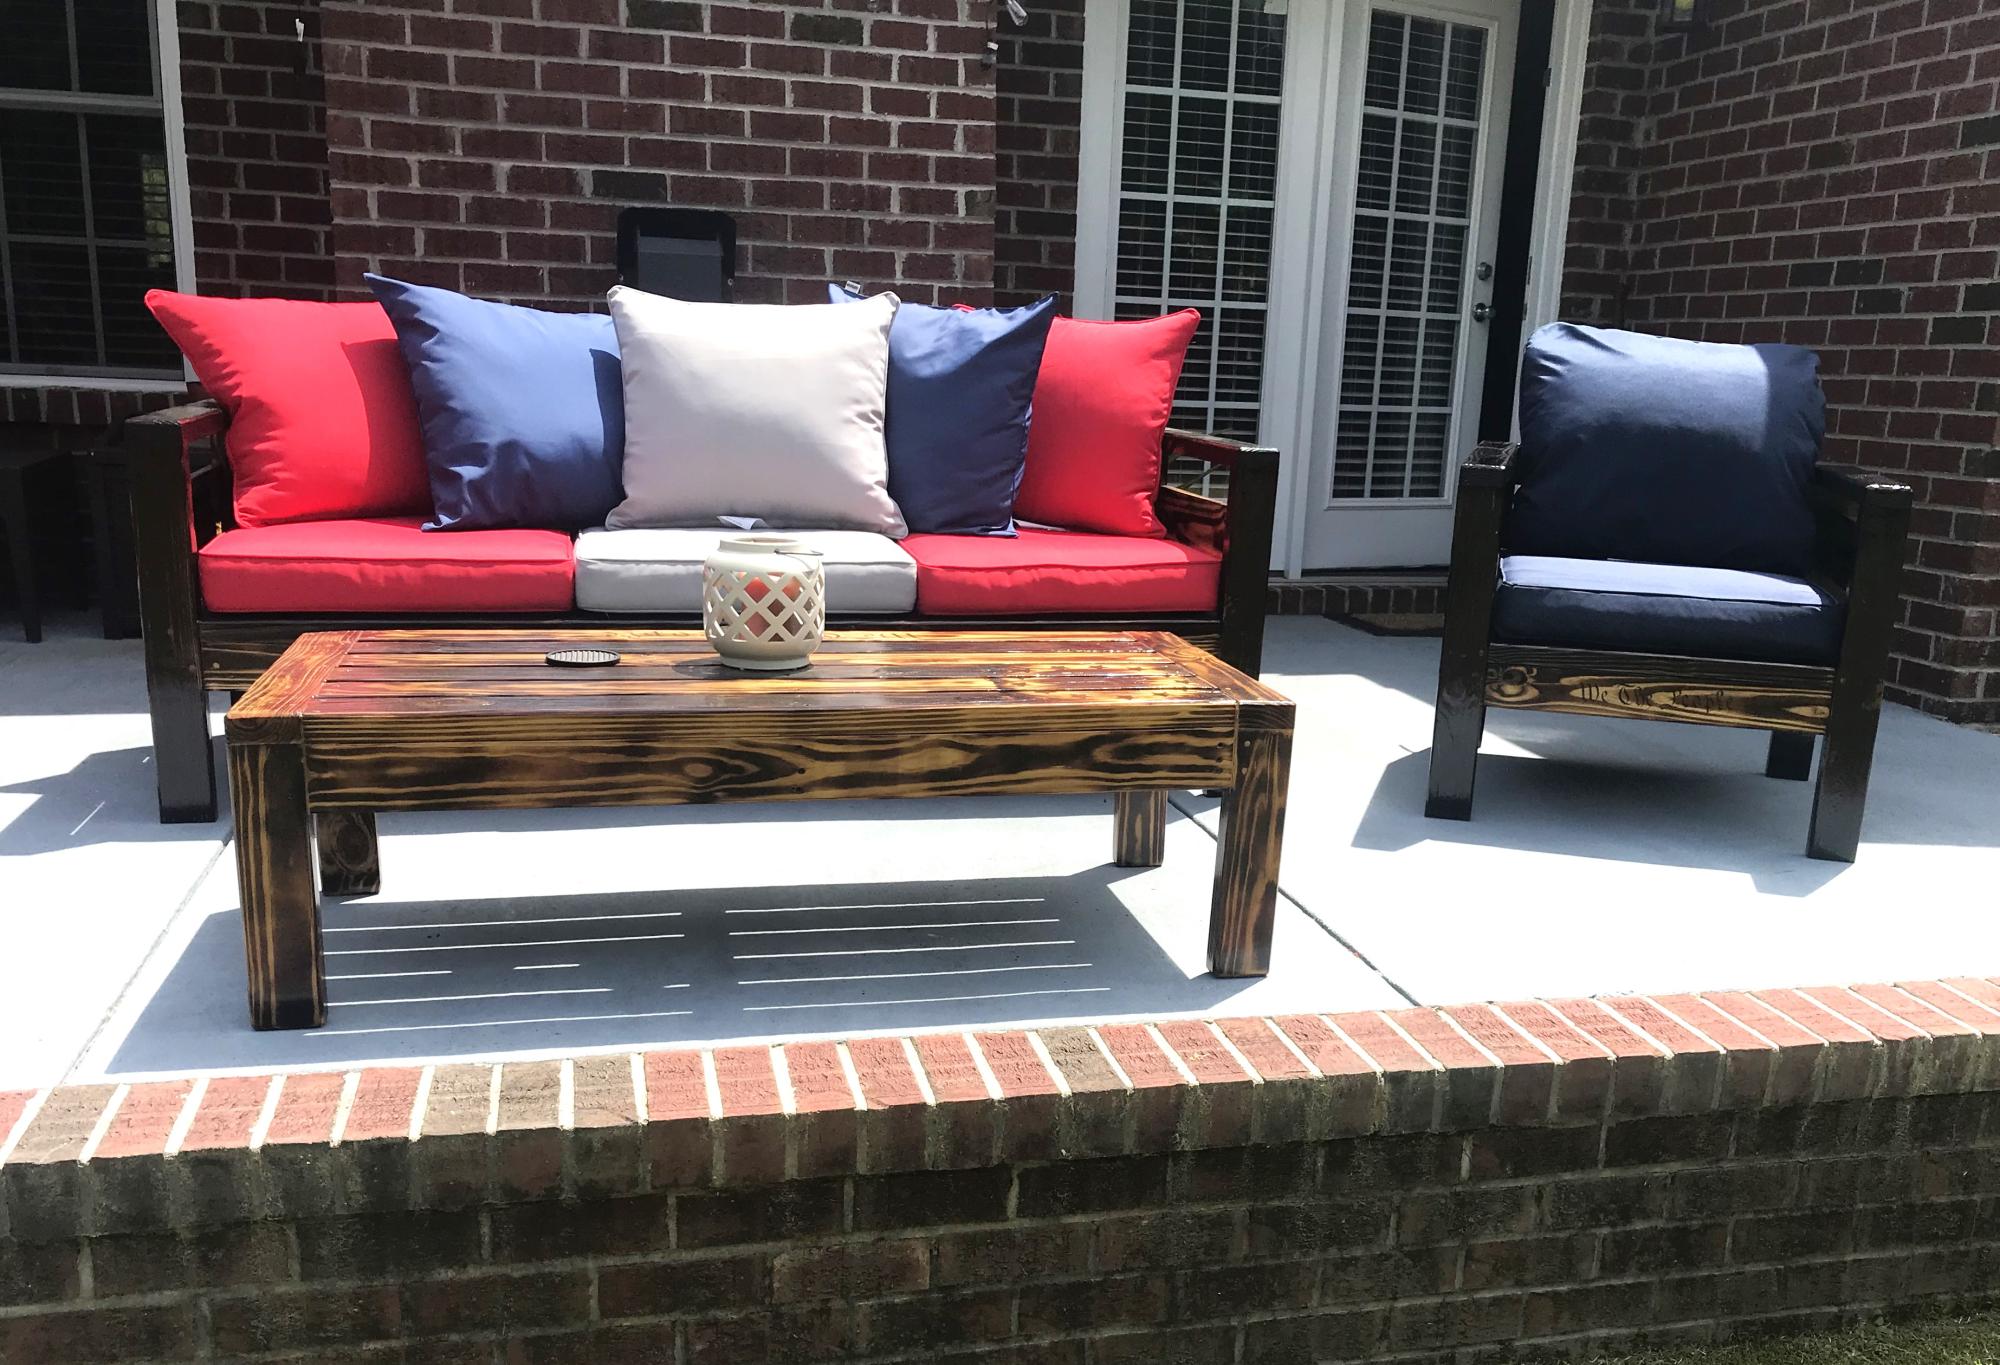
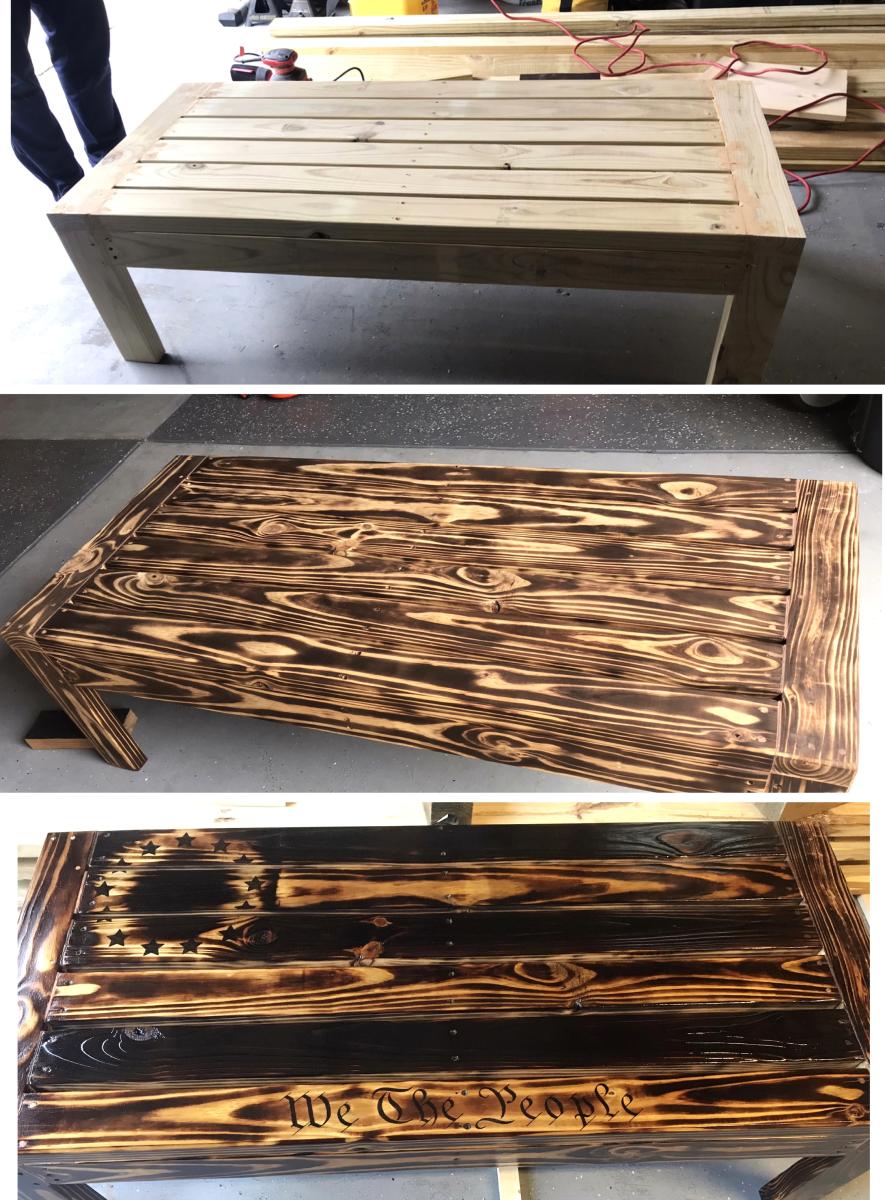
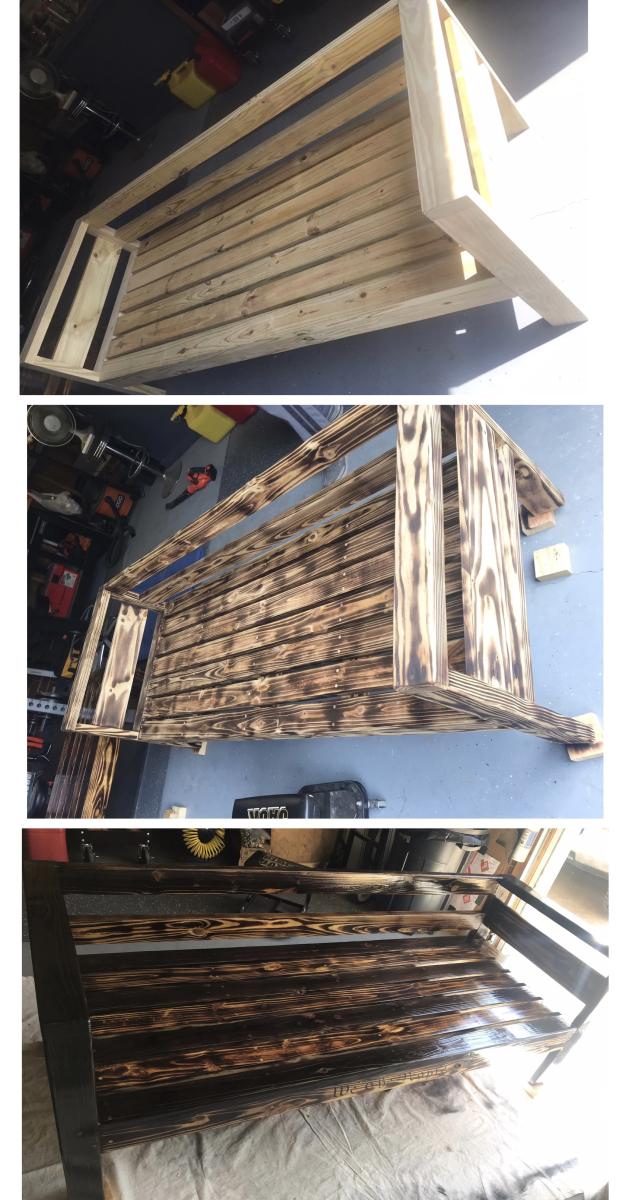
We were in need of a nice patio set and just couldn’t find the right fit until we came across some 2x4 plans and thought “that seems simple enough”. Took some planning for the right dimensions but I swear my husband can build anything. It turned out beautifully. He made a table, a sofa and a chair….burned them with a torch is certain areas then put polyurethane on them. Thanks for looking.
Lanette

This is the second project I have made from this website, which I LOVE! I needed some sort of table to use with a large sectional sofa because I refused to give up my huge ottoman for a coffee table! This is perfect. I loved the brag post with the shelf added so I used that idea also.
When it came to decoration, I used some apple barrel craft paint and found some scrapbook paper I really liked. This was my first use of modge podge so it was not as flawless as I hoped but I still think it turned out well. And best of all it will be used often!
FYI - by saving money on the particleboard shelf, I ended up spending a lot of time applying wood filler.
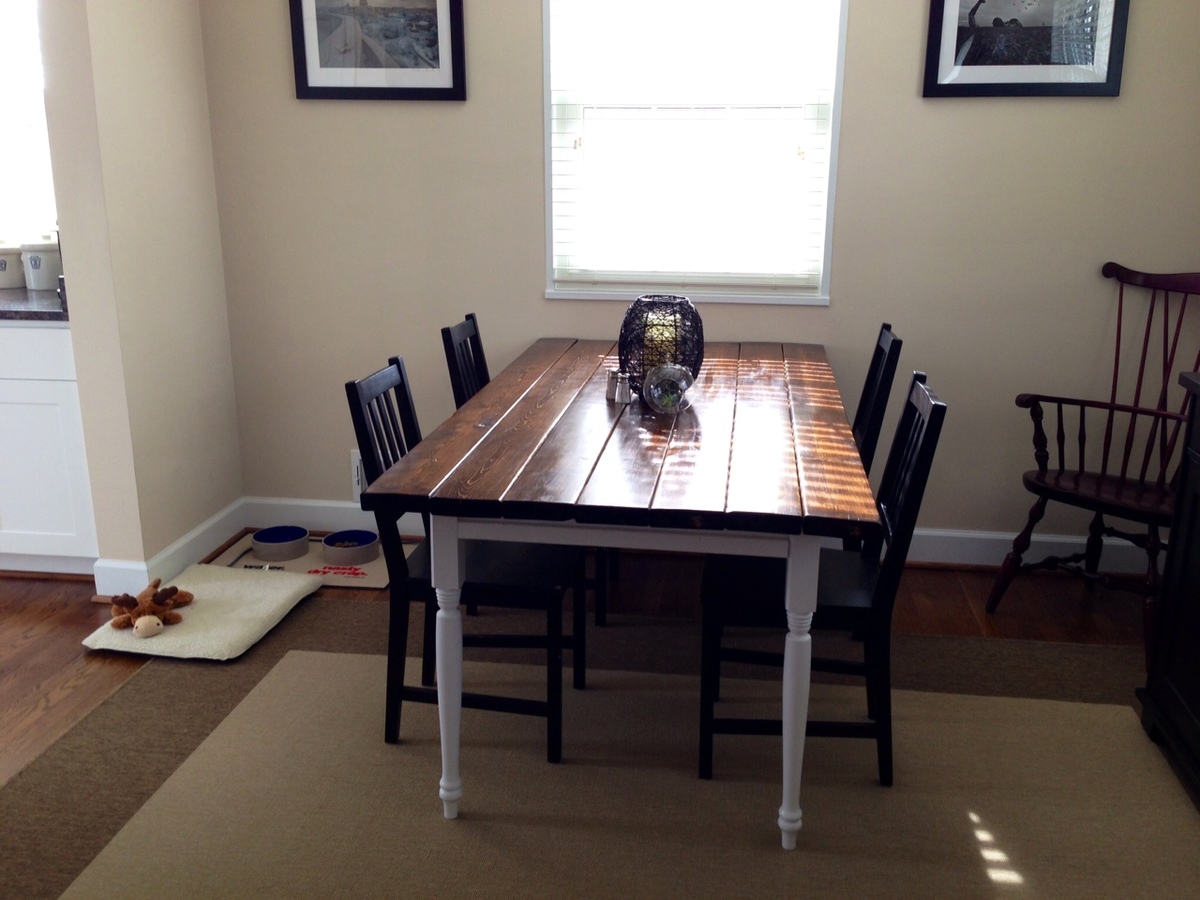
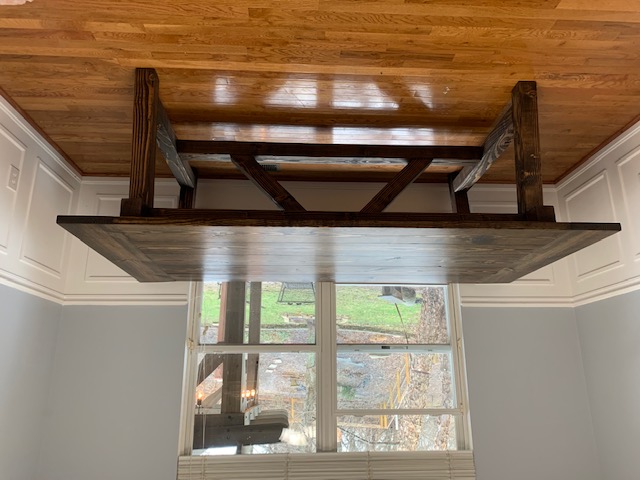
I decided I had to have a farm table, but could not pay the store bought prices. SO I spent weeks poring over plans trying to figure out which one to make.
We picked this plan because I felt like as a beginning it would be hard to make the legs. I REALLY wanted to get the husky legs found in the plan but they were a little pricey, so I just got the same height legs at lowes.
I am SO happy with my table. For anyone feeling daunted by pocket holes and a kreg jig: get a kreg jig mini. I couldn't afford the regular kreg jig but the mini was only 20 bucks or less.
Happy building!

Sat, 02/01/2014 - 12:14
Your table looks beautiful! Congrats on a great first project!
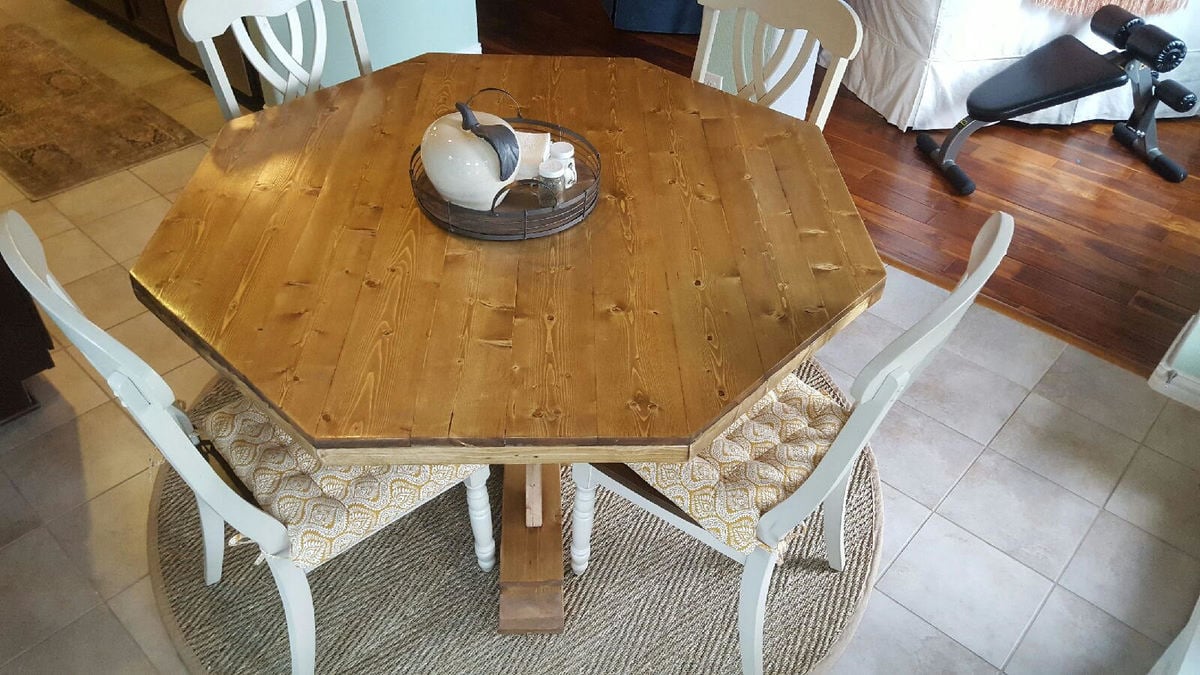
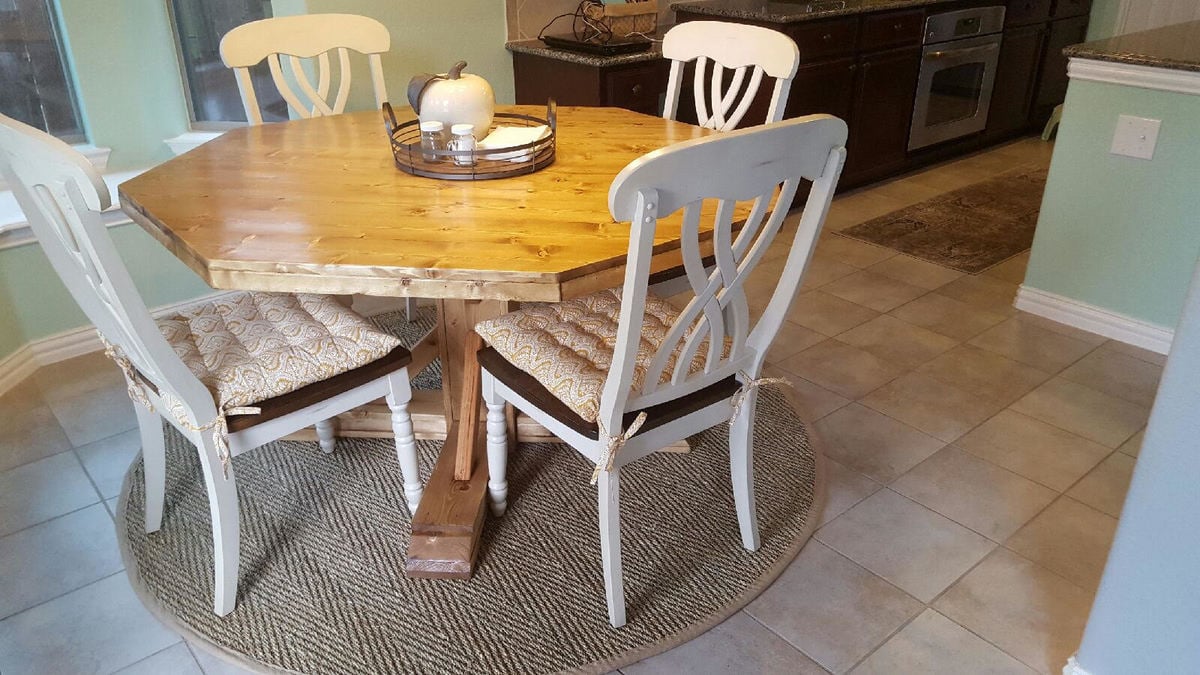
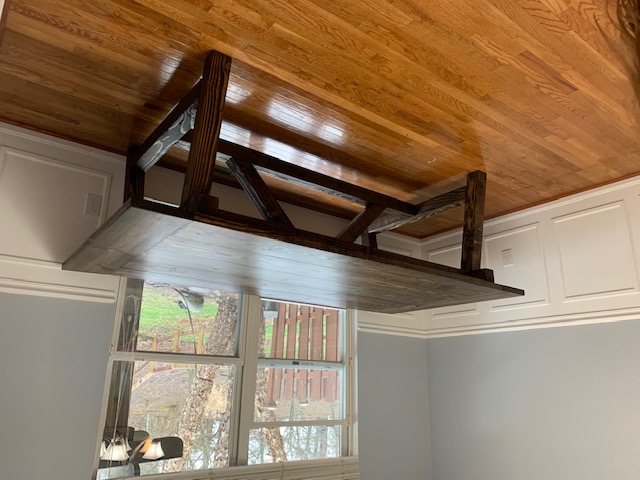
This was my first project and took about two weeks to complete from start to finish. I used an oil based walnut stain and five coats of an oil based semi-gloss polyurethane to finish, sanding in between coats. Be sure to wear a mask and eye protection.....holy sawdust!
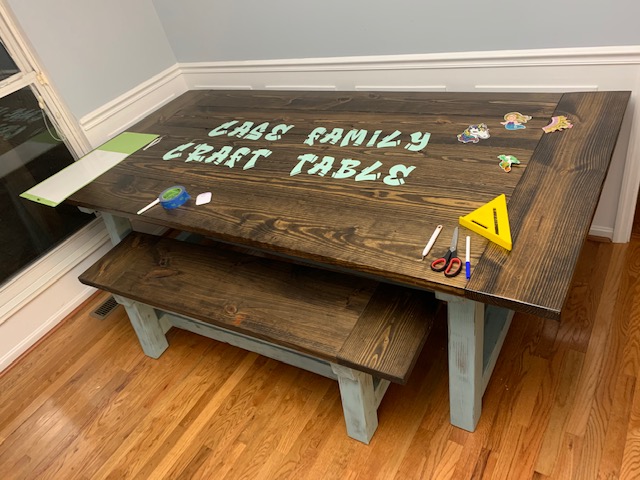
I built this as a craft table for my family. I altered the plans to make the table larger to fit a specific space in our craft room. The table was easy to build and turned out great!
Thanks for the plans
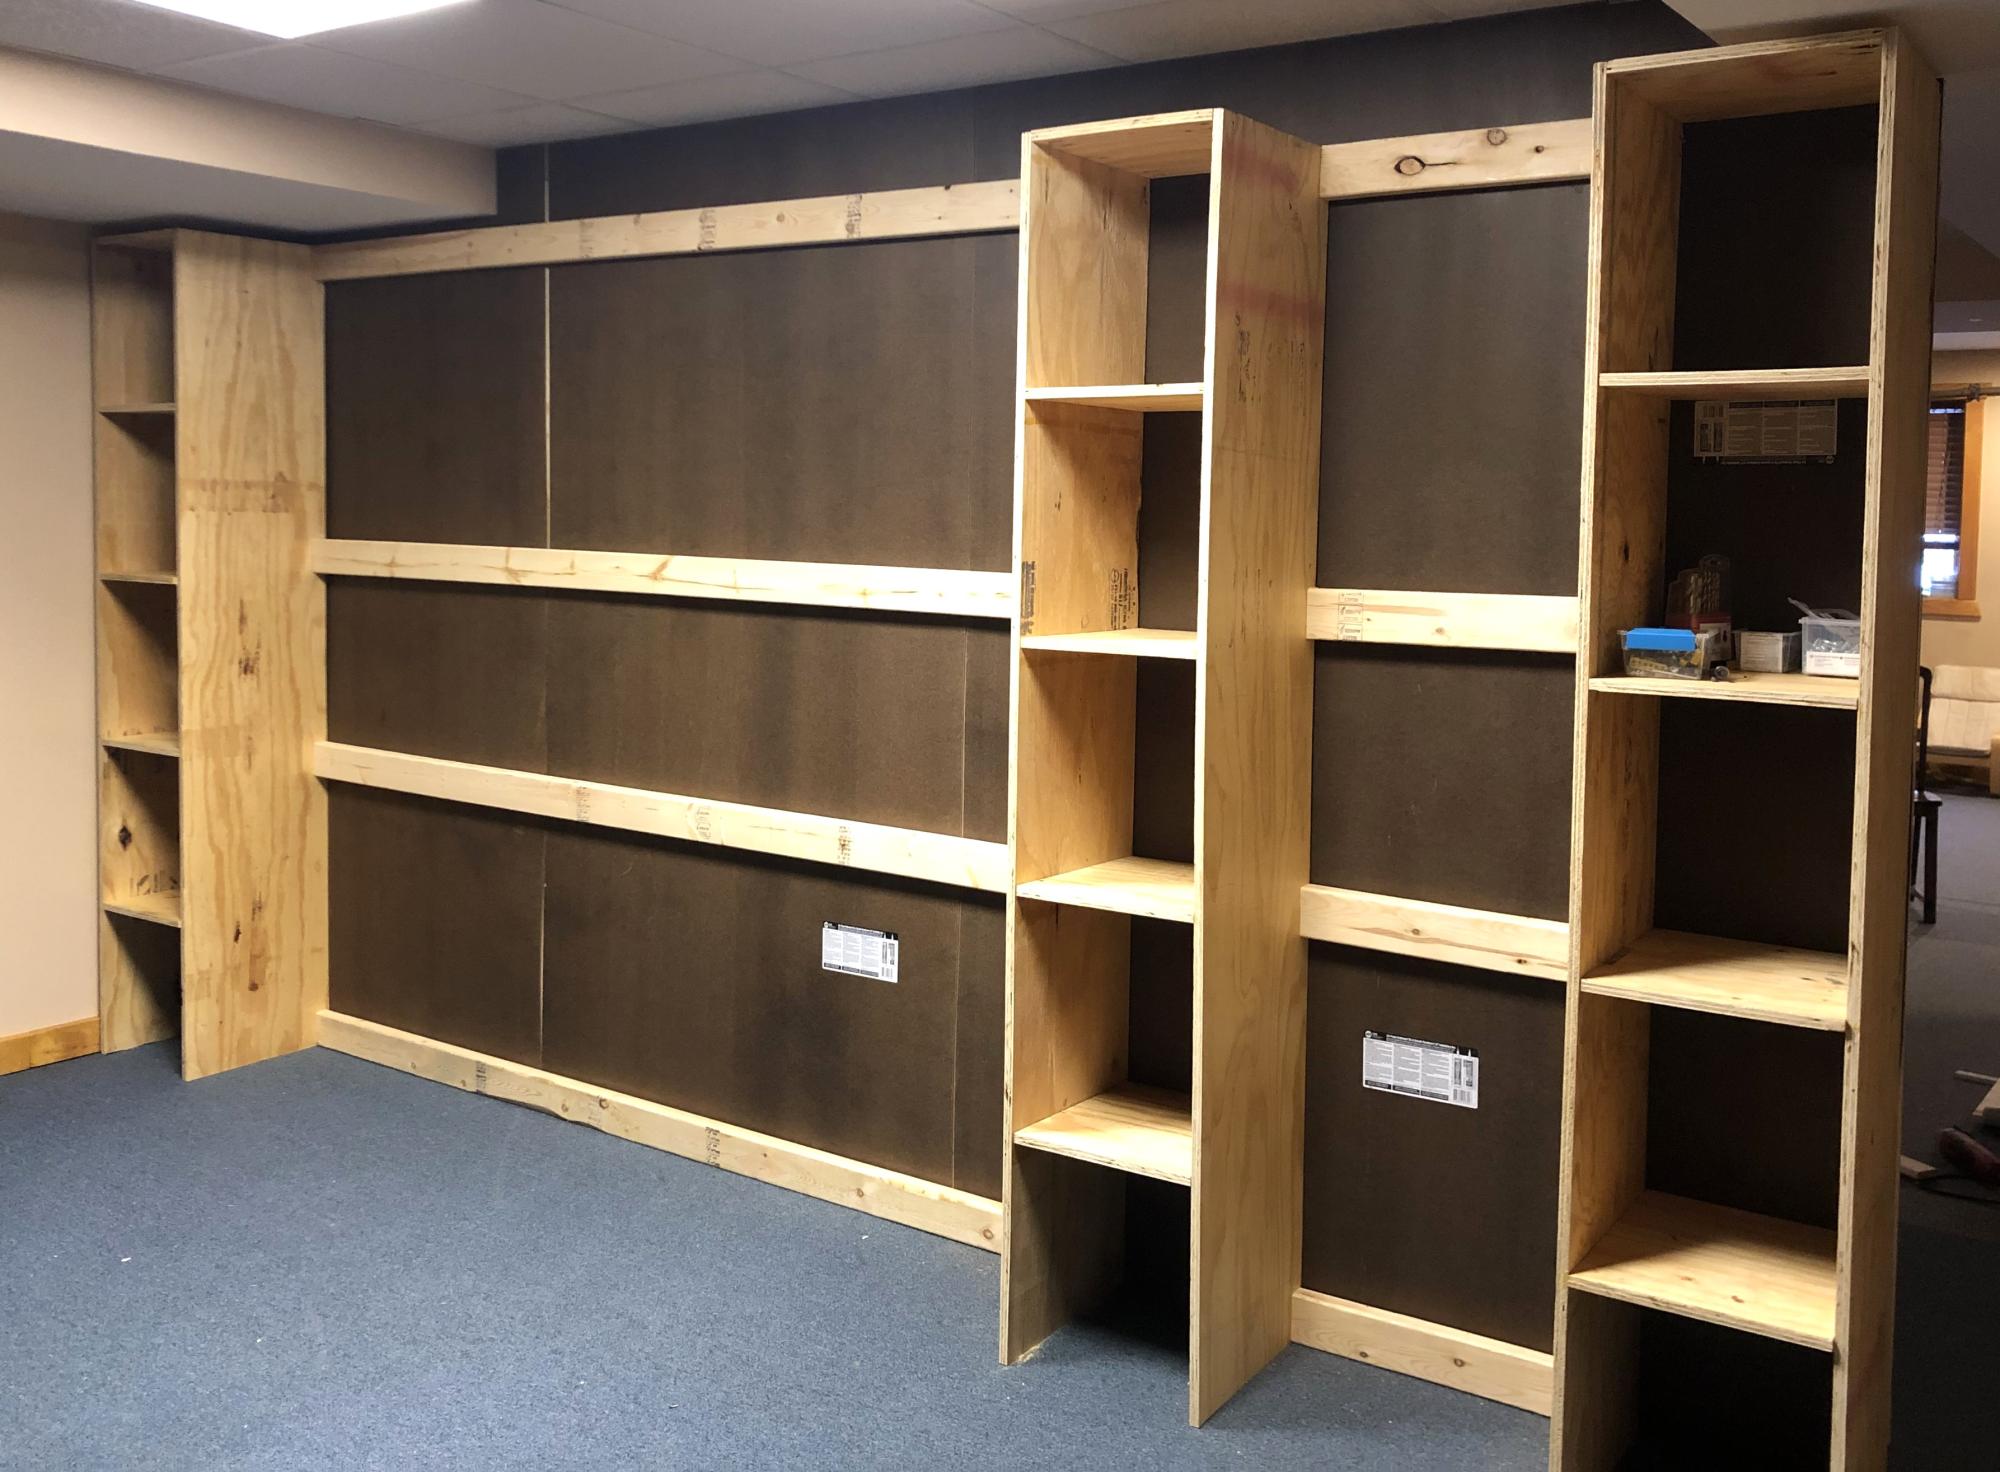
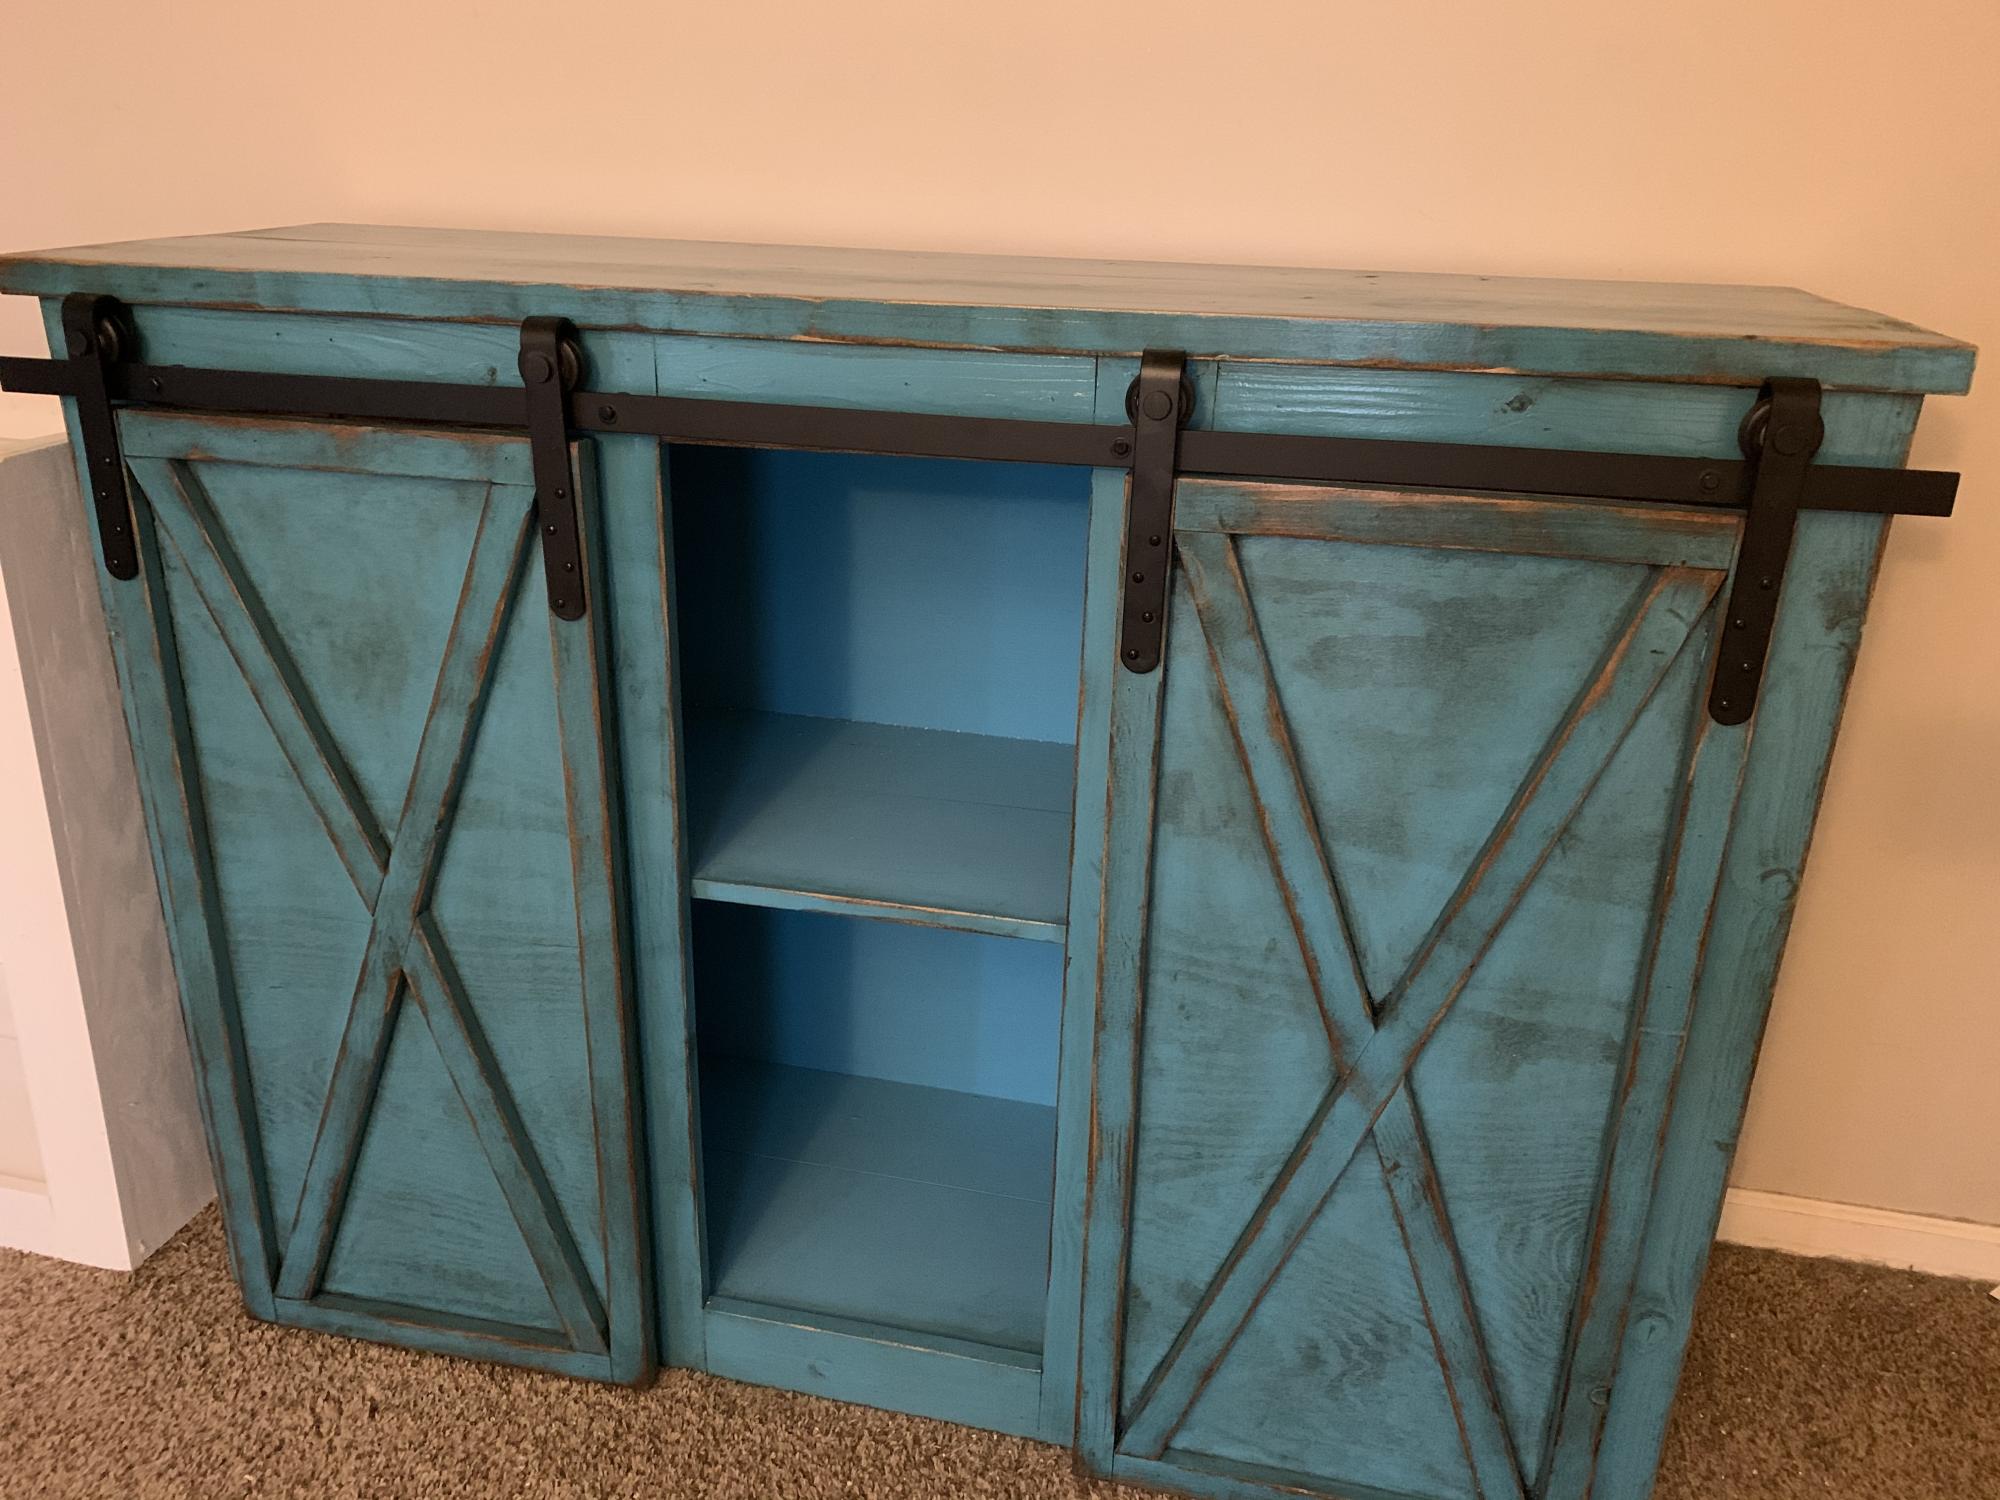
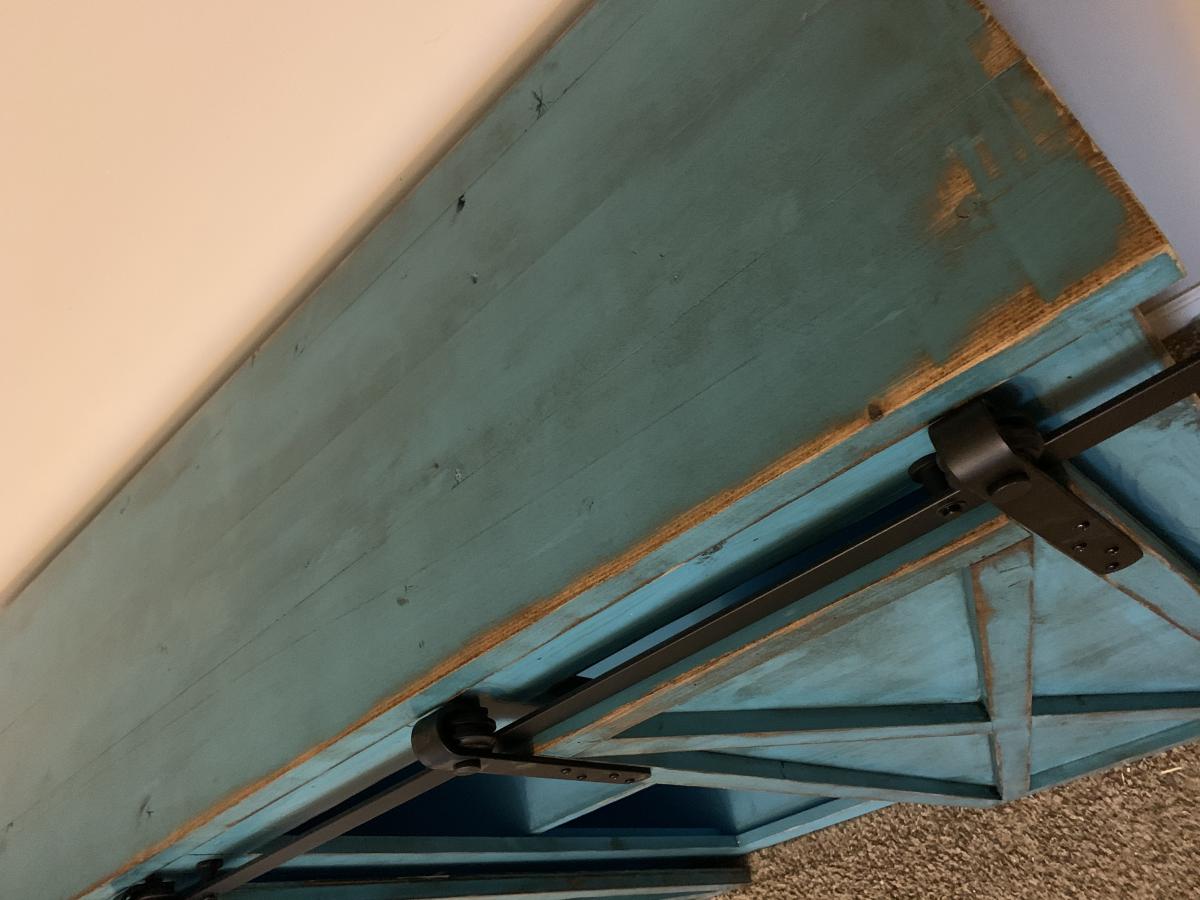
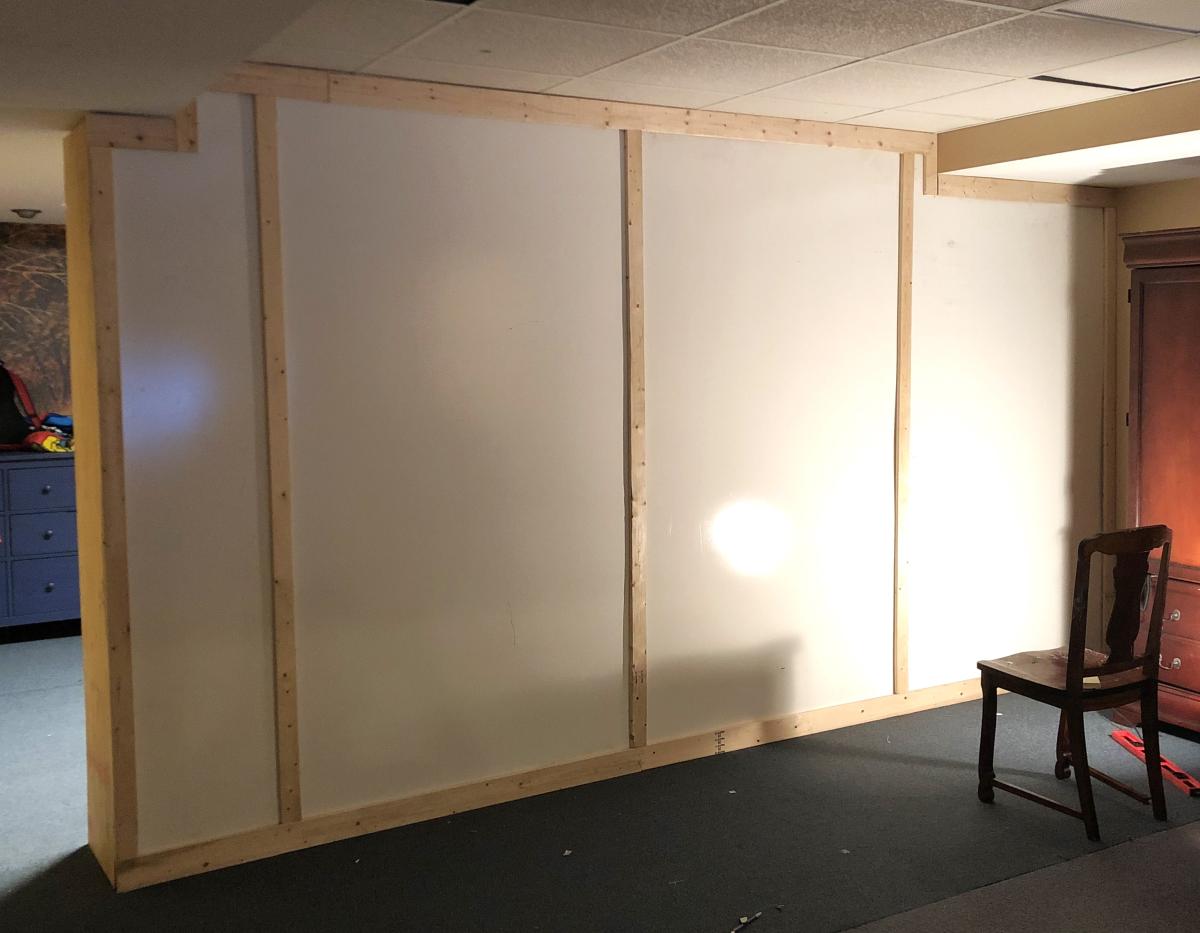
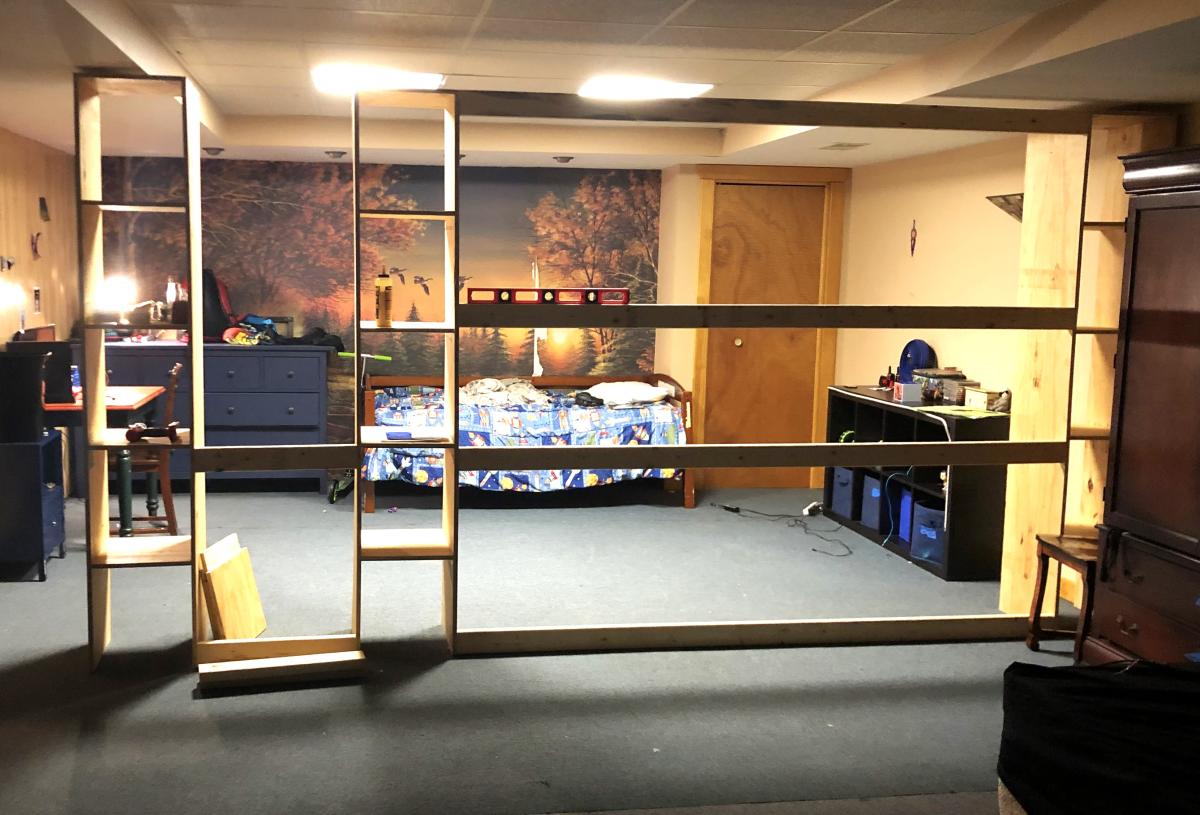
Modified the wall divider closet plan into a wall to serve as an extra bedroom in my basement. The inner wall was subsequently painted.
Grace LeBlanc
Directly from plan. Fun to make. Kreg and glue attachements.


Easy to build 2-3 hours. Weather proofed because did not want grey cedar in a few years. Liked the color of weather proofing but color continued to leak off. Polyed and sanding eventually stopped the leaking if colors. Scored pottery barn cushions 50% in the winter + 15% new email customer. Still $150... bought some pillows from pottery barn on sale for another $60. All in all looks awesome! VERY easy build. The rest ($$) is what hurts... Test any weatherproof in you use first before using.
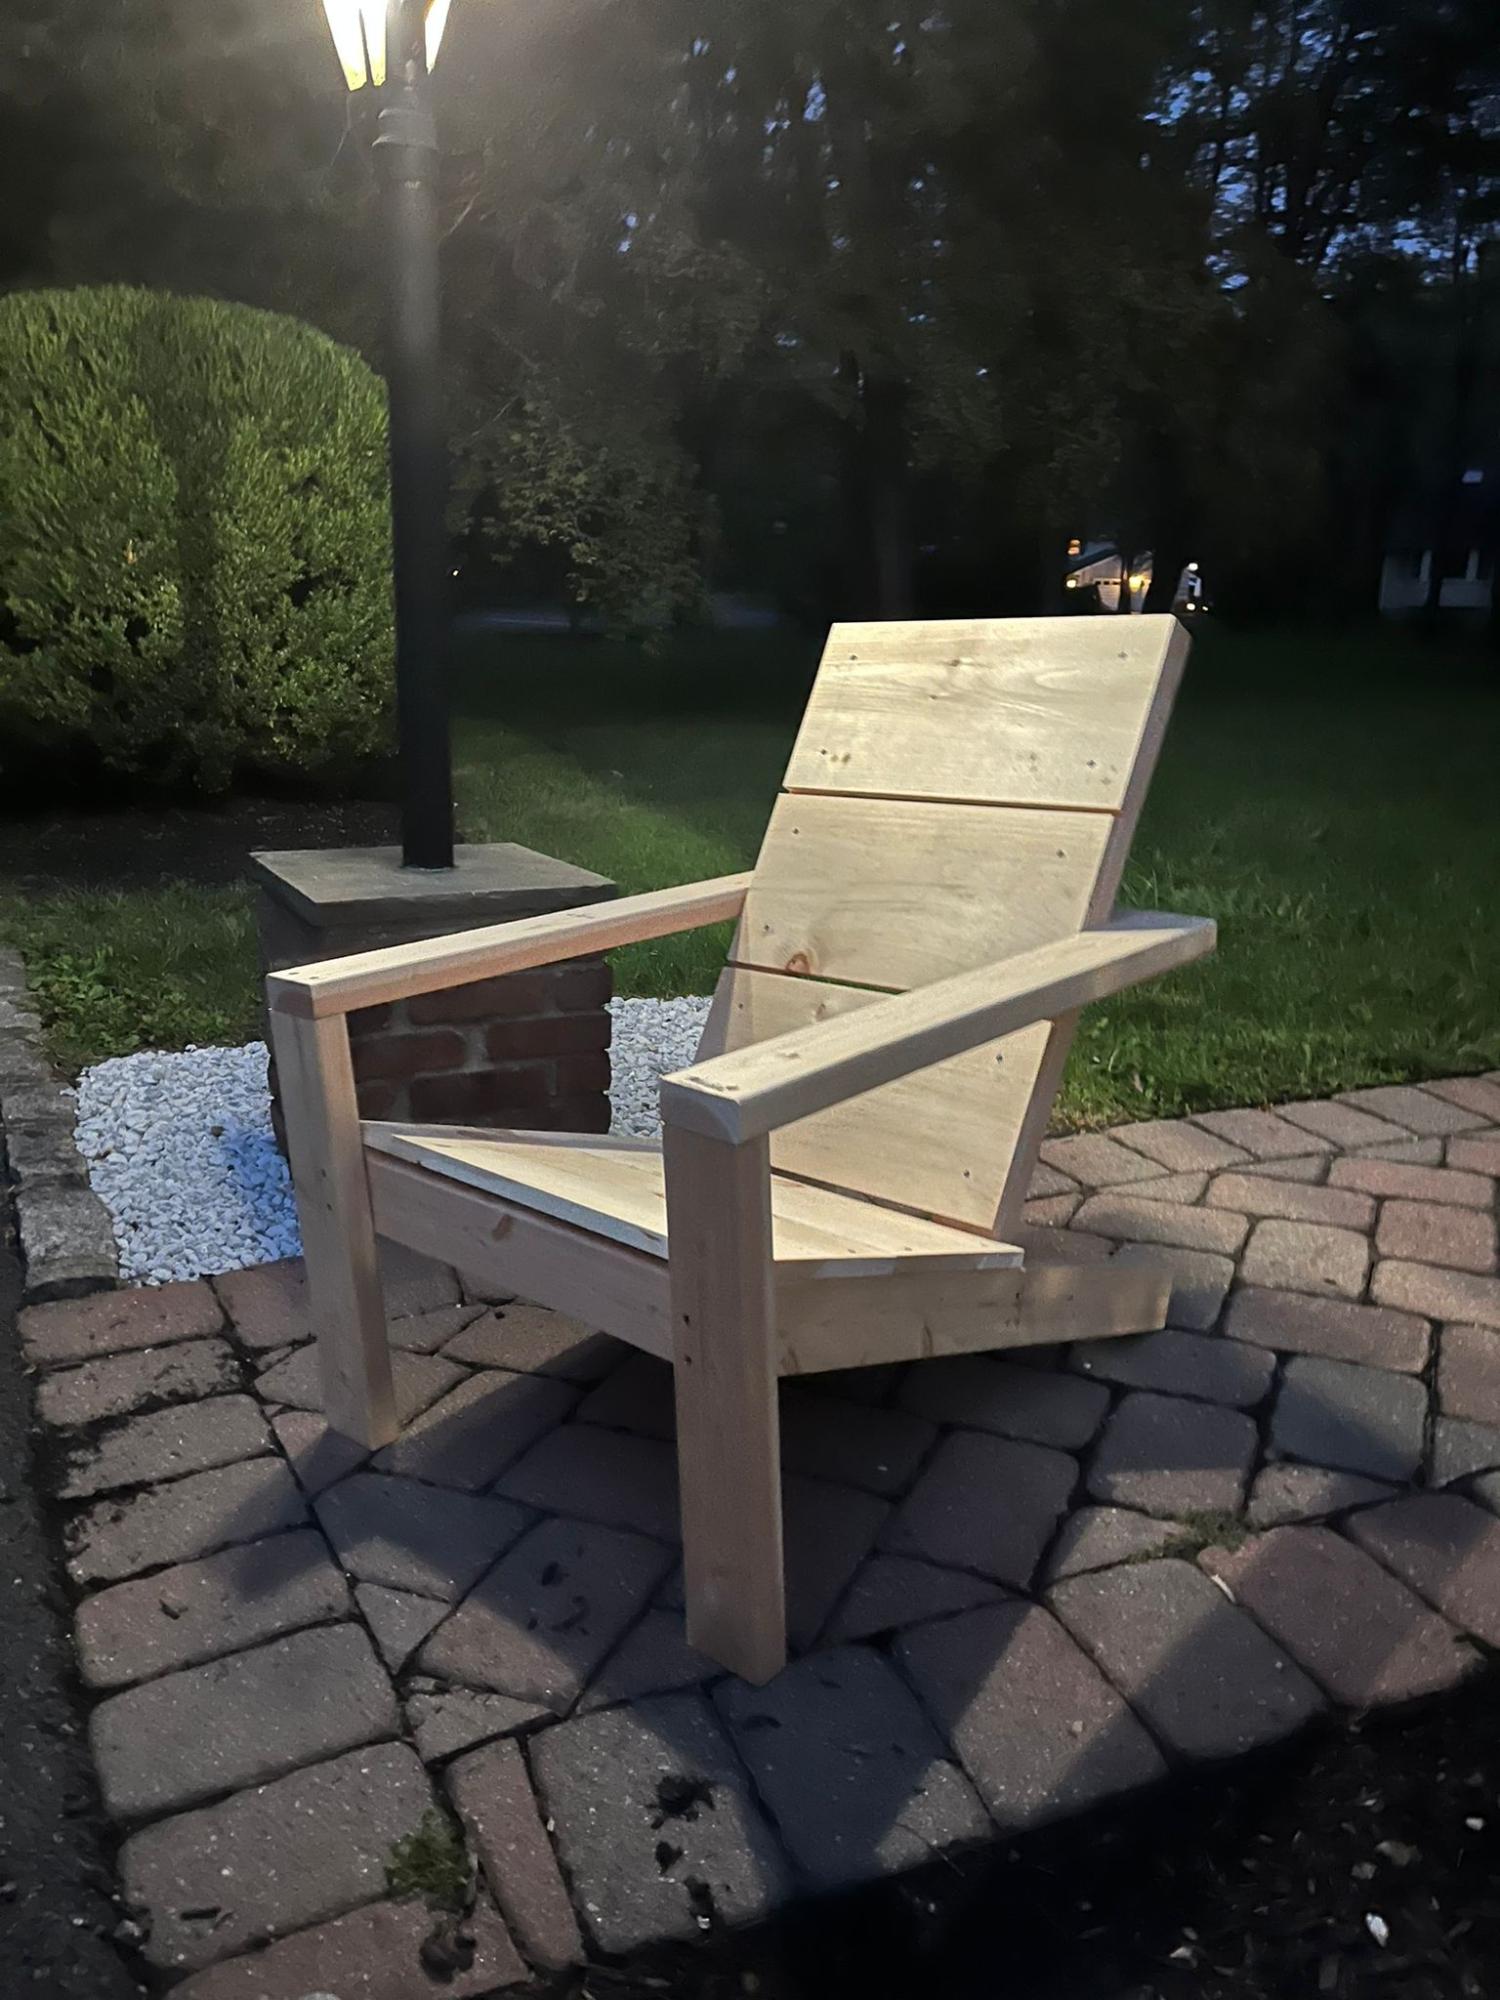
Great Project. We are very happy with the chair. It is modern. Amazing. Ana thanks!! The drawings are great.
Jhrios2003
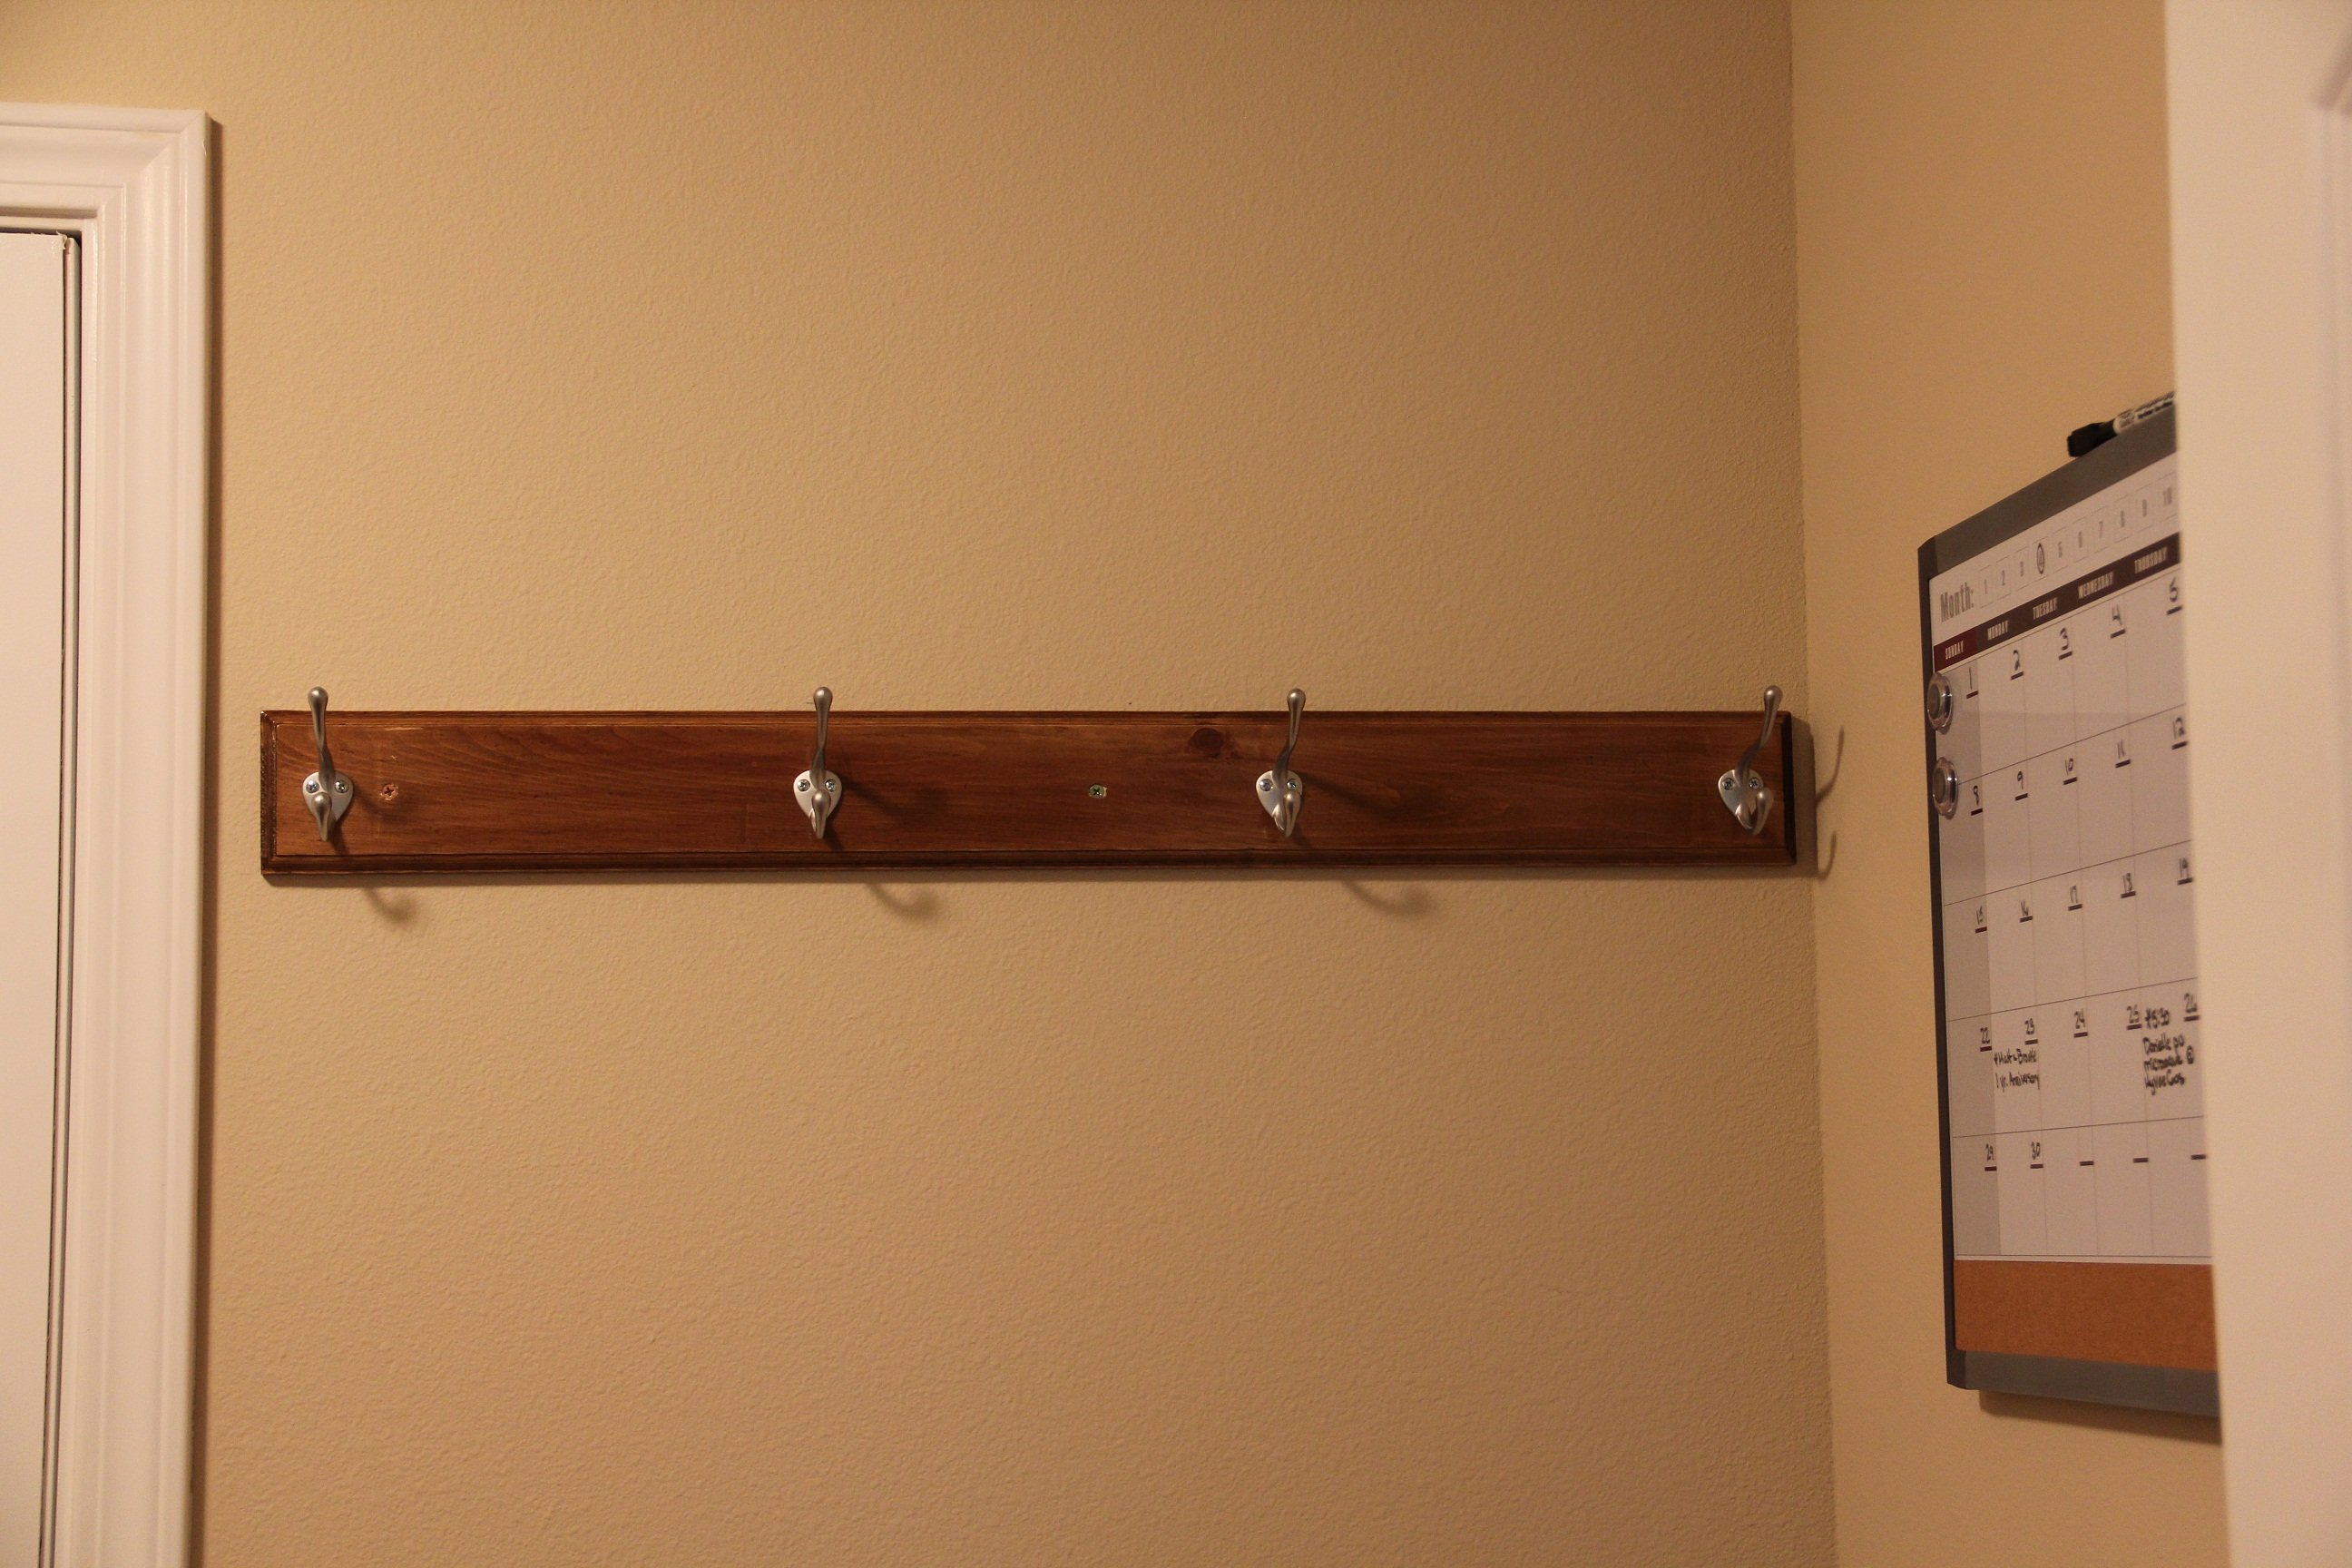
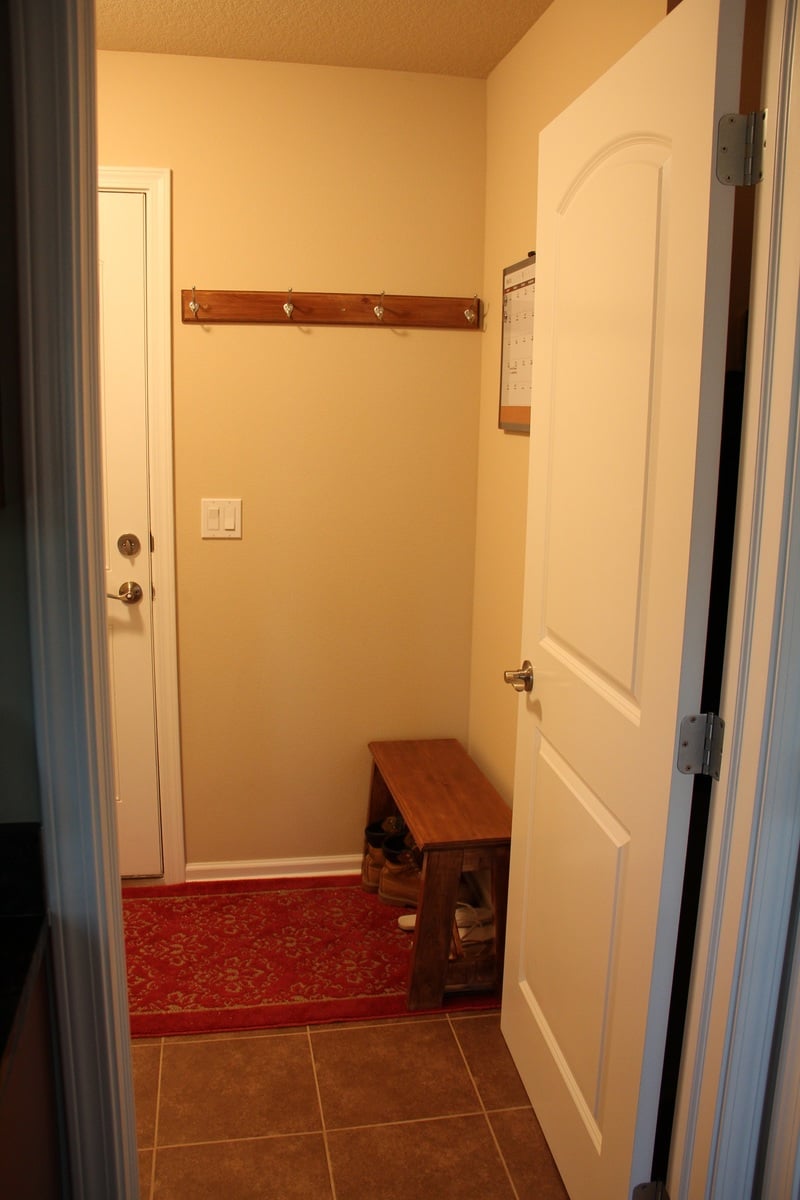
We needed a coat rack in the mud room to go along with the X Bench that I built earlier. This was made from a drop of wood left over from the bench. I had the hooks left over from a project I made a couple of years ago. My wife says our mud room is now complete. I used the plans Entryway Bench and Storage Shelf I just didn't use the shelf part
Fri, 06/15/2012 - 00:26
It is great to have the opportunity to read a good quality article with useful information on topics that plenty are interested on.
www.ahappydeal.com/product-74678.html
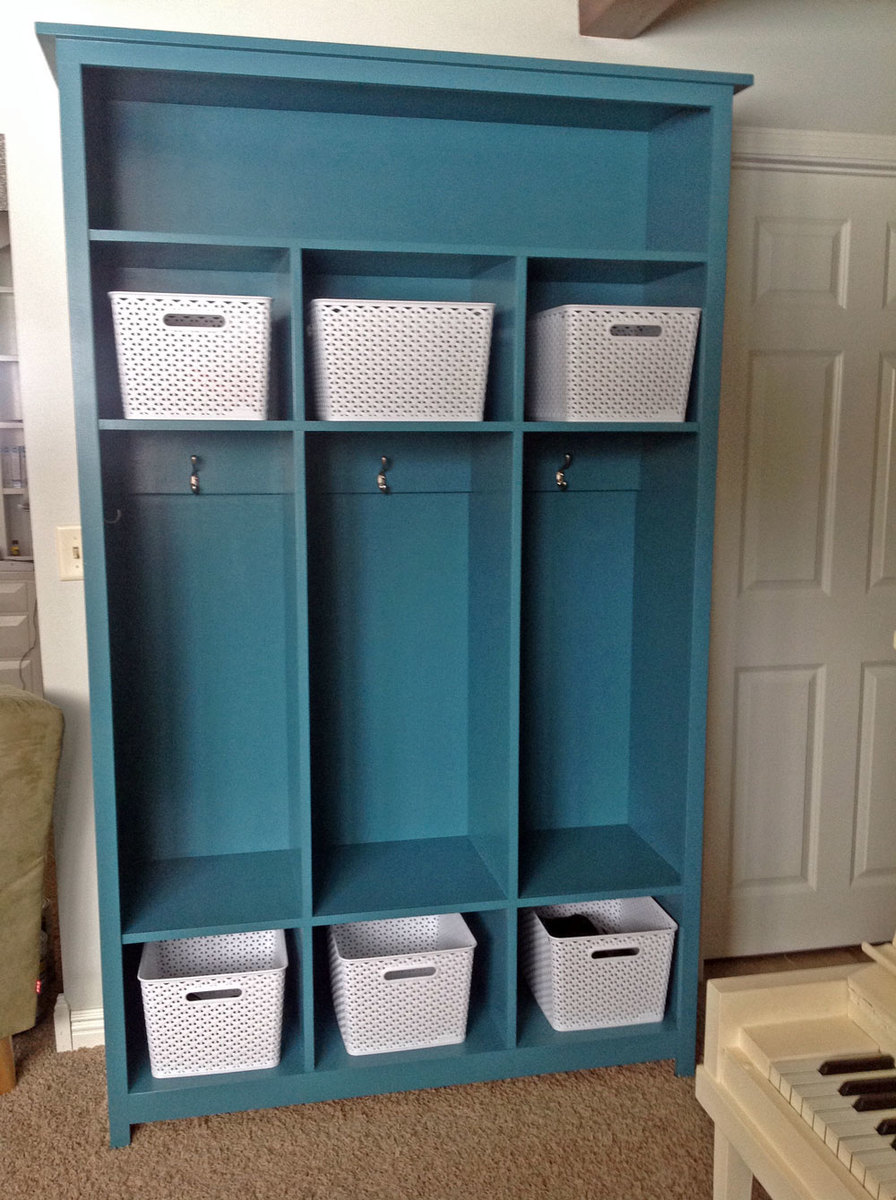
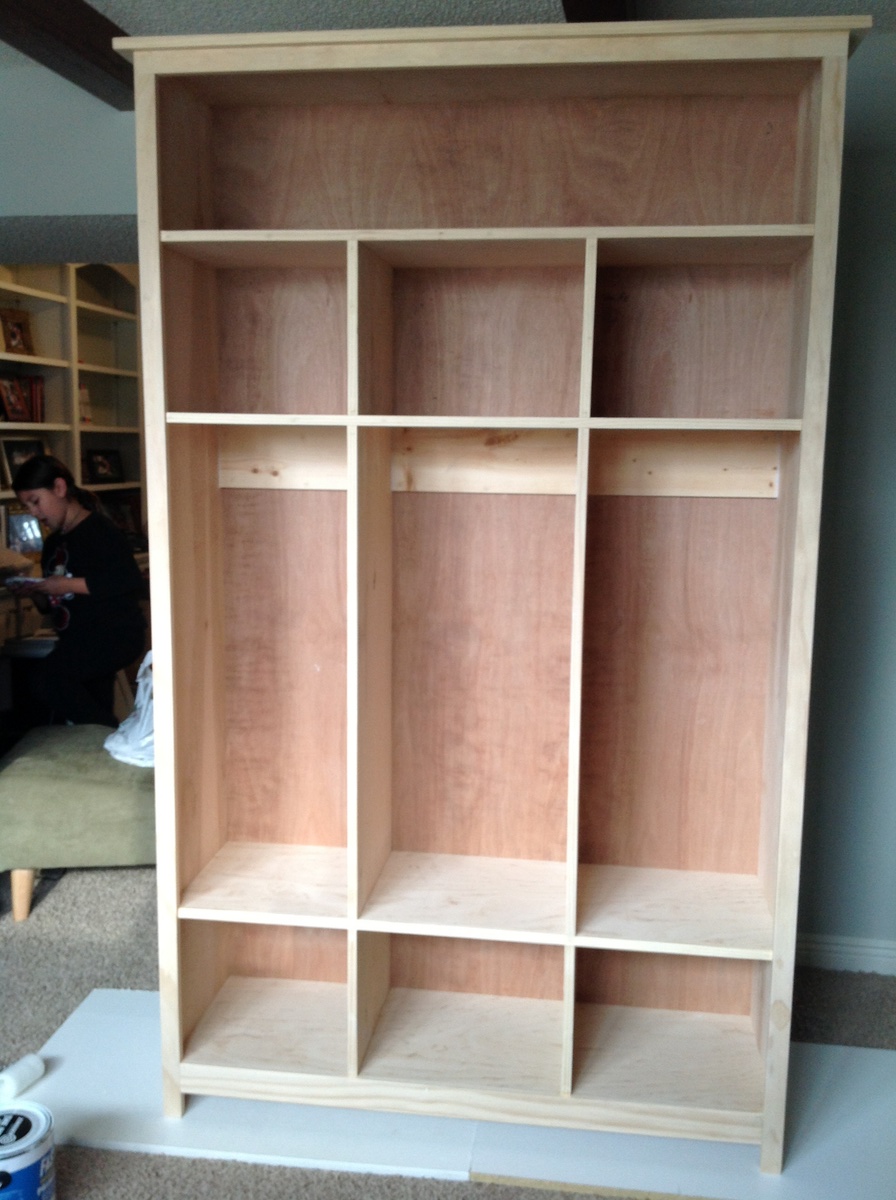
I have been waiting a long time to have this amazing piece of storage. The size is what was intimidating to me but it was easy to build. This project is perfect for a beginner . Make sure you have an extra set of hands due to the size otherwise this was easy and straight forward to build. I love the storage it offers to keep my Minnesota winter gear organized. The kids have a place for all of their snow pants, boots, coats etc.
This was a cool project to make
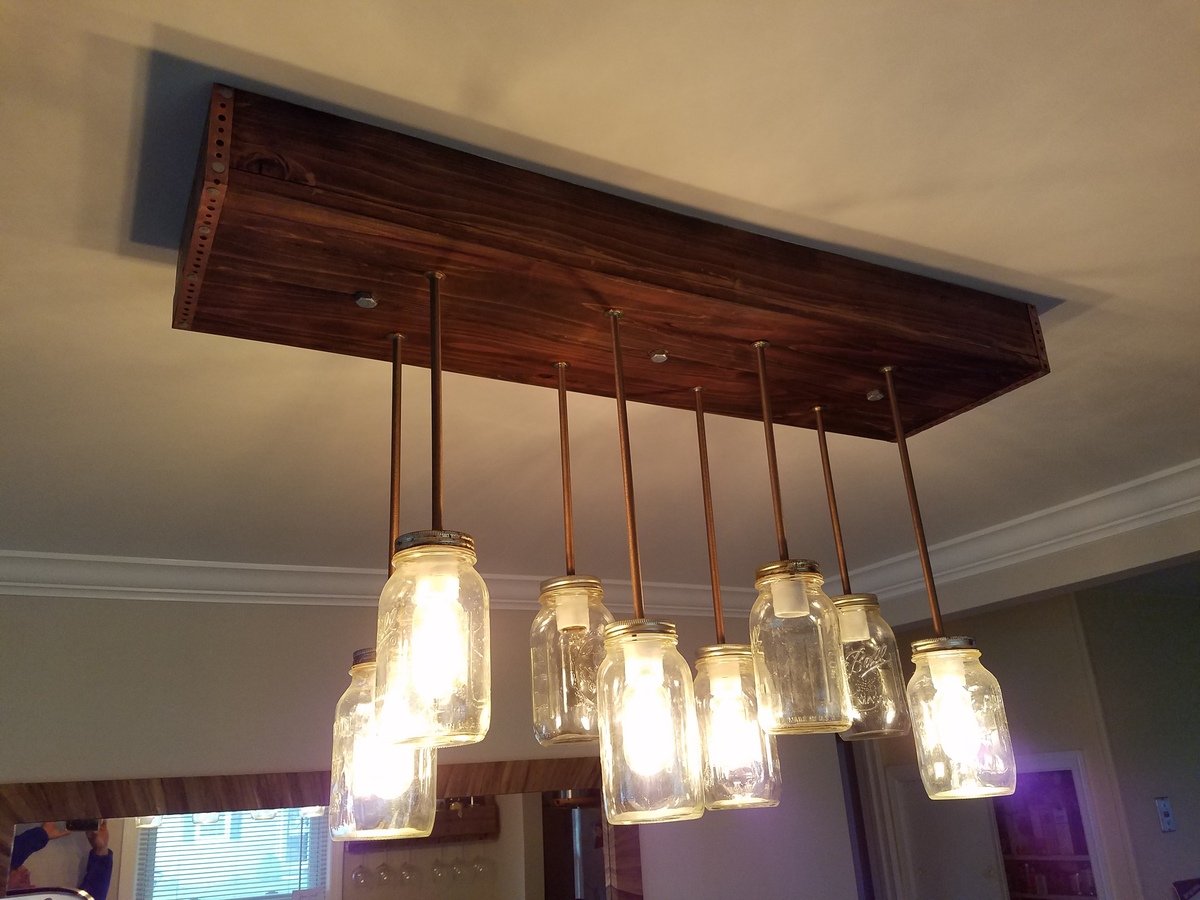
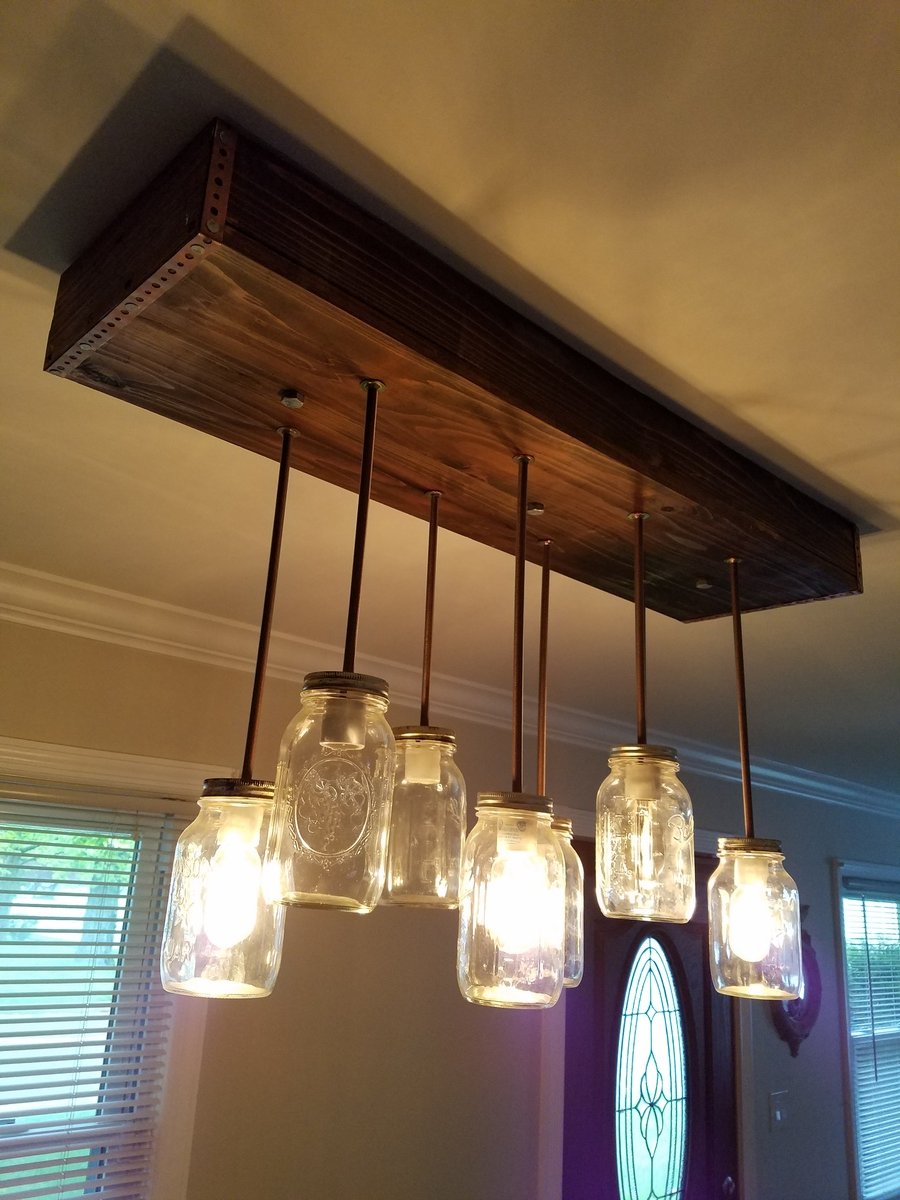
I had saw this online but was very. Expensive to buy some one afternoon I decided to built one my neighbor had a ton of Mason jars so I got 8 from them and I started to put everything together and the end result came out nice I hope u guys like
Thanks
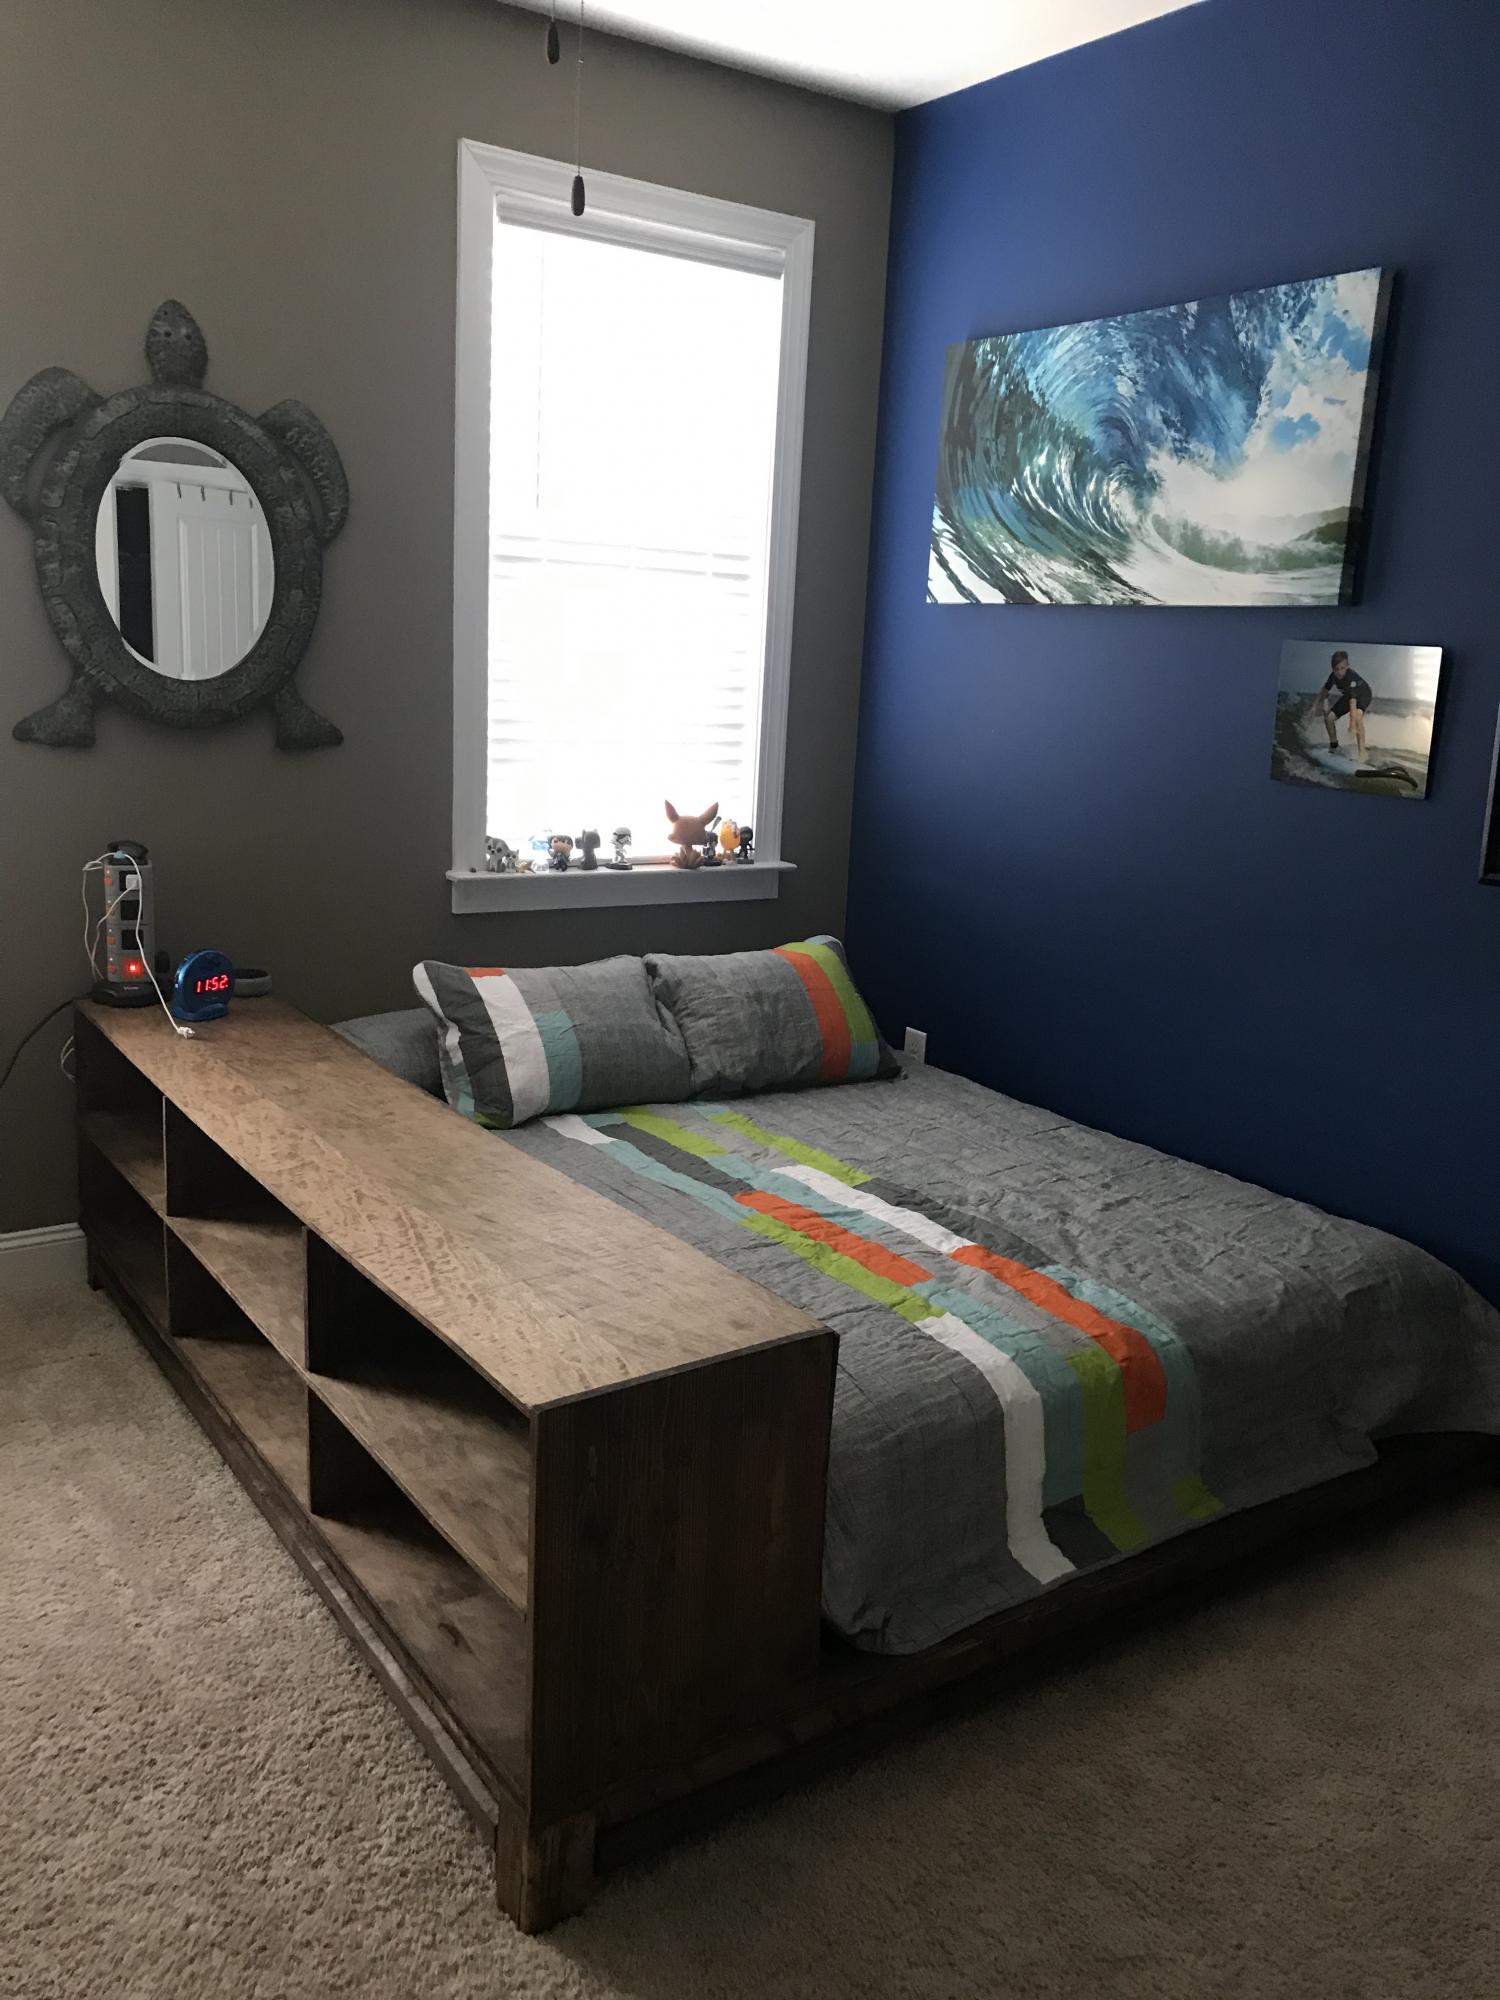
https://www.ana-white.com/woodworking-projects/easiest-teen-platform-bed
This went really well thanks for posting the plans!
I followed the plans exactly, except I didn't put the trim pieces on the lower shelves sides. I really like the way it turned out, and my wife painted it with Annie Sloan Chalk Paint, color "Paris Grey" and then used Annie Sloan finishing wax (both clear and dark wax) to protect the piece and age it. I think it turned out great! Thanks for the plans!
Nothing was to difficult with these plans, at least not if you have a Kreg Jig. I would add that I used pocket screws on the top pieces not only to join them to the breadboard end pieces, but also to each other. That made it really strong!
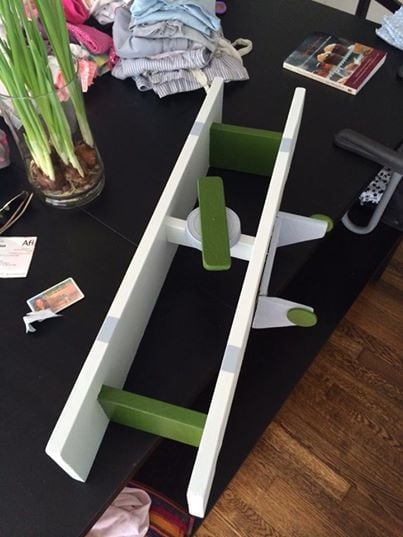
I made this shelf with reclaimed random wood but followed the original plans almost exactly. I used an extra large jar of peanut butters top for the front of the plane and the propeller was made for a random little piece of wood I just sanded down the edges to round them. The landing gear is from two corners of scrap wood and I bought the round pieces of wood for the wheels at michaels for about 10cents because I do not have a hole saw.