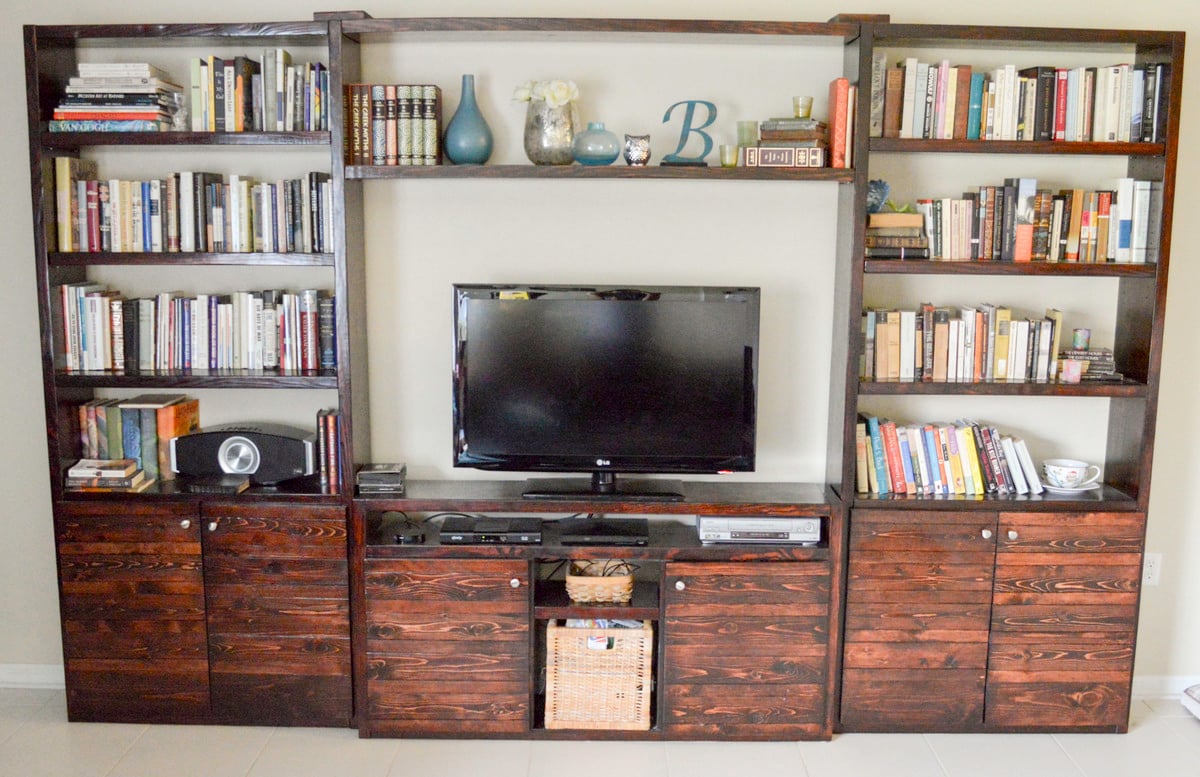
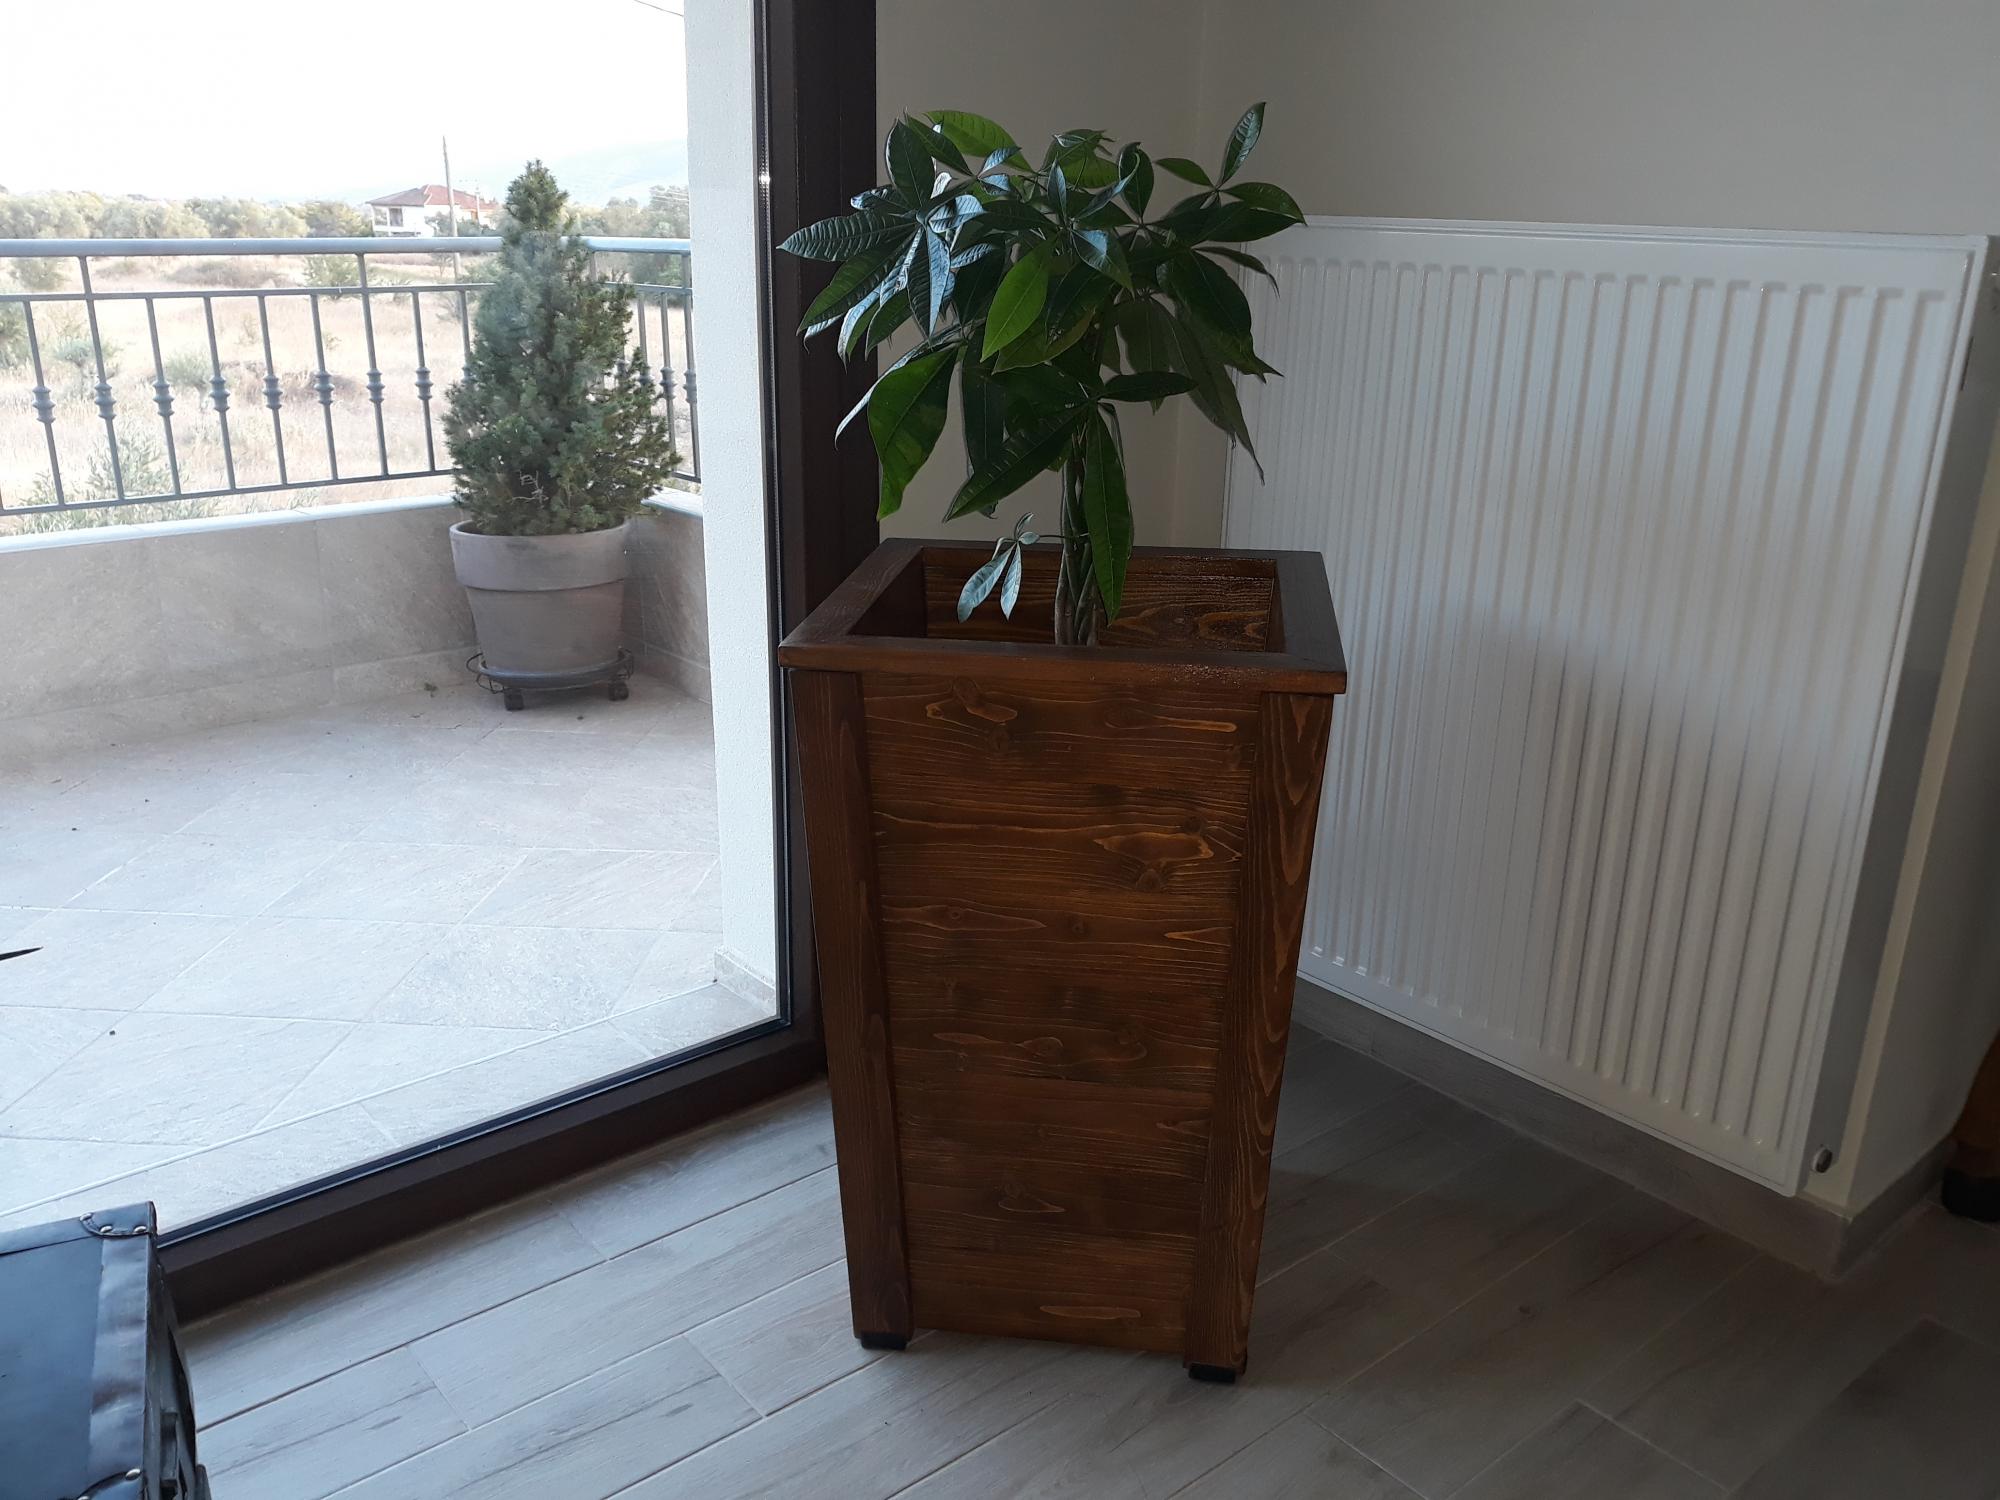
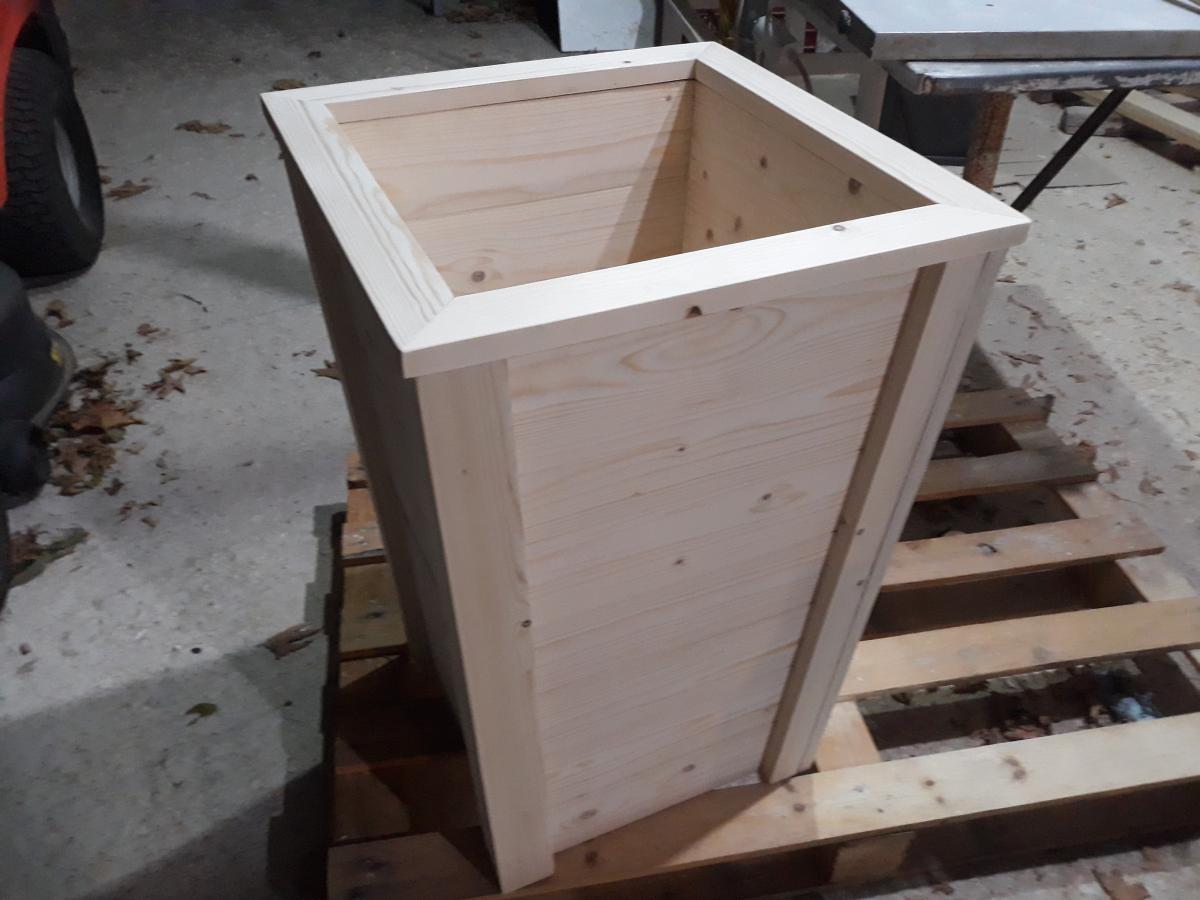
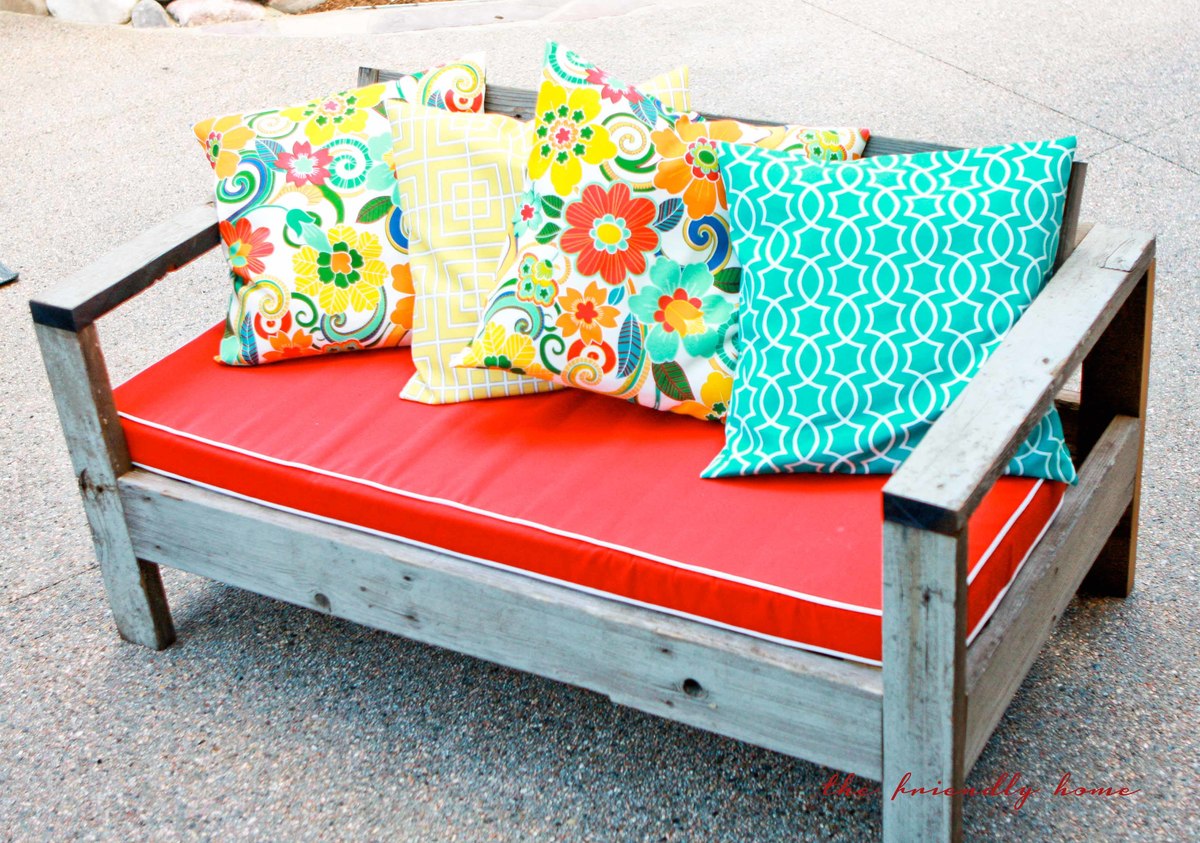
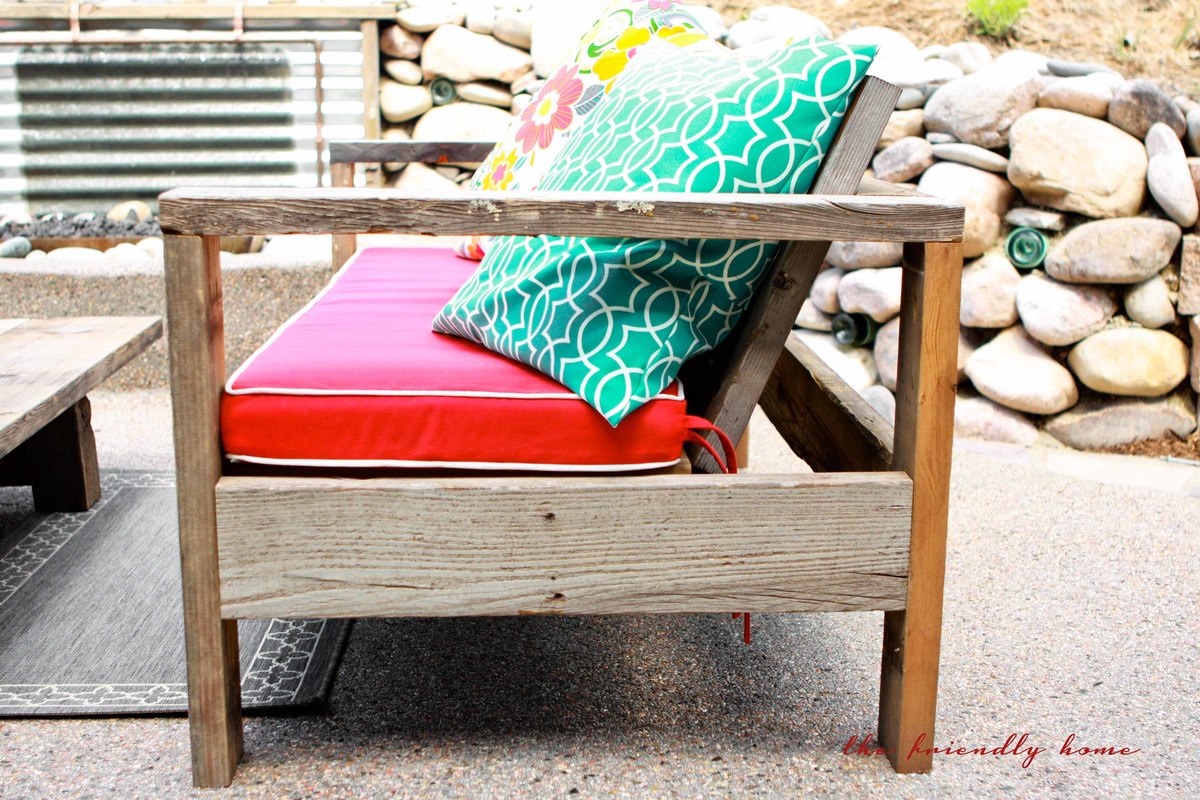
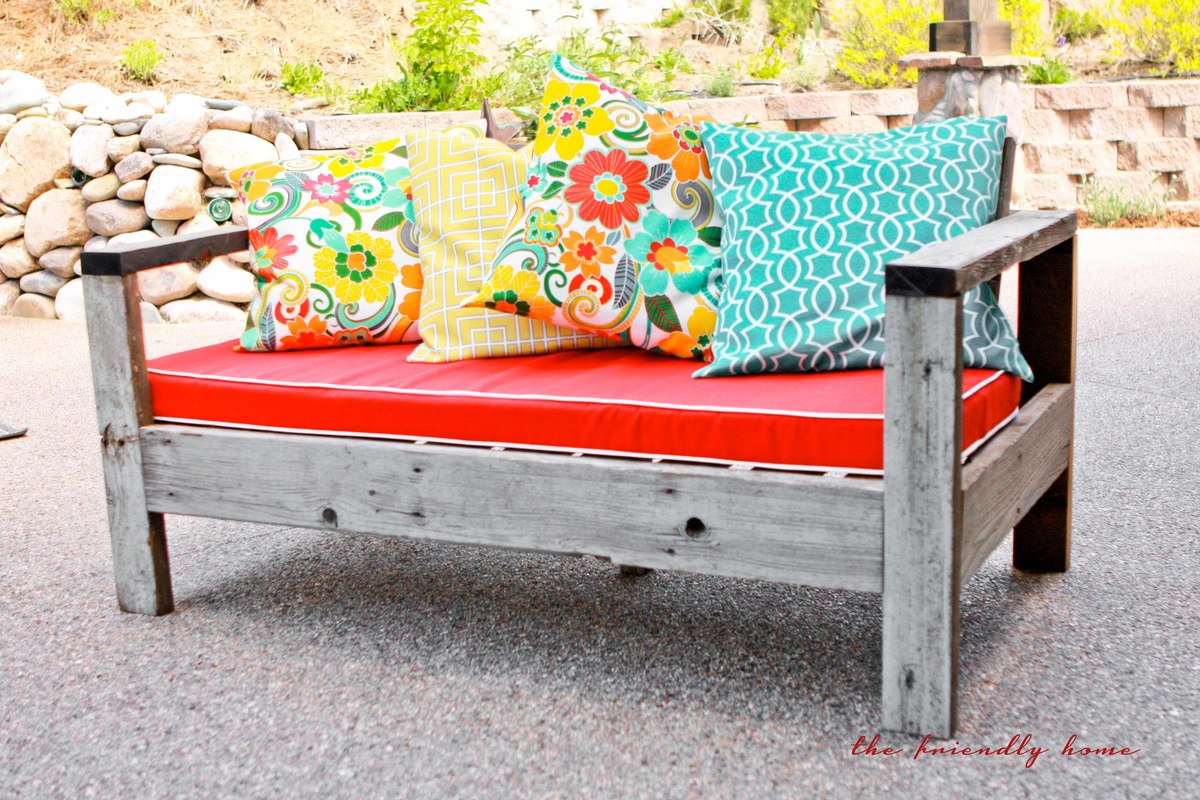
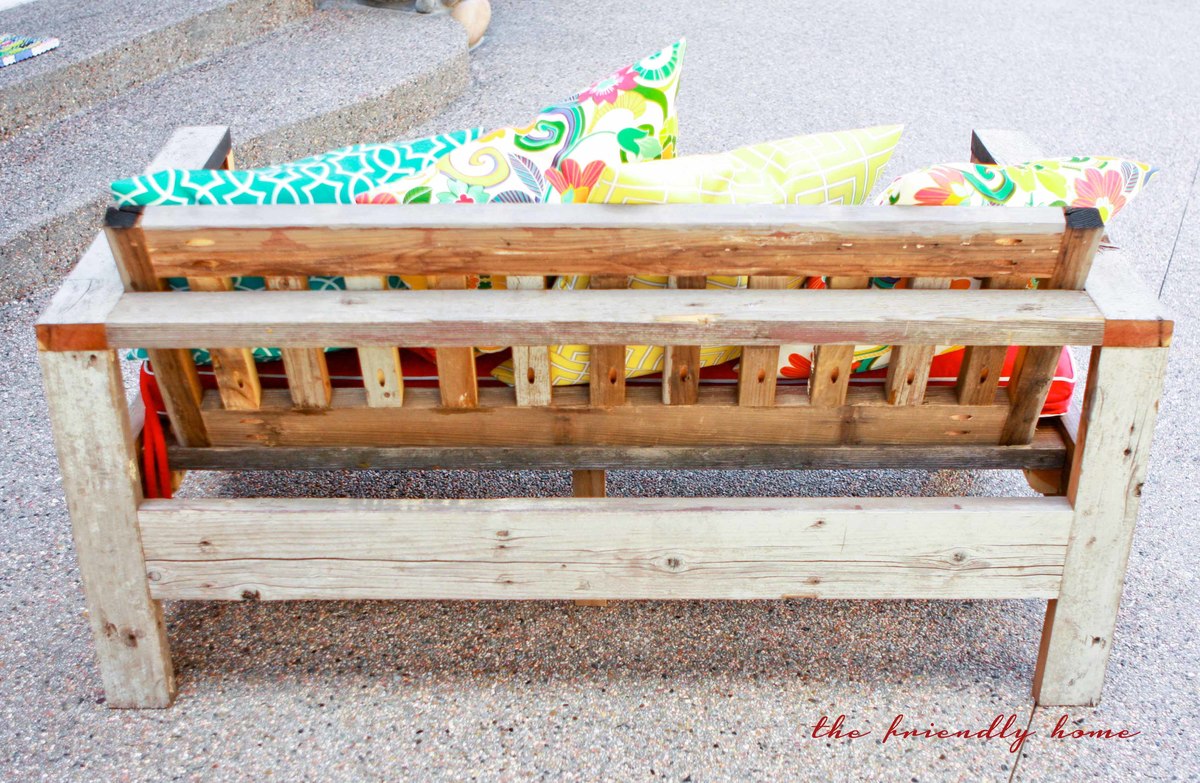
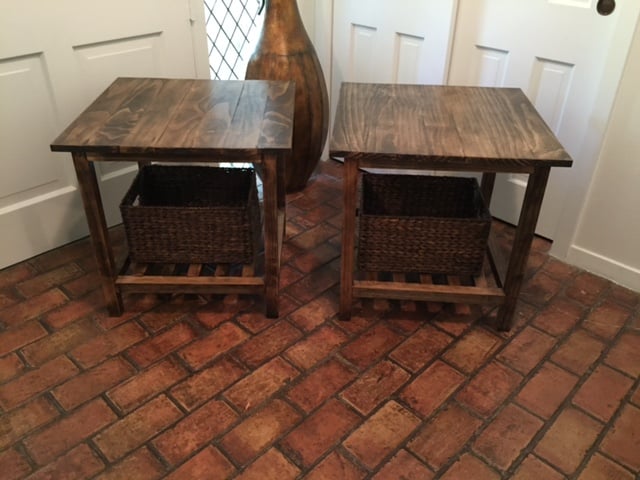
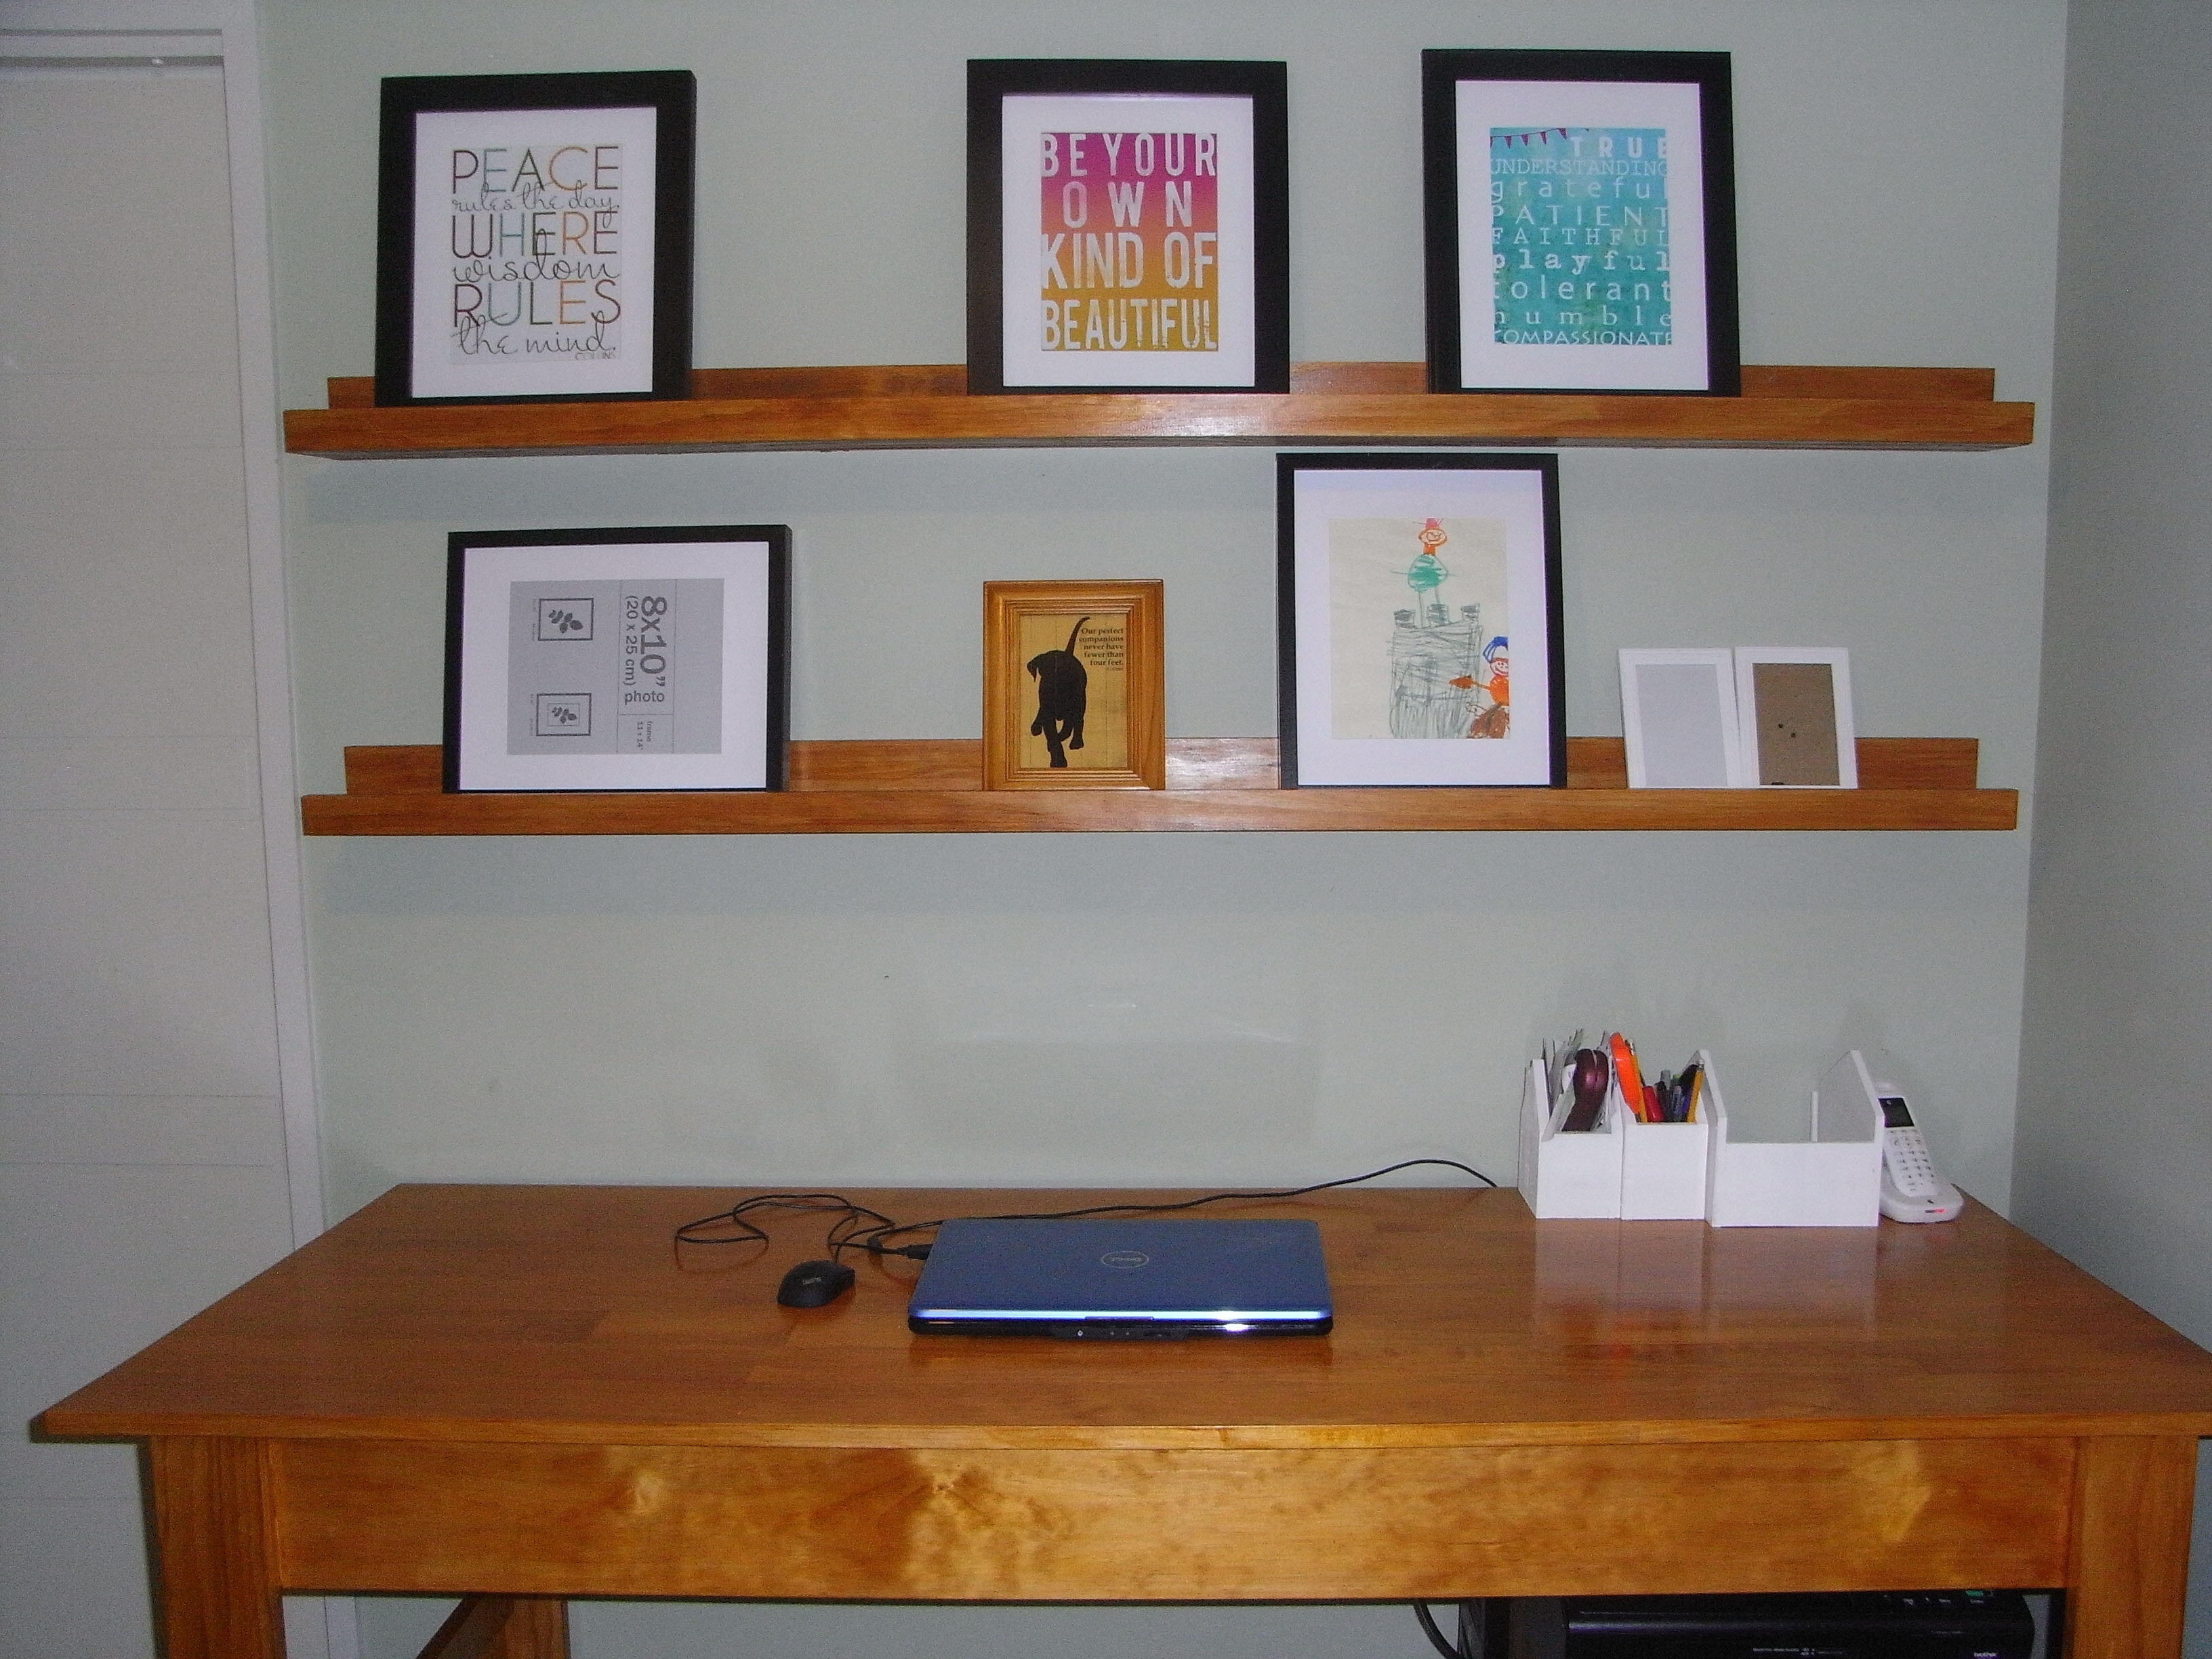
Community Brag Posts

Lack Inspired Entertainment Center

Submitted by eralben on Mon, 04/20/2015 - 07:24

The IKEA Lack Inspired Bookcase plans became my inspiration for the entire entertainment center.  I made a few changes to the bookcase plans.  I increased the height of the bookcases to 84 inches and added adjustable shelves.  I also included some major extras including a console for the TV, a bridge to connect the bookcases, and doors inspired by www.shanty-2-chic.com.

Built from Plan(s)
Estimated Time Investment
Week Long Project (20 Hours or More)
Finish Used
Red Mahogany
Recommended Skill Level
Intermediate

DIY Kitchen Island

Submitted by CustomPulp on Wed, 08/30/2017 - 12:16

Island dimensions Bar 36" deep x 50" wide, counter top height and base has 24 inch depth. I was lucky enough to have the walnut donated for the project which I cut into 1" stips and glued together butcher block style. Also put a 1 1/4" band of walnut around countertop for appearances and to help strengthen the top. The base was made with pine and painted turqoise. The double waste basket was another touch I added. Thanks for looking.

Estimated Cost
base with lumber, door hardware, double trashcan hardware, corbels, paint $250.00. Pricing the Walnut if not donated, would have added another $300.00 to the cost of the project.
Estimated Time Investment
Week Long Project (20 Hours or More)
Finish Used
tung oil on top. Lowes Satin finish Valspar for the base
Recommended Skill Level
Advanced

Comments

Adirondacks

Submitted by Anonymous (not verified) on Tue, 10/05/2021 - 07:50

These a few of your designs I’ve created. The bench and Adirondacks were the fist of my Covid projects, then I added the outdoor living space landscaping… sorta. Thanks for Great plans. I love making the stuff.

Comments

Coat Tree

Submitted by annem on Sat, 03/12/2011 - 07:27

With my 3 young kids and all of their winter gear, I needed a coat rack that they can use. Since I don't have a miter saw, I asked my Father-in-law to make the cuts for me so I can't claim to have done that (although I am asking for a miter saw for my birthday!). Assembly was pretty easy with 2 pocket holes each on the roots and one for each of the limbs. With the small pieces of wood, it was tricky to get the holes centered using my Kreg Jig Jr. so I added some small finishing nails to some of the limbs for more support. (Think young kids tugging to get their coats down!) Some things I learned: Sand all pieces to the way you want them BEFORE assembling as it's nearly impossible to do later. Stagger the bottom roots because screwing in 8 screws to the same center point does not work. I ended up using shorter screws than the 2 1/2" recommended and had to add felt pads to stabilize the legs that were moved up to allow for me to fit the screws in. I am pleased with this project and while it's not perfect, it will get a lot of use around here!

Estimated Time Investment
An Hour or Two (0-2 Hours)
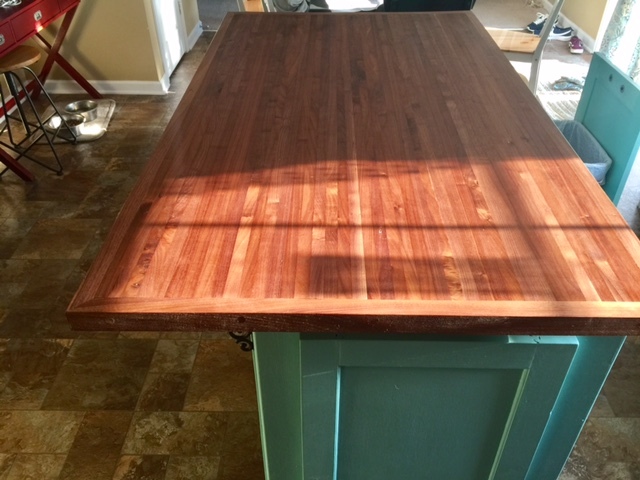
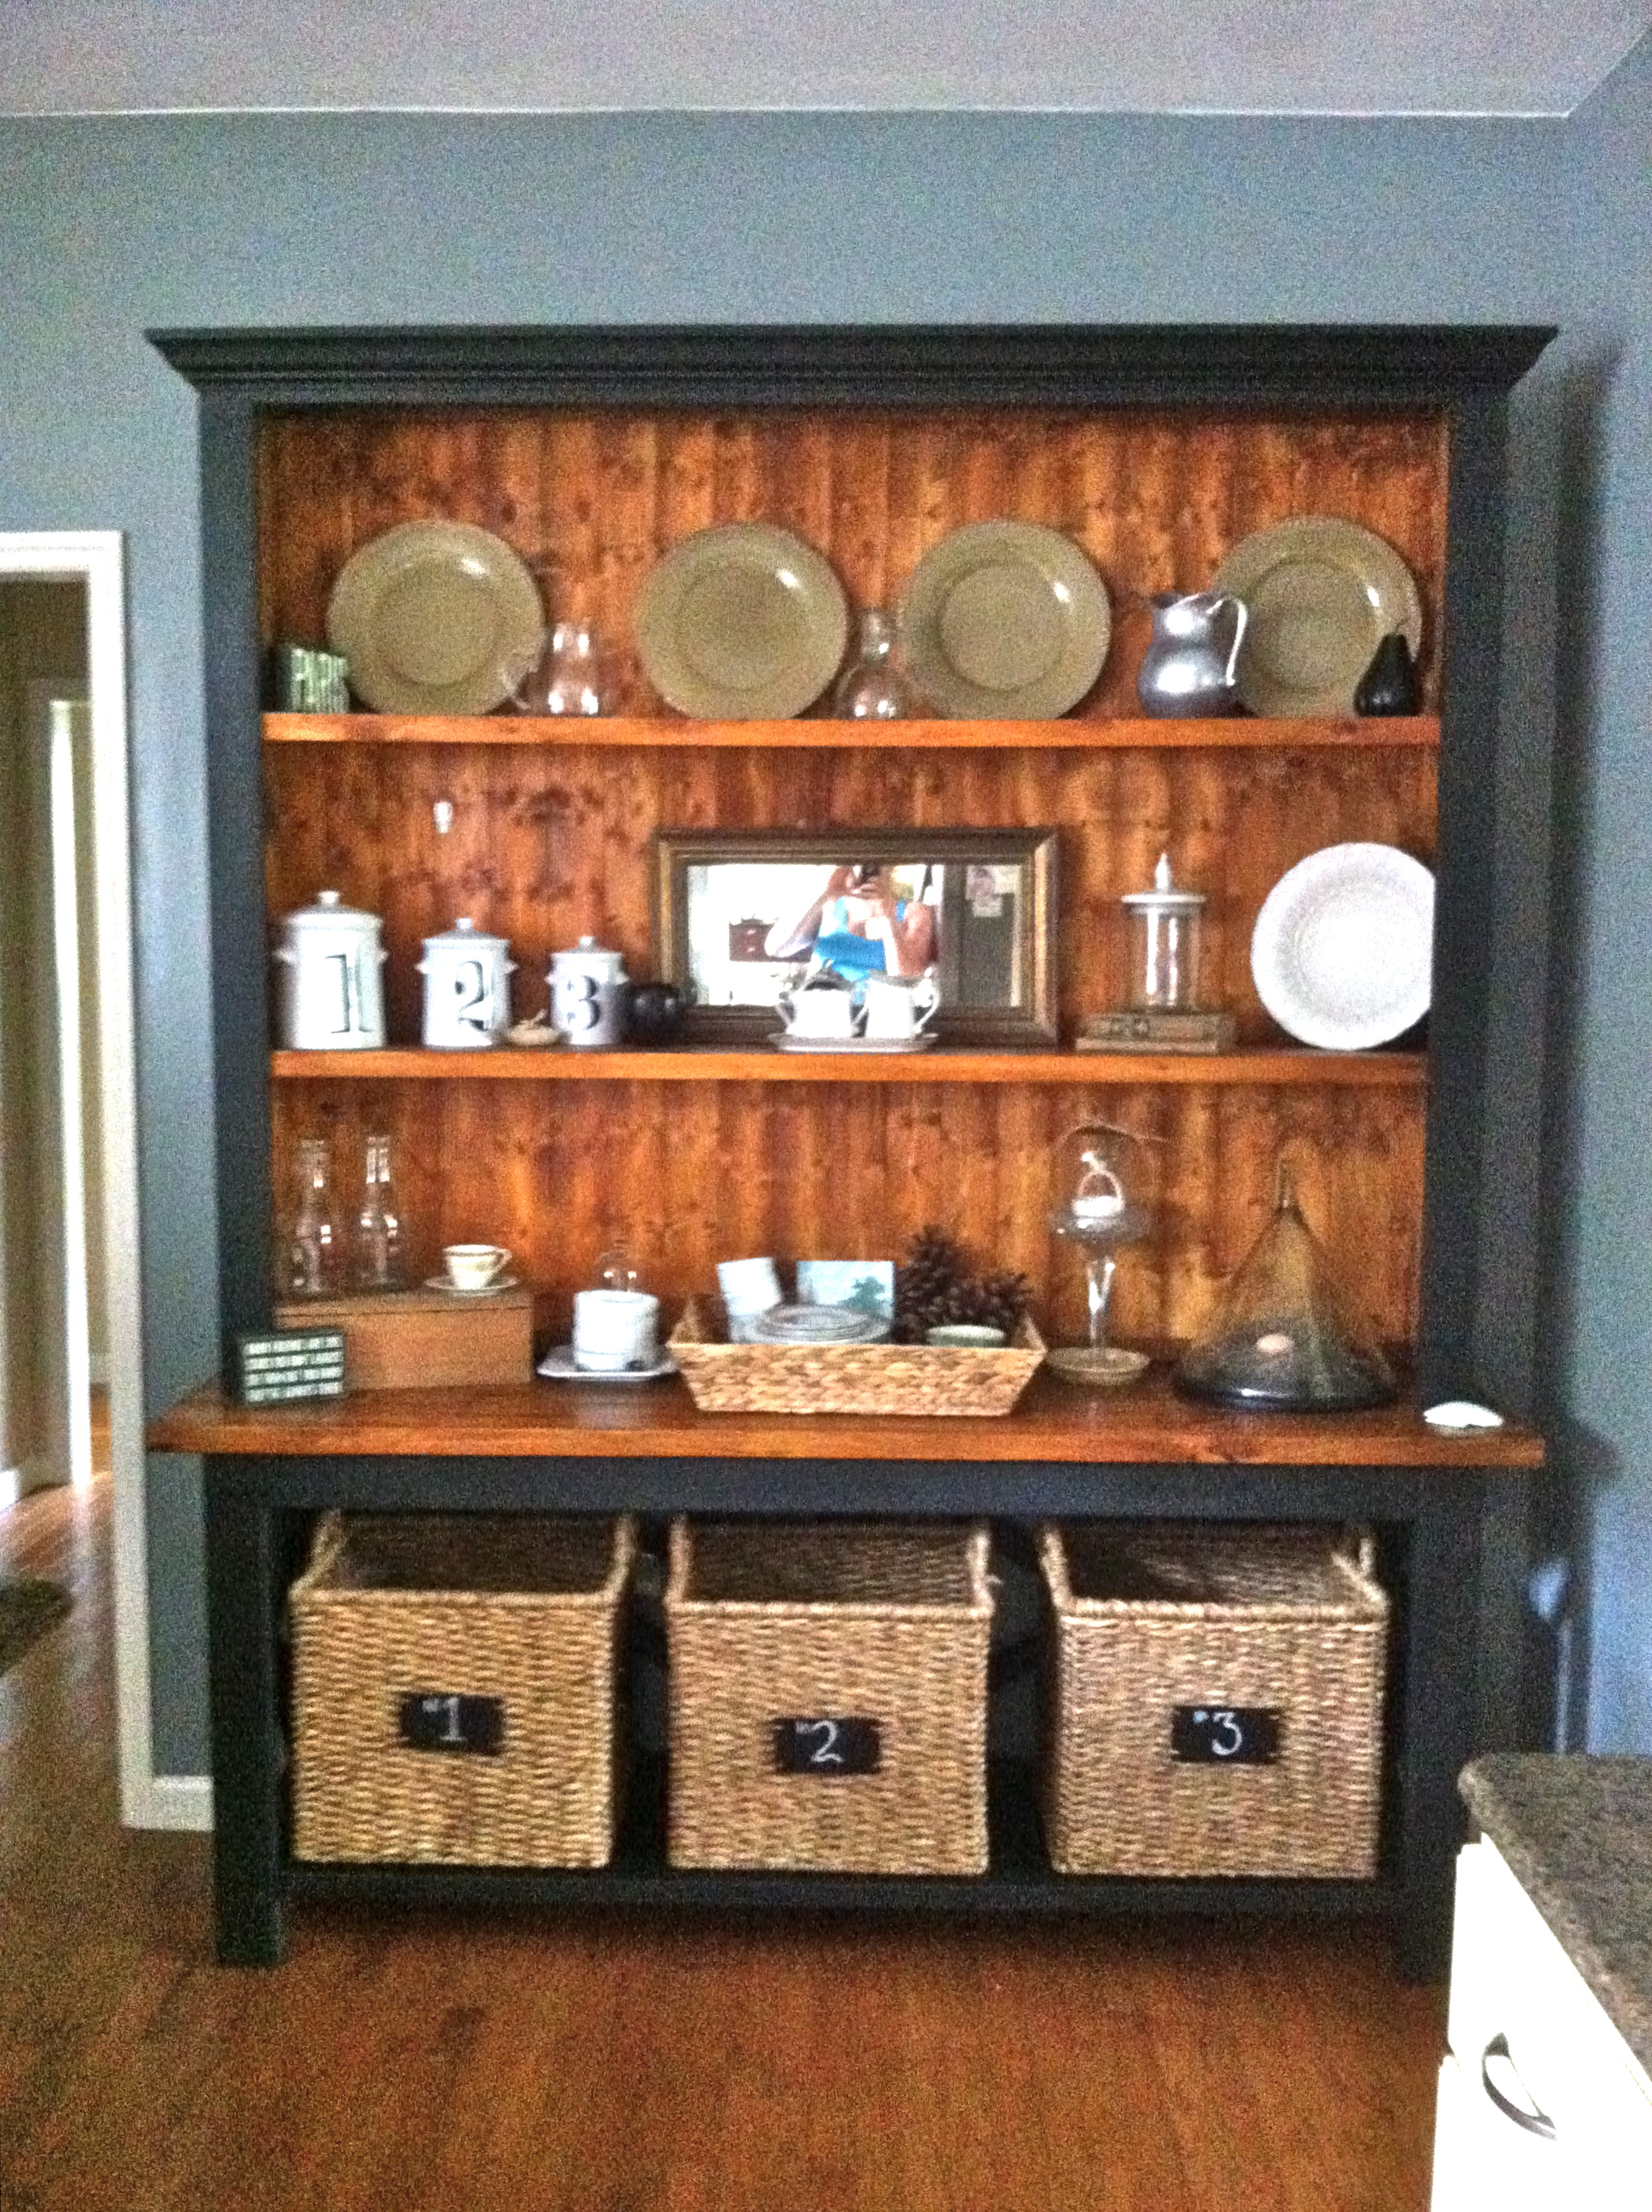
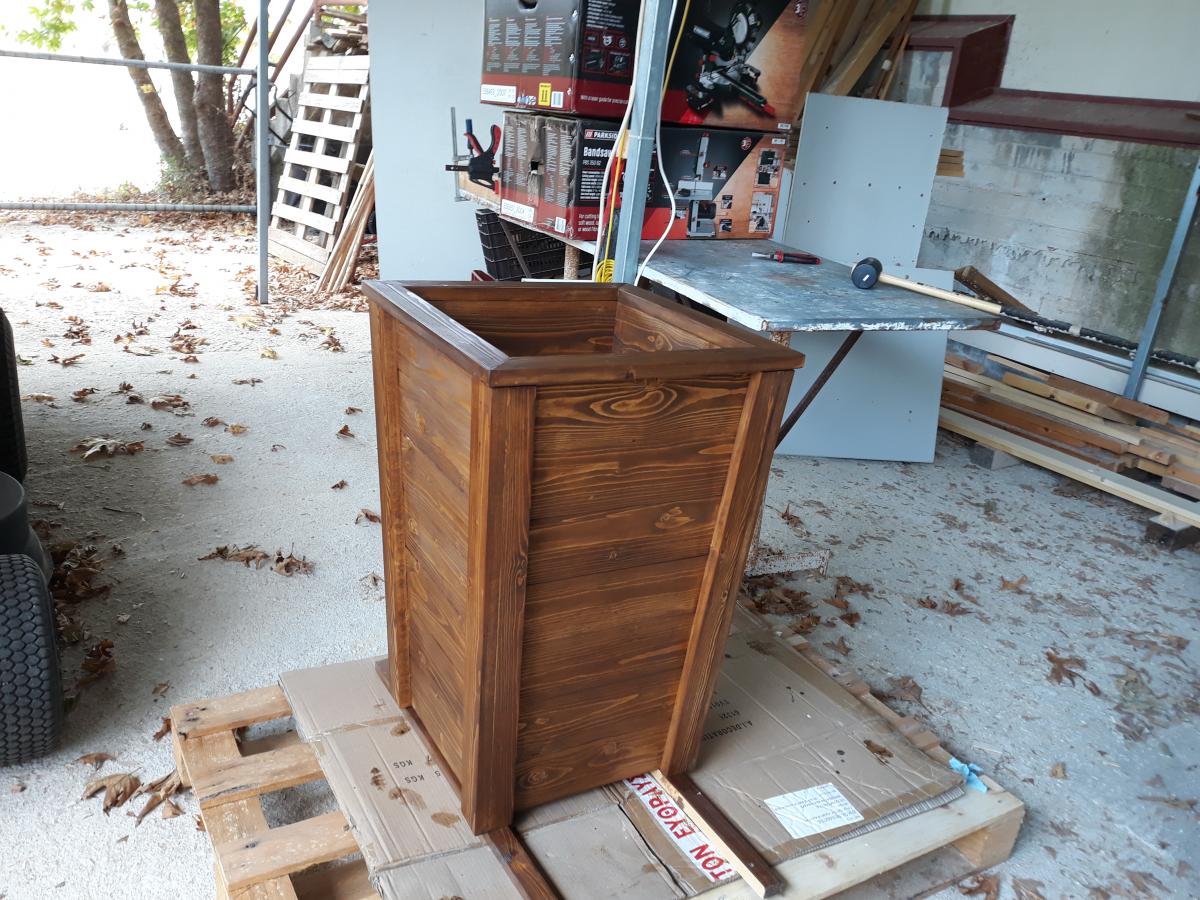
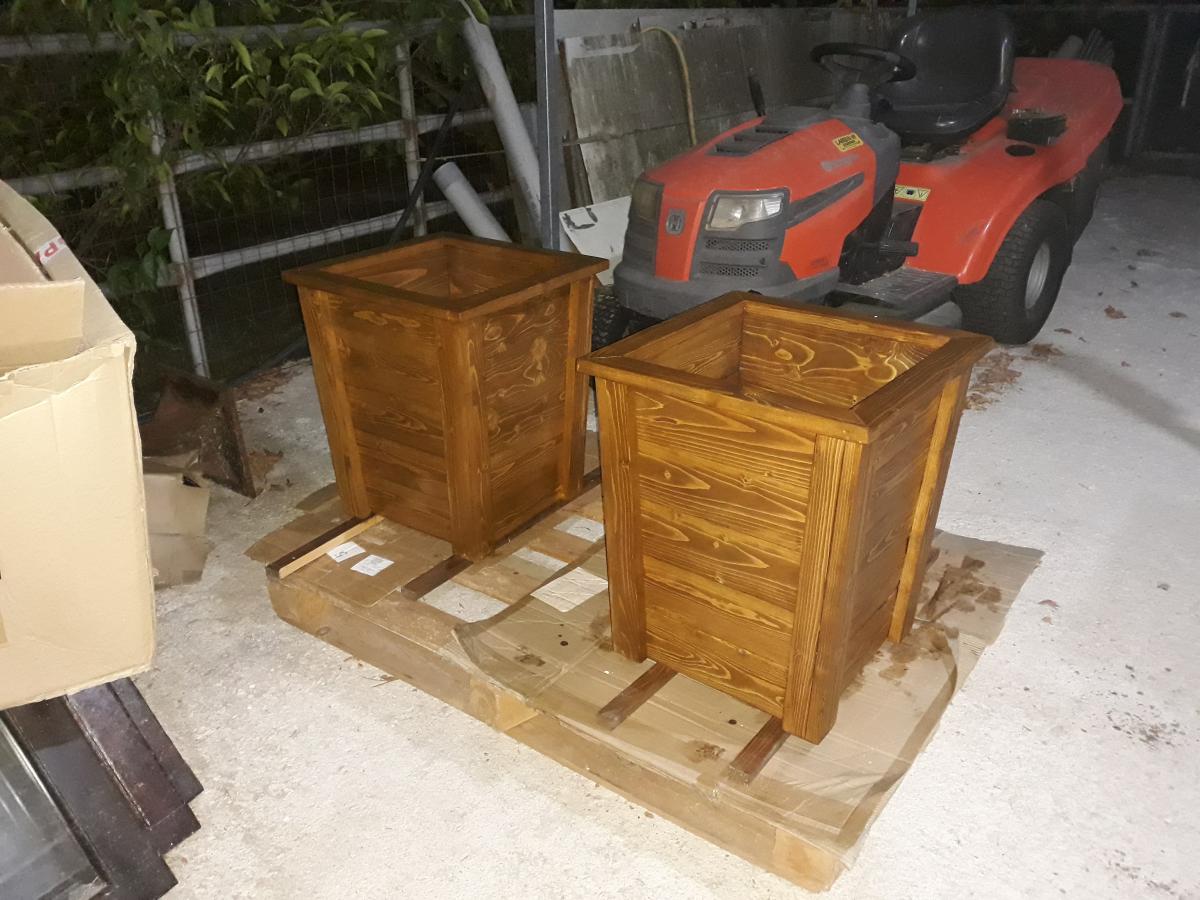
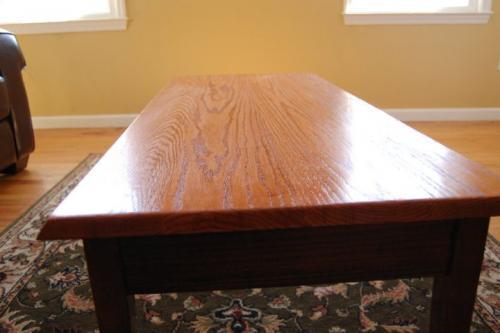
Finish Used
Spray primer, Rustoleum Slate Blue spray paint
Recommended Skill Level
Beginner

slightly modified x console table with added hutch

I have been dreaming about this piece of furniture for 3 yrs....I used Ana's plans for the rustic x console but took out the front middle support and made it a little deeper I also turned the 2x4 vertically and added an extra 2x4 behind it to add extra strength.....because I wanted to fit 3 baskets from Target underneath...the hutch i just winged!....Thank you so much Ana for giving me a place to start!...I am in love!......

Built from Plan(s)
Estimated Cost
$230
Estimated Time Investment
Week Long Project (20 Hours or More)
Finish Used
Maison Banche in Wrought Iron and vinegar stain (2cups vinegar 1/2 cup hydrogen peroxide and 2 things of steel wool)
Recommended Skill Level
Intermediate

Antique workbench console bar

Submitted by aem4v2000 on Fri, 04/24/2015 - 18:14

This project was much easier than I originally anticipated. Even cutting the legs at angles and sanding them down to appear curved was easier than I expected.  I also used early american stain by Minwax. I used only one coat though and in hindsight might have done two to make it a bit darker. I used Minwax clear paste wax (two coats) to achieve a low sheen and protective layer. I was able to find a toilet paper holder similar to the one Ana used at one of my local big box stores. I wasn't able to find anything else I liked better. 


Built from Plan(s)
Estimated Cost
less than $100 including the stain and towel bar holder
Estimated Time Investment
Day Project (6-9 Hours)
Finish Used
Minwax Early American stain (one coat) and Minwax clear paste wax (two coats)
Recommended Skill Level
Beginner

Triple Pedestal Table & Bench

Submitted by Lishpav on Wed, 09/06/2017 - 19:56

It's turned out way more beautiful then I had thought. It was all the mini details that took the longest but made the look worth it 

Estimated Time Investment
Weekend Project (10-20 Hours)
Finish Used
Gel gray stain for the top gel prairie wheat for the legs
Recommended Skill Level
Intermediate

Kitchen Island

Submitted by williemac on Tue, 10/05/2021 - 16:43

I wanted a kitchen island that would match my farmhouse table and would fit in my small kitchen.

Comments

Storage Bed

Submitted by mariakathh on Sun, 03/13/2011 - 08:40

So we really needed a better bed than the flimsy moderny thing that would shift at least a few inches when I would get into the bed. And I like storage. So this was a great fit. The folks at blue were really good to me and help me cut all my lengths of plywood. I did modify the headboard to be 3 inches taller. Otherwise the plans were great! I had one hiccup in adding the divider to one of the benches. It came out kind of slanted. So I would recommend having a lot of light and measuring it out in the back of the box when you are inserting the divider

Estimated Cost
$250
Estimated Time Investment
Weekend Project (10-20 Hours)
Recommended Skill Level
Beginner

Wine oak barrel Adirondack chair

Submitted by Medickep on Thu, 05/30/2013 - 12:11

I got some oak barrels from a local vineyard and decided to try making some adirondack chairs. It was harder than I thought it would be, but well worth it!! The stain was a little darker than I thought it be, but it's rubbing off on me!

predrill, predrill, predrill, and learned a valuable lesson in predrilling, as solid wood under strain cracks easy when using 2 1/2" deck screws!

I need to whip out the nice camera and stop using my cell phone for finished products!

Estimated Cost
Around 100.00 dollars per chair (depends on cost of barrel!)
Estimated Time Investment
Weekend Project (10-20 Hours)
Finish Used
I used Cabot's Australian timber oil. Not the cheapest product out there, but they actually recommend one coat only and no sanding necessary for future coats. Once it stops beading water, just clean the chair and than reapply! It penetrates deep and forms a wax protective layer that repels water! This is why I chose not to varnish the item!!
Recommended Skill Level
Intermediate

Comments

spiceylg

Fri, 05/31/2013 - 05:16

I never heard of using wine barrels in this way! I love it. It came out fabulous!

Medickep

Fri, 05/31/2013 - 05:34

Thanks you. People make a lot of stuff out of wine barrels. Chairs, stools, Tables, candle holders, and even serving platters!

Joni

Fri, 05/31/2013 - 06:57

This is awesome! Very cool design. It looks very comfortable! Thanks for the tip on the Australian timber oil; I never knew what would be the best finish for an outdoor piece.

Joni

Fri, 05/31/2013 - 07:03

This is awesome! Very cool design. It looks very comfortable! Thanks for the tip on the Australian timber oil; I never knew what would be the best finish for an outdoor piece.

Medickep

Sat, 06/01/2013 - 11:38

It is very comfortable, especially with a glass of wine. I chose the finisher I did because I live in Oregon with a lot of rain!!

Why does everyone's post, including my own show up as duplicate?

Medickep

Sat, 06/01/2013 - 11:38

It is very comfortable, especially with a glass of wine. I chose the finisher I did because I live in Oregon with a lot of rain!!

Why does everyone's post, including my own show up as duplicate?

acd4476

Sun, 07/21/2013 - 17:05

Awesome chairs! Beginning to think I need to make some as well. Did you have plans for this project or follow a generic adirondack chair plan?

Farmhouse Bed

This is my favorite build so far! I love the look of this bed! 

One thing I wish I had known was how long it was going to be. The bed is a good foot and a half longer than my mattress, which is a standard queen. I would recommend measuring and cutting your side rails according to your mattress - I think I am going to go back and shorten mine. 

Also - I used my bed rails, instead of the slats this called for. I also used bed rail hooks (I ordered them from Amazon for $20) so that I can take this bed apart. 

Built from Plan(s)
Estimated Time Investment
Day Project (6-9 Hours)
Recommended Skill Level
Intermediate

Comments

Tall Wood Planter

Submitted by Anonymous (not verified) on Wed, 10/06/2021 - 09:36

Those are the first projects that I try to make. Thank you Anna White .

Built from Plan(s)

Comments

Loft Bed

Submitted by Jenny Anne on Tue, 03/15/2011 - 08:43

I made this loft bed for my 4-year-old son.  It is plenty strong.  It can easily hold him and his daddy for bedtime stories.  I followed the plans to the letter.  I found this a challenging but attainable second project and only needed help with final assembly.  I'll start working on some bookshelves for under it but need to figure out how to work around the supports I already added (that are omitted in the bookshelf plans).  

Now I have to finish the poor kid's quilt so he can stop using my pink one.
Built from Plan(s)
Estimated Cost
$300
Estimated Time Investment
Week Long Project (20 Hours or More)
Finish Used
primed and painted with satin finish. I still need to cover the final assembly screws and touch up some junctions. One note if you paint this, DON'T paint the sections of the long boards that you'll have to slide in on final assembly. We had to sand that paint off to get them to squeeze in.
Recommended Skill Level
Intermediate

outdoor sofa from reclaimed wood

Using Ana's plan as a guide, I built two of these sofas to fit an outdoor cushion I already had. I used wood from our old deck -- a great way to re-use and save money, too!

Estimated Cost
$110/sofa (lumber was free)
Estimated Time Investment
Weekend Project (10-20 Hours)
Finish Used
None, although eventually I will probably seal it with outdoor PolyWhey by Vermont Natural Coatings.
Recommended Skill Level
Intermediate

Conner Side Tables

Built a set of Conner Side tables for my Daughter and Son-in-law that live in Austin Texas. 

Estimated Cost
$100
Estimated Time Investment
Weekend Project (10-20 Hours)
Finish Used
Minwax Polyshield Ebony
Recommended Skill Level
Beginner

Comments

Toddler bed

Submitted by Bradnag on Wed, 09/13/2017 - 05:13

I made a loft bed for my 4-year-old son using Ana's Chelsea Loft plans. When I finished, I was able to build this toddler bed for my 1-year-old using almost entirely scraps left over from the loft (save for the 1x6 runners). I skipped the curved headboard design and went with a solid piece of 1x12. I was going to round the top edges or cut a more rounded design, but my wife said she liked the squared off look better (she has lots of ideas for painting various designs on it, apparently). Since we were going to use paint and not stain, I ripped some leftover MDF board for the 1x6 footers. The whole project took a single afternoon, including cutting, assembly, woodfill and sanding. The end result is pretty sturdy. My wife laid on it with both our small children and the slats hardly bowed at all.

Built from Plan(s)
Estimated Cost
$5
Estimated Time Investment
Afternoon Project (3-6 Hours)
Recommended Skill Level
Beginner

Garden Shed

Submitted by Anonymous (not verified) on Thu, 10/07/2021 - 16:20

This was my first big Build! Thank you Ana for the free and easy to read plans.

Built from Plan(s)

Comments

Coffee Table

My wife said she did not want anything for her birthday, so instead of buying her
something after she said that, I decided to try and make something.  We did not have a coffee table in our living room - when we hosted Christmas, we had a piece of plywood over boxes, covered with a table cloth.  So I decided to try and make a coffee table for her.

Made some mistakes sanding the top, so then had to spend a lot more time sanding out the gouges.I did not use a plan per se, but when I started looking here, it was remarkable similar to Clara's Table, with differeing dimensions.  The cost was a little higher due to the oak boards for the table top.  Those alone were $50.

Built from Plan(s)
Estimated Cost
75
Estimated Time Investment
Weekend Project (10-20 Hours)
Finish Used
I was tring to match the piece in the background as much as possible. For stain, the base was Minwax red oak and the top was Minwax gunstock. Sealed with 6 coats of Minwax wipe on poly - 4 clear, and 2 satin.
Recommended Skill Level
Beginner

Cedar Deck Box

Submitted by tsmonkey on Mon, 06/03/2013 - 19:09

I used cedar siding that was removed from a home remodel. I had to rip all the wood down on a table saw to work with the plan. I was glad to put this good wood to use for my recycle bin and it looks good on the back porch. I had to change the plan a bit to fit my bin.

Estimated Time Investment
Weekend Project (10-20 Hours)
Finish Used
Gloss Spray Varnish
Recommended Skill Level
Intermediate