New big girl room
My husband built this bed with hand planed white oak. Such a wonderful addition to her big girl room.
DIY Waterfall Console
We took the plans and customized them to fit the area around our windows in the dining room. We also added a 1x6 to the top so we could fit larger items and added a trim piece. We made the shelves different heights to accommodate our plates and added a shorter shelf on the bottom
My 15 year old son built this for me!
This was a labor of love for my son’s Christmas gift. He wants to be a chef and all he has wanted was an island in our kitchen. Thanks Ana for such an amazing and simple (enough) plan.
This ended up being a very easy project to complete; Ana's instructions were very straightforward. I probably spent four hours altogether on the project, although that was spread over the course of several days. We had several 2x4s left over from other projects, and I was able to use a quart of exterior Behr Premium Plus Ultra (with primer included) that didn't get used for its intended project. So altogether, we spent about $20. You can't even buy a plastic kids' picnic table for that price! As for advice, I found that the best way to avoid wobbling was to firmly attach three of the legs while leaving the fourth leg somewhat lose. Upon flipping the table, you should be able to move that fourth leg into a place that prevents wobbles before firmly screwing it in as well. I painted all the boards before assembling the table, and I feel like that is the best approach, as the space in between boards is slim.
Great projects for any beginner. Make sure you're working on a level surface for the table. I purchased simple planter boxes from a local hardware store, and worked around those. For the bench, my only suggestion is to verify you are square at each step- other than that it's pretty straightforward.
Altered plan somewhat to make it heavy duty seating when needed. 18" inside height is necessary for hubby's boots especially. Room for my lab coat too! It suits our 100 year old, nearly closet-less farmhouse well.
Hafa Adai everyone. This is my first real woodworking project. I followed the plans for the Truss Farmhouse Table almost exactly as written. One thing I felt it needed was more support for the 10" breadboard ends. I added spare pieces of 4x4 cut to 5" with an 80 degree angle at one end to each corner of the tabletop base. This made the breadboard ends feel very secure and well supported.
Since I didn't have a table saw to rip the tabletop panels for clean edges, I used wood putty (not wood filler) to fill in the gaps from the 2x10 panels after I secured them together. Tip: I saw someone use ratchet straps to hold the table top tightly together when securing with screws in the absence of long clamps. Worked great.
The only thing I would do different is choose a wood without the treated staple marks for the table top. But since its an outdoor table its not too bad a look. Overall, it was a great learning experience and a very fun project to build.
This project was started on spring break and I finished it at the beginning of summer. Total cost was about $900. I built it pretty much by myself and my wife painted the playhouse. Overall about 70 hours of labor went into it. Great plan and instructions. Thanks Ana! I love this site.
Was made using 2x4 plans from Ann-white web page. Thanks for the idea
This is a cedar and treated lumber raised planter that holds over two cubic foot of potting soil and has a built-in drain out the back so your feet do not get wet. The treated lumber is used only for the frame, no dirt or water touch any wood.
The inner dimensions are 12"x12"x32", and it stands 24" tall. There is a seamless double layer of 4 mil plastic that opens into the drain only and is siliconed. There is also a seamless black mesh inside to keep the soil and nutrients from washing away.
My wife and I wanted to do something with our surface mounted . Then came up with this design.
Bob Cousineau
Mon, 01/08/2024 - 09:48
Gorgeous fireplace accent wall, love the design for a surface mount option!
It was a fun project and it went well.
It took me longer to make than Ana, but I am still new at this!
The girls love it and my daughter is very pleased.
Started with the farm house queen bed and changed the plans. I made the head/footboards 3 inches taller and took the panelling on the footboard all the way to the floor. I made storage underneath the bed and night stands. I'm using old apple crates for the storage. I made the night stands with the crate in it too to match the bed. I used a single piece of 18x18 ceramic tile for the top of the nightstand. The set is stained Minwax classic grey. I used a mixture of wood. Oak and pine, surprisingly it stained good and matched up. The crates aren't in the pictures yet. We have an older house with small rooms so the storage is perfect. The grey finish looks good for the old wood look with newer wood used
I stumbled across your videos via YouTube and I saw the video to make this coffee table. I was just browsing for things to do to keep busy during this pandemic. This is my first project and I could of done a lot better but I learned a lot from doing it. Thank you for your videos. I have since went on a shopping spree at Home Depot and Lowe’s Lol. I’ve bought Kreg jig, Miter saw, Makita drill set and circular saw and a Makita sander. I was like a kid at a toy store. I’m going to build your narrow console table next. Thank you for sharing your inspirational work. Nick Olson
Tue, 05/12/2020 - 15:11
Looks pretty good to me, especially for a first project!!! Thanks so much for using our plans!
Gorgeous waterfall framed wood console by Jessica!
I am new to furniture making and my neighbor and Friend showed me this website. I wanted a piece a bit more modern looking with a rustic flair so I picked this bench for the ease. I did however change the dimension of the bench to accommodate a Fallow that I shot last year and had tanned. I look forward to building the next piece.
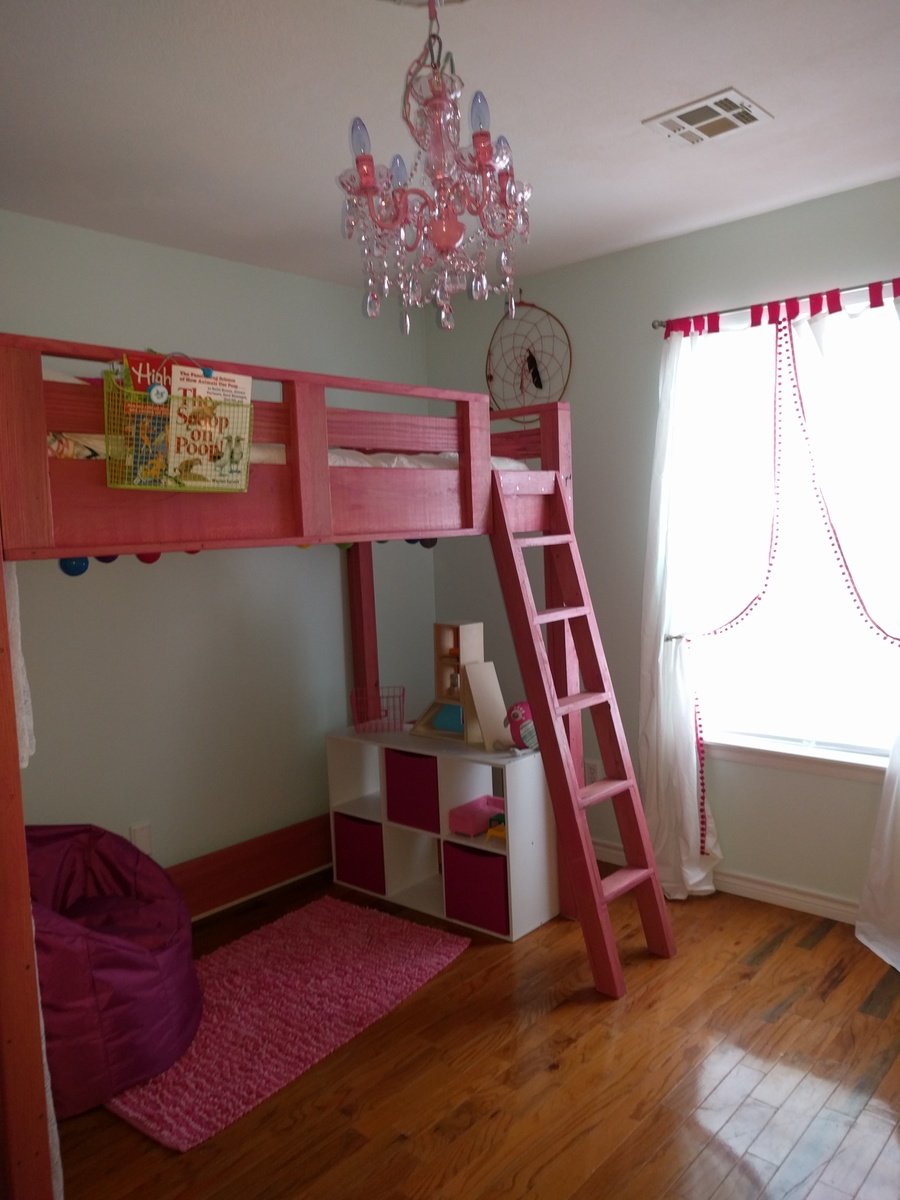
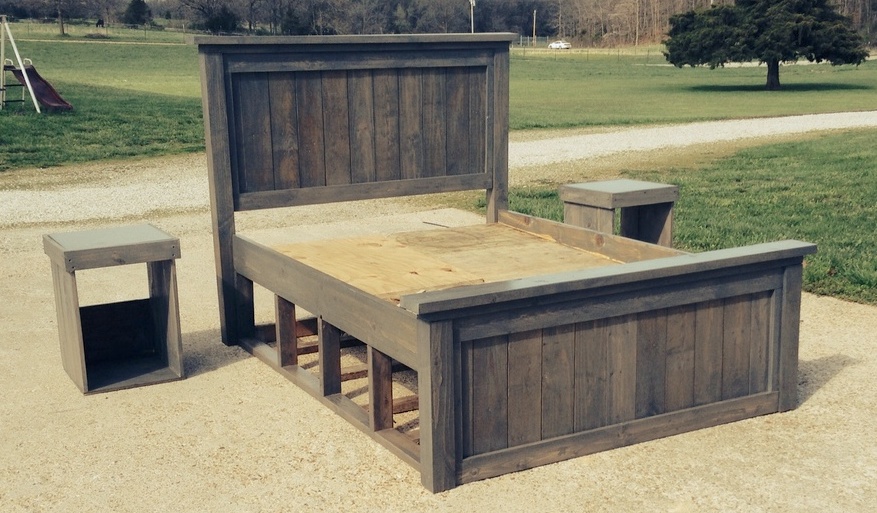
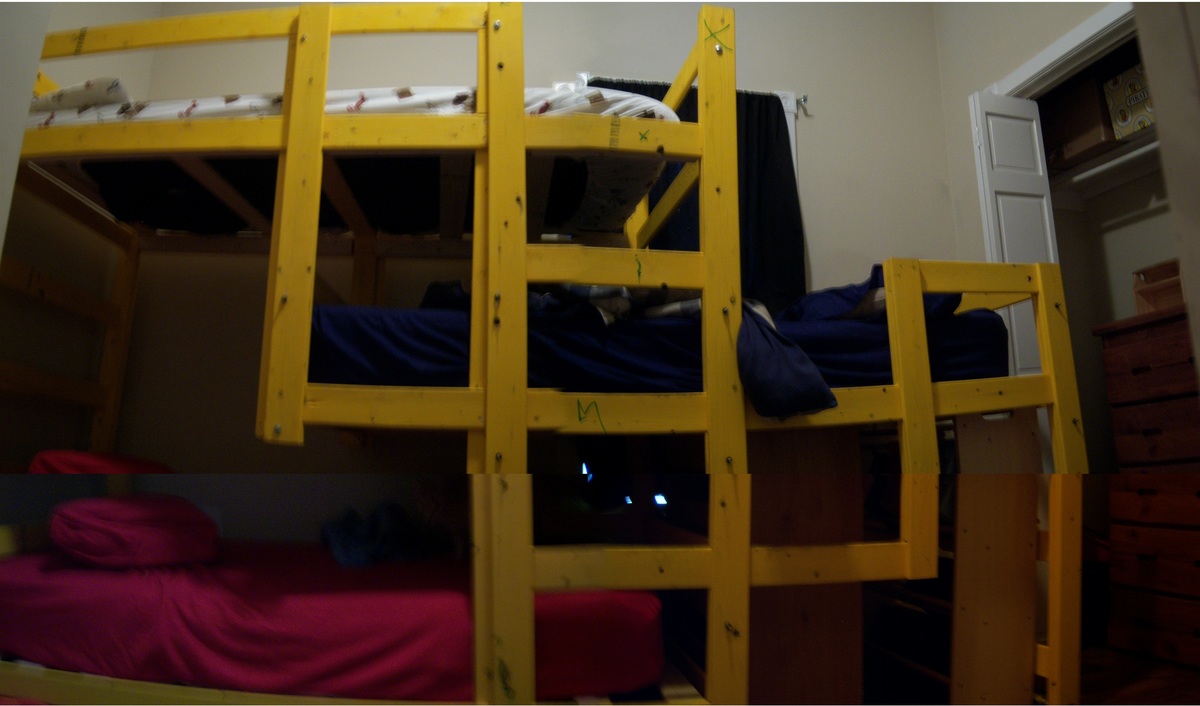
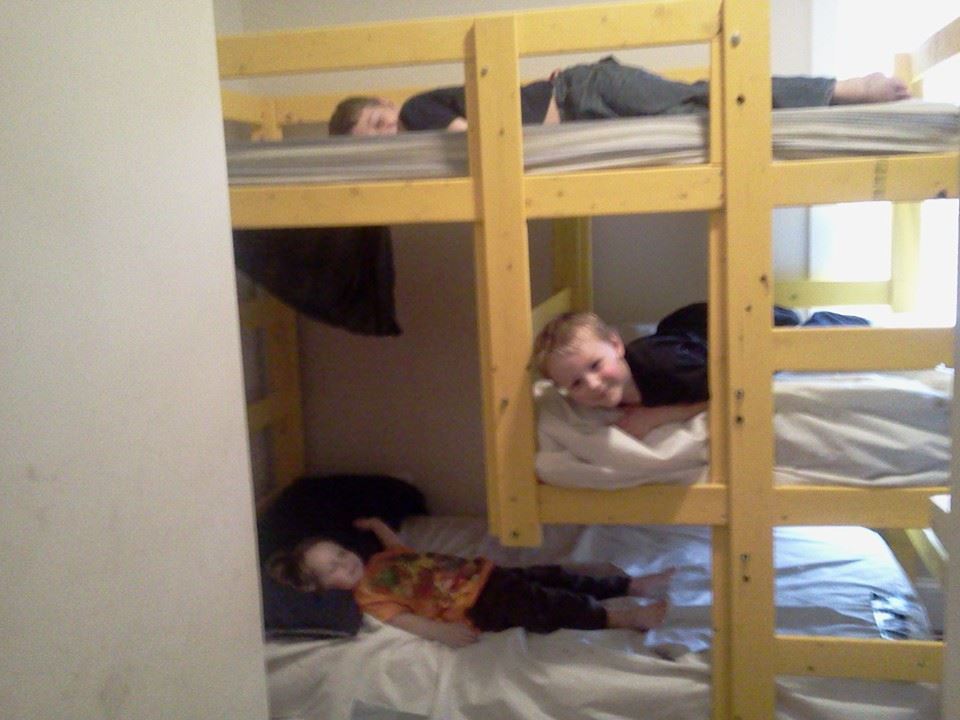
For starters, I apologize for the quality of the photo - the bed is so large and my sons' room so small that I had to splice together 4 different pictures to get a picture of the entire thing. Now, onto the project!
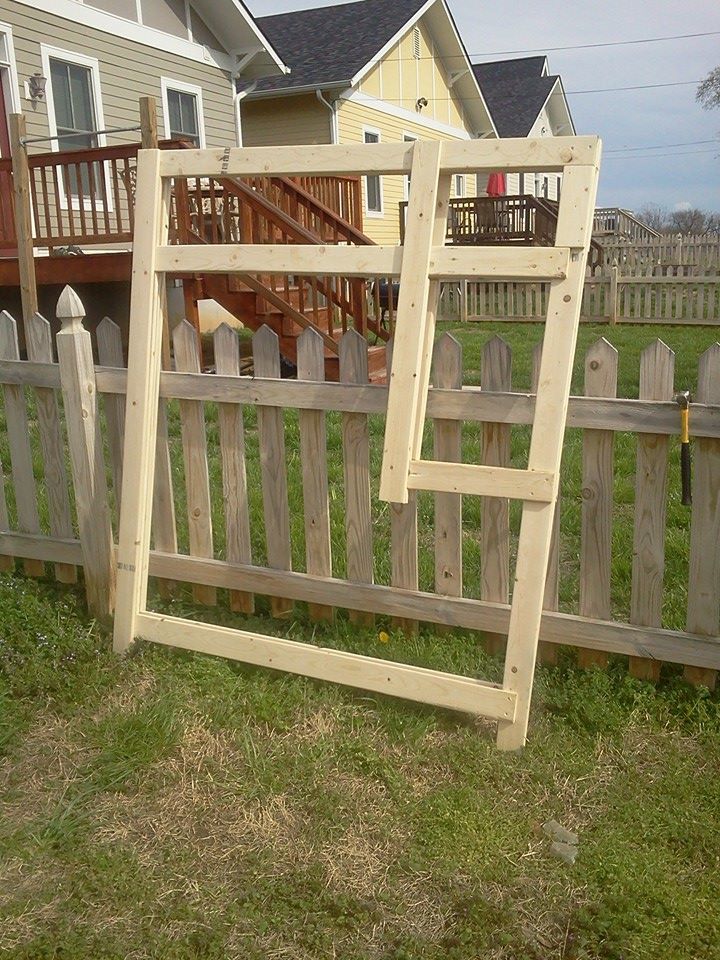
I found the details lacking in the instructions quite often. I definitely recommend having sketch-up installed on your computer so that you can turn the pieces around and see them from both sides - in many parts you're layering wood and attaching pieces on different sides. So being able to rotate the pieces in sketch-up was a huge must for us.
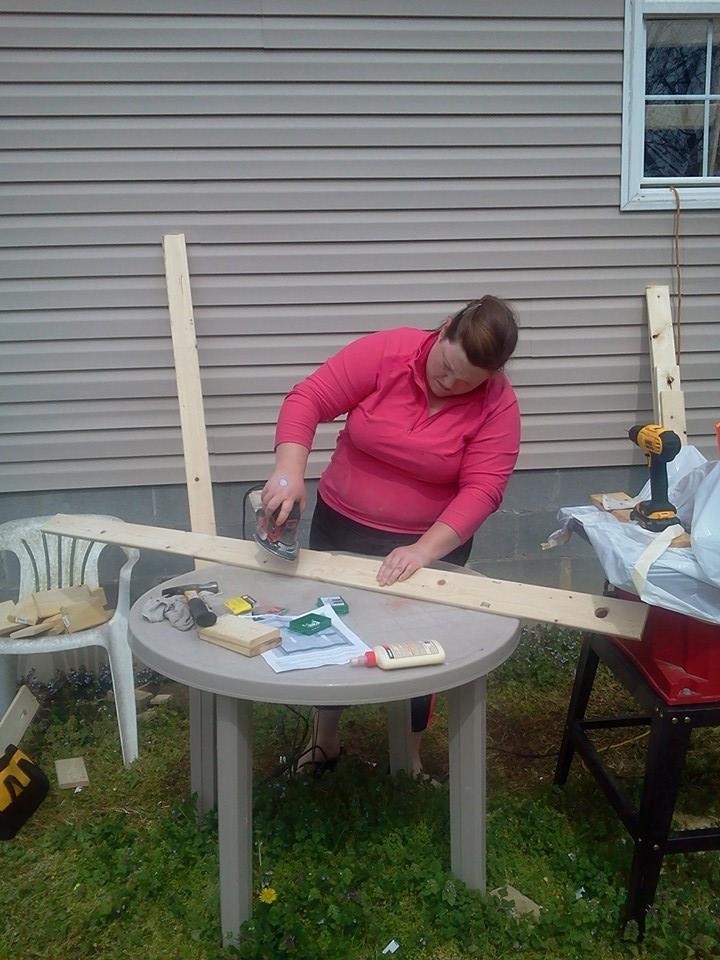
It took myself and my girlfriend about a week or so of working several hours a day to finish this up. Since most of the bed is made in sets of 2, the second set always went faster than the first, since we knew what we were doing.
I also found we needed different size materials than the instructions suggested. 1 1/2" screws were just long enough that they came out of the other side if they were countersunk at all, so we ended up switching to 1 1/4". The plans call for 32 3" bolts and 4 2 1/2", but we needed 32 2 1/2" and 4 2" - when we first put it together we had 1/2 of bolt hanging out of all of the holes - obviously not ideal for 3 little boys running around.
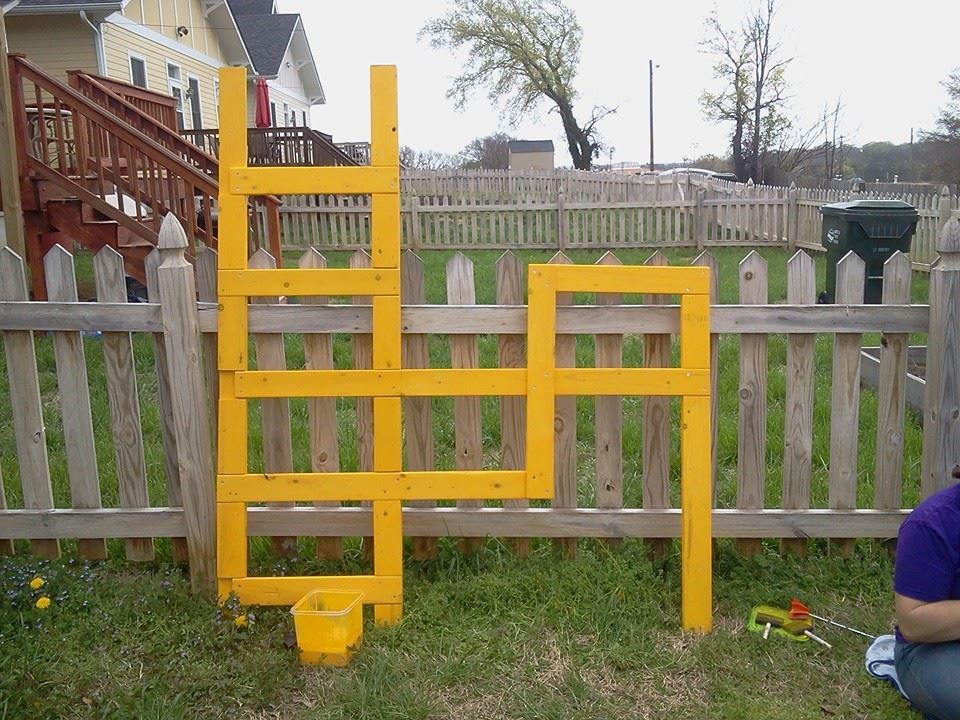
All told this project cost us somewhere between $250 and $300. I had to run out for new 2" screws at least twice, so make sure you buy a lot. We got lucky with the paint and found this super bright yellow/orange in the oops bin for $7, and decided to do a wash instead of painting so we could still see the wood grain. (And my 8 year old promptly took a marker and wrote each boys' initials on their beds - kids!).
All-in-all I'm incredibly happy with the bed - it fits the exact need we had, and unlike the only other plan I found online for a set of 3, it doesn't attach to the wall (which is important as we rent) and will be fairly easy to disassemble when we move.