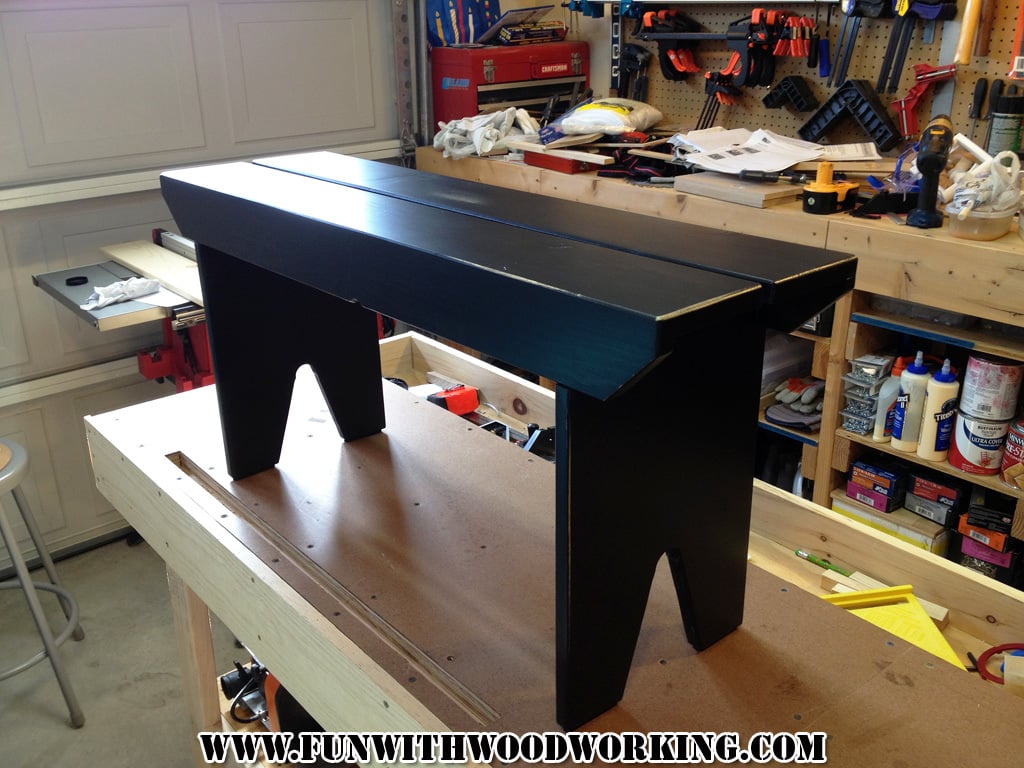
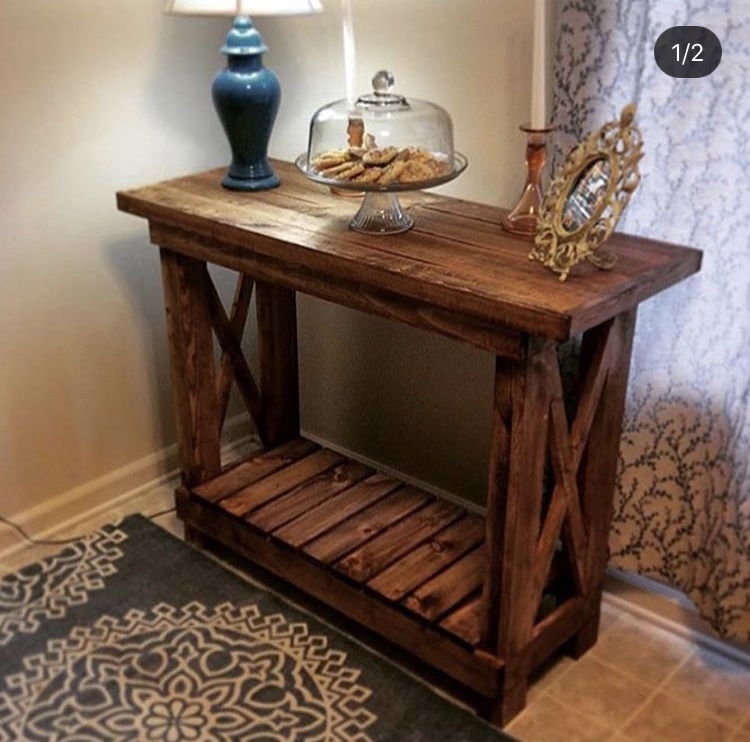
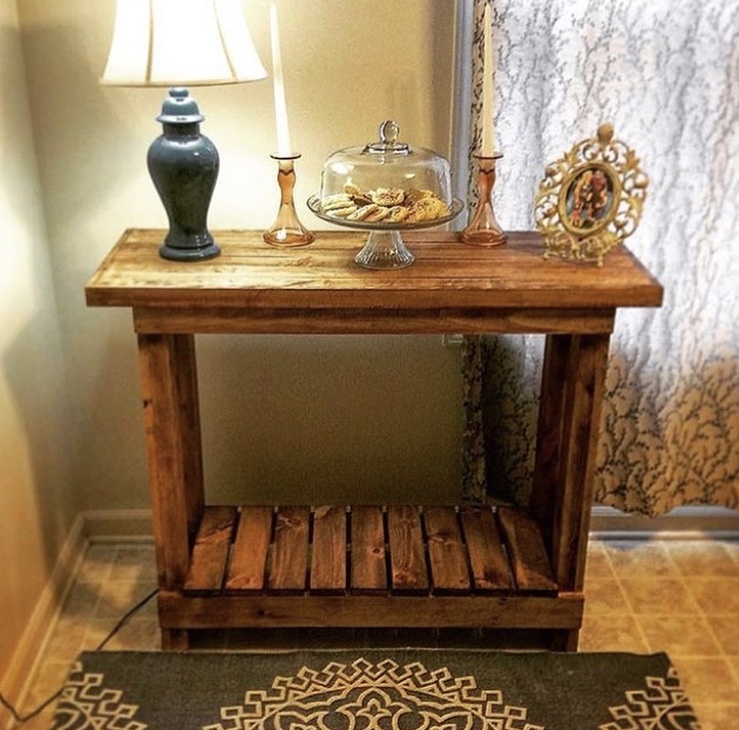
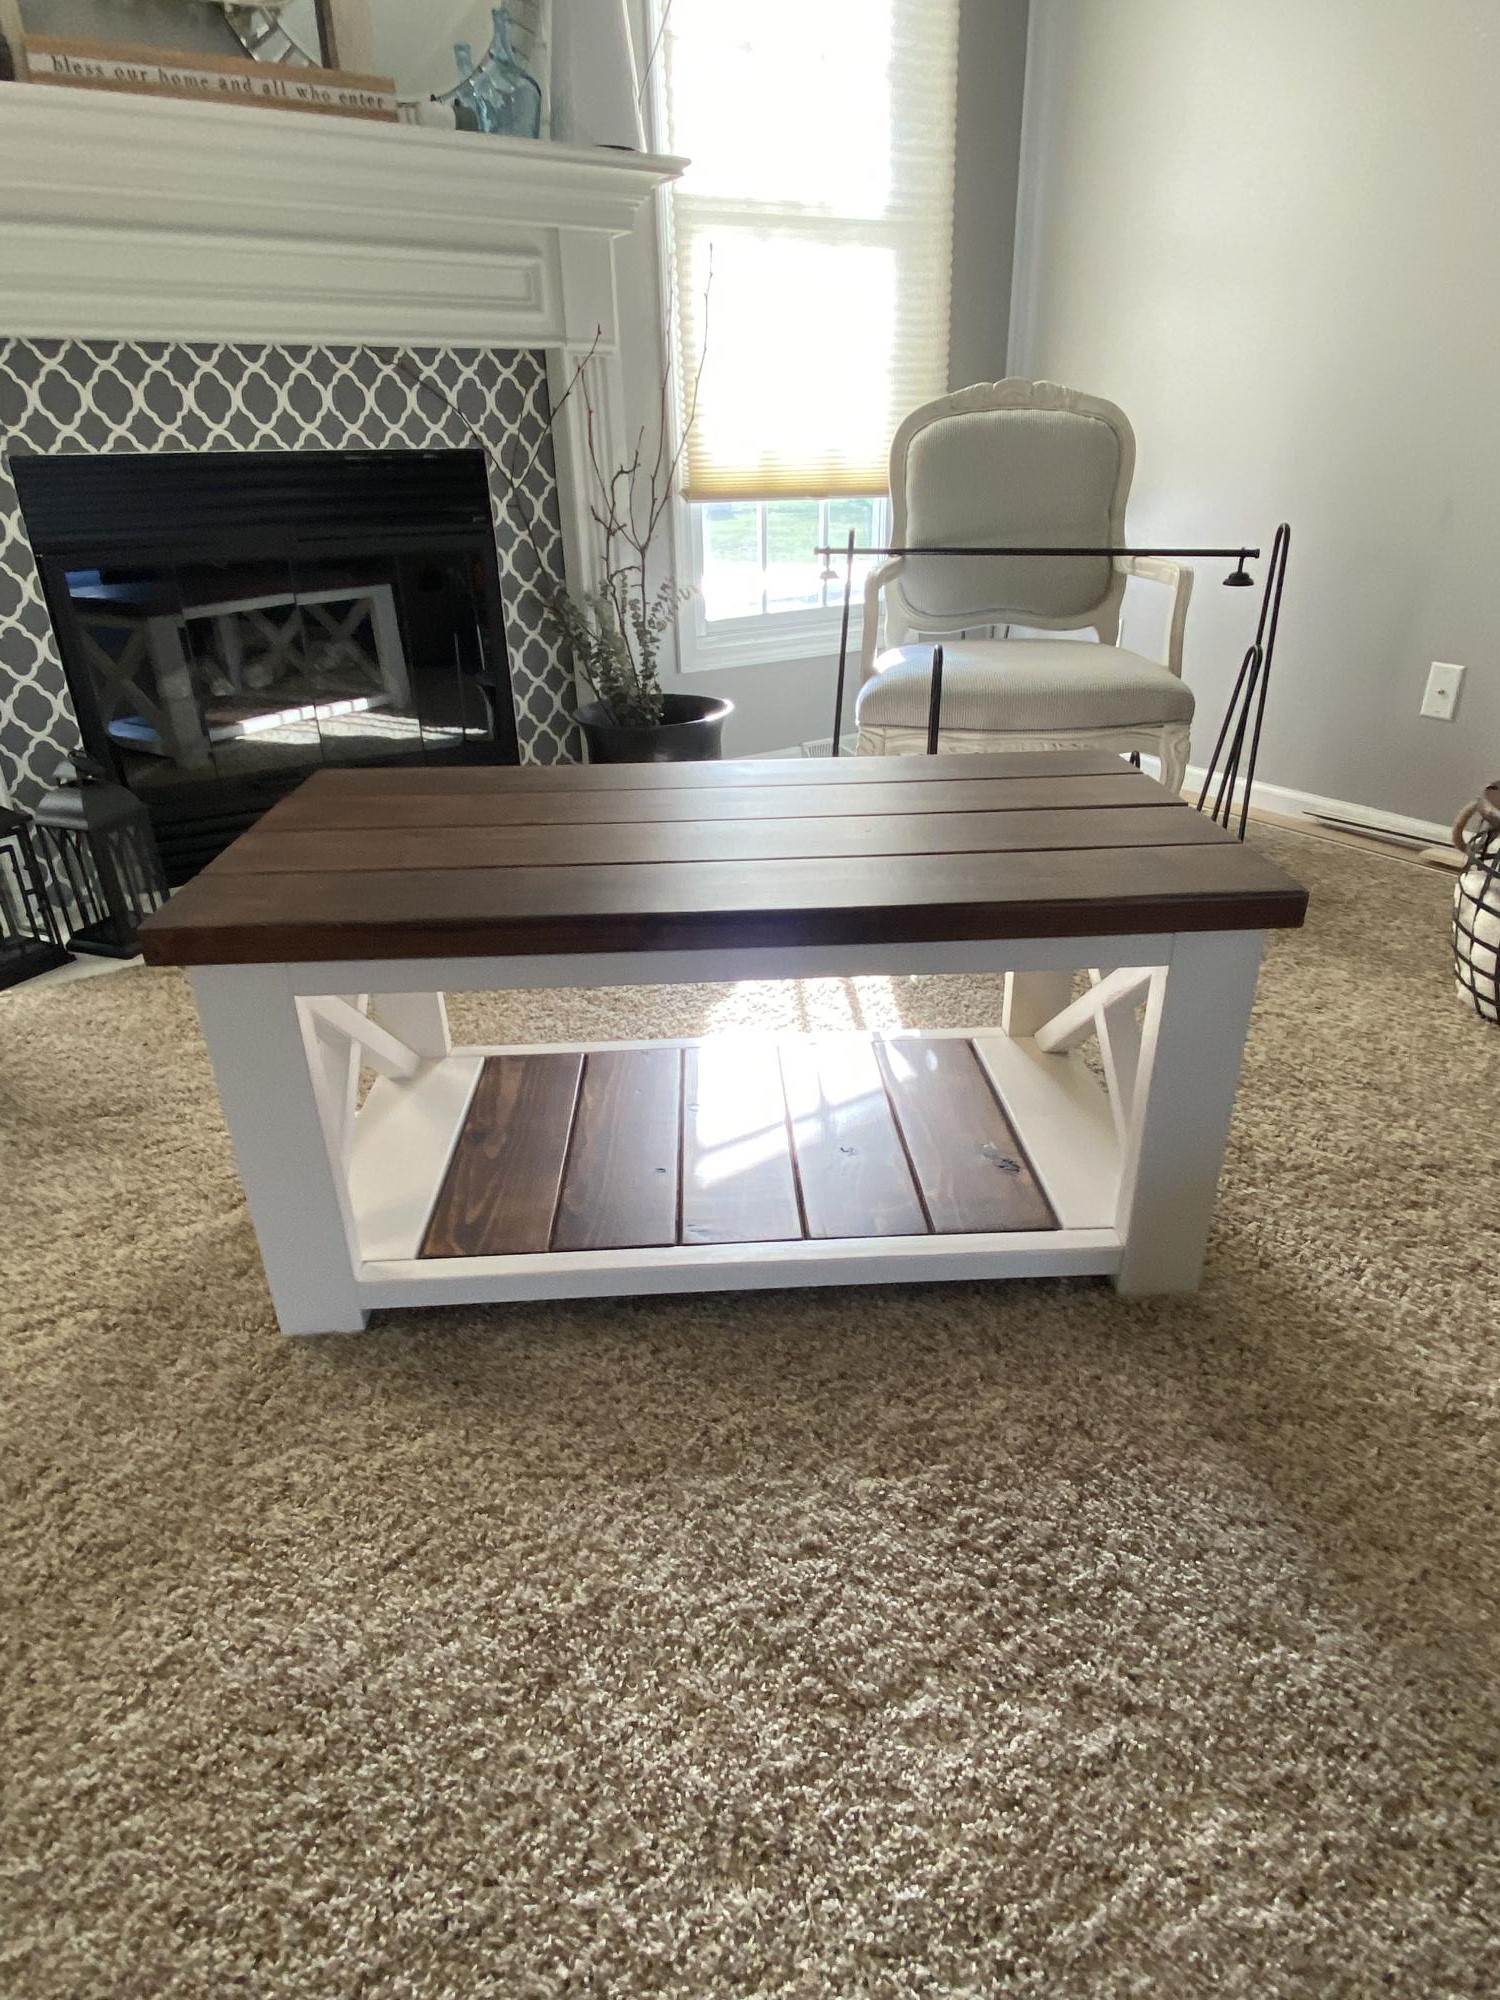
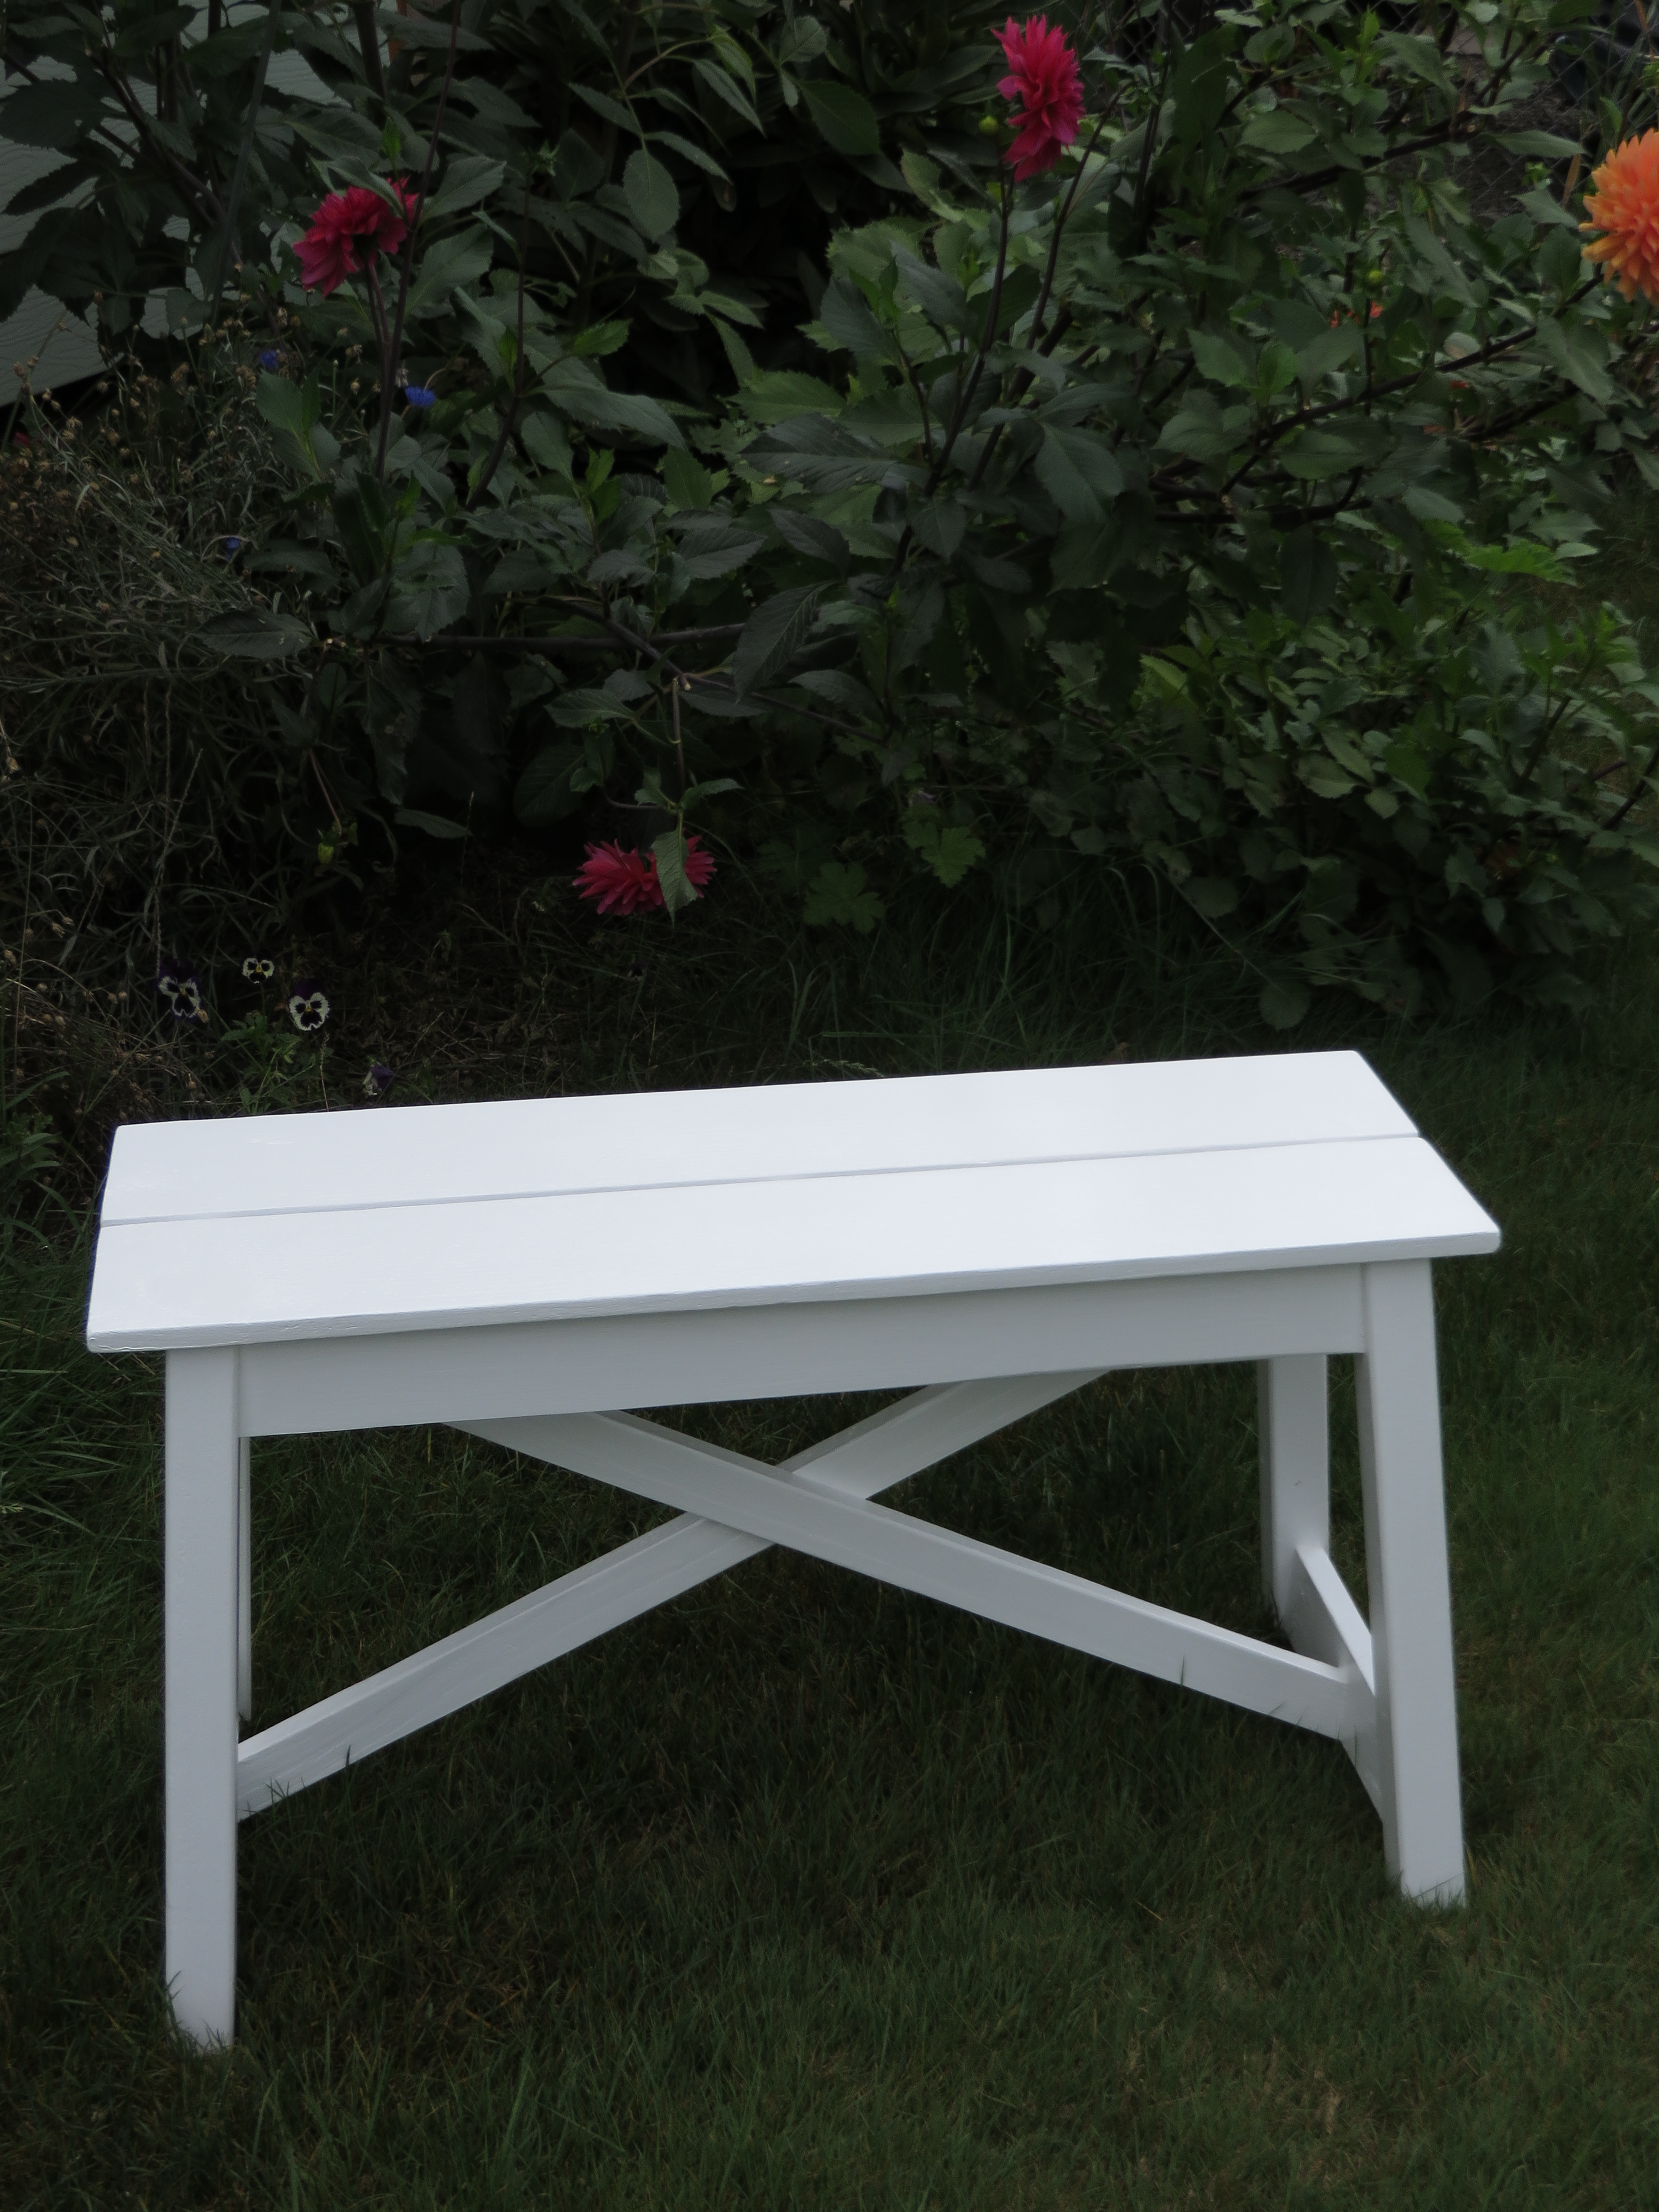
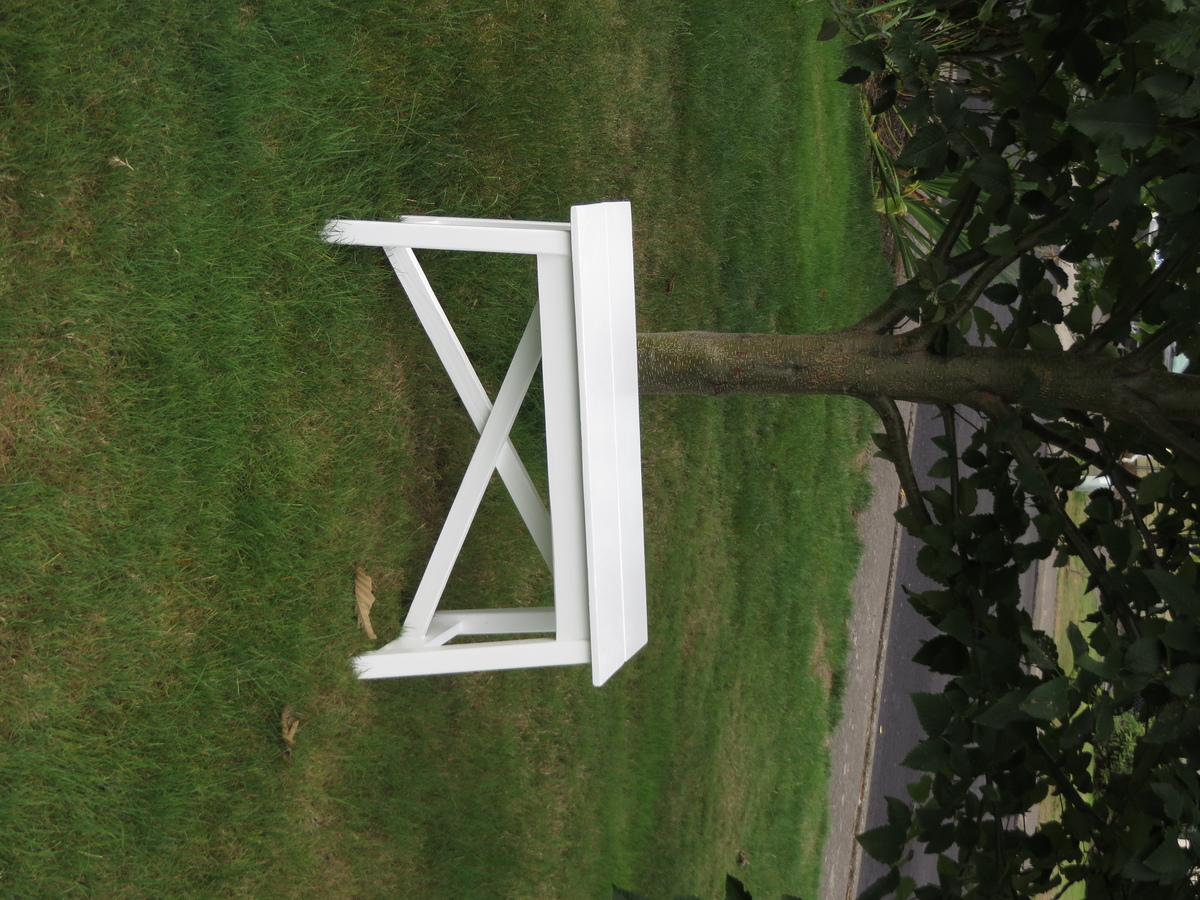
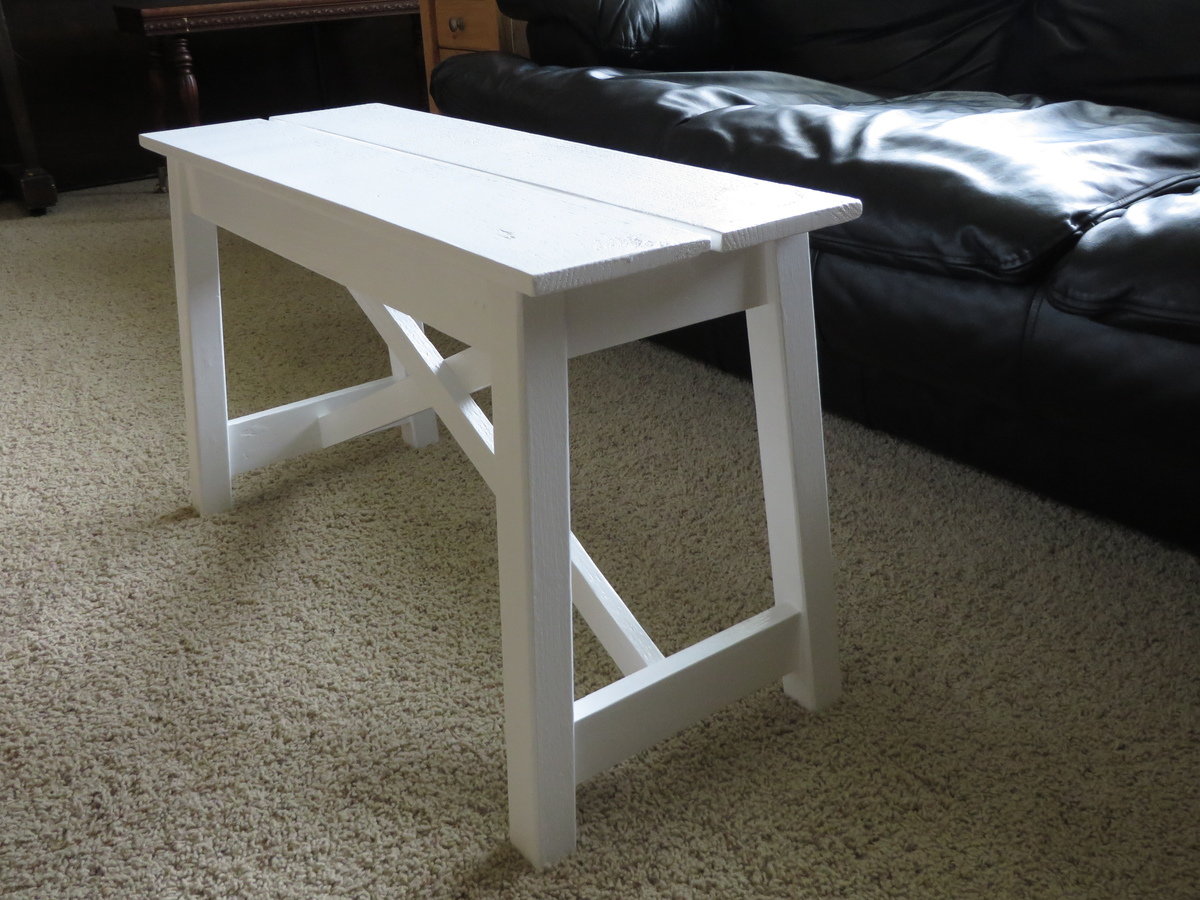
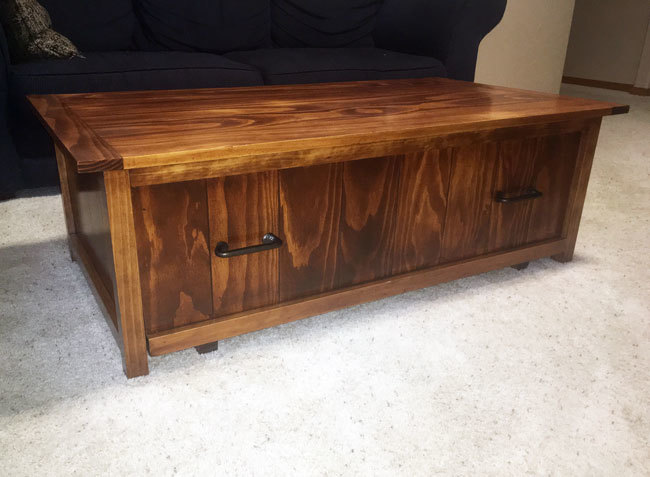
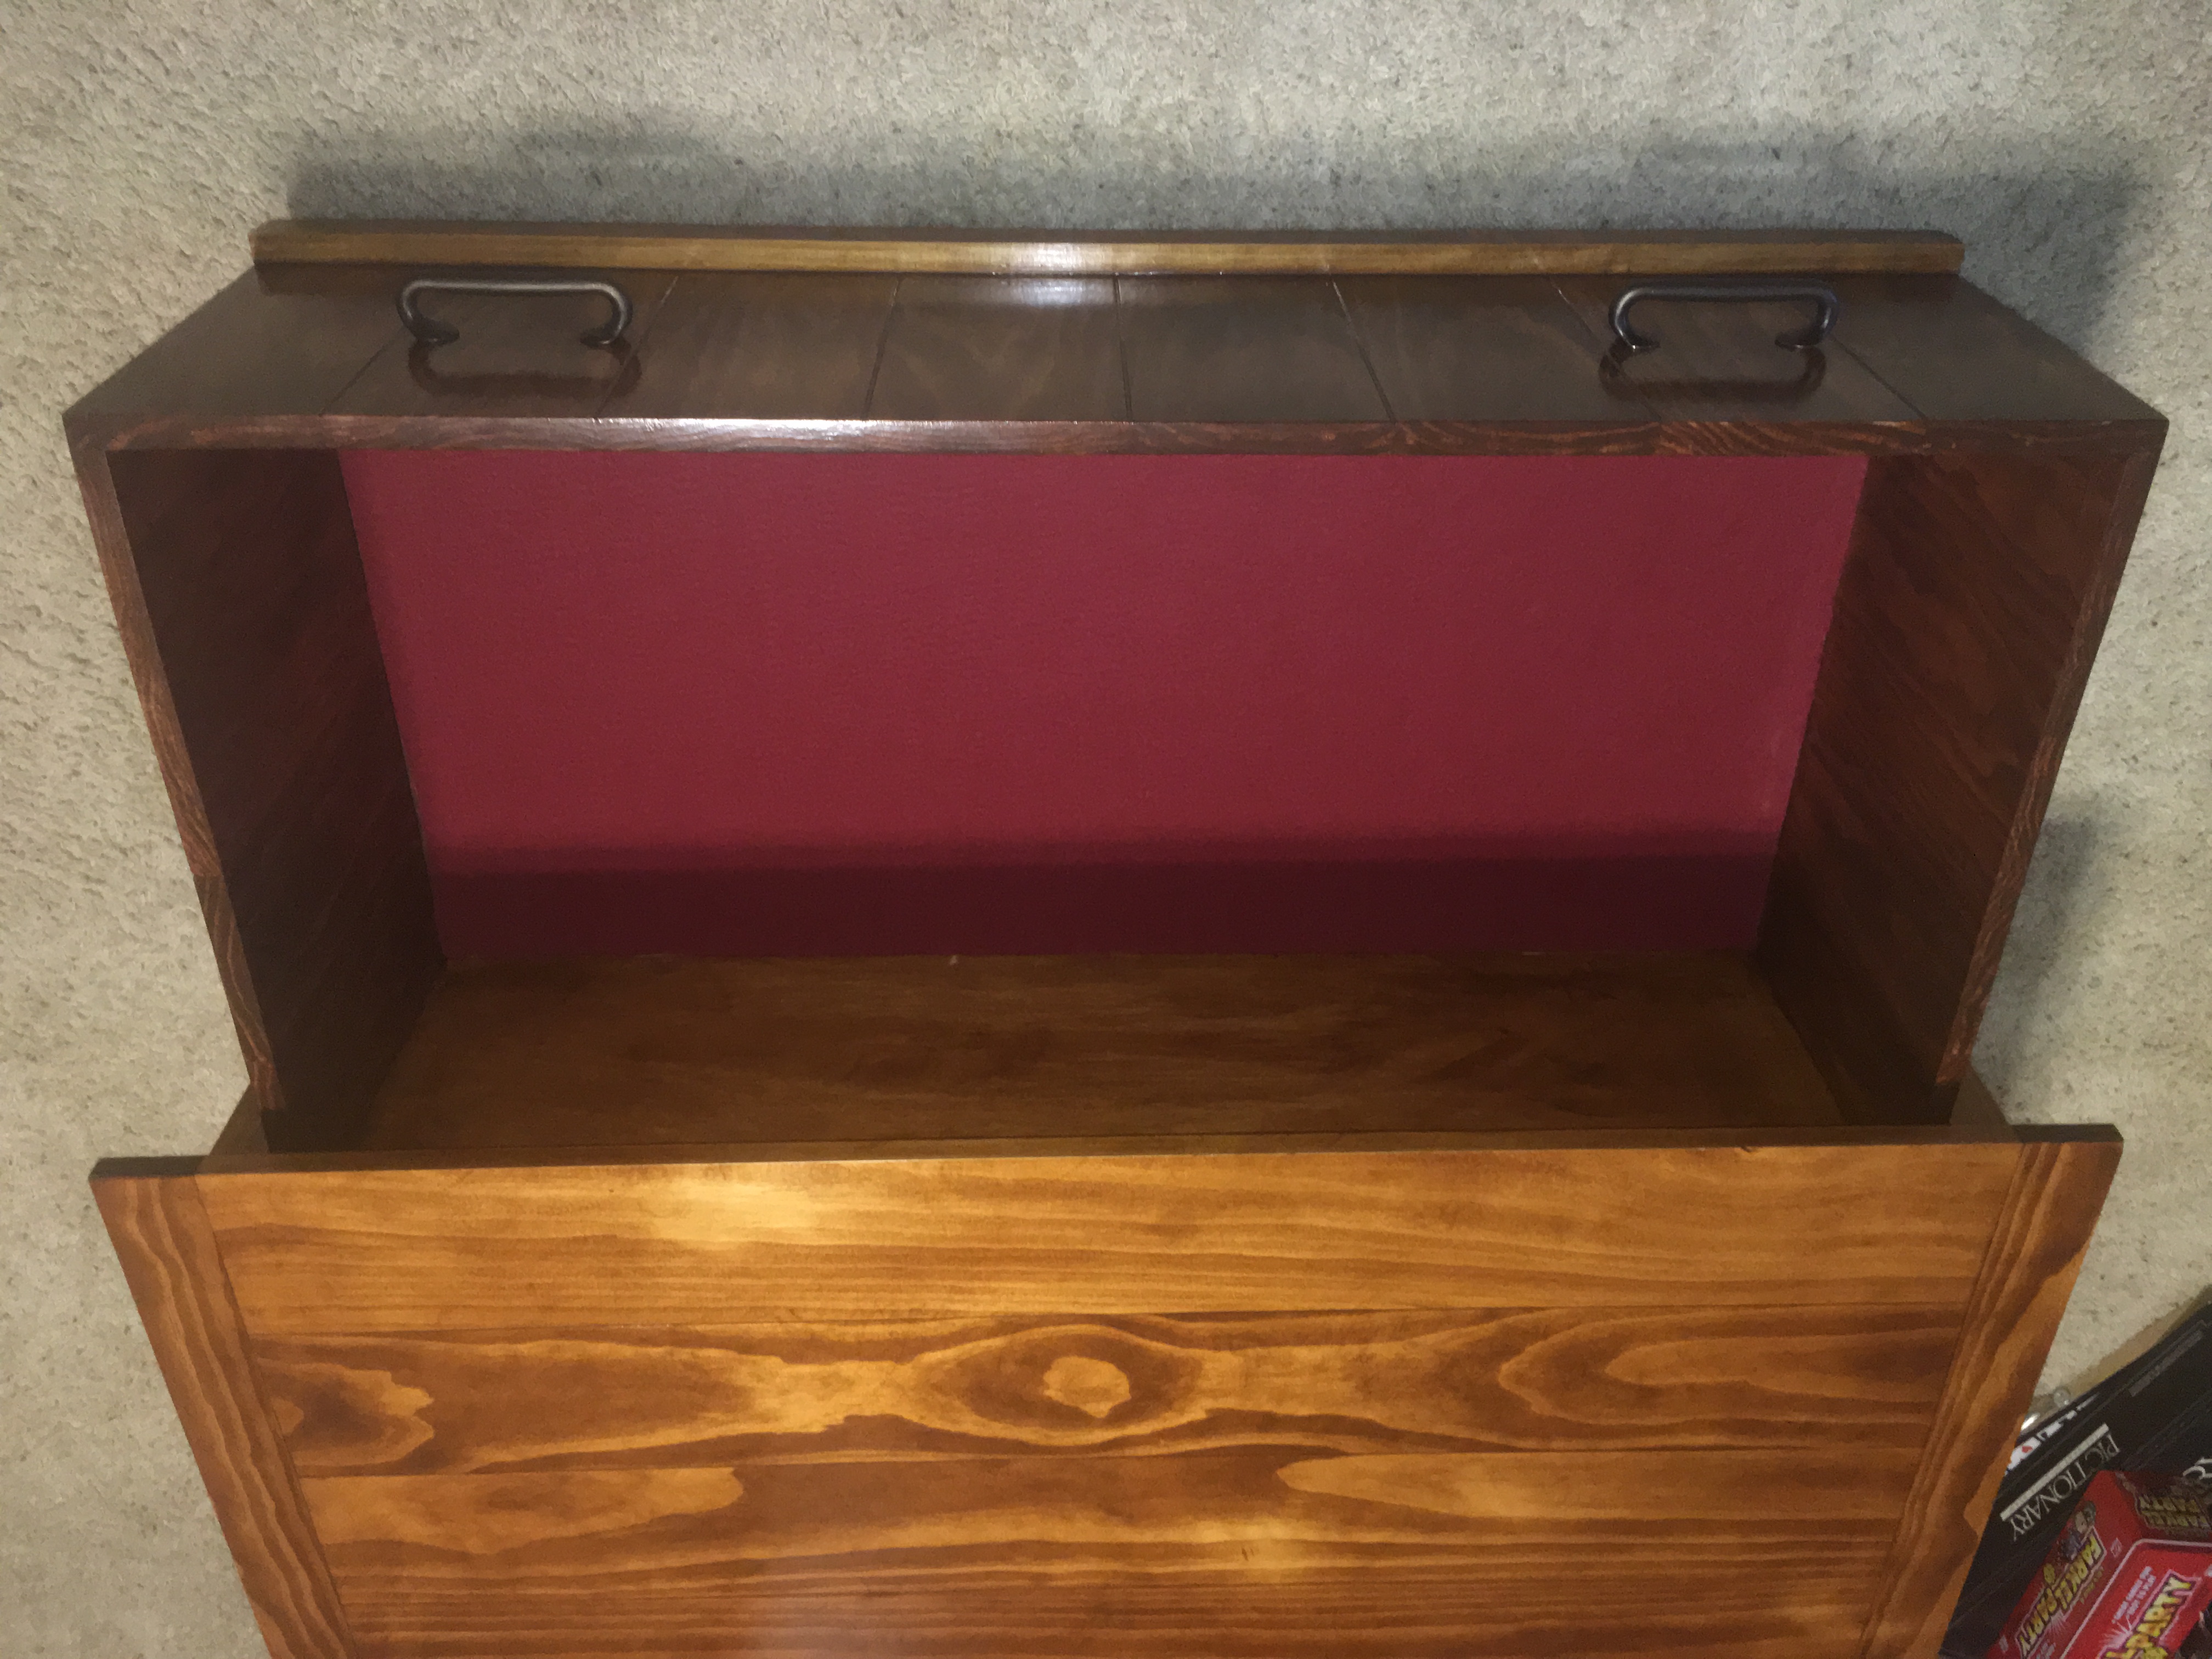
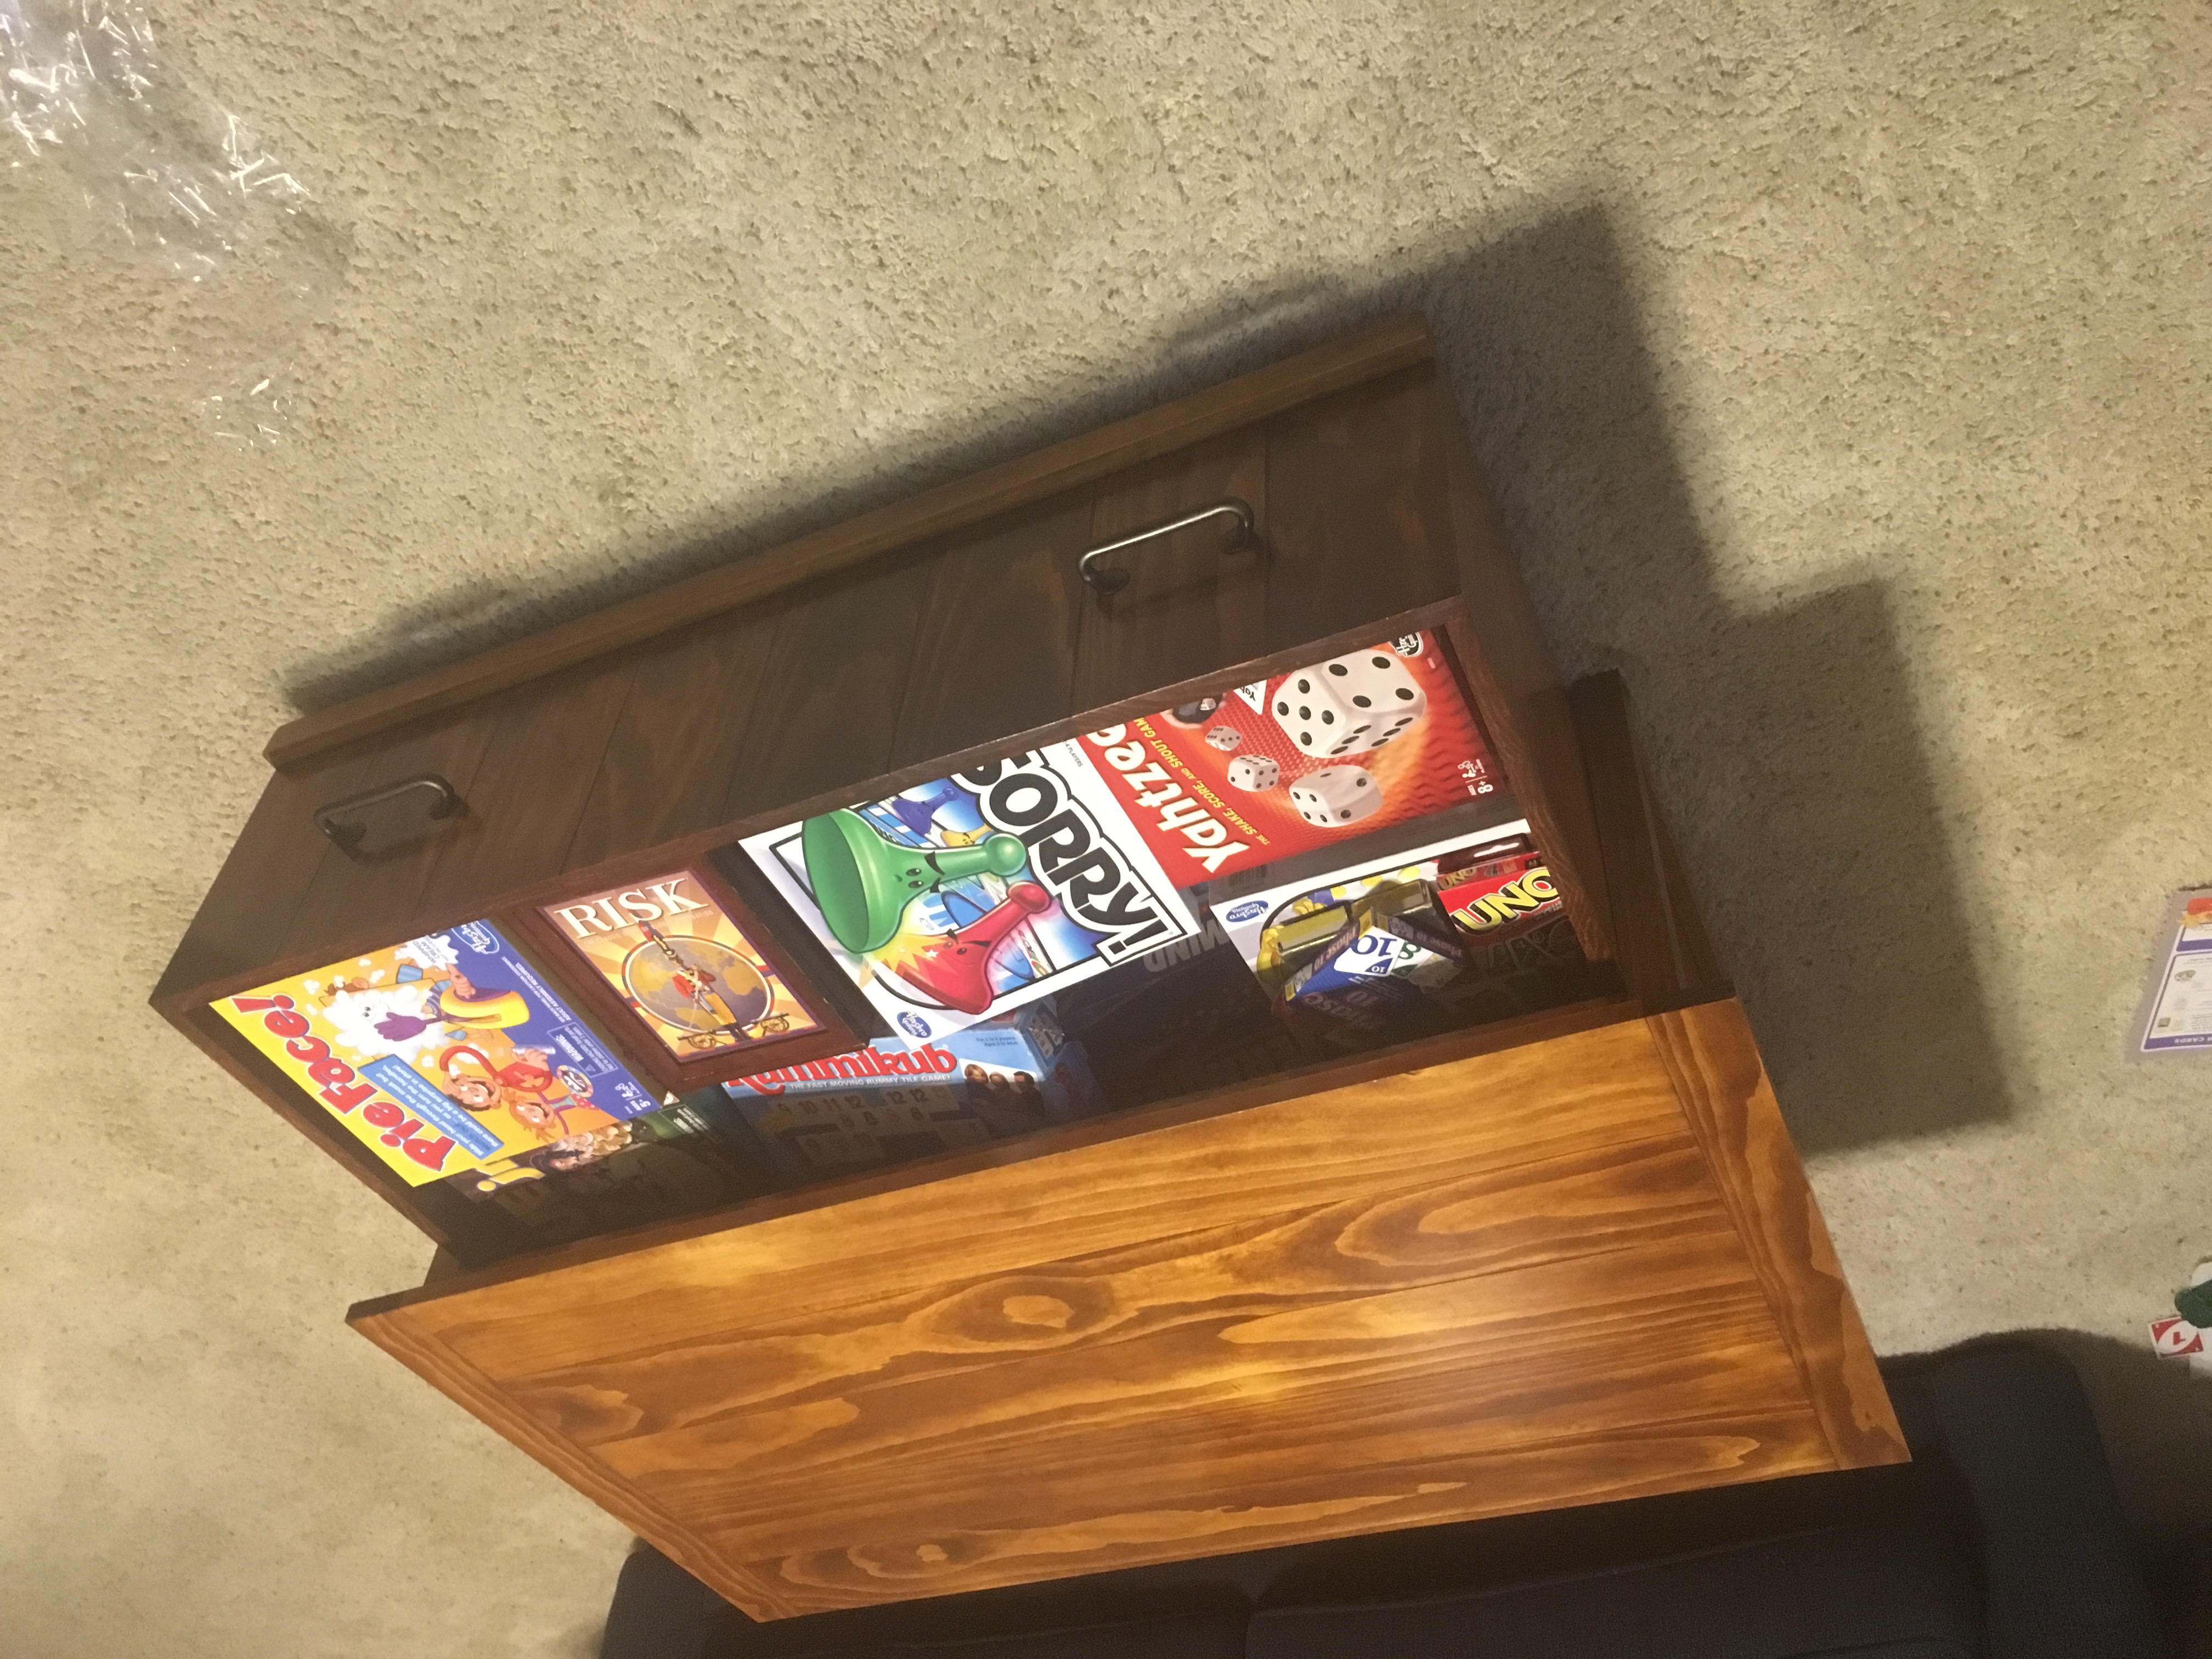
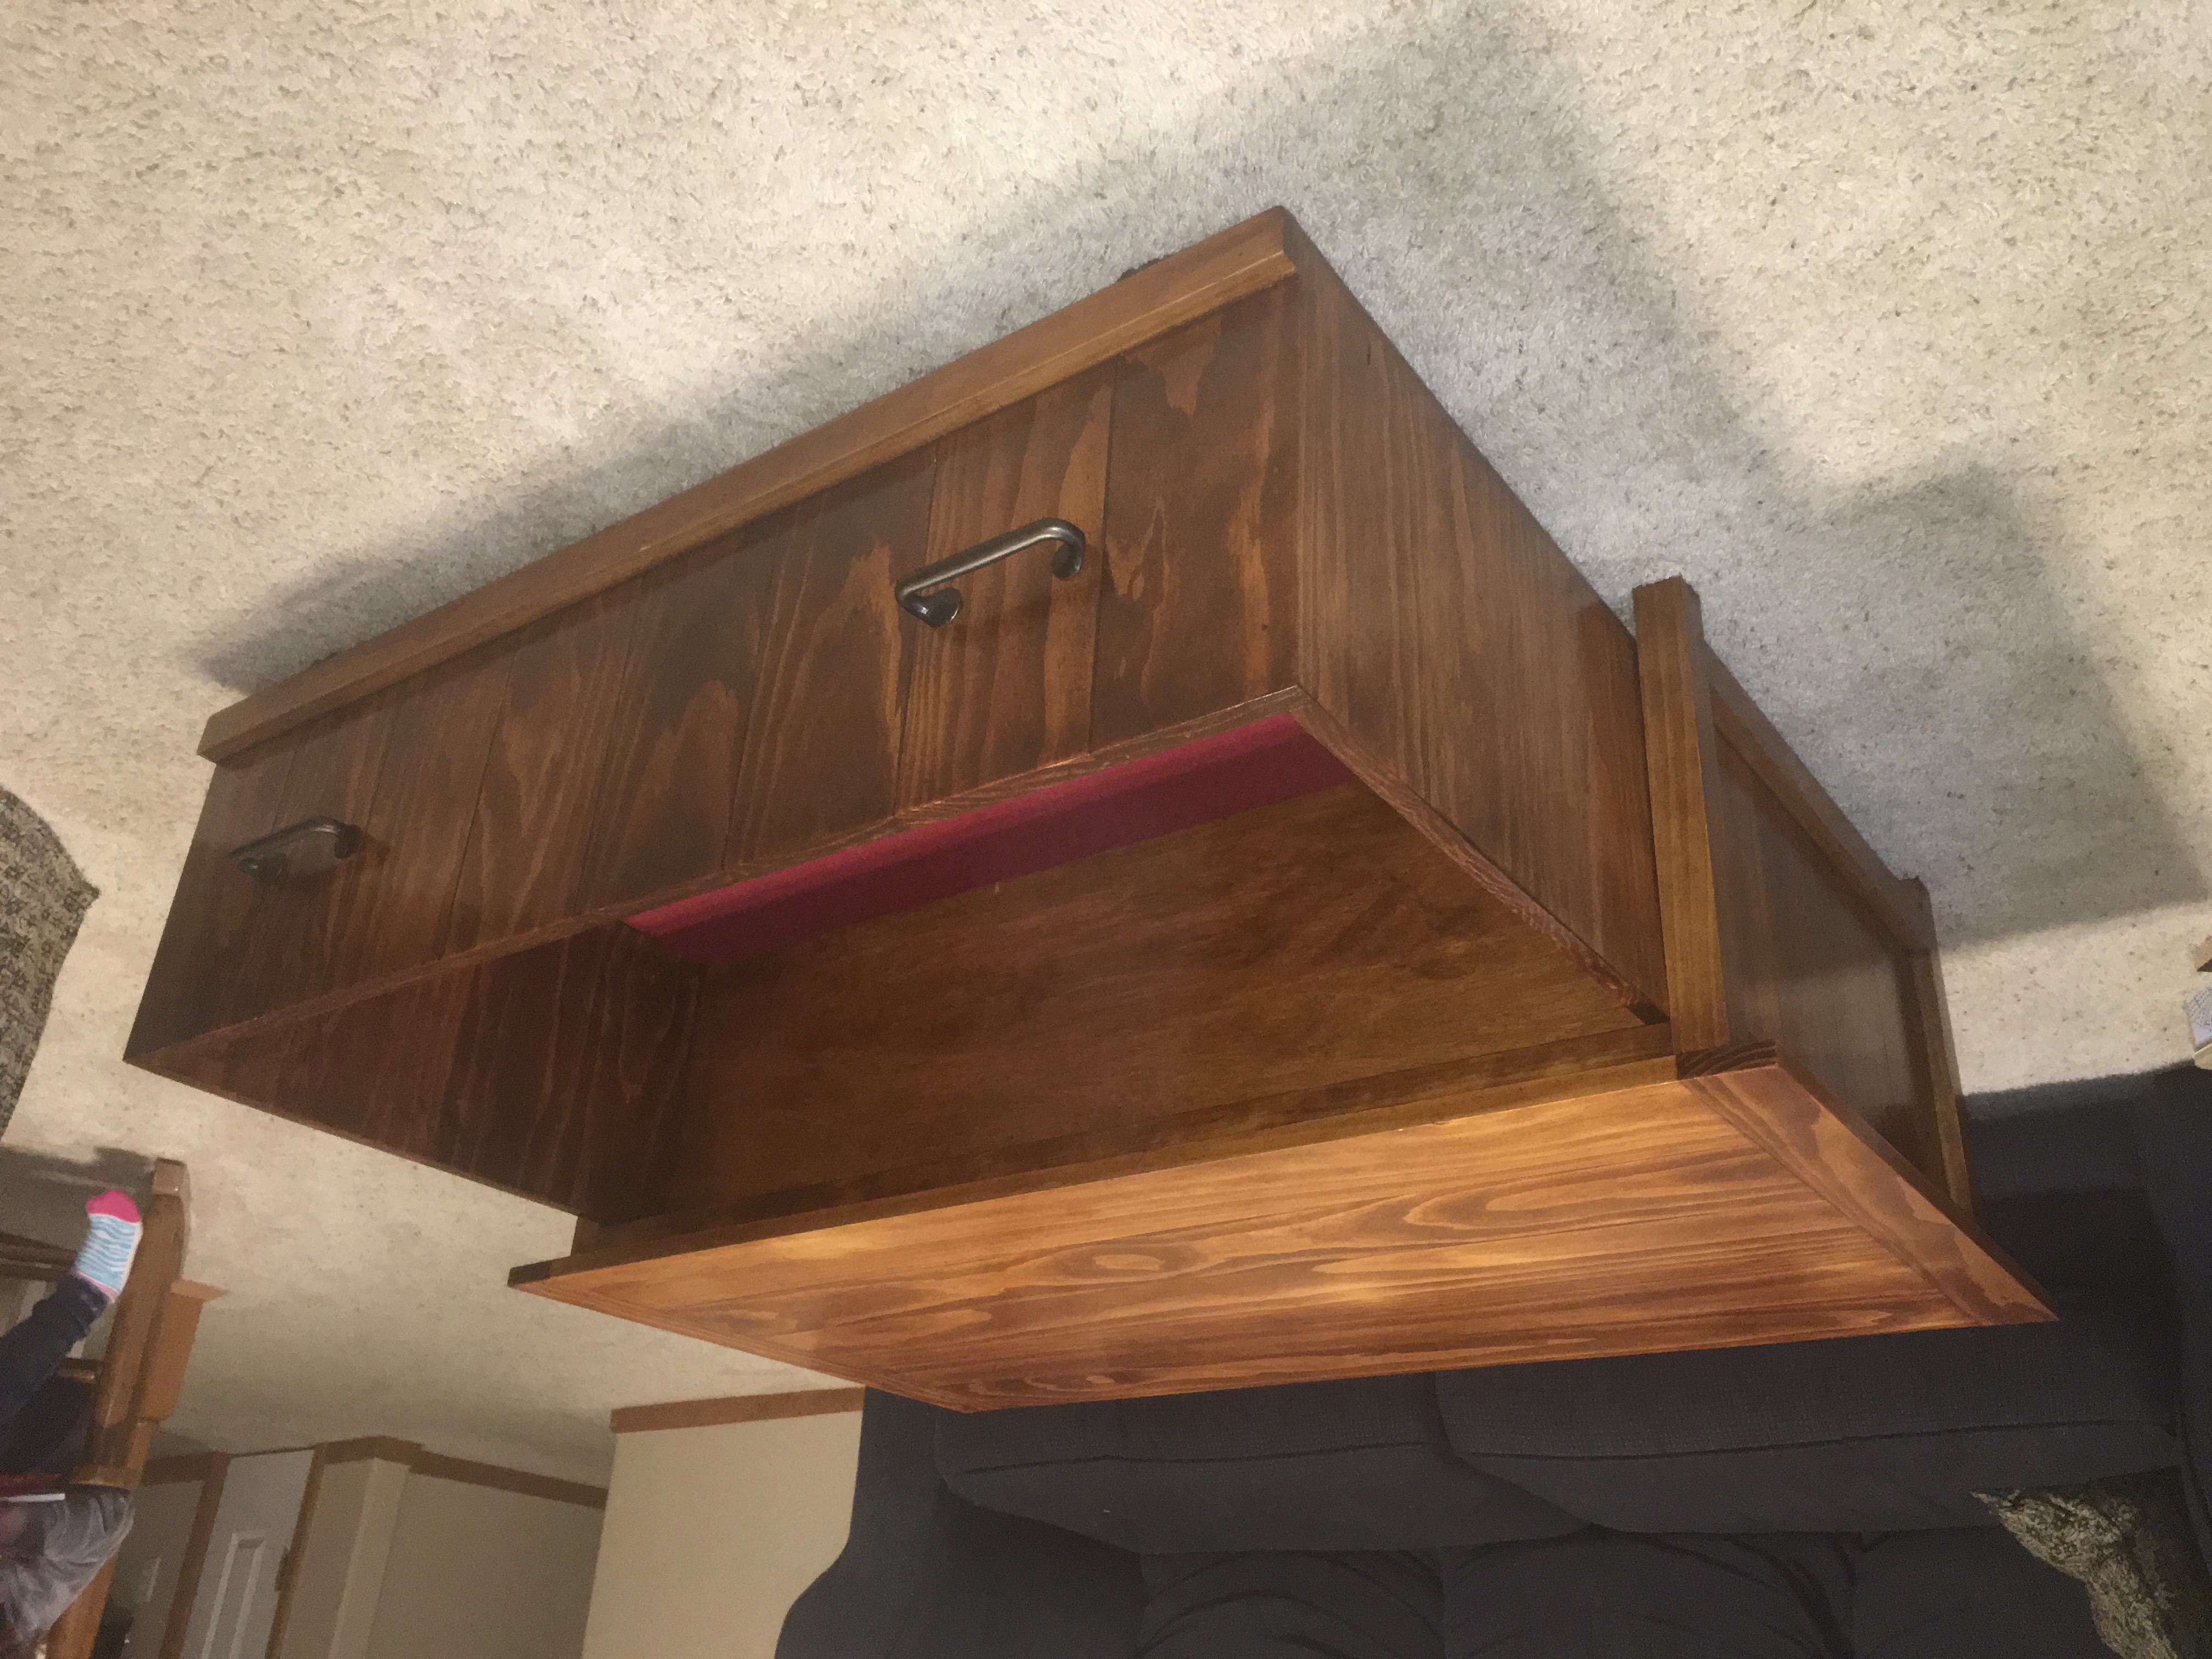
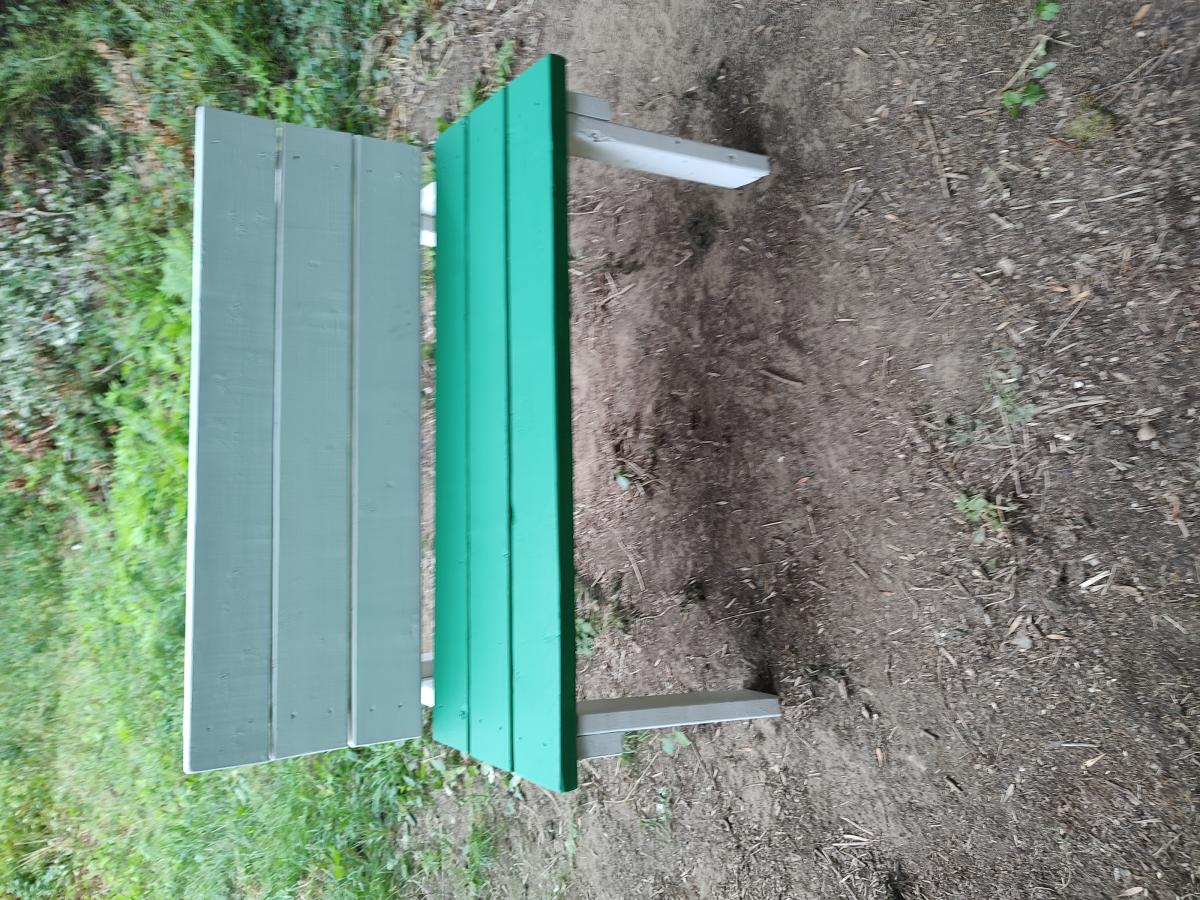
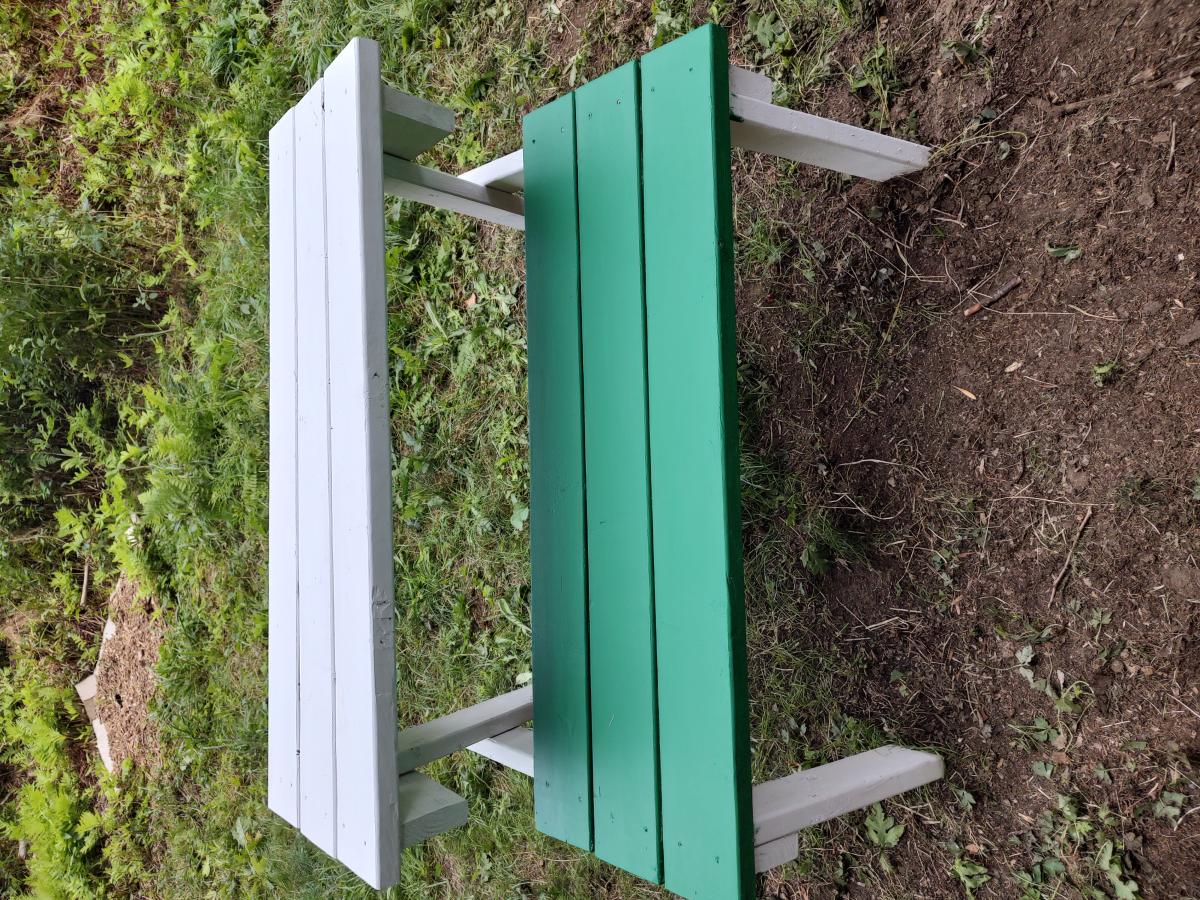
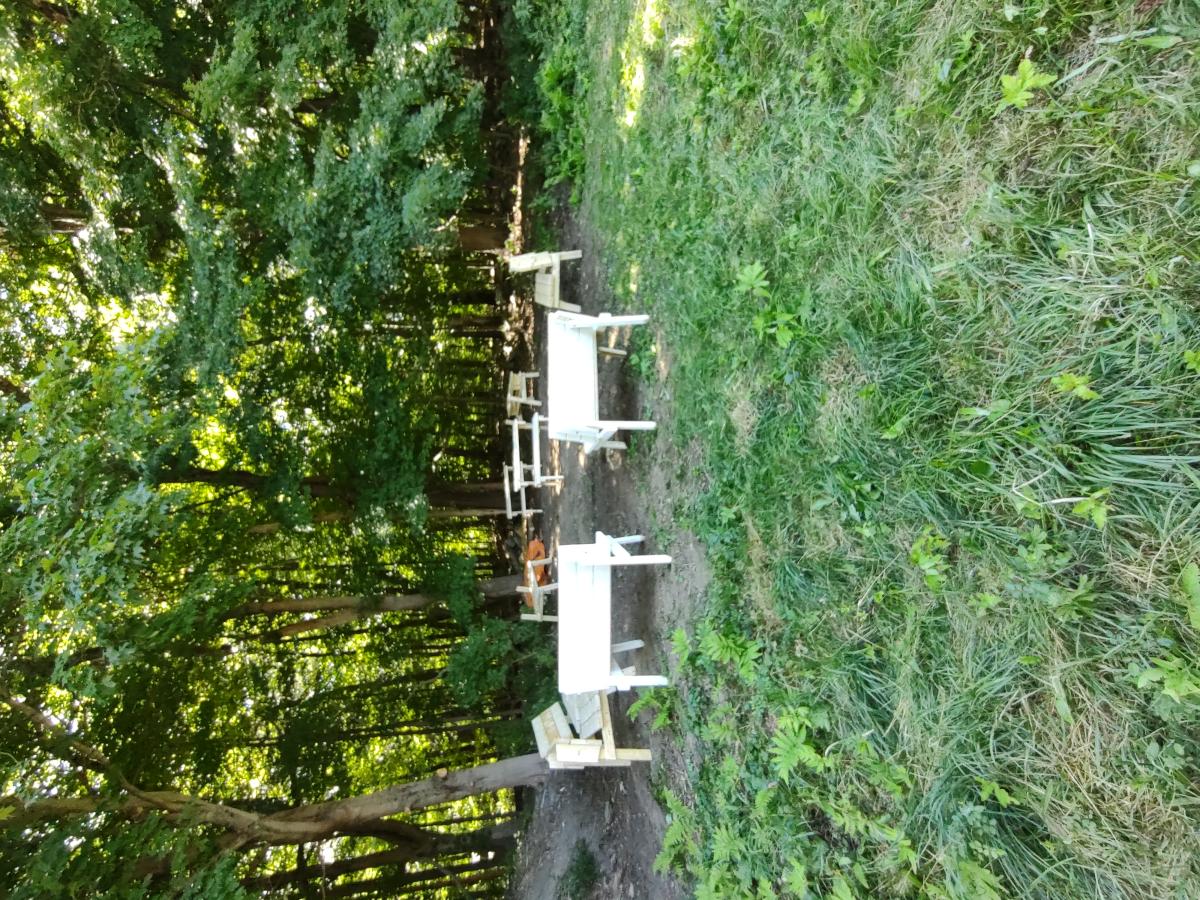
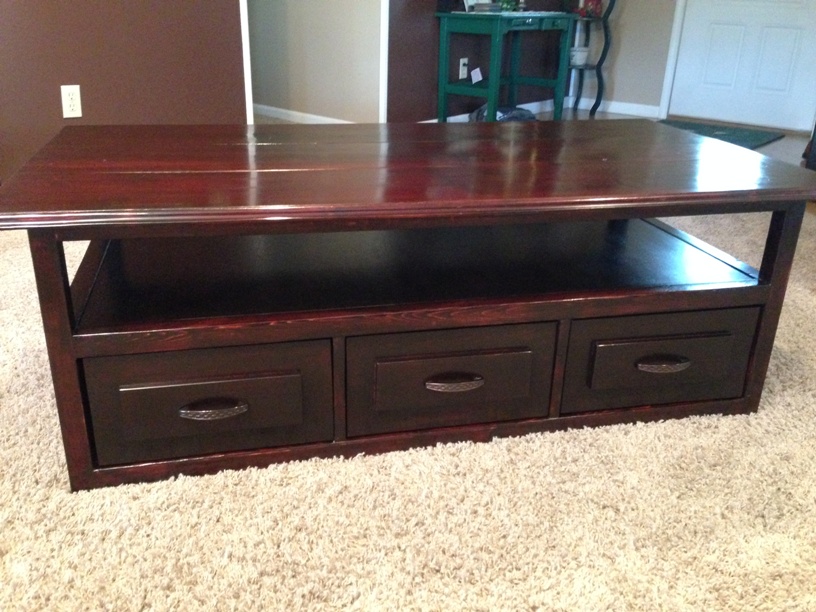
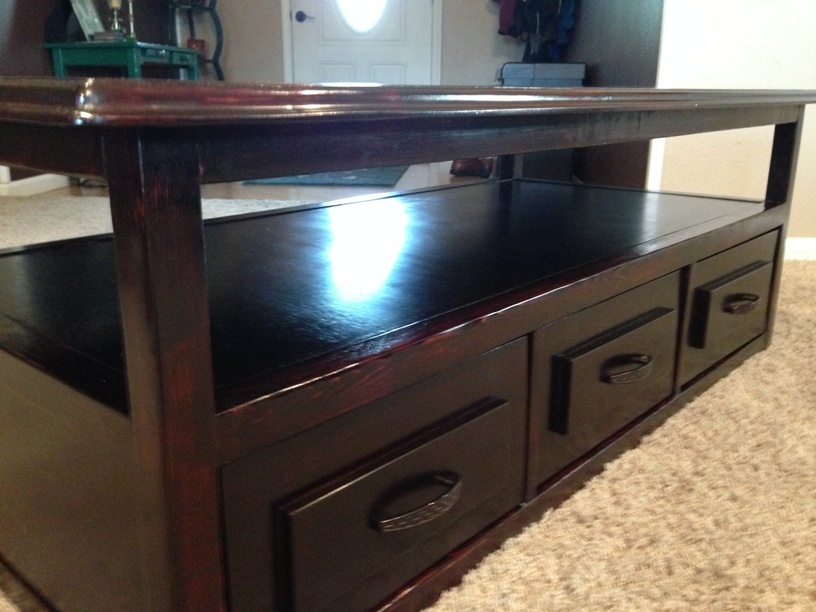
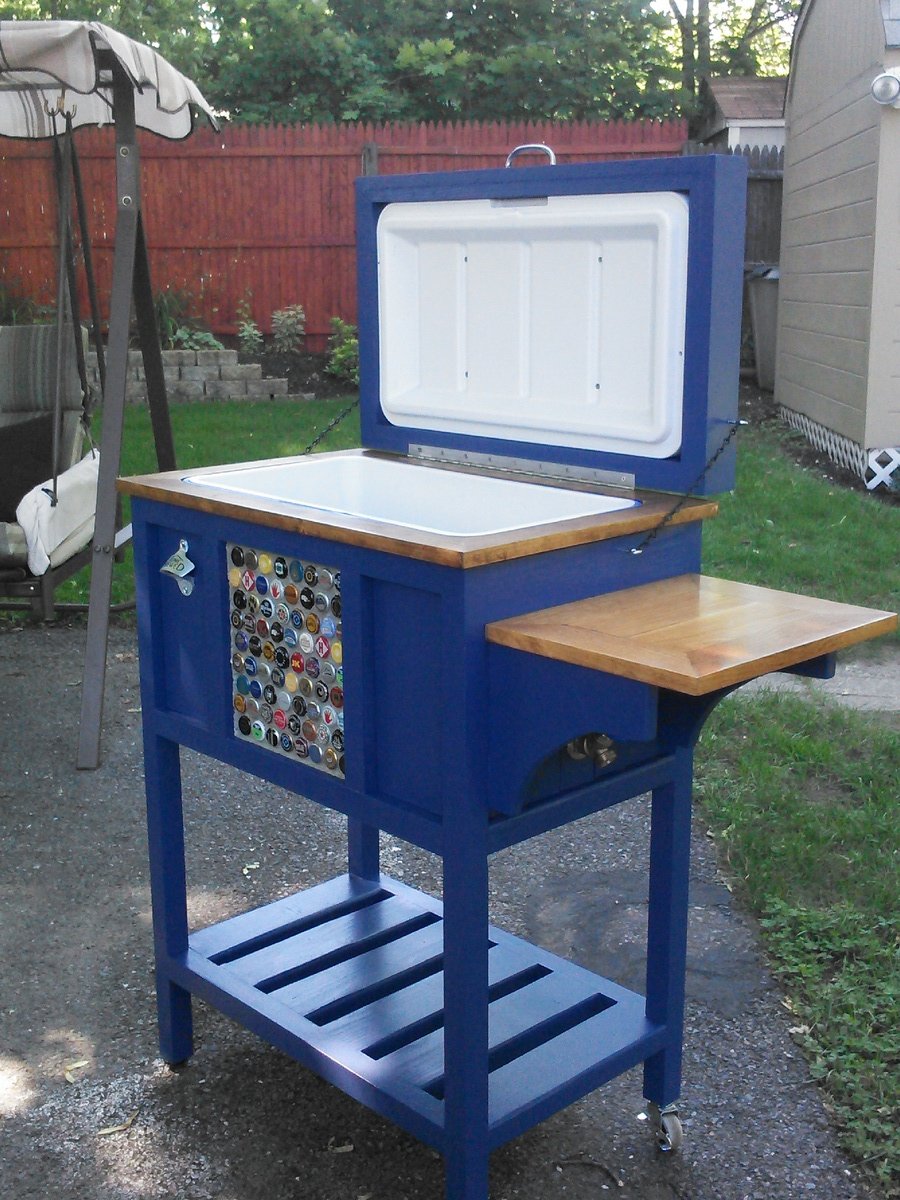
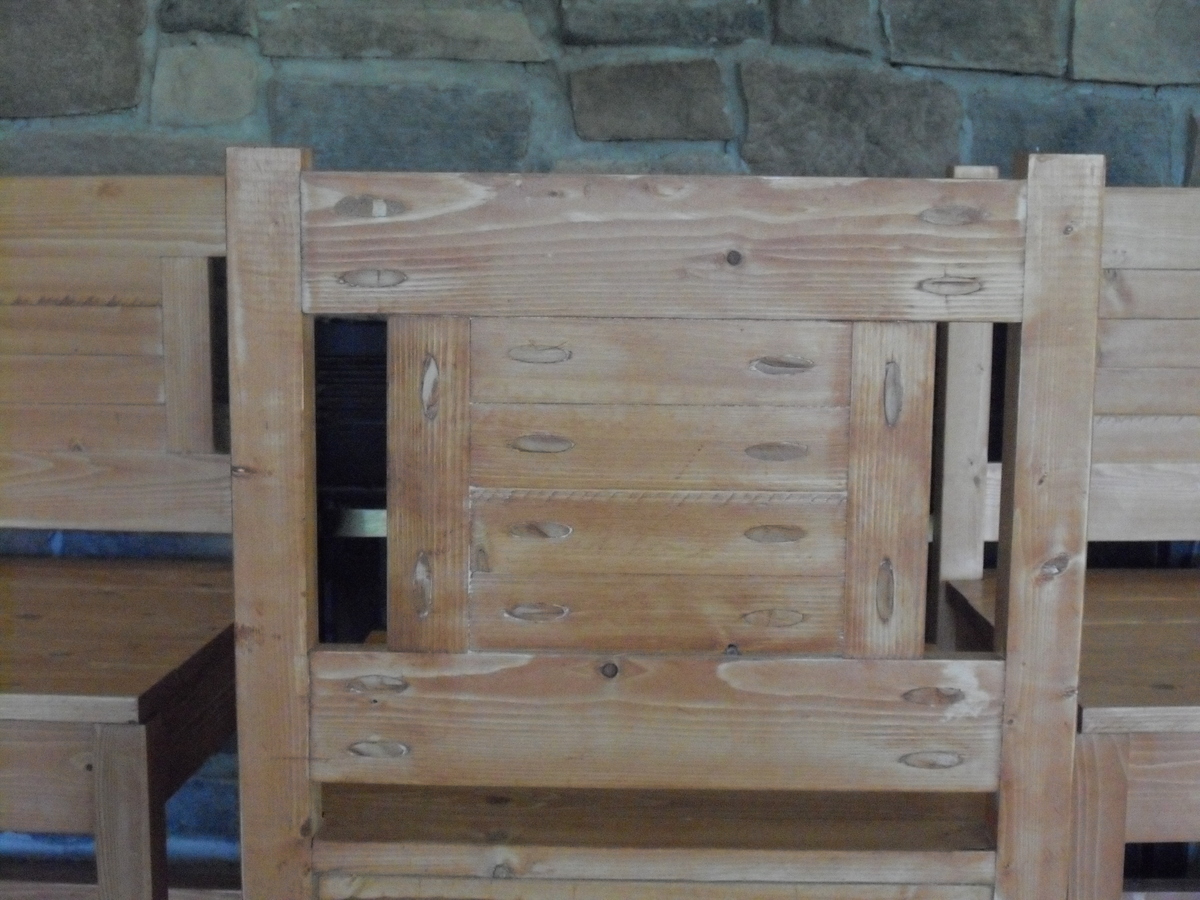
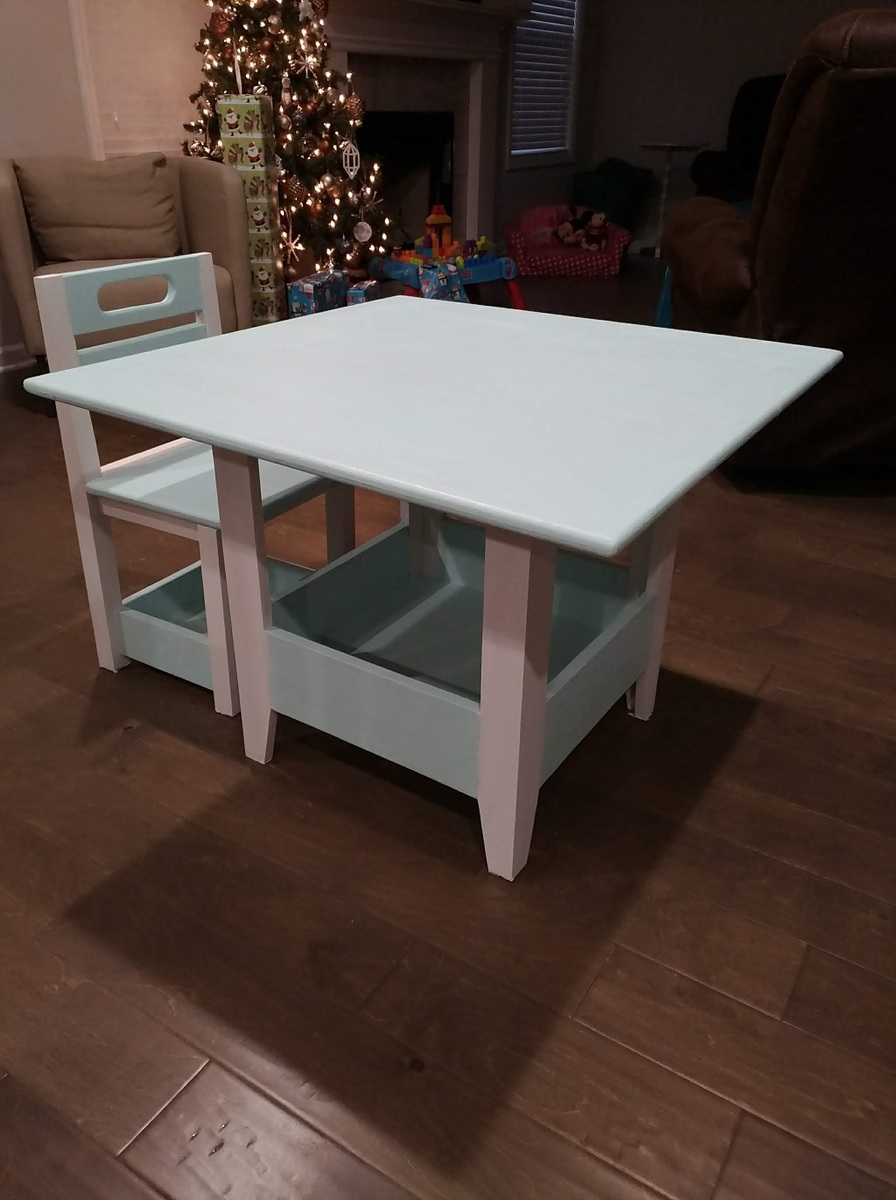
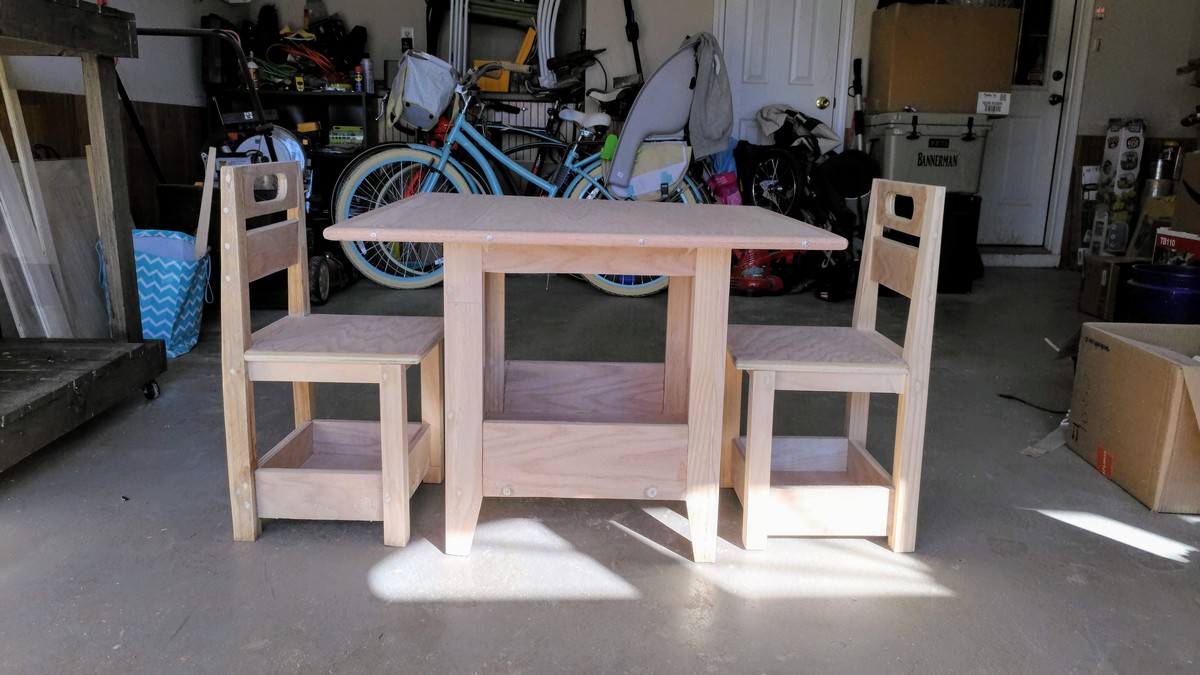
X coffee table
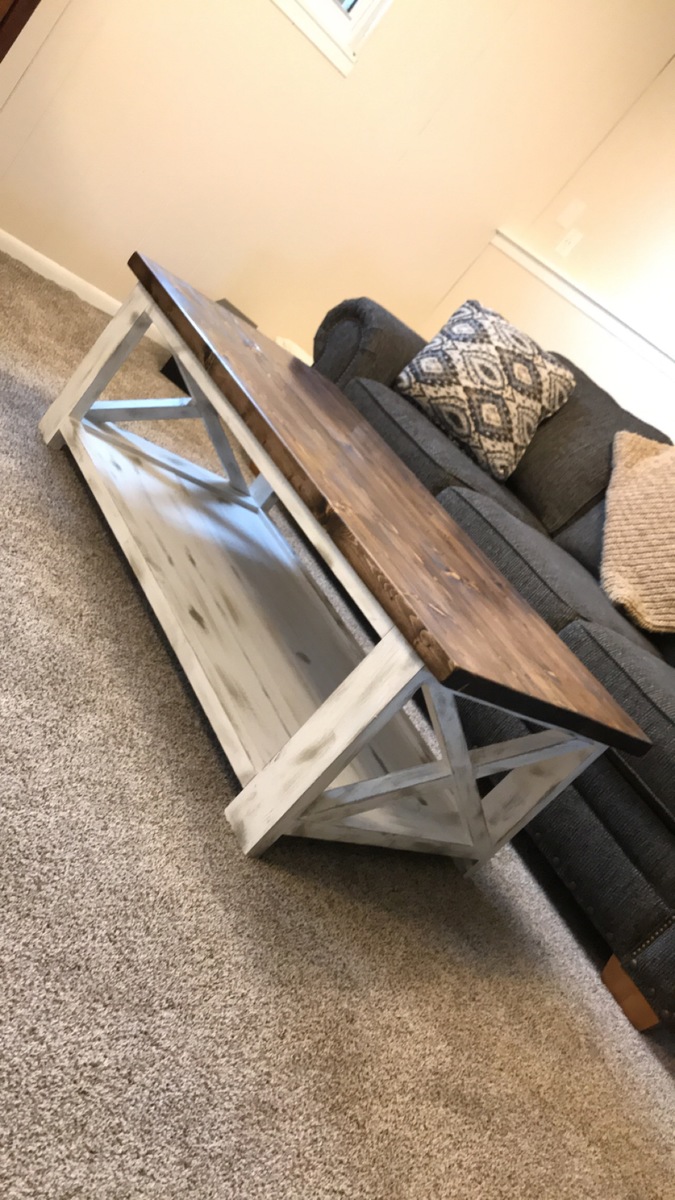
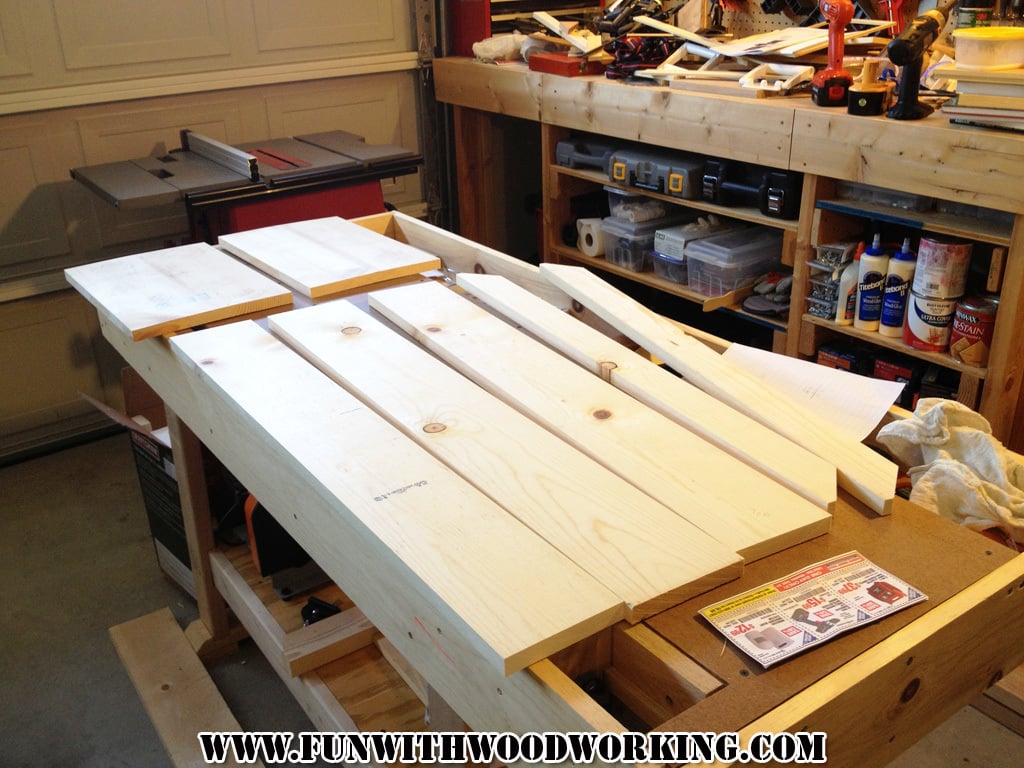
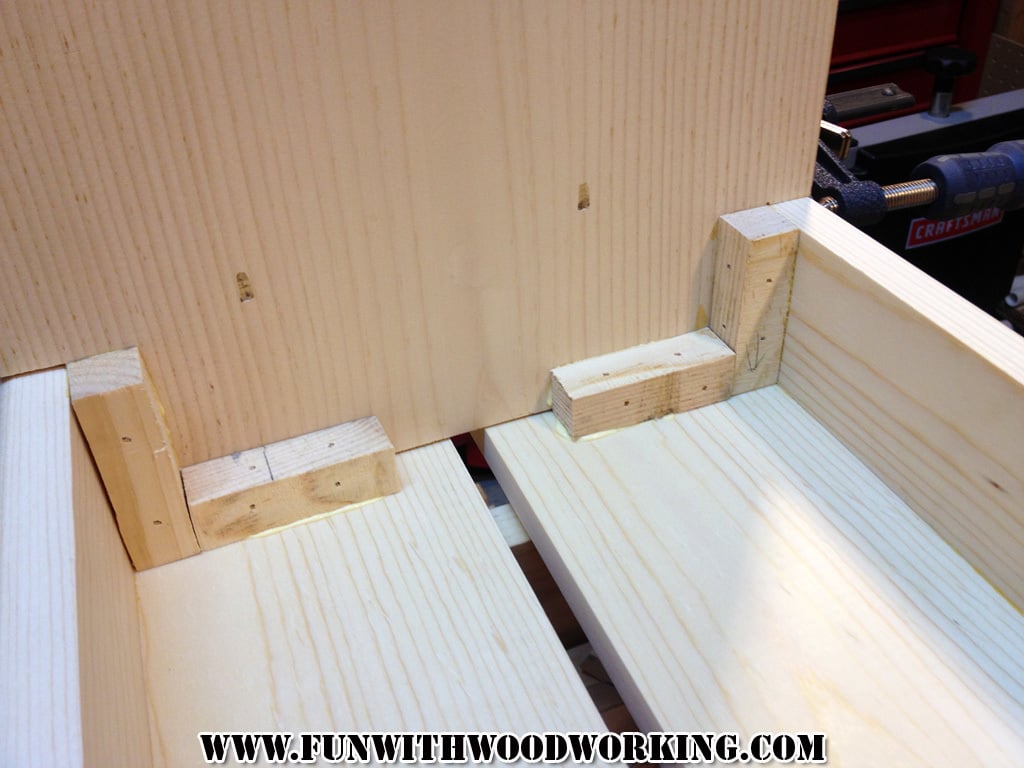
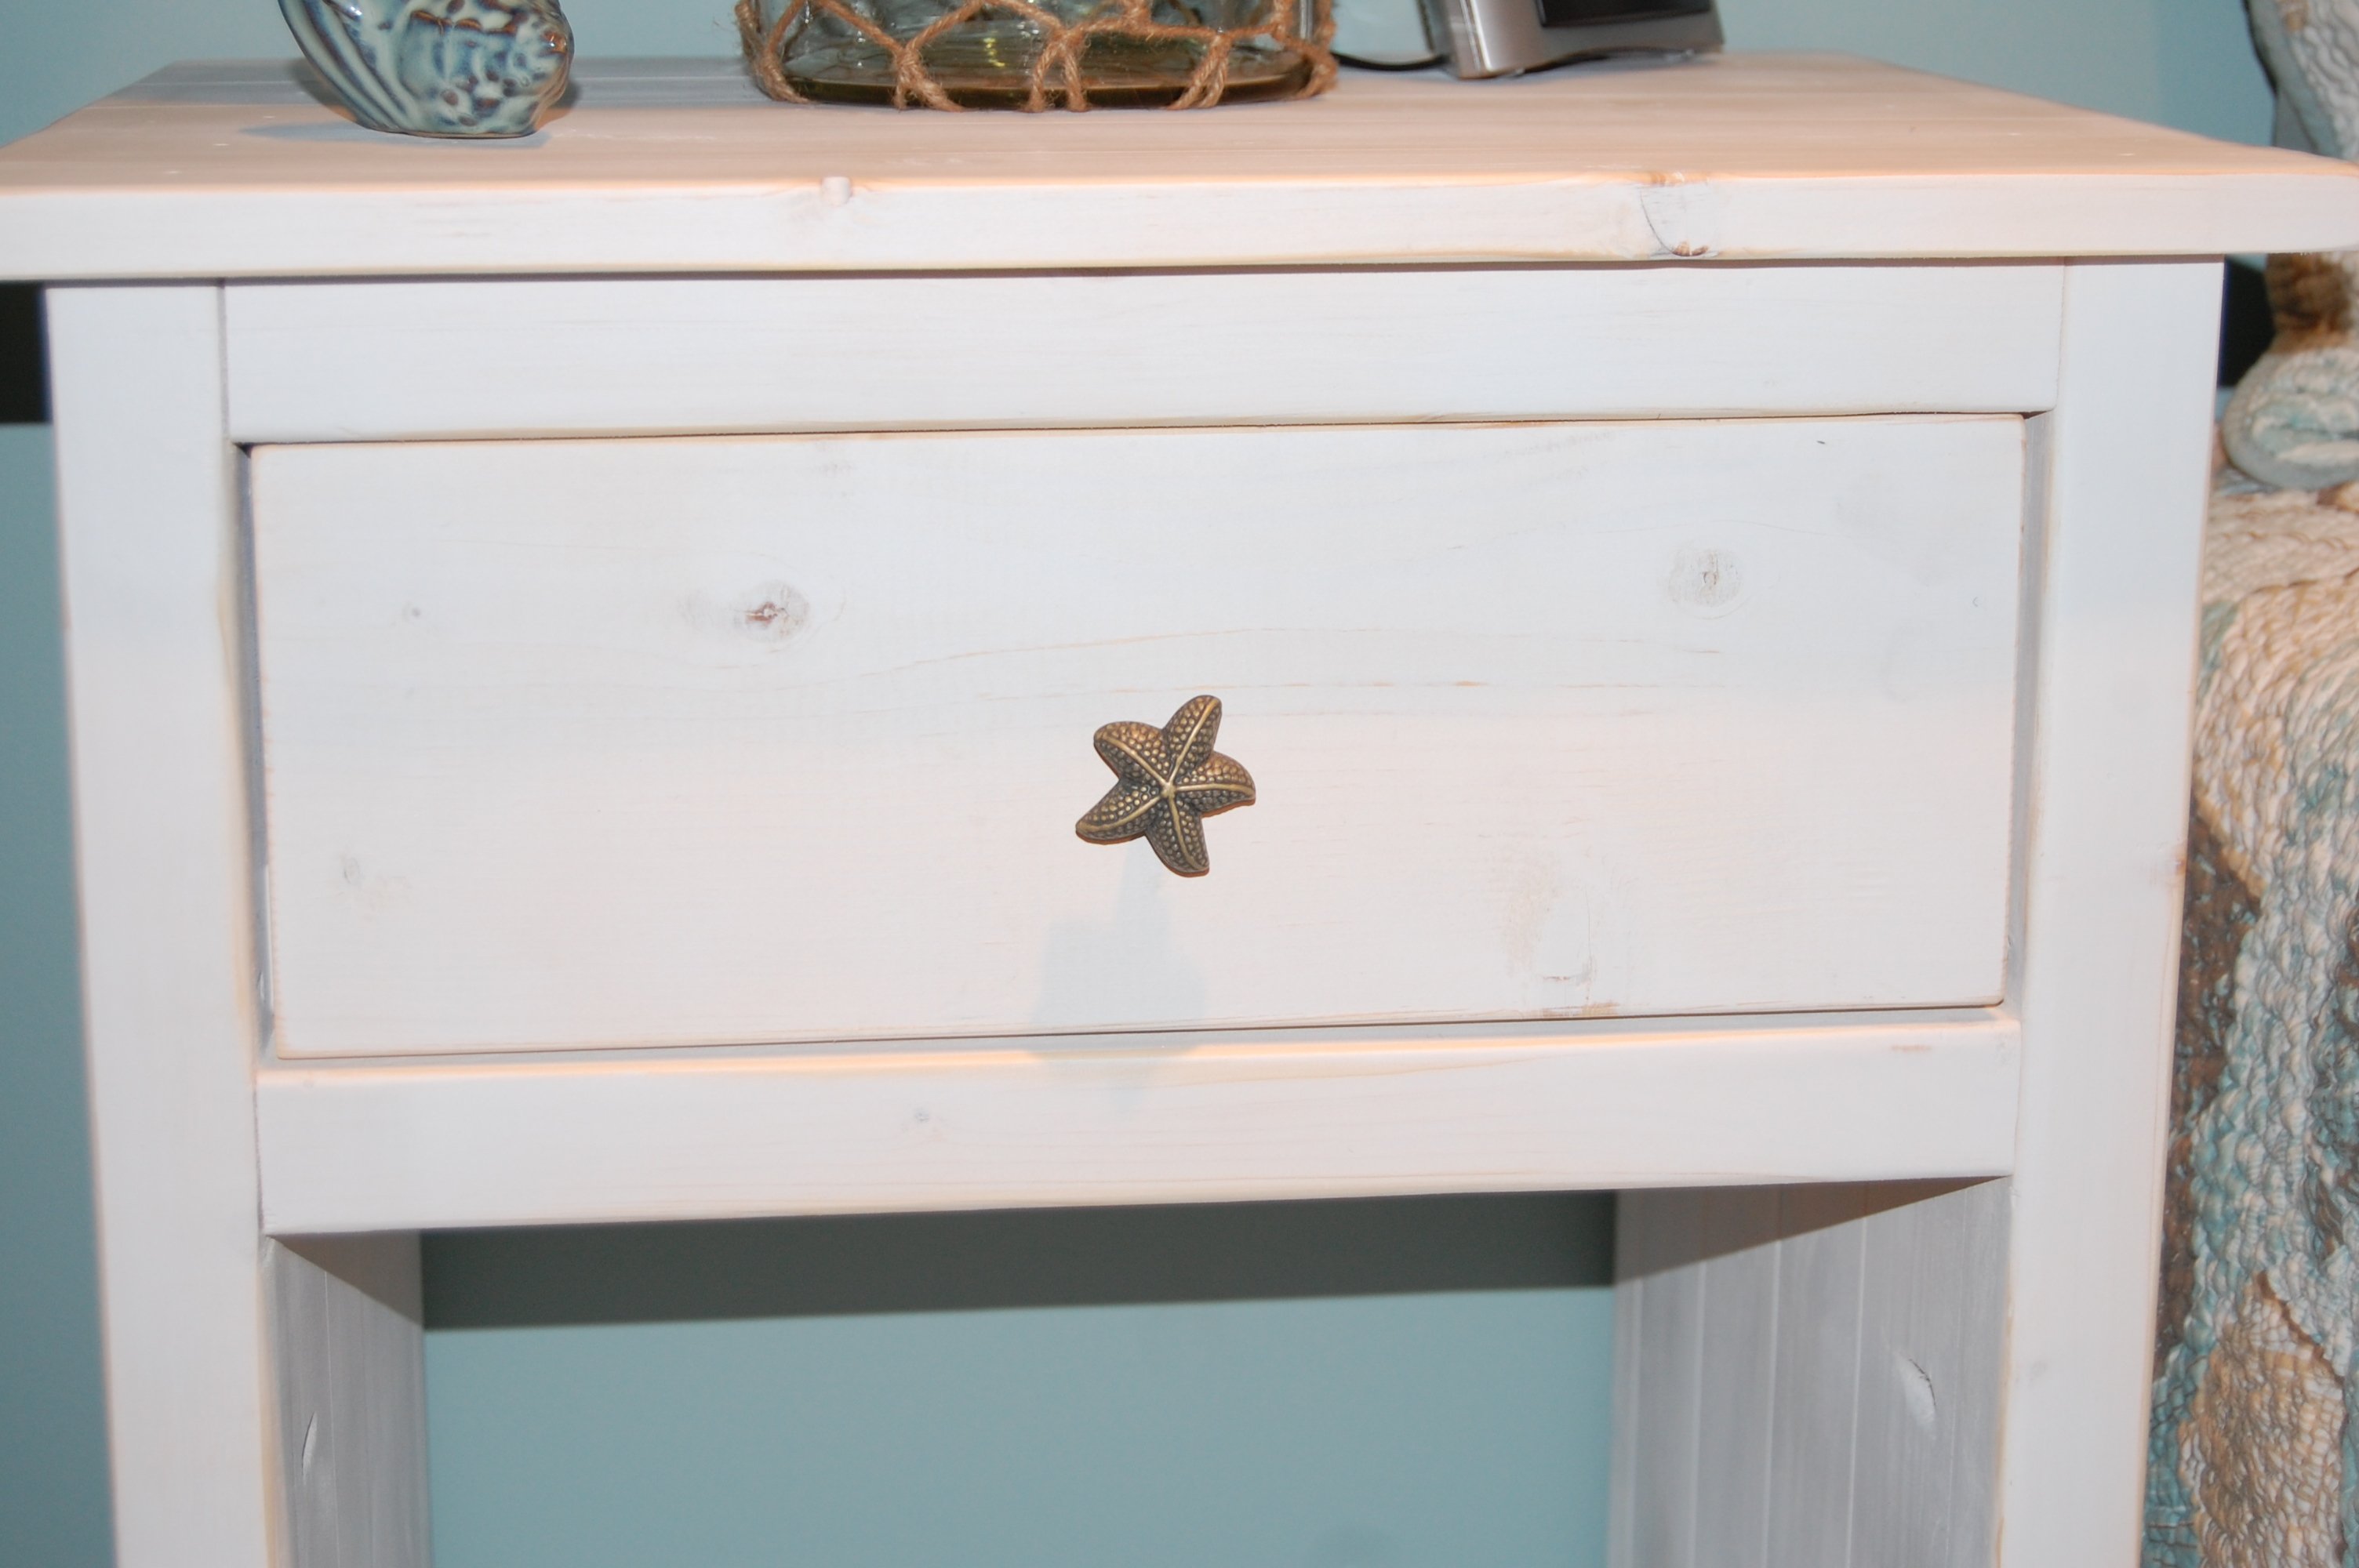
Ran on the wood through planer to get rid of that rounded edge stud look on the wood. Fun little project.
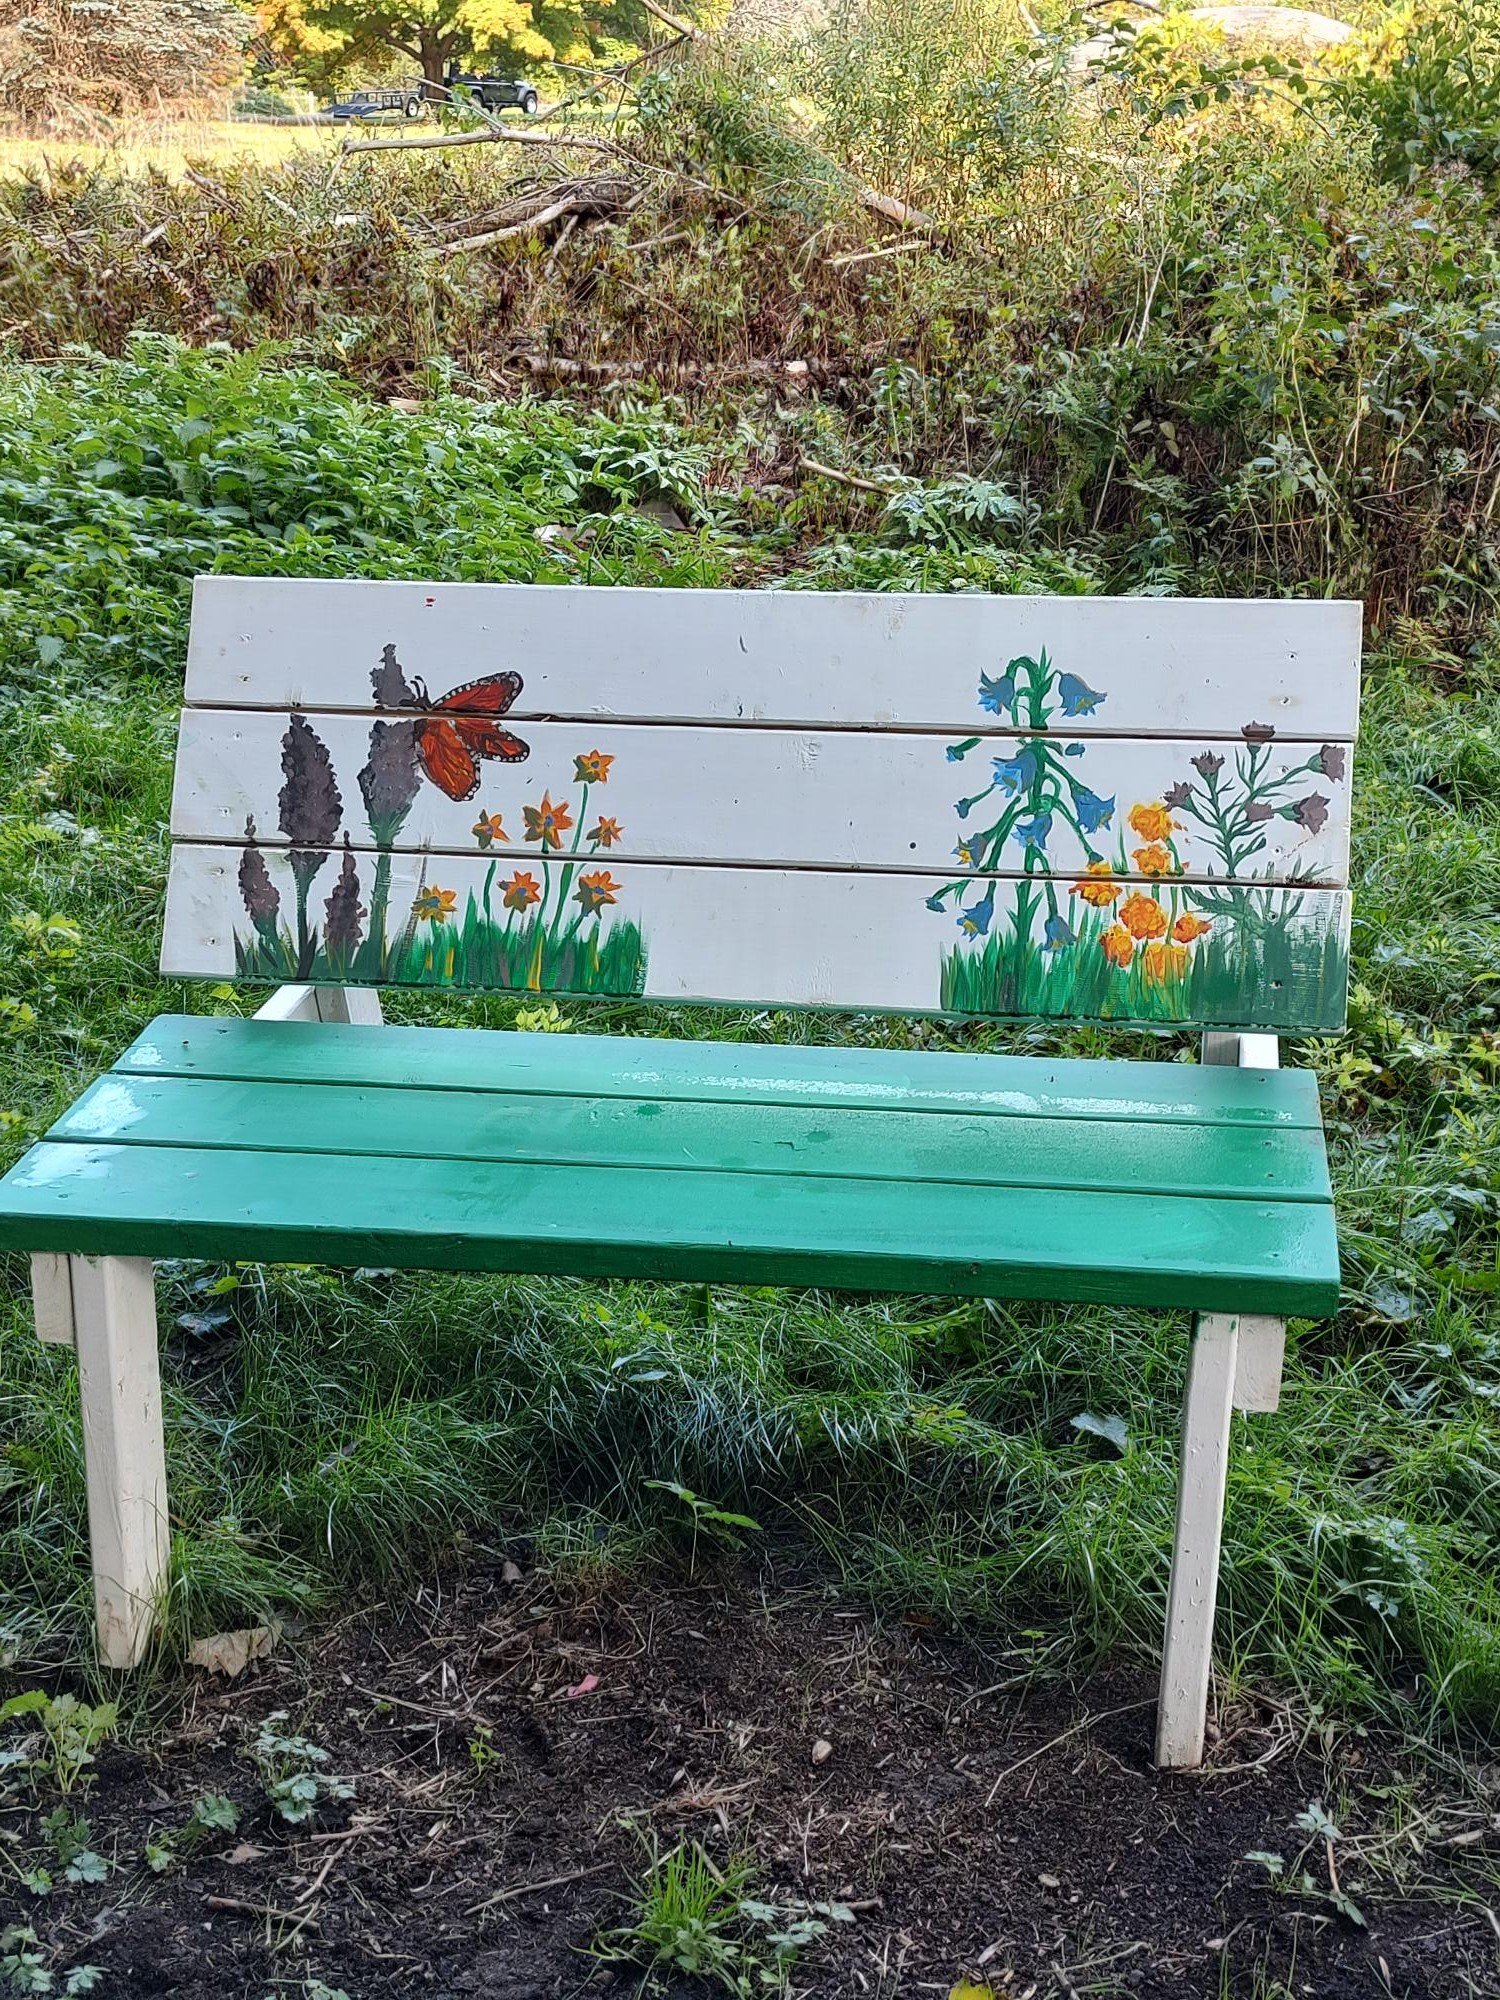
Estimated Cost
$55
Estimated Time Investment
Afternoon Project (3-6 Hours)
Finish Used
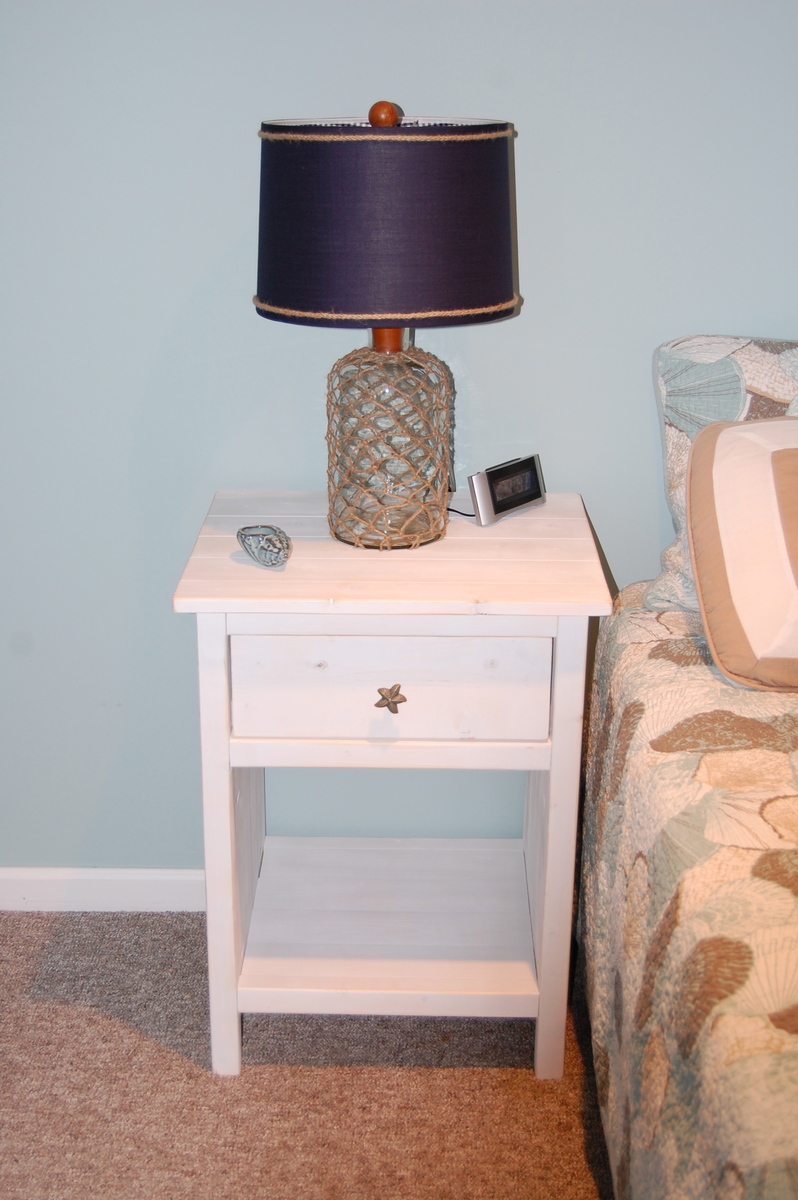
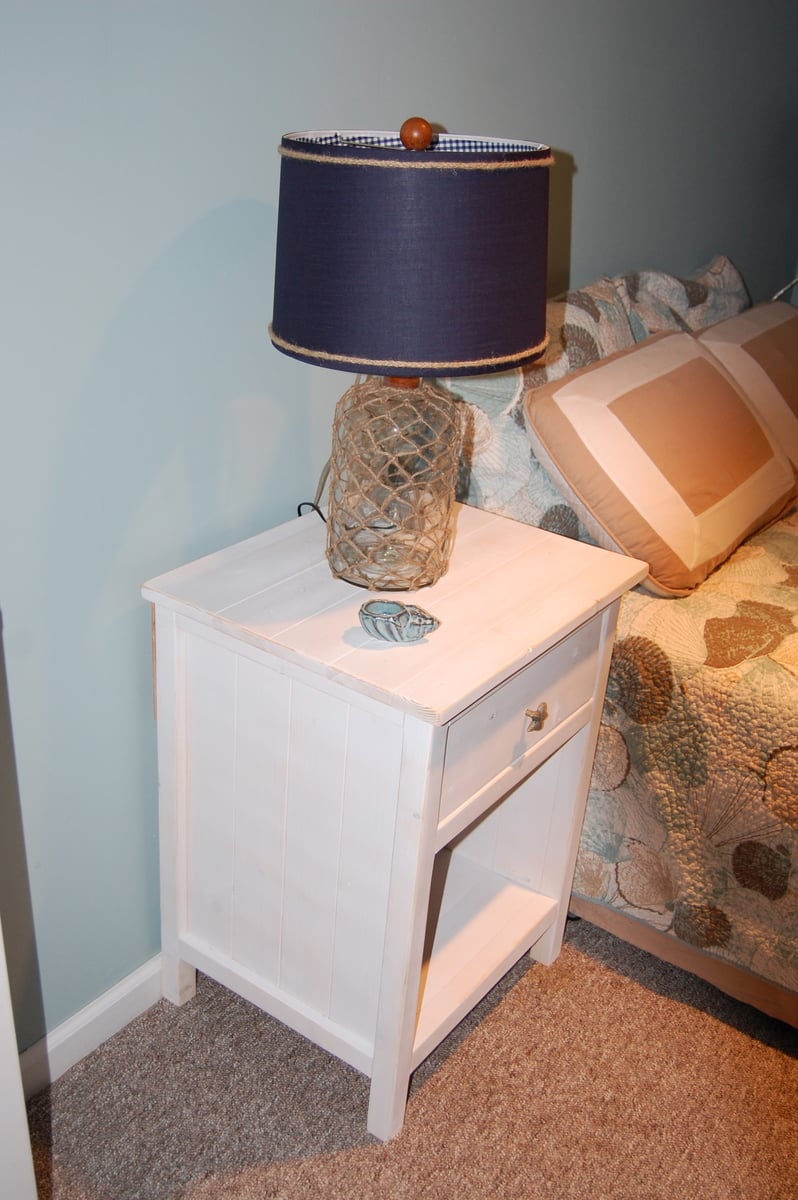
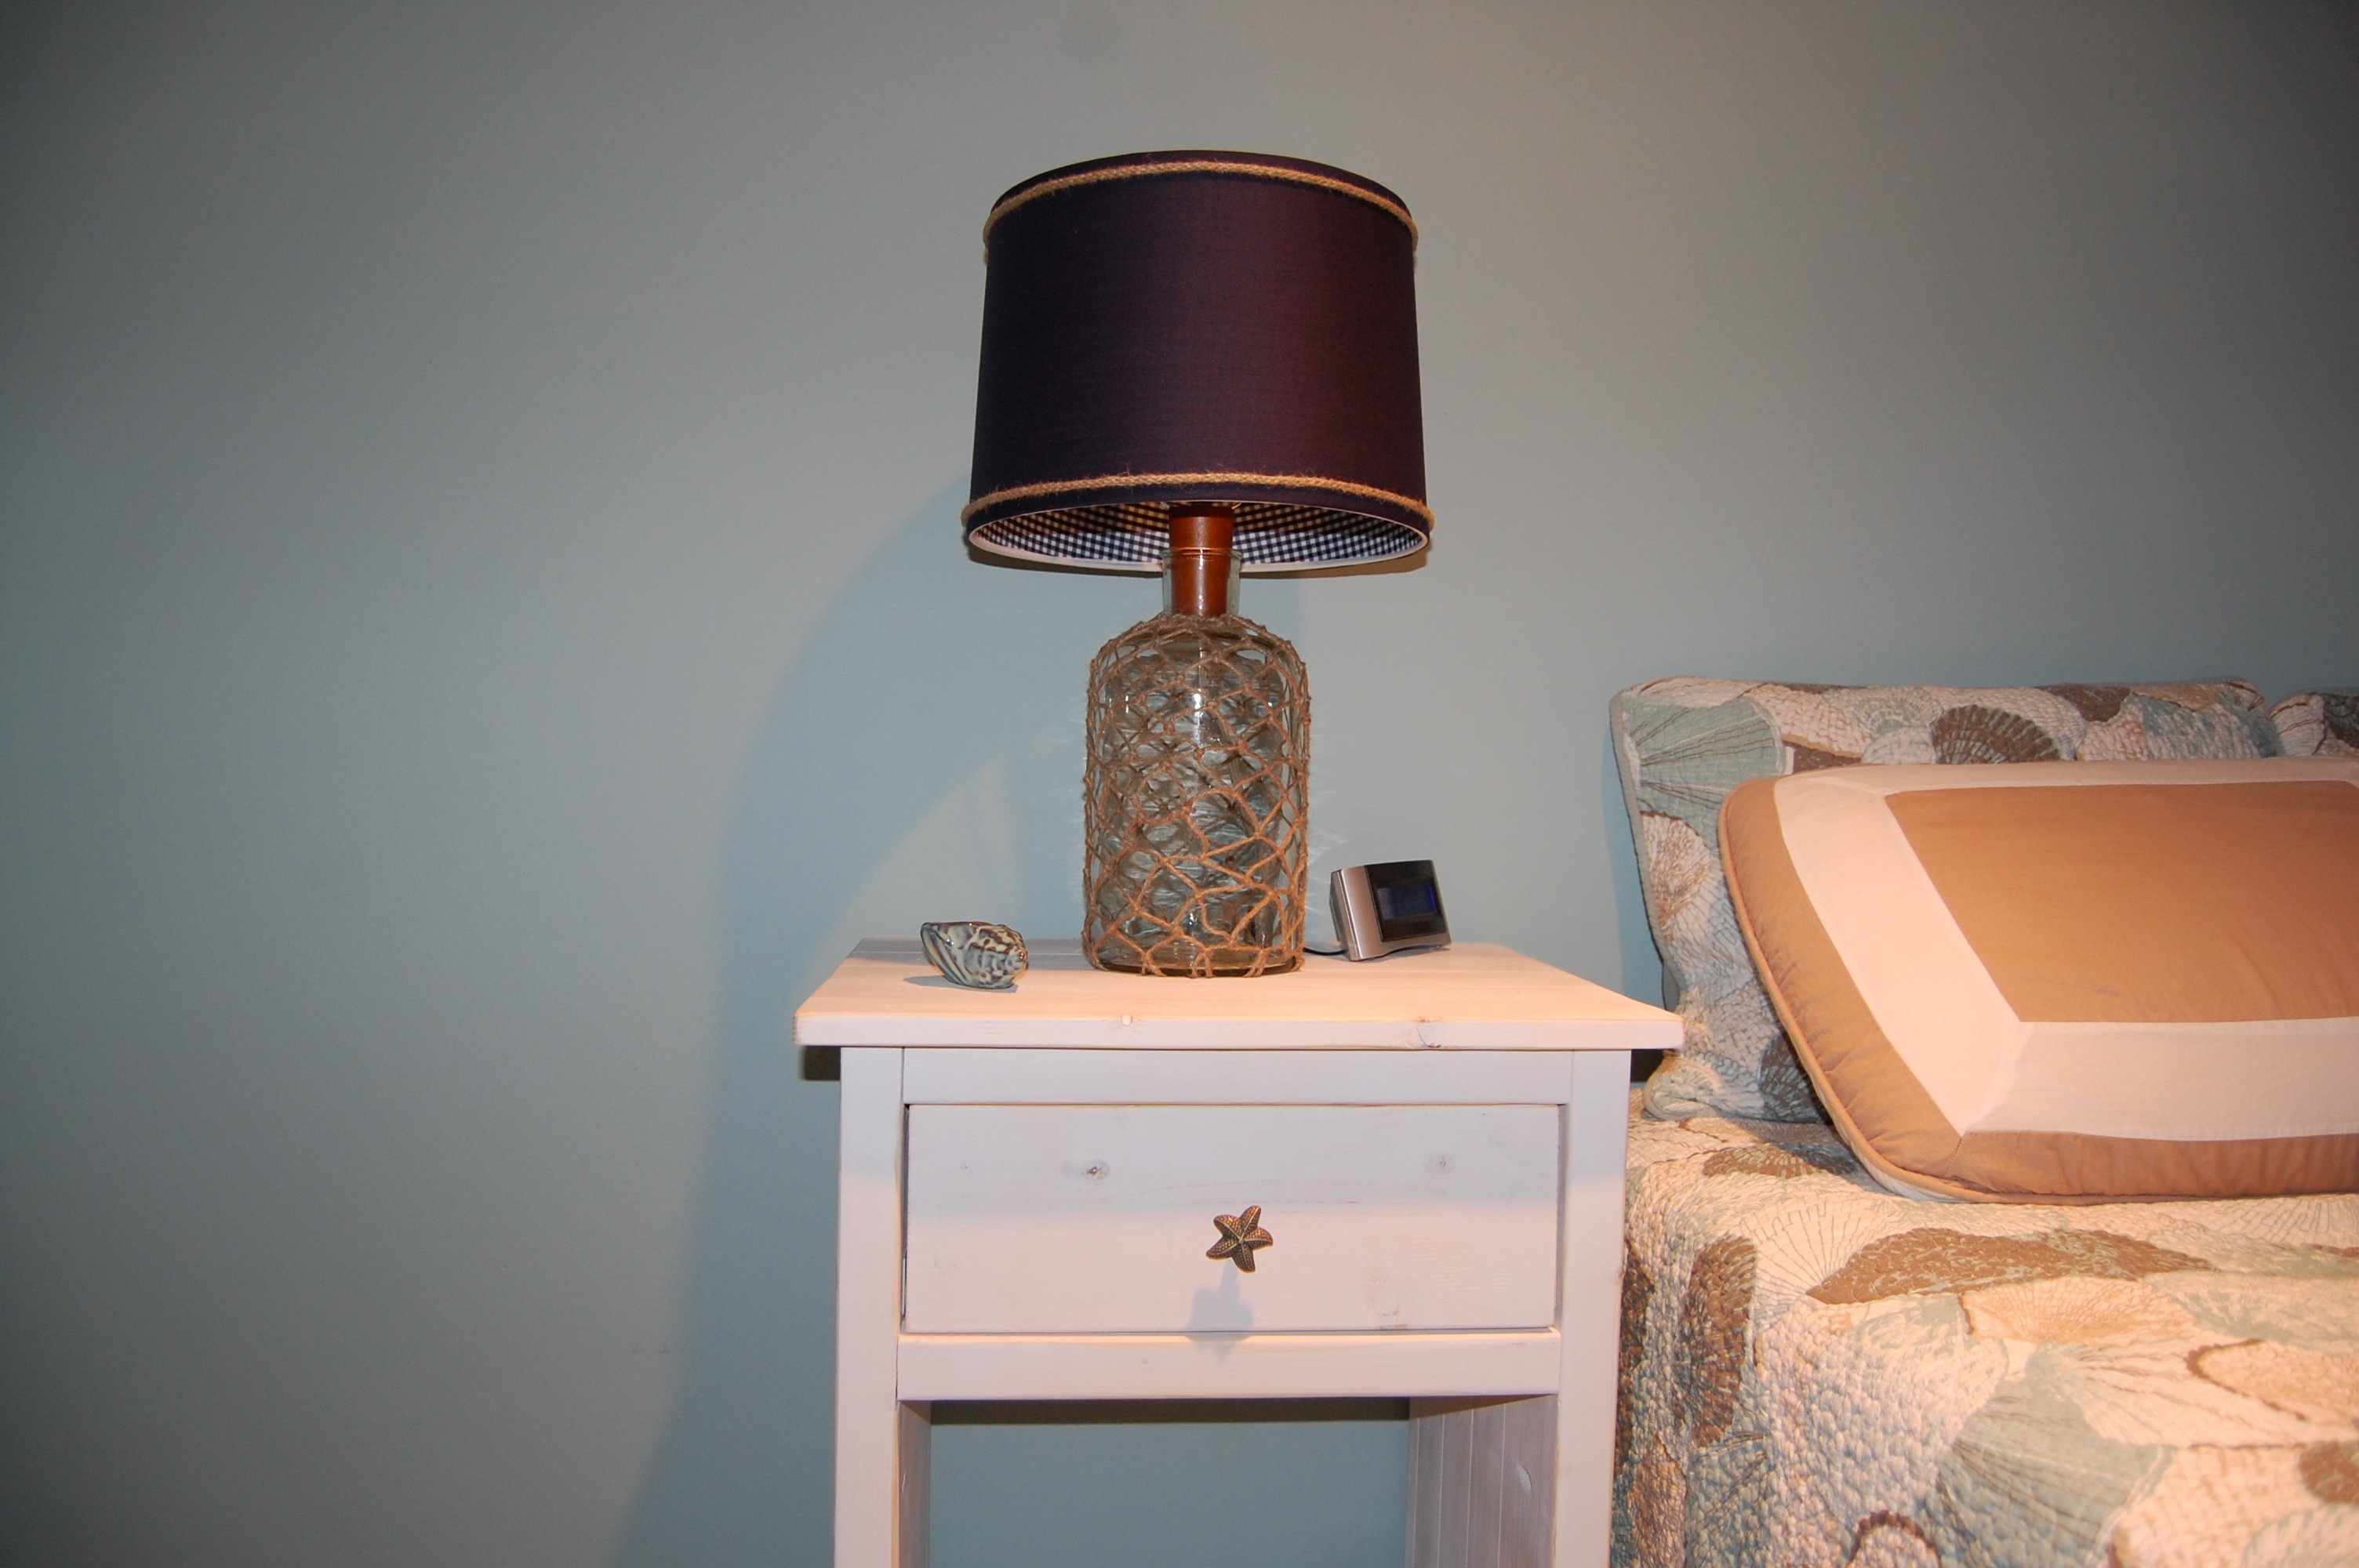
Behr white veil base with gray paint brushed to distress on base. Miniwax jacobean with semi gloss waterbase on top
Recommended Skill Level
Intermediate