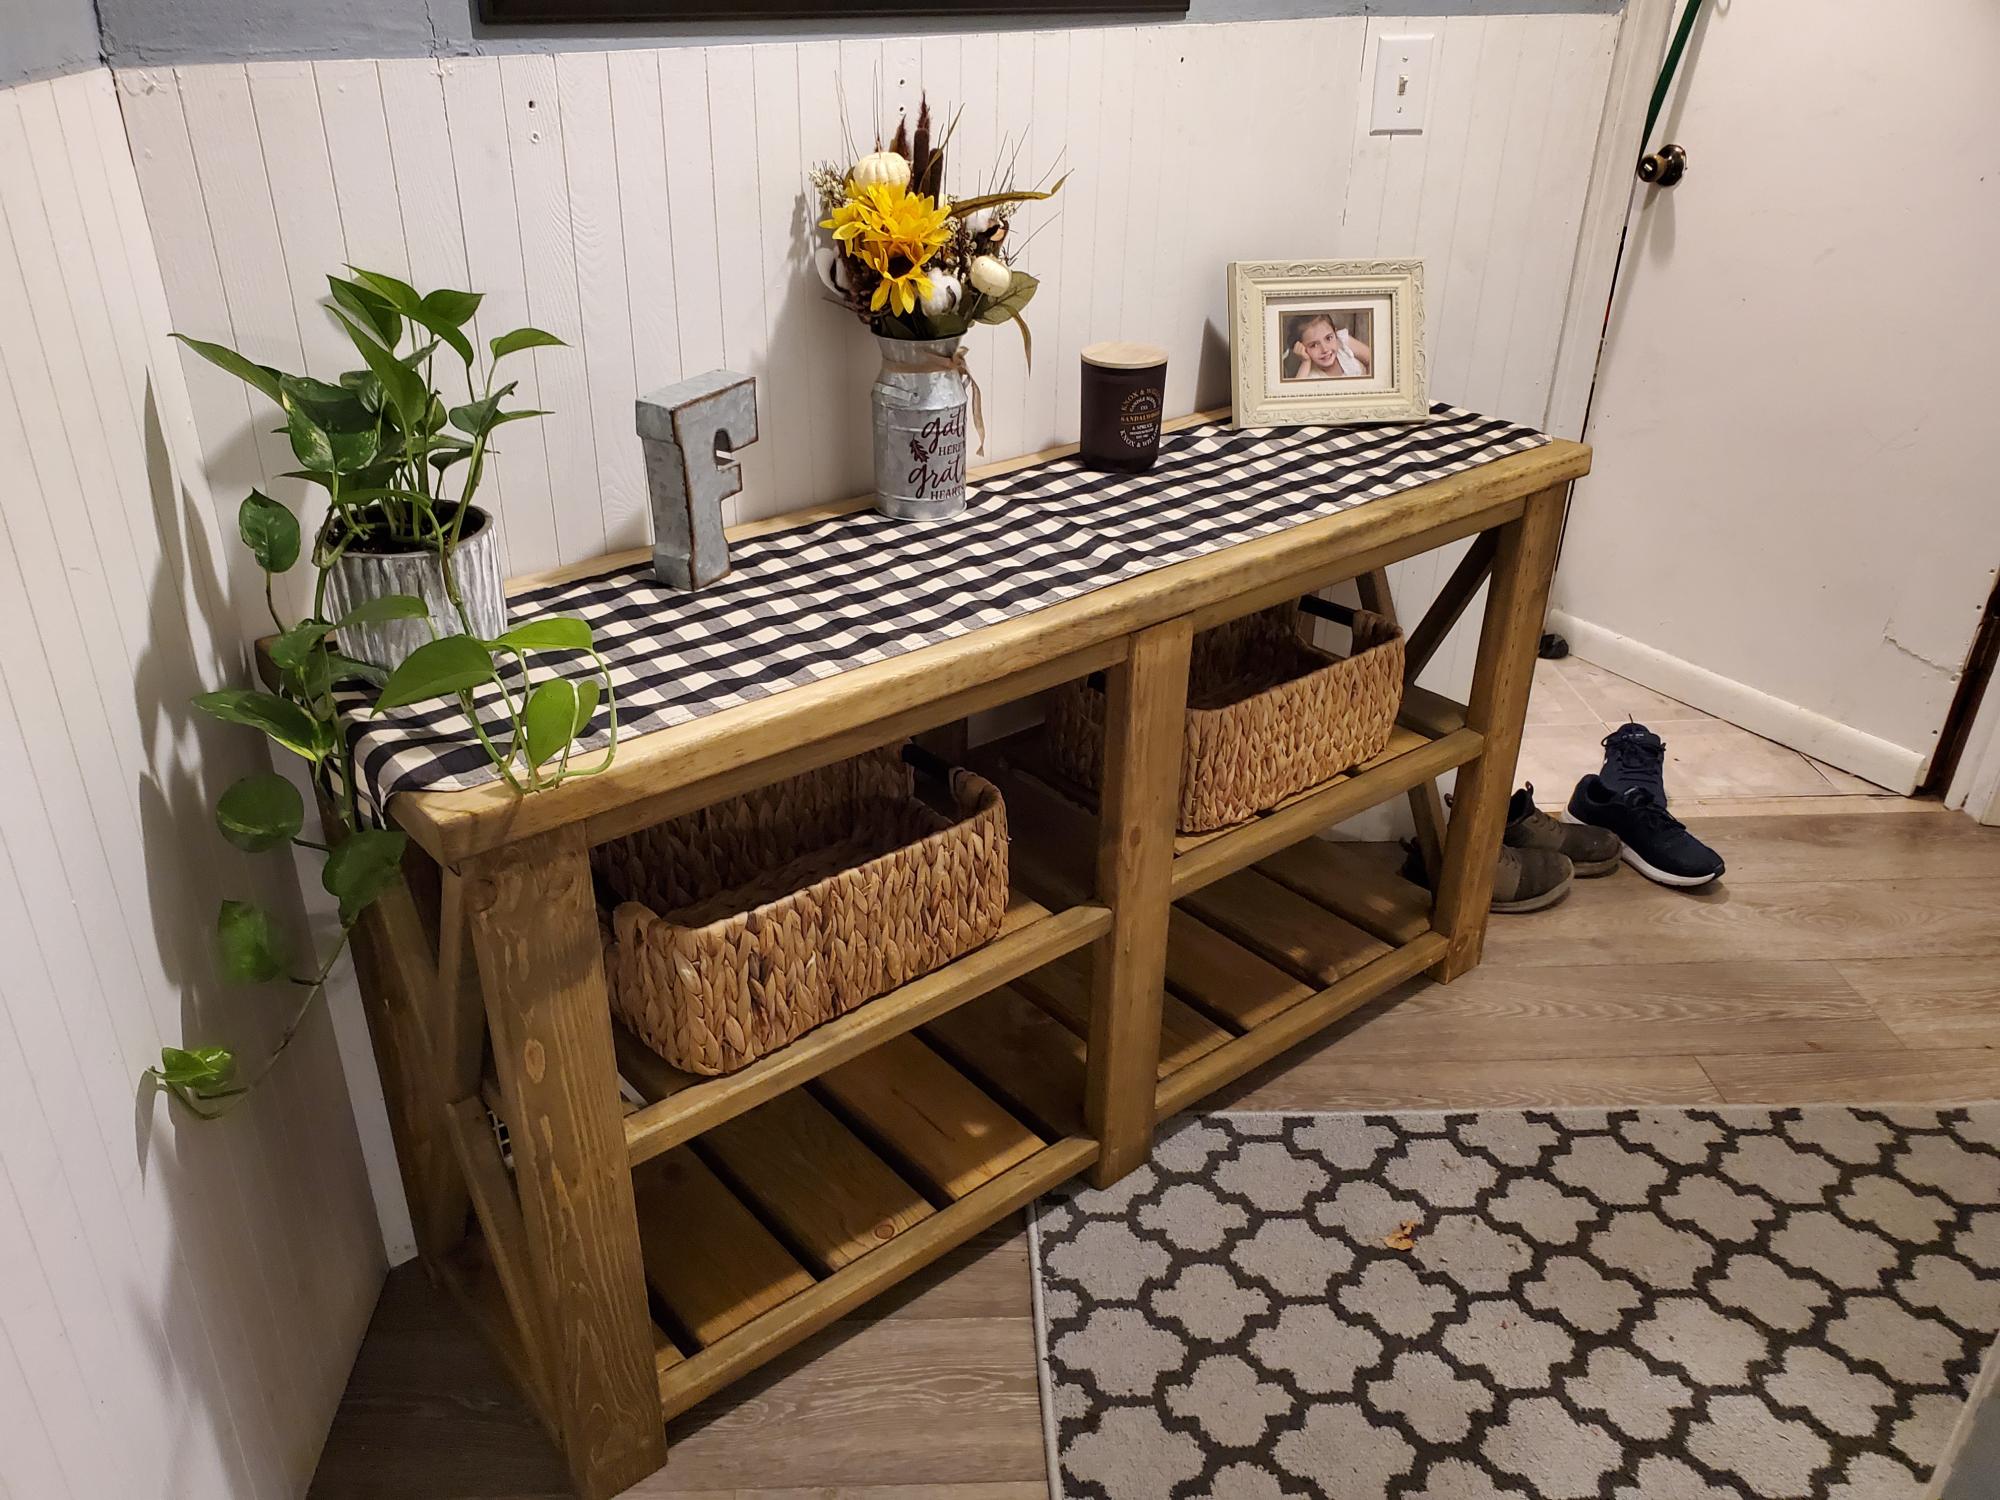
My Apothecary Cabinet
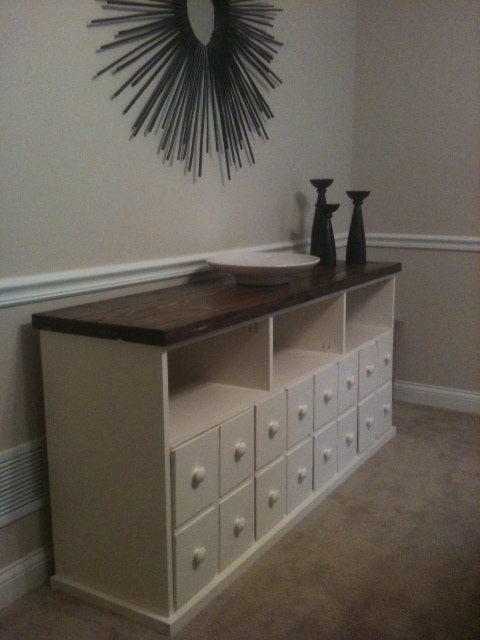
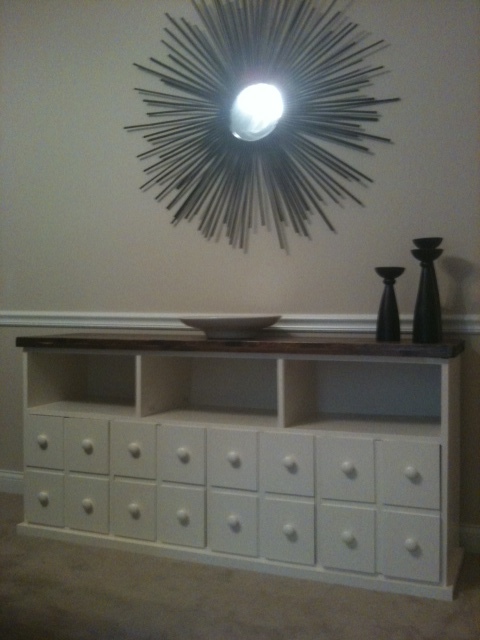
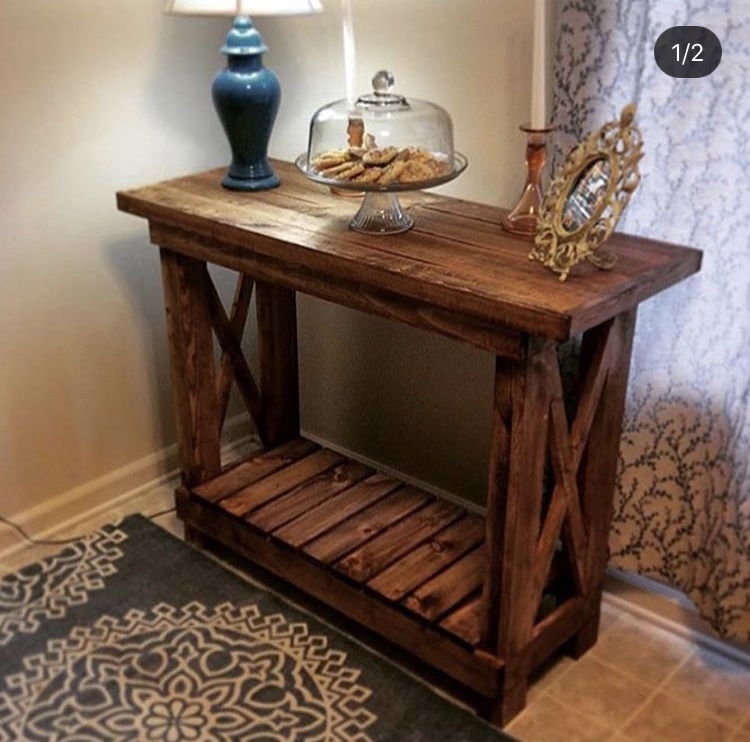
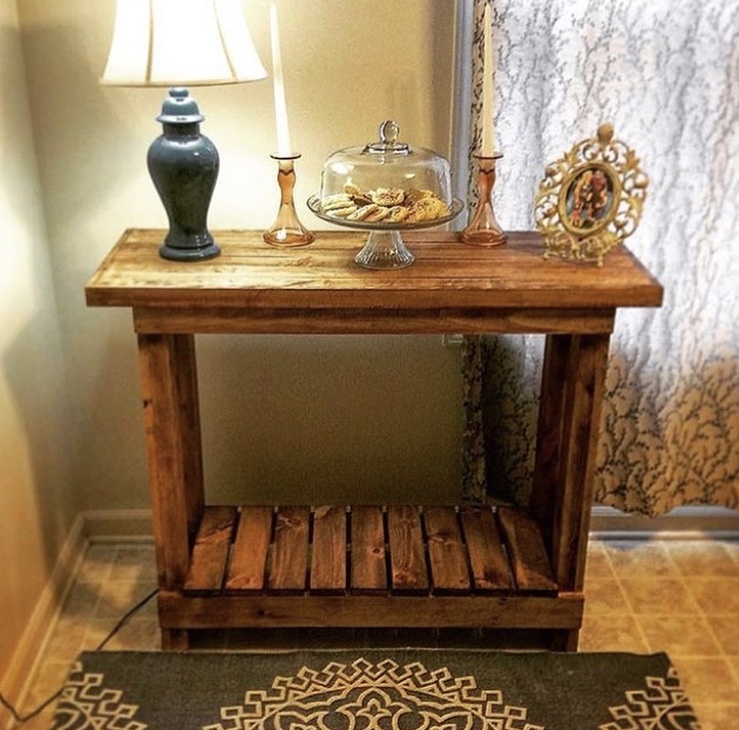
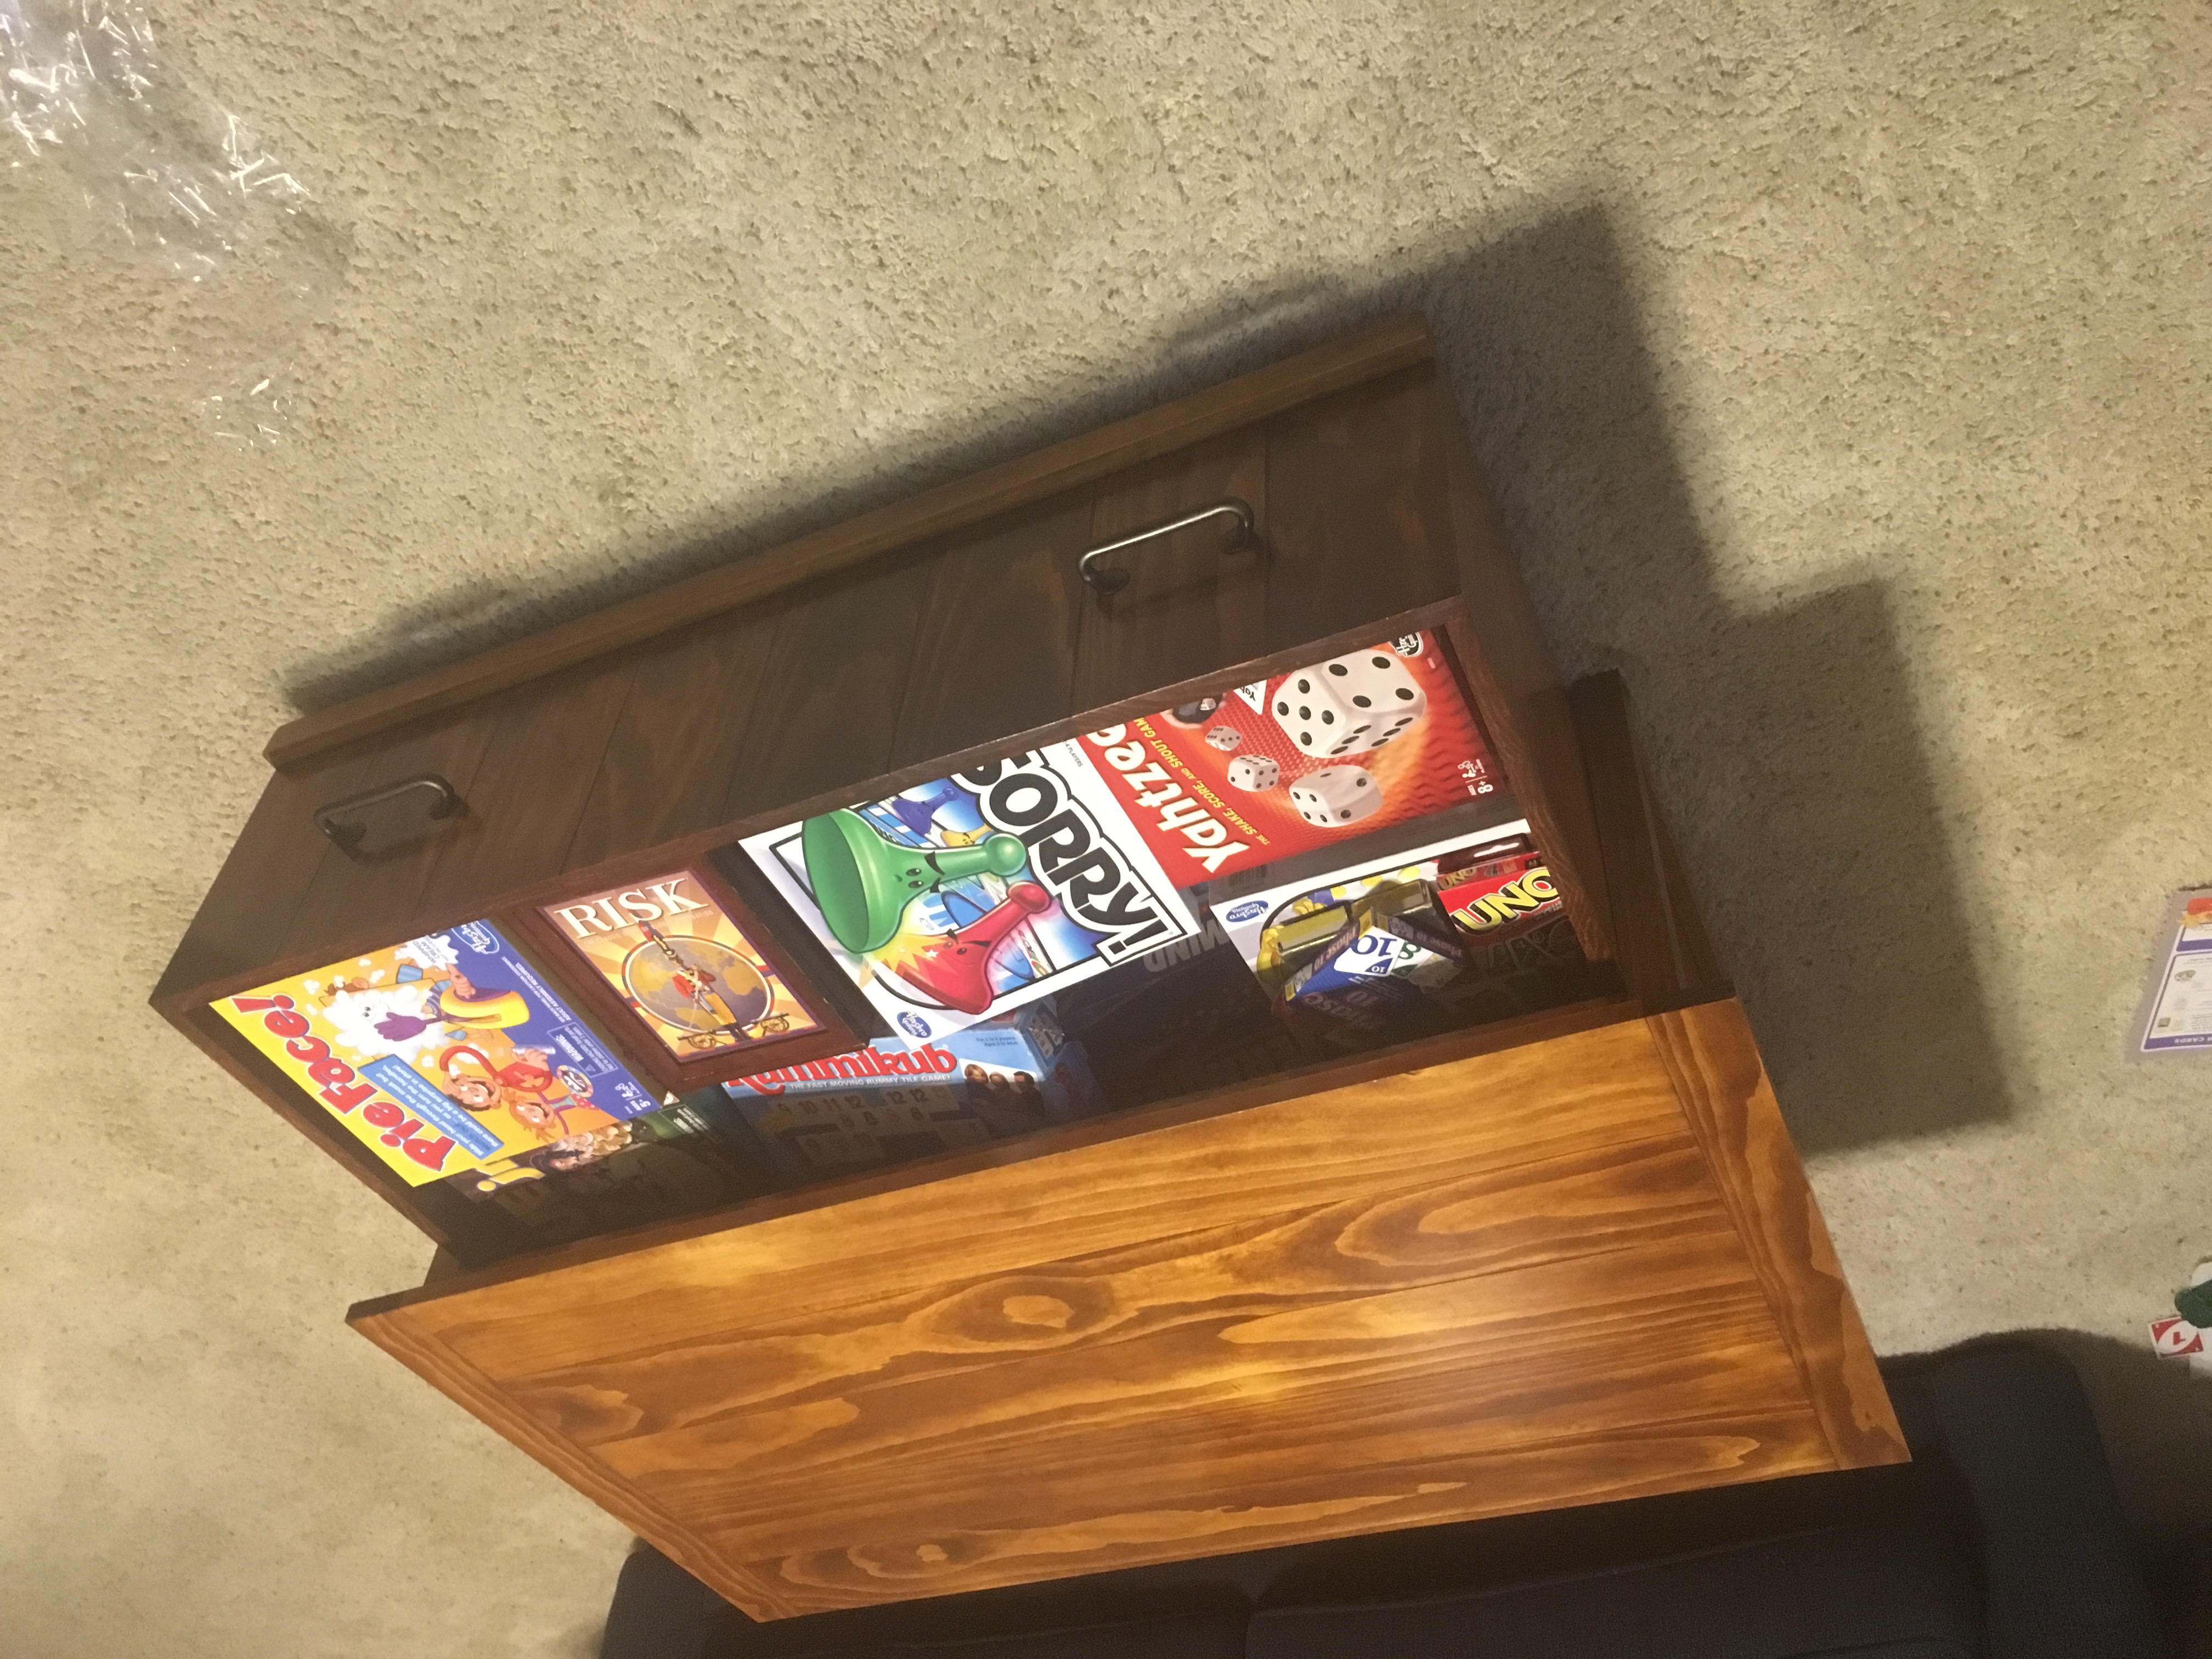
I have always loved apothecary consoles! Then my grandmother gave me her huge collection of pottery, which I have admired since I was a kid. I had nowhere to put it, so it was a perfect excuse to build this.
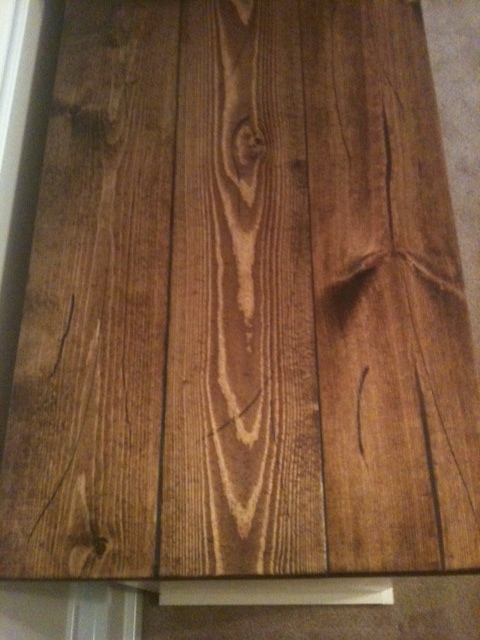
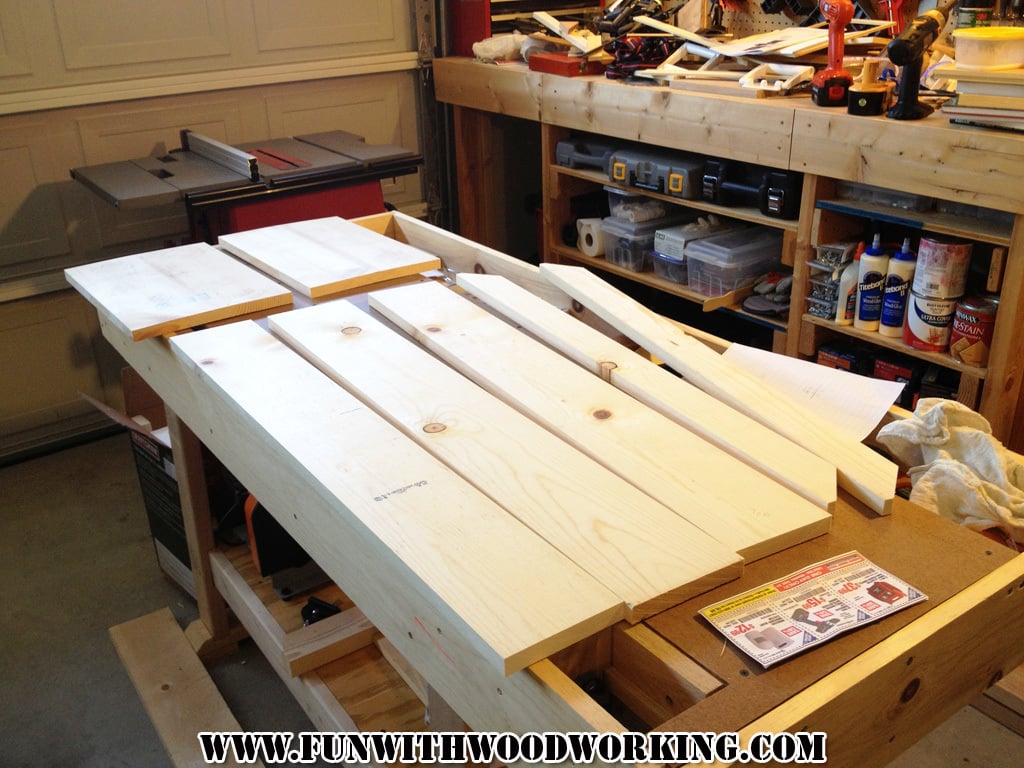
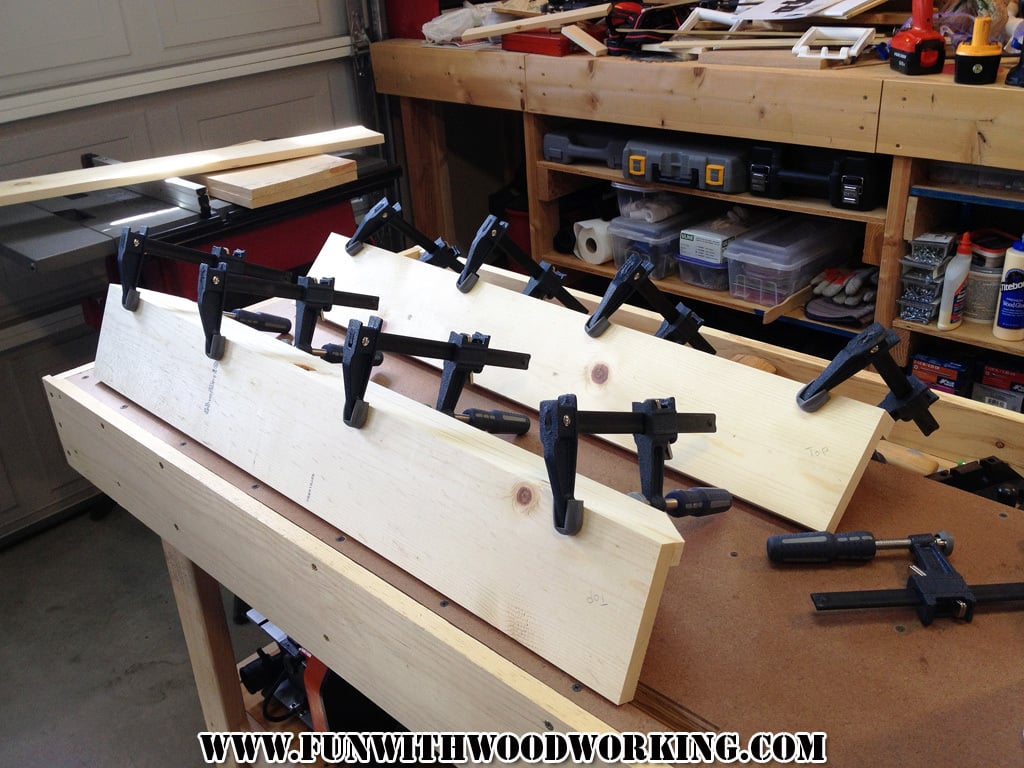
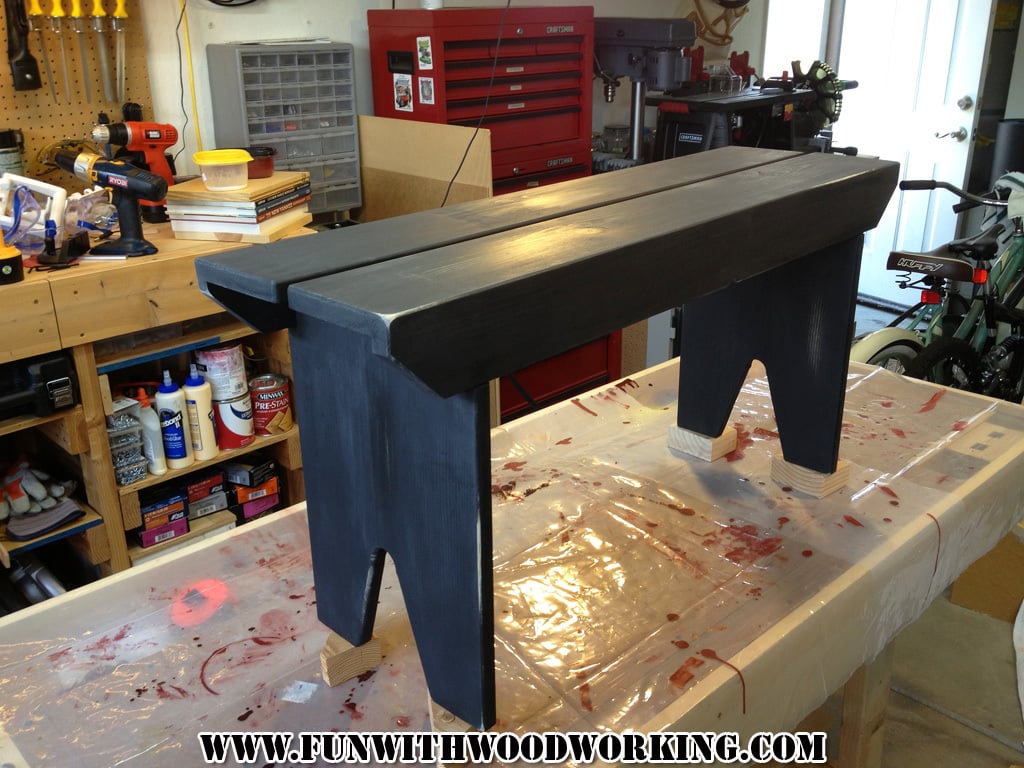
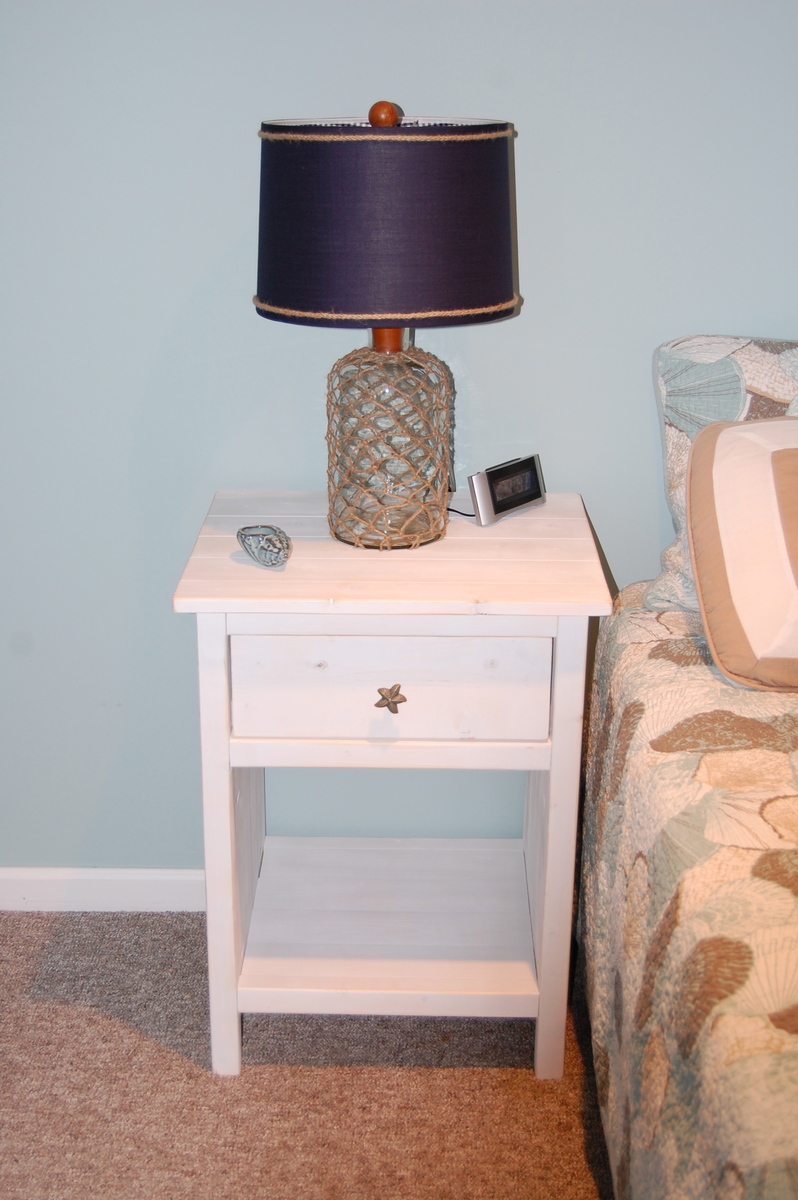
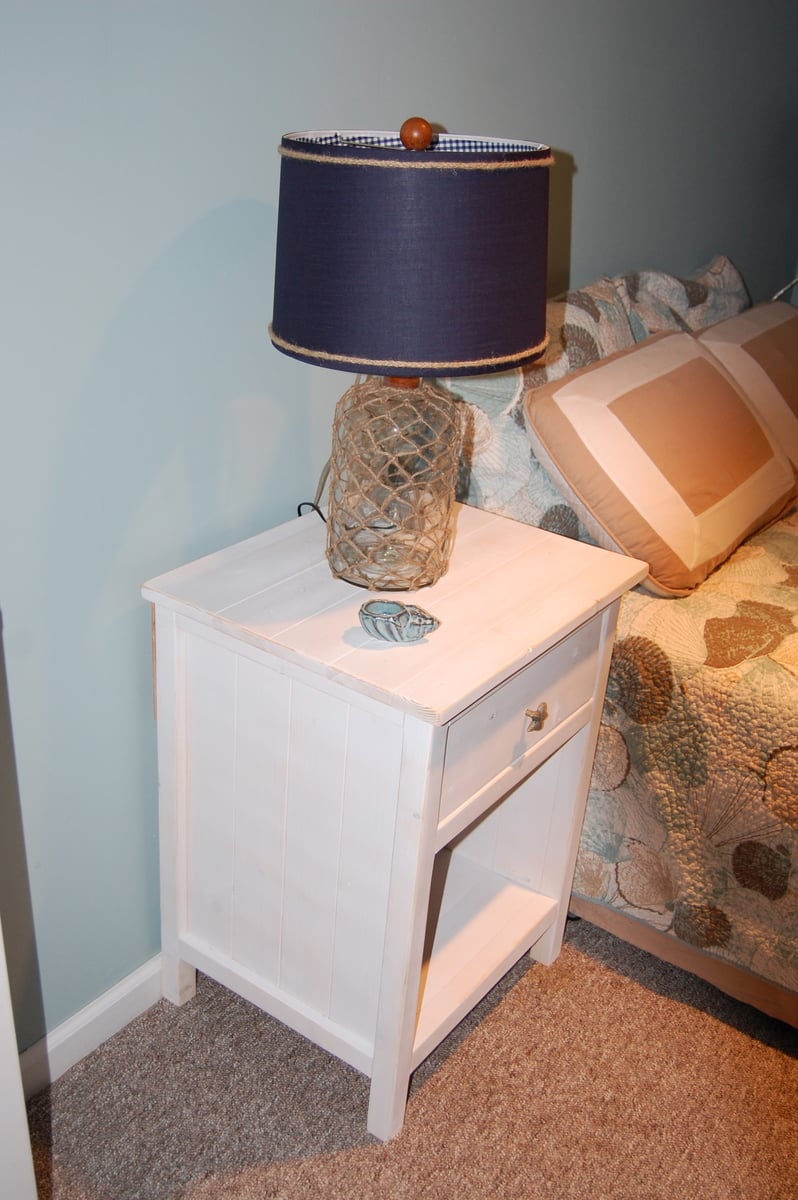
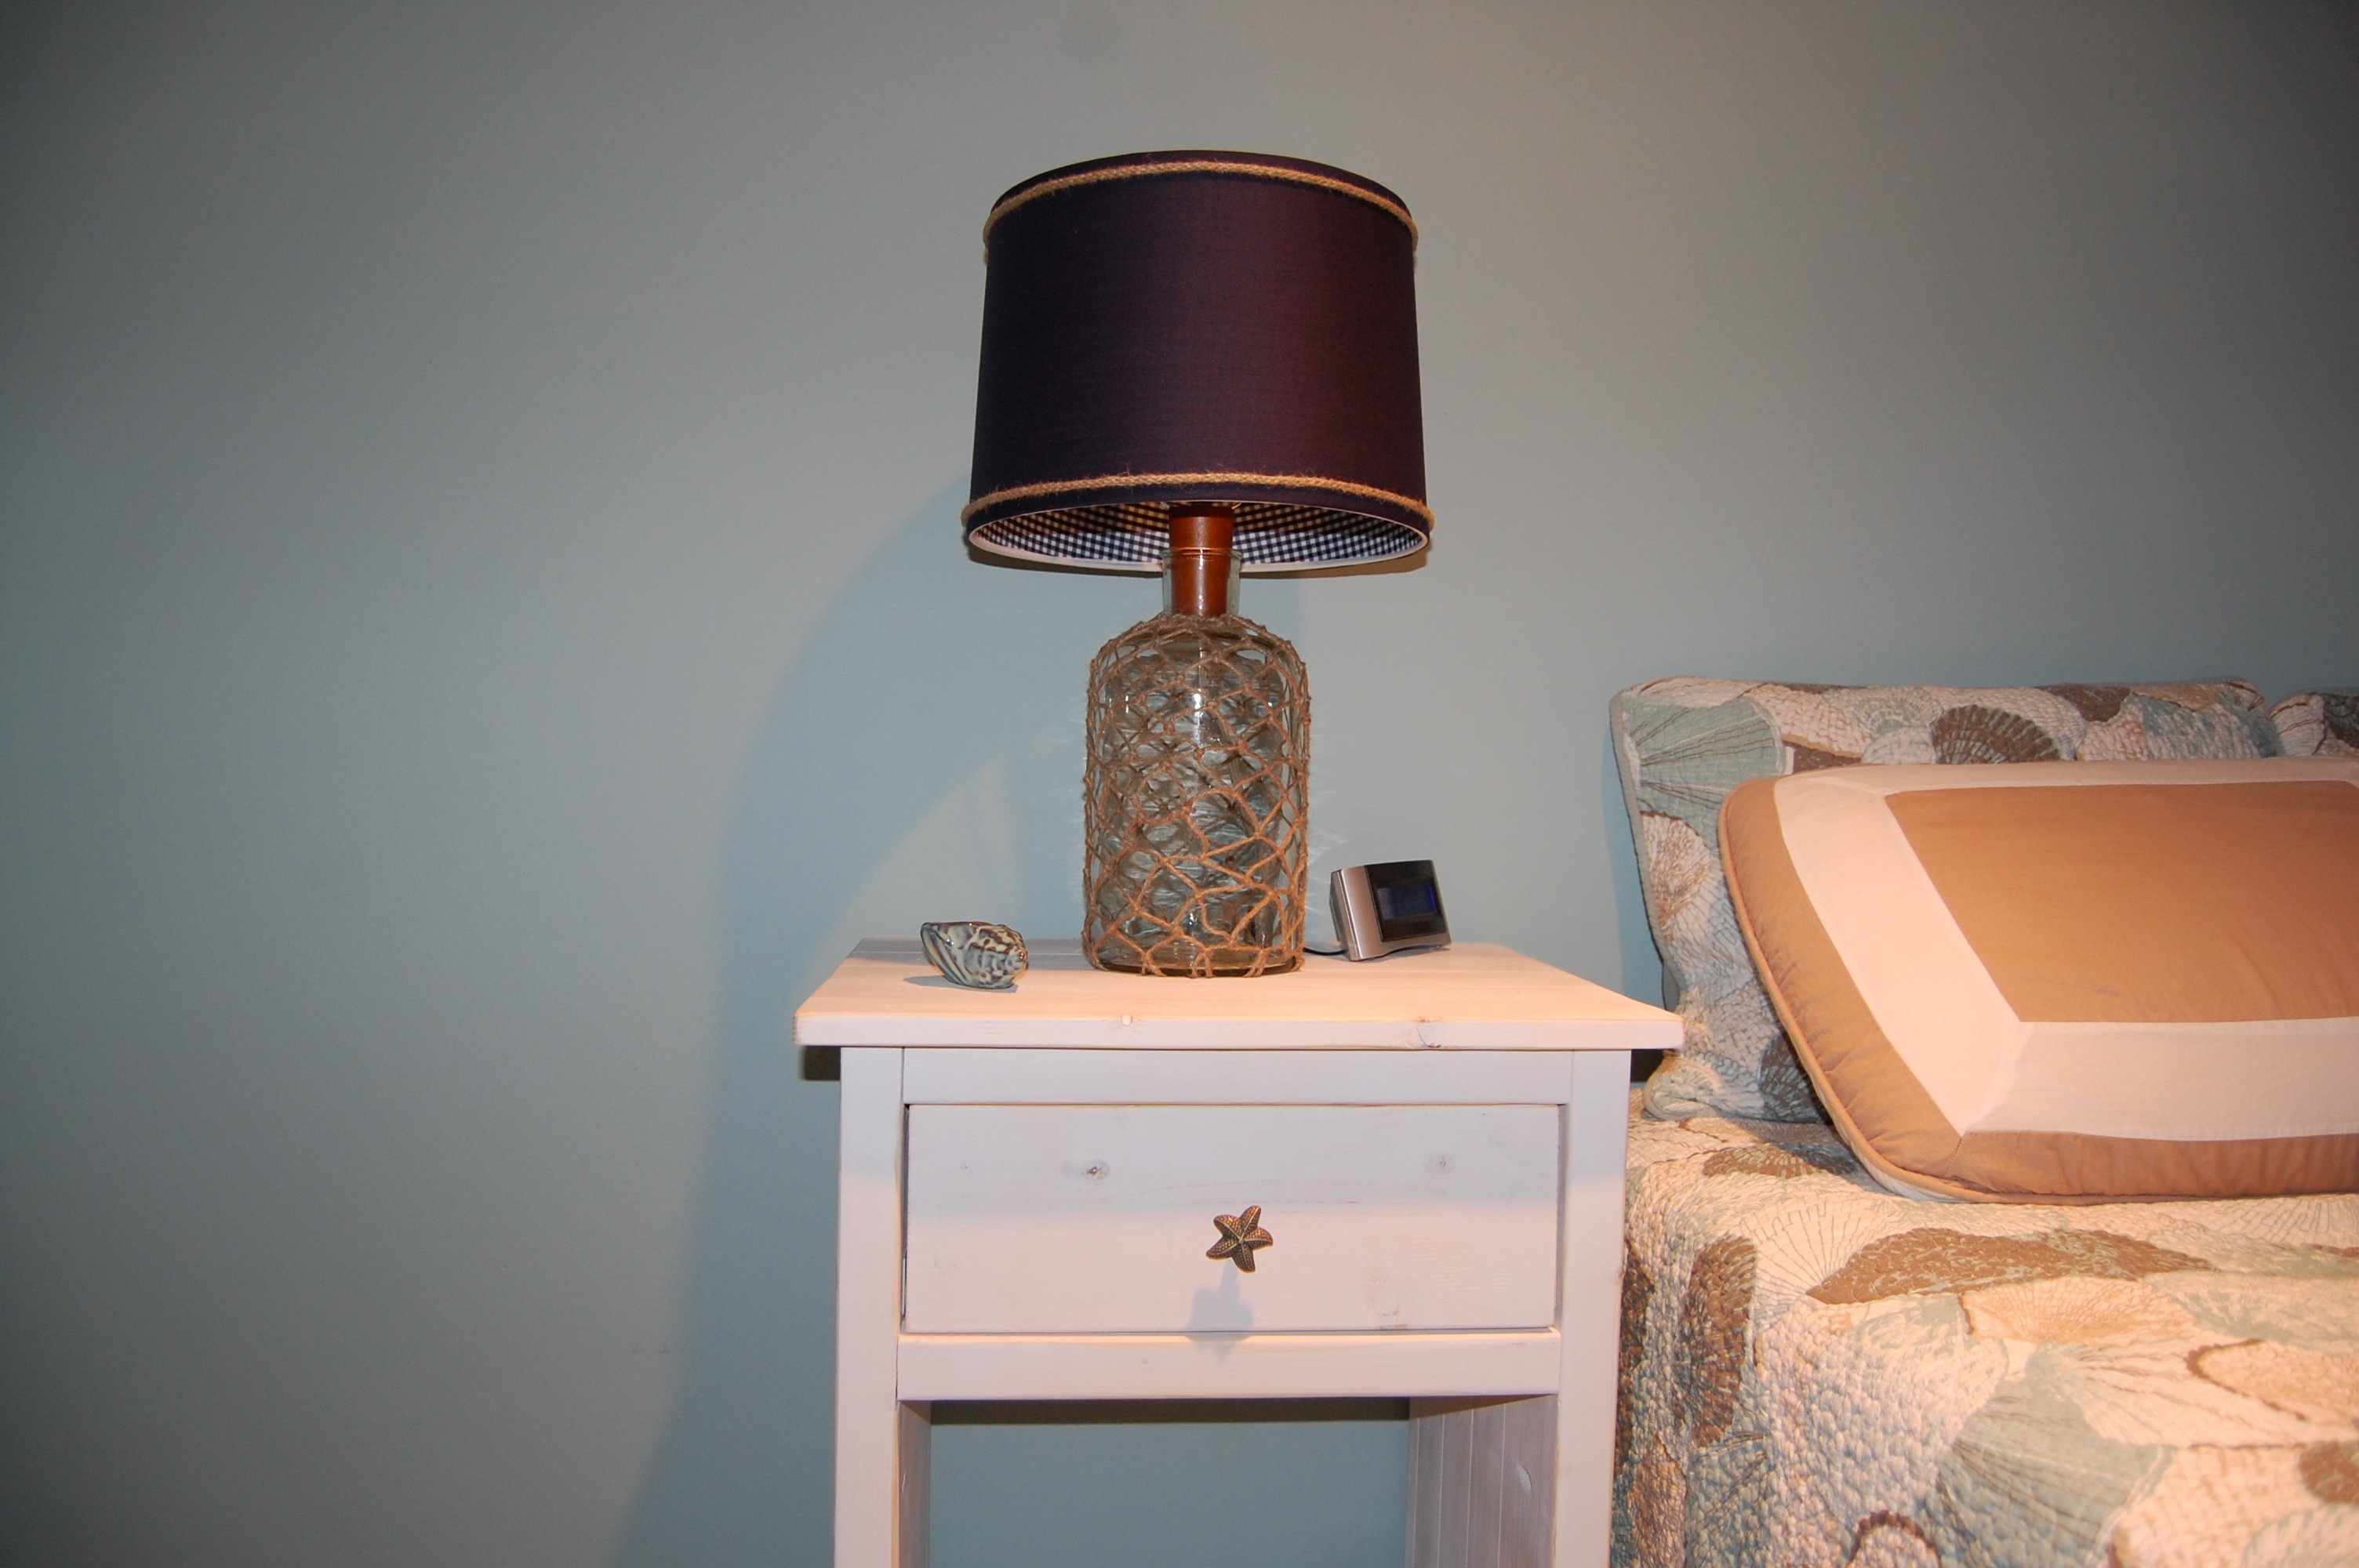
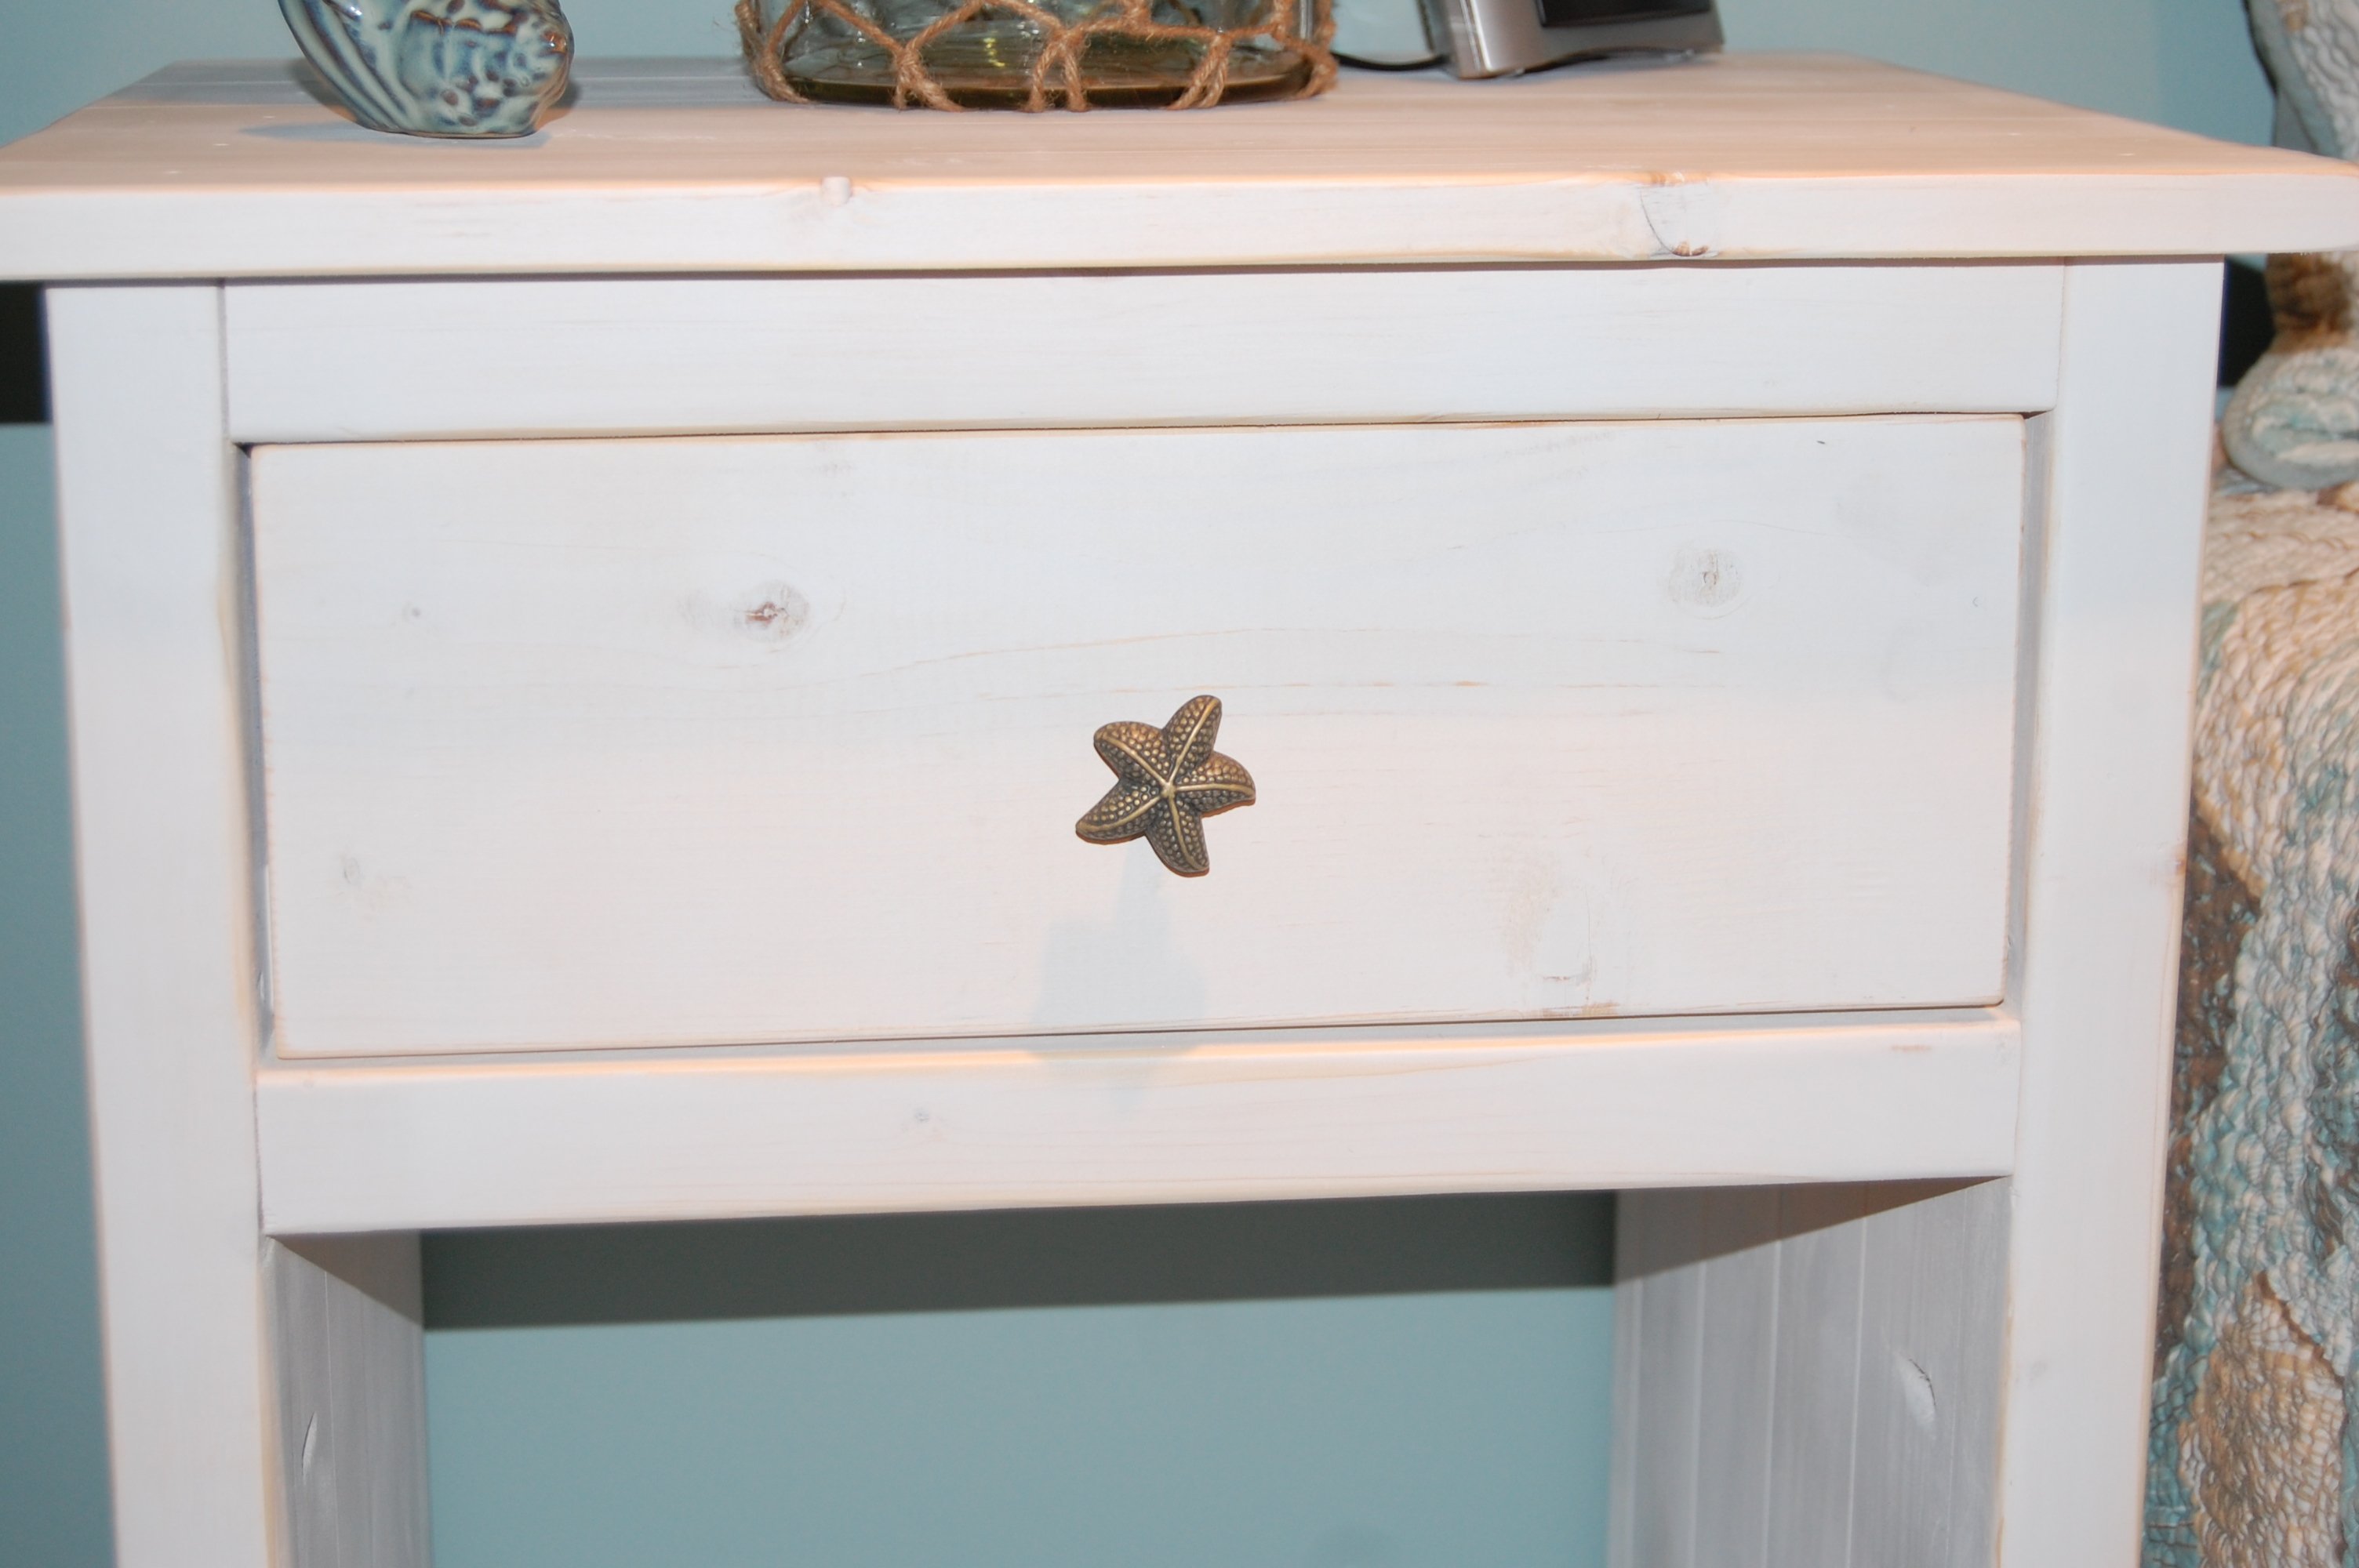
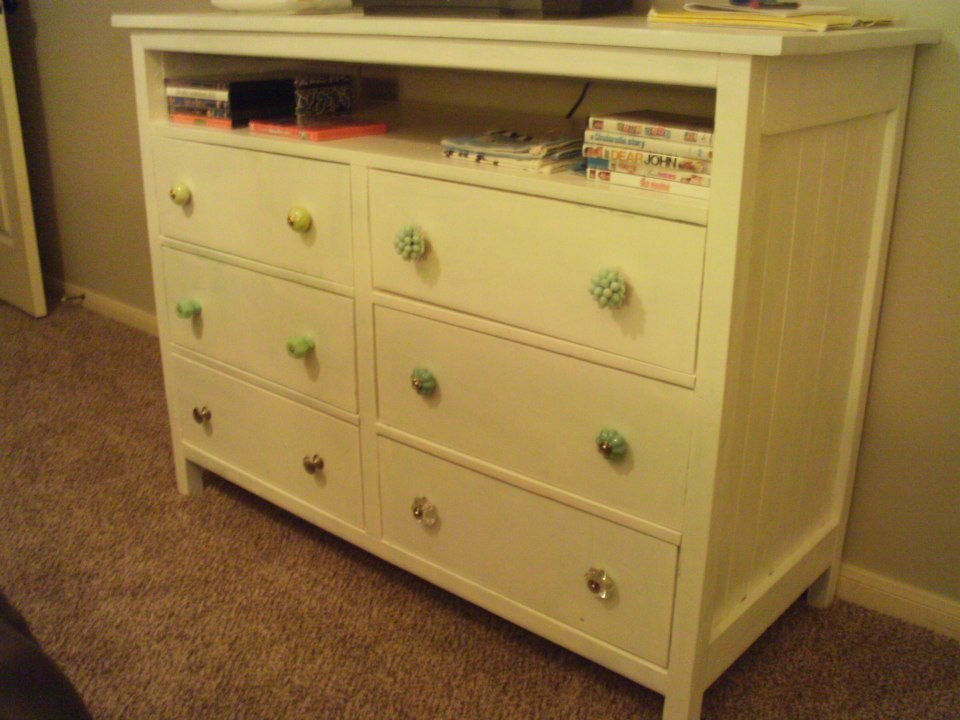
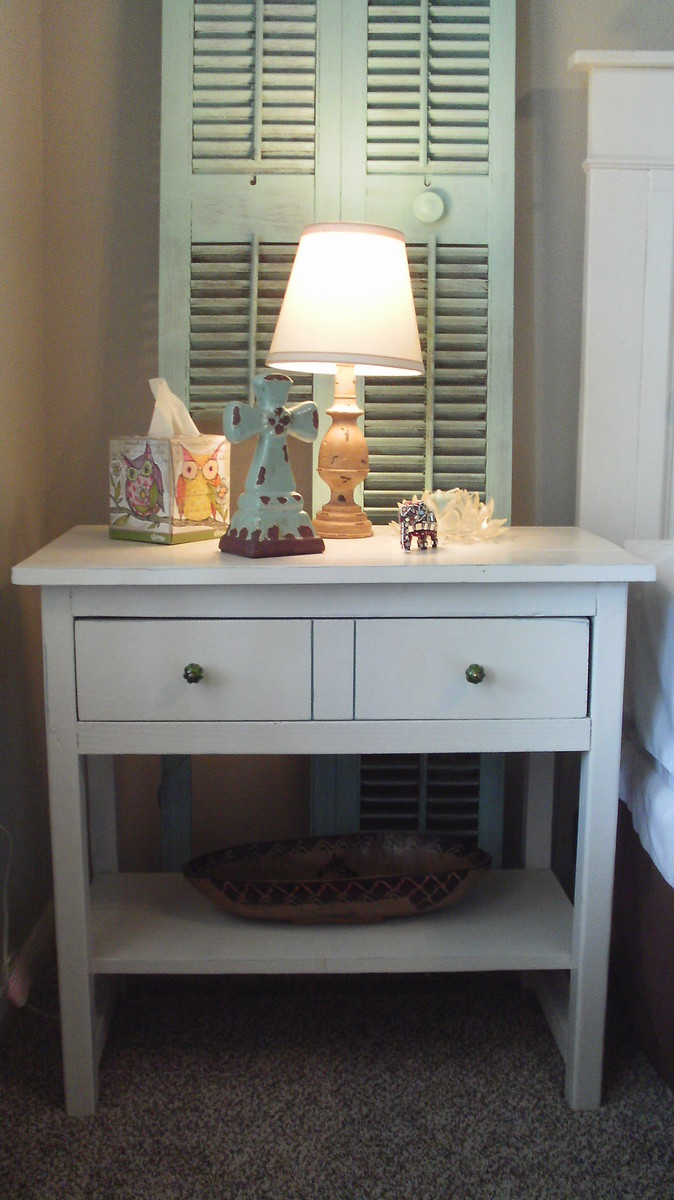
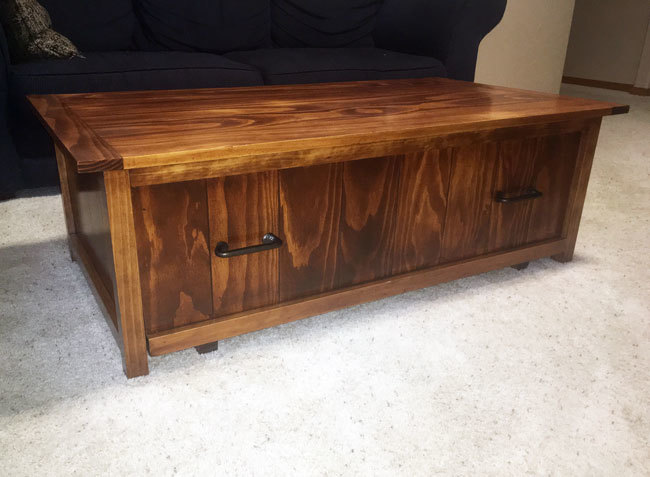
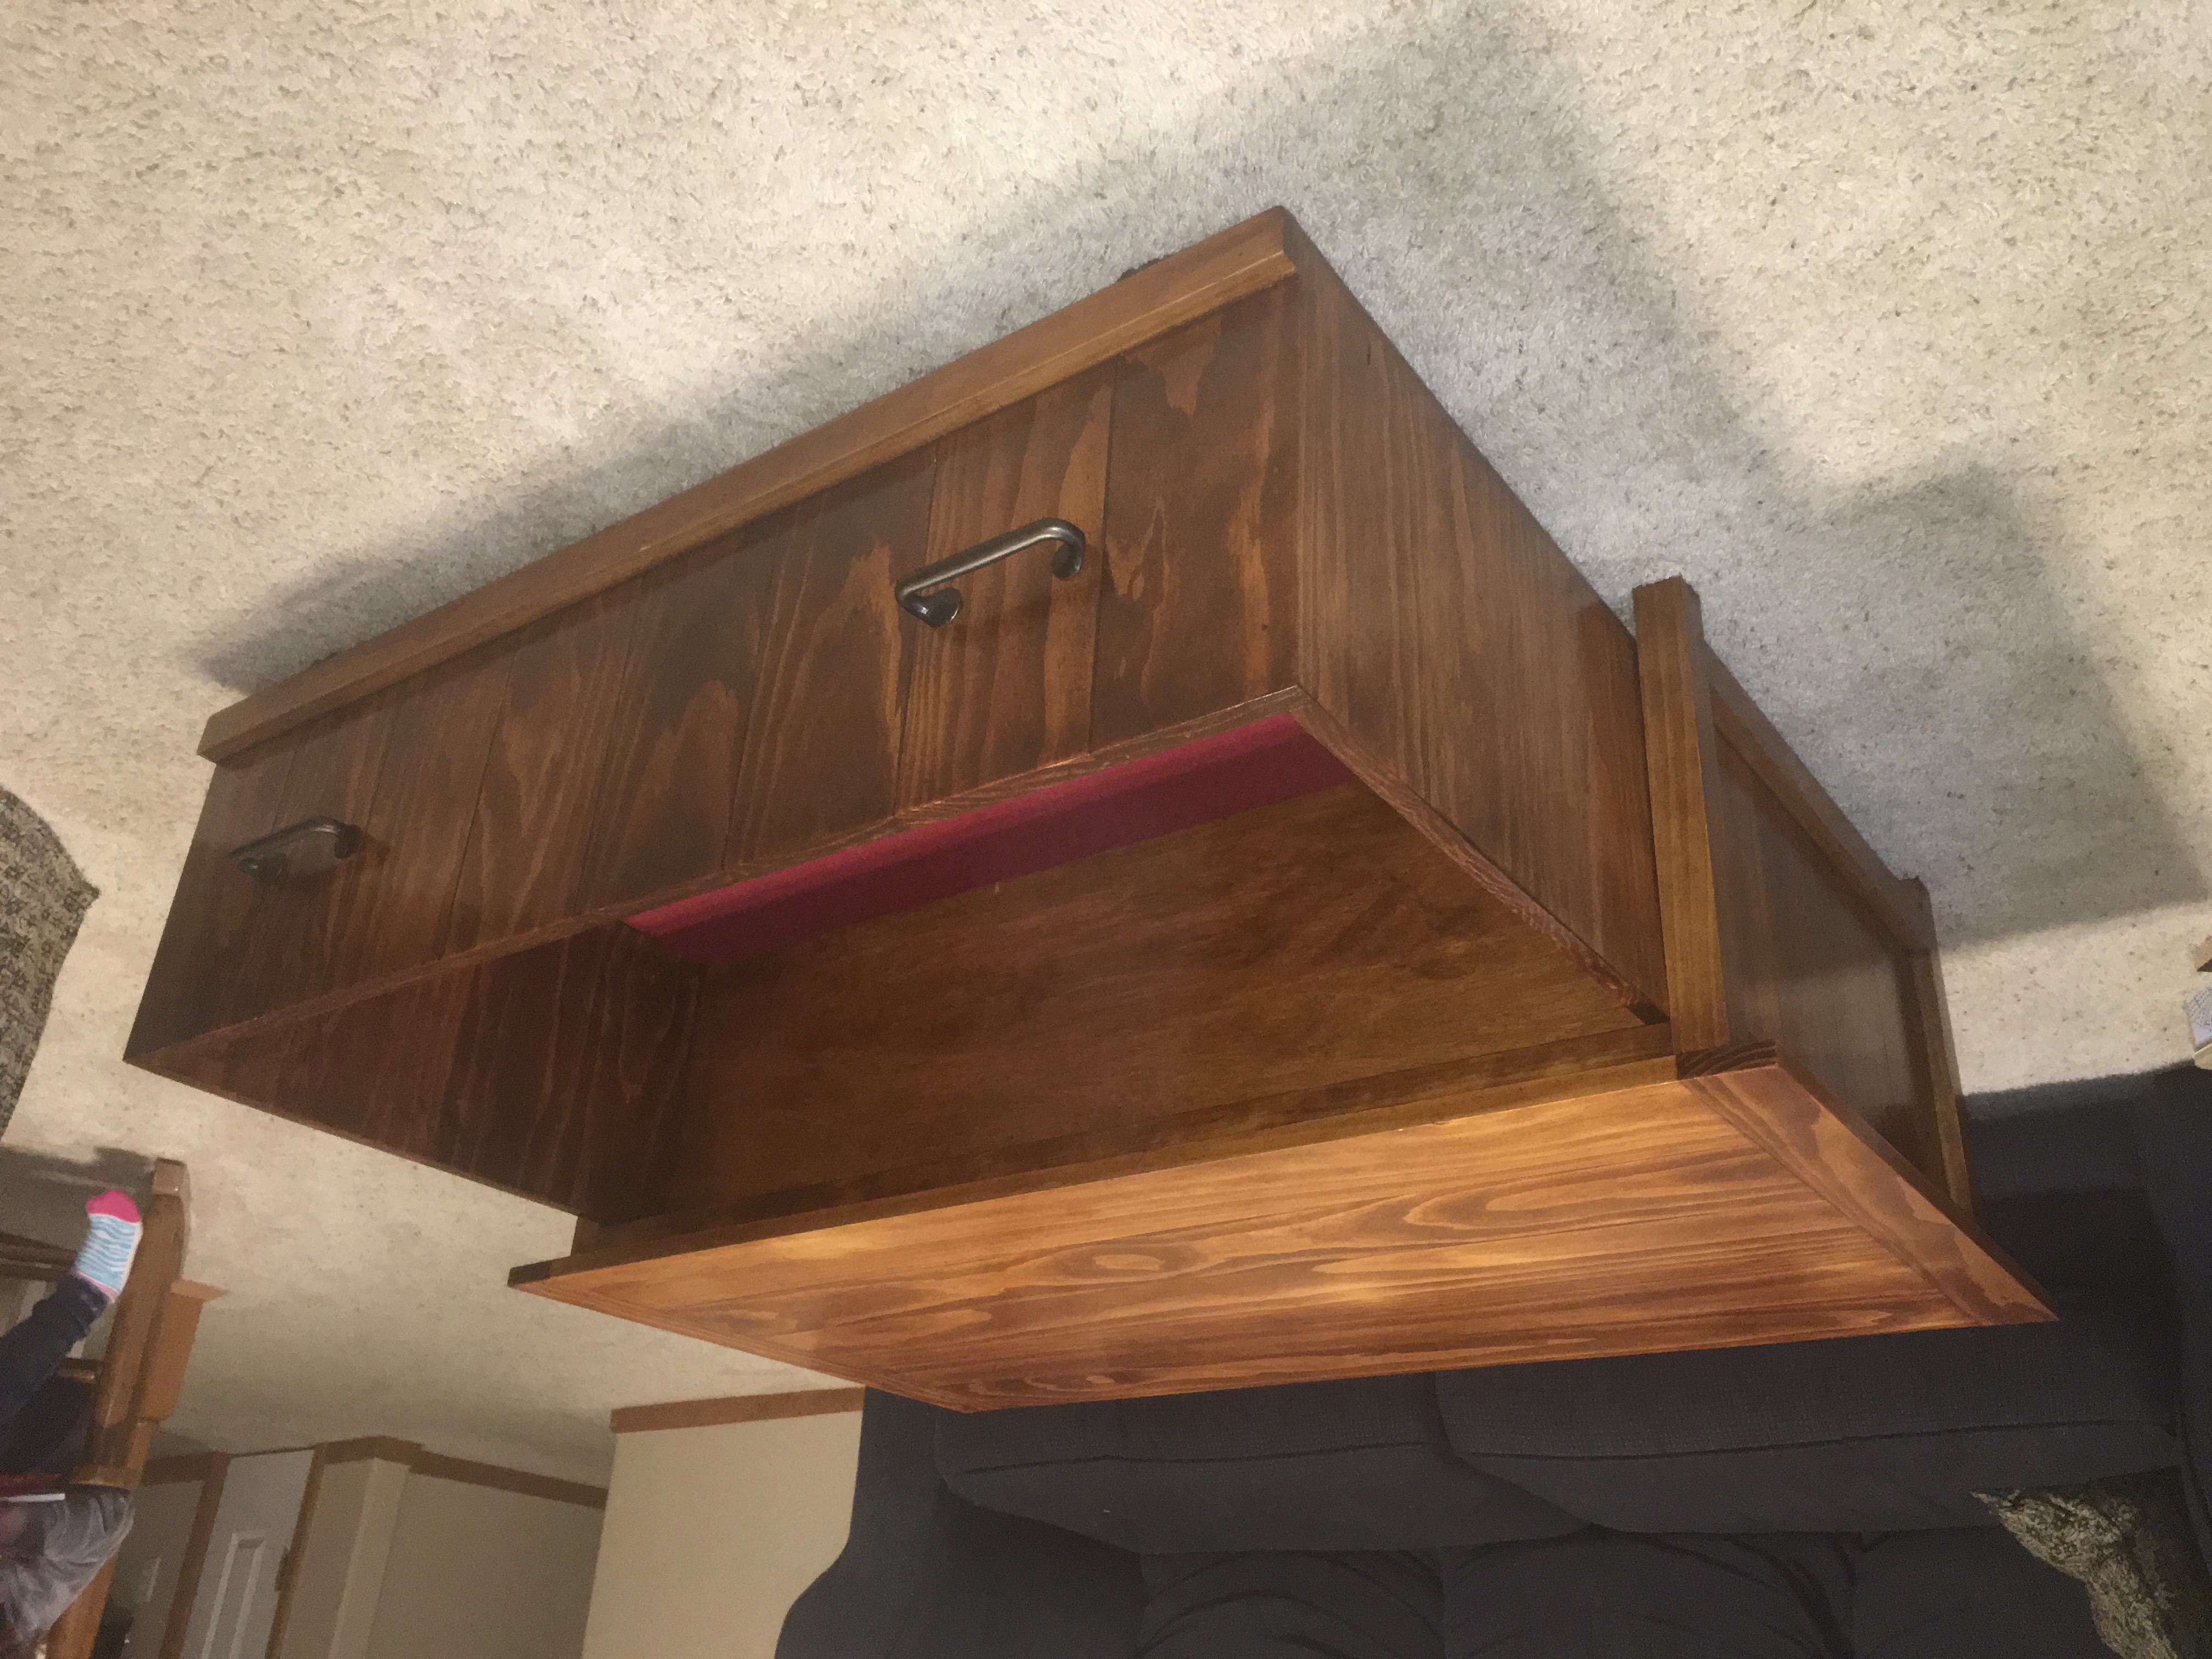
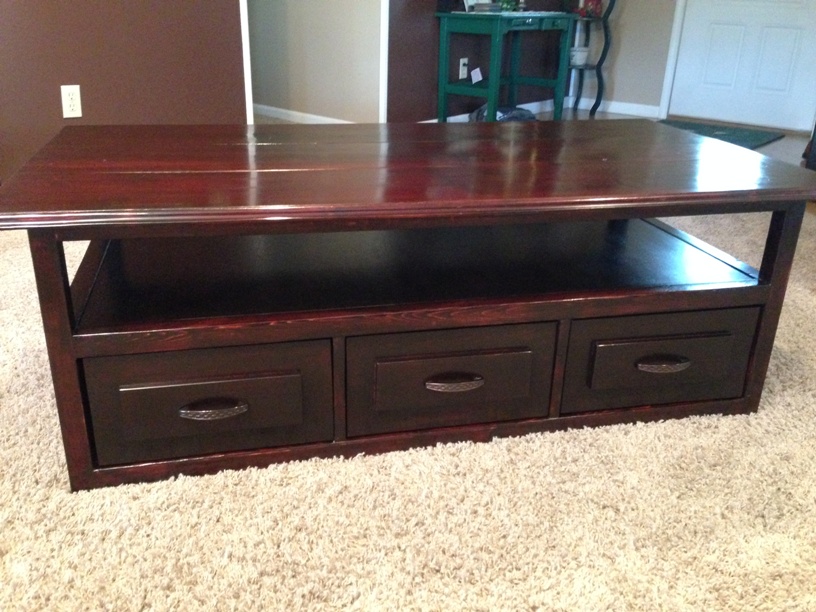
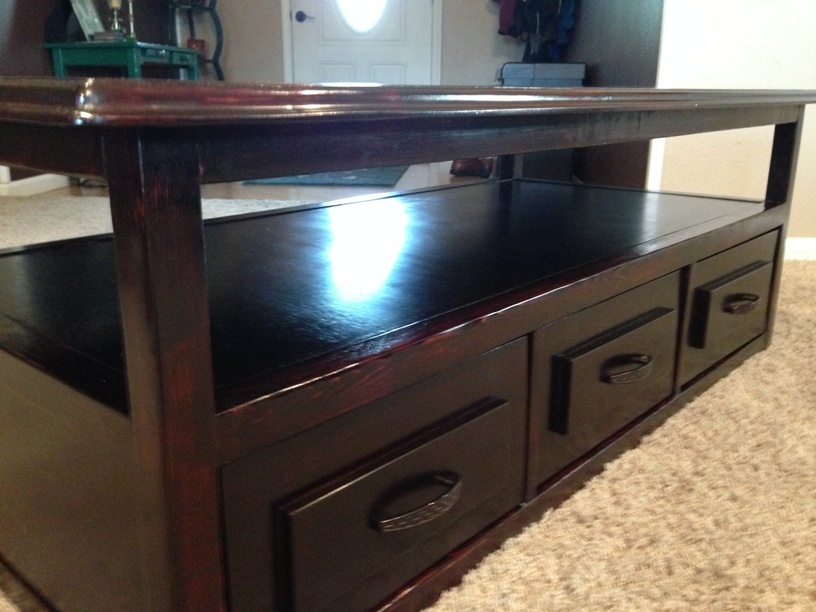
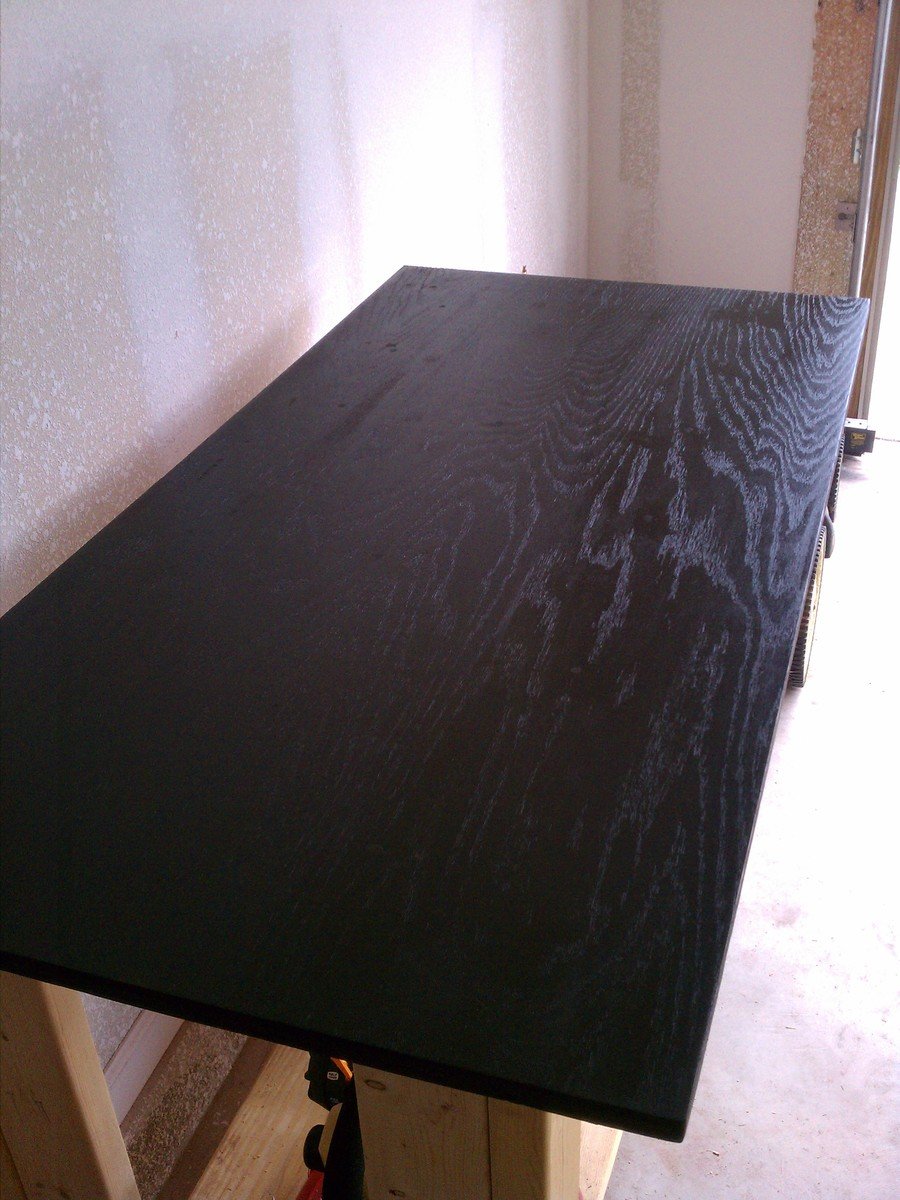
I used MDF for the cabinet and pine for the top. I did a thick top, I stacked two 1x6s on top of each other, giving me 1.5" thick top. I also distressed in and filled in with Ebony Wood filler. I absolutely love how it turned out. I hadn't used pine before, I always use poplar. This project made me love pine!
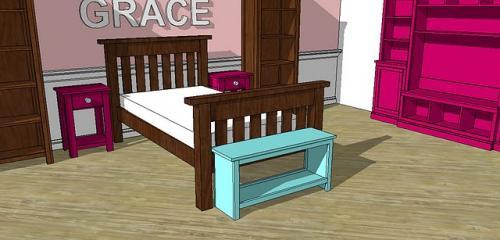
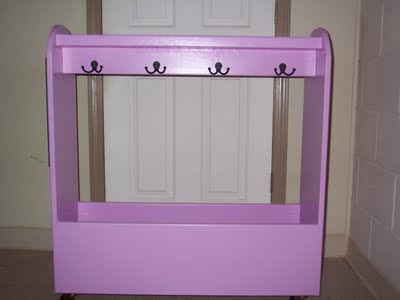
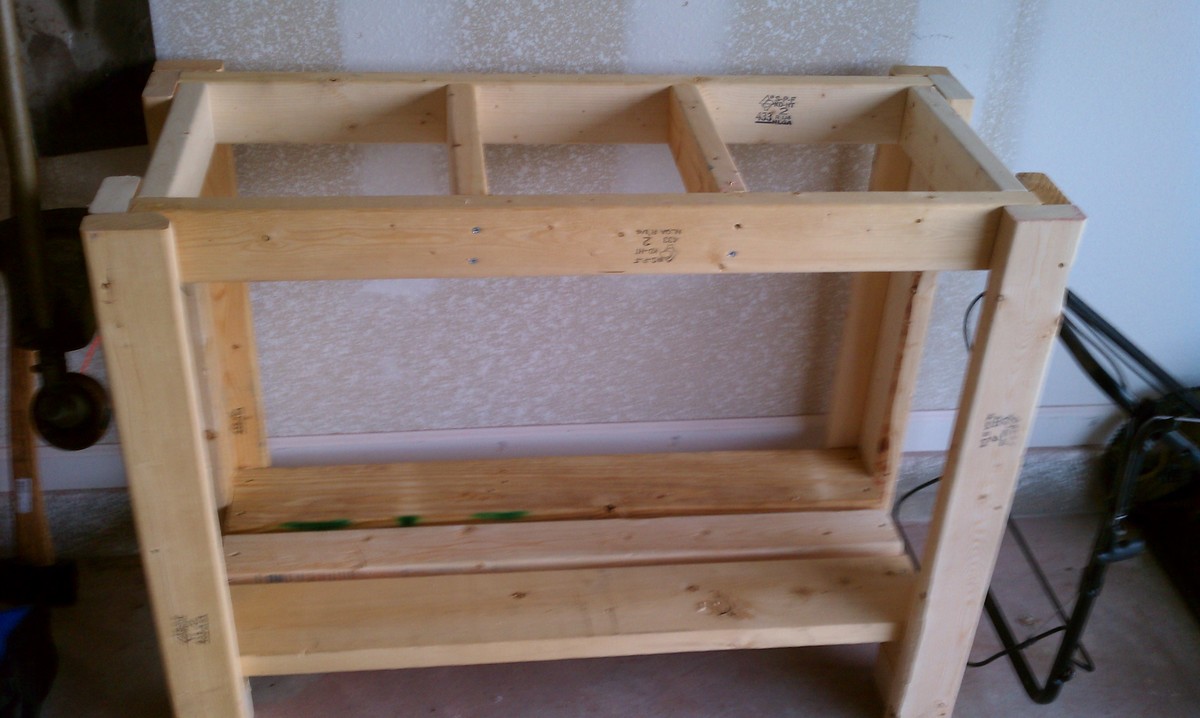
I modified the plan slightly...I made 4 doors instead of drawers. I also made the top cubbies 2" taller, just to add extra height. I still need baskets for the cubbies, though!
Built from Plan(s)
Estimated Cost
$180
Estimated Time Investment
Weekend Project (10-20 Hours)
Finish Used
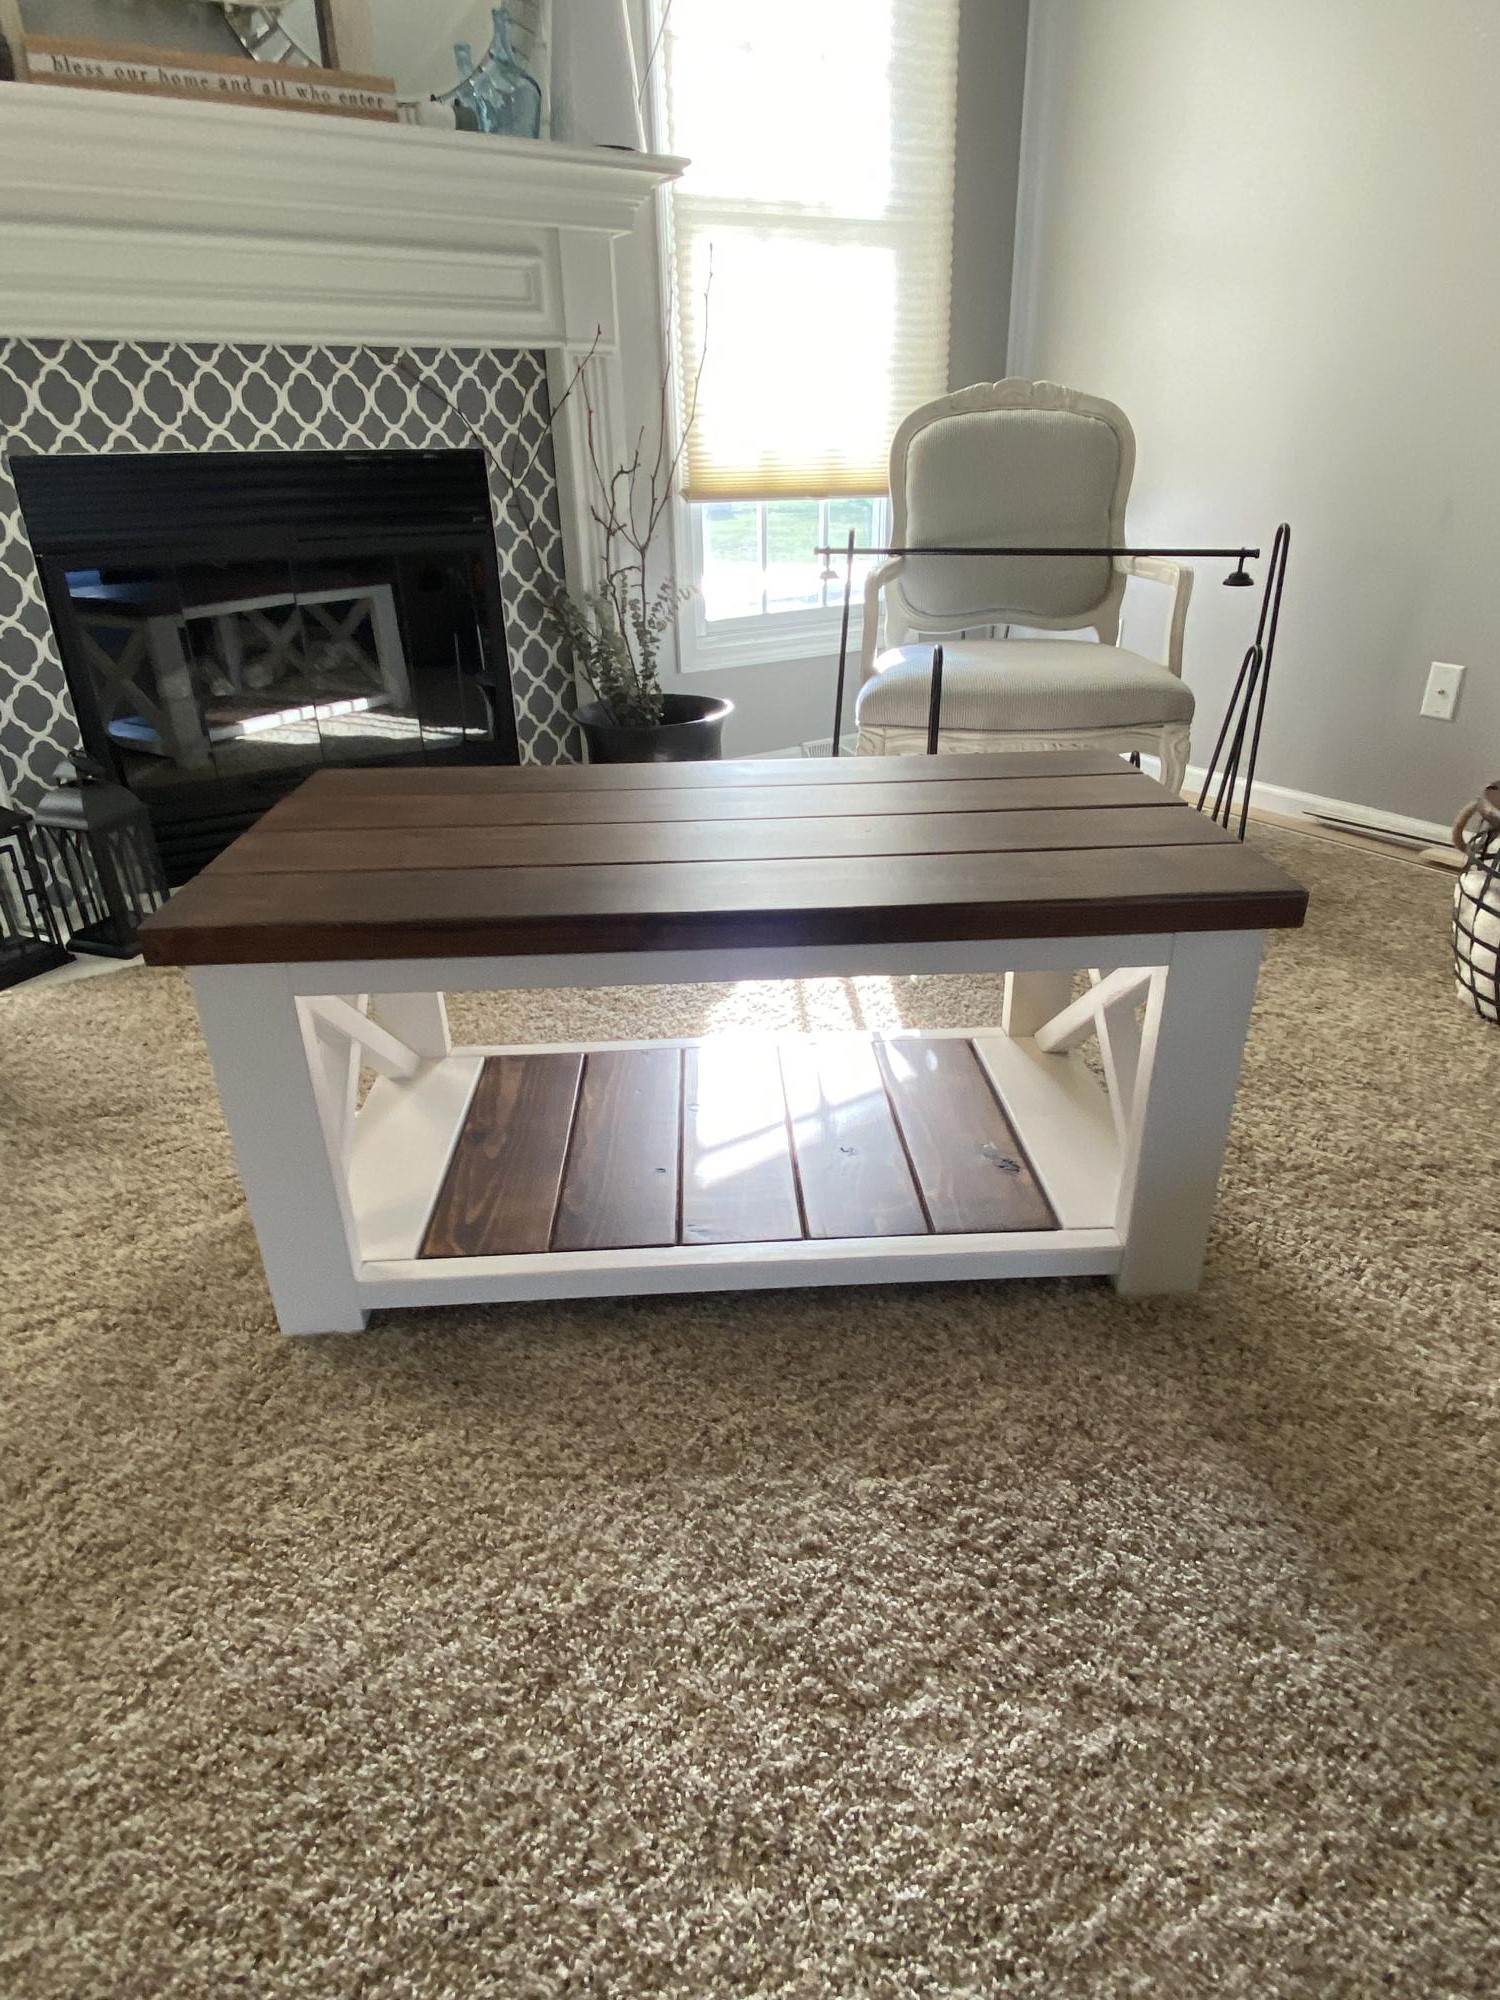
For the top, I used Minwax stain in Provincial. I then distressed it with a screwdriver and filled in the scratches with ebony wood filler. I did two coats of wipe on poly on top, sanding between coats. For the base, I used Vaslpar kitchen and bath paint, can't remember exact color.
Recommended Skill Level
Beginner


Comments
Kristi Hays
Fri, 08/26/2011 - 08:29
Beautiful
You did an amazing job! This piece has been on my to-do list for awhile now. I think that's the beauty of Ana's site, seeing the wonderful finished projects of other amateur builders gives us all the confidence to tackle things we'd never otherwise dare. I hope when I finally get around to building this, it will turn out as lovely as yours has, thanks for sharing.
Sarah Crawford (not verified)
Mon, 08/29/2011 - 12:12
So nice!
This looks really great! This is next on my to-do list to make as a tv stand... it'll be my biggest project yet & I'm nervous, but this looks wonderful & makes me think it'll be worth it :)