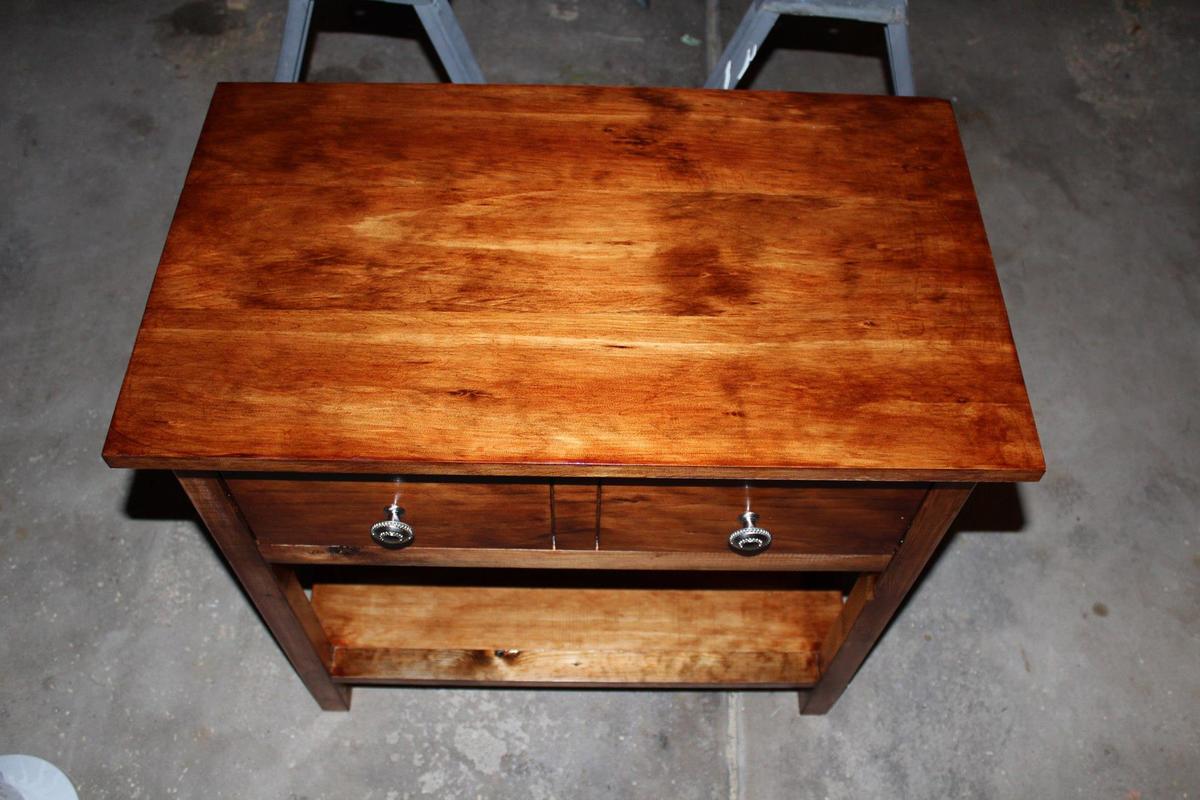
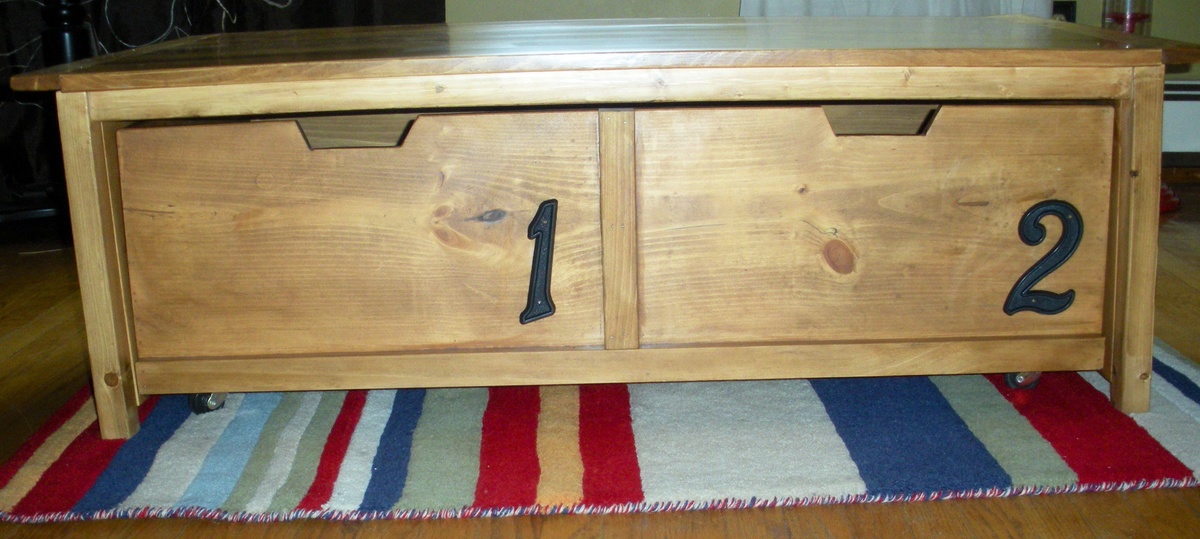
Rustic Nightstand
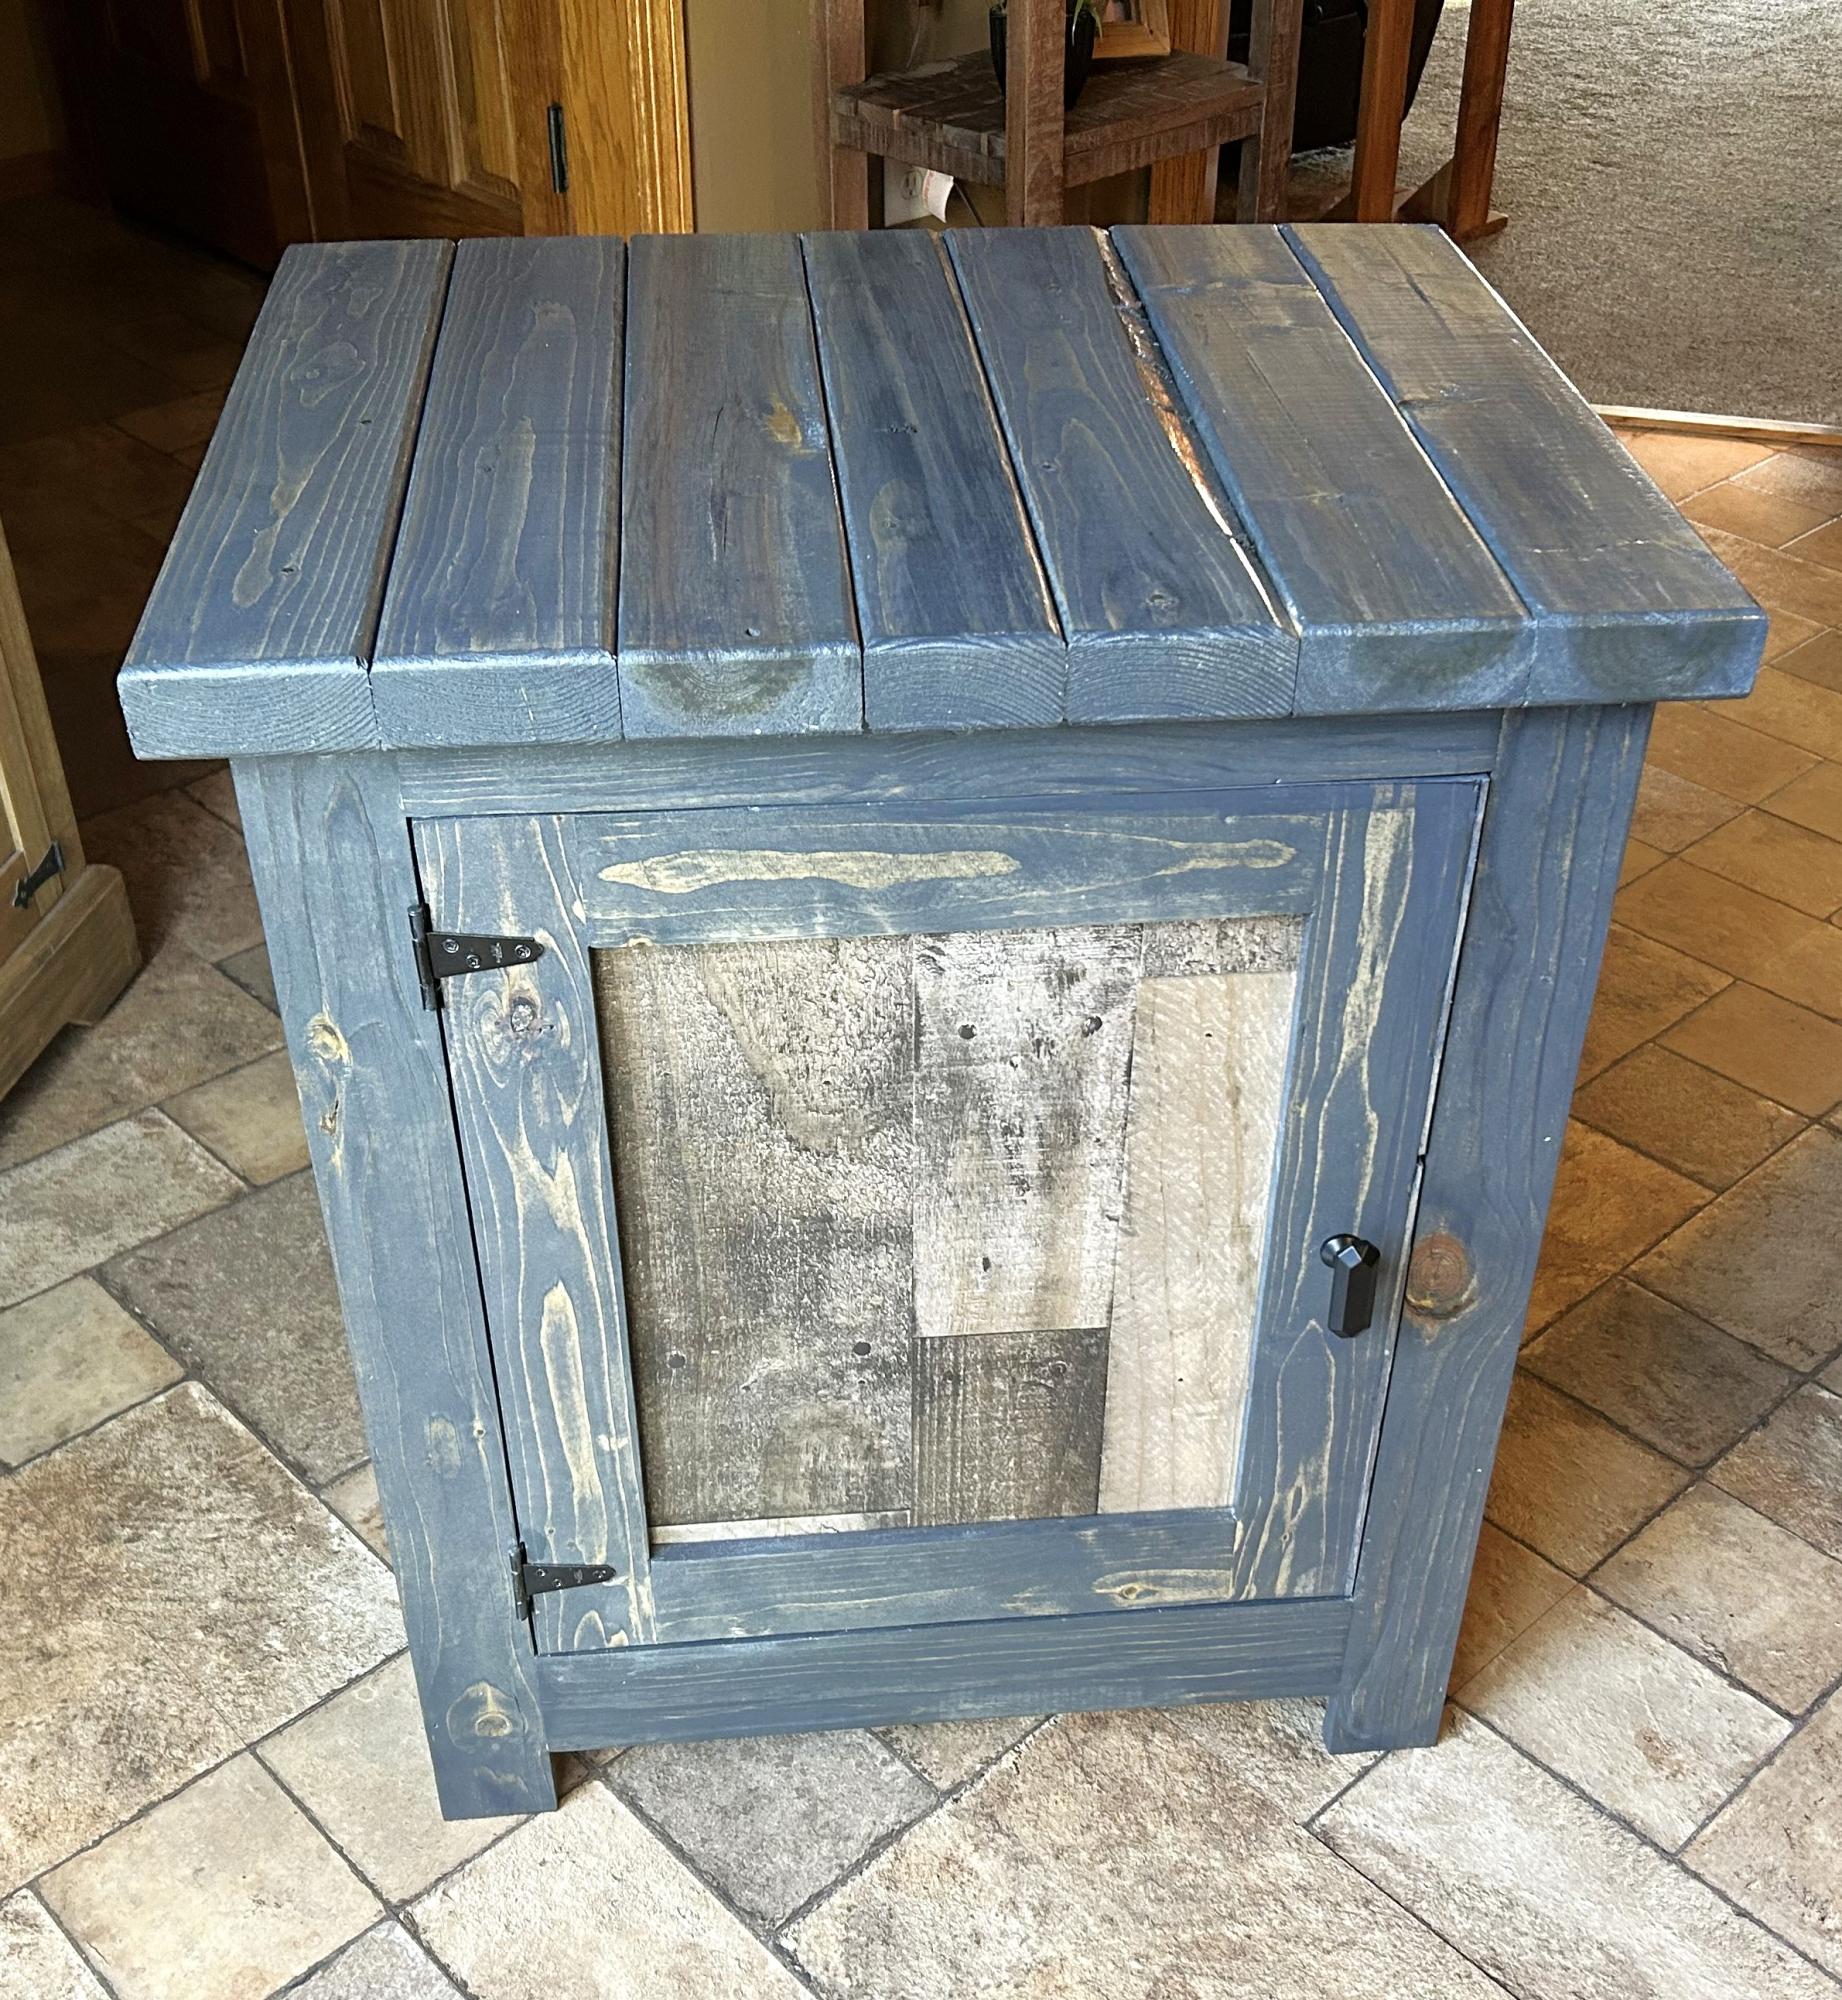
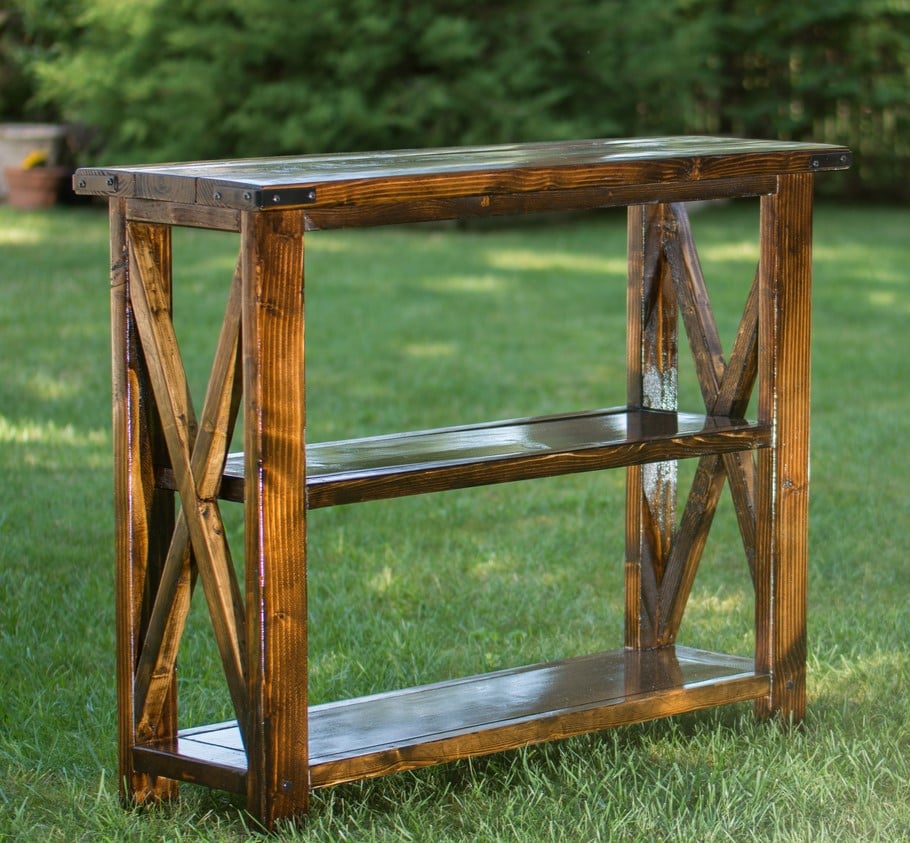
I really liked the plans and did not change from them too much. The top is pine 2 X 4's and color is bluish grey minwax stain aged barrel.
Perry

Built from Plan(s)
I really liked the plans and did not change from them too much. The top is pine 2 X 4's and color is bluish grey minwax stain aged barrel.
Perry

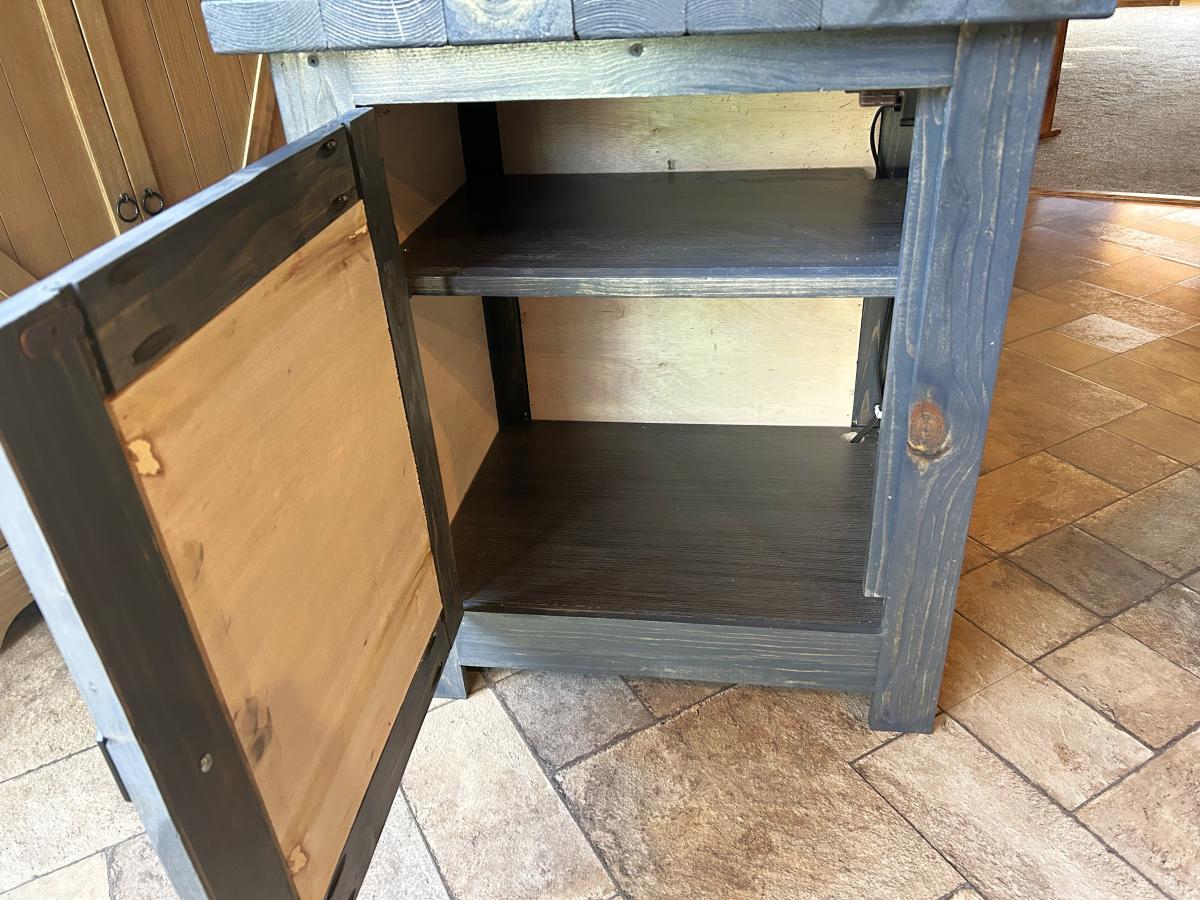
My Wife asked me to look into a night stand for her. I am so so so thankful that I was able to come across Ana's site. I showed the site to her and she asked me to build this night stand as opposed to going out and buying her some expensive poorly built nightstand. Thank you Ana for this wonderful site and the inspiration that some of us need to "get started."
One thing that I didn't think about when I started this project:
The cut list is a suggestion of what you will need to cut. I only ran into one major issue and that was with the inset bottom of my pull out drawer. I cut my drawer sides to the dimensions on the cut list (not paying attention to the note from Ana) and had to adjust my cuts for the drawer. I ended up ripping down the remainder of the 1x12 and paired it with the 1x6 that I had left over. Using the Kreg Jig I now had a perfect fit for my drawer.
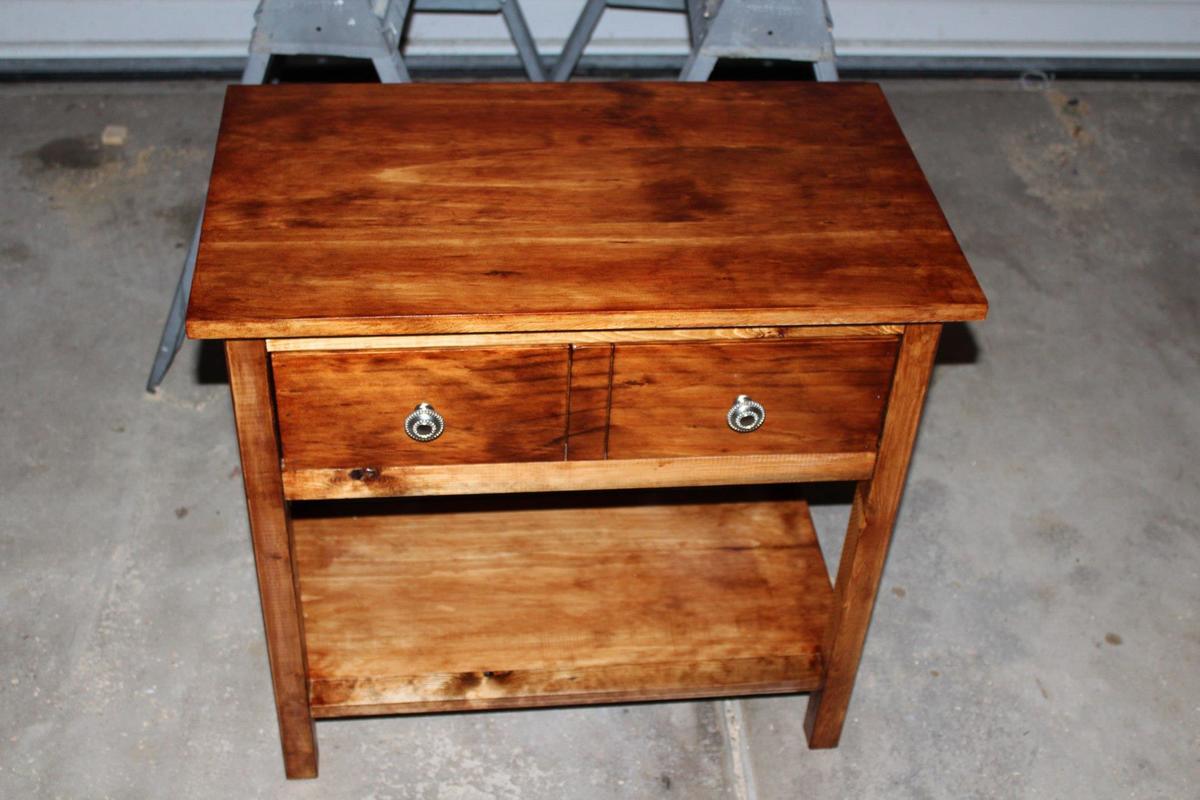
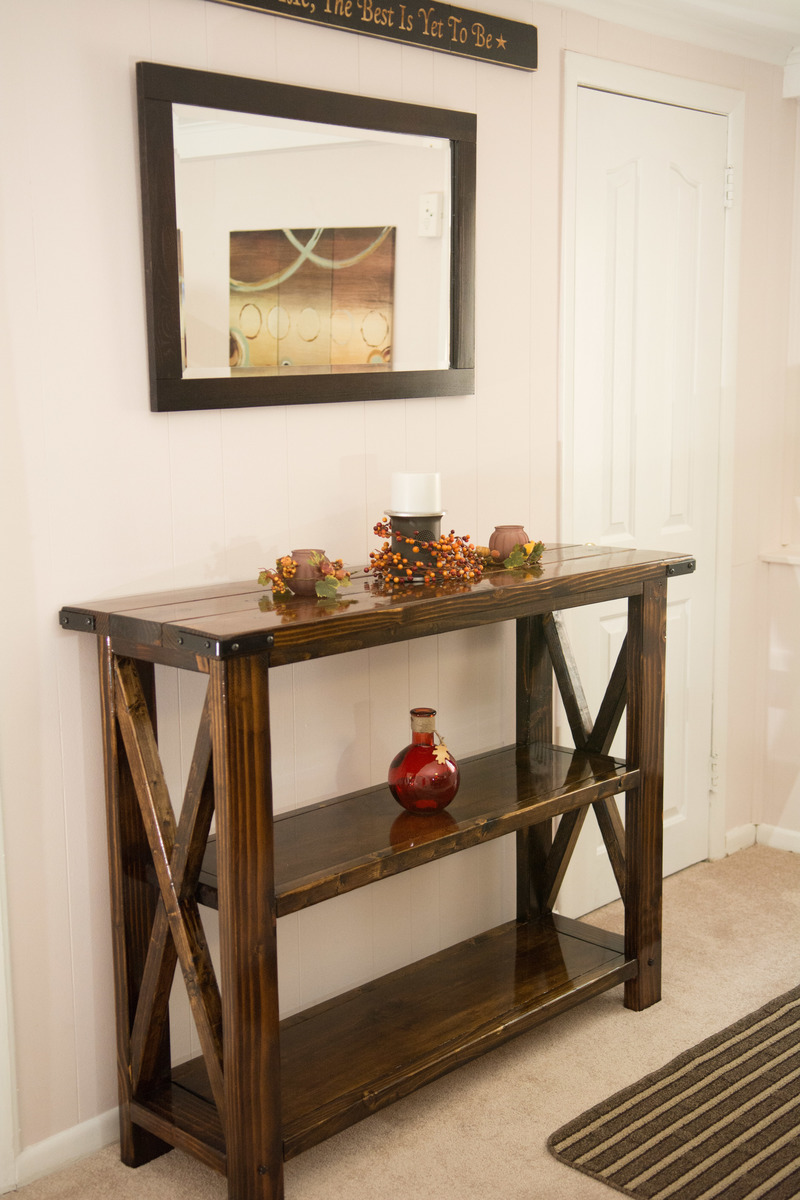
I would have liked to have had a darker stain (more of an espresso) and that is my fault for not buying different stains and testing them on my wood choices. As far as my wood choices I used 1x6 and 1x12 "white board" 1x2 and 2x2 precut pine and bought a scrap piece of 1/4in plywood for the backer.
The Kreg Jig made this project very easy to complete as well as my counter sink drill bit. Although not impossible to complete without these two tools it is remarkable easier to complete.
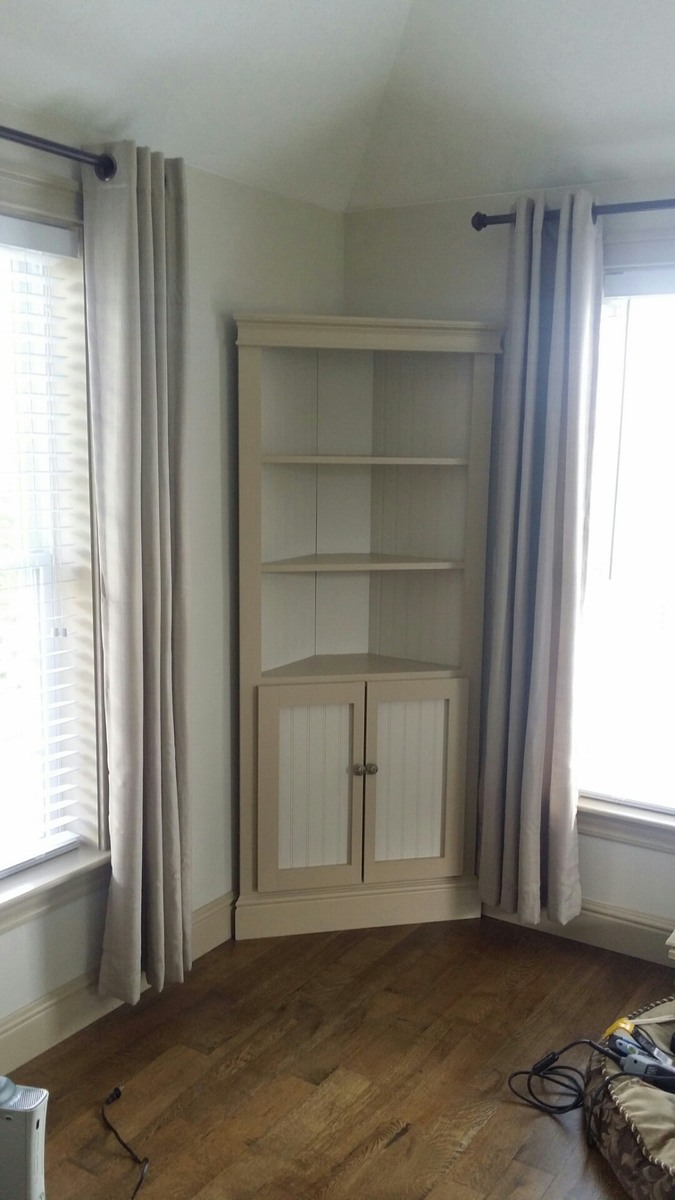
I did this project over the weekend. I love it. Makes the family room pop. I needed something to hide my cable box and this worked perfectly. I made two, one in each corner. I too purchased the creg jig and now that I know how to use it, I will be doing more diy projects. Thanks.
Mon, 05/19/2014 - 06:05
Excellent job, looks great. Where did you get the plans from? My wife bought one from a unfitted furniture store last year and stained it but it looks nothing like what you build. I would like to build one myself if I can get the plans.
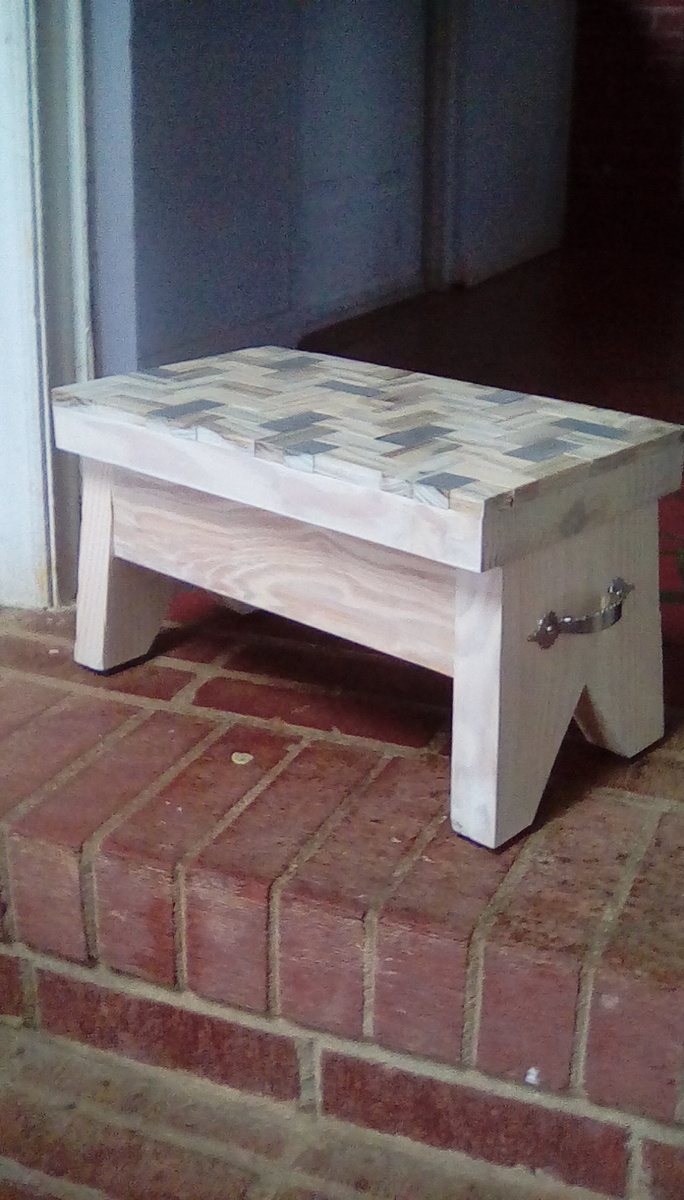
With some left over scrap 2x10 wood I made this stool for my children.
The total heigh of the stool is 9" (7 1\2" for the feet, 1 1\2" for the top, and 1\2" for the design on top made from scrap pallat wood)
The top is 1 1\2" x 9 1\4" x 16" (because of the thickness of the wood I would recommend cutting the top to 18" instead of 16")
The legs are cut with a 5 degree angle
I made the design on the top by ripping some reclaimed pallet wood into 1" strips and then cutting each into 2" pieces
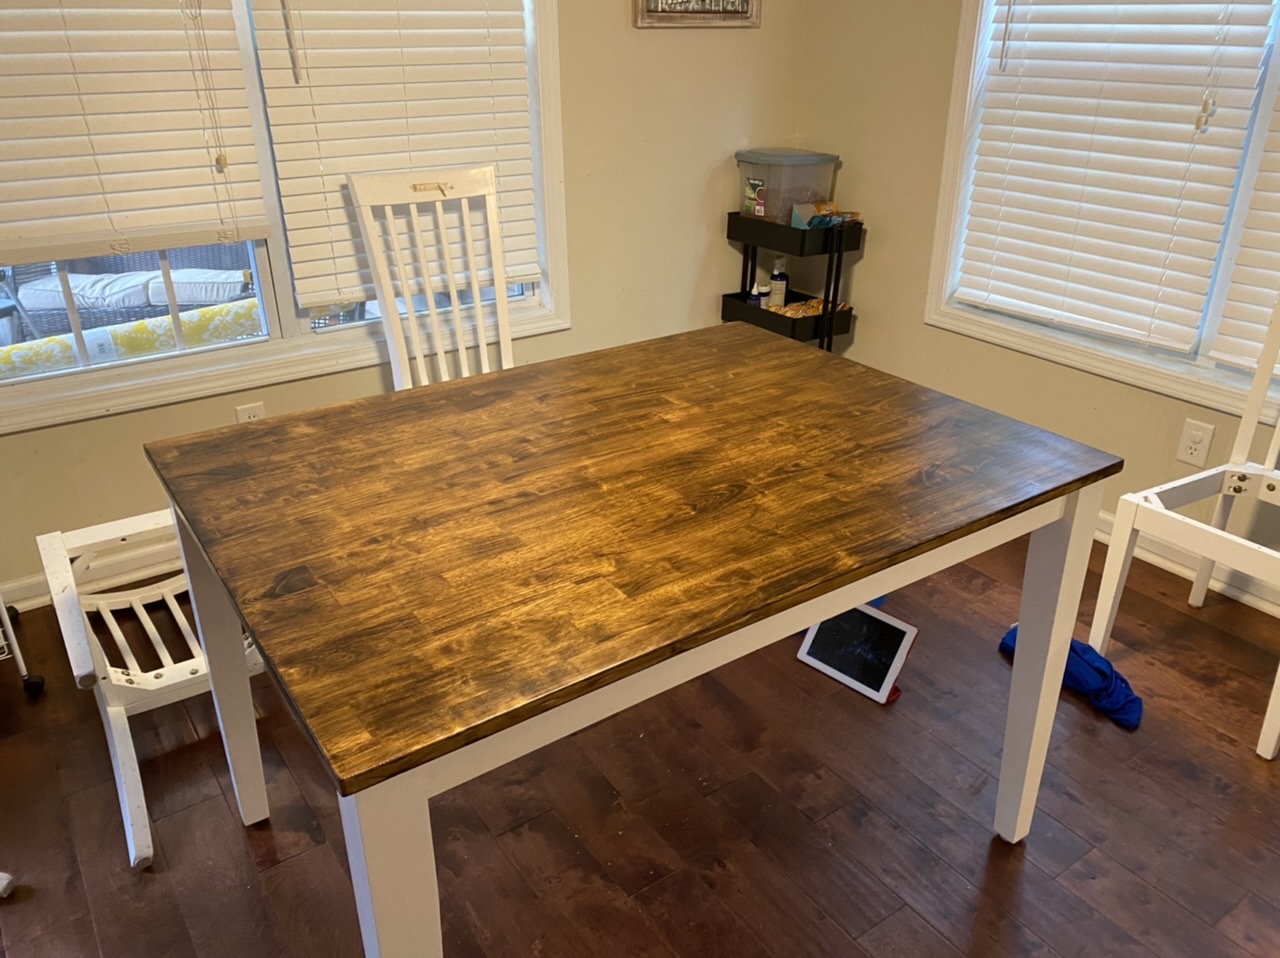
My kitchen table needed something, so instead of buying new, I sanded and used a dark stain on the table top and chair seats. It looks like whole new table! This wasn’t from a plan, but used skills I learned building from Ana’s plans! Off to build the Little Helper tower now!
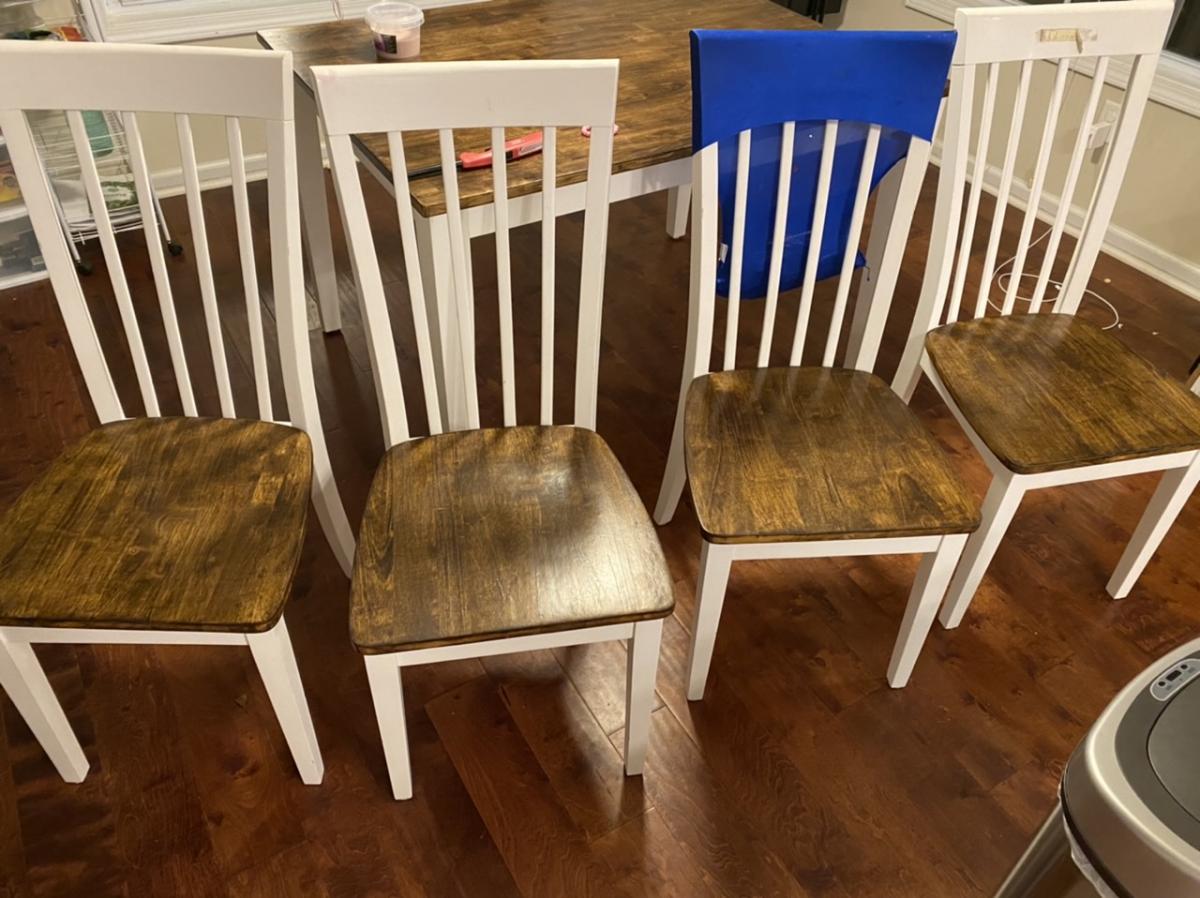
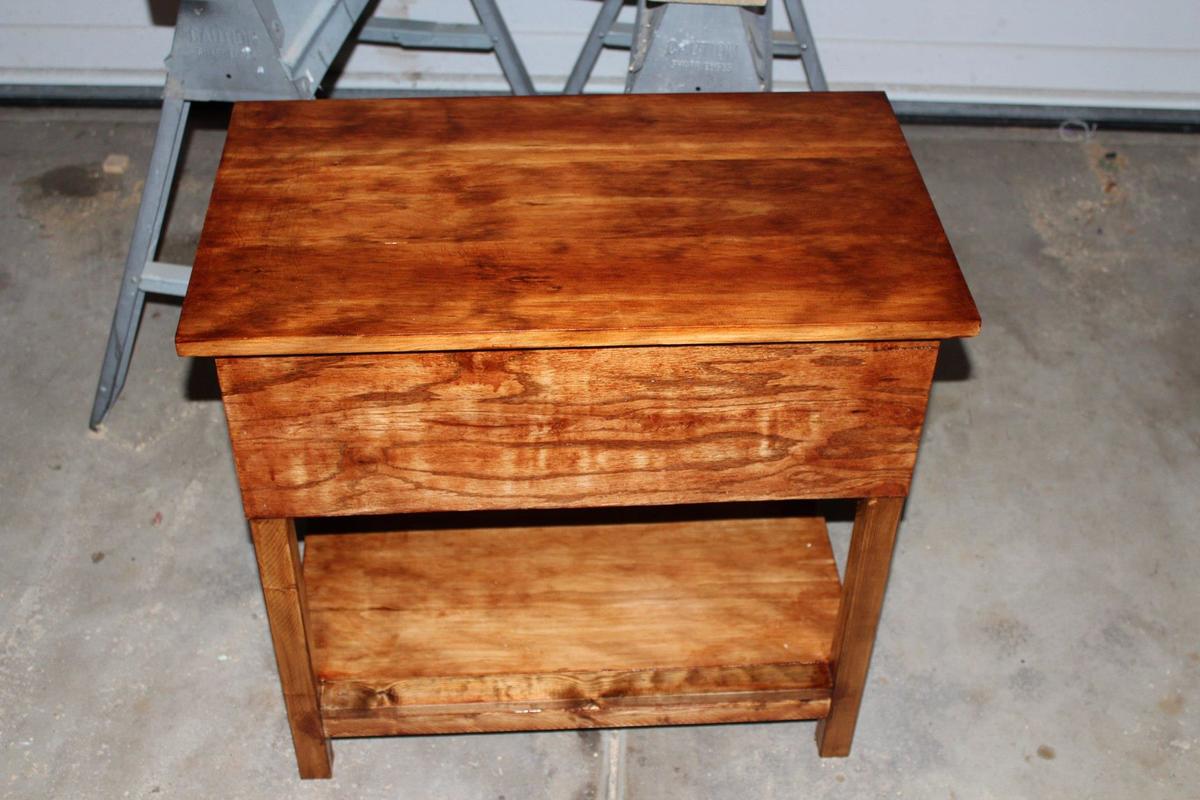
Still needs a finish but I couldnt wait to share.
Danny
This was a fun simple project. I added some fabric to the bottom of the trundle. If you have questions when building please let me know. Thank you for viewing.
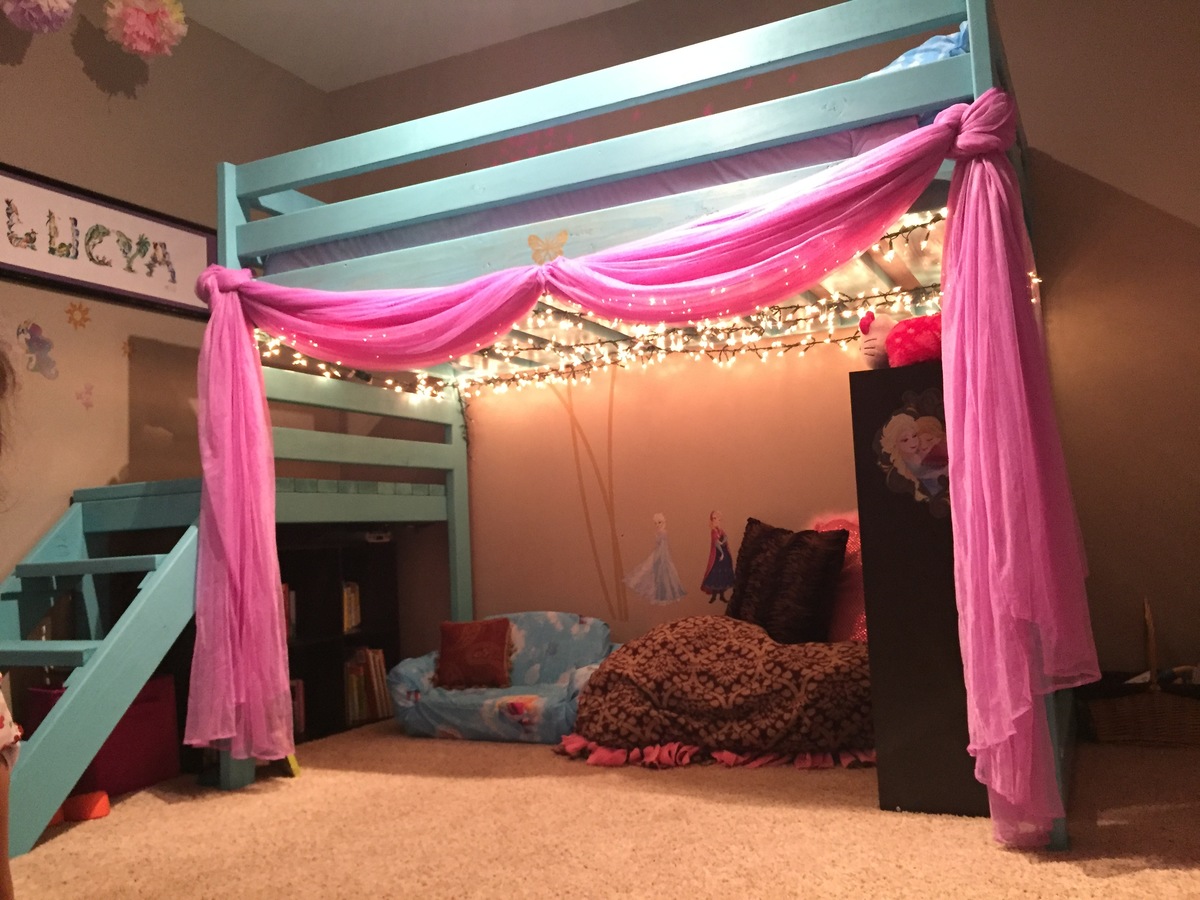
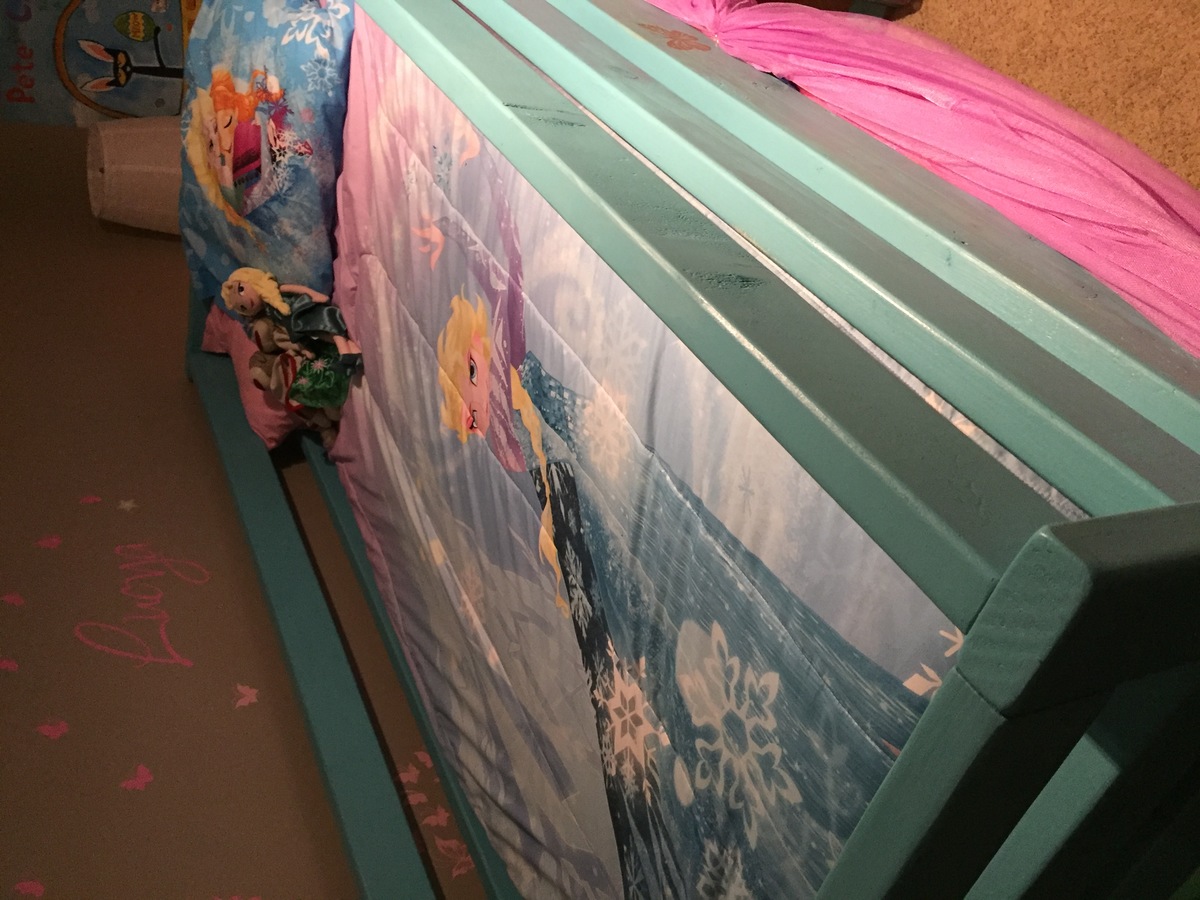
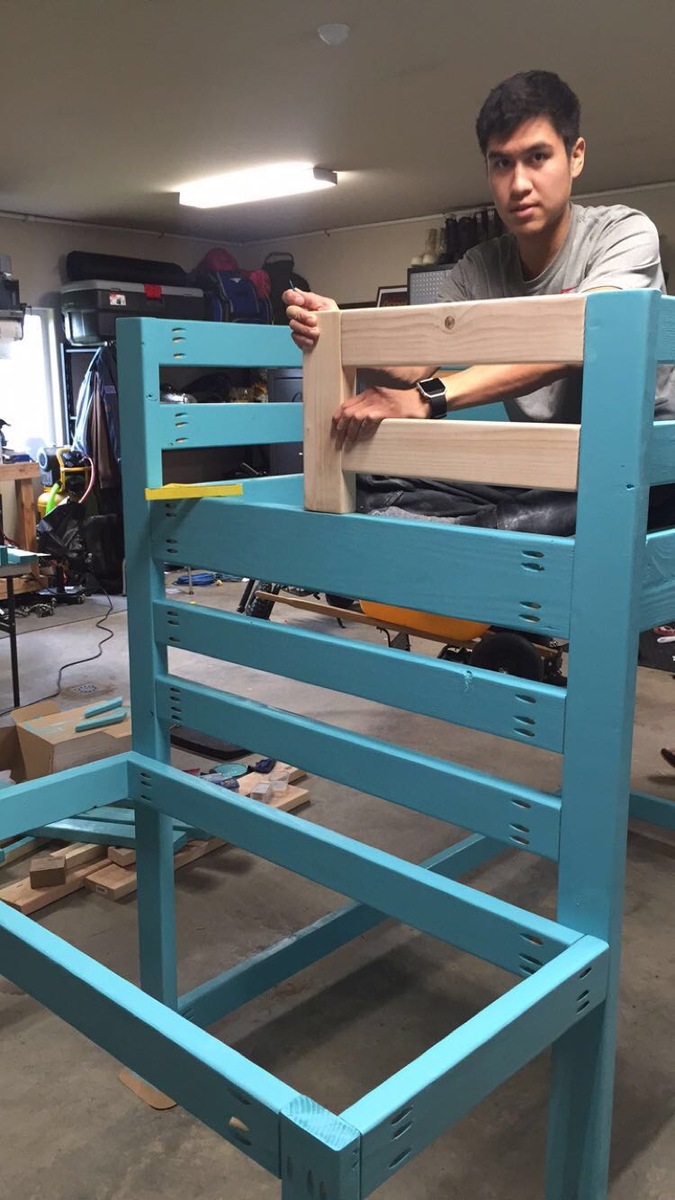
Wow! This took much longer than 2 hours and cost around 200 but it was worth it! My 3 year old LOVES it. We added a safety rail to the foot end.

Struggled with this one, but it’s done and I’m pretty proud of her

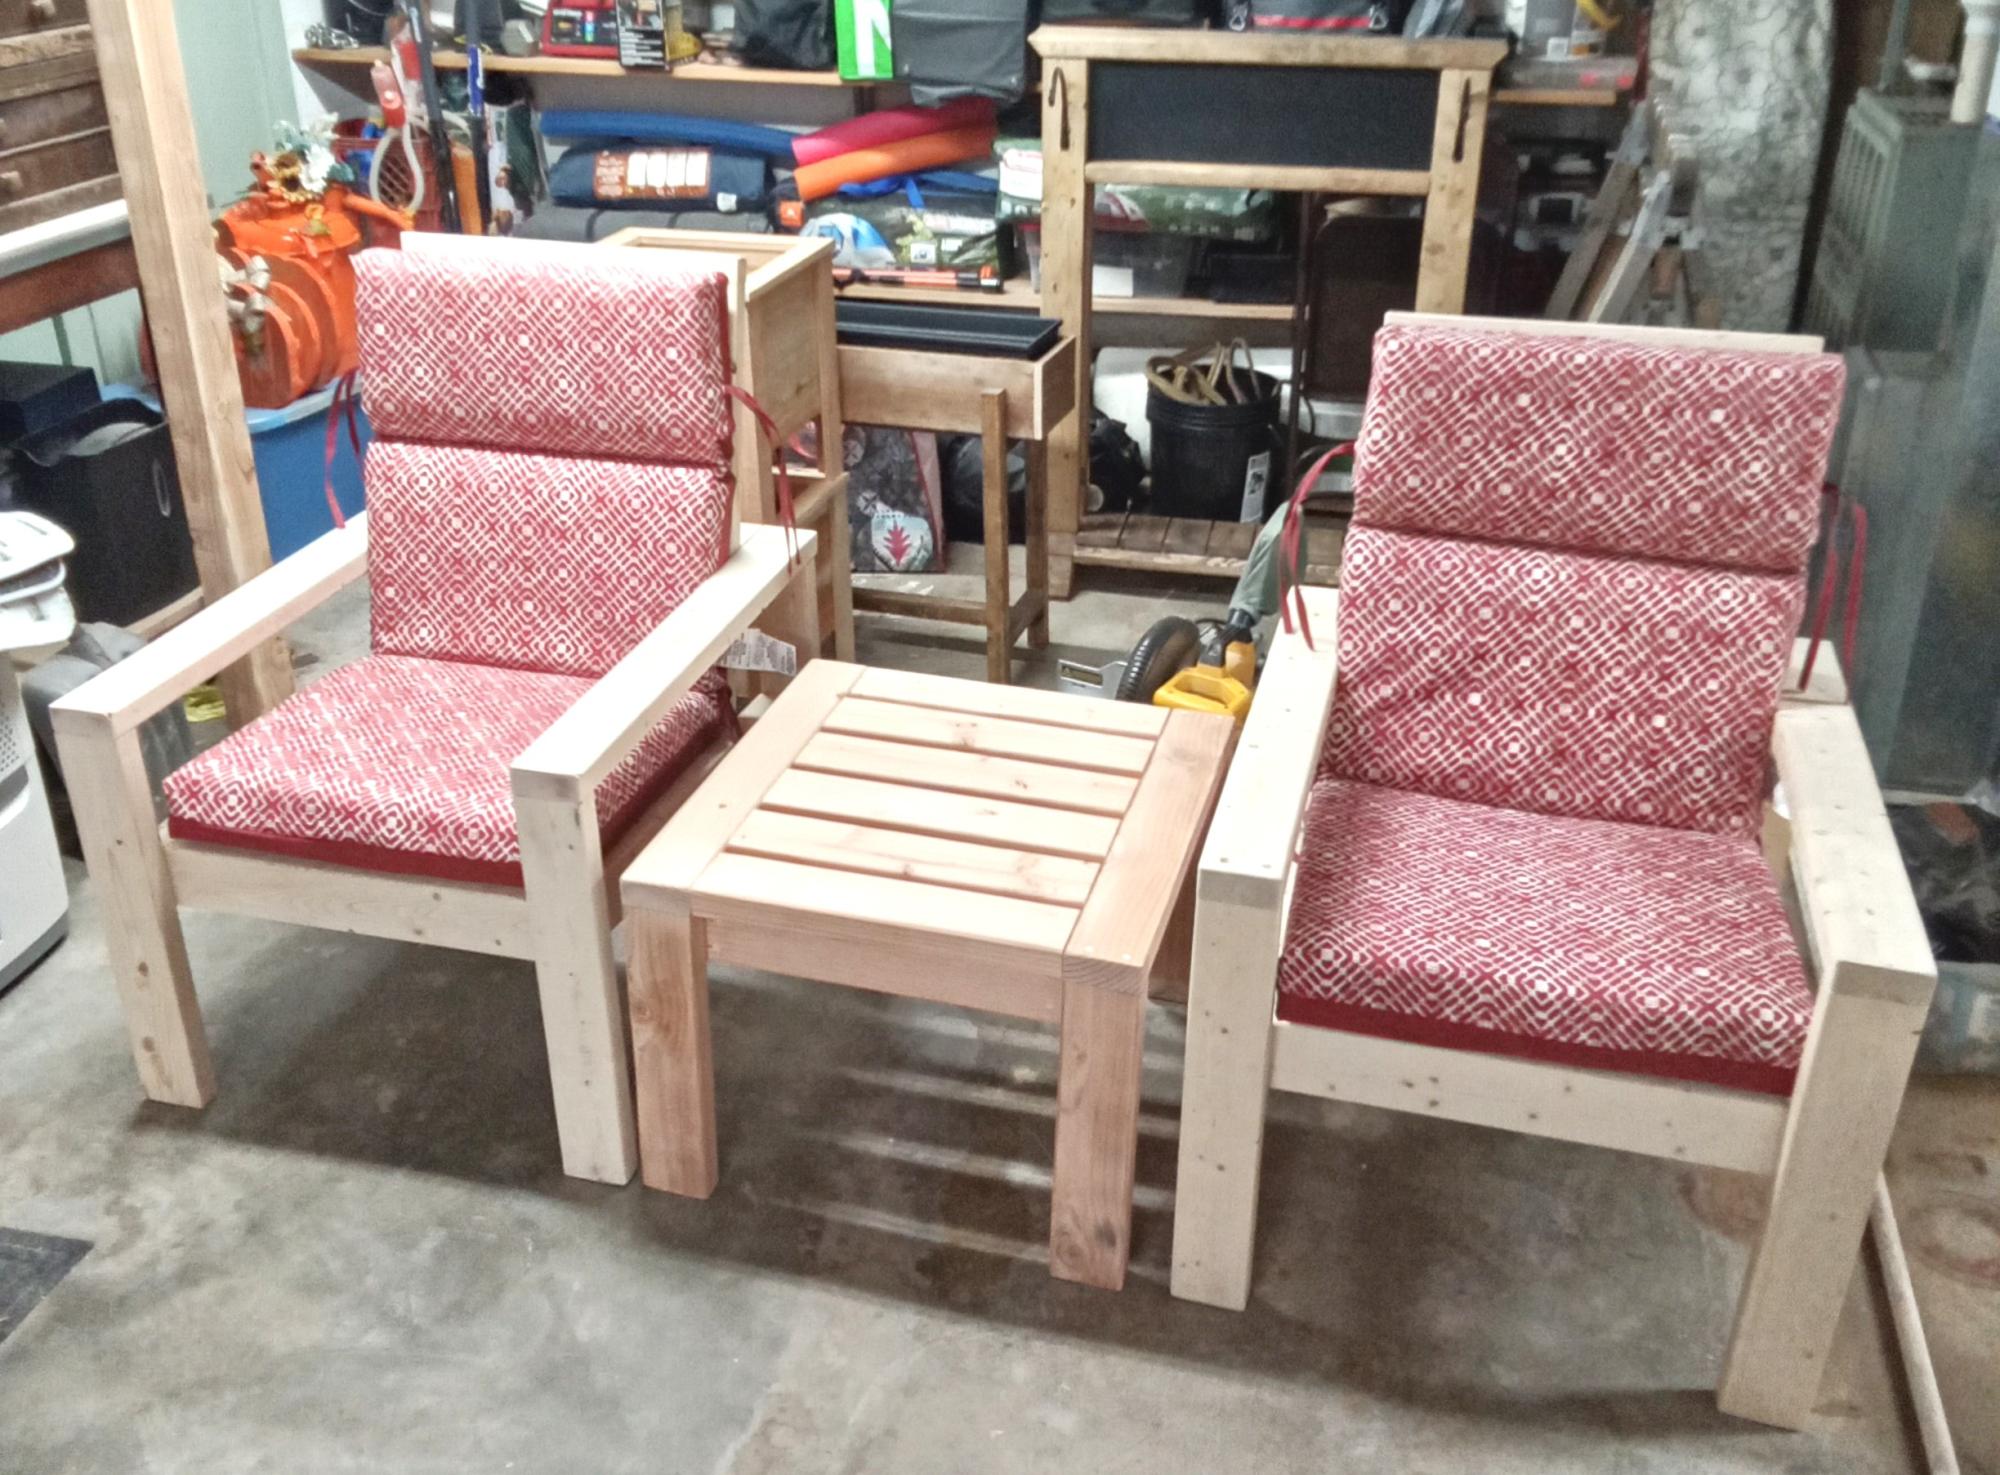
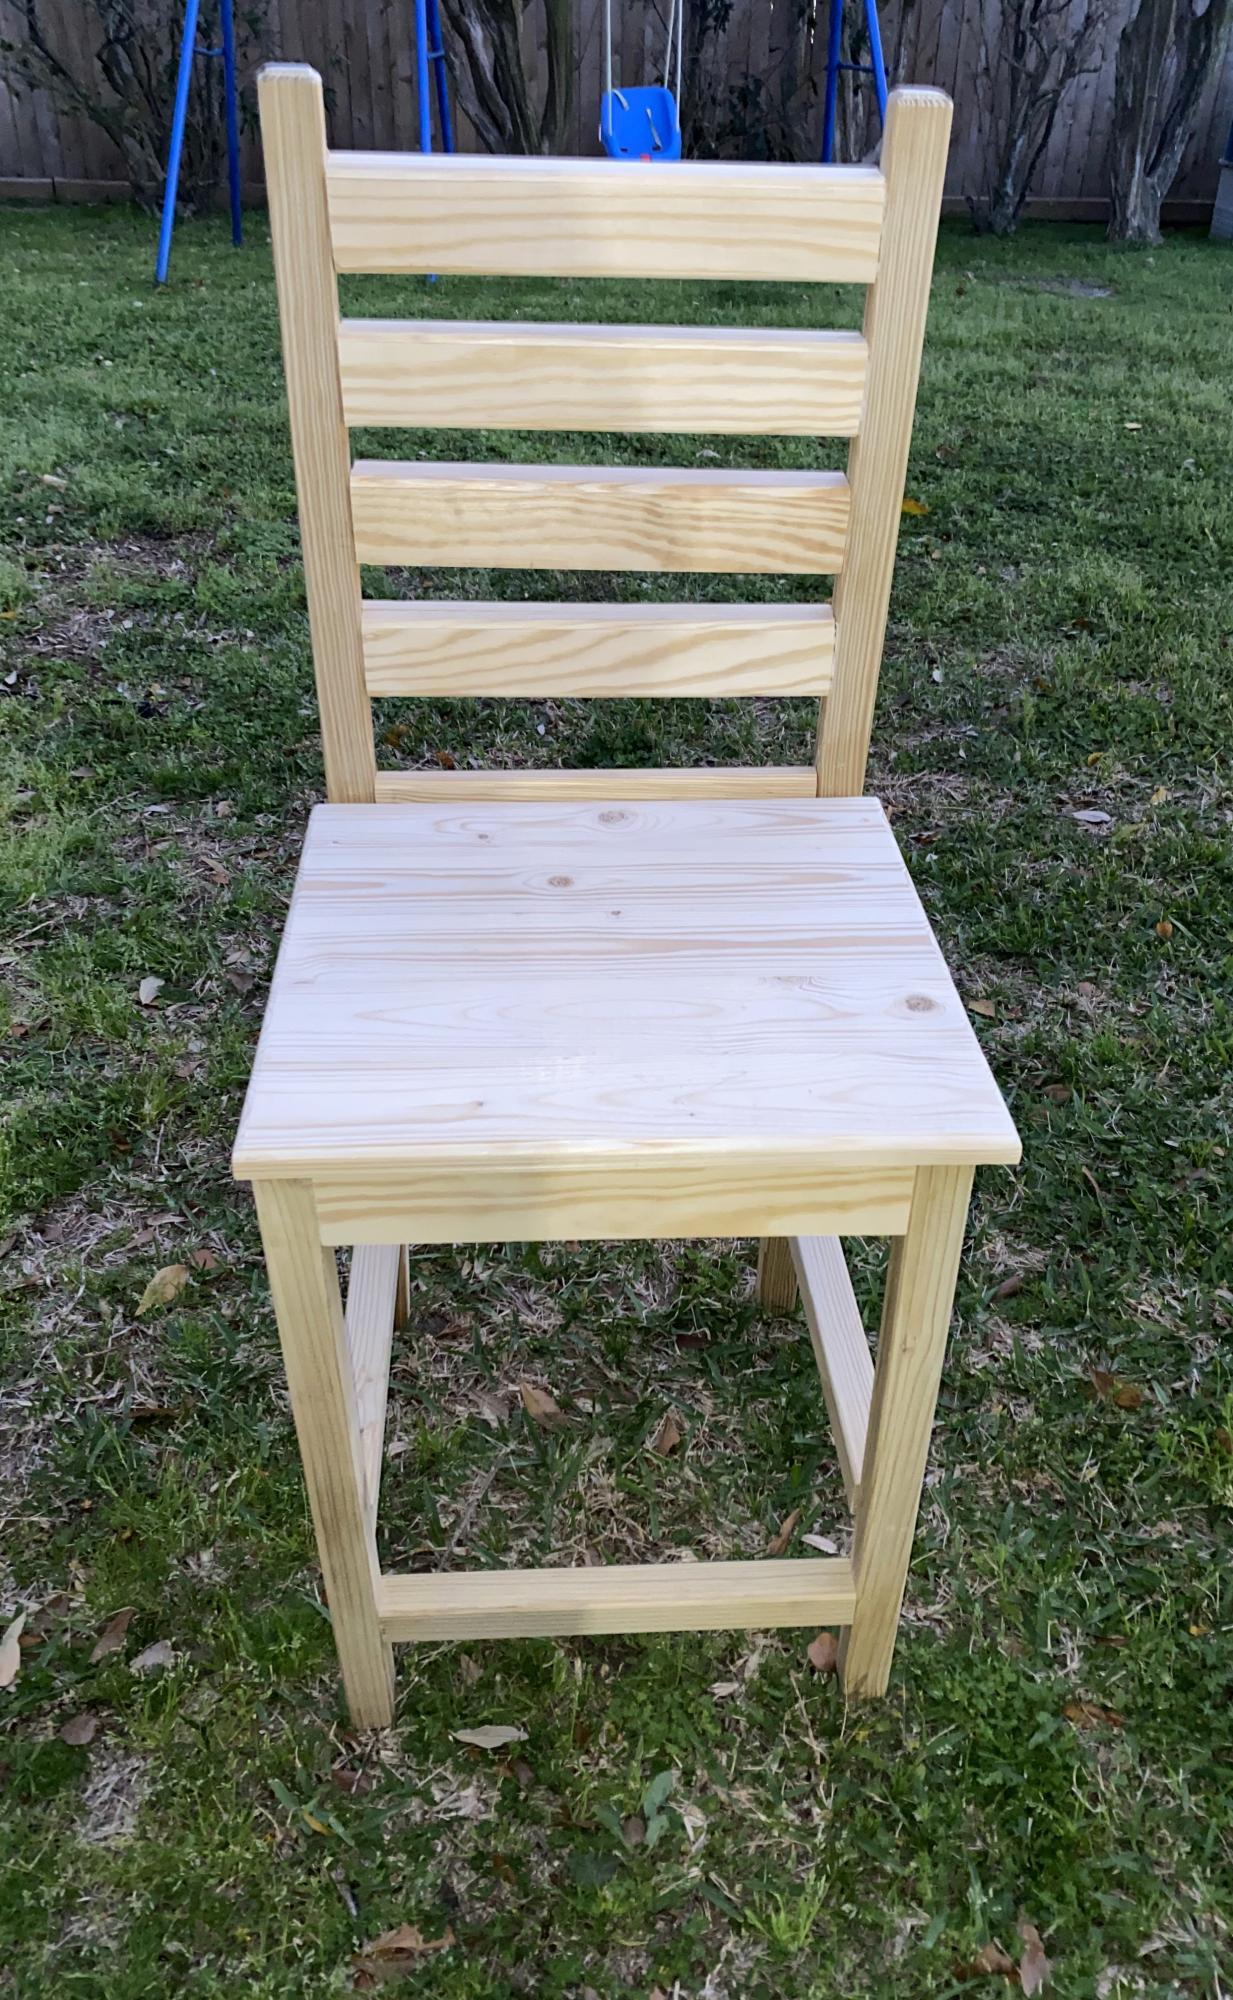
Done the 2x4 chair and table, I think it turned out well. Bought the cushions at Lowes.
Ray and Sandy
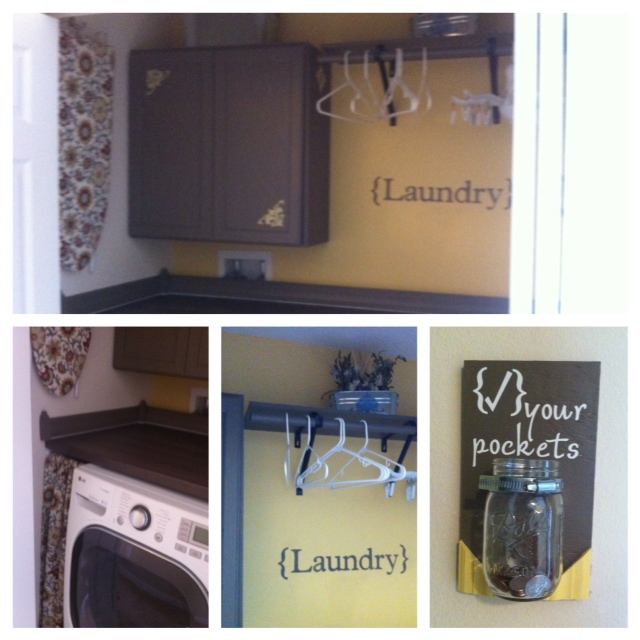
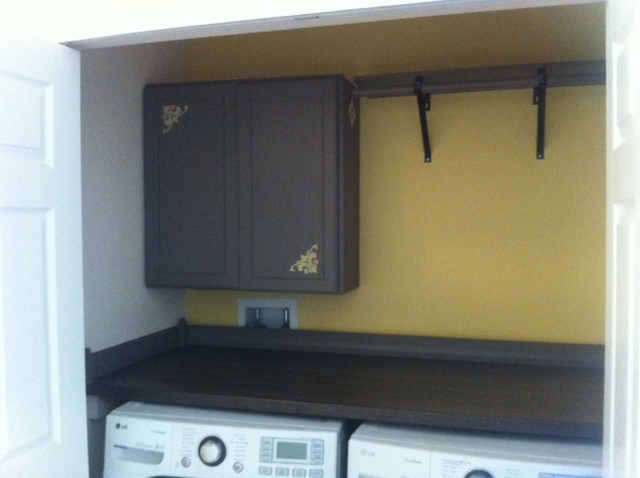
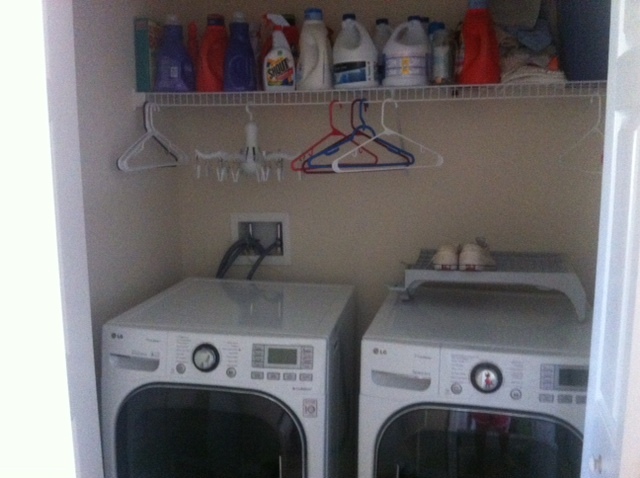
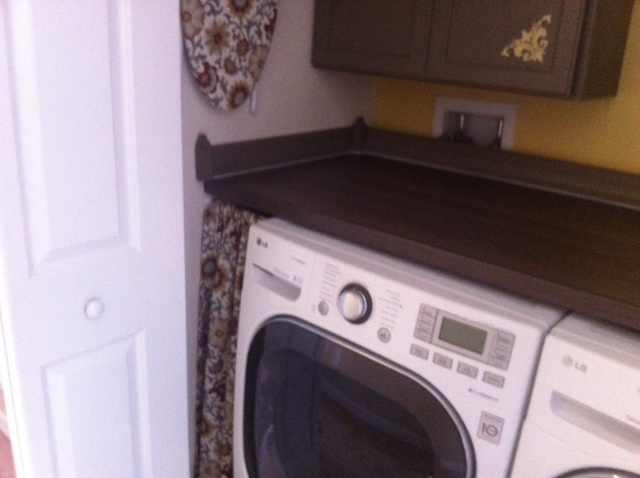
Laundry closet makeover. I was tired of having only the one wire shelf to store laundry supplies. So I added a cabinet, hanging rod, and counter-top over the washer/dryer for folding clothes. Also, behind the curtain on the left is a built-in garbage can for lit. Recovered small ironing board in same fabric as curtain and hung it up so save space.

I am a really beginning builder (read: this is about my fifth project ever), but it is perfect for our tiny, narrow bathroom. I finished it with Golden Oak stain I already had on hand, and I enjoyed the process. Thanks so much for sharing the plans!

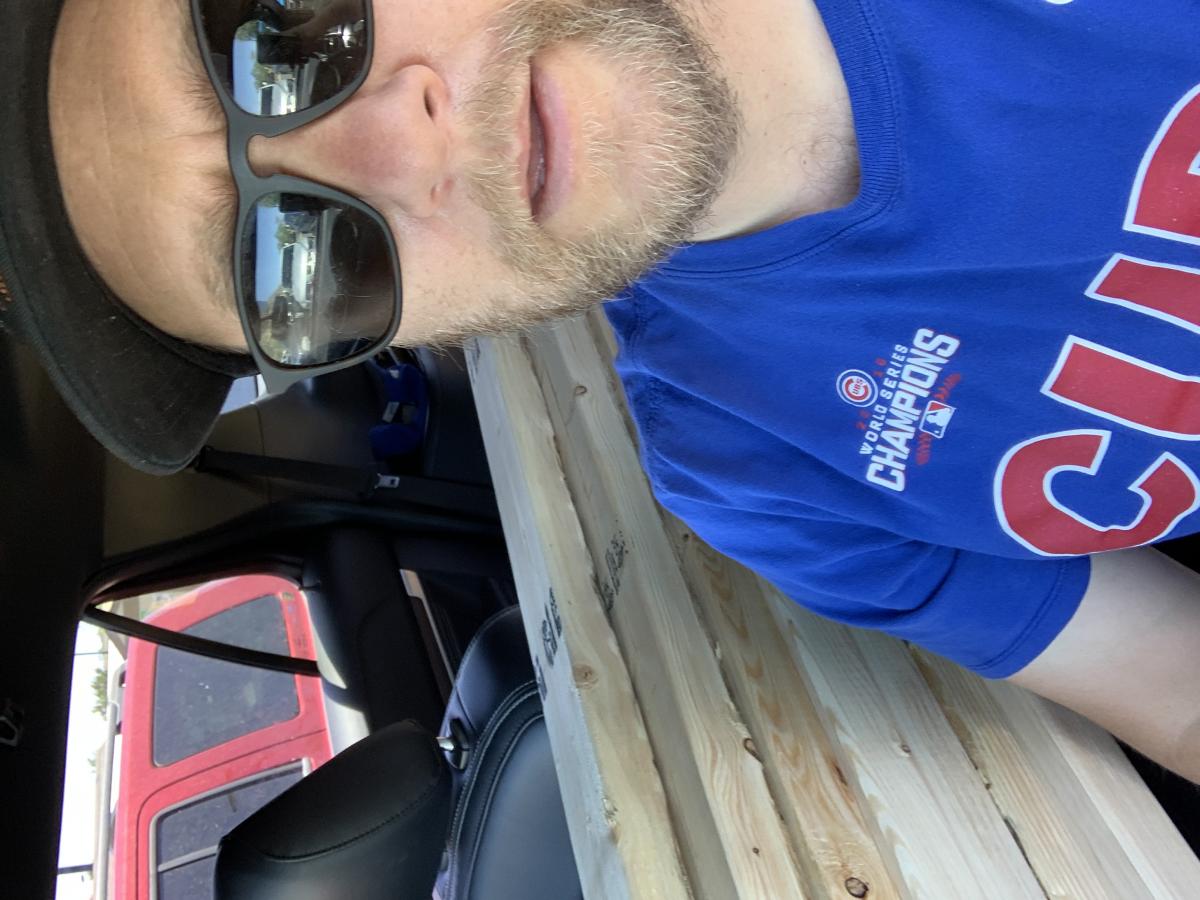
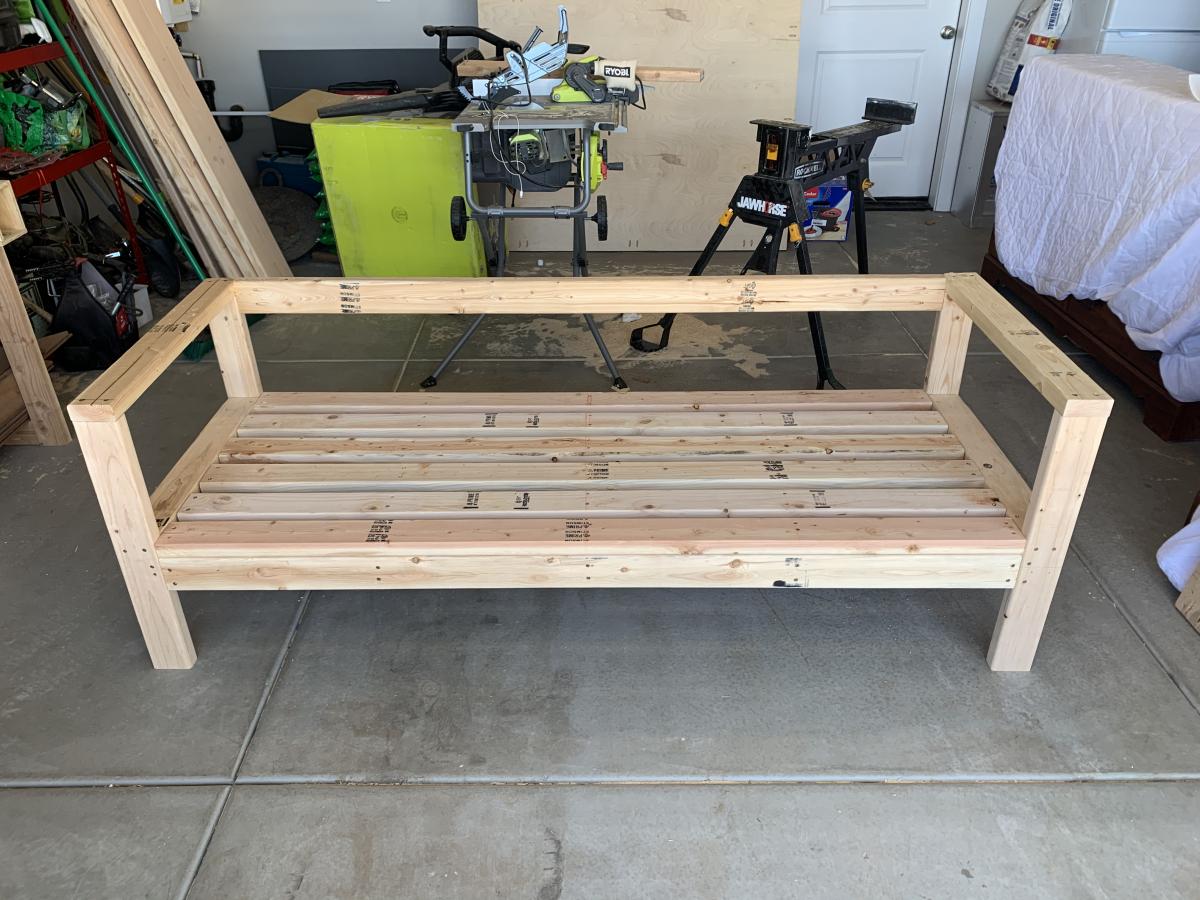
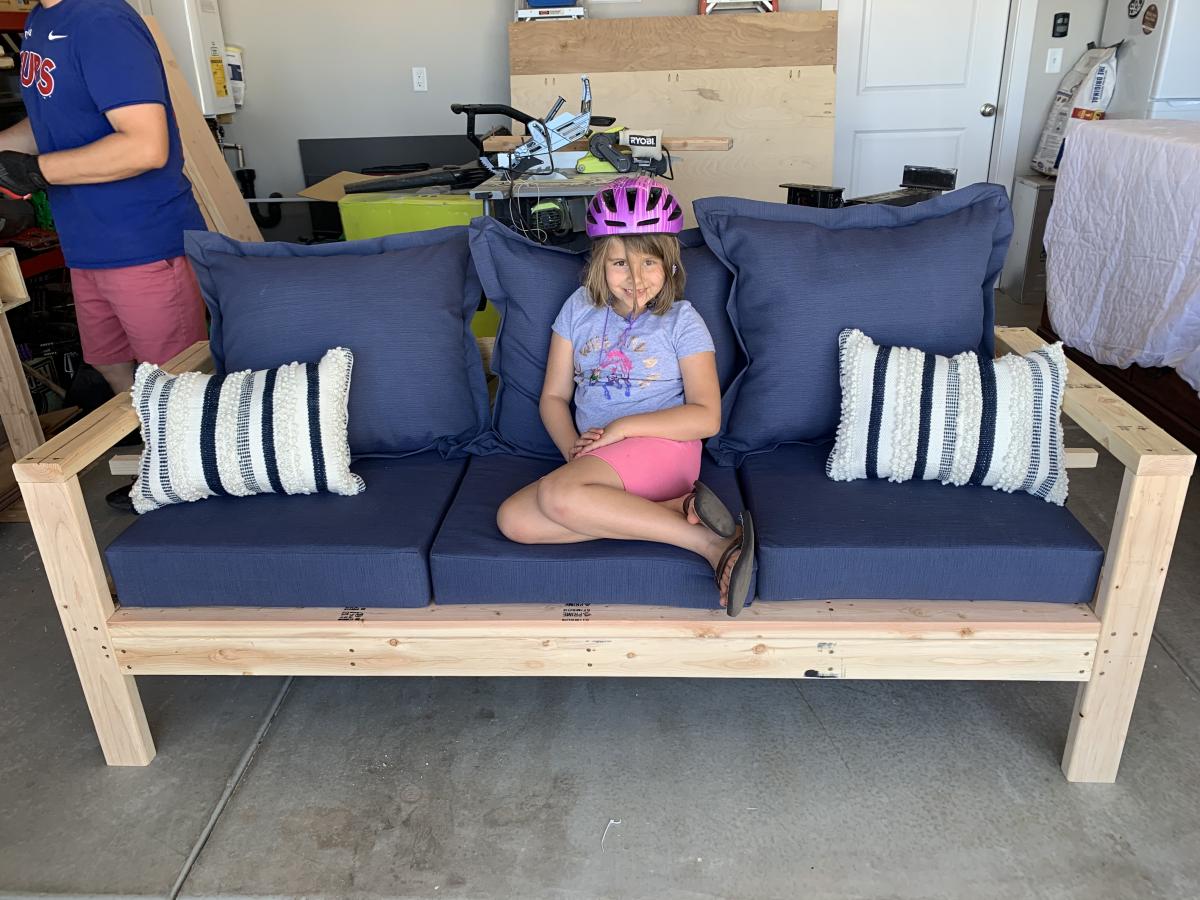
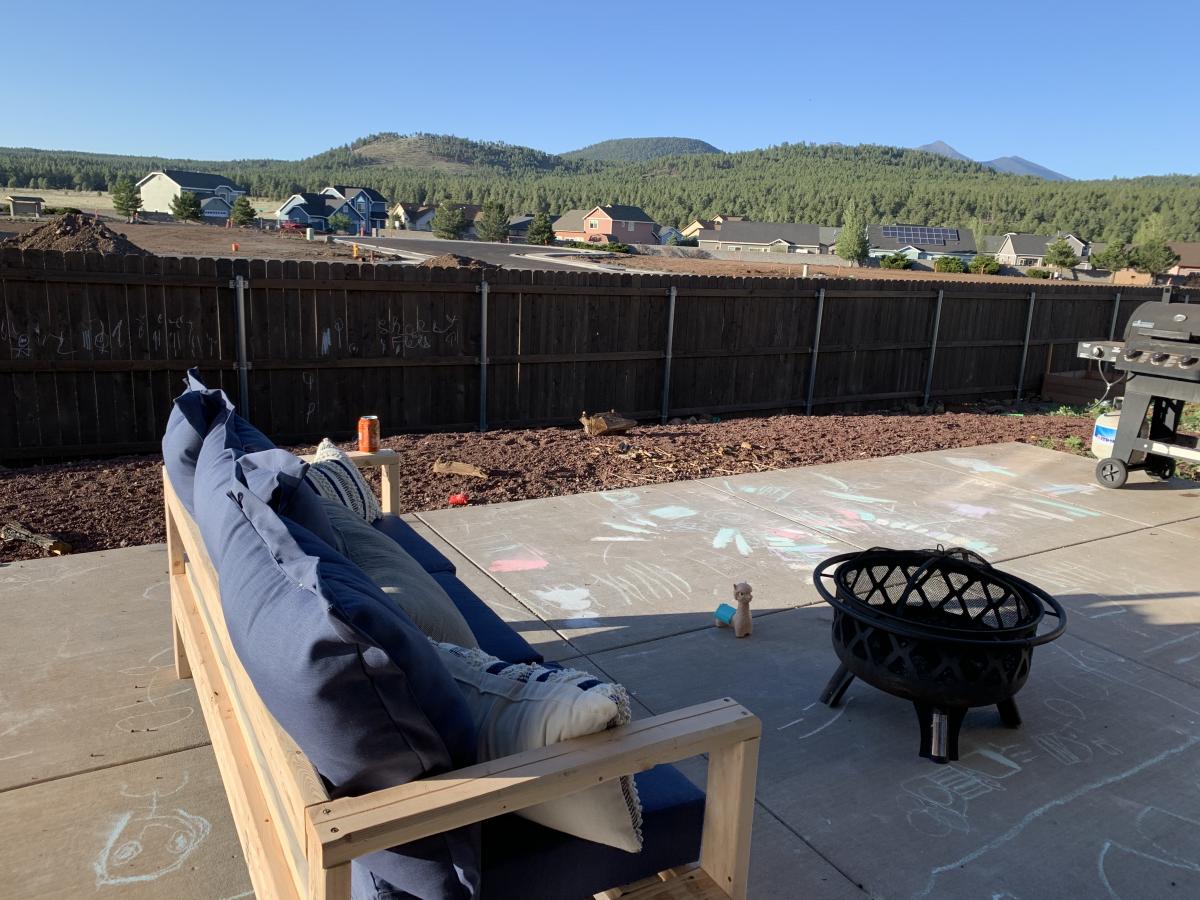
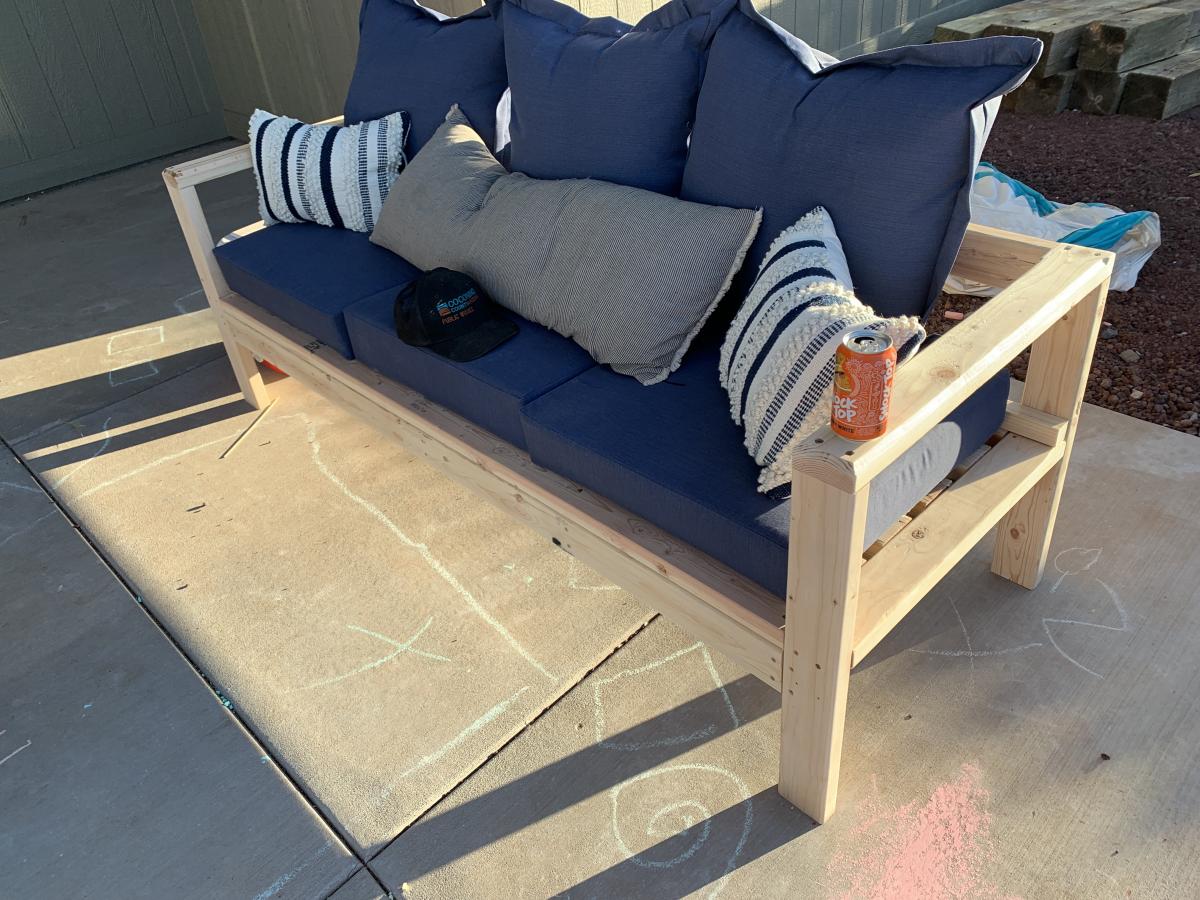
Fairly simple, especially if you have a miter station. So many repeating cuts. I think I cut the entire couch in 20 minutes. I believe we’re in this for about $250; including screws, and cushions, and paint. Very inexpensive compared to purchasing. So, I routed the arms with a 45 and added a 2x2 rail to keep the cushions from moving out the back. I will be turning it into a sectional soon. Also painting it red... Stay tuned.

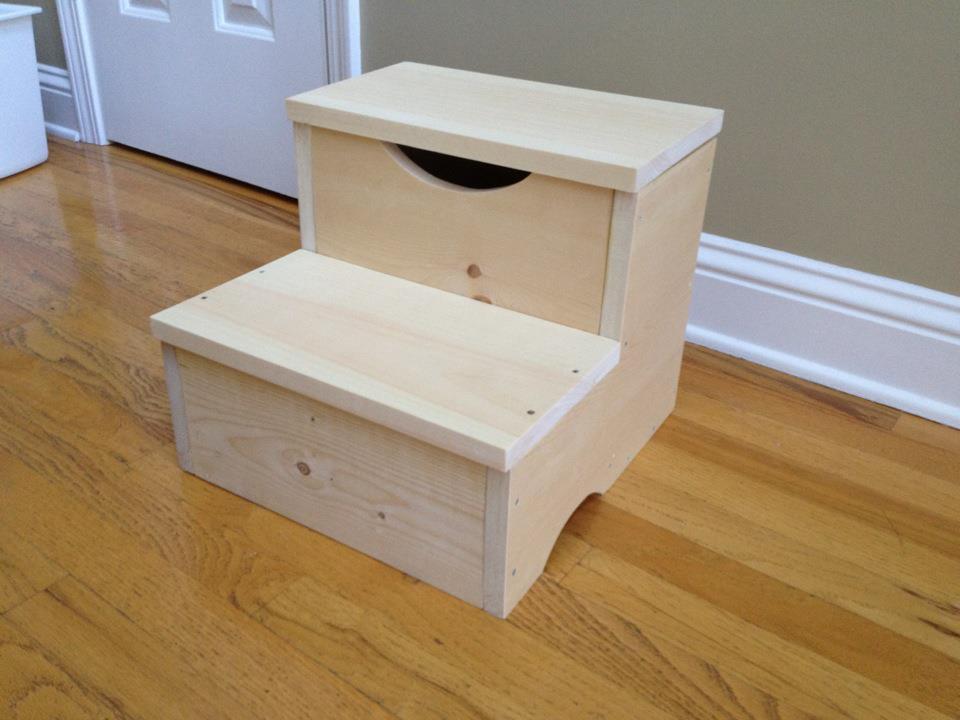
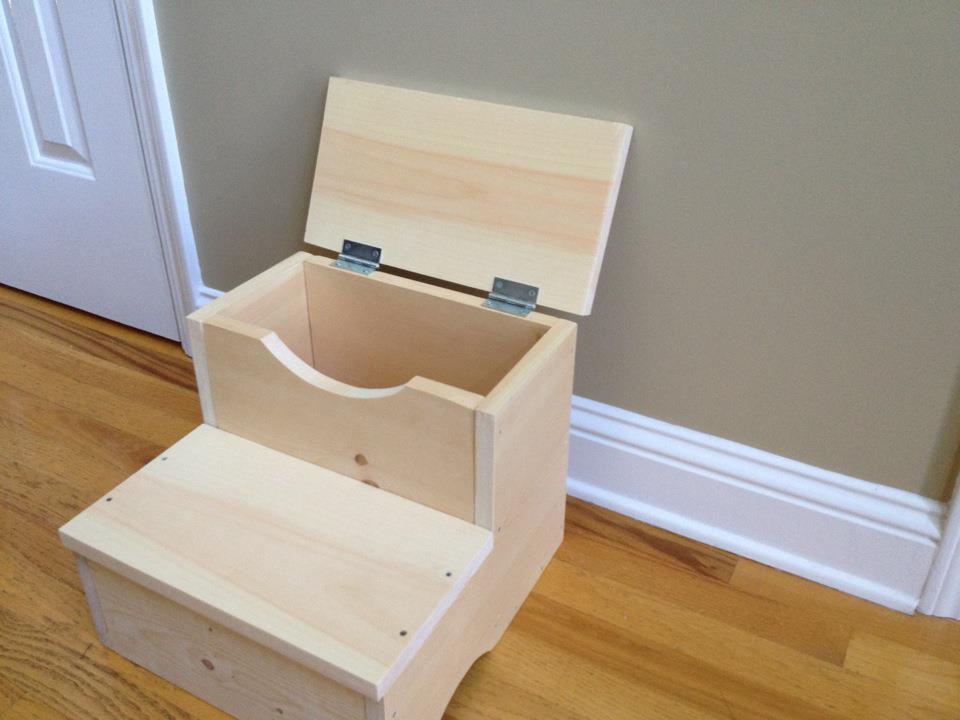
We moved my 3 year old son into his big boy room with a queen bed; it was a little tall for him so it was difficult for him to get in the bed so I set out to find a step stool. They were between $60-$80 and there was no way I was going to spend that kind of cash…..so that is how I found Ana’s site!
I built this with no problem and even got to know my jig saw a bit better.

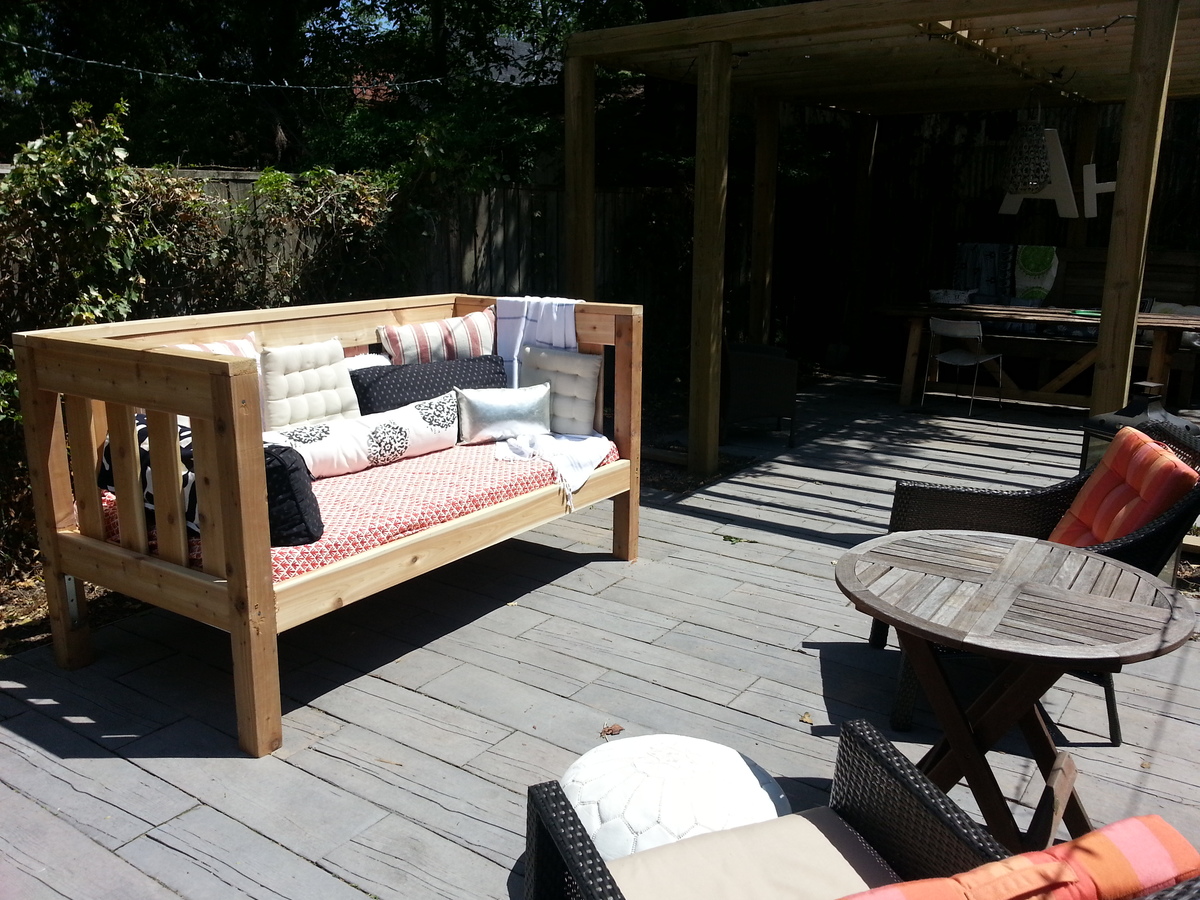
Modified from the plans for the simple day bed - link - http://ana-white.com/2009/12/plans-simple-daybed.html
Another visit from my friend Lisa and her miter saw - this time we were joined by my daughter Claudia. We changed the height of your indoor day bed from 31" posts to 44" posts in order to have enough height for people to lean back.
We used cedar so this can be left outside year round (I'm in Toronto, Canada). The lightweight foam single mattress can easily be removed.
Thanks for the plans!
My first project.
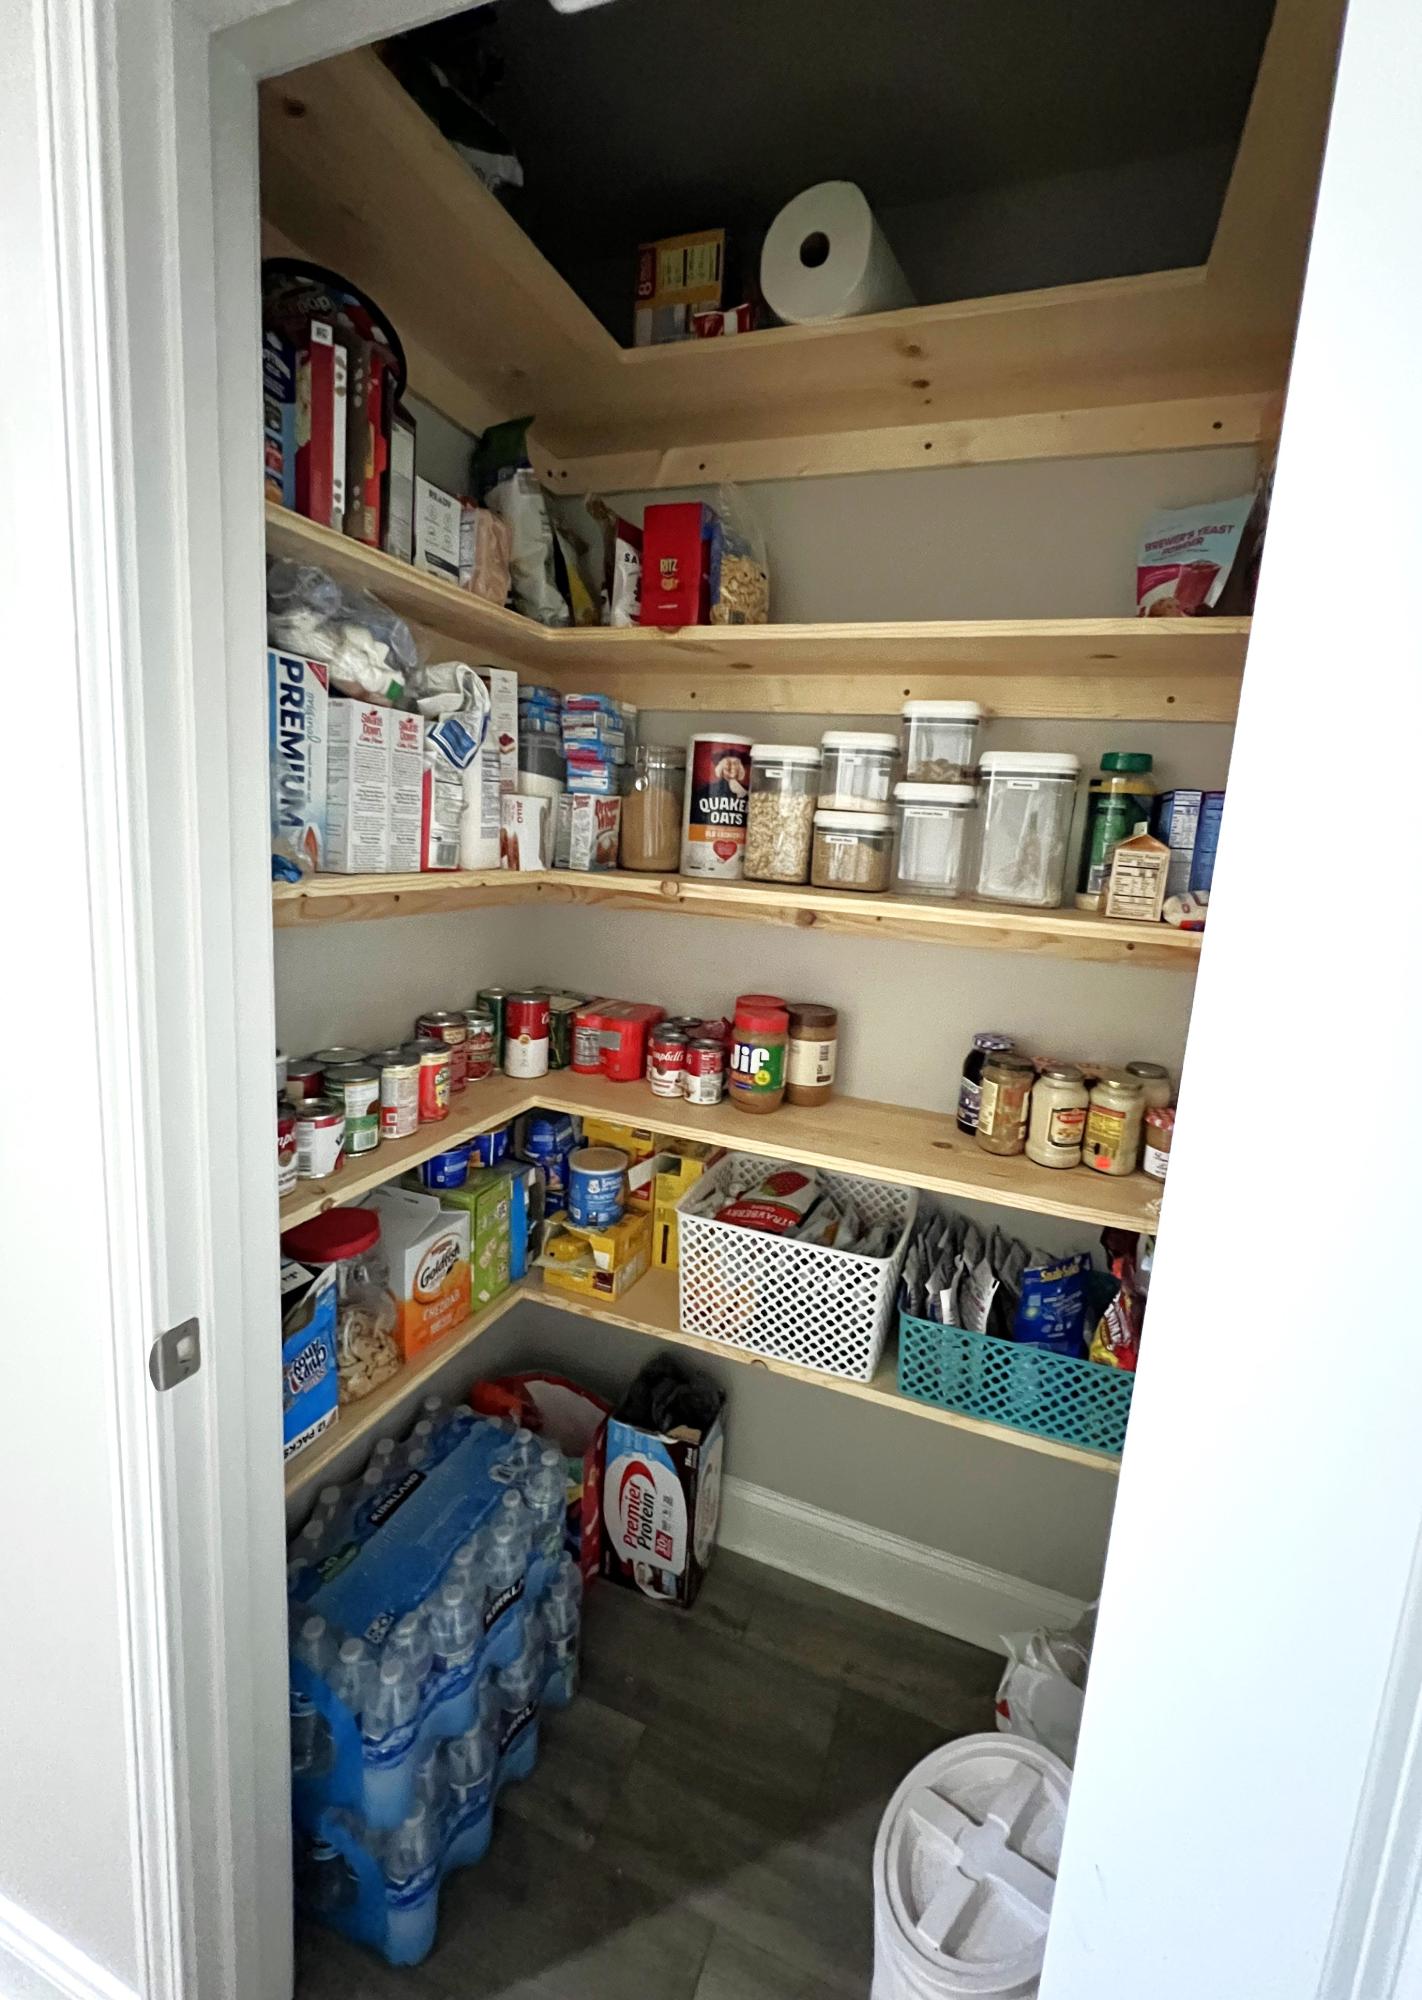
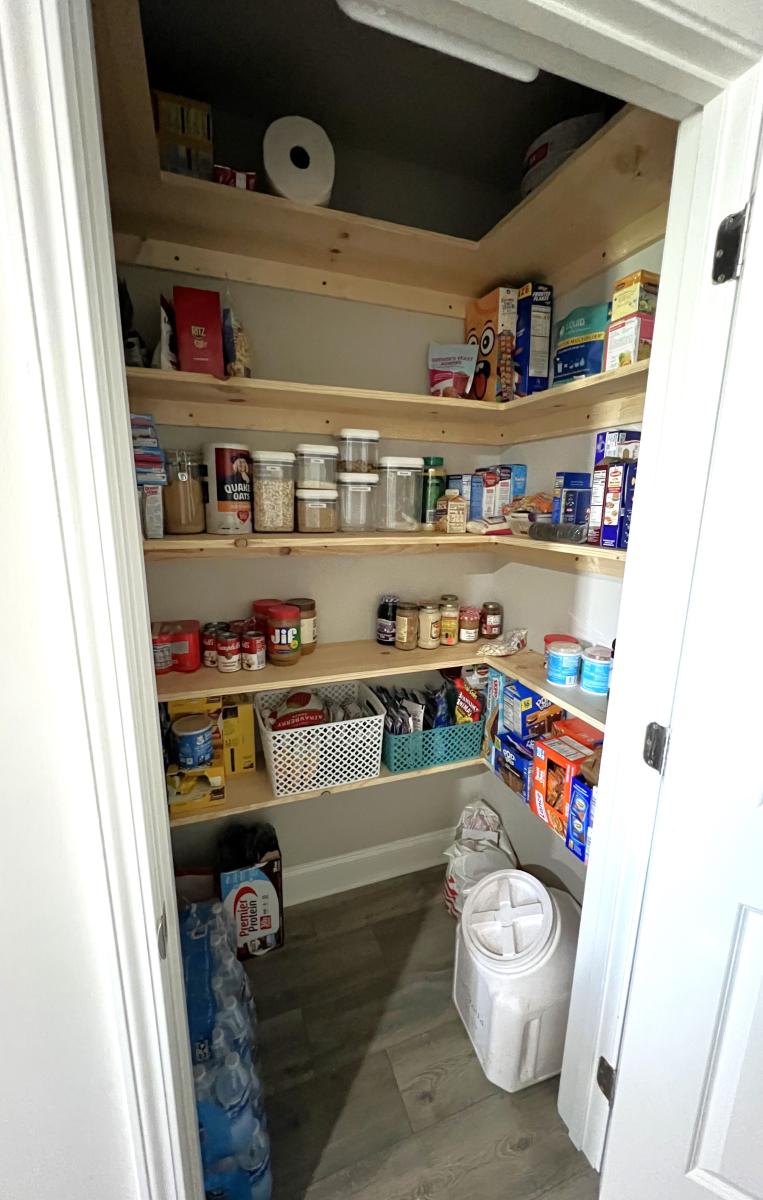
The wire shelves that the builder placed were not cutting it for storage. This setup from your plan helped garner so much more space for organizing. The pantry is roughly 54”x 35” and we were able to place five shelves instead of the four. Thank you so much for your assistance!
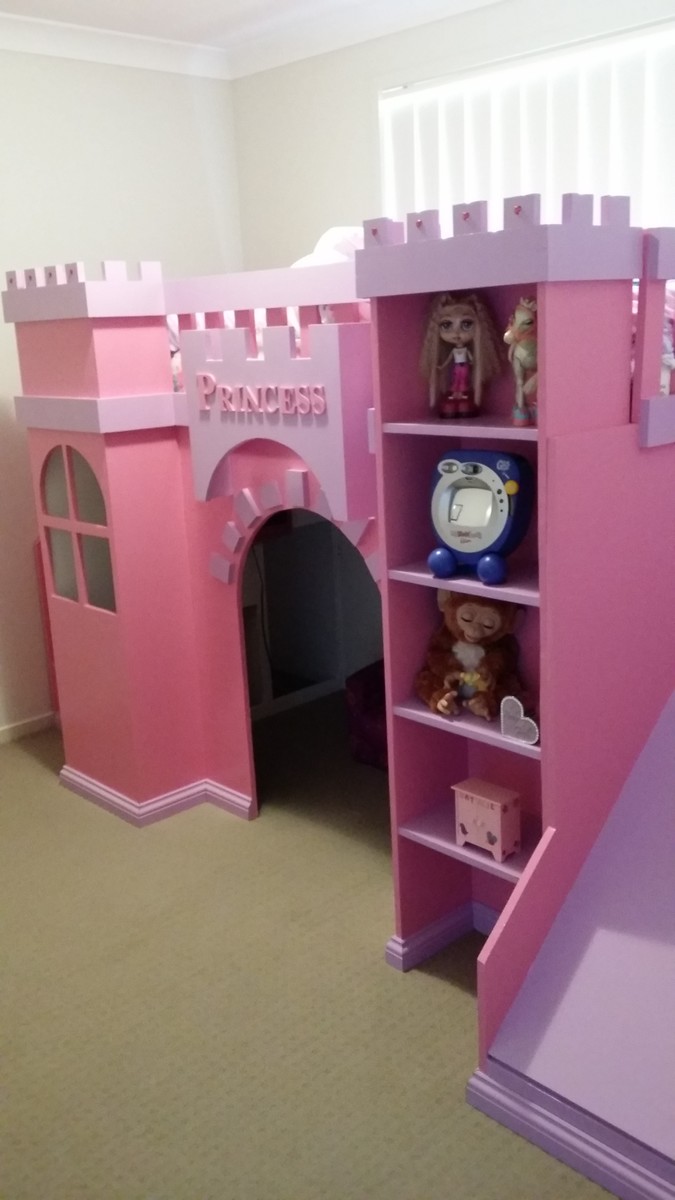
Castle bed


Thanks for the great plan Ana! Super cute addition to our bathroom!
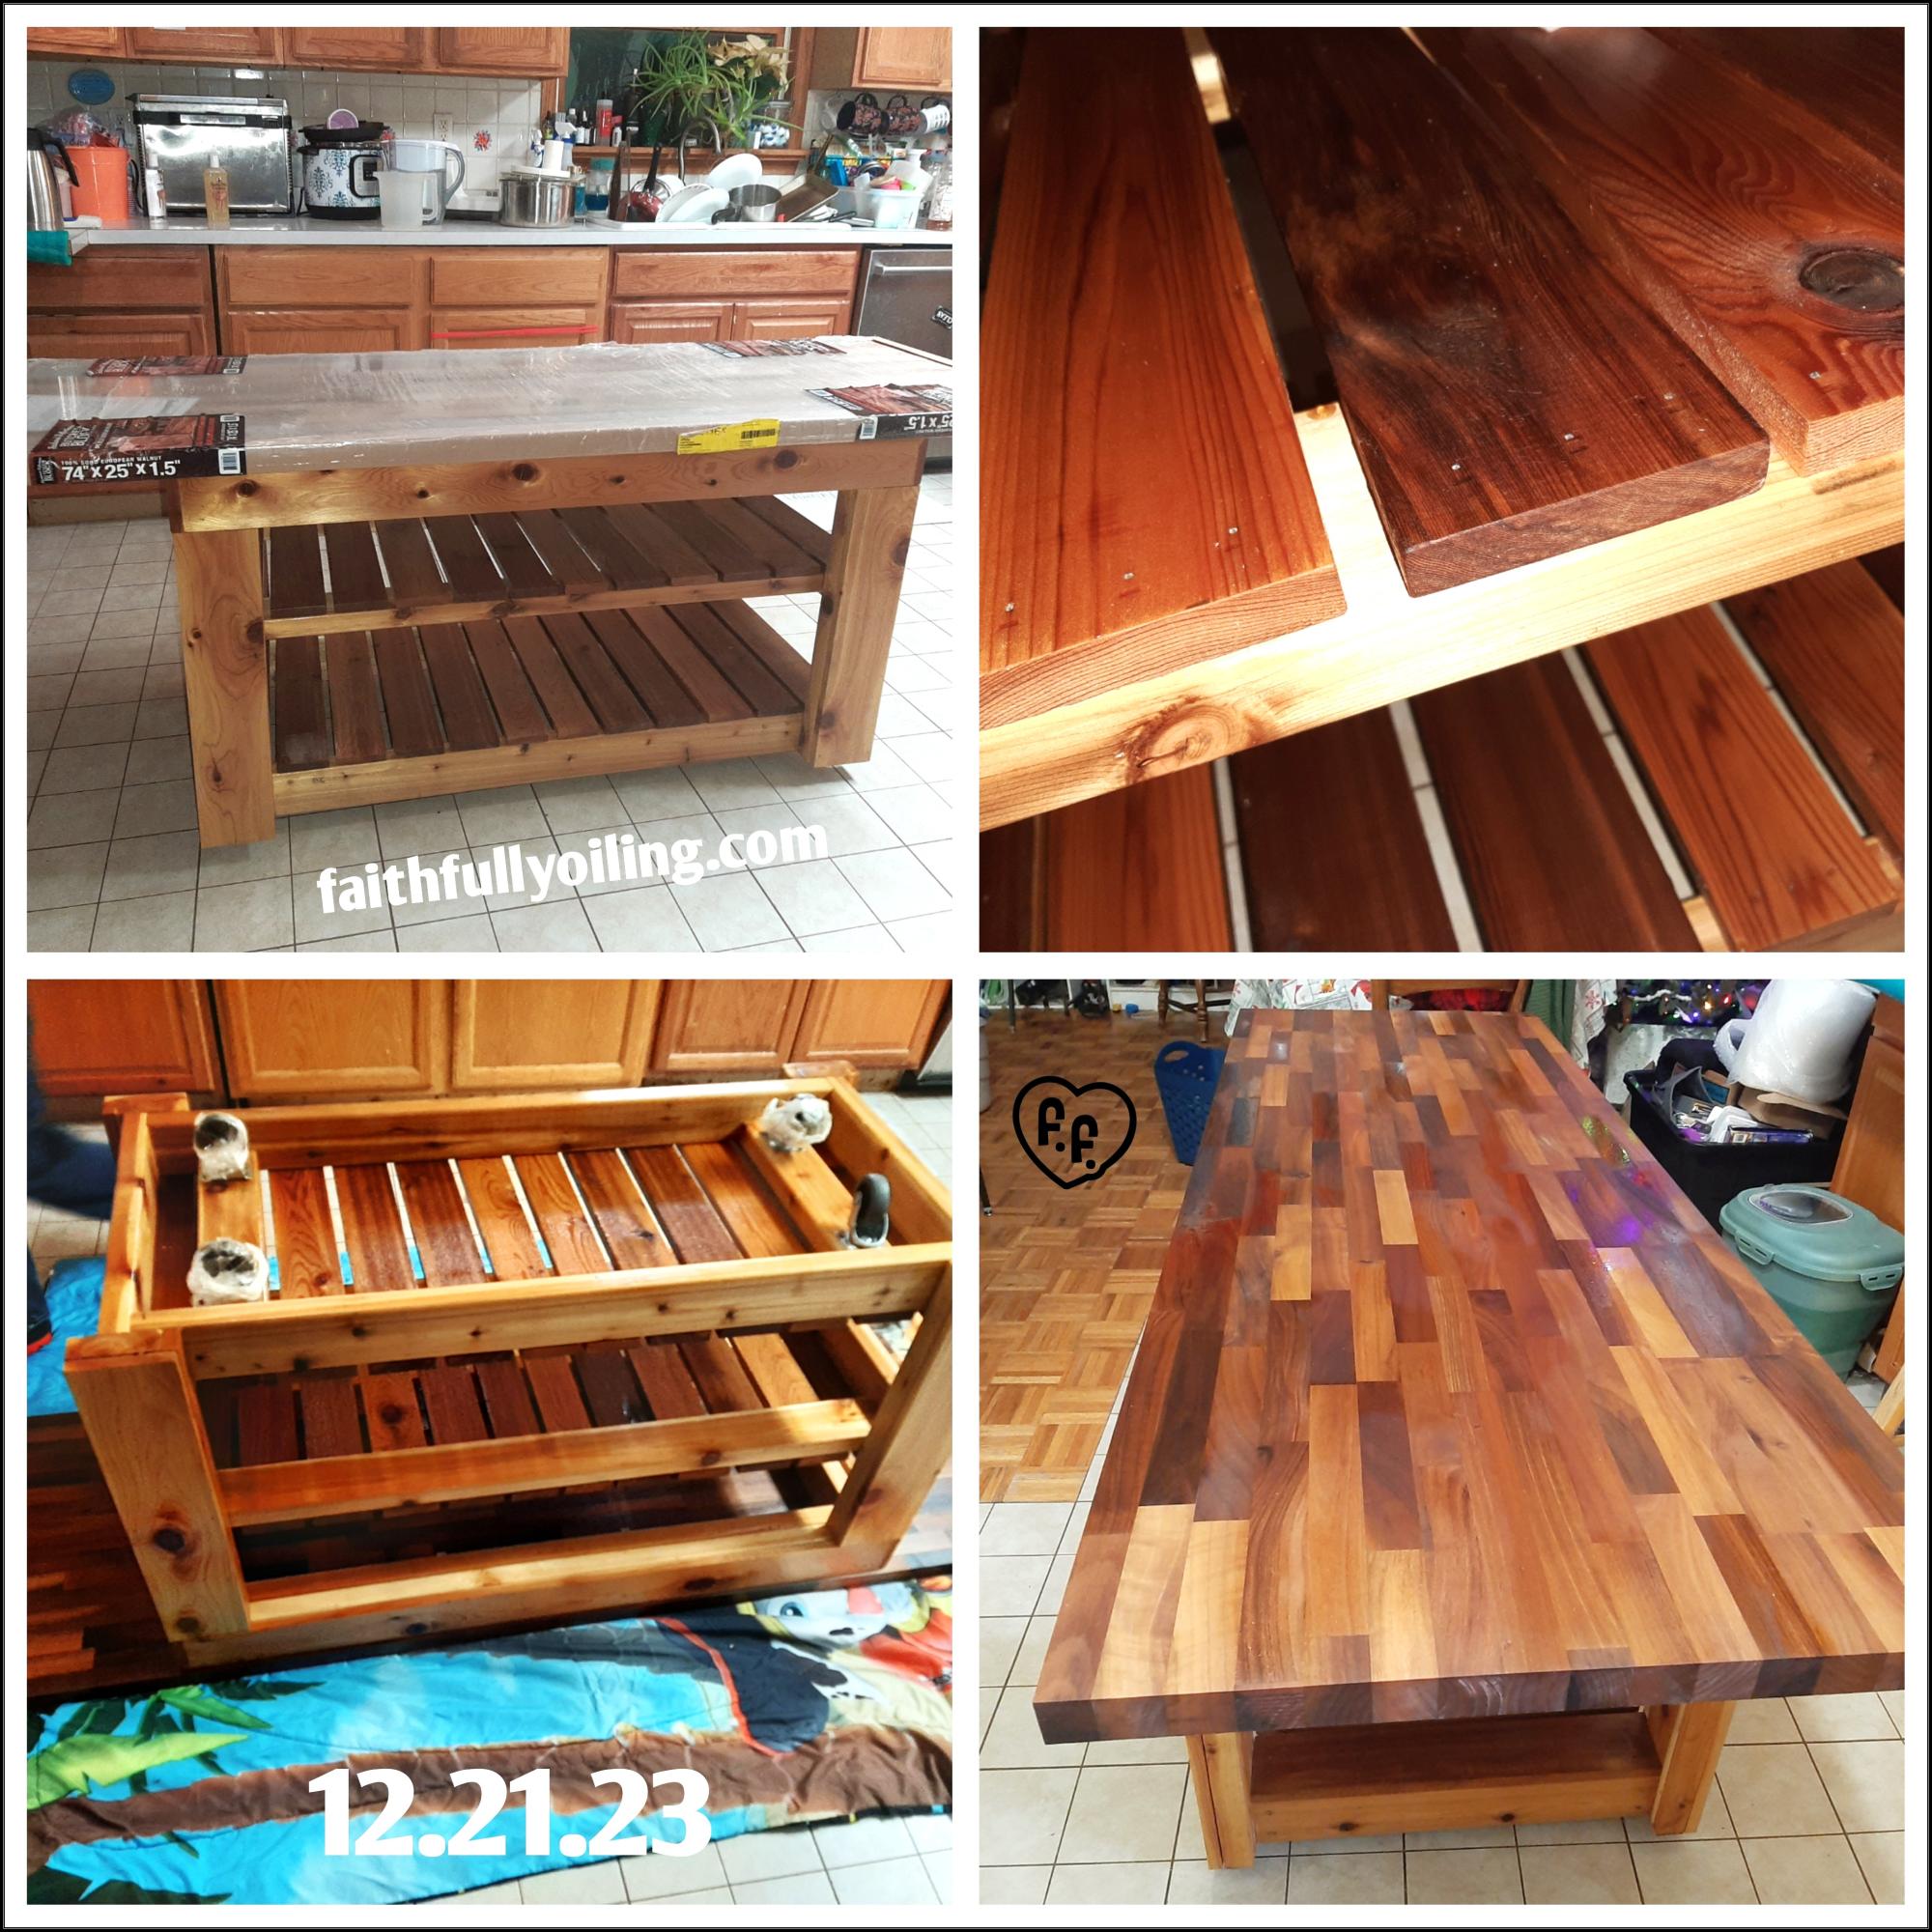
I really needed a kitchen island. That would work for me & last.
We, my husband & I, based our plan off of the Easy Kitchen Island Plans. I printed the plans. Then modified a few items. Originally I was gonna do a 4ftx25" but my butcher block we found was 6ft. So we left it with 6ft. My barstools slip under the overhang so kids can pull them out & use when needed but not be in the way.
We also made it custom to my height for mixing & kneading dough. The selves are different to work.with my tupperware containers. (Goal is to get all the same eventually).
We used cedar & a little pine for the main structure. The top is European walnut butcher block.
It's on wheels. So I can move it out of the way if needed.
We did seal the sides (kids & messy cook). The shelves & top I used butcher block oil & conditioner. Ever month I add a thin coat of conditioner to the top.
I love that I have so much room now to create.
Thank you so much for the inspiration!
Faith & Jonathan Flesher