Fancy X Desk

I created this desk using the Fancy X Desk plans, but I used a project panel for top.
Sherwin Williams Weathered Teak

I created this desk using the Fancy X Desk plans, but I used a project panel for top.
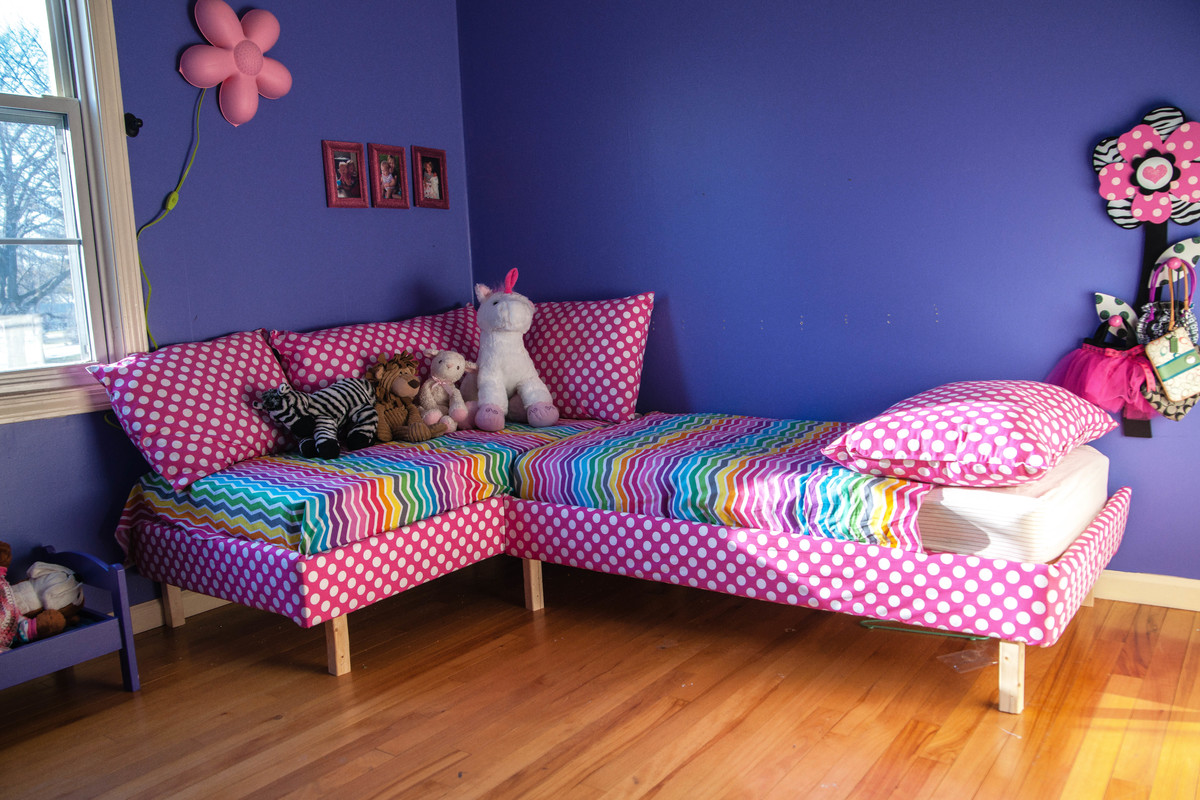
Double upholstered toddler day bed
Tue, 01/08/2013 - 14:44
Say what???? This is awesome!!! I adore the fabric and how you put two beds together! Thank you so much for posting photos! Ana
Wed, 01/09/2013 - 08:55
I love the color combinations going on here! What paint is that on the walls? I want to do this for my sewing/guest room!
I started building built-in bookshelves based loosely on the LACK copy-cat plans Ana posted. I started getting to work on them and realized I needed a way to handle the 8' and 12' boards I have to cut down to make the parts. Back to the home store I went! This was an extremely easy project to put together. I used one sheet of cabinet grade plywood ($30) and had it cut down at the store on their giant saw and three furring strips (as described in the plans, about $1.50 each).
My cuts were:
Assembly at home was really fast. It took me 90 minutes, it would have been probably under an hour if I had the table already! I didn't like the folding brackets at the store, so I went with fixed cheap ones for now. I'll swap them later. You'll notice the saw sits a little lower than the side tables. I'm going to mount the saw to the table and I'll fine tune with that.
Back to the bookshelves!
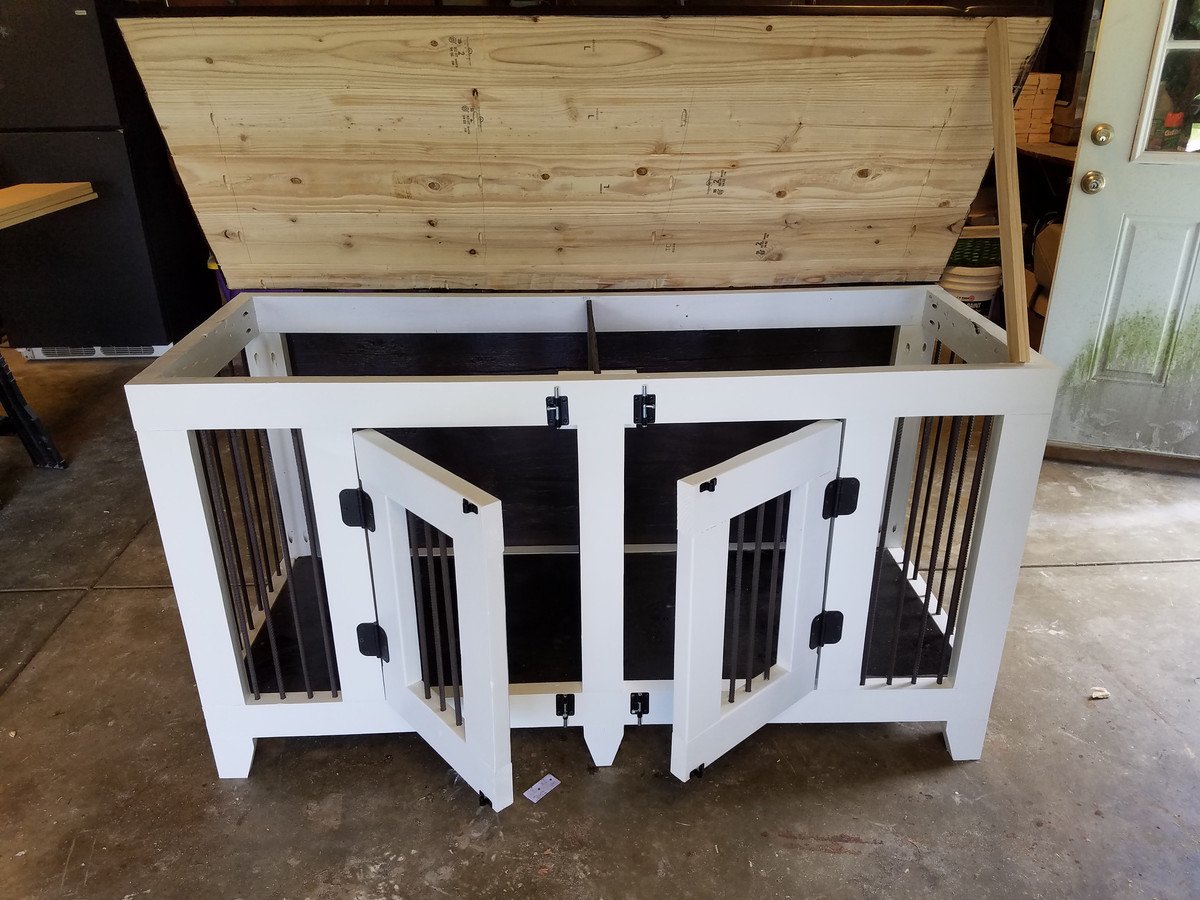
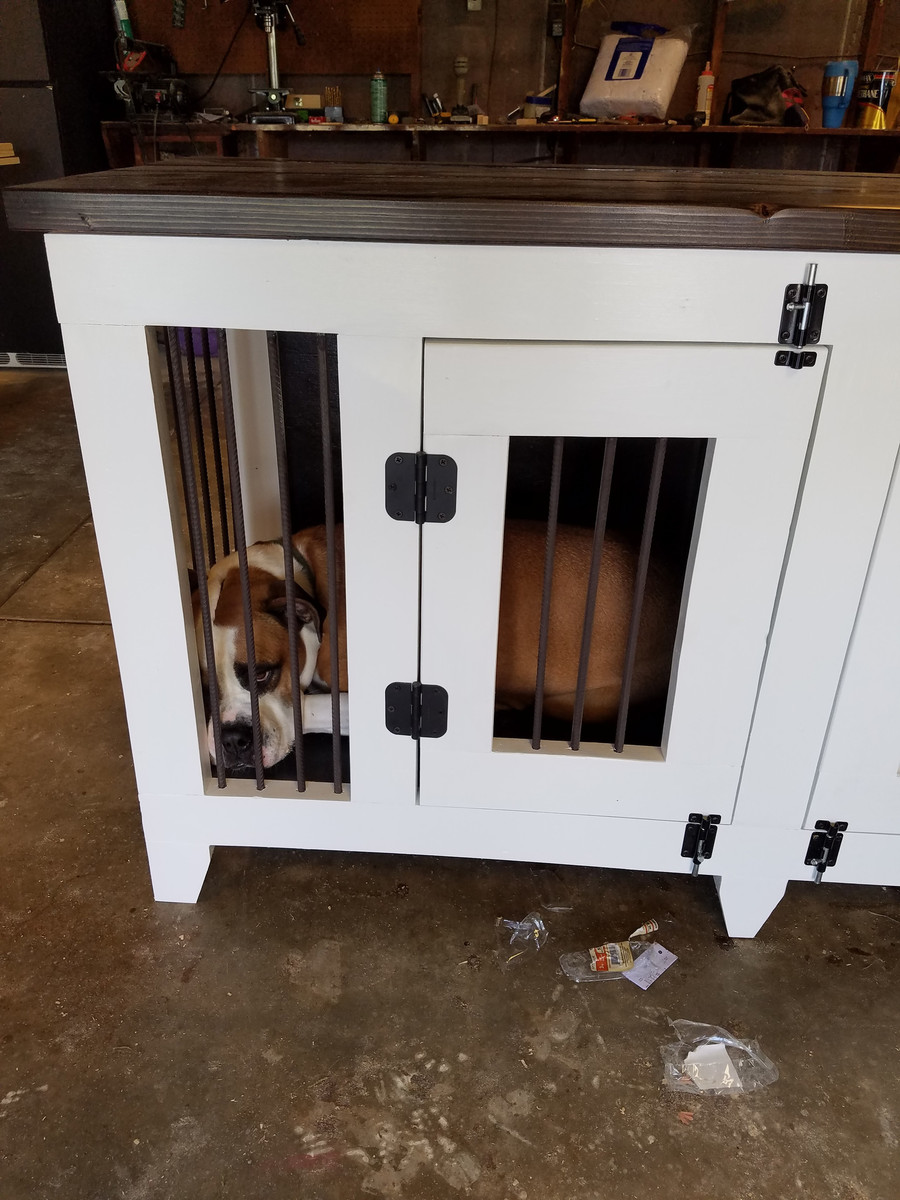
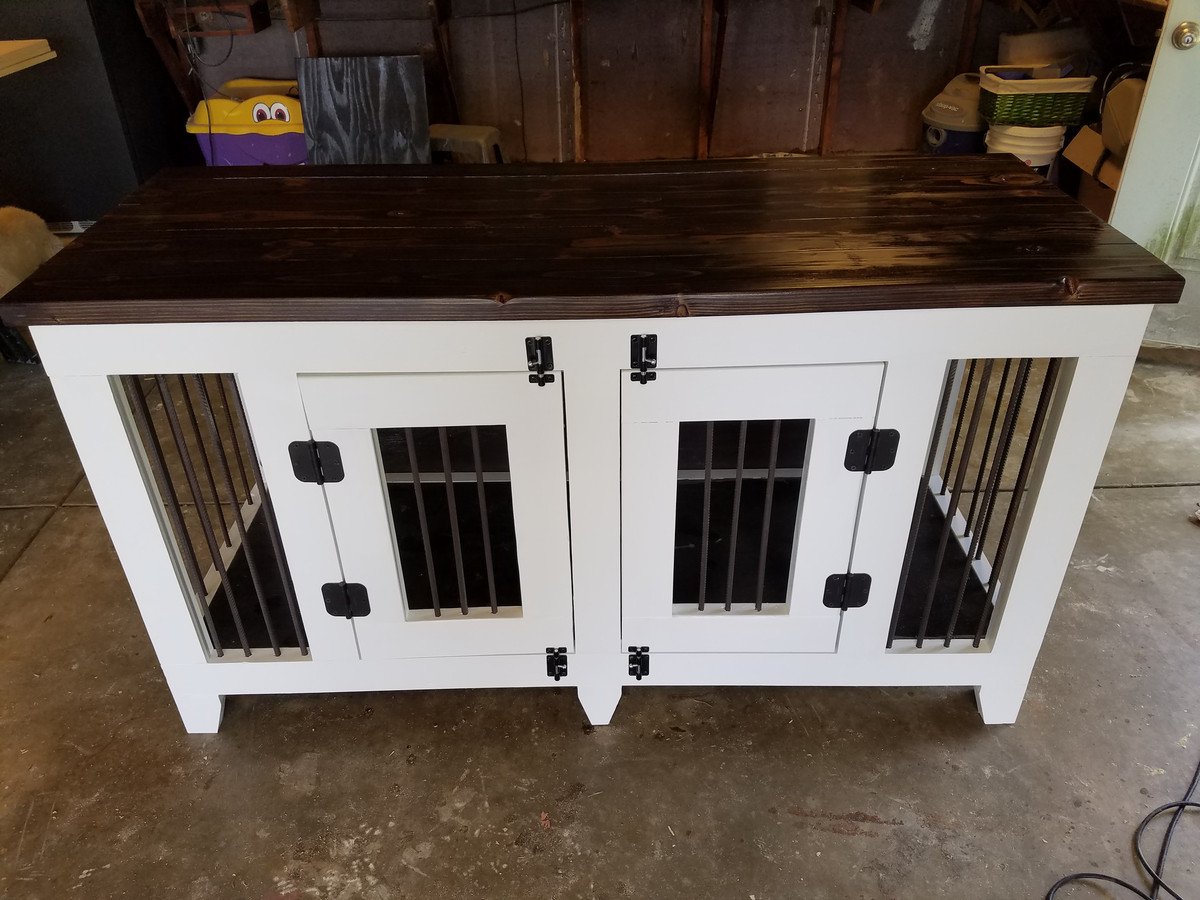
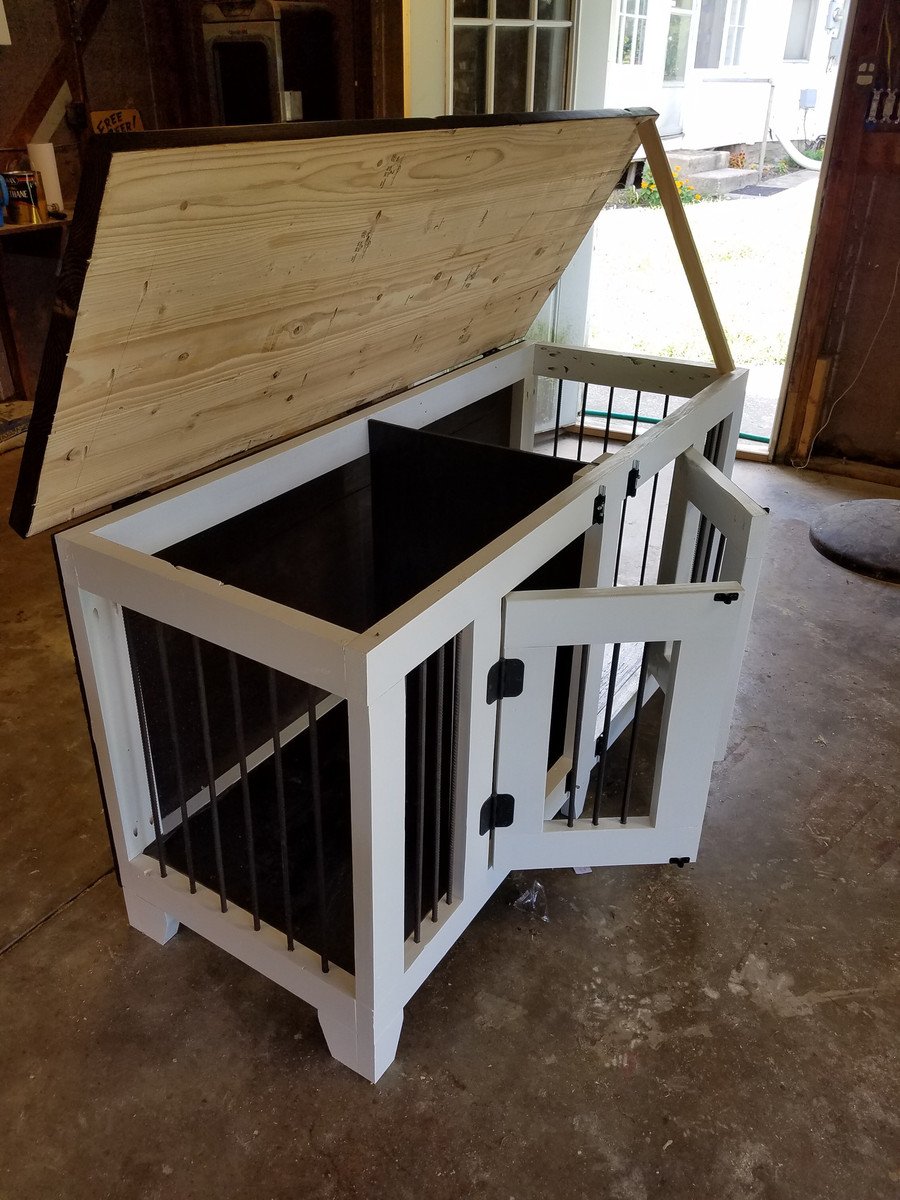
I had so much fun building this!! It ended up being 80"L x 29"W x 40"H
I added a removeable center seperator to make it available for 2 dogs and a hinged top for easy cleaning. If you would like to know more, mssage me here! https://www.facebook.com/almshousecreations
Sat, 11/21/2020 - 13:10
I was about to ask the same thing. If there is any, I can not find them. Please post
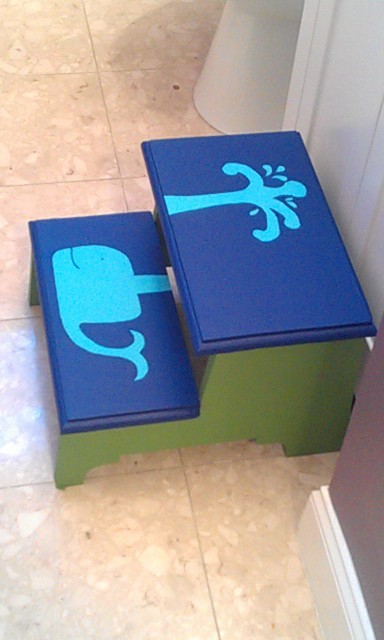
I made this for my nephew for Christmas. I'm new to furniture building and this is only my second project. It was my first time using a jig saw and it turned out much nicer that I thought it would. I also tried out my new router on the stair treads. I just love the preppy colors and whimsical whale. I'm sure it will get lots of use.
Fri, 01/11/2013 - 08:34
Cute! I really like the finished look the routered treads give it.

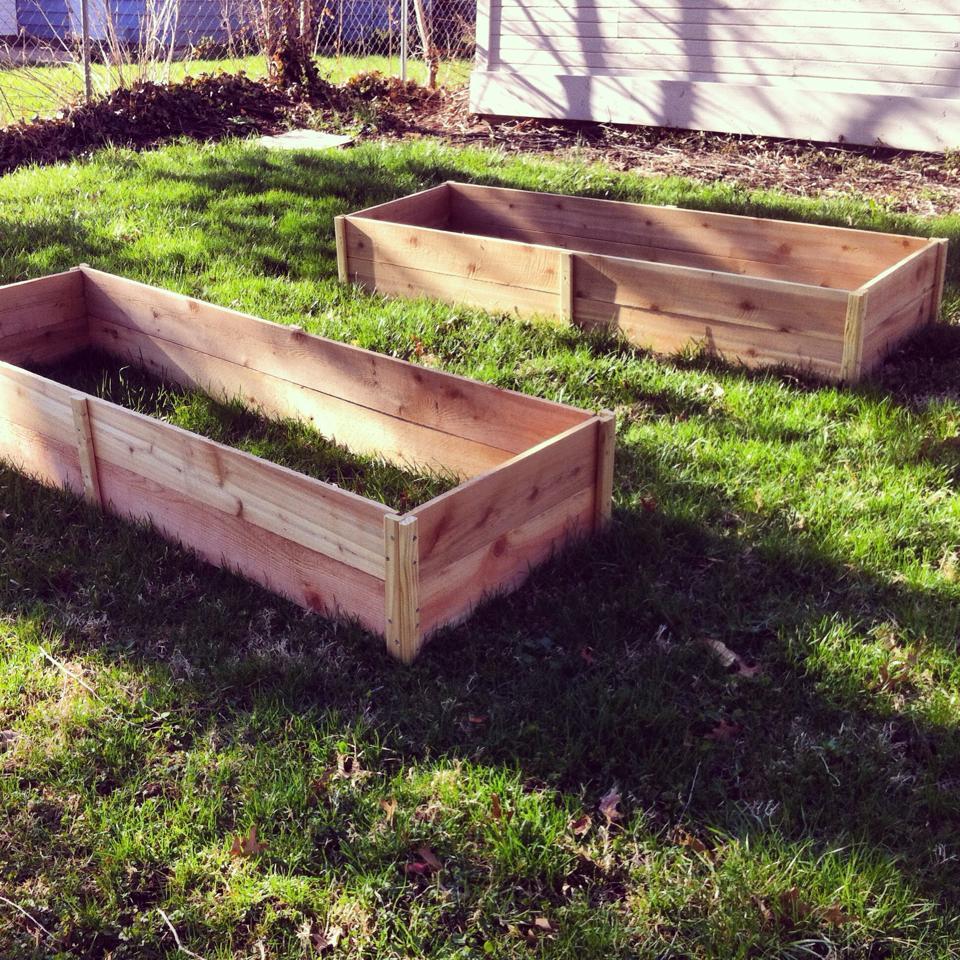
These planters were really easy to make, and held up well all through the spring and summer. This was my first garden, and I was excited to try raised planters. I added some reinforcement to the middle just to keep everything together, and they were really sturdy! Thanks Ana!

This is the rustic x coffee & end table I used 2x4's for the X. I like the wider look of the 2x4's over the 1x's it adds more dimension to the table.

After searching retail stores for farmhouse tables and not liking the pricetags, my wife talked me into tackling this plan. (I'm glad she did) This is my finished product.
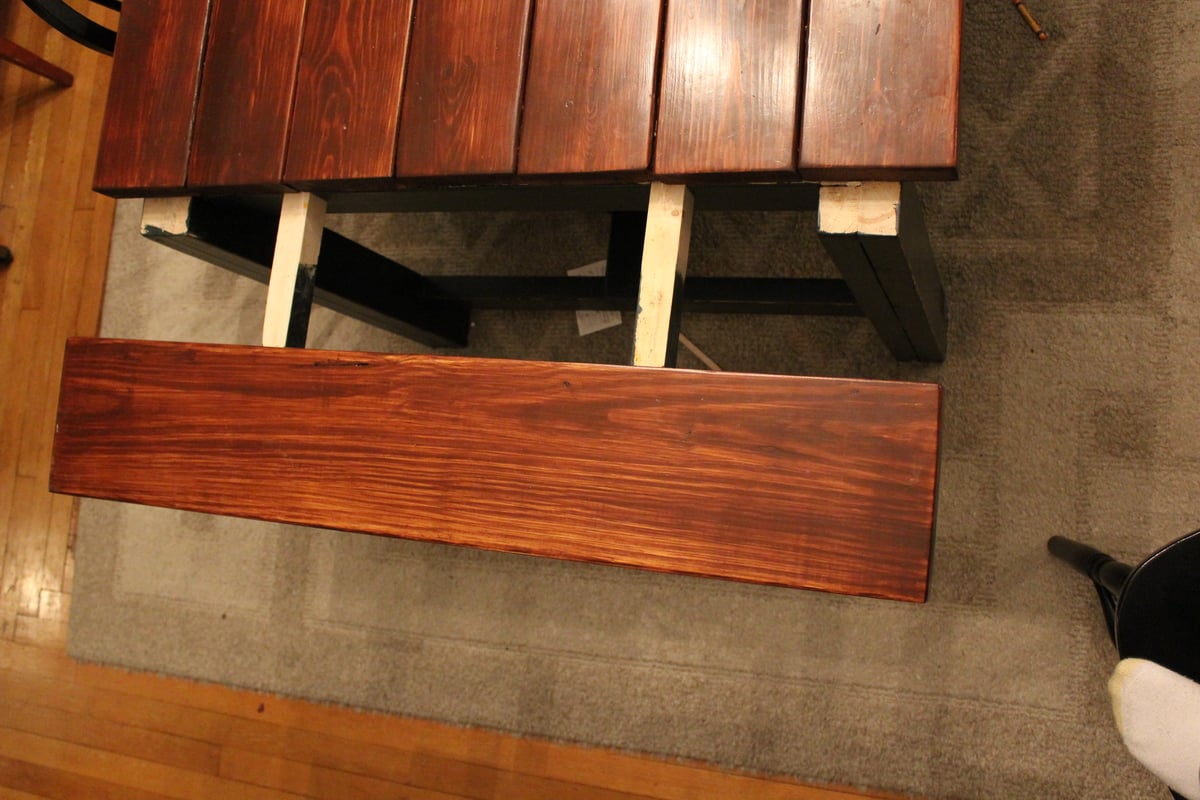
I made the breadboards extendable so we could add extra boards if we needed additional seats for guests.


Thu, 01/24/2013 - 12:03
I basically notched out the end apron so that 2x2's could slide through, then attached the 2x2's to the breadboard. I originally attached them so they were just under the edge of the breadboard, but have since changed it so that it goes about halfway. I hope you understand what I am trying to say, if not I can add some more pictures.
Sat, 05/18/2013 - 06:55
Every time we visit websites, we saw almost the same as the other article and topic but I am shocked when I first read the title from this page. I never think that the blogger has the knowledge of making something new online. I only saw this kind of blog in this page. I concur that the blogger has the intellect of Albert Einstein. منتديات
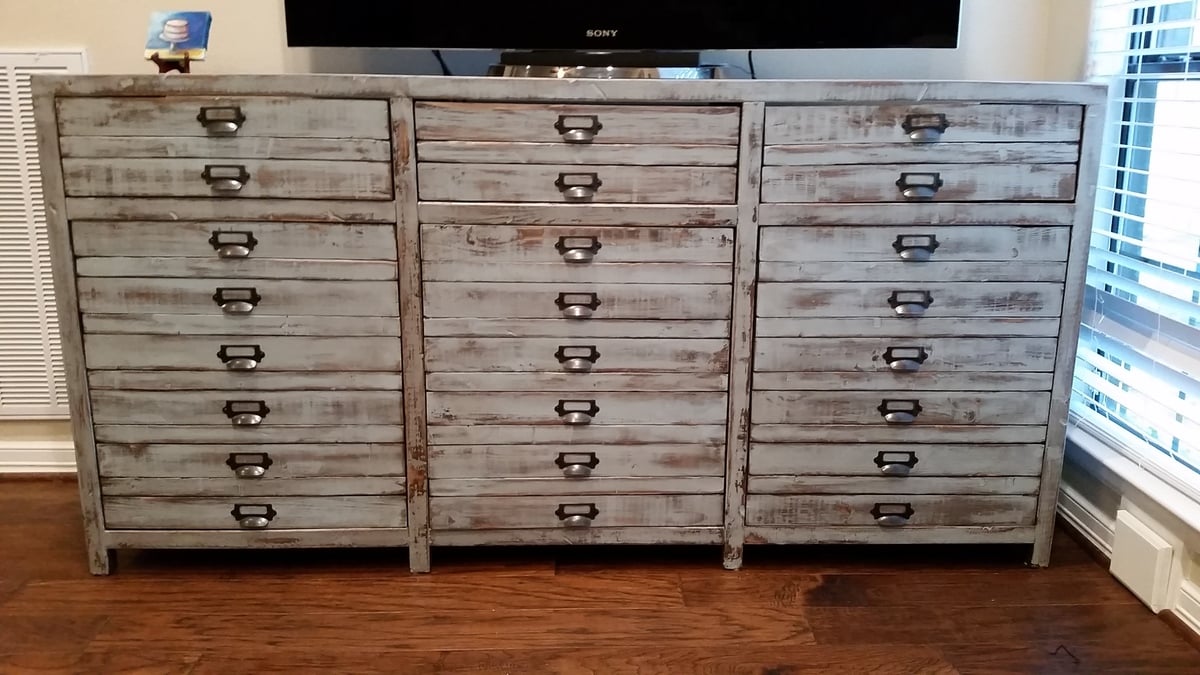
Very happy with the results.
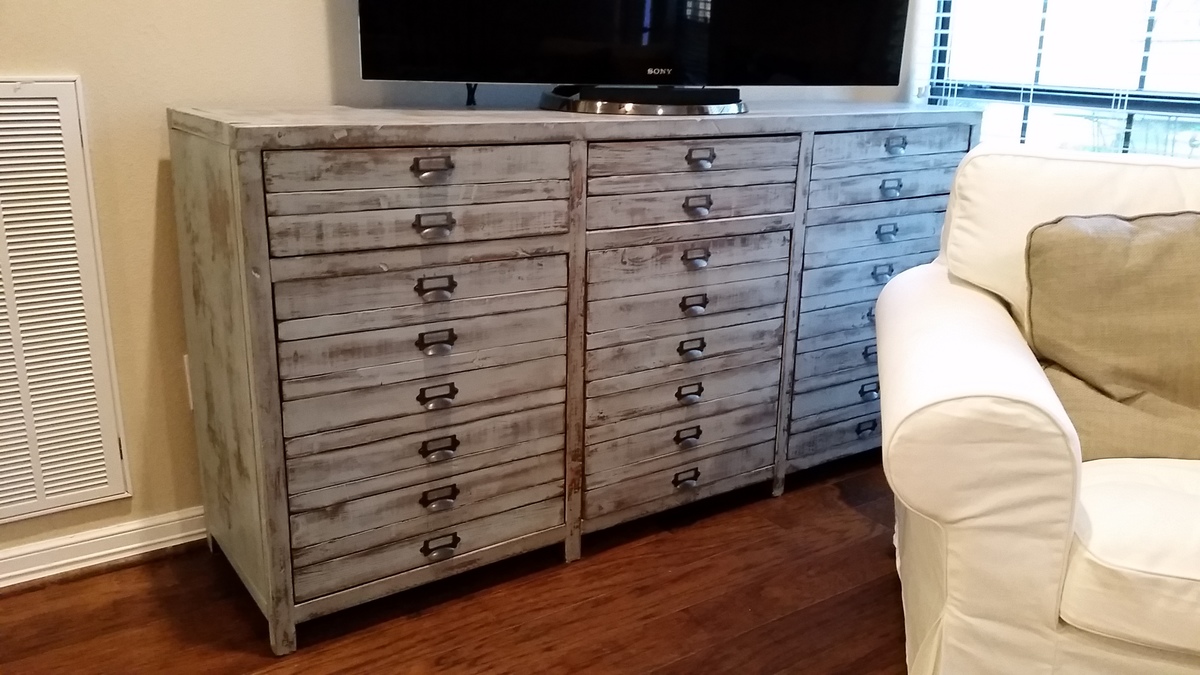
Fri, 11/14/2014 - 14:02
I really like the look of this! You did an awesome job!
Fri, 12/19/2014 - 17:33
How do you like the drawer pulls that you used? Do they hold up well? Great job on the project! I've started building this myself :)
First table!! I used all white pine that was milled over 45 years ago cut my own lumber out of this wood and the table top was made with 3 pieces of wood to make the top. Bench is being made now!

Built these two end tables from Ana's nightstand plans. Modified to add a shelf and drawers. I used stair treads to make the tops which give a nice thickness and strength. The shelves are cedar fence pickets. Shelf and tops are stained Jacobean with a semi gloss poly finish. Had to watch Ana's videos several times to get the build right, but spent much more time on the finish than the build. Added electric extension/usb outlet. Really happy with the project. THANKS Ana!
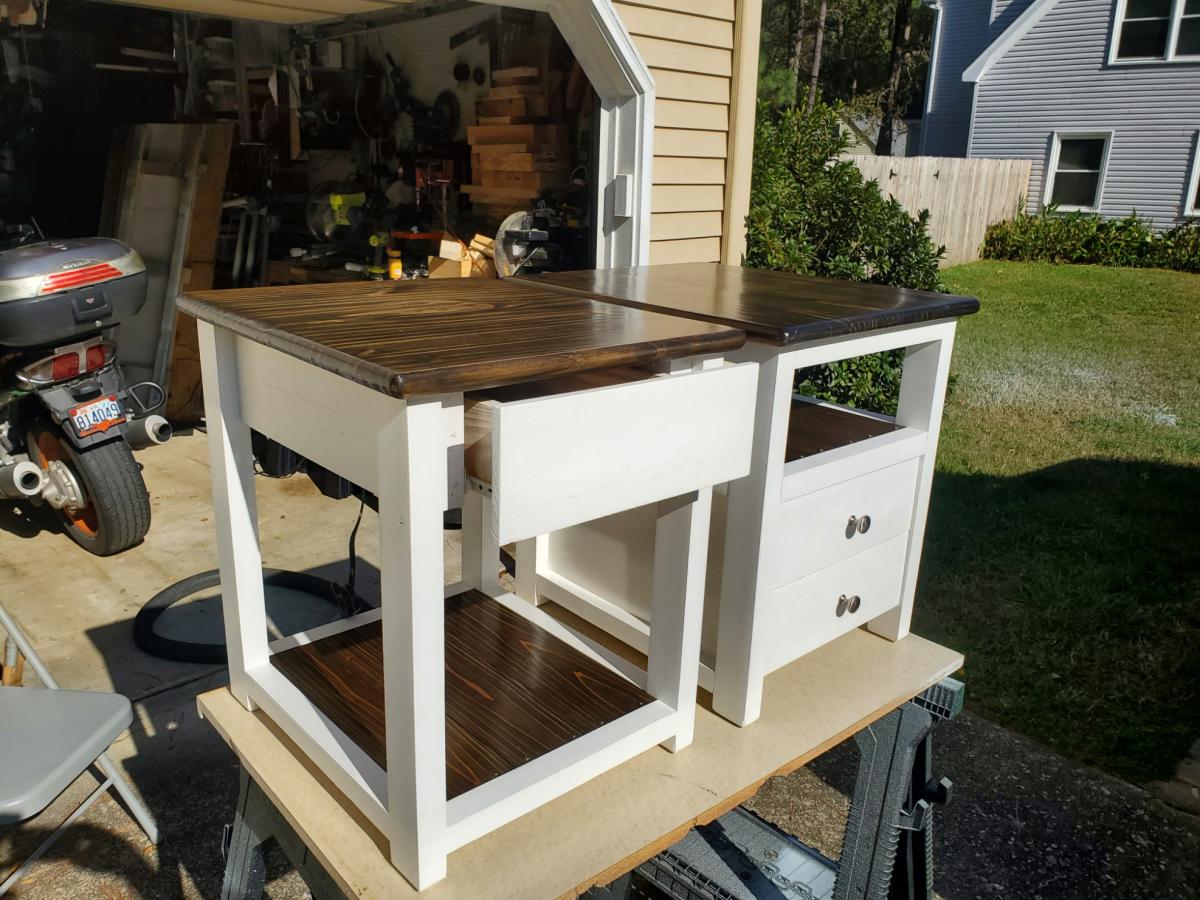


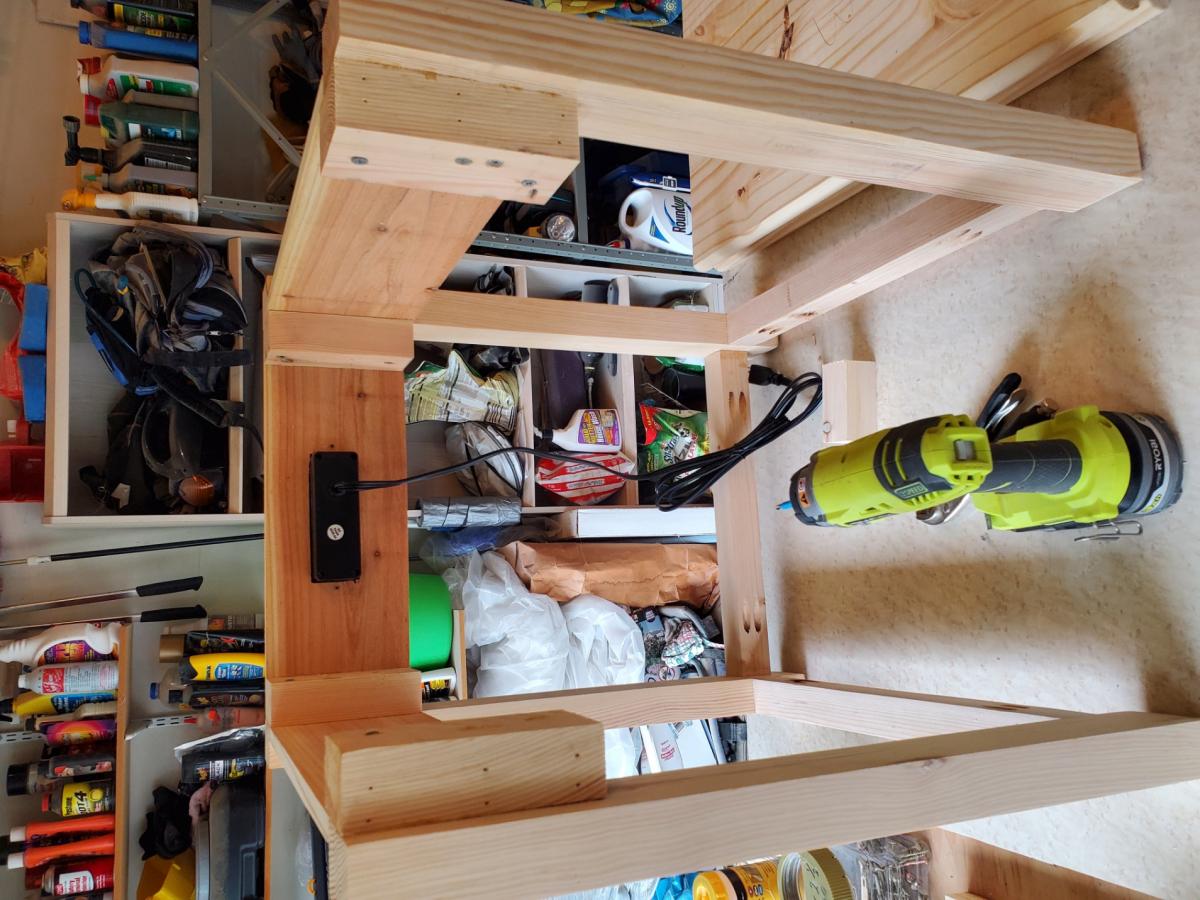
Sun, 11/15/2020 - 16:28
Project for my son. End tables with one and 2 drawers. Shelf and tops stained with poly, frames and drawer primed and painted. Tops made from Stair treads. they are 12" edge glued so just had to trim down and glue together. comes with one bullnose, rounded off the other sides with a 1/2inch roundover router bit.
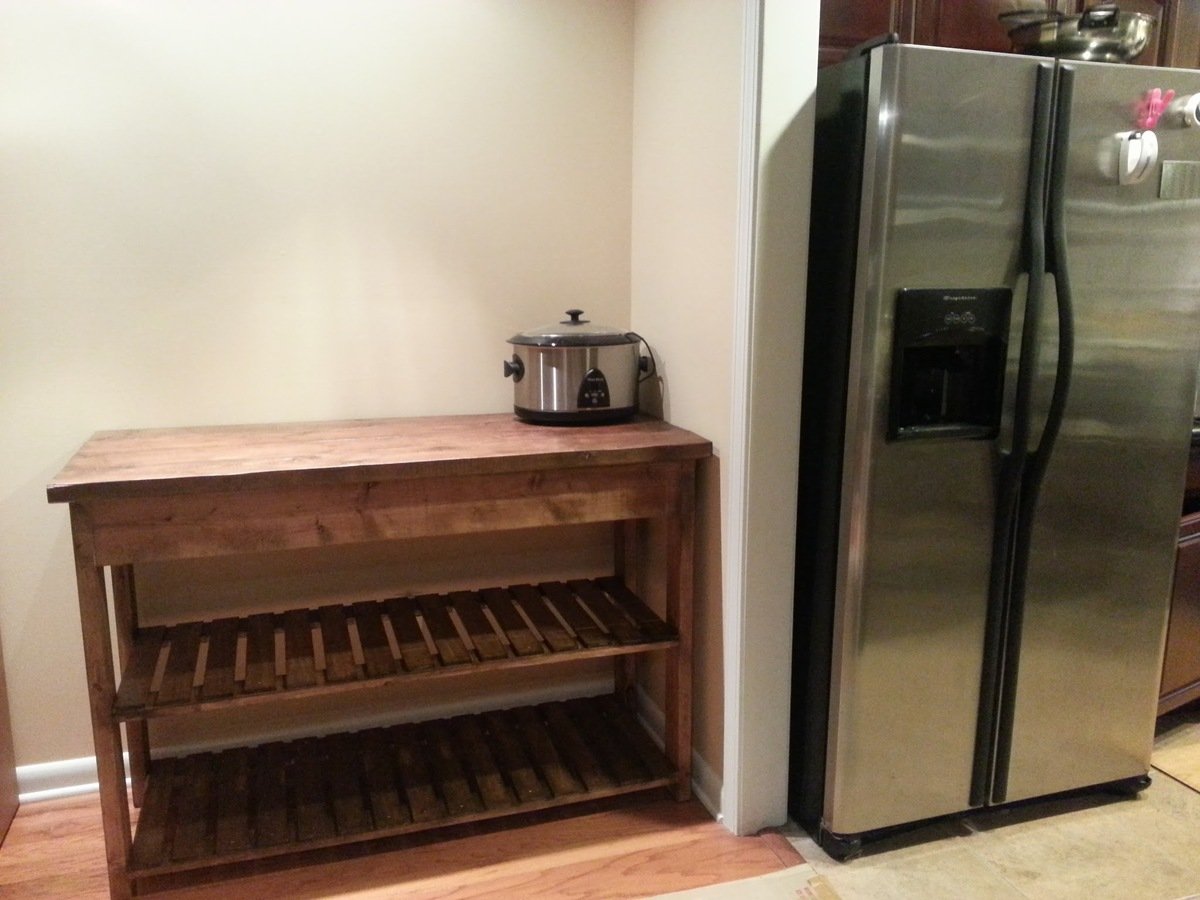
This is my first build ever! Since we recently moved into a place with little kitchen space, I thought this island would be perfect for extra storage we needed. I modified it from 5 2x6 on top, to 4 2x6 so it would fit in the corner we wanted it in. So the overall dimensions were 54" wide x 22" deep x 36" tall. I also changed the 1x2s that make the shelves to 3x5/8 boards, 15 per shelf, with approxinnately 1 inch between each. I predrilled countersink holes and screwed them on using 3/4" wood screws. The stain is a walnut colored water based stain, and I coated the top surfaces with a matte finish poly.

Wed, 01/16/2013 - 06:03
Beautiful! Can't believe it is your first build!
I am so thankful, Ana, for your website. I would have never attempted this without such detailed plans and instructions. This is the first thing I have ever built. I even had to watch your video on how to use a Kreg Jig, but I was able to build a solid piece with absolutely no prior knowledge in woodworking using your site! My grandson absolutely LOVES the step stool. His new favorite past time is to play at the sink since he can now reach it.  I will be building more as we are in the process of building a house. I keep telling the men in my life that they are going to build the kitchen cabinets. They keep telling me no. While my skillset is not yet to the point I am capable of building my kitchen cabinets, with such a wonderful site available I feel confident to get there. Thanks again!!!!!
Jo Lynn
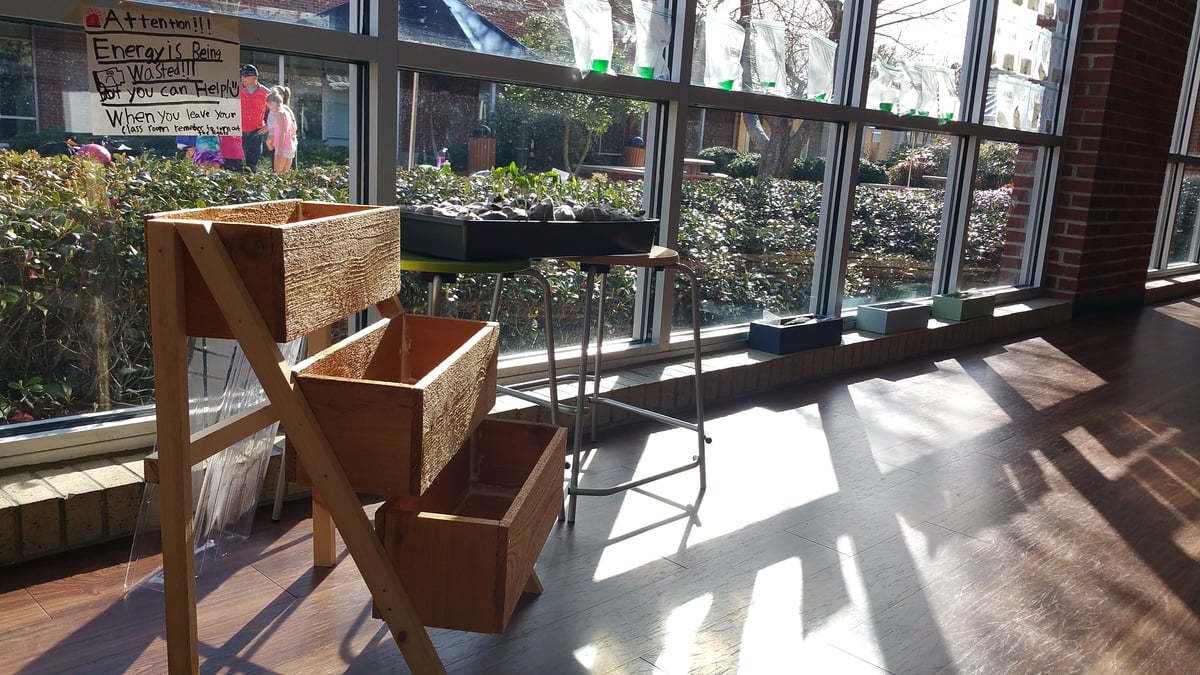
After doing some string art with the Kindergarteners in my class, the were anxious to pound some nails in "all the way." I remembered seeing this plan before on Ana's website, and earlier in the week our science teacher had been talking to the Kindergarteners about how the seeds they had planted were starting to get too big for their containers. The students themselves suggested a bigger box to put them in, and just like that... our next project was born!
The students did every part of this build, except for the cutting of the boards. They loved it, and couldn't believe how quickly they put it together. Here are a couple of tweets to show these little #elemakers at work!
https://twitter.com/JimTiffinJr/status/830163344057327617
https://twitter.com/JimTiffinJr/status/830164086847655936
https://twitter.com/JimTiffinJr/status/830164527304077313
Thanks for sharing some very simple projects and plans that even the littlest of builders can do!
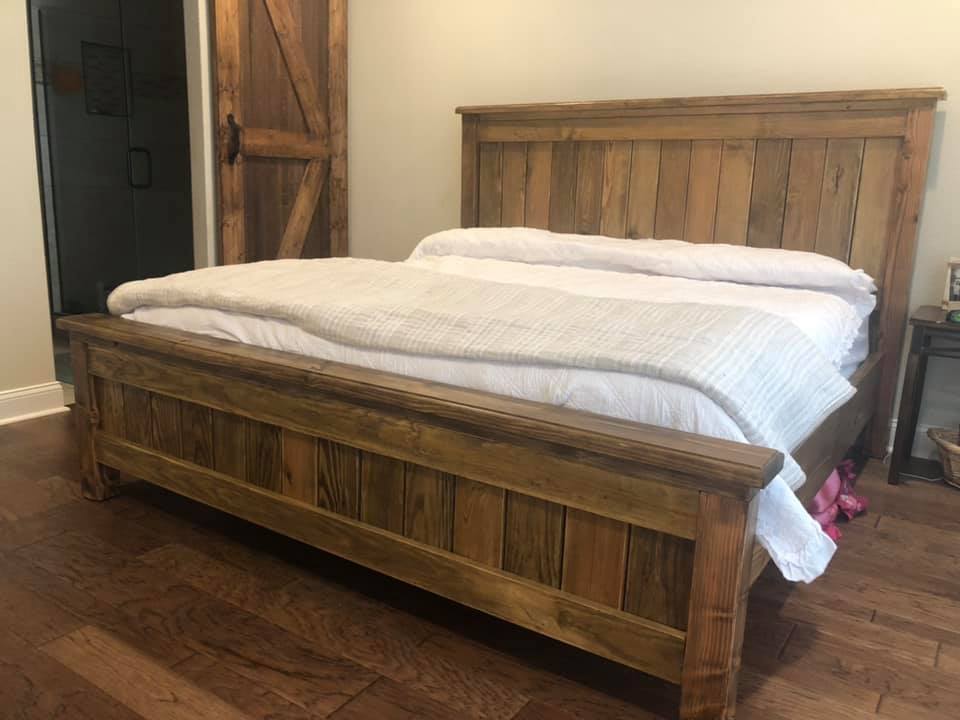
I just love how this bed turned out. Now I have plenty of space and those 3 kiddos can't boot me out.
My son loves rocketships so this was a nobrainer. I made it a bit taller than the plans called for, it's about 6 1/2 feet tall. It should hold all of my son's books and then some!
Fri, 11/14/2014 - 13:42
The rocket tower! Love the fun colors that you chose!
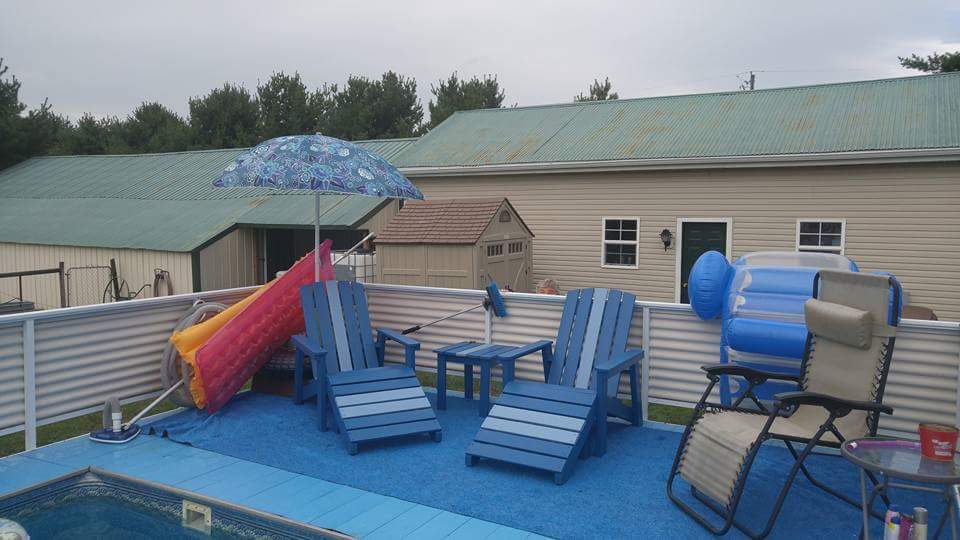
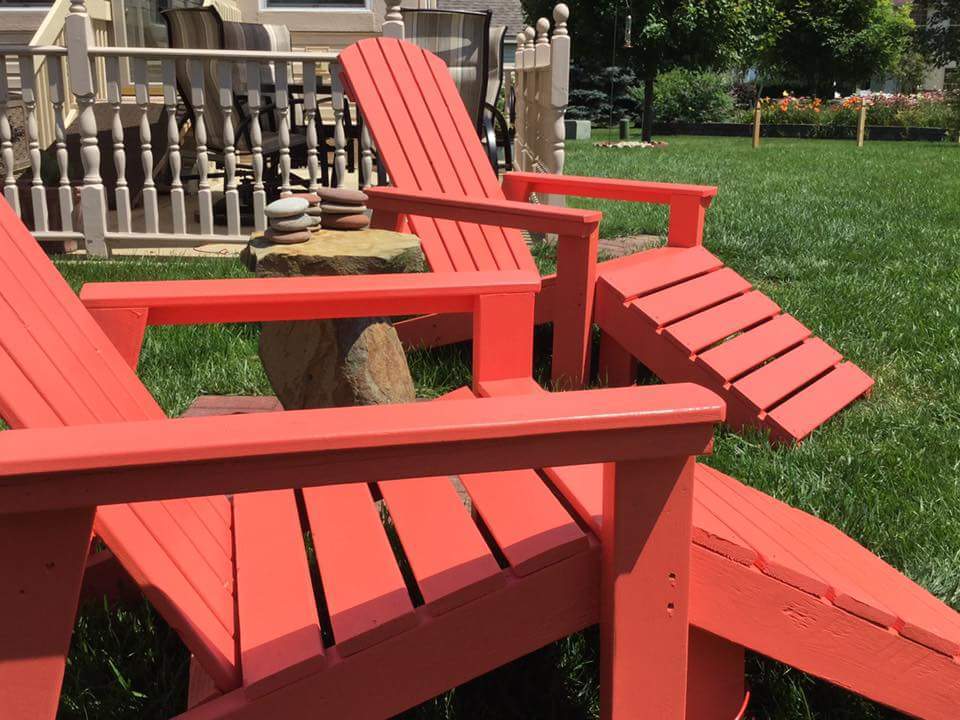
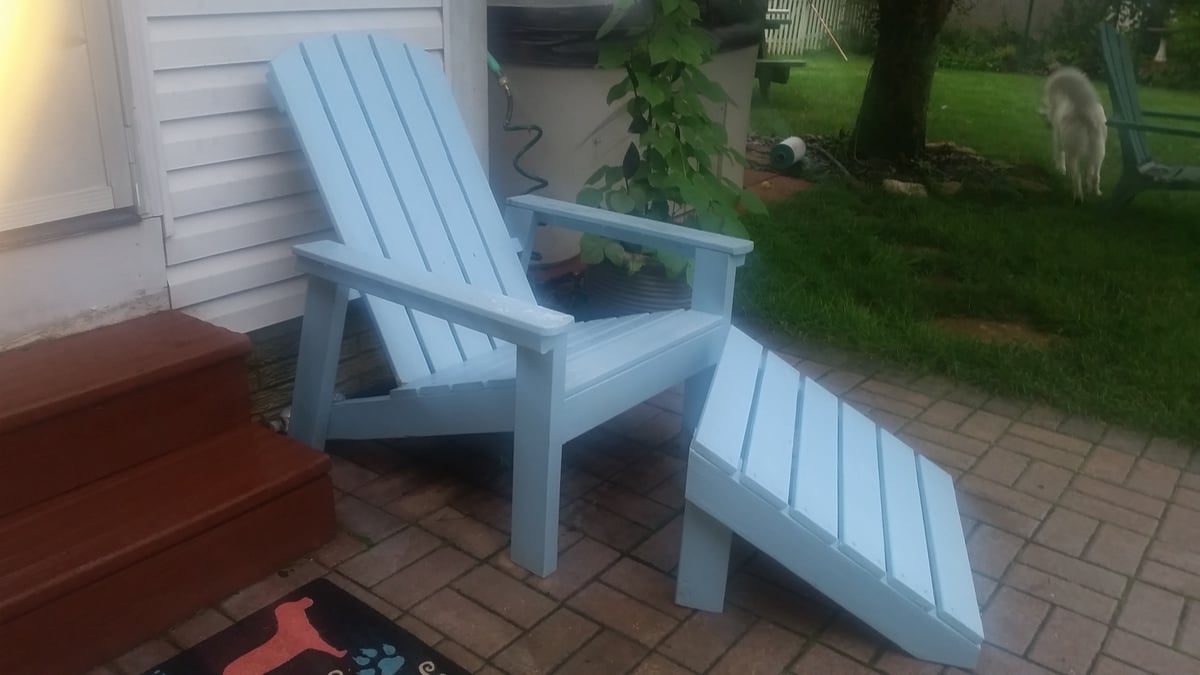
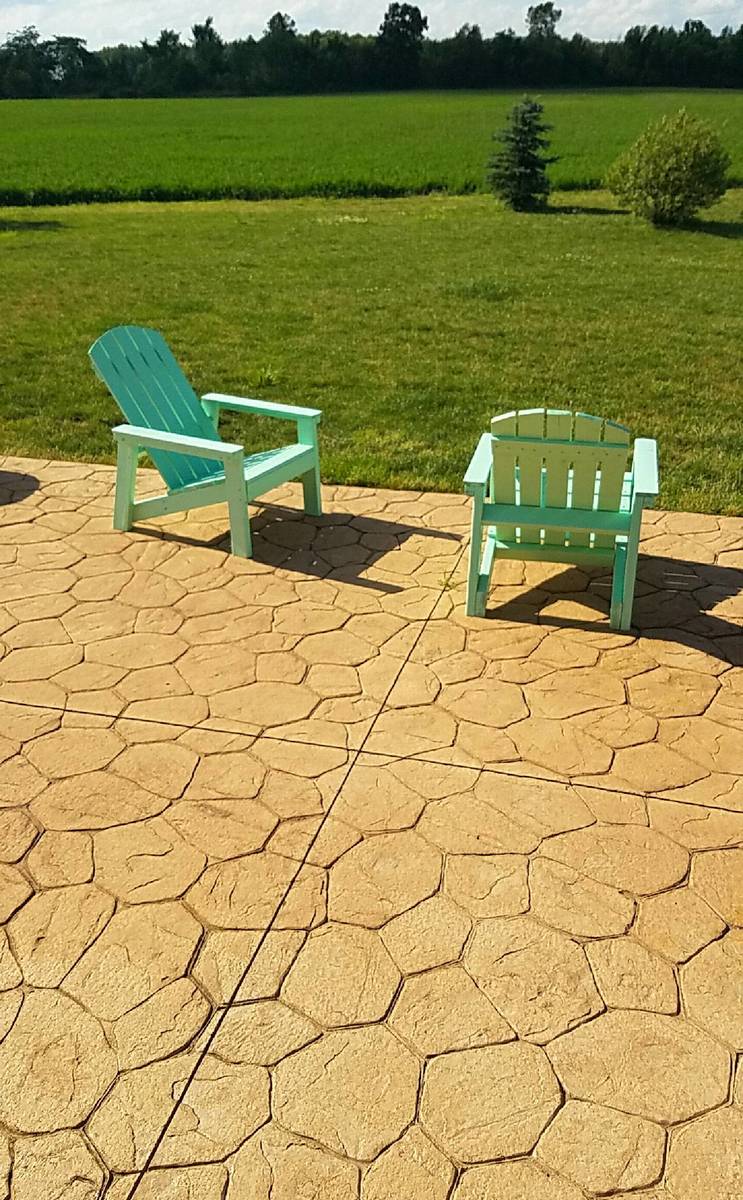
I came across this plan and decided to make a chair for our patio from some wood that I happened to have in the garage. Well, people saw the chair and just had to have one. I've made 10 so far.
People passing on the street would see me working on them and stop to ask of they could order one!

Had to re-size from the plans to fit my space, but my wife loves the extra storage we now have in the laundry room. Put in adjustable shelves.
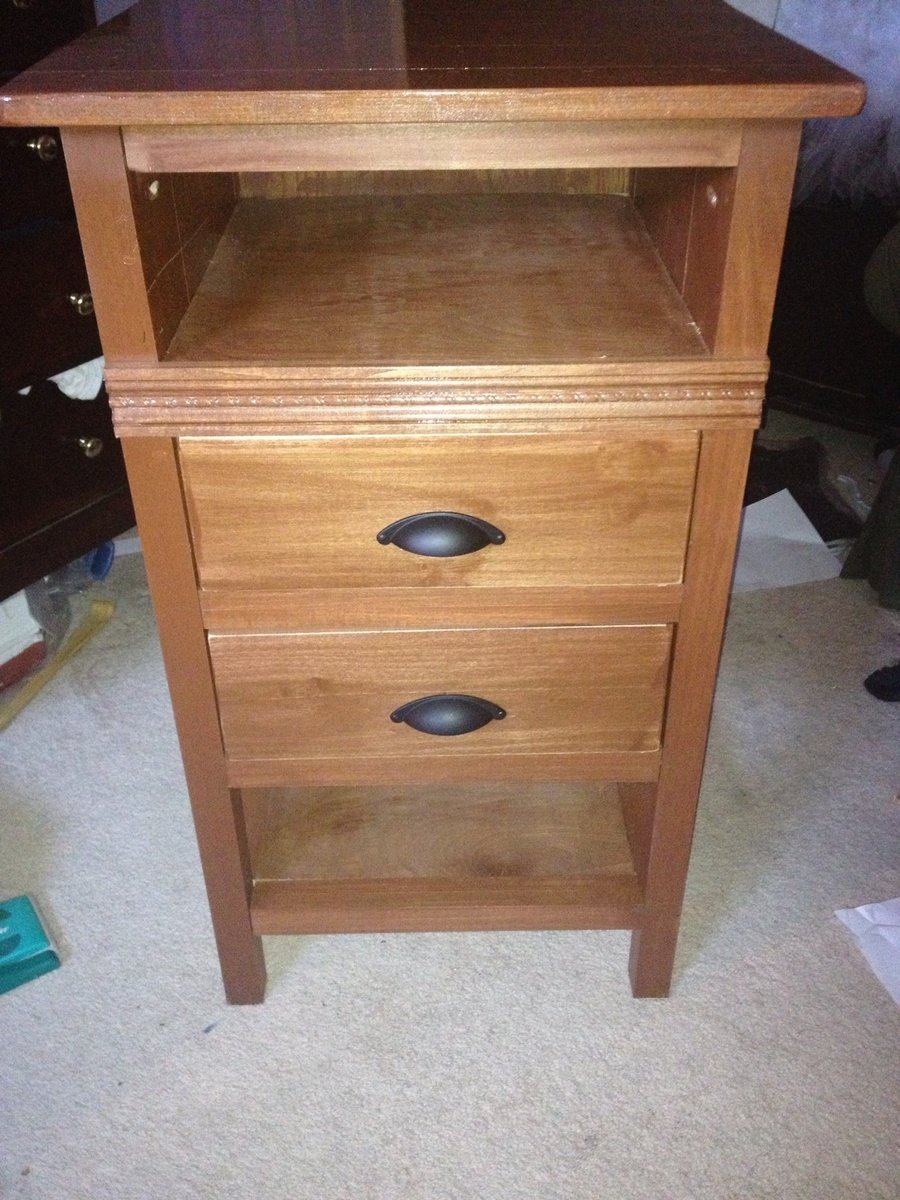
Took a while biting think it came together well. Removed the top drawer so I could use it for the iPad. Then added the bottom shelf to hold the lap top.

This was my first project using designs from Ana White, and I am really pleased with how it's turned out. My son loves it! There were a few small errors but it was always going to be a learning curve and the good thing with wood is you can hide most errors. Using the pocket hole system was new to me, as it's not that big over here in the U.K but its a great system if joining wood. Also over here we tend to use different measurements and we pay a lot more for wood. I am looking forward to building more projects if the wife lets me ;)


Thu, 01/22/2015 - 19:41
Hello,
I am also a first timer and am just about to finish up the final coat of finish. I was wondering what you did to make the cushion on top? my girlfriend really wants to make a cushion for it but does no know where to start. Any tips or advice would be greatly appreciated! Your box looks amazing by the way. i like the lettters on the front.
Thanks
Alexander
Comments
Ana White Admin
Mon, 11/02/2020 - 13:32
Fantastic!
This looks great, great idea using the project panel!