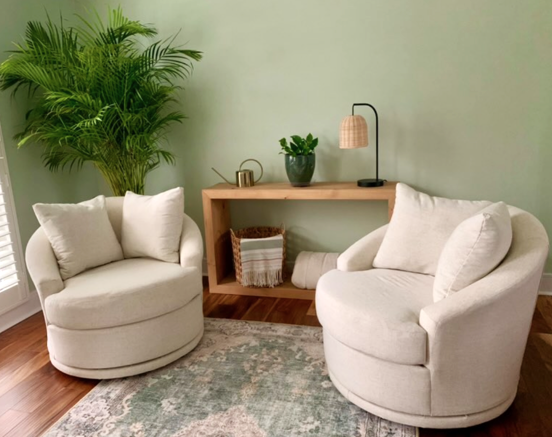
Wood Waterfall Framed Console

Gorgeous waterfall framed wood console by Jessica!
Built from Plan(s)
Gorgeous waterfall framed wood console by Jessica!
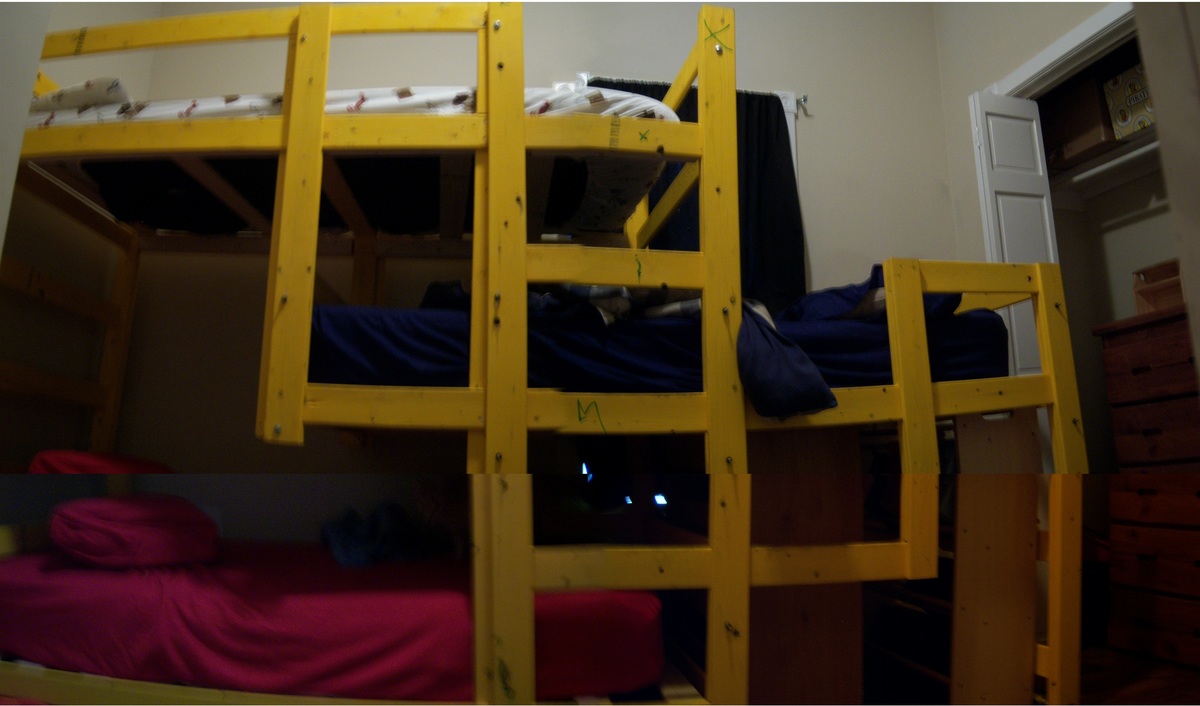
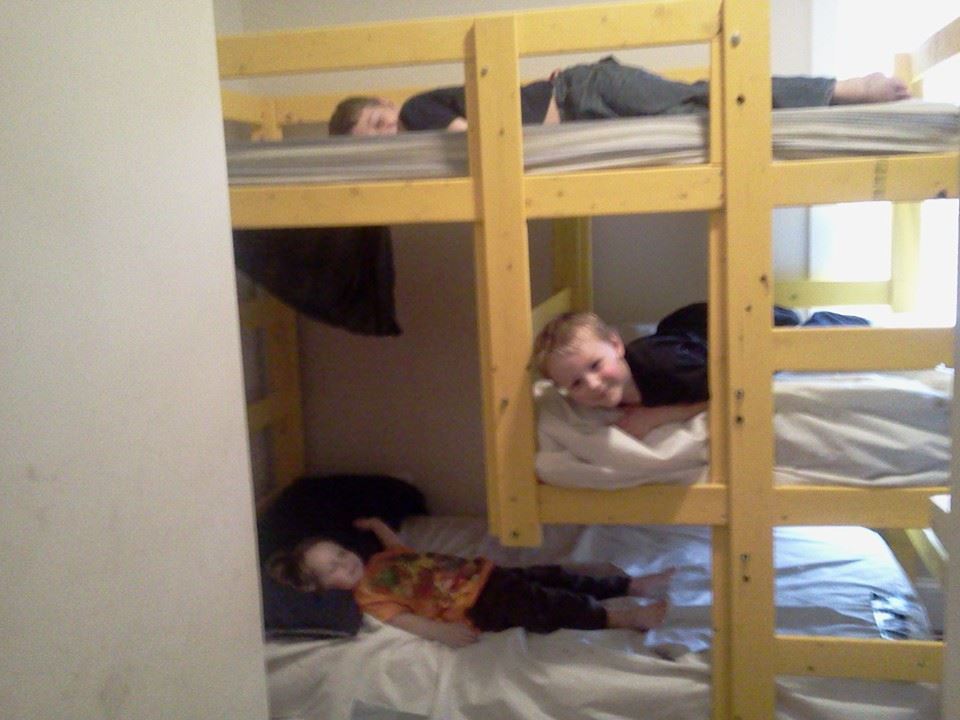
For starters, I apologize for the quality of the photo - the bed is so large and my sons' room so small that I had to splice together 4 different pictures to get a picture of the entire thing. Now, onto the project!
I found the details lacking in the instructions quite often. I definitely recommend having sketch-up installed on your computer so that you can turn the pieces around and see them from both sides - in many parts you're layering wood and attaching pieces on different sides. So being able to rotate the pieces in sketch-up was a huge must for us.
It took myself and my girlfriend about a week or so of working several hours a day to finish this up. Since most of the bed is made in sets of 2, the second set always went faster than the first, since we knew what we were doing.
I also found we needed different size materials than the instructions suggested. 1 1/2" screws were just long enough that they came out of the other side if they were countersunk at all, so we ended up switching to 1 1/4". The plans call for 32 3" bolts and 4 2 1/2", but we needed 32 2 1/2" and 4 2" - when we first put it together we had 1/2 of bolt hanging out of all of the holes - obviously not ideal for 3 little boys running around.
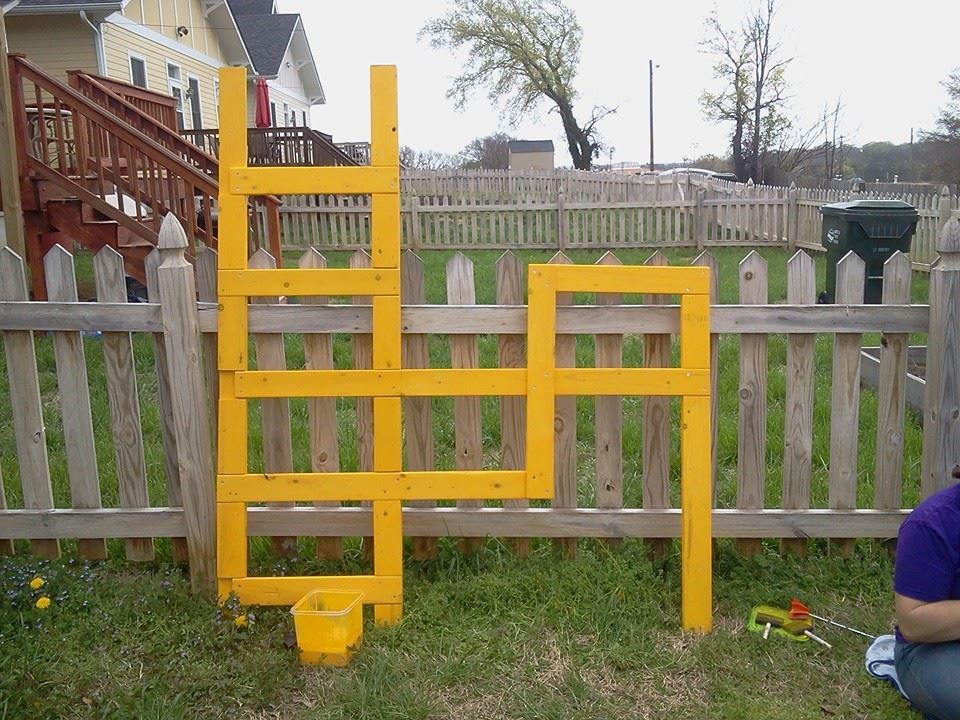
All told this project cost us somewhere between $250 and $300. I had to run out for new 2" screws at least twice, so make sure you buy a lot. We got lucky with the paint and found this super bright yellow/orange in the oops bin for $7, and decided to do a wash instead of painting so we could still see the wood grain. (And my 8 year old promptly took a marker and wrote each boys' initials on their beds - kids!).
All-in-all I'm incredibly happy with the bed - it fits the exact need we had, and unlike the only other plan I found online for a set of 3, it doesn't attach to the wall (which is important as we rent) and will be fairly easy to disassemble when we move.
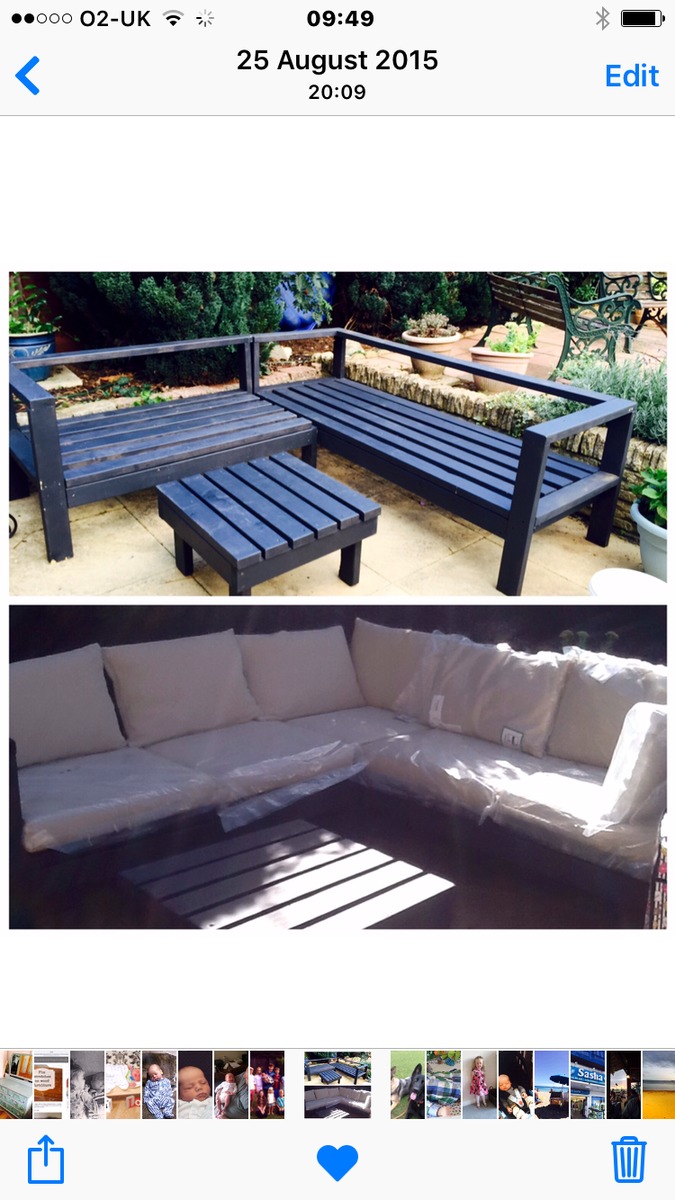
Hi. I'm I the uk. I saw your video on how to make this sofa. I showed my hubby. He said ( you'll never be able to do that). Red flag to a bull. Ha ha. I. So proud of myself. It was really easy your plans are very easy to follow . I bought the cushions from ikea . Just one problem . The gray British weather. Rain Rain and more rain. I'm looking into something to protect the feet from the wet.
Stephanie Harvey. Age 61
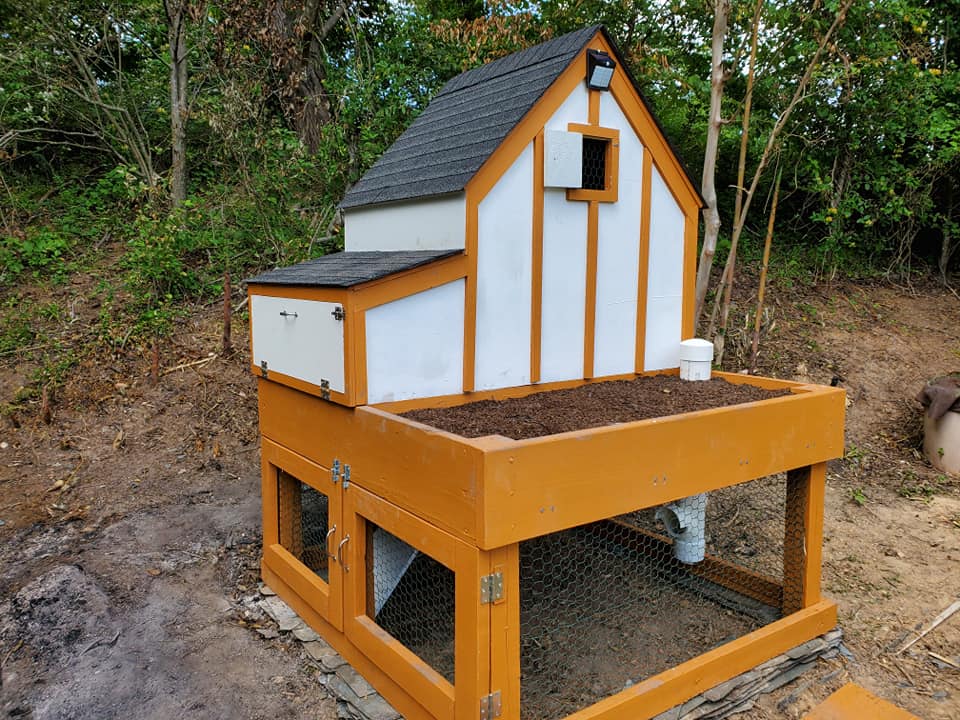
My chicken house from plans

Sun, 05/17/2020 - 11:41
I'm in the process of building mine without the planter box, extended the coop to the full 5'. I have it mostly built out but seeing yours is helpful.
Is the PVC going down from the planter bed a feeder? Mind sharing how you did that?
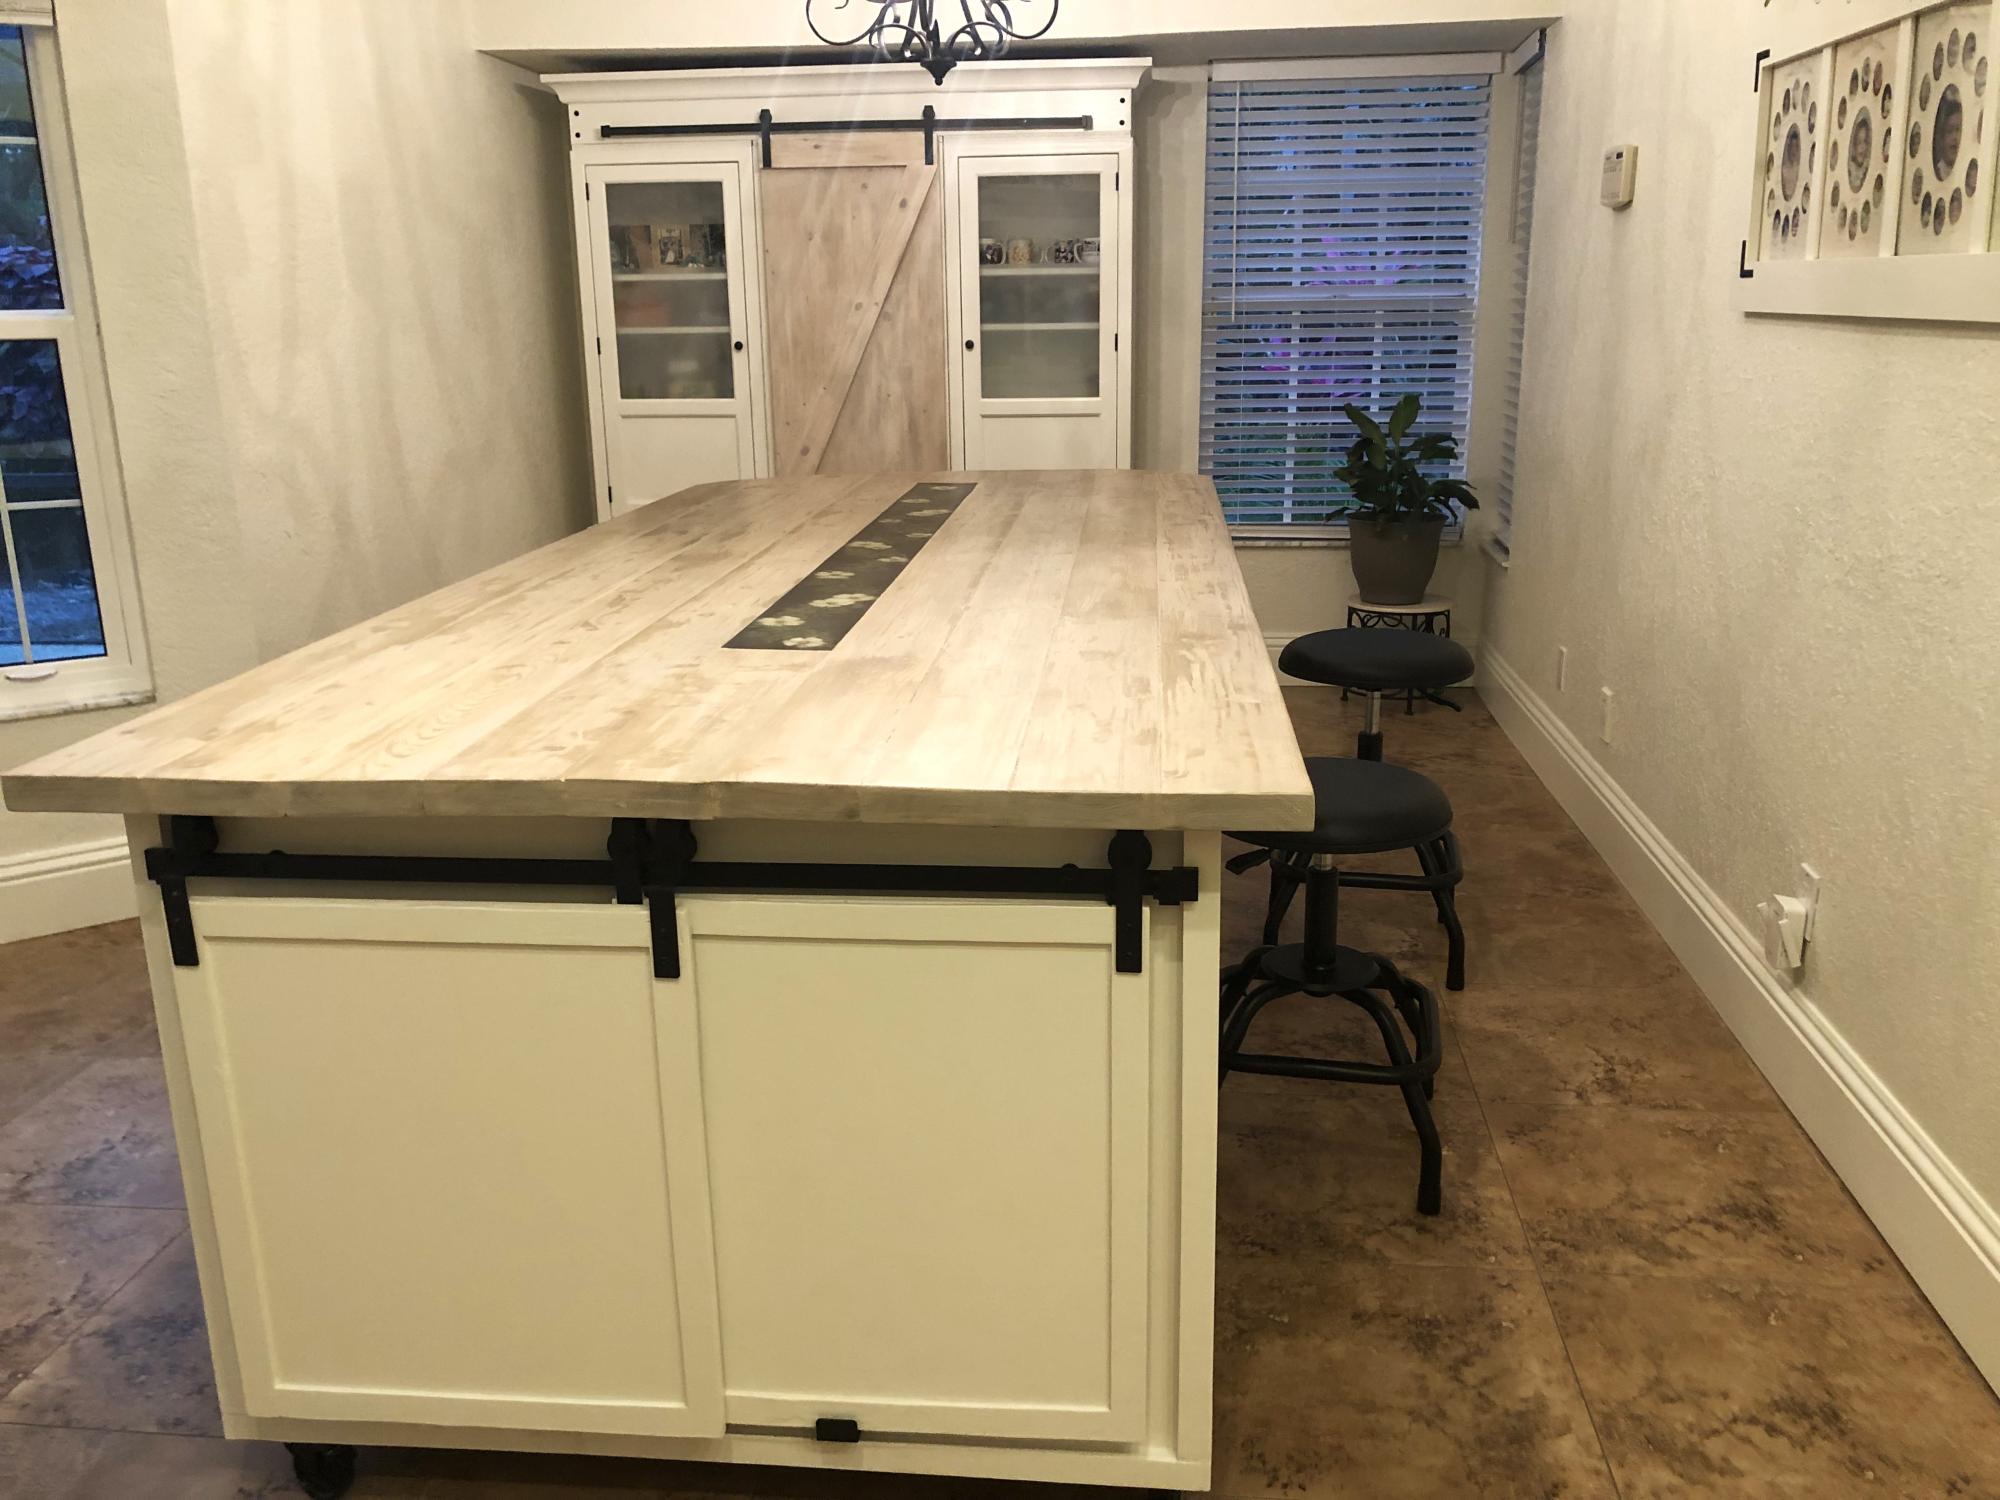
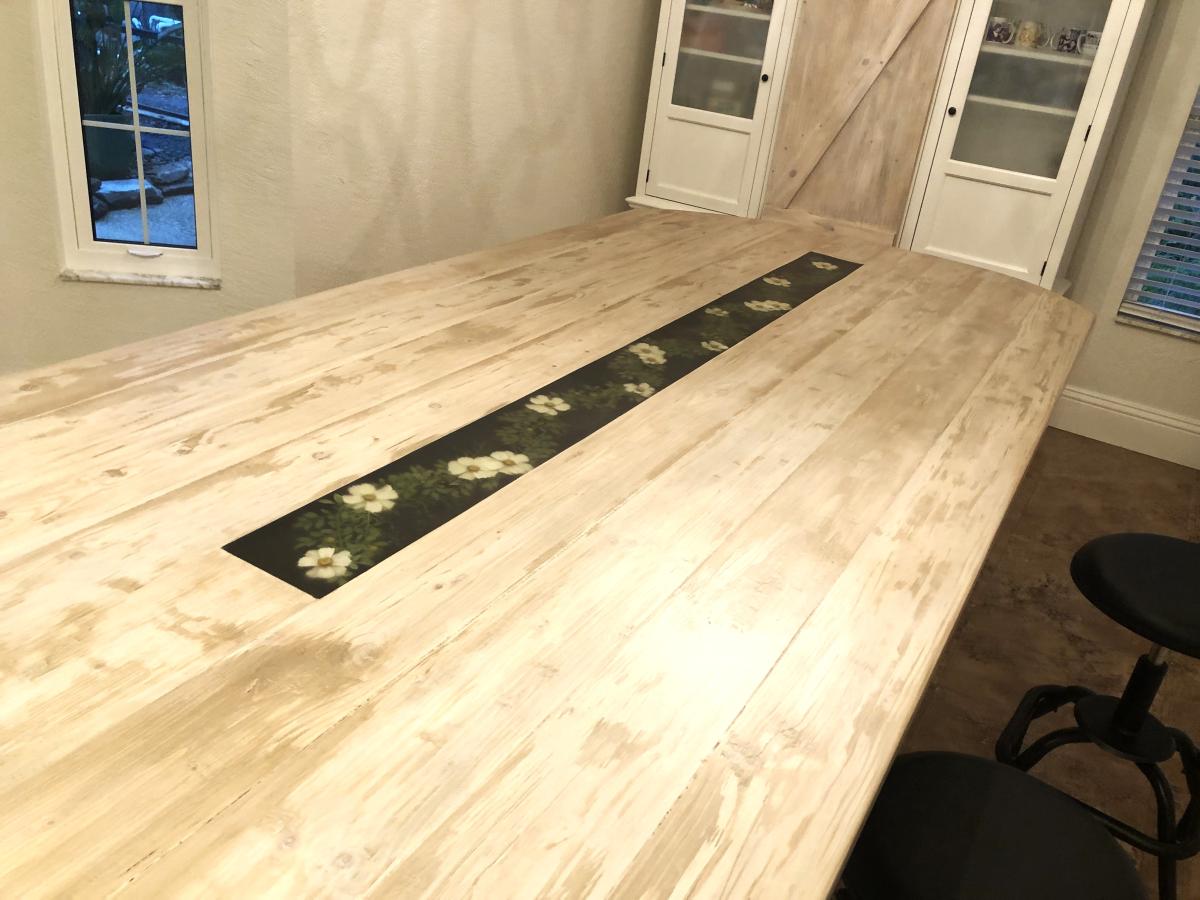
So I made a 4ft and a 6ft put them on casters joined them like a “T” shape, it is a moveable kitchen island dining table! The top has epoxy in the middle with flowers to give it some pop! Everyone loves it that comes over! Thanks for all your ideas on your site; it was my inspiration!!!
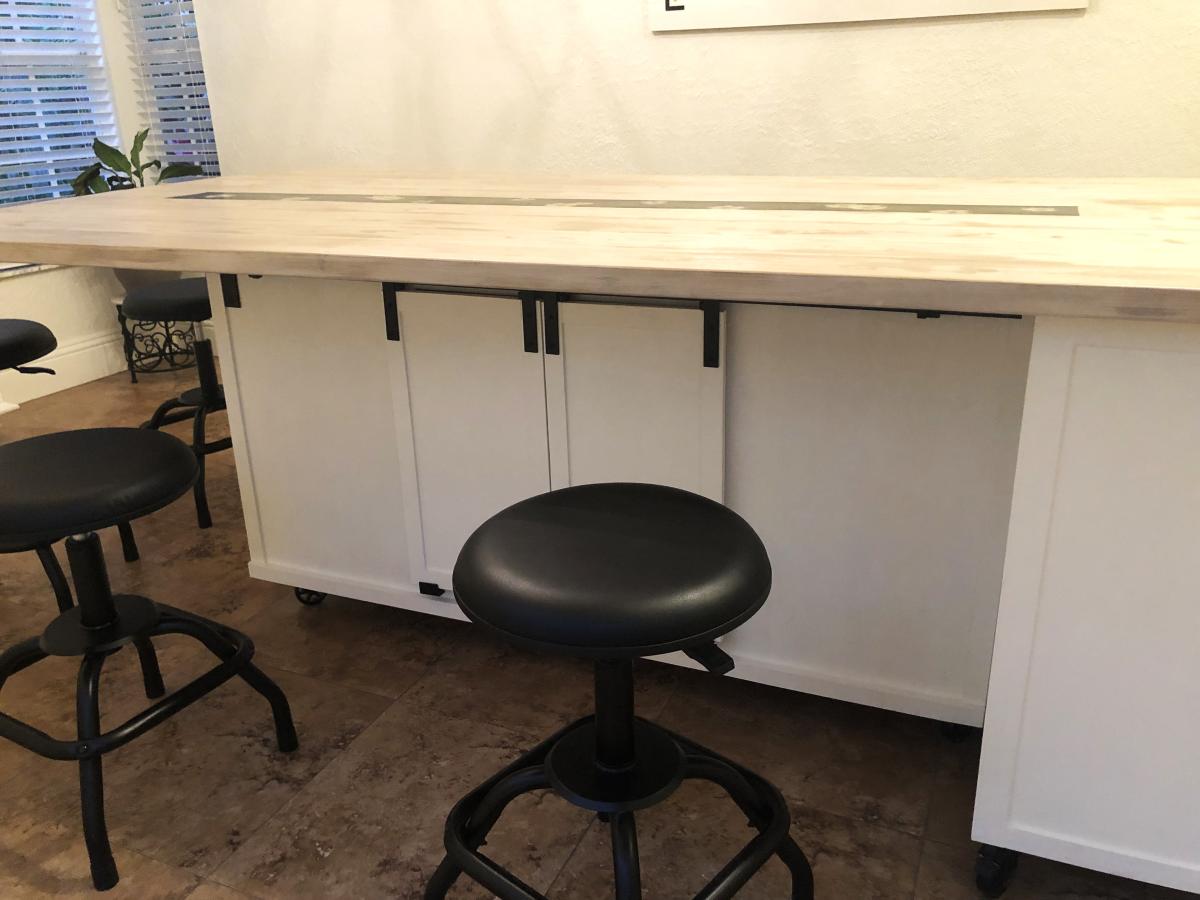

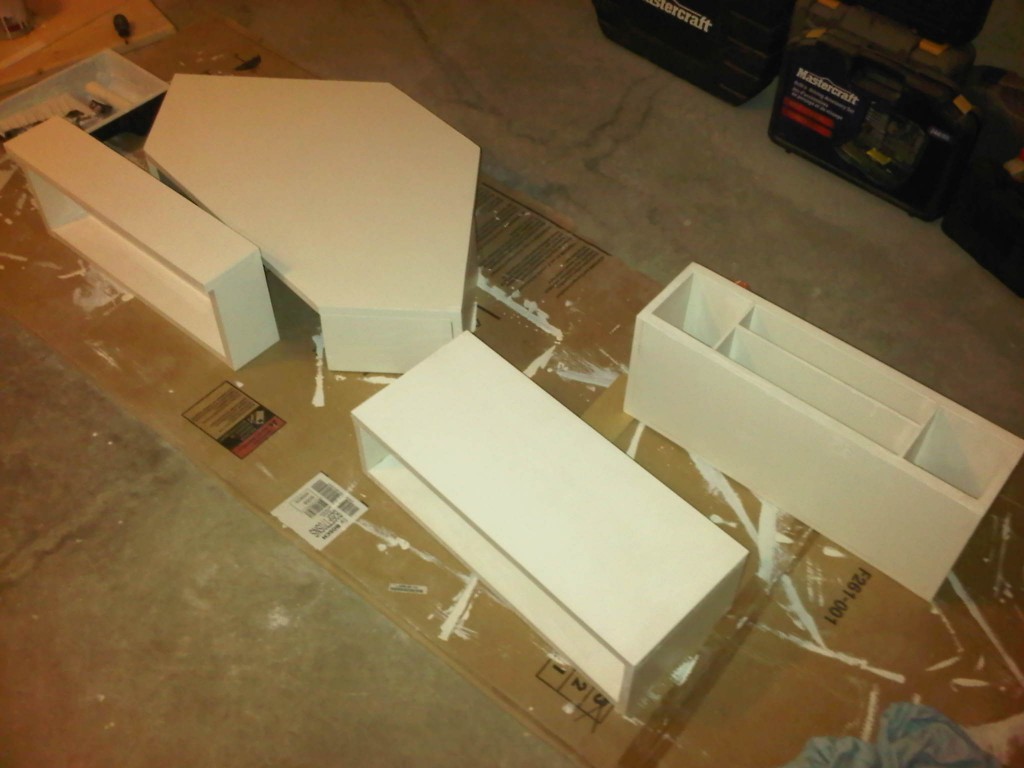
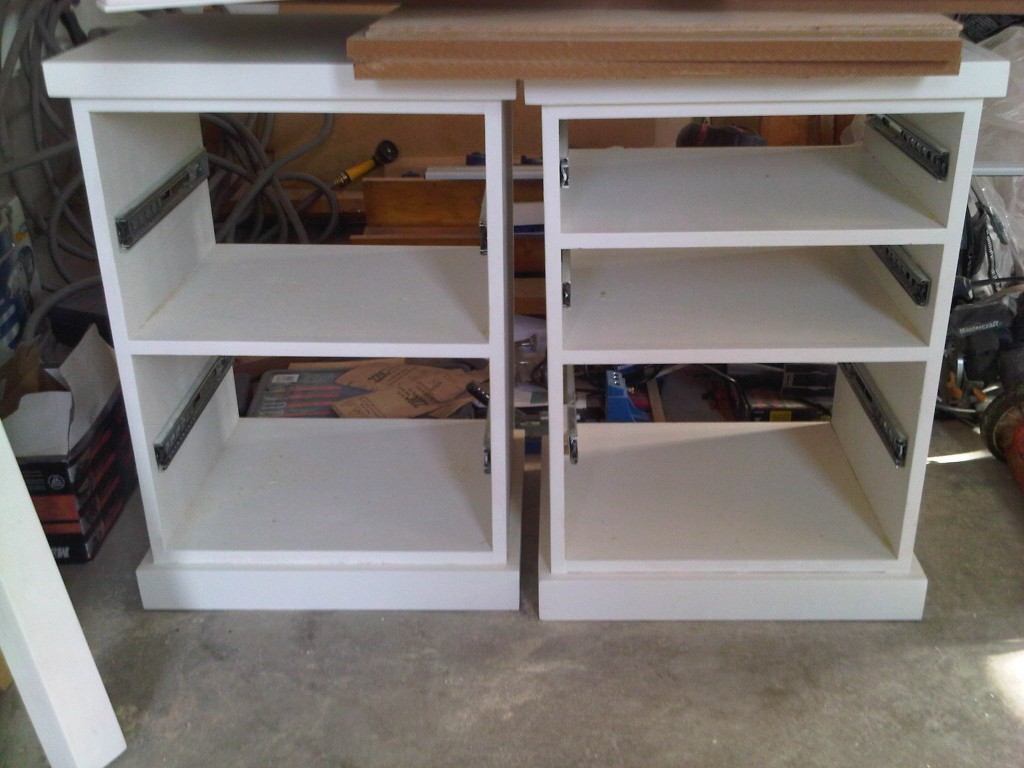
I needed a new island for my craft room, so we used the Michaela's Kitchen Island plan and modified it to be 30 1/2" deep. First time with drawers...they were a booger!!
Wed, 01/16/2013 - 22:10
Hello, I check your blogs regularly. Your
story-telling style is witty, keep up the good work!
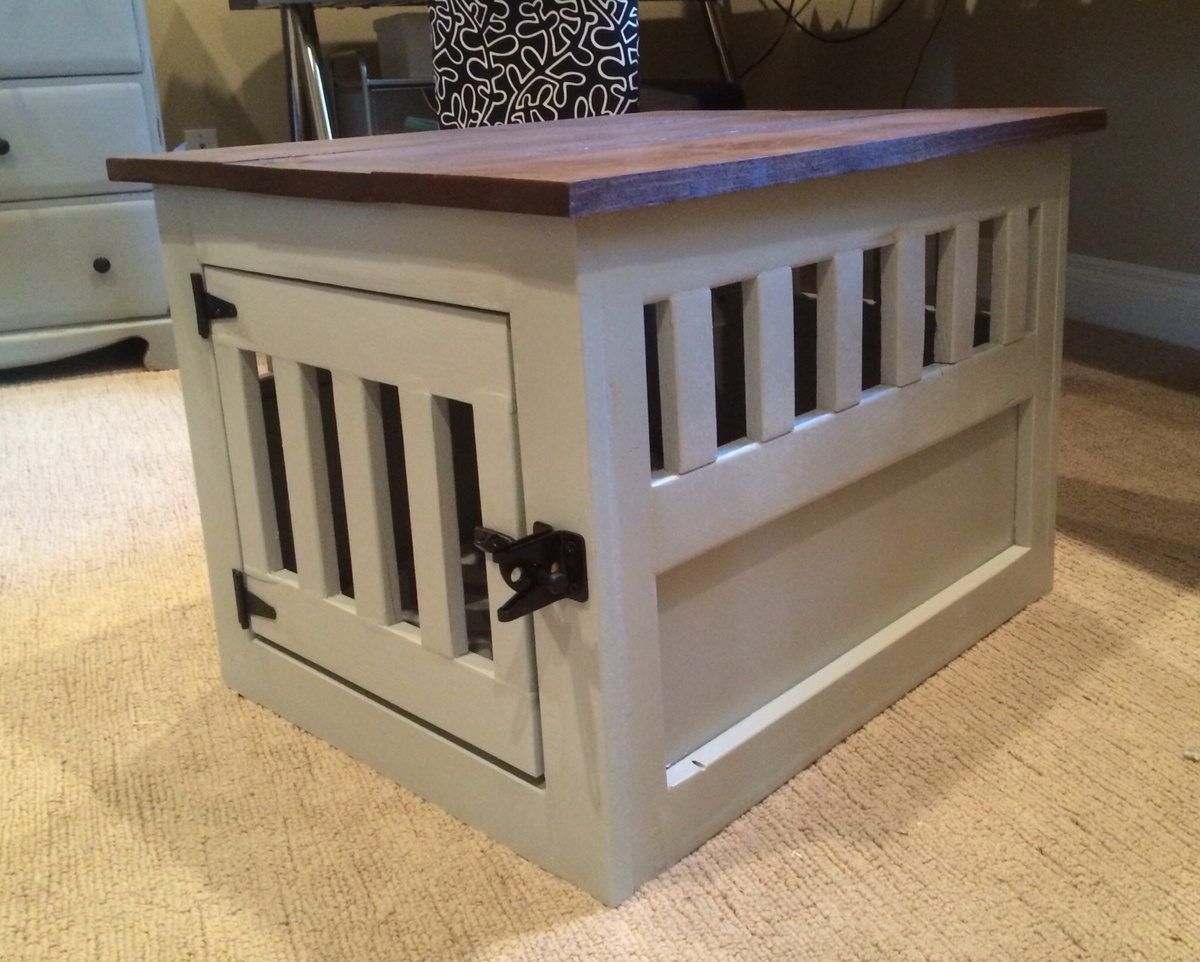
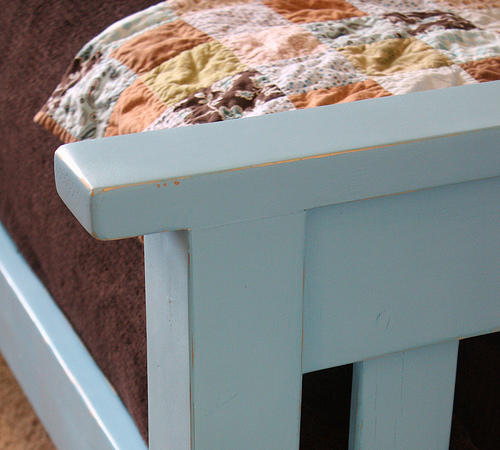
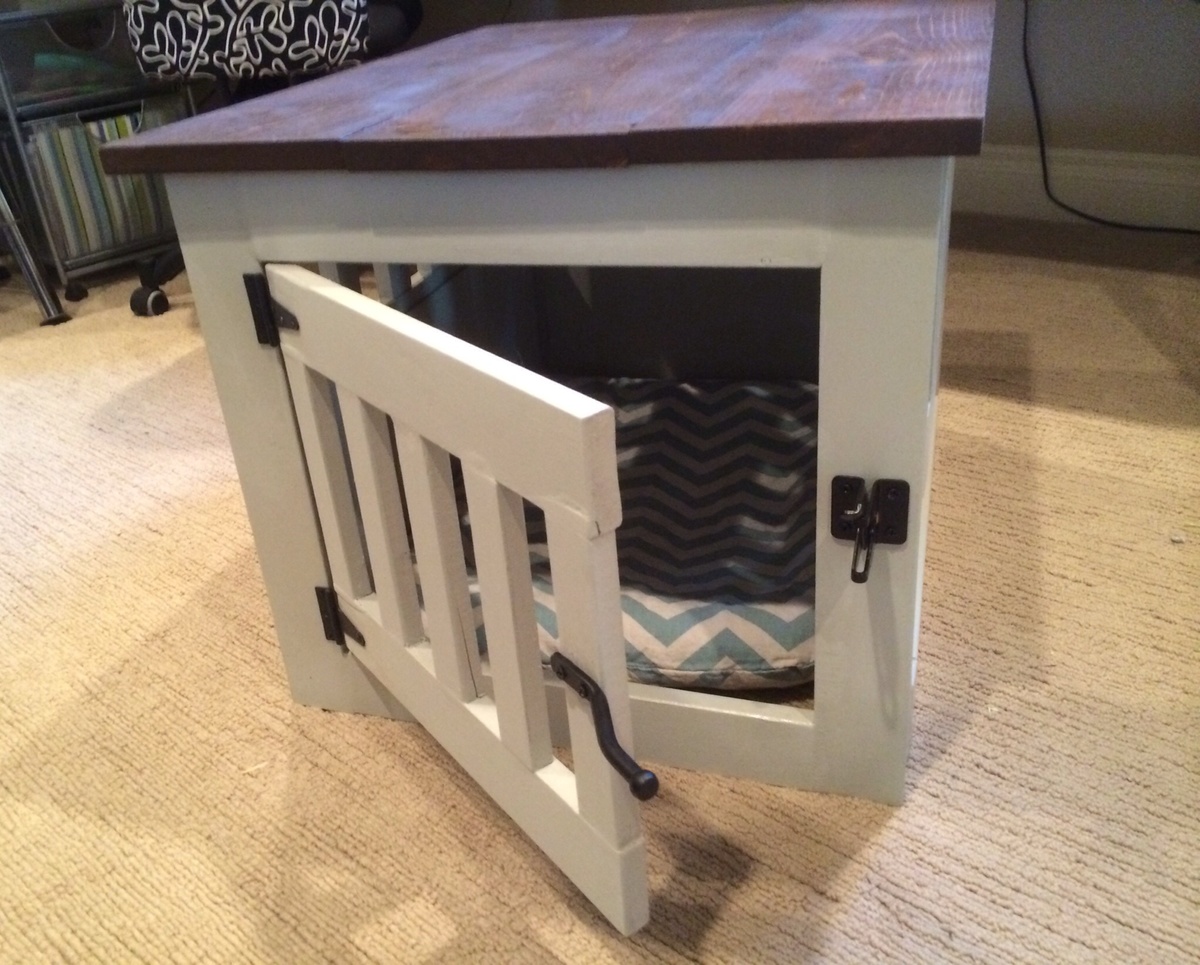
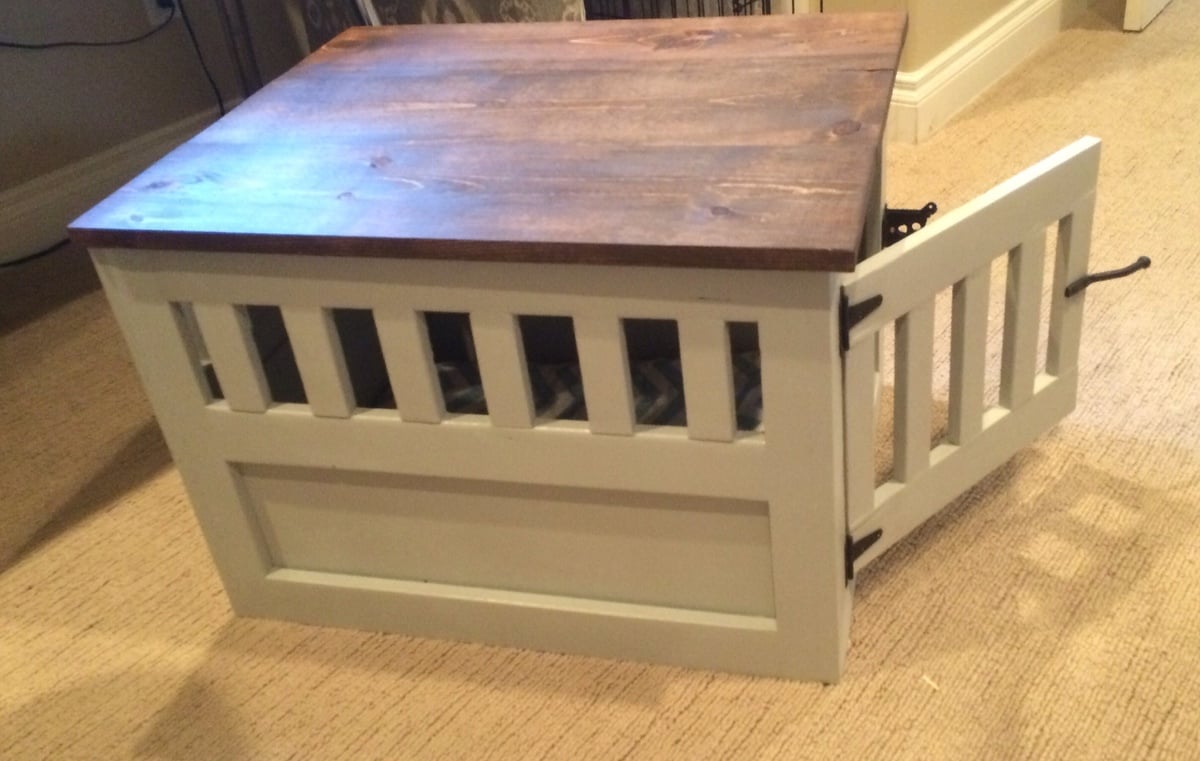
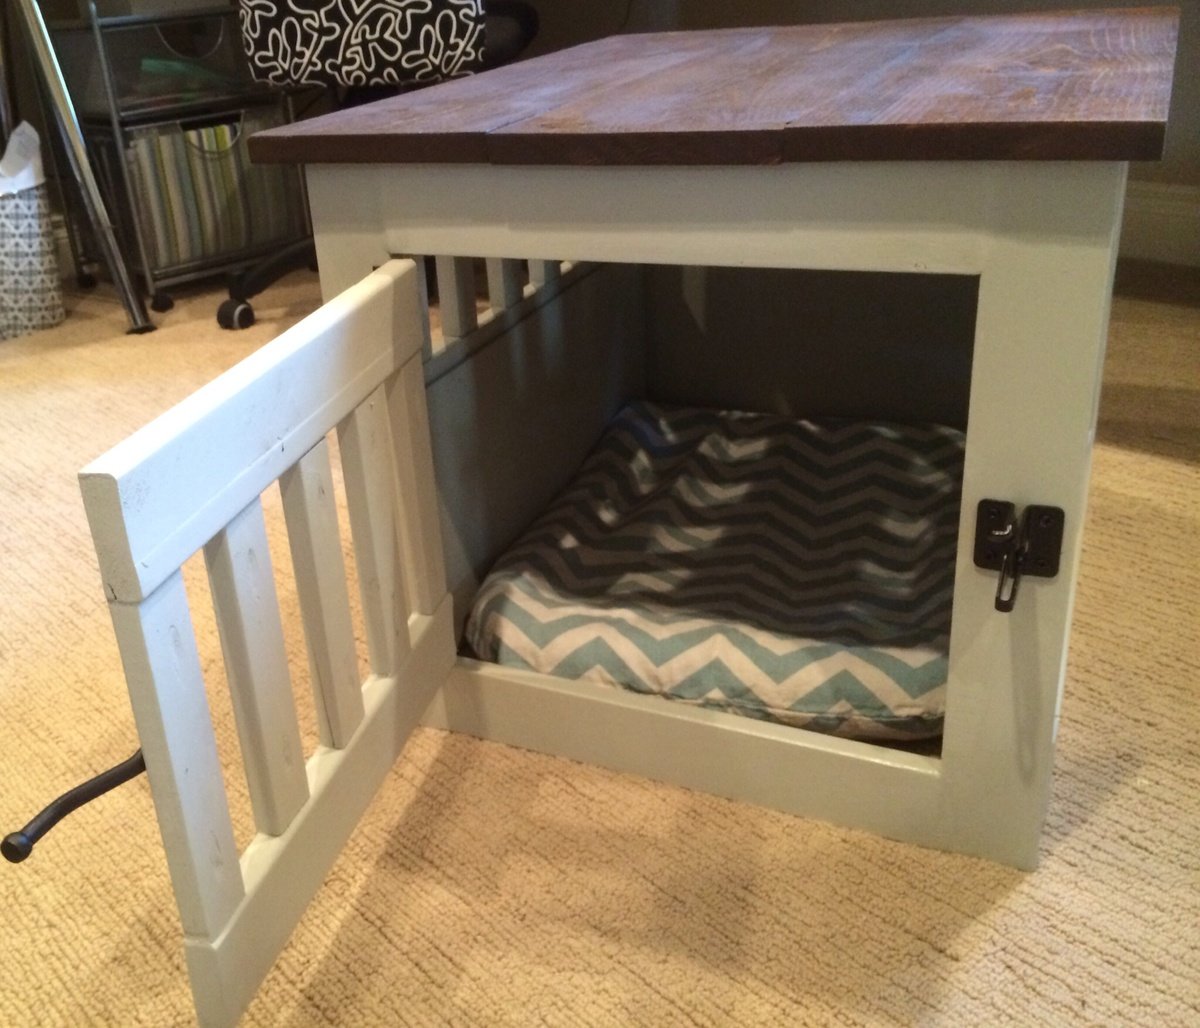
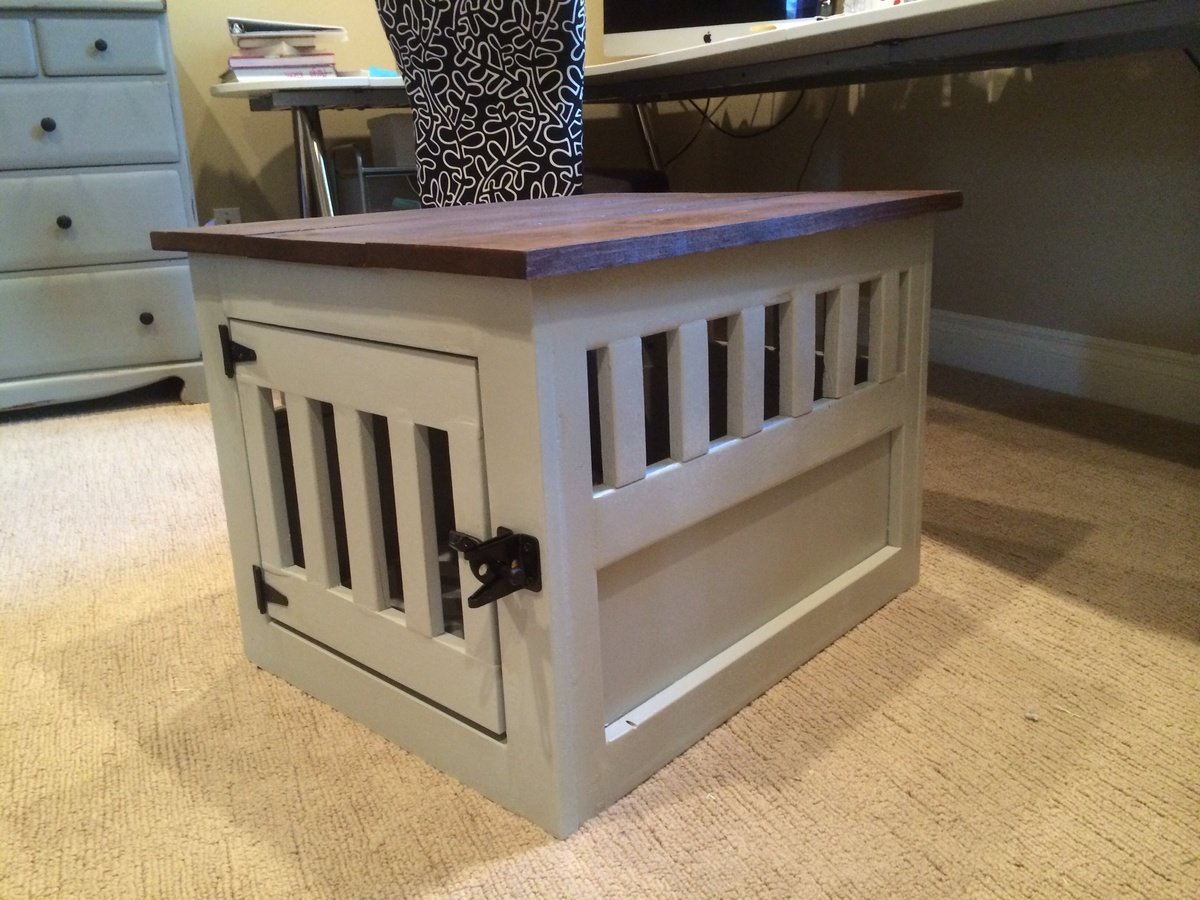
This plan was modified for a small dog. The measurements are 18w x 19h x 24L. I added pocket holes to all the boards around the top of the base so I could easily attach the wood top. It took me 2 days but only about 6-7 hours total.
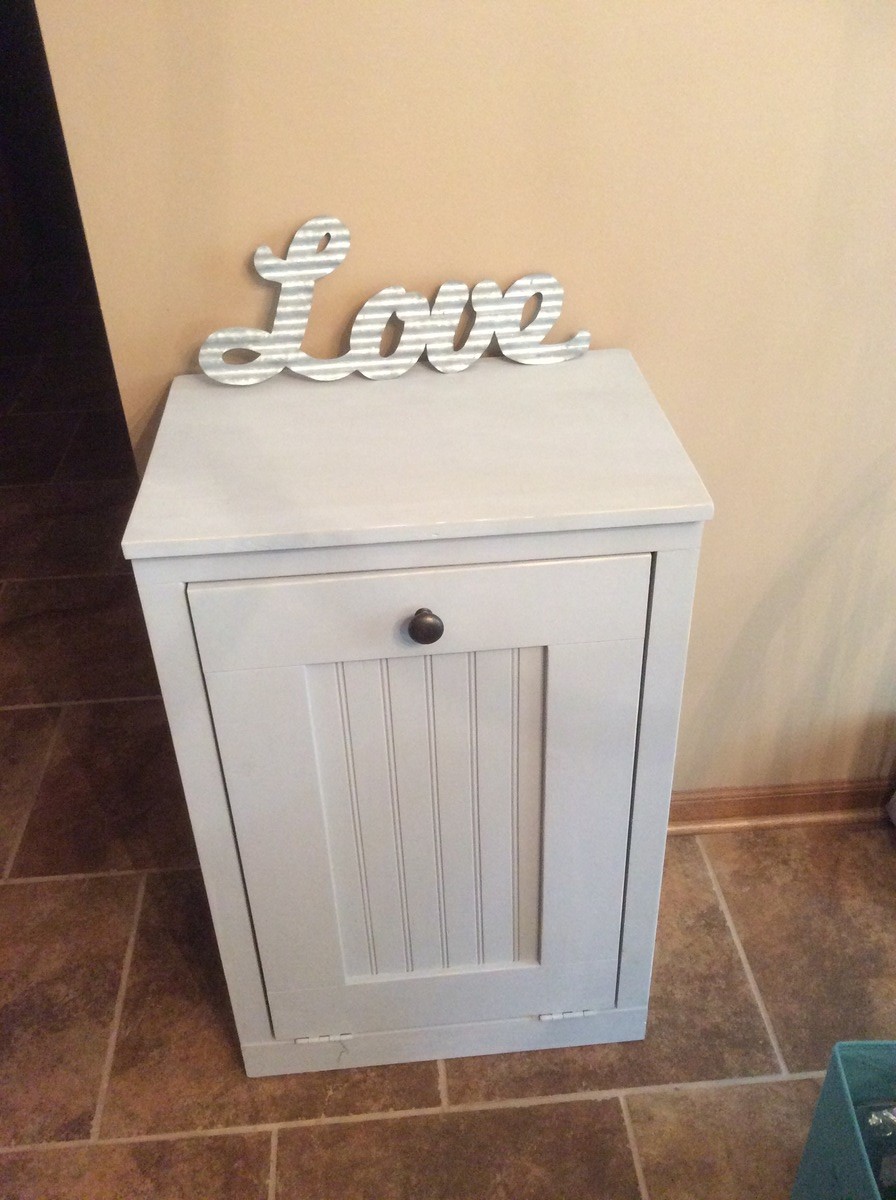
This was my first project. It was really easy! Although next time I will get a trash can first and build around it. I'm having a hard time finding a trash can that will fit.
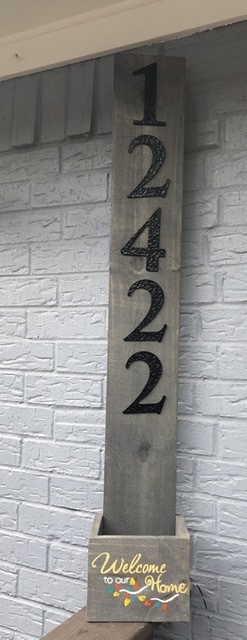
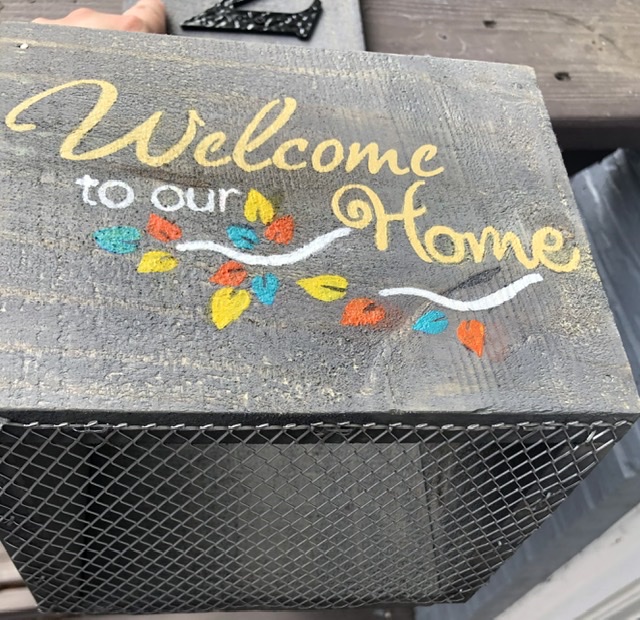
Used Ana’s plans for this just made one modification, which was adding wire to the bottom so the plant can drain out. I also stained the fence picket before putting it together. The numbers were the most expensive part of this project they were ~$18. https://ana-white.com/woodworking-projects/house-numbers-vertical-plant…
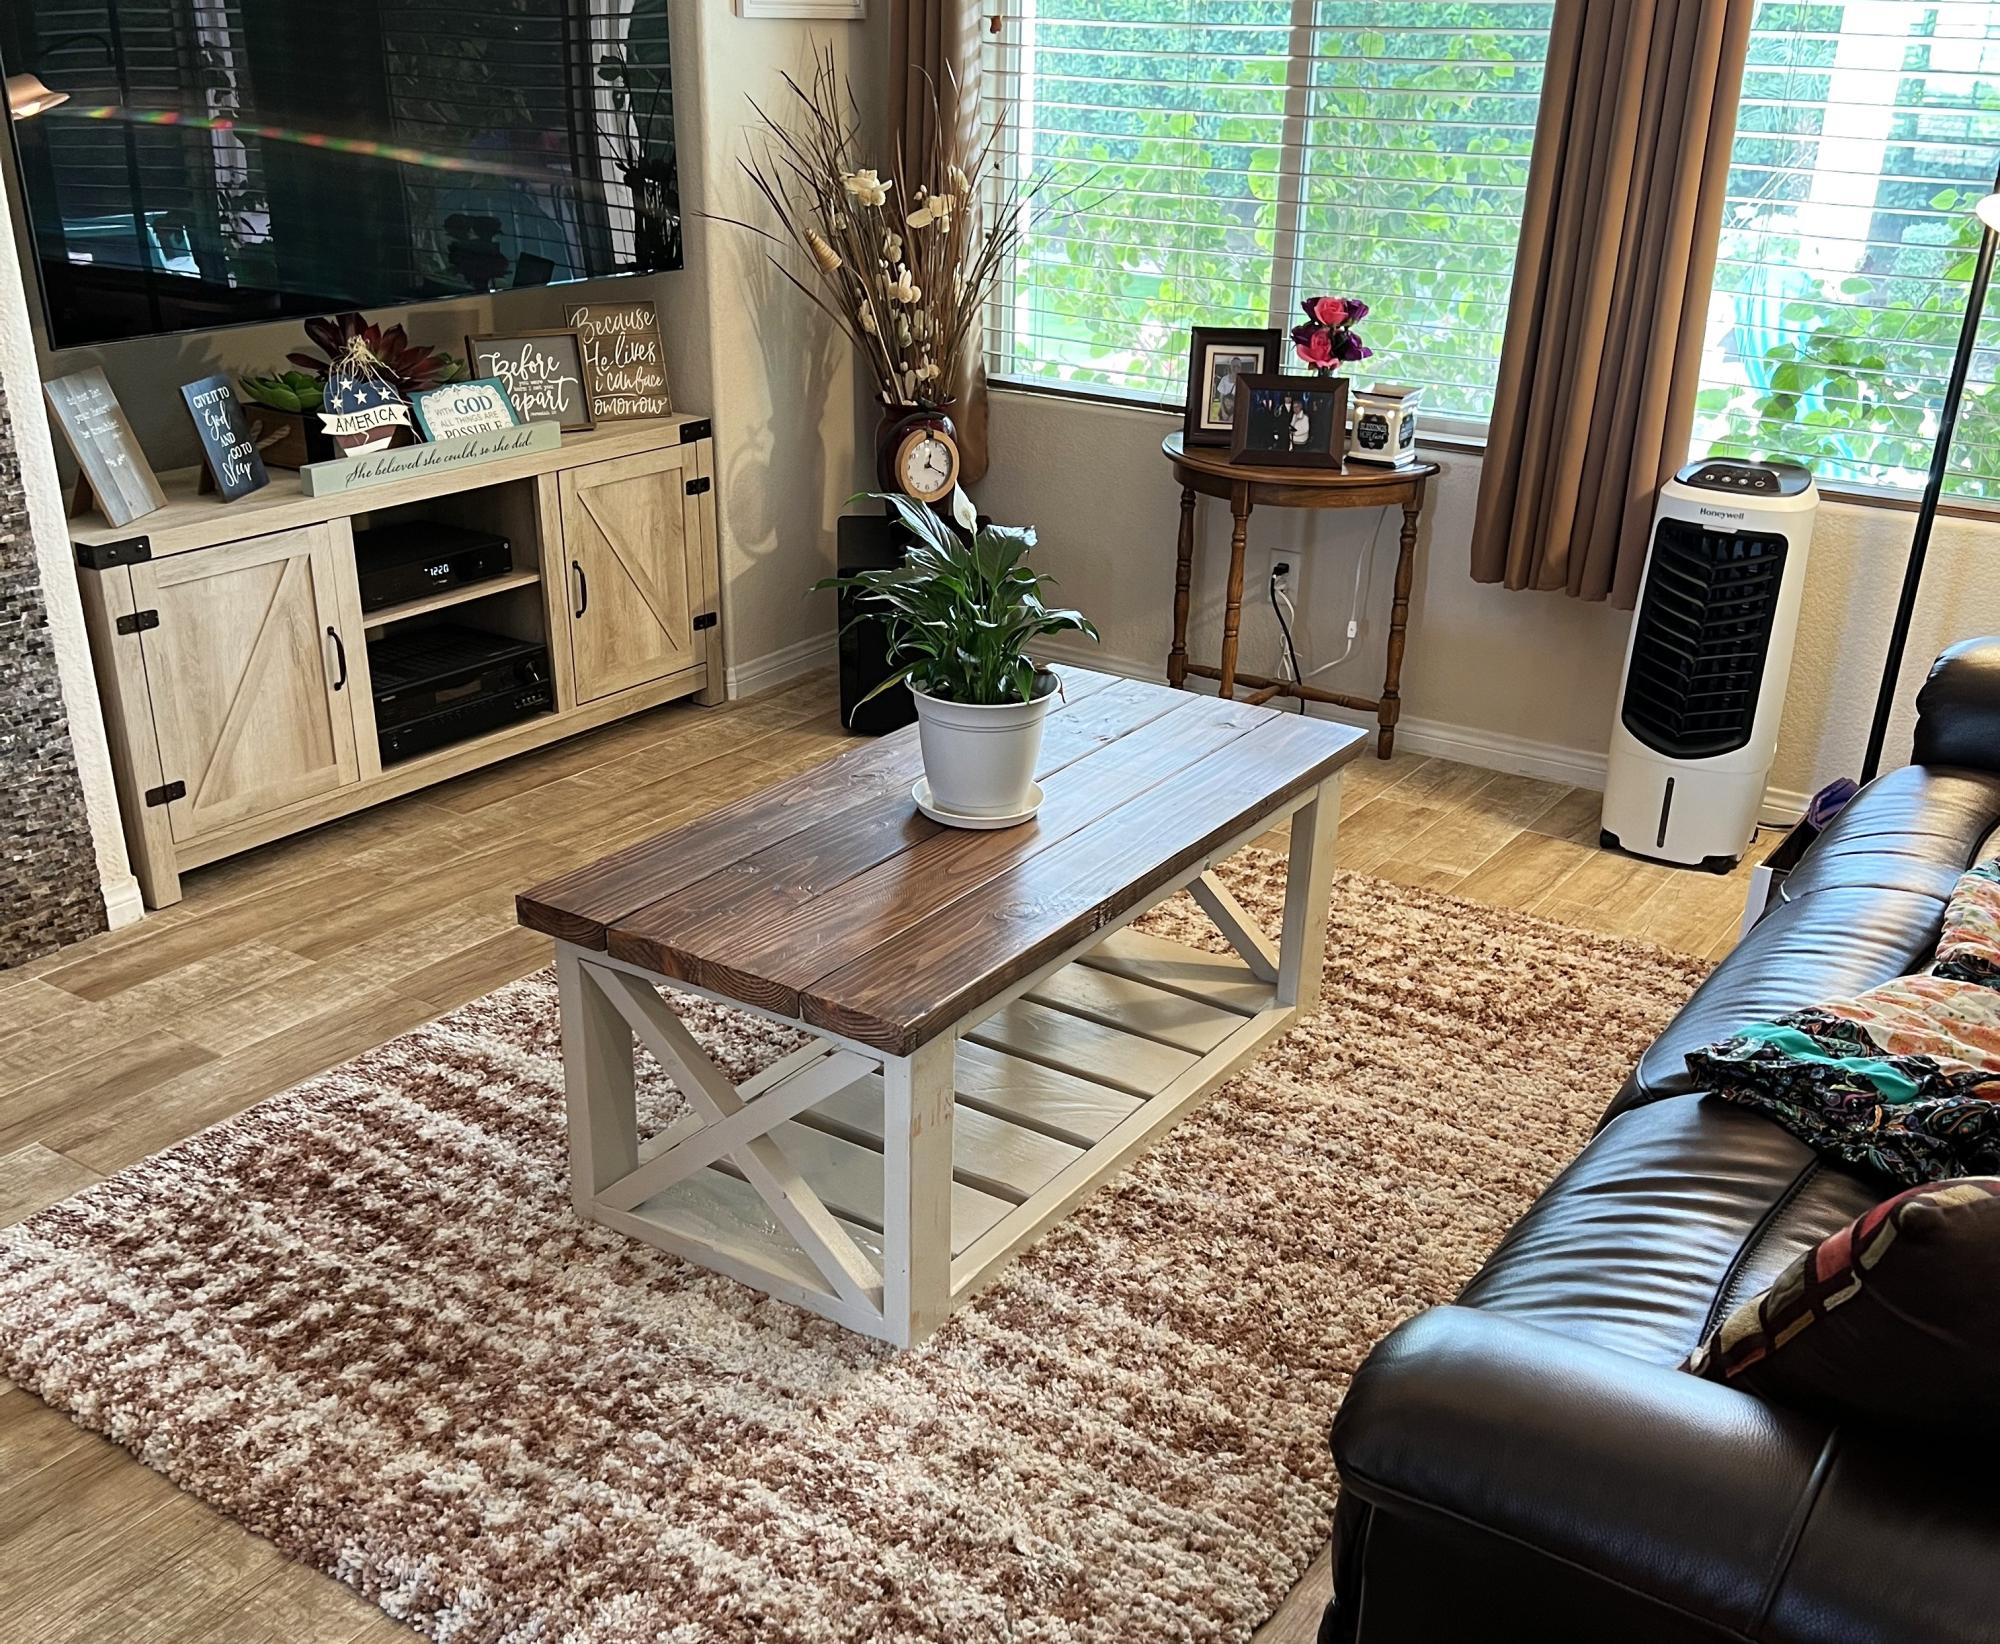
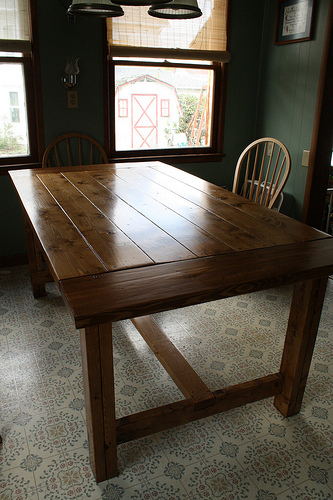
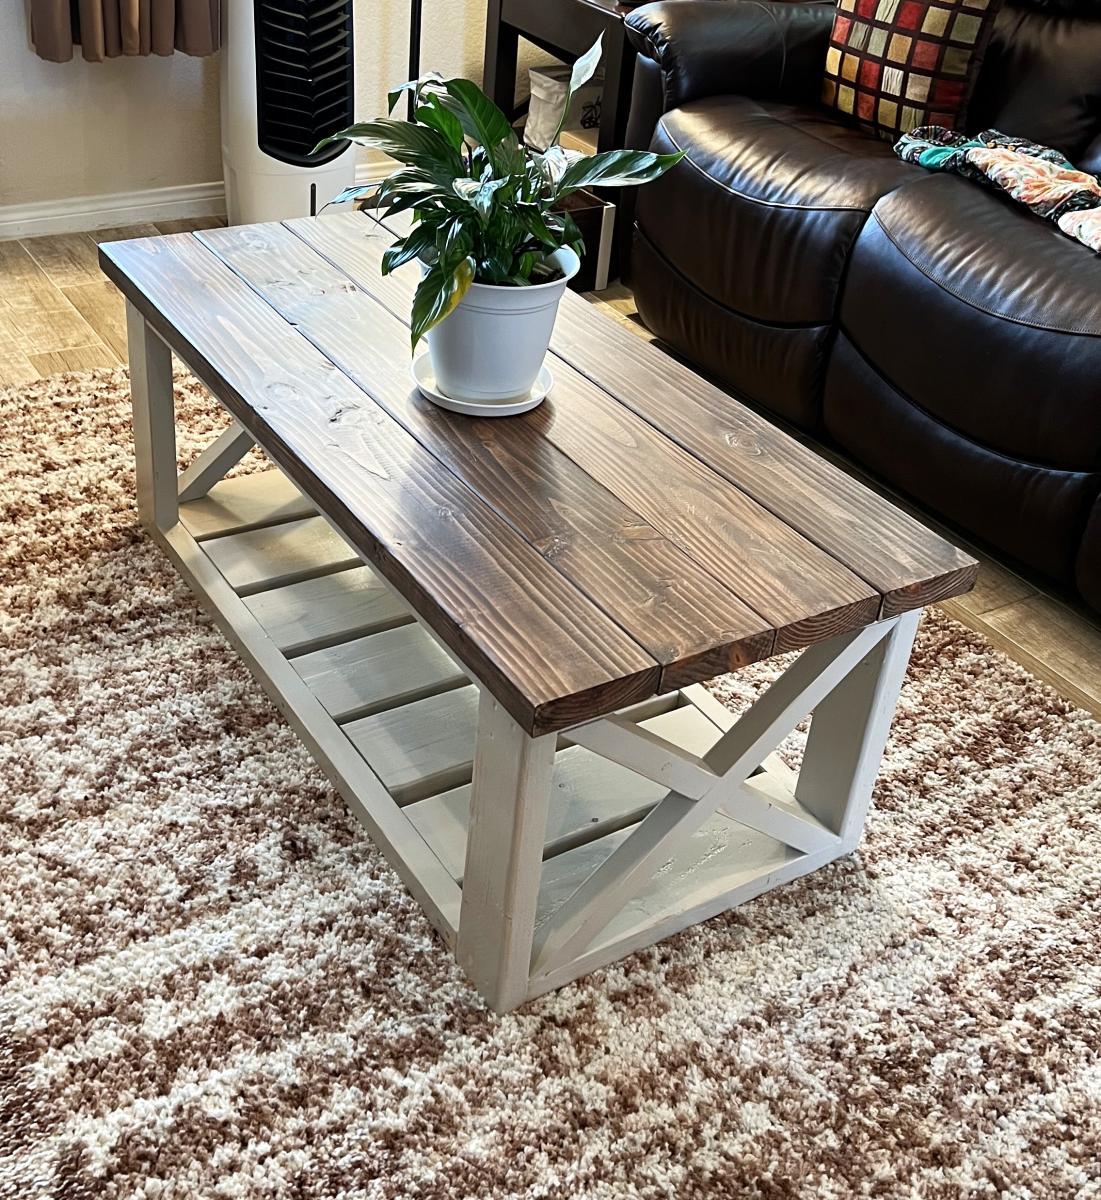
I am totally in love with this design!! I added my own twist by painting the bottom “Gravelstone” to match with my kitchen cabinets and a simple “dark walnut” matte shine on the table top (1 coat). Once painted I sanded the edges and some of the legs to resemble antique wood. Looks fabulous!!
Michelle H
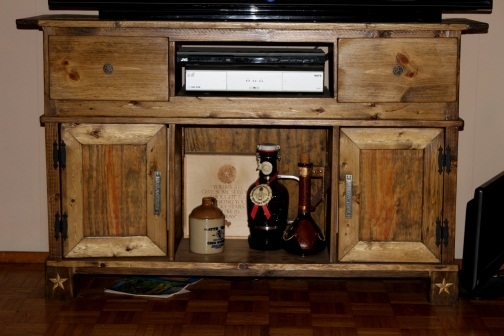
My husband loves this piece. I built it just for him ;) It had nothing to do with the fact that I had a great dislike for the glass/metal unit that he had when we merged our things together...wink wink!
I modified this plan in order to have shelves for the dish console and the dvd player. I also left the bottom shelf open for display, instead of placing the wine rack there.
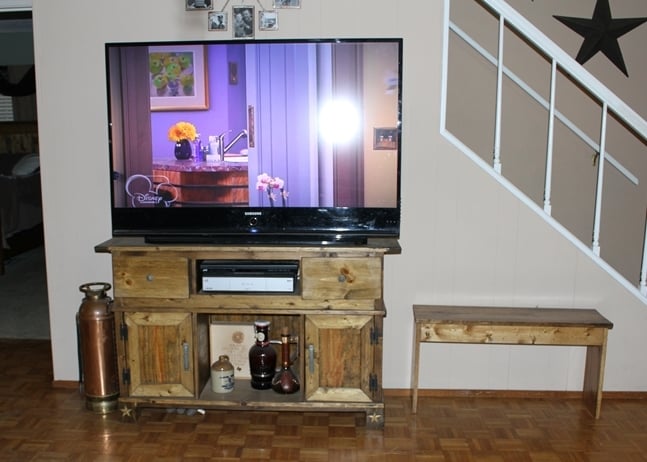

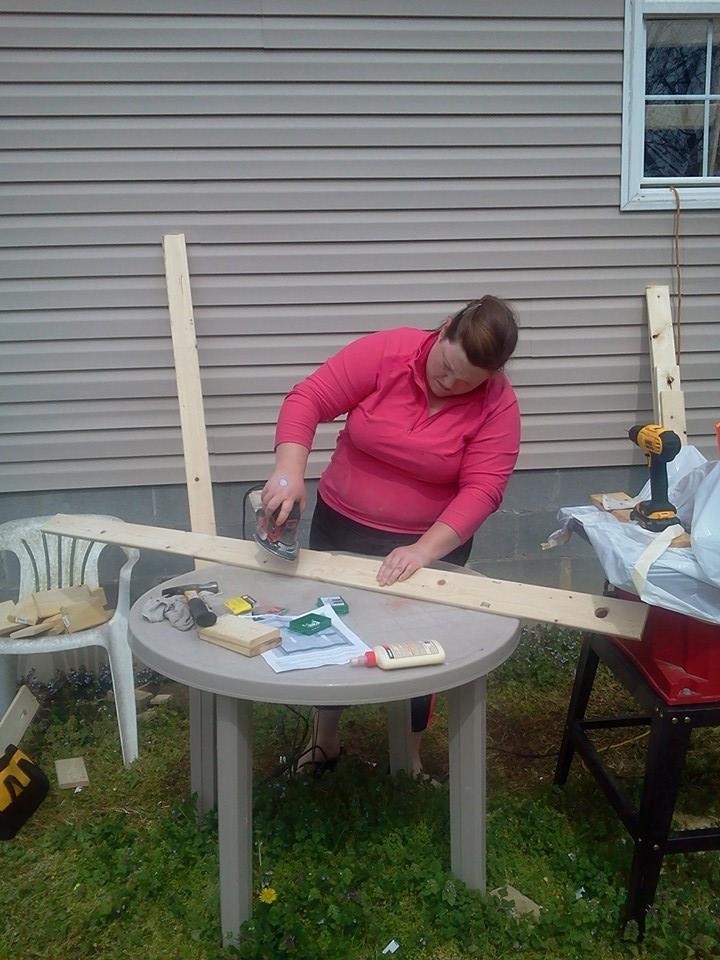
My family and I are constantly looking for ways to save space and still enjoy the look of our 1500 sq/f apartment. Due to all of our different intrests and hobbies, along with a lack of storage solutions, i do a lot of building on the patio.
Tools for all of these projects always seem to scatter throughout the place, so my lovely wife decided it was time for a little storage project. So that's just what I set to work on.
The Planked Wood Sideboard was perfect for this!
There is one major deviation from the plan on the site. Rather than hinge two doors for the center area, I made one big panel with trim and plywood, held in with two cabinet magnets, that removes completely.
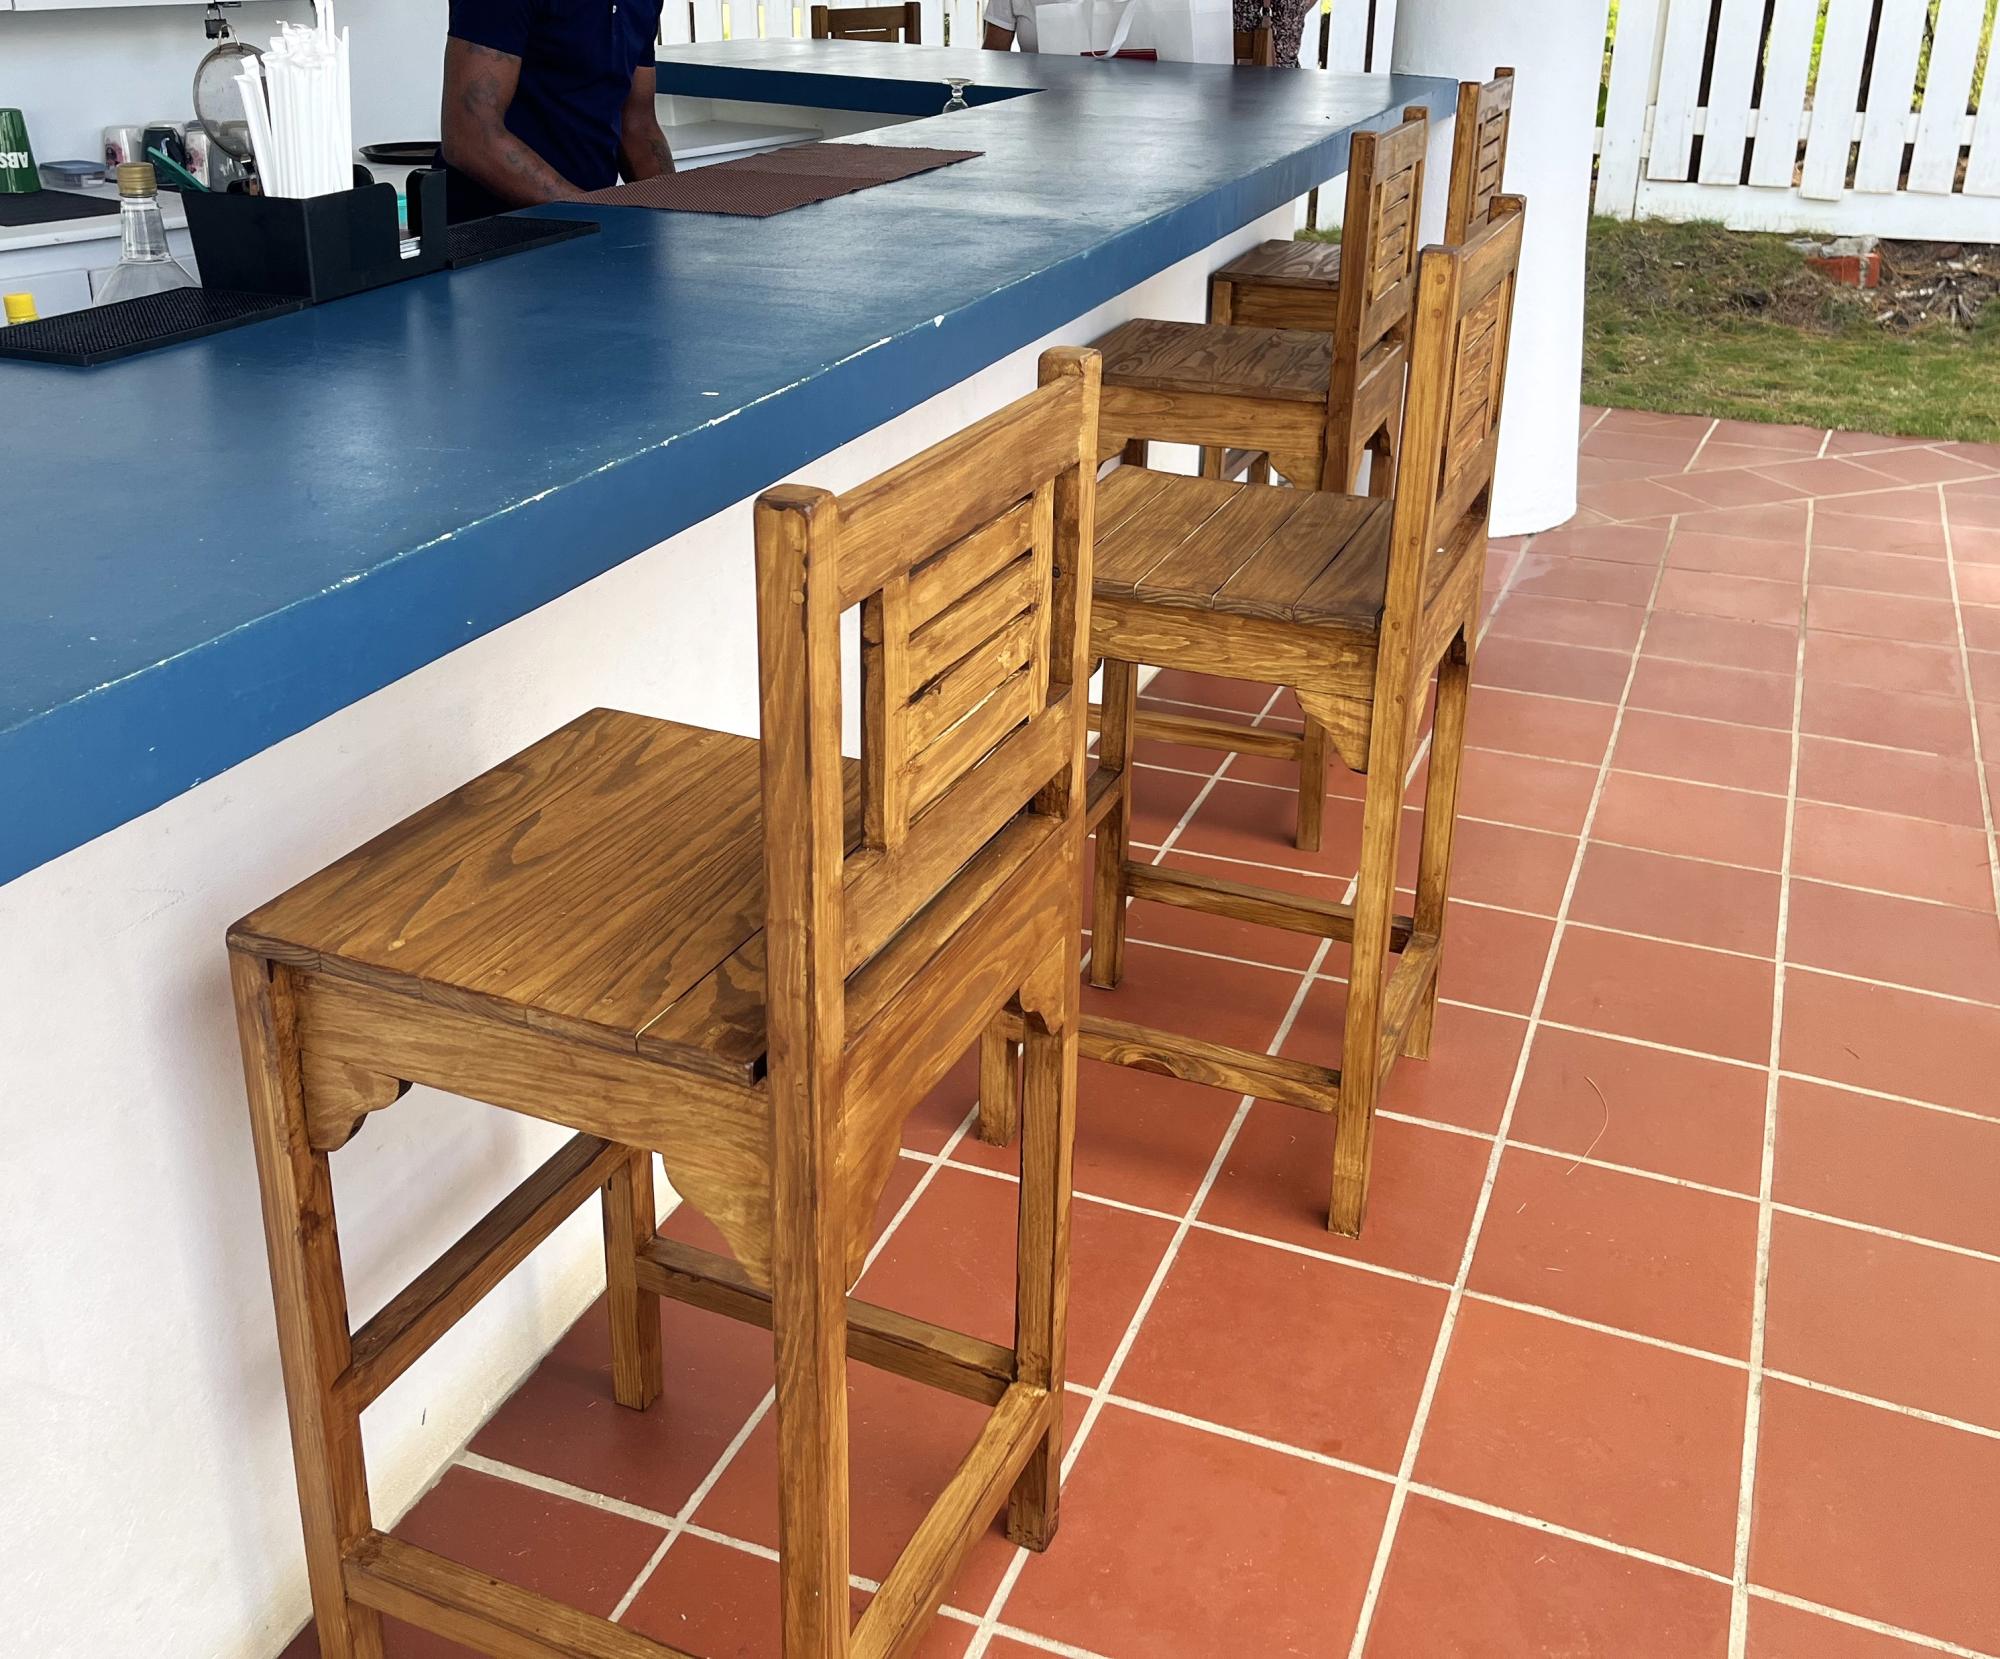
Great wood bar stools!
by Dennis

We chose to use 2x4 construction because we simply needed a sturdier build. Enough said. :) I wanted to use cedar, but when we went to the lumberyard, they didn't carry 2x4s in cedar, just 1x4 and said it was hard to find. Being that I had wanted this built by Labor Day and it was already July, we bought the pressure treated wood. I know, I know, chemicals galore. We worked on it a little at a time. We modified it for a higher back, but now I wonder if that was needed, because although the cushions are deep they do go down some when you sit on them. Ah well, we are still happy with it. Because of the higher back, we opted to just use the armless section on the end, however we might build a modified arm later on. We'll see how it goes.
Sat, 07/14/2012 - 08:04
So proud of my talented sister. Love to see more. My cat Keko is still loving his bed

In reply to So proud of my talented by Debbie Gregory (not verified)
Sat, 07/14/2012 - 11:24
Aww, thanx Deb!
Sat, 07/14/2012 - 14:47
Very nice work, hey I’ve been sitting on and eating off treated lumber for years ( Maybe that’s what is wrong with me LOL )
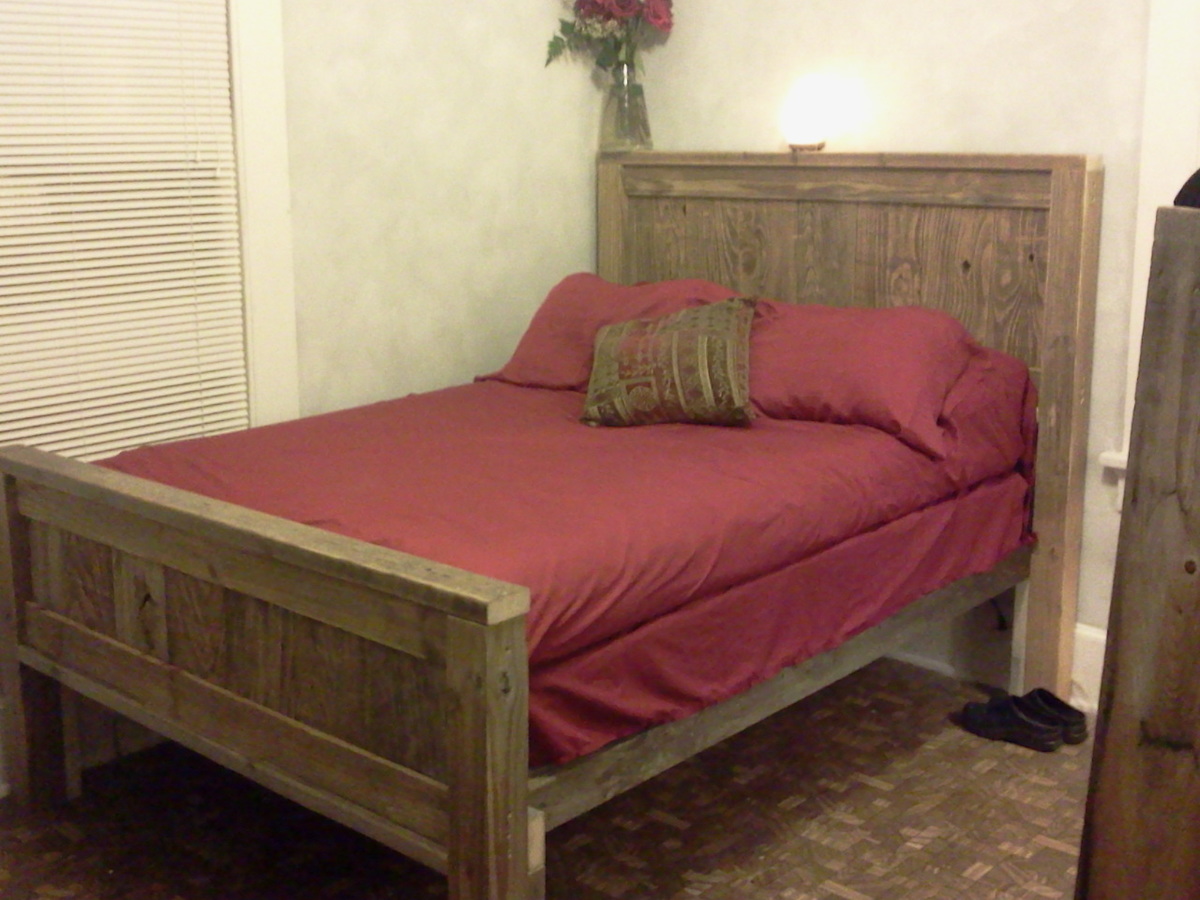
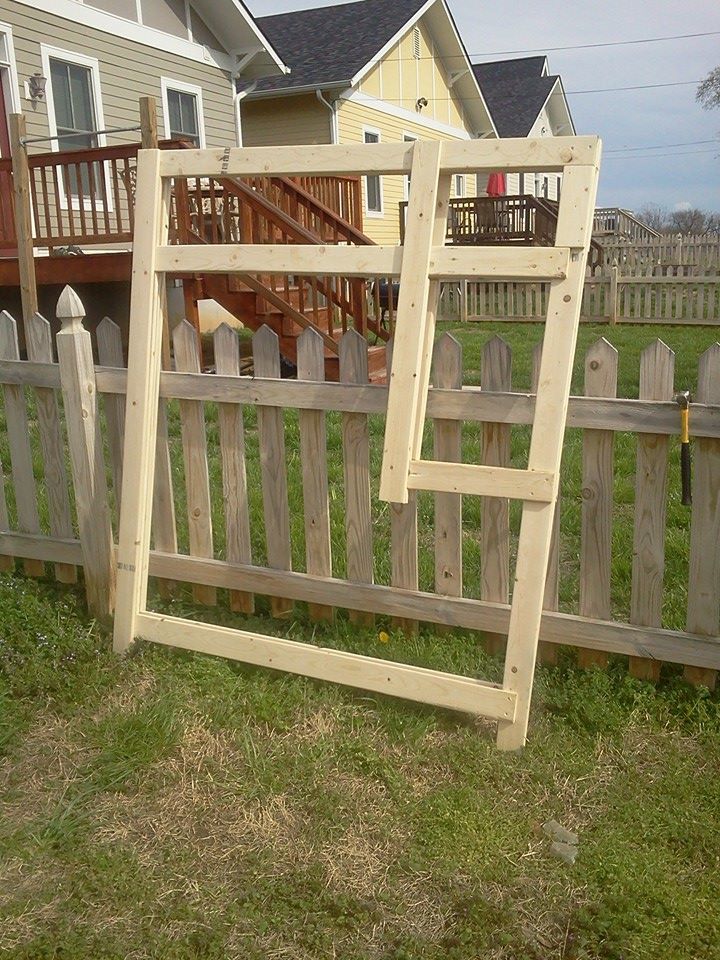
I live in a very old house with very little storage space (only 2 tiny closets!) so i made the bed higher and am going to build the trundle drawers on casters for under the bed. I also liked the version i saw with the higher footboard panel. Though i kept the original height measurements for the headboard posts (because it actually ends up to be the same height as the fireplace mantle, which adds a nice design harmony to the room) the headboard panel is shorter to make up for a bigger space under the bed.
The panels are made from weathered fencing and the 4x4s are discards from a sign company that i pass by on a regular basis. So my only monetary investment was for the long screws and a new drill bit. ! I have not decided on a finish yet, i'm going to sleep on it a while. (grin)
i started out with everything just a little bit bigger because i knew that discrepancies in old wood are better off being trimmed to square rather than assuming everything will fit.
I love how the raised grain of the weathered wood creates such dramatic abstract organic designs; i went over it ever so lightly with a sander. This is the second bed i have built, but the first one that cost me virtually nothing.
There's still plenty of fencing left and i am planning a dresser and a desk. :)
Thanks so much for your inspiration and influence on the world!
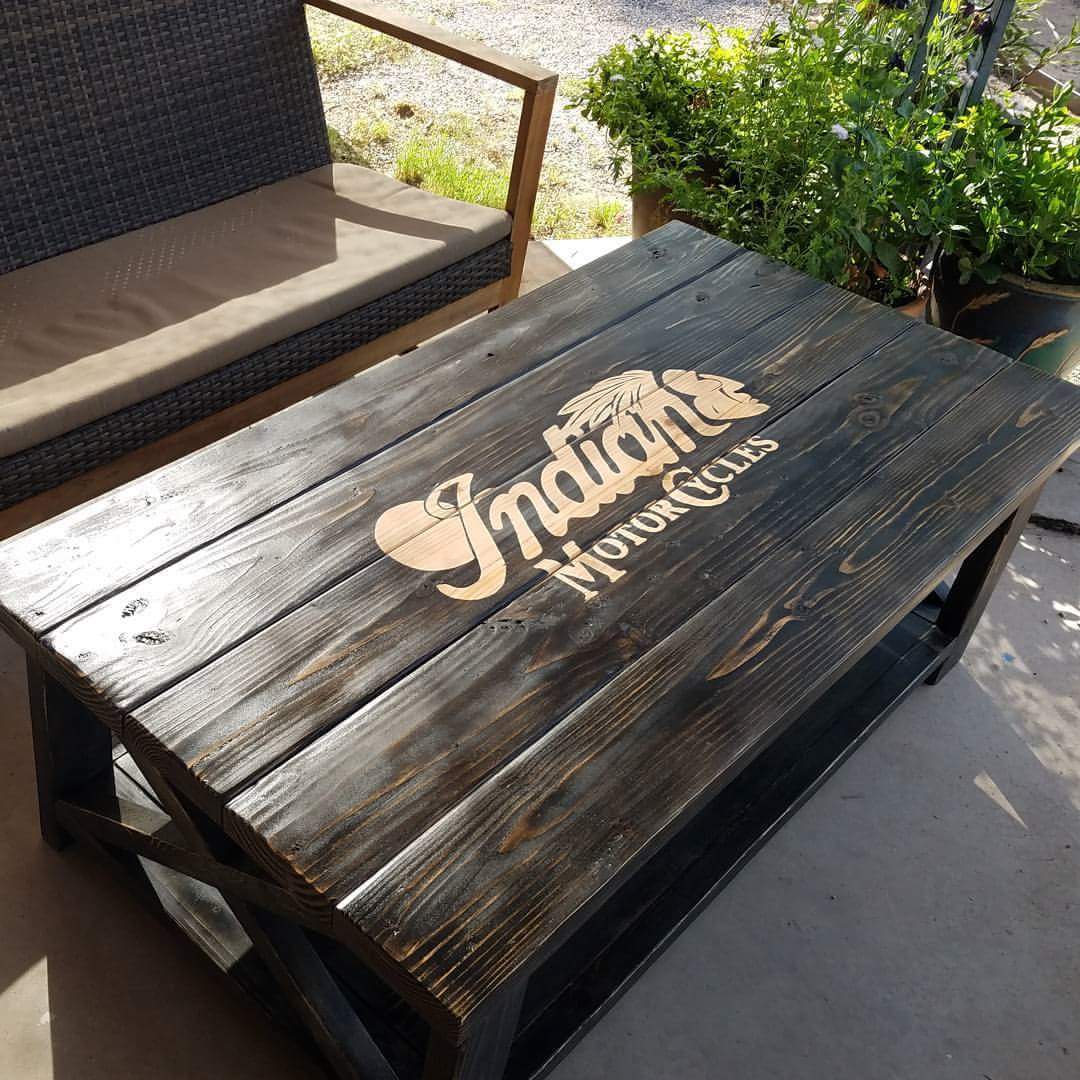
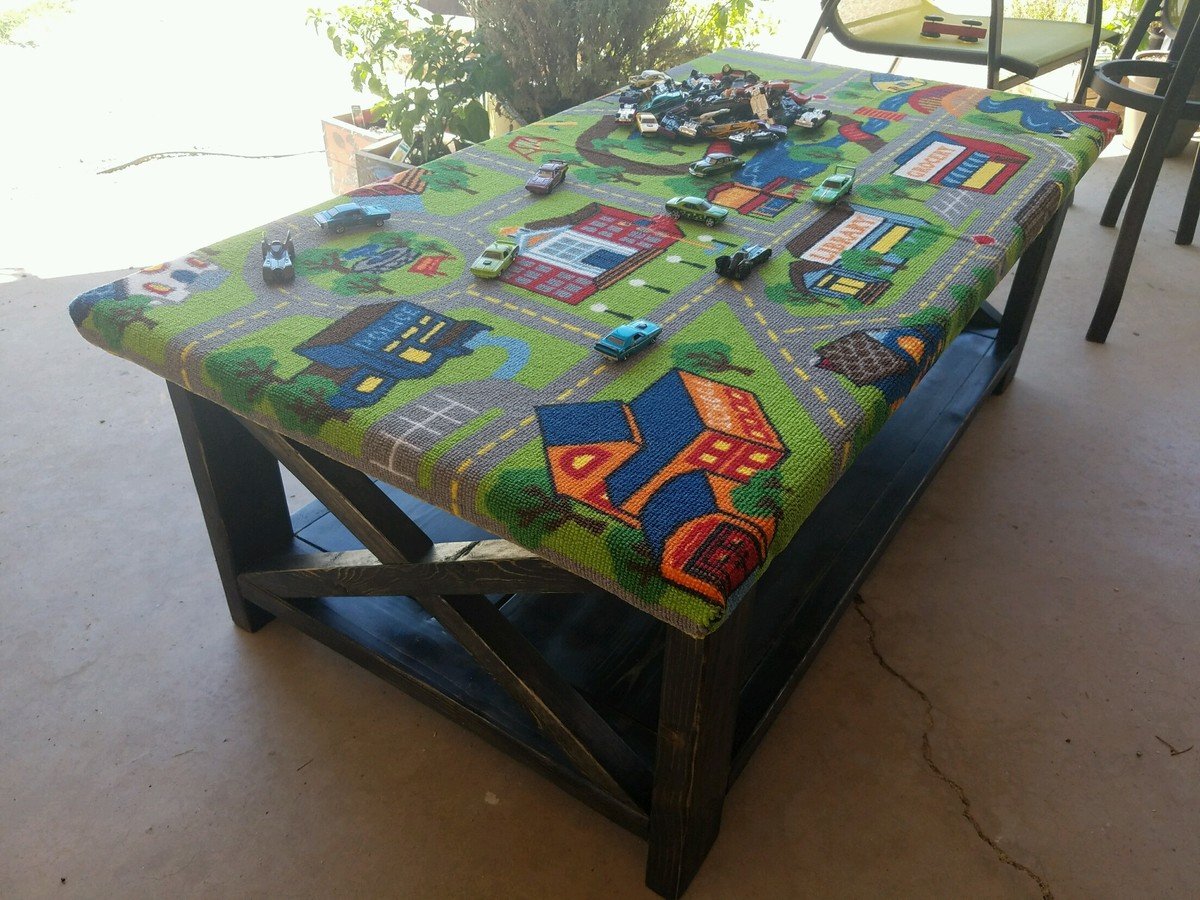
My son needed a coffee table to help him with his physical therapy. I didn't want to buy some plastic piece of shit from the store so I made him one. He loves toy cars, and in addition to the custom stain work I added a feature that will hopefully encourage him to stand and play. It can be removed when he grows up and he'll have something hand built to remember my love for him.
I did a step by step and posted to Reddit. Here's the link =)
https://www.reddit.com/r/DIY/comments/4vhbyl/diy_shitty_on_purpose_coff…
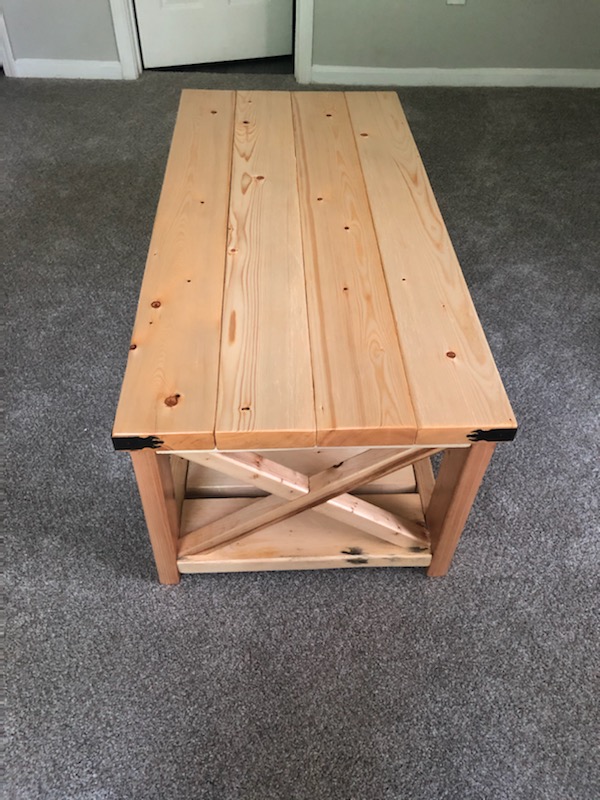
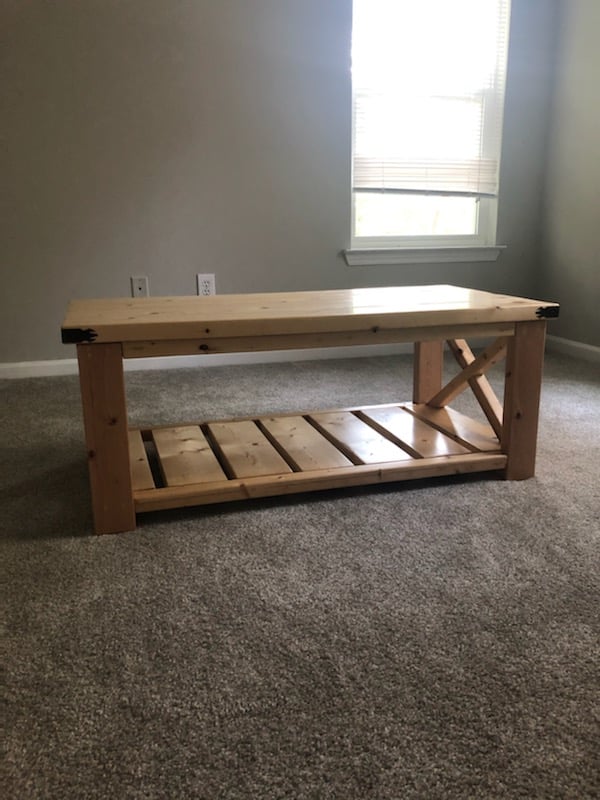
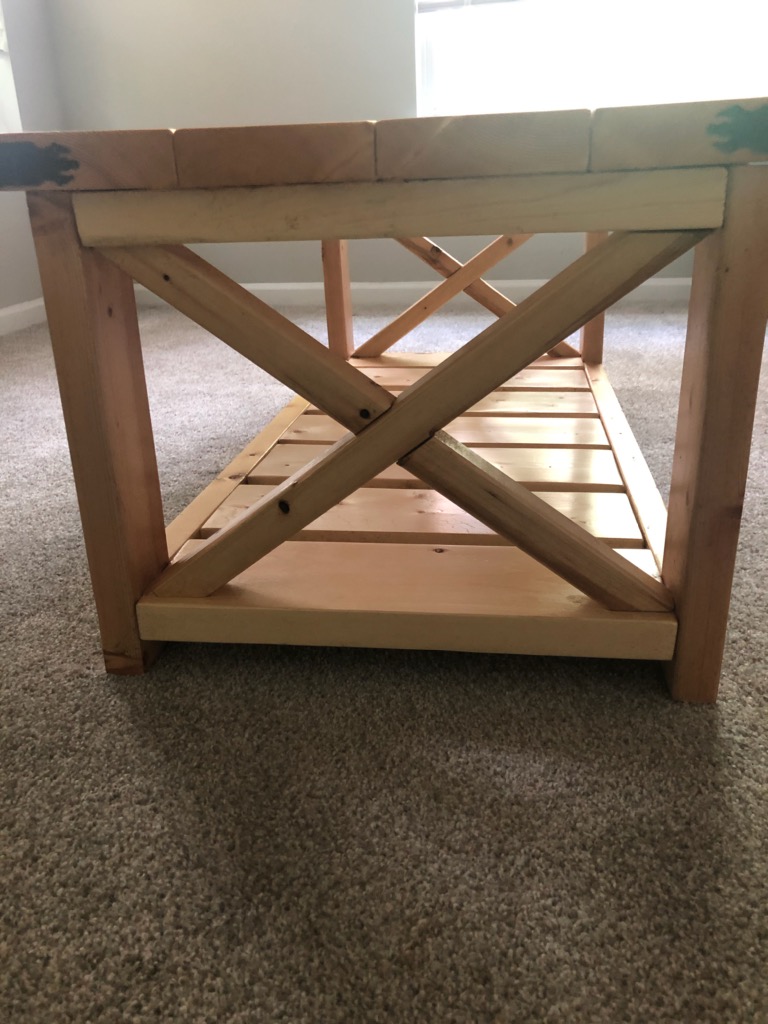
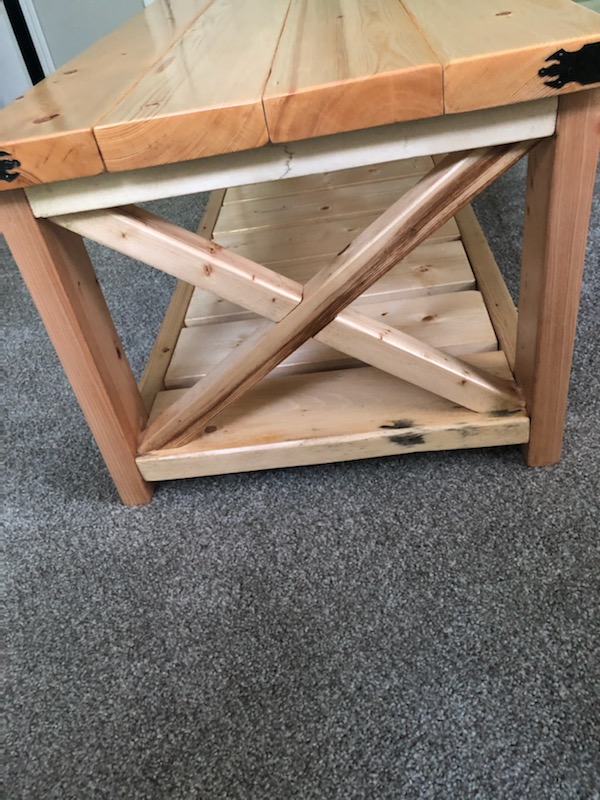
Great plan. I could not get the X right (terrible carpenter). A neighbor suggested I trim where they join for a flush fit. One turned out great, the other I cut a little too much. This was for my Daughter, she liked the natural color, I finished with Tung Oil so it took a while for the finish to dry completely.

The herringbone back was the most time consuming but the wife loves it. Will update after it's finished.

Being my first DIY project - it was a pretty big task not using a saw before or doing any building. Following the plans was easy, just took a lot of time to learn how to do things for the first time.
I modified her plans to have 3 drawers on the one side to match the pb design.
After finishing the table, I knew I needed to create the hutch that is sold along with this desk. After some rough paperwork estimates I went ahead and built the hutch.
Looks pretty amazing and similar to the real deal.
Check out my blog for further pics and details of paint, primer and drawer slides I used. Leave a comment if you'd like me to work on getting a hutch plan organized.
With doing the hutch without real plans, this project took me a while to get those cuts organized and completed.
Sat, 07/21/2012 - 15:08
I will work on getting some hutch plans up.. I did it sort of on the fly from a rough estimate on paper.. I will post up on my website and a link here when I do.. might take a bit of time to get it up and learn how to draw it up all nicely on the computer. Not sure why the website won't load for you? http://www.webdevandasaw.com/ should work. Had a few people test it :S
The desk is pretty heavy and solid. I was able to bring each part up a flight of stairs myself (all three parts of the hutch are seperate) - and the desk top is seperate, as well as each drawer I took out before bringing it up the stairs.
Tue, 08/28/2012 - 00:35
Thanks for sharing this great article!I love reading and I am always searching for informative information like this!
Mon, 08/08/2016 - 19:50
It's been a while since you built the corner desk with hutch that is posted on Ana White website, and I had a question. do you have a new blog or website where you have posted details on the paint and drawer slides you used as well as the plan for the drawers and hutch that you create? Thanks.
Maureen
Fri, 02/09/2018 - 12:22
I love this desk so much but I couldn't find a plan for this. If you could update your website, it'd be greatly appreciated!
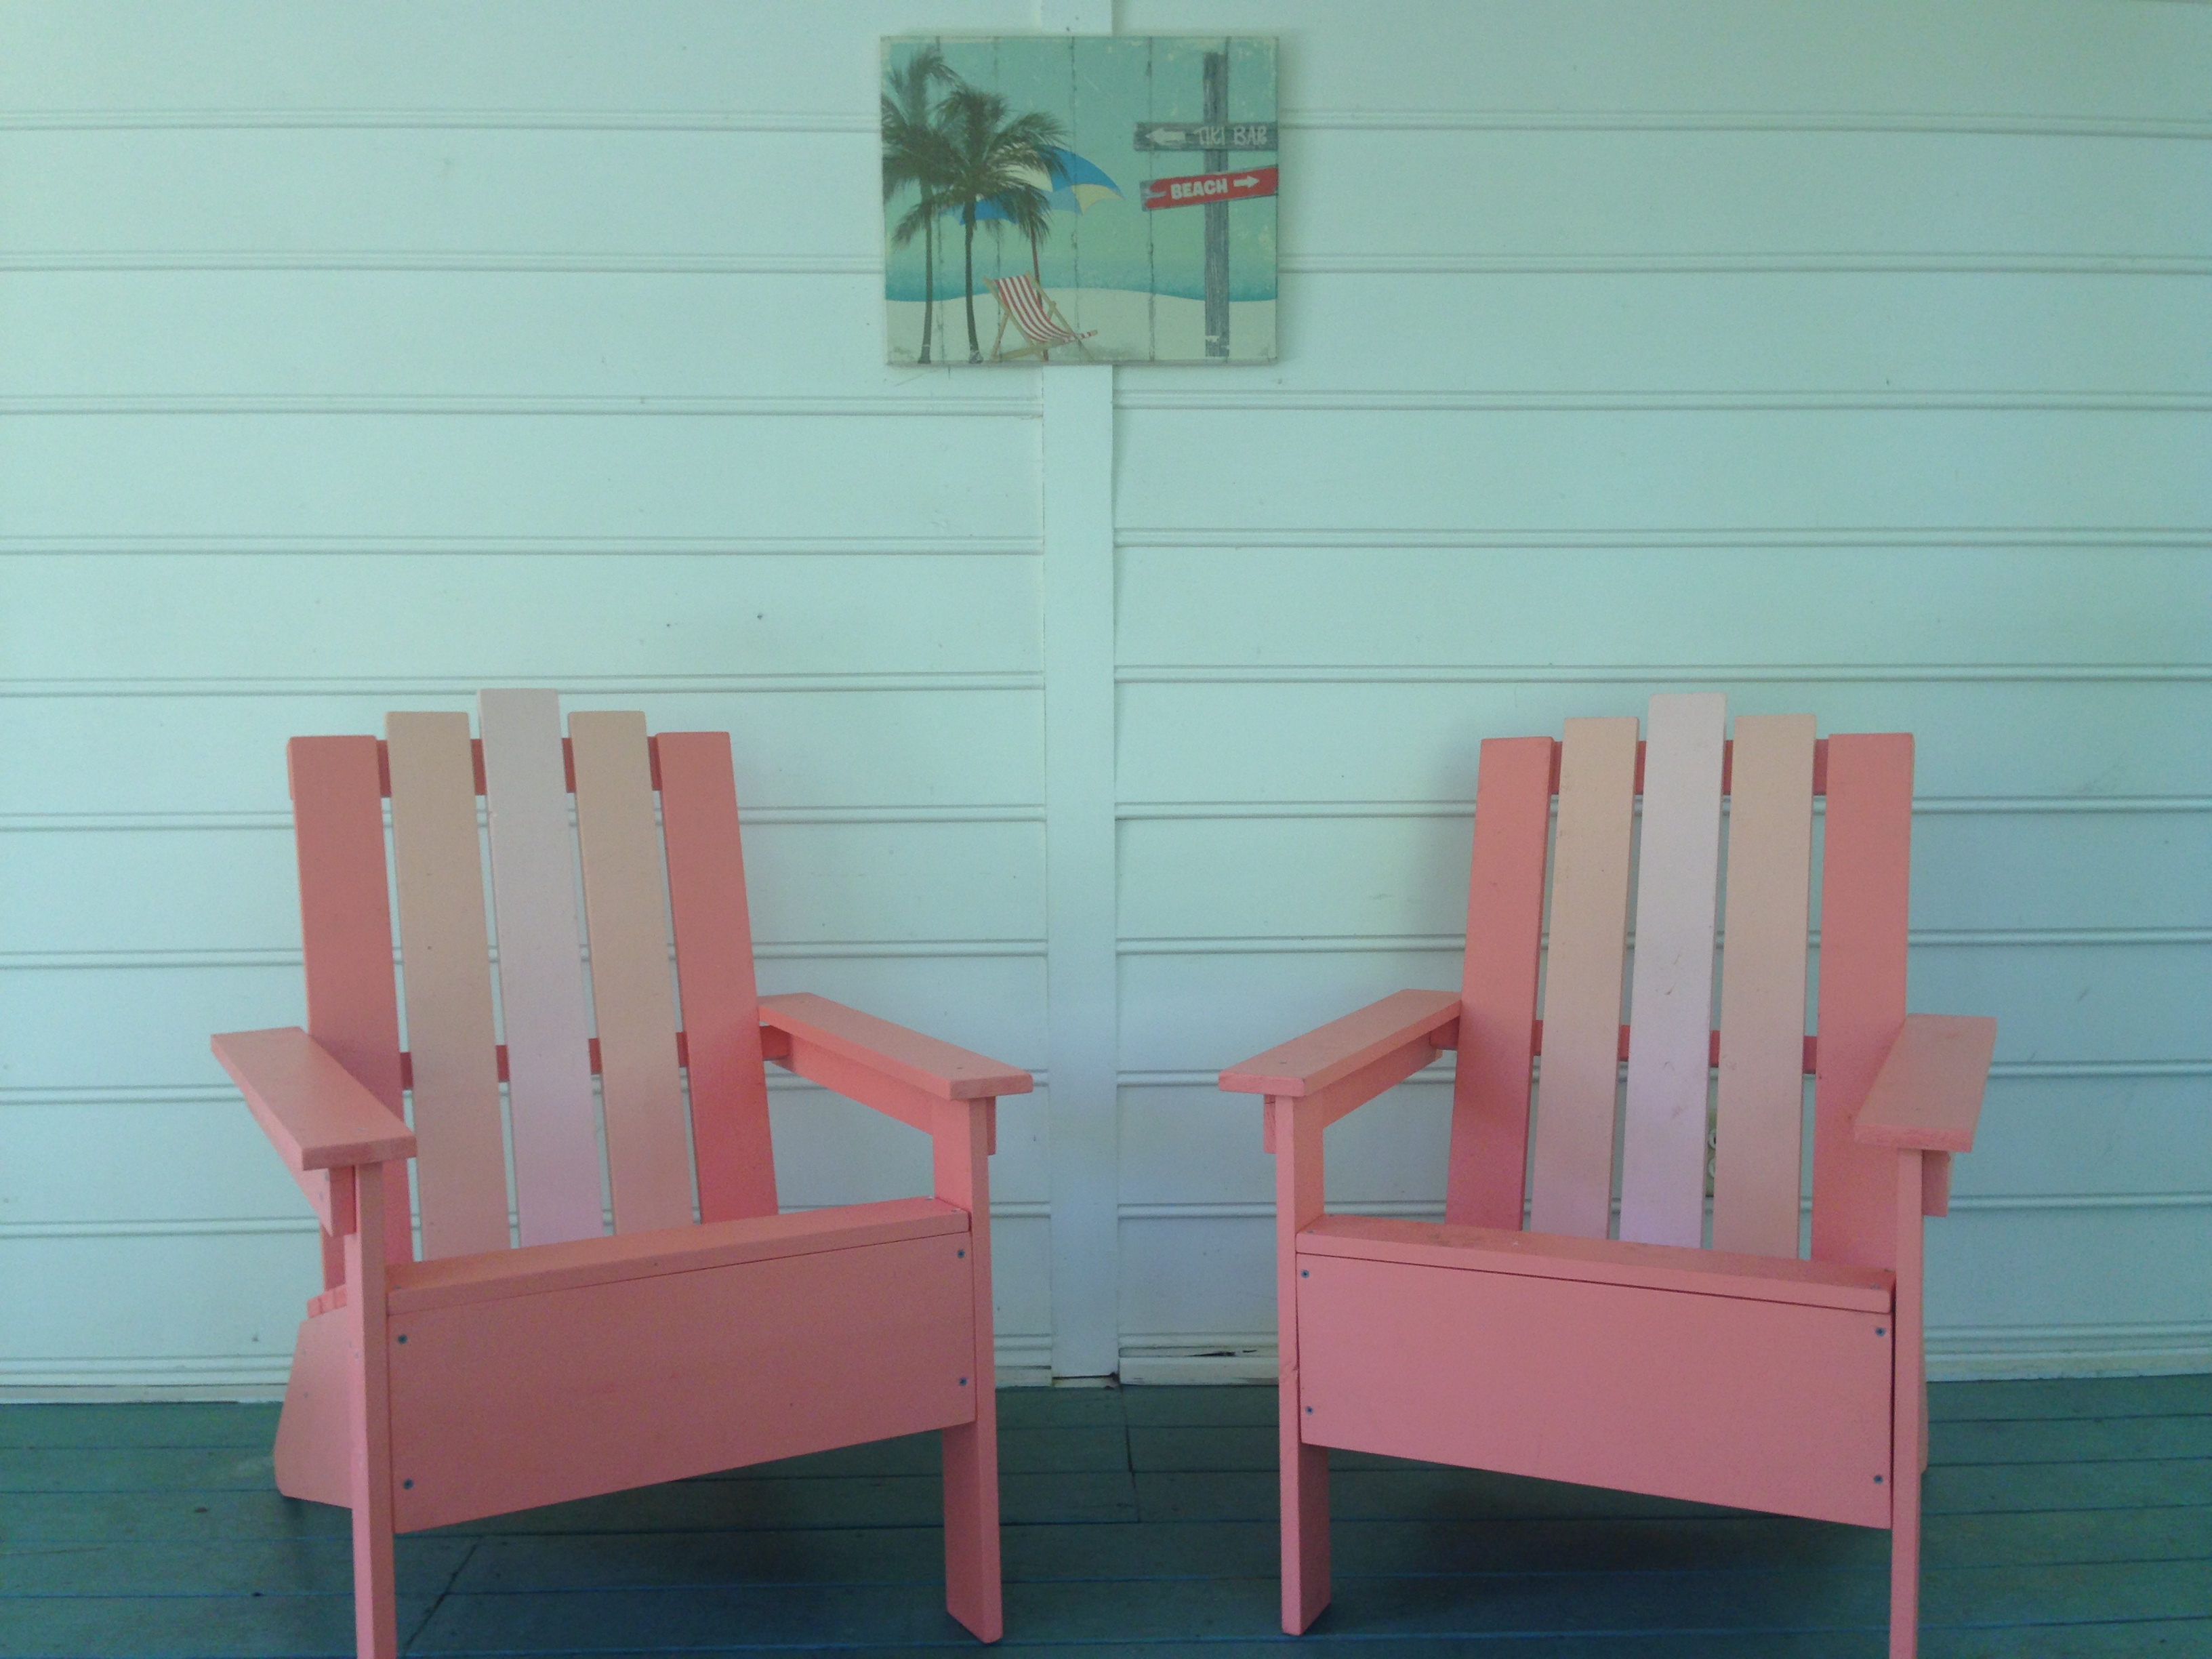
"Beginner" doesn't begin to describe me! I didn't know the difference between a skill saw & a miter saw before starting this project, but thankfully, my husband is a Mechanical Engineer & knows his way around a few tools. We're very happy with the end result, but they're not perfect. We learned a lot & I'm confident that the next project will be better. A couple of things I learned along the way--no need to buy exactly double the wood for two chairs. Probably obvious for those that are experienced, but I bought exactly double & could've saved a little $$ if I knew what I was doing. Not counting the investment of the saws & other equipment (that will now last my lifetime!), the chairs were less than $50 each for the wood, paint, screws, etc. We used the cheapest wood (whitewood, per the recommendation) available & now that I'm a bit more knowledgeable, I'll upgrade for my next project. The paint is regular Glidden Exterior, & the Home Depot reps were kind enough to mix samples of the two lighter colors so that I didn't have to buy a quart for such a small amount. Colors are Peach Crayon, True Peach, & Tropical Coral. It should be noted that samples aren't available in exterior, but the chairs will be used mostly on a screened porch--out of the direct sun and rain--so I didn't worry too much about it.