Community Brag Posts
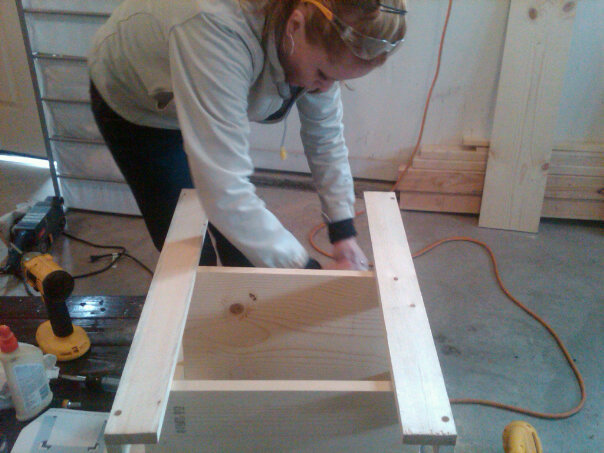
Nightstand
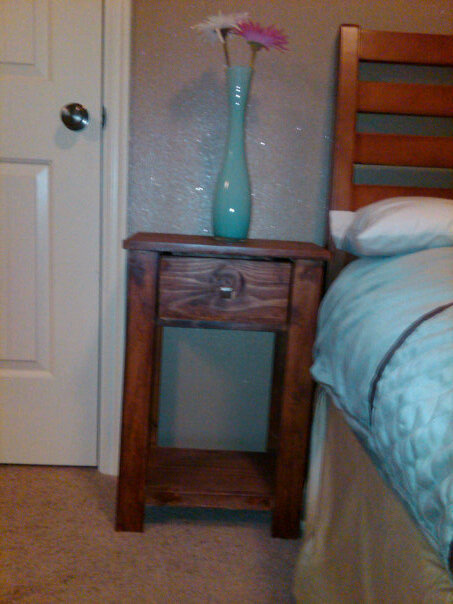
This was my first project, an introduction to saws and drills, after my pug ate a bag of chocolate that was sitting next to my bed. The plan was picked because it said "simple" and had a drawer to safely store remotes. And chocolate.

Built from Plan(s)
Estimated Cost
$20-40
Estimated Time Investment
An Hour or Two (0-2 Hours)
Finish Used
stain
Recommended Skill Level
Beginner
Fancy X Farm Table and Benches
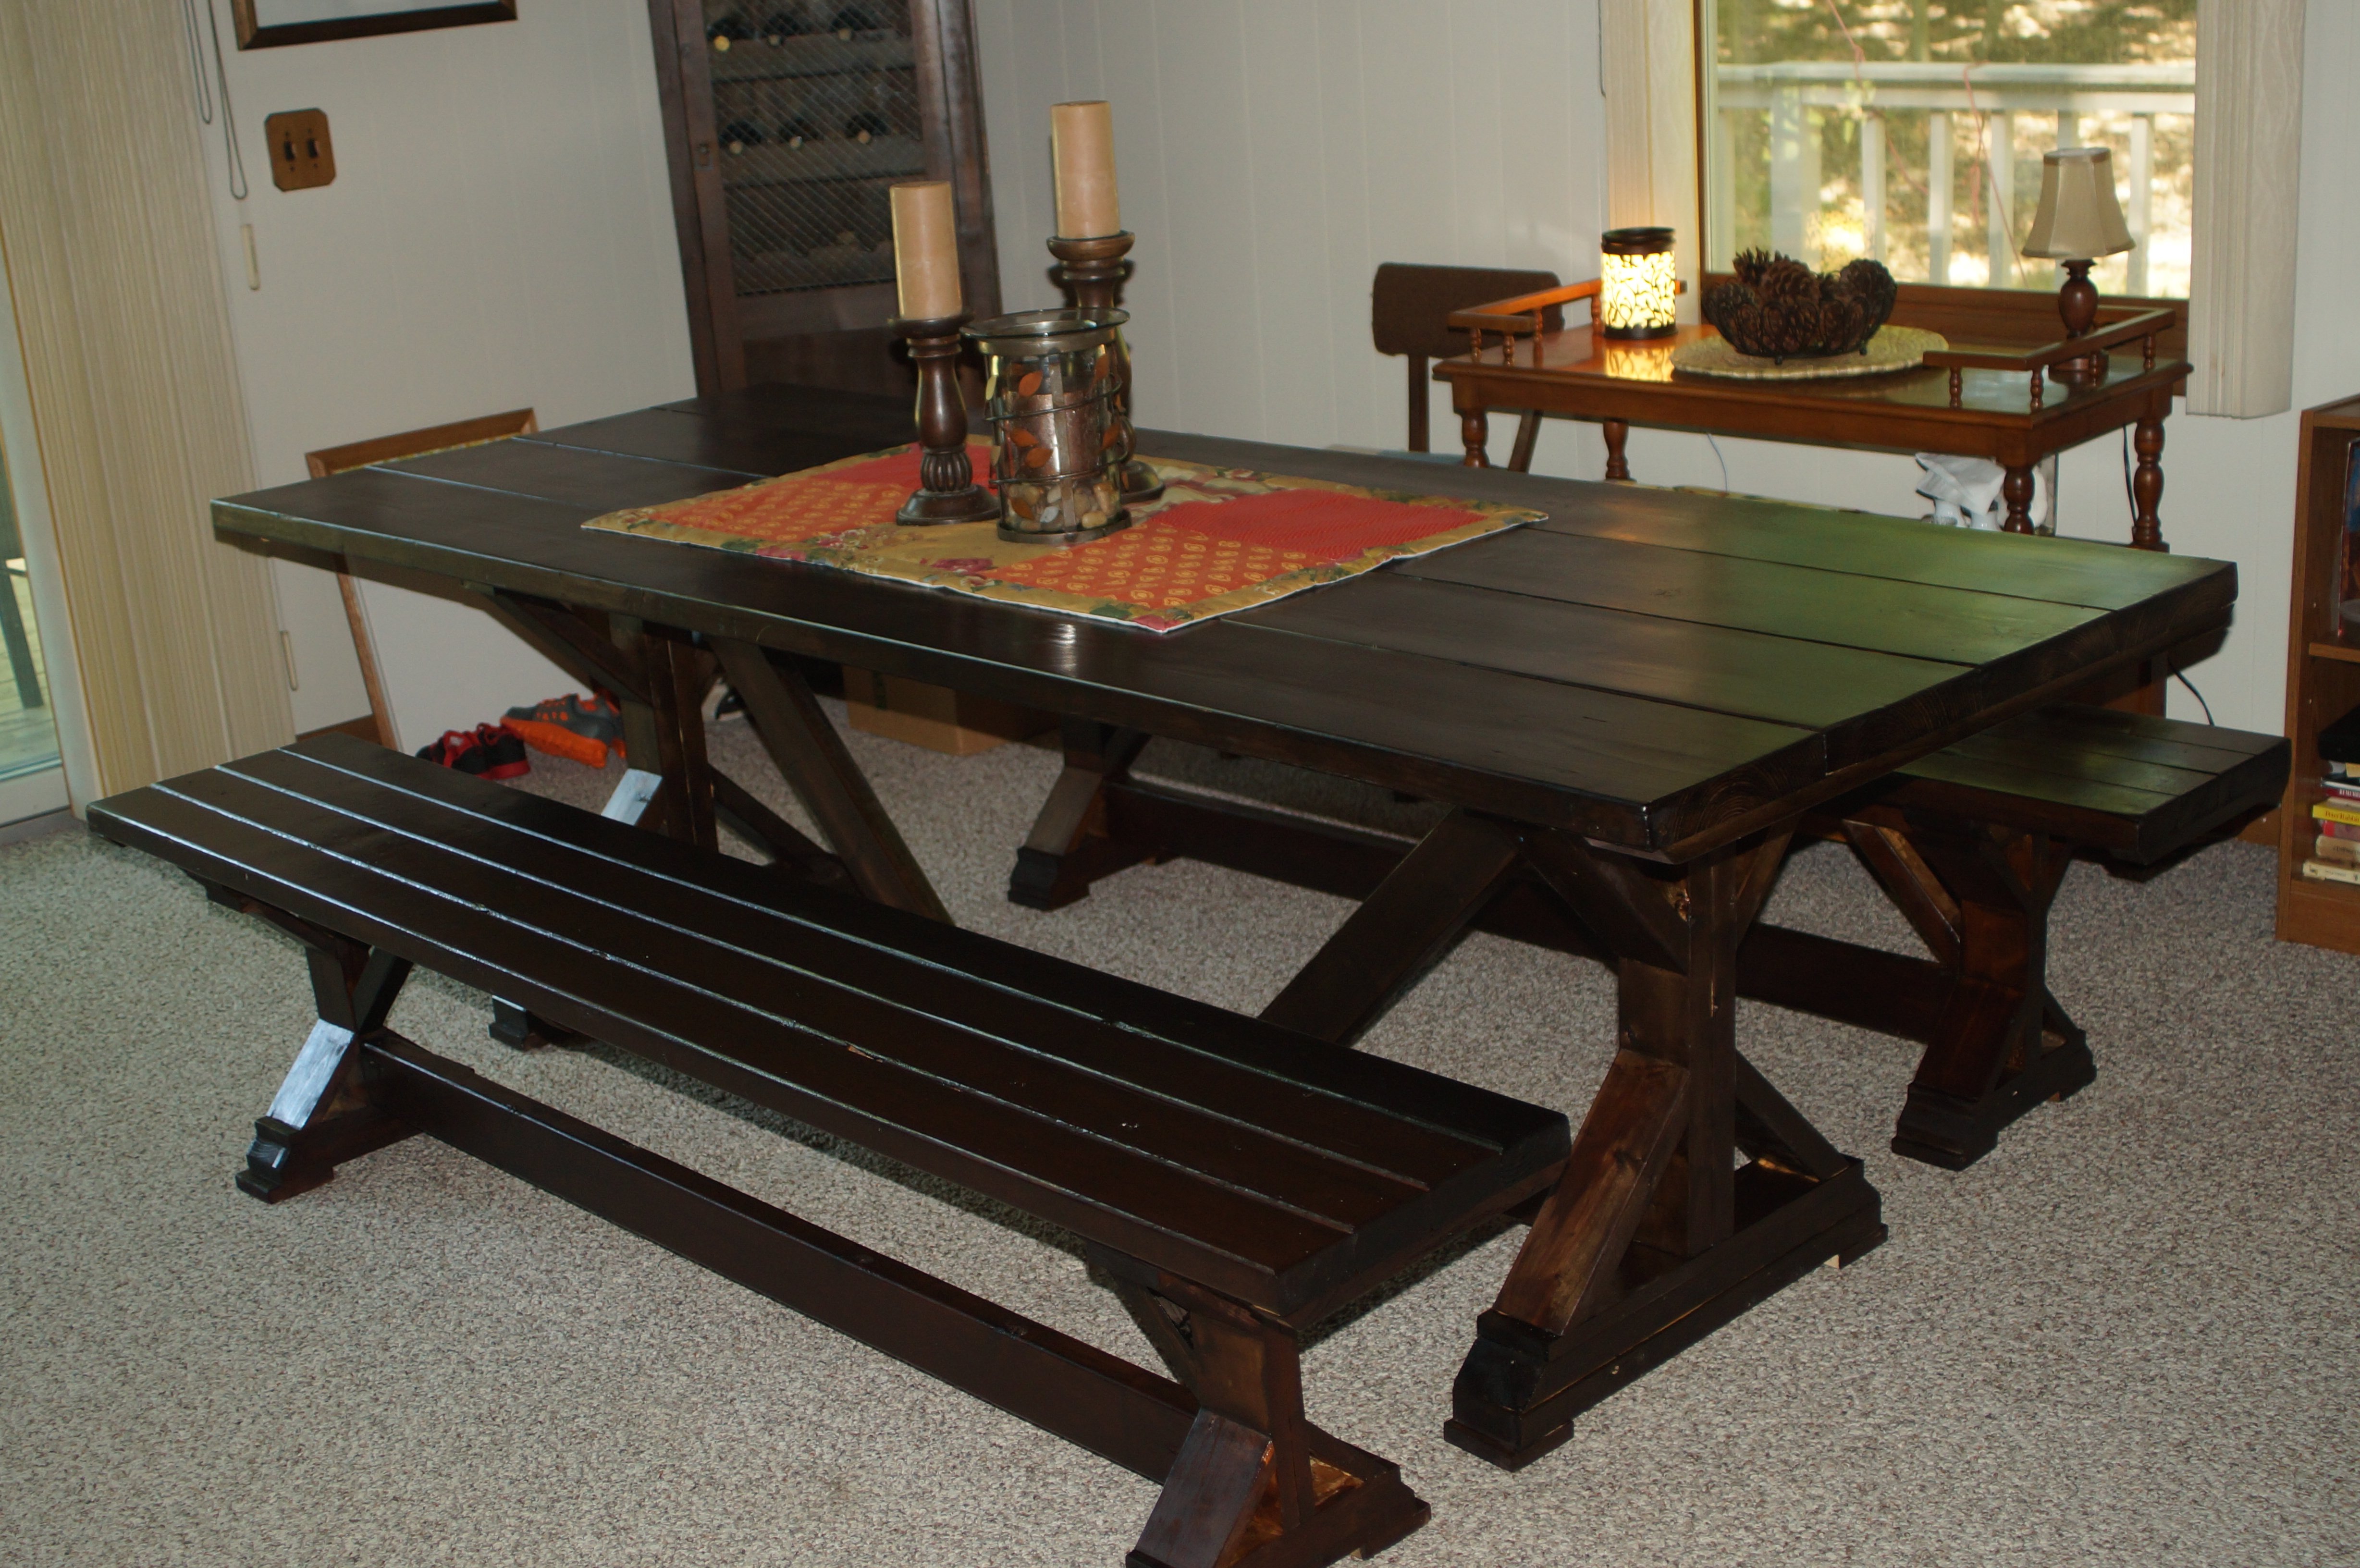
I made this table and benches for my daughter
Estimated Cost
$100.00
Estimated Time Investment
Weekend Project (10-20 Hours)
Finish Used
I finished the table and benches with a solution of extra fine Steel wool disolved in Apple Cider Vinegar and dark brown RIT Liquid Dye. Then gave it a number of coats of Polyurethane.
Recommended Skill Level
Intermediate
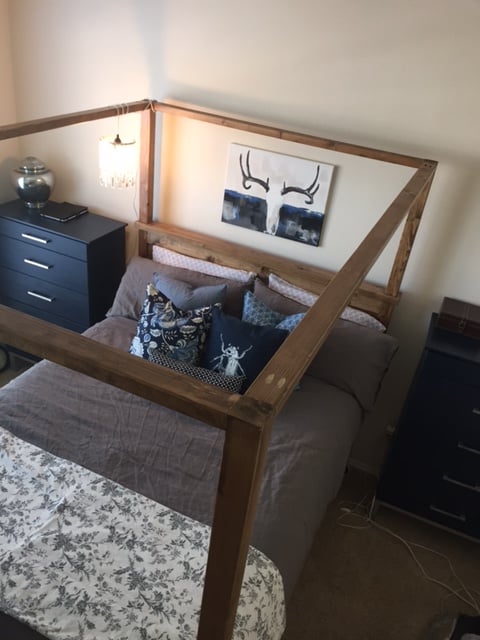
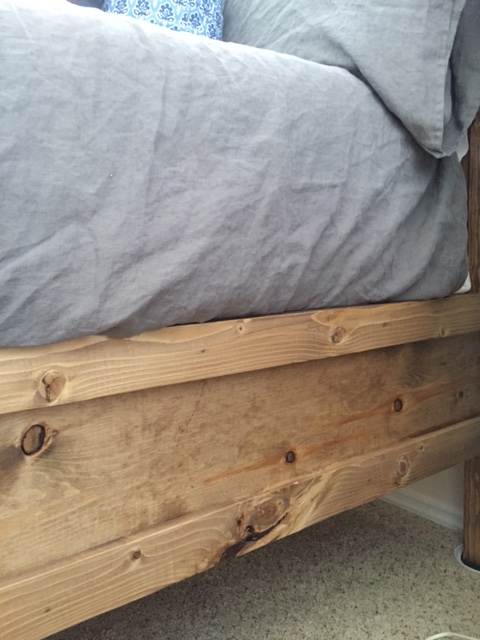
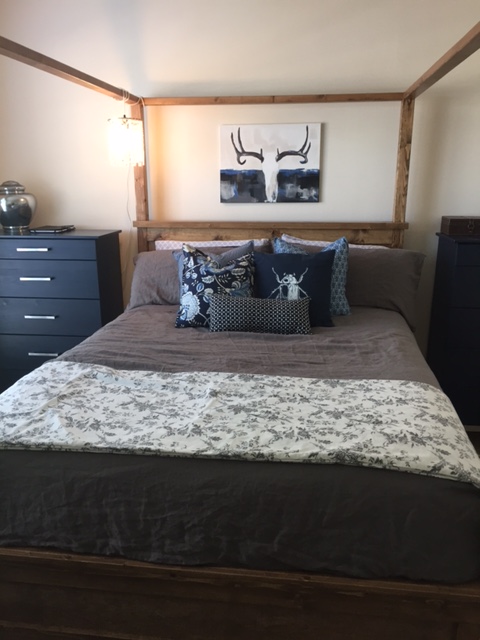
Alaska Farmhouse Canopy Bed
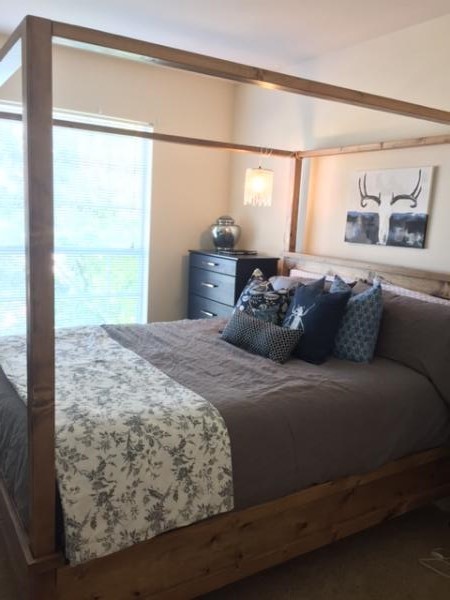
My dream project...took me a lot longer than anticipated. But a very sturdy bed when finished. I only have the matress and not a box spring, so i raised the support for mattress almost to the top of the sideboards. The large posts gave me problems at first because i was unsure if ''special 3x3'' meant actual 3x3 or 2.5x2.5 so i ended up having to send them through table saw twice.

Built from Plan(s)
Estimated Cost
$400-500
Estimated Time Investment
Week Long Project (20 Hours or More)
Finish Used
Minwax Special Walnut
Recommended Skill Level
Intermediate
Comments
Clara's Table
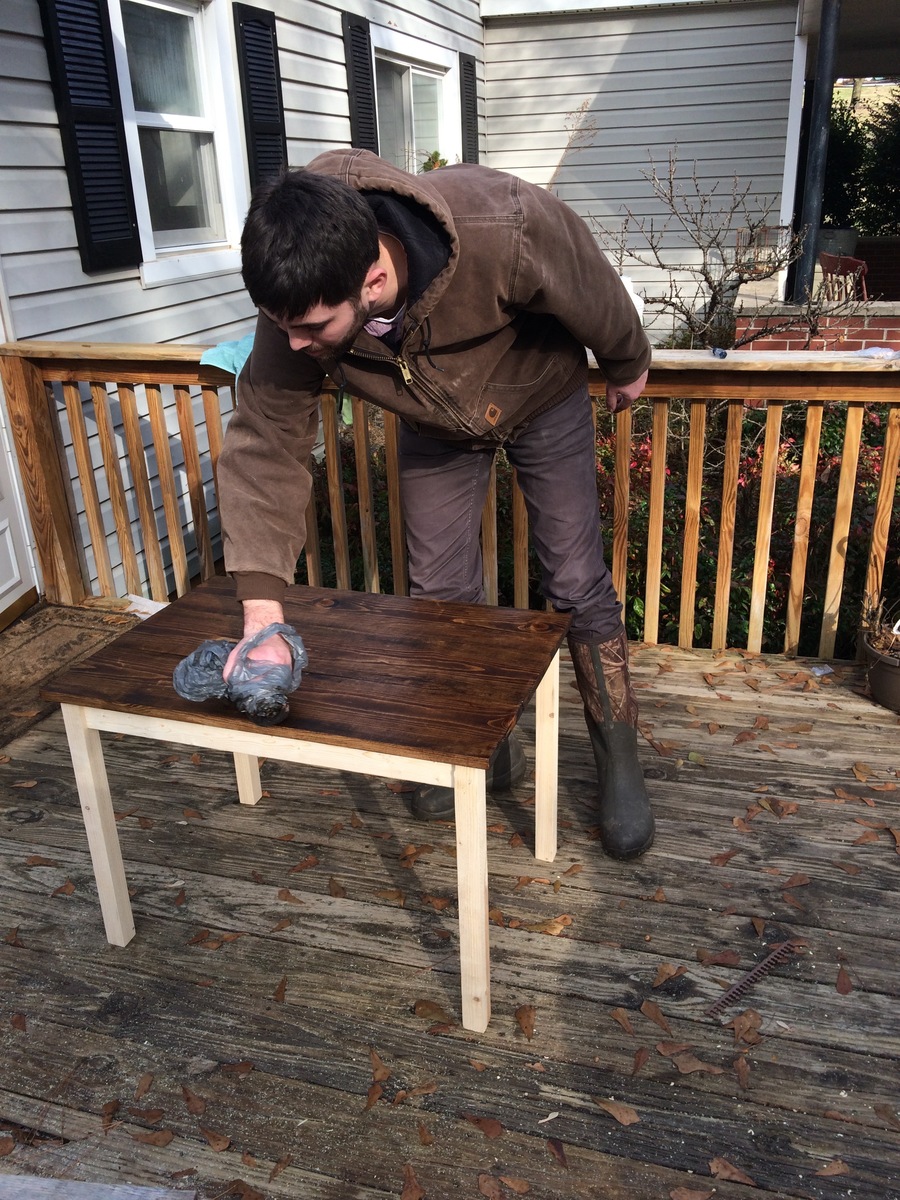
Our daughter said she wanted a desk like Daddy. When I found these plans I was so excited! My husband doesn't know it yet but it was his practice for a large farmhouse table that I want for our dining room. The Clara's table plans were easy to follow, I can not remember the exact prices for our materials since we built this back in the fall (over 6 months ago). We will eventually make the chairs. I was pleased with the way it turned out with the stained top and the legs were painted a ballet pink. I believe the stain is Dark Walnut, it was something we had leftover from another project and the paint for the legs was leftover from painting her room. It has held up well the past 6 months, it has a few dings from markers and other toys but I love the character it adds to the table. We plan on making the chairs soon.

Built from Plan(s)
Estimated Cost
$30-$40
Estimated Time Investment
Afternoon Project (3-6 Hours)
Finish Used
Dark Walnut stain and clear coat polyurethane (2 coats stain, 2 clear coats) Ballet pink paint used for the legs. We did not have an old rag to apply the stain, we used a plastic grocery bag and it worked great!
Recommended Skill Level
Beginner
Comments

Tue, 06/05/2018 - 14:50
DIY Kids "Desk Like Daddy's"
Such a cute little desk/table! Love the two tone paint finish!
Thanks so much for adding a brag post, much appreciated!
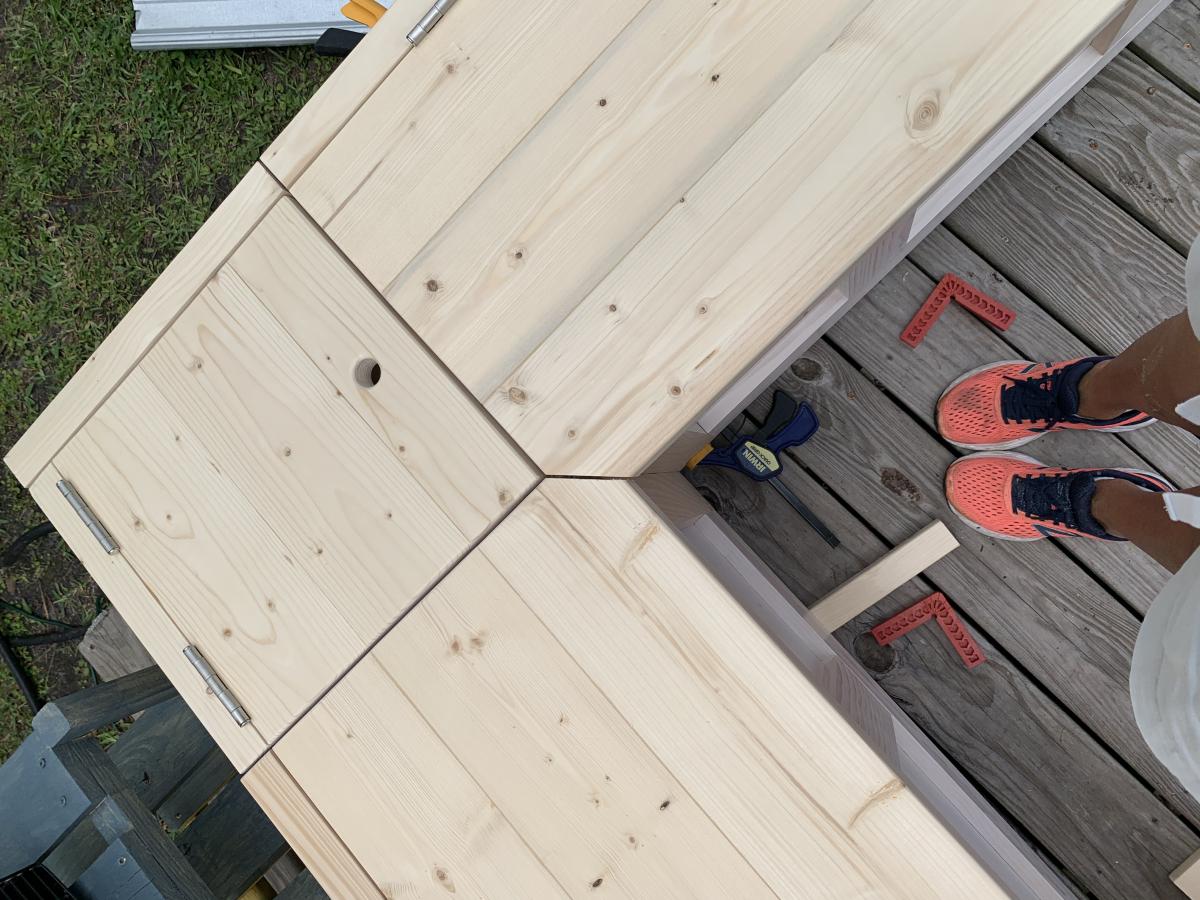
Banquette Seating with storage
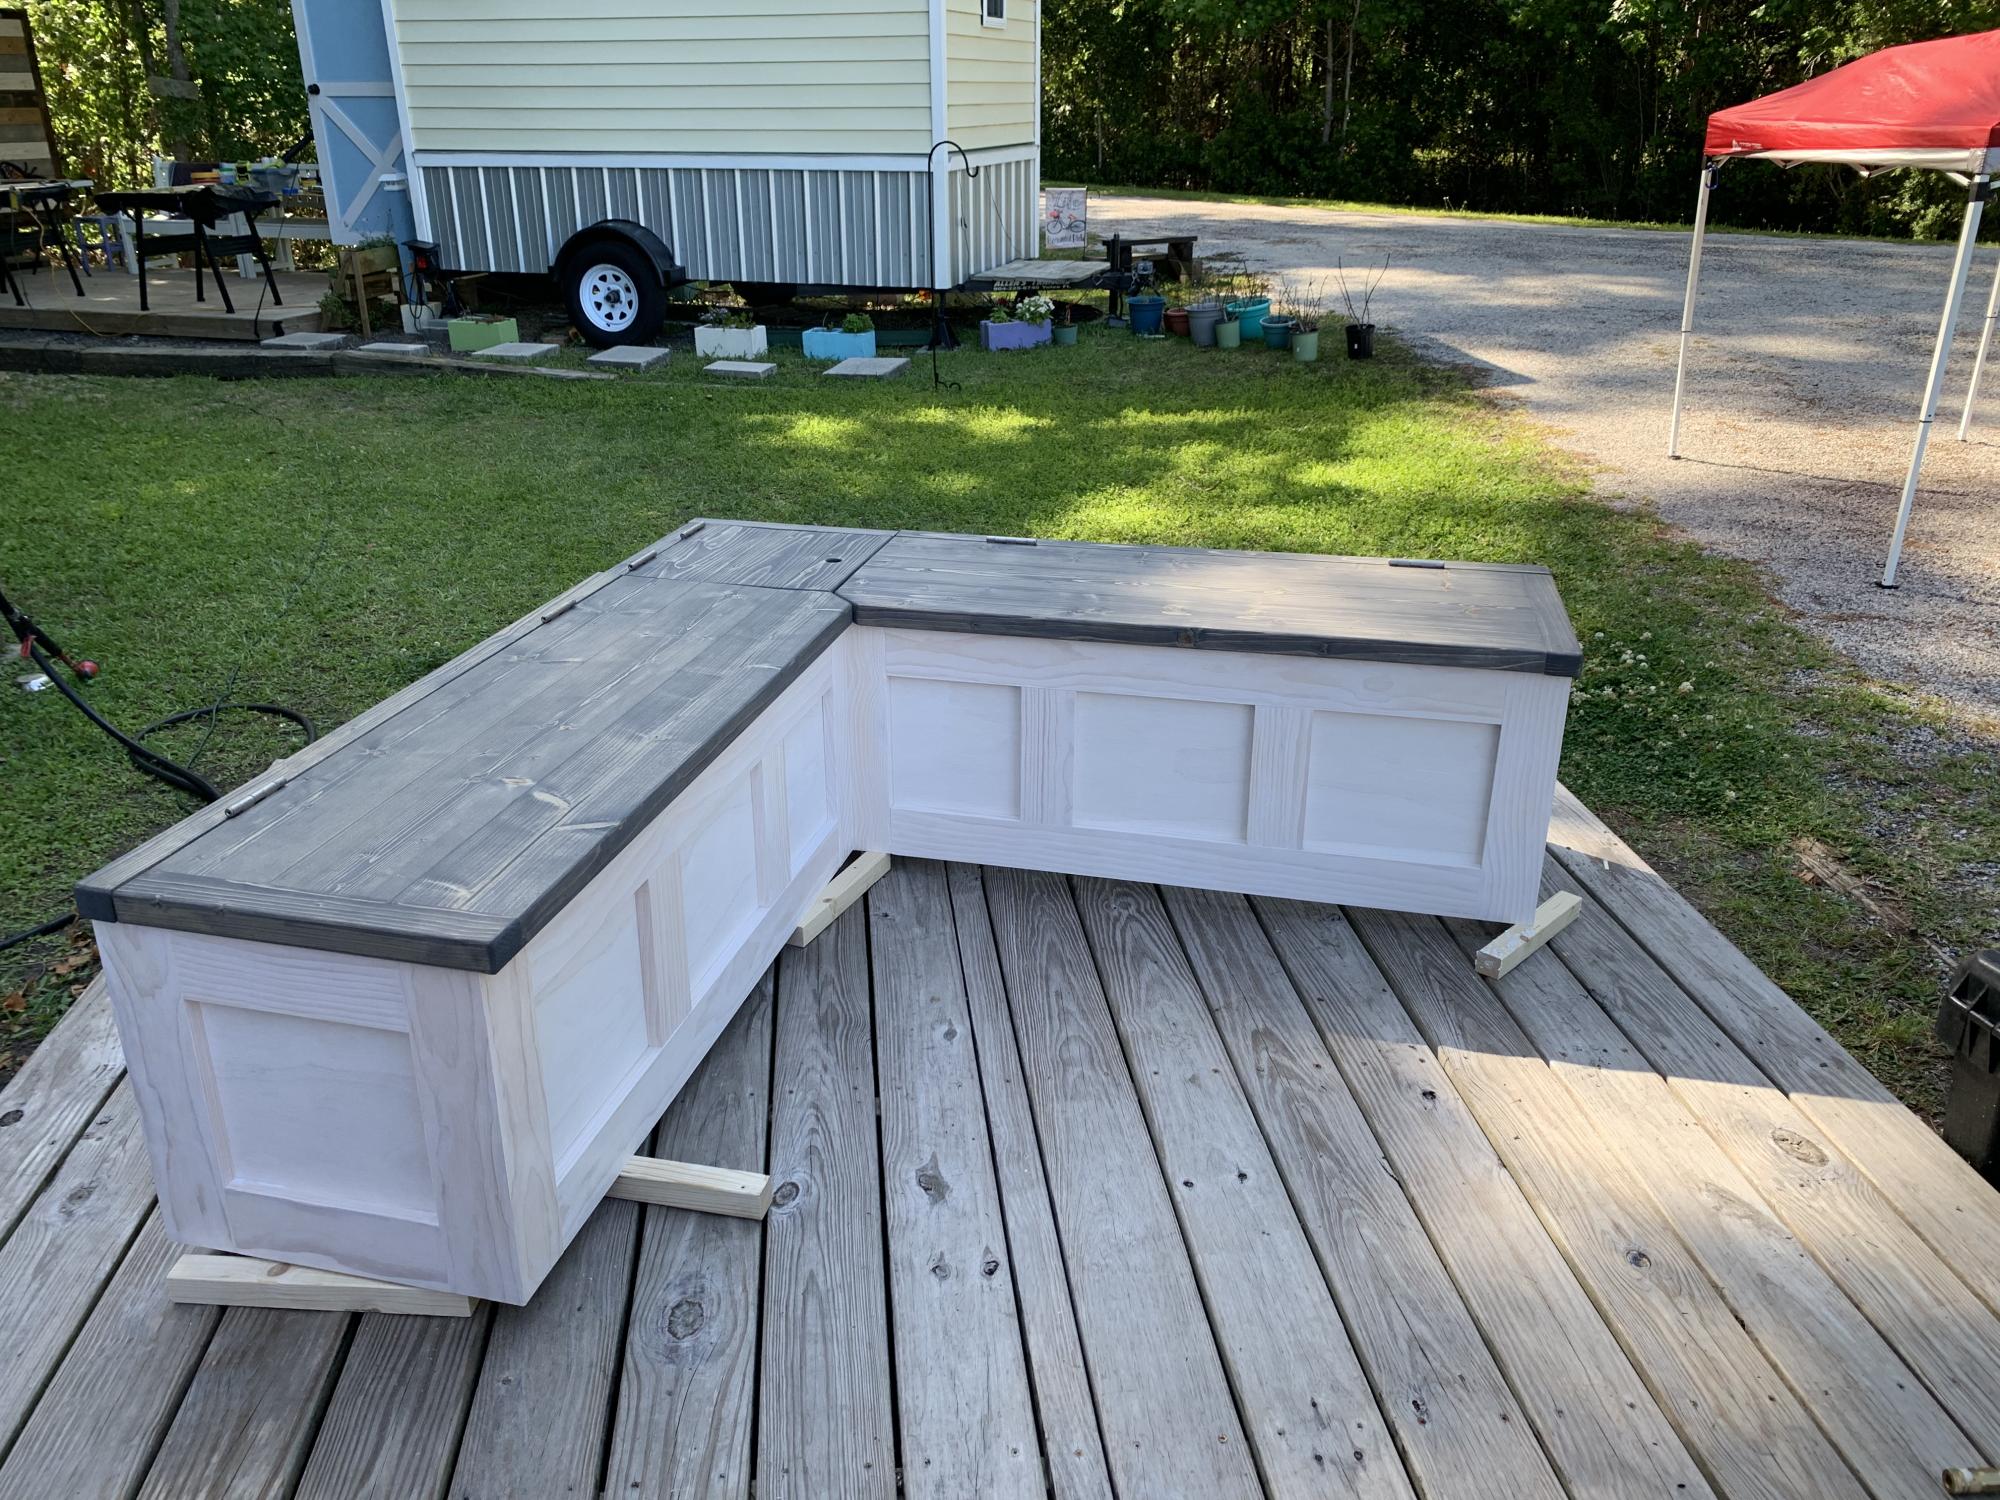
You didn’t have plans, so I had to “wing it” without you; however, I couldn’t have done it without all the practice I’ve had from all your plans on this website these past several years!
Built from Plan(s)
Comments
Tue, 04/26/2022 - 11:34
WOW, so much storage and just beautiful!
Job well done, that looks amazing! Thank you for sharing.
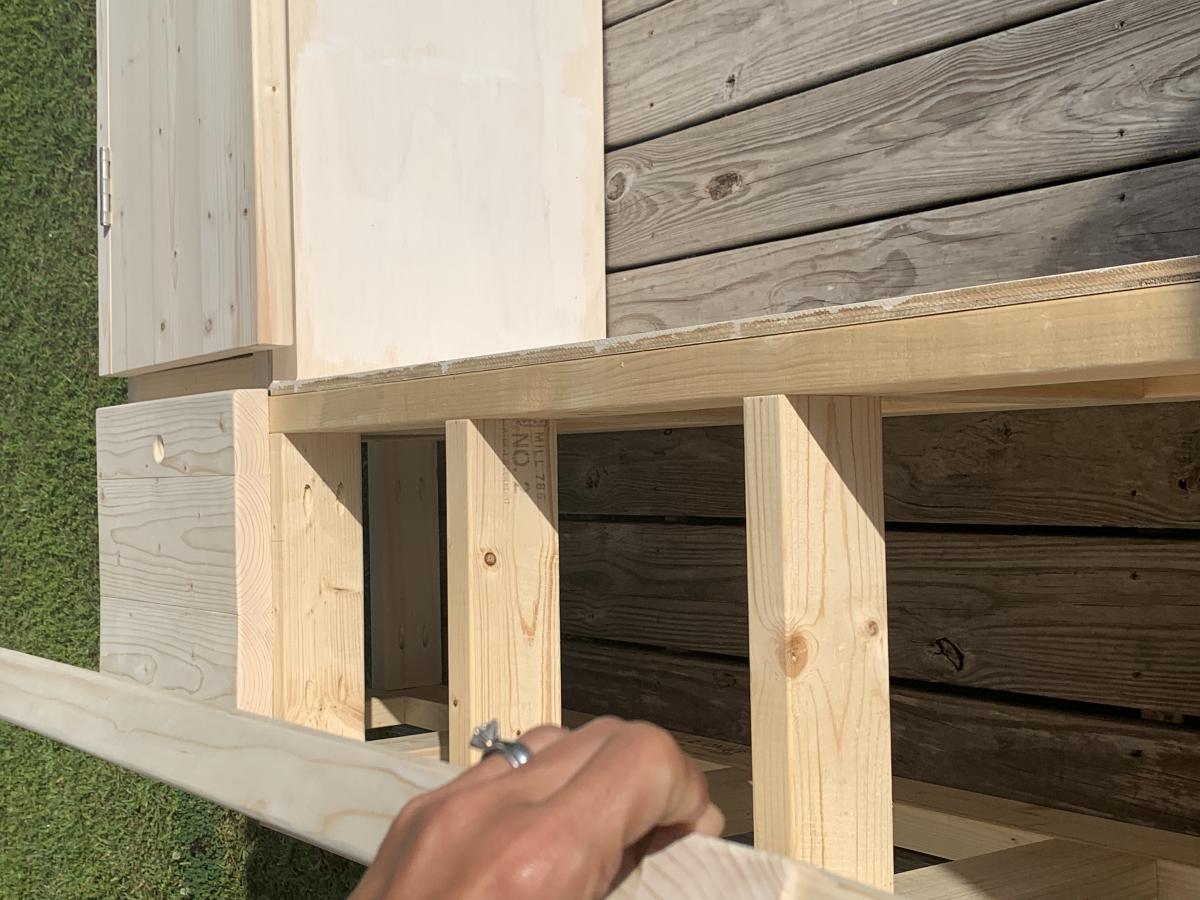
Bigger Kids Workbench
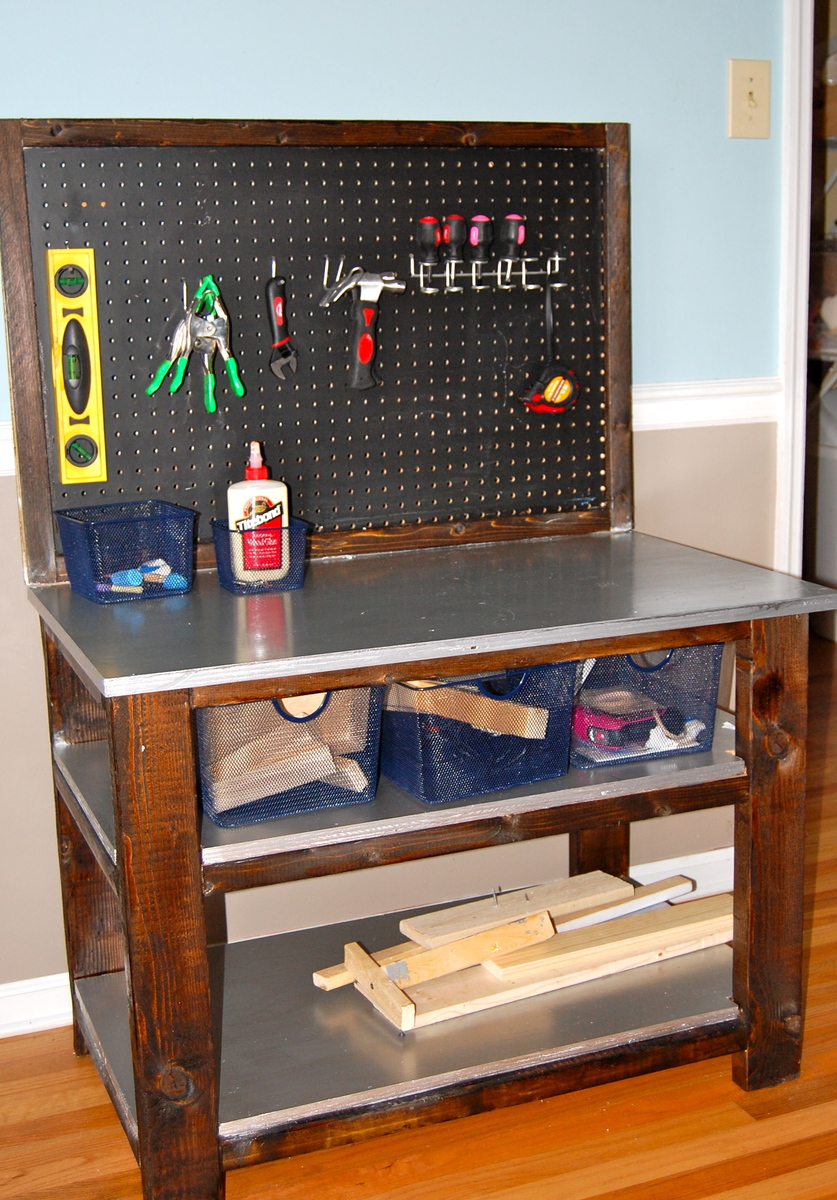
I made this workbench for my son's 5th birthday. It's a bigger style real workbench for kids. He also received real tools for his birthday. I modeled after a one that PBK used to sell.
Built from Plan(s)
Estimated Cost
$50
Estimated Time Investment
Afternoon Project (3-6 Hours)
Finish Used
Stain, chalkboard paint, and stainless steel paint. I used peg board on the back.
Recommended Skill Level
Beginner
Comments
Sat, 08/06/2011 - 19:50
I absolutely love this!!!
This is perfect for my little boys, and I really want to build this for my son's birthday in September. I am just learning how to build though so I can't look at a picture and figure out how to build it. Would it be possible for you to send me the measurements and as much information as possible? You did such an amazing job.
Tue, 09/13/2011 - 20:39
Wonderful Bigger Kid Workbench!
Hi,
I would love to make this for my soon-to-be sever year old son, for his birthday. I'm a total novice where building something like this is concerned; any chance you could send me the measurements? Gabe would be so grateful!
Thanks again, and amazing work!
Denise
Tue, 12/06/2011 - 20:10
LOVE LOVE LOVE THIS
Desperately need dimensions for this in time for my son's 6th birthday in January. Can anyone help????
Tue, 12/27/2011 - 16:12
Bigger kids workbench
This is an awesome workbench!!!! My husband and I would love to make this for my sons seventh birthday. If possible could you please email me the dimensions and details foe this project. I love your work and creativity!! Thanks for the inspiration!!!
Sun, 03/04/2012 - 11:45
Bigger kids work bench
My 6 year old is begging me to make this for him,
Can anyone send me the specs or dimentions/ directions?
I think he has more building skills than I do.

Wed, 08/22/2012 - 05:52
How to fasten?
Hi. Love your mod using the pegboard. Can you please tell me exactly how you put the frame around it? Did you sandwich between two trim pieces or router in a grove for it to sit? Thinking of making some of these in the smaller size for a craft show so any tidbits to make it go faster would be much appreciated!
Fri, 05/24/2013 - 07:48
Plan details
I would love the plan details for this workbench.
Are they available some where on your site?
Thanks!
Tue, 05/28/2013 - 07:24
Love This!!
I would love to make this for my son for his birthday. He would be thrilled! Could you please send me the plans/dimensions?
Reclaimed lumber Adirondack chair
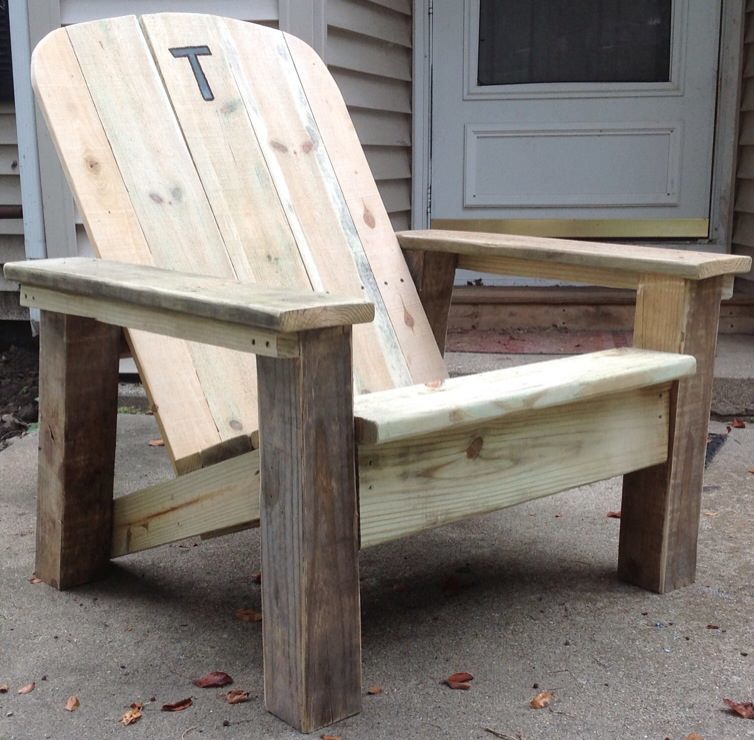
For my brother's 35th birthday, I helped him build a fence and side deck on his house. Using the leftover lumber scraps and screws, I adapted the DIH Adirondack chair plans to build this for him. He wanted a big, sturdy chair with a wide arm rest that looks "rustic". I used 4x4 and 2x4 post scraps, deck boards, and fence pickets. I also widened the seat just a bit for comfort. This is definitely the perfect chair for him!
Built from Plan(s)
Estimated Time Investment
Afternoon Project (3-6 Hours)
Finish Used
Since it's all treated lumber, we'll just seal it whenever we do the deck with Thompson's Water Seal.
Recommended Skill Level
Beginner
Comments
Thu, 08/08/2013 - 14:47
This chair is wonderful!!! I
This chair is wonderful!!! I love the mods - really something special! Thanks for doing this project and sharing! Ana
Fri, 08/09/2013 - 14:38
Thanks! I always enjoy
Thanks! I always enjoy building with your plans, and it was a bonus that I didn't have to buy anything to build this, since I used leftover materials.
Full outdoor furniture set
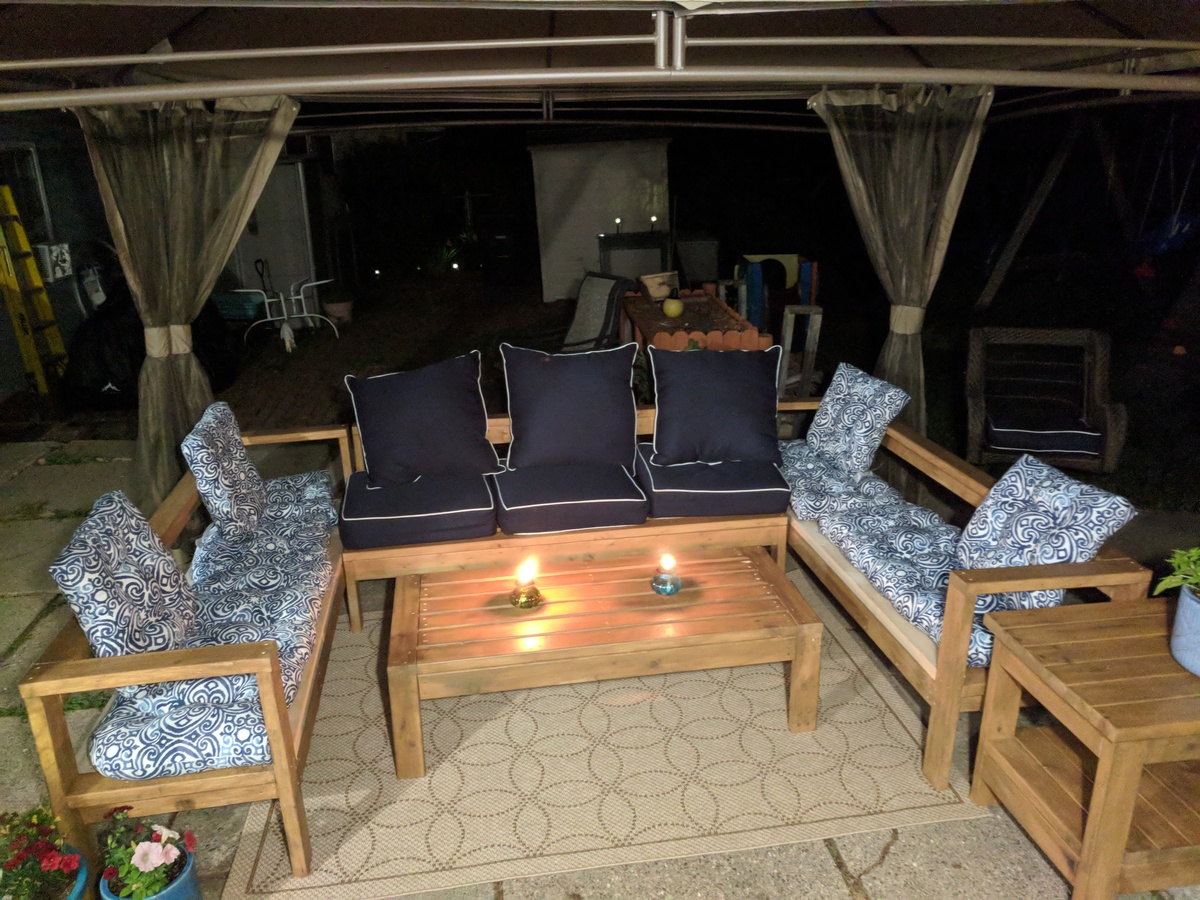
Built a new outdoor furniture set using the following plans:
Ryobi Outdoor Couch (linked to in the One Arm Outdoor Sectional plans)
I also built the Tryde End Table with Shelf & 2 of the Modern Outdoor Chair from 2x4s and 2x6s, but they will be in a seperate brag post since I can only link 3 sets of plans per post.
I built the armless middle sectional piece exactly to plan, to fit 25x25 outdoor cushions. The bench is a little deep for sitting, but great for laying out. The 2 side pieces I shallowed to fit 19" cushions, since they are cheaper and easier to find and are more naturally sized for sitting. I also added a support board under the back rail, which is missing from the Outdoor Couch plans but is present in the Armless sectional plans and I wanted everything to match. I stained everything with Thompson's water sealing stain, since it was going to be exposed to the elements at all times (though this picture was taken before the staining was completely finished, hence the untouched lumber visible under some of the cushions).
Project took a 3-day weekend. Day 1: measuring and cutting. Day 2: assembly. Day 3: sanding and staining.
Built from Plan(s)
Estimated Cost
$250 in materials, $300 in cushions
Estimated Time Investment
Weekend Project (10-20 Hours)
Finish Used
Thompson's Semi-Transparent Stain & Sealer, Honey Gold
Recommended Skill Level
Intermediate
Comments

Wed, 07/11/2018 - 08:13
Outdoor haven!
Great job on the whole set! I like how you altered the plans to fit your needs - well done!
Easy Build Wood Headboard
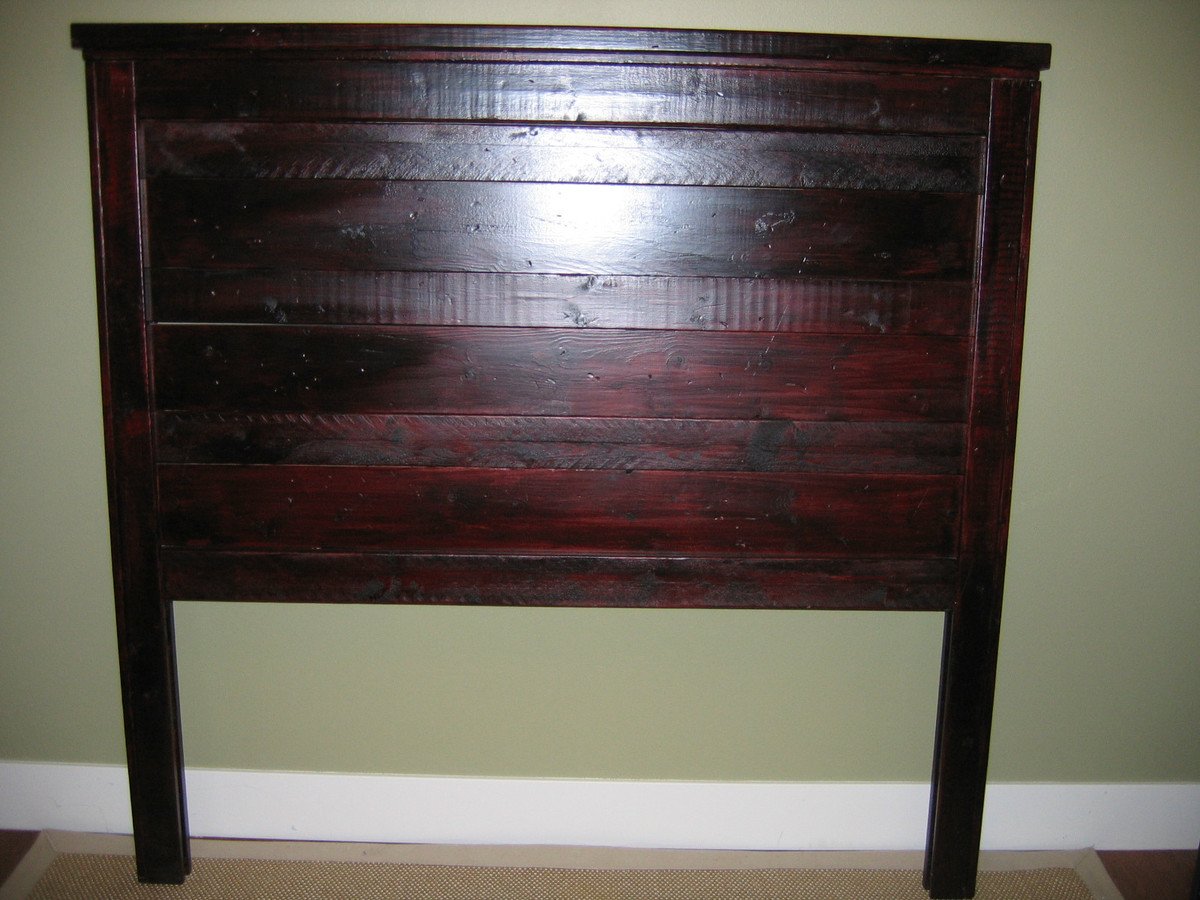
This was actually my first build. I had just about had it, went with all three kids, got the wood, and built it while my hubby was at work (24 hr. shifts at the fire station). And yes, that was after I finally Googled, "How to unlock a Dewalt Compound Miter Saw" after 30 minutes of unsuccessful prodding! :-) I'm super happy with how it came out (despite the poor flashy picture)! And it was great "practice" for doing my girl's farmhouse beds.
Built from Plan(s)
Estimated Cost
$80
Estimated Time Investment
Afternoon Project (3-6 Hours)
Finish Used
Minwax PolyShades Bombay Mahogany Satin - 2 coats with 3rd touch ups
Recommended Skill Level
Beginner
Comments
Sun, 05/20/2012 - 22:18
I think it is beautiful! I
I think it is beautiful! I love the stain! This was my first build also, I used old red barnwood, but a friend wants me to build her one, so I'm thinking about going with the same finish you used, absolutely gorgeous!
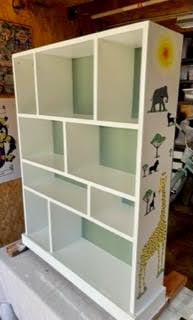
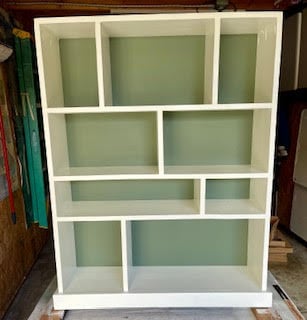
Classic Storage Wall
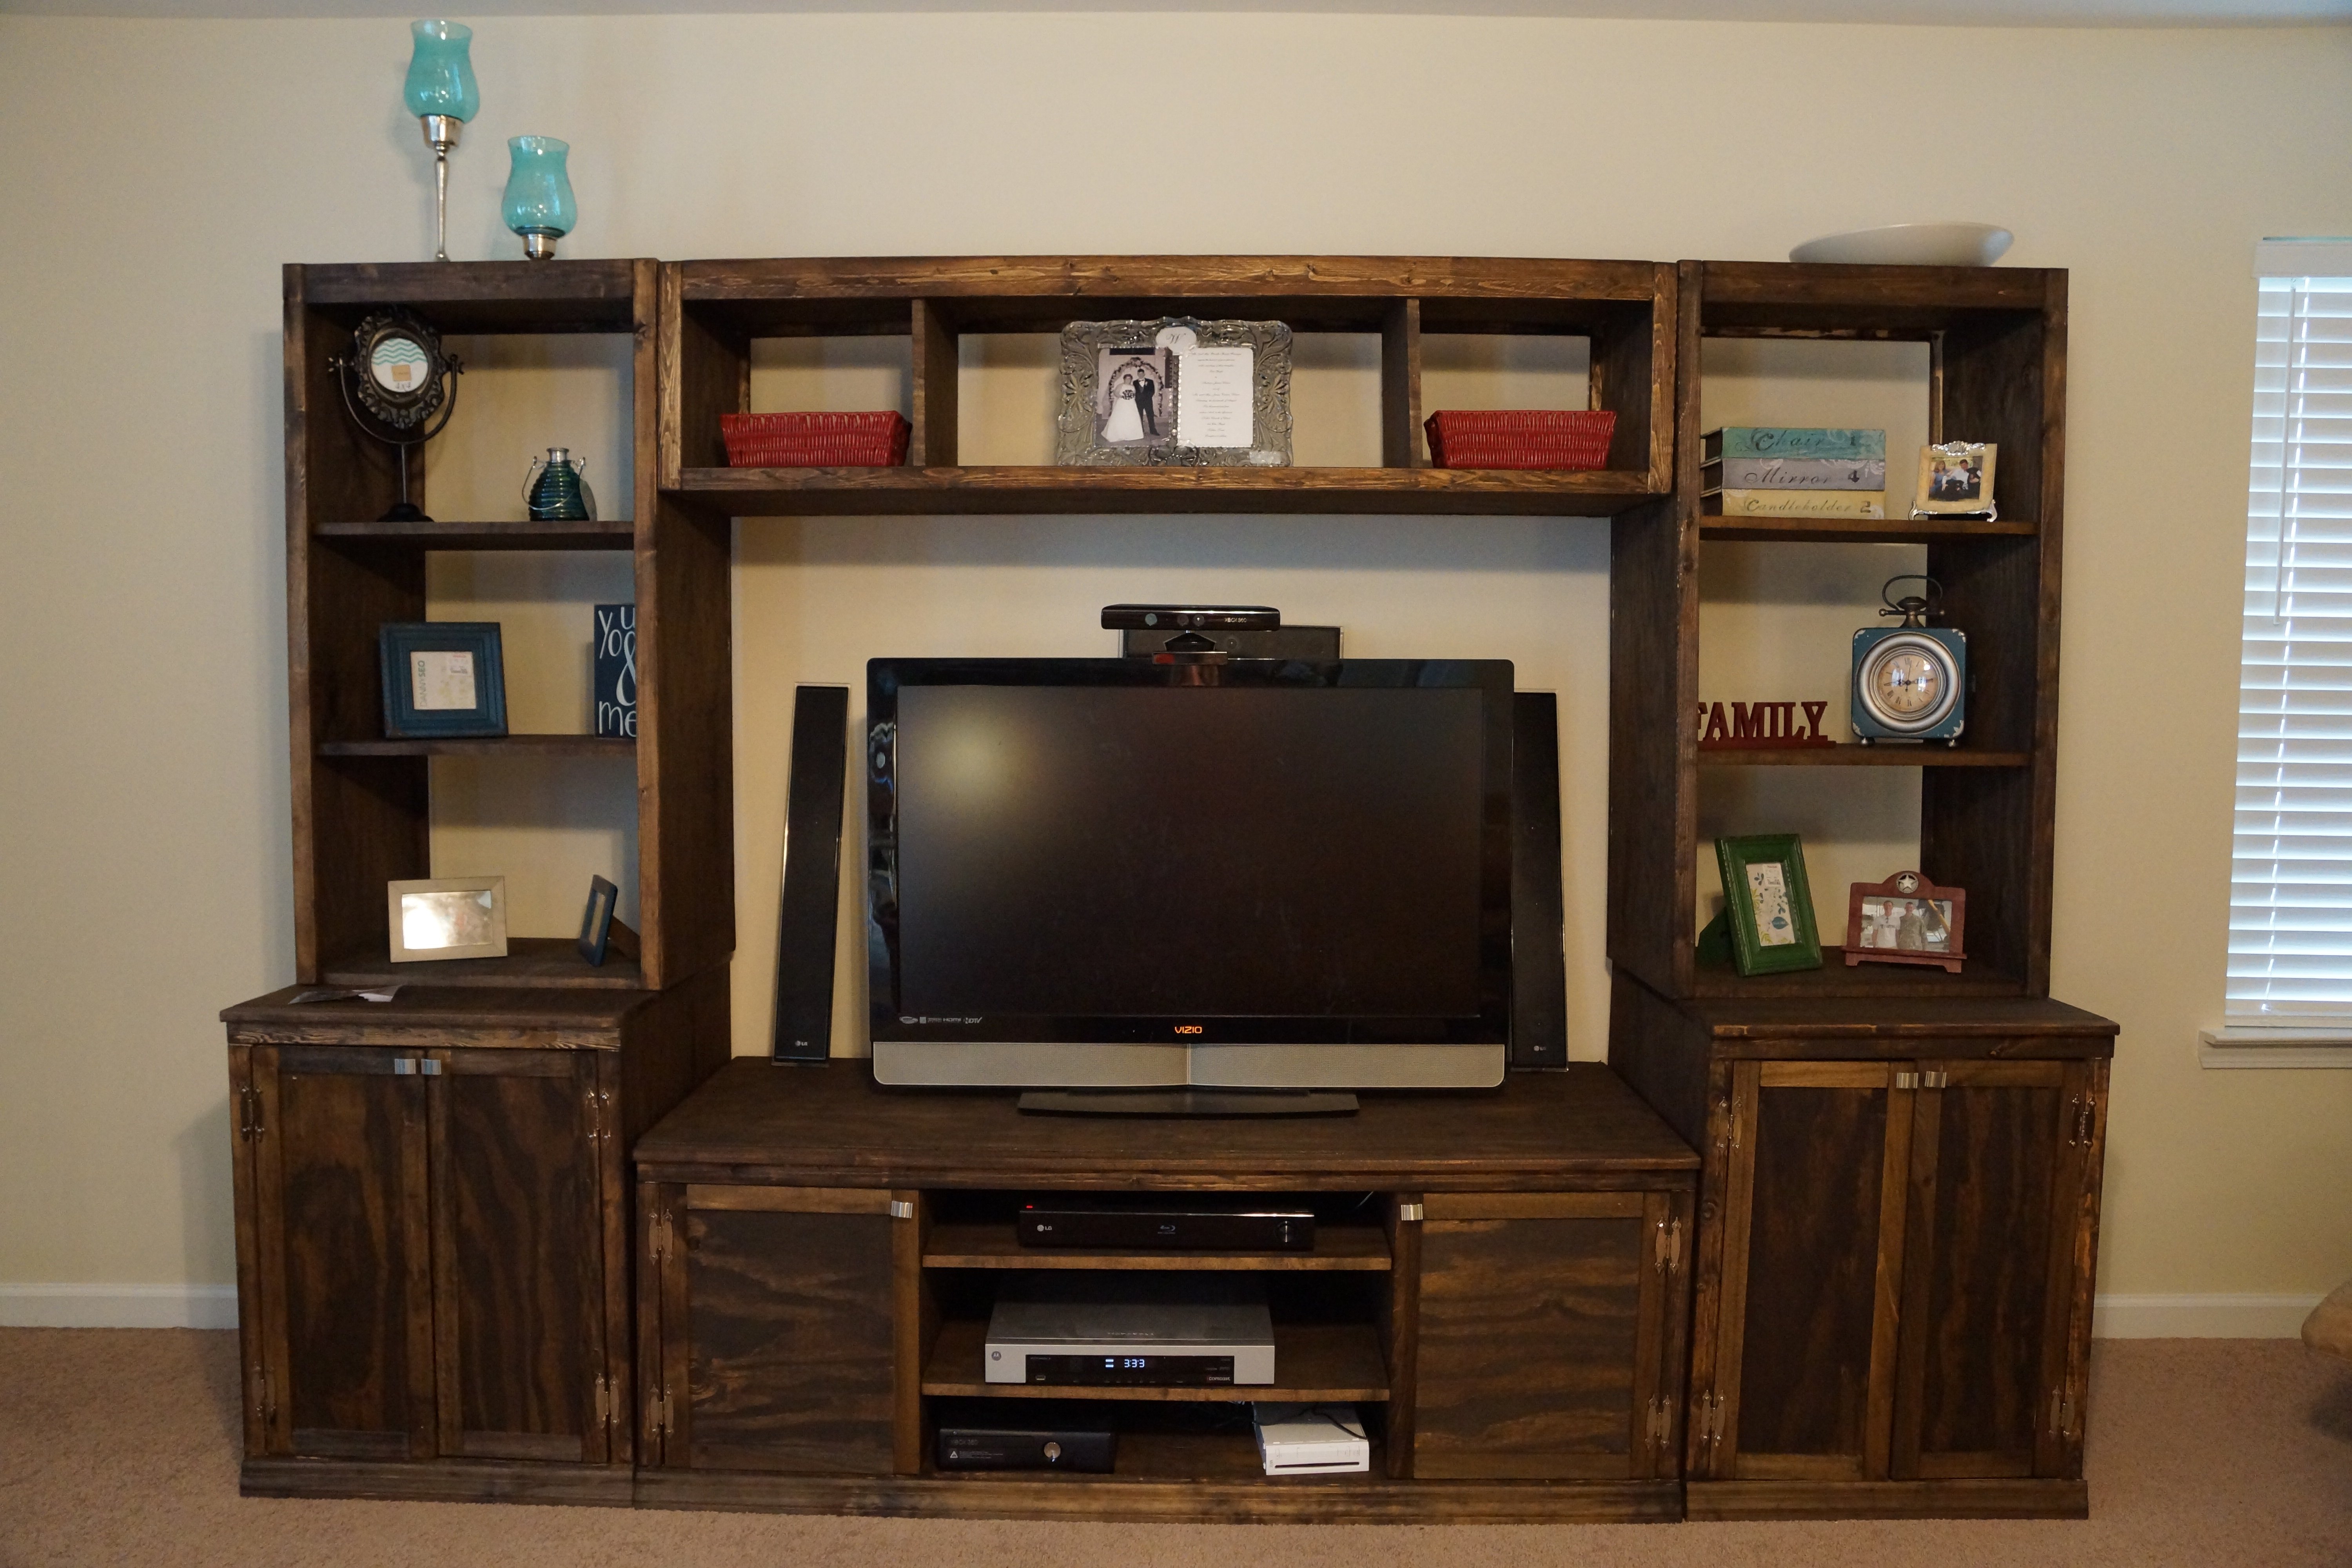
Since moving into our house almost 3 years ago, I have wanted a large piece to house the tv. The husband did not want glass, I wanted shelving on both ends and it had to hold a 60 inch tv (not pictured). To avoid paying thousands of dollars to a furniture store, I decided to build my own.
I used 1x2's, 1x3's, 4x8-3/4" plywood (sanded on one side) edge banding (super easy to use), nail gun and wood glue. I spent roughly a week building and staining, interrupted by 2 kids. The staining being the most tedious part. Cost was around $450 for all the pieces. I did attach the bridge piece by drilling holes through the bridge to the side hutches. I then installed nuts and bolts through the hole to attach it all together. Makes it easy to take apart when moved and I am not constantly drilling screws into the unit.
My husband is deployed so this was built solely by myself. My experience level is novice, this is only my 3rd piece of furniture, but I am hooked. The plans are easy to follow and use.
Estimated Time Investment
Week Long Project (20 Hours or More)
Finish Used
Minwax Wood Finish Dark Walnut
Recommended Skill Level
Intermediate
Comments
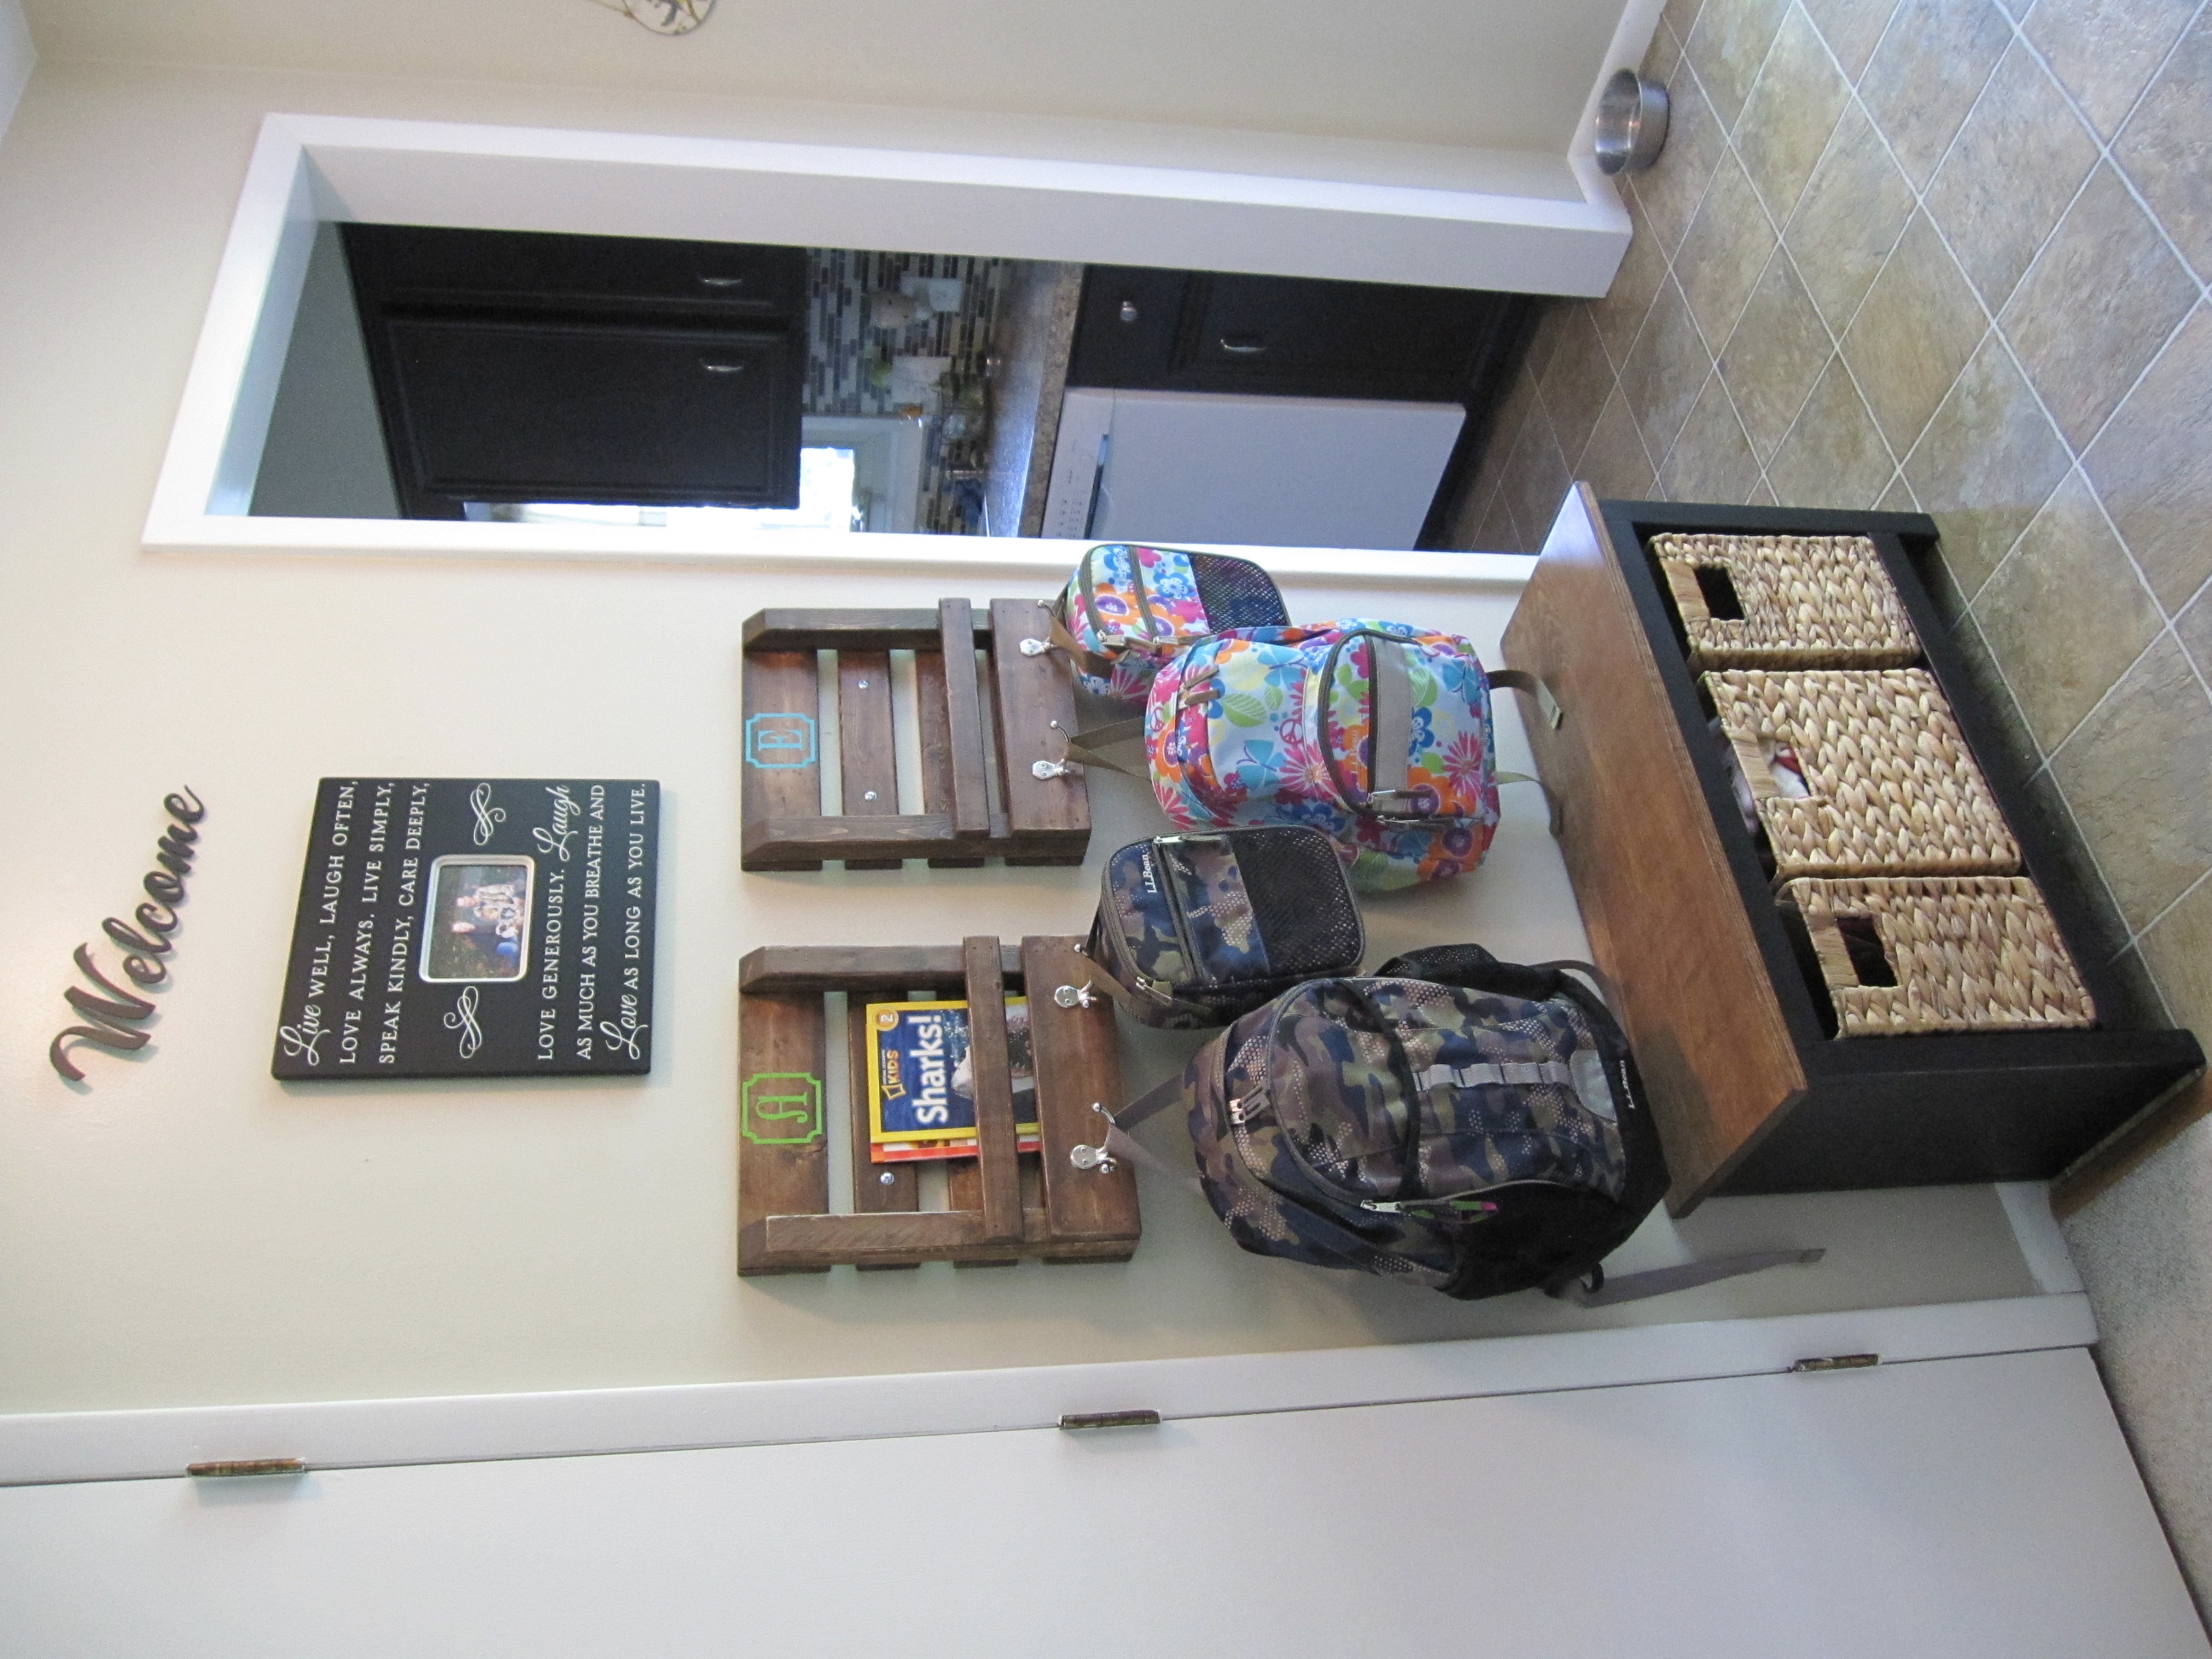
Back to school 2015
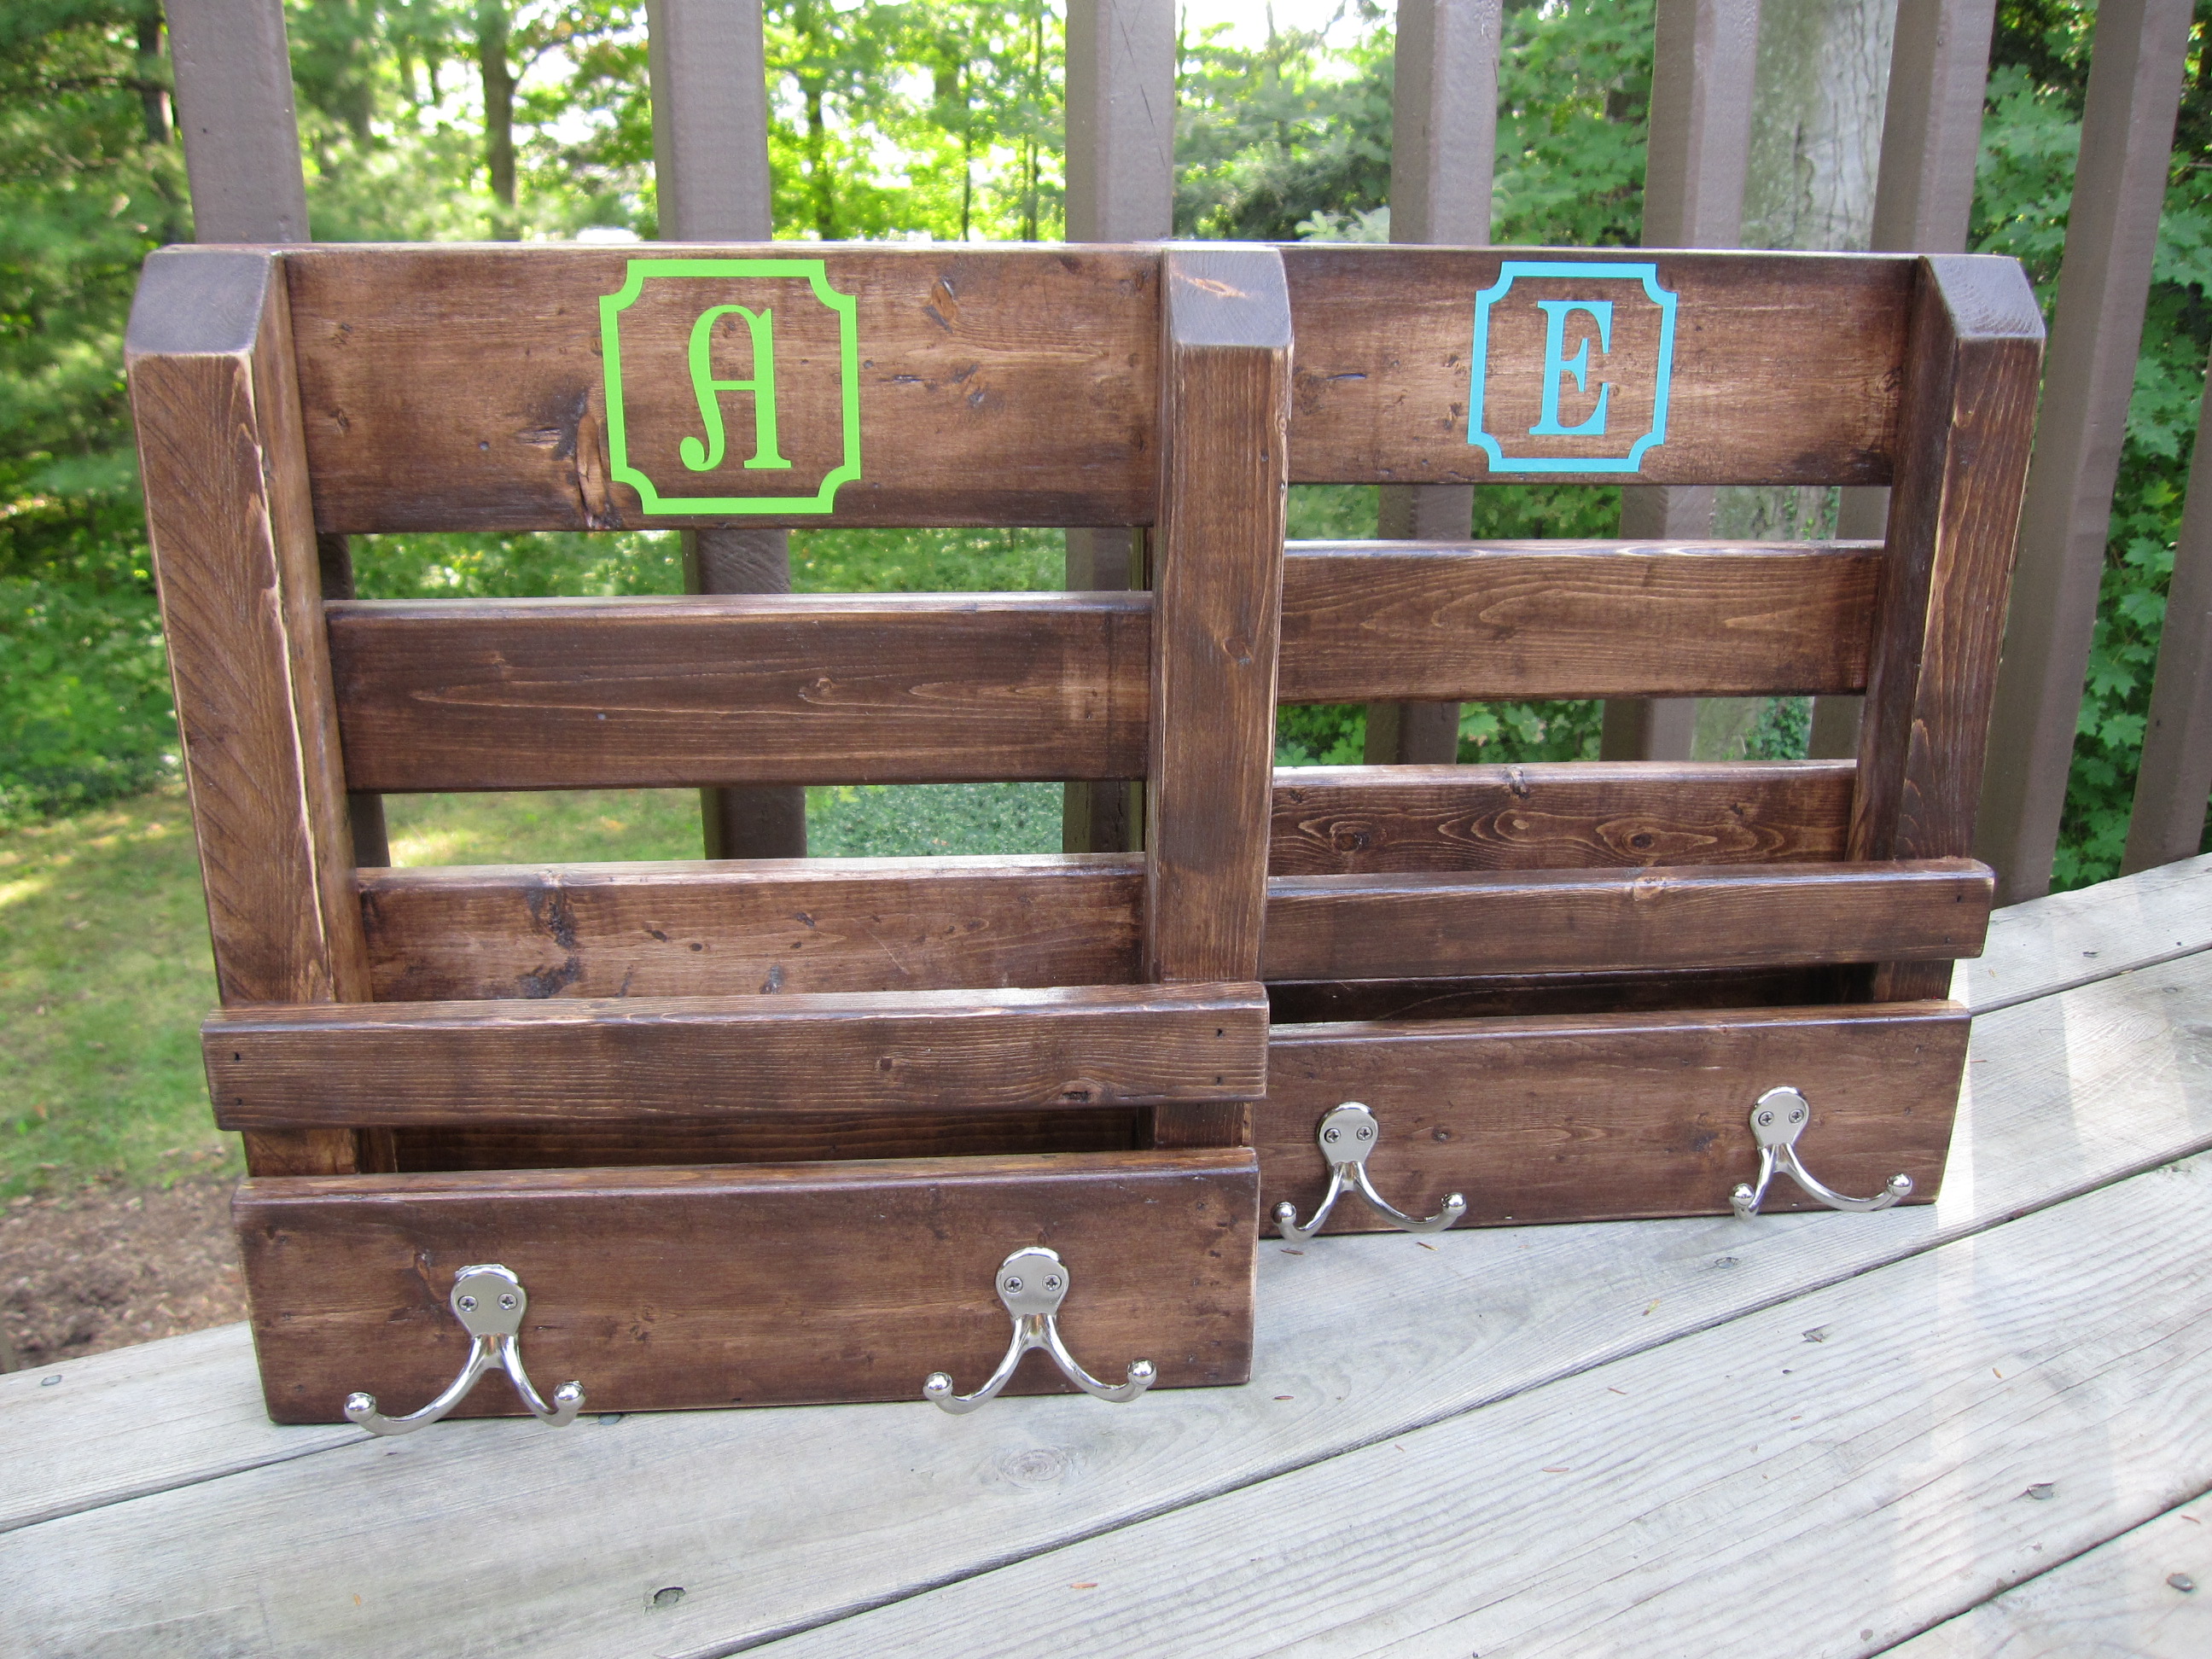
I was just thinking "Where can I put their backpacks and folders this year so we don't lose/forget so many things this year?" Thanks Ana! Modified the plans to make use of my scrap pile. I ordered the vinyls off Etsy from, The Vinyl Things in Life, she custom made them to my dimensions and I love the pop of color! Sorry I can't get better pictures, our entry is tiny.
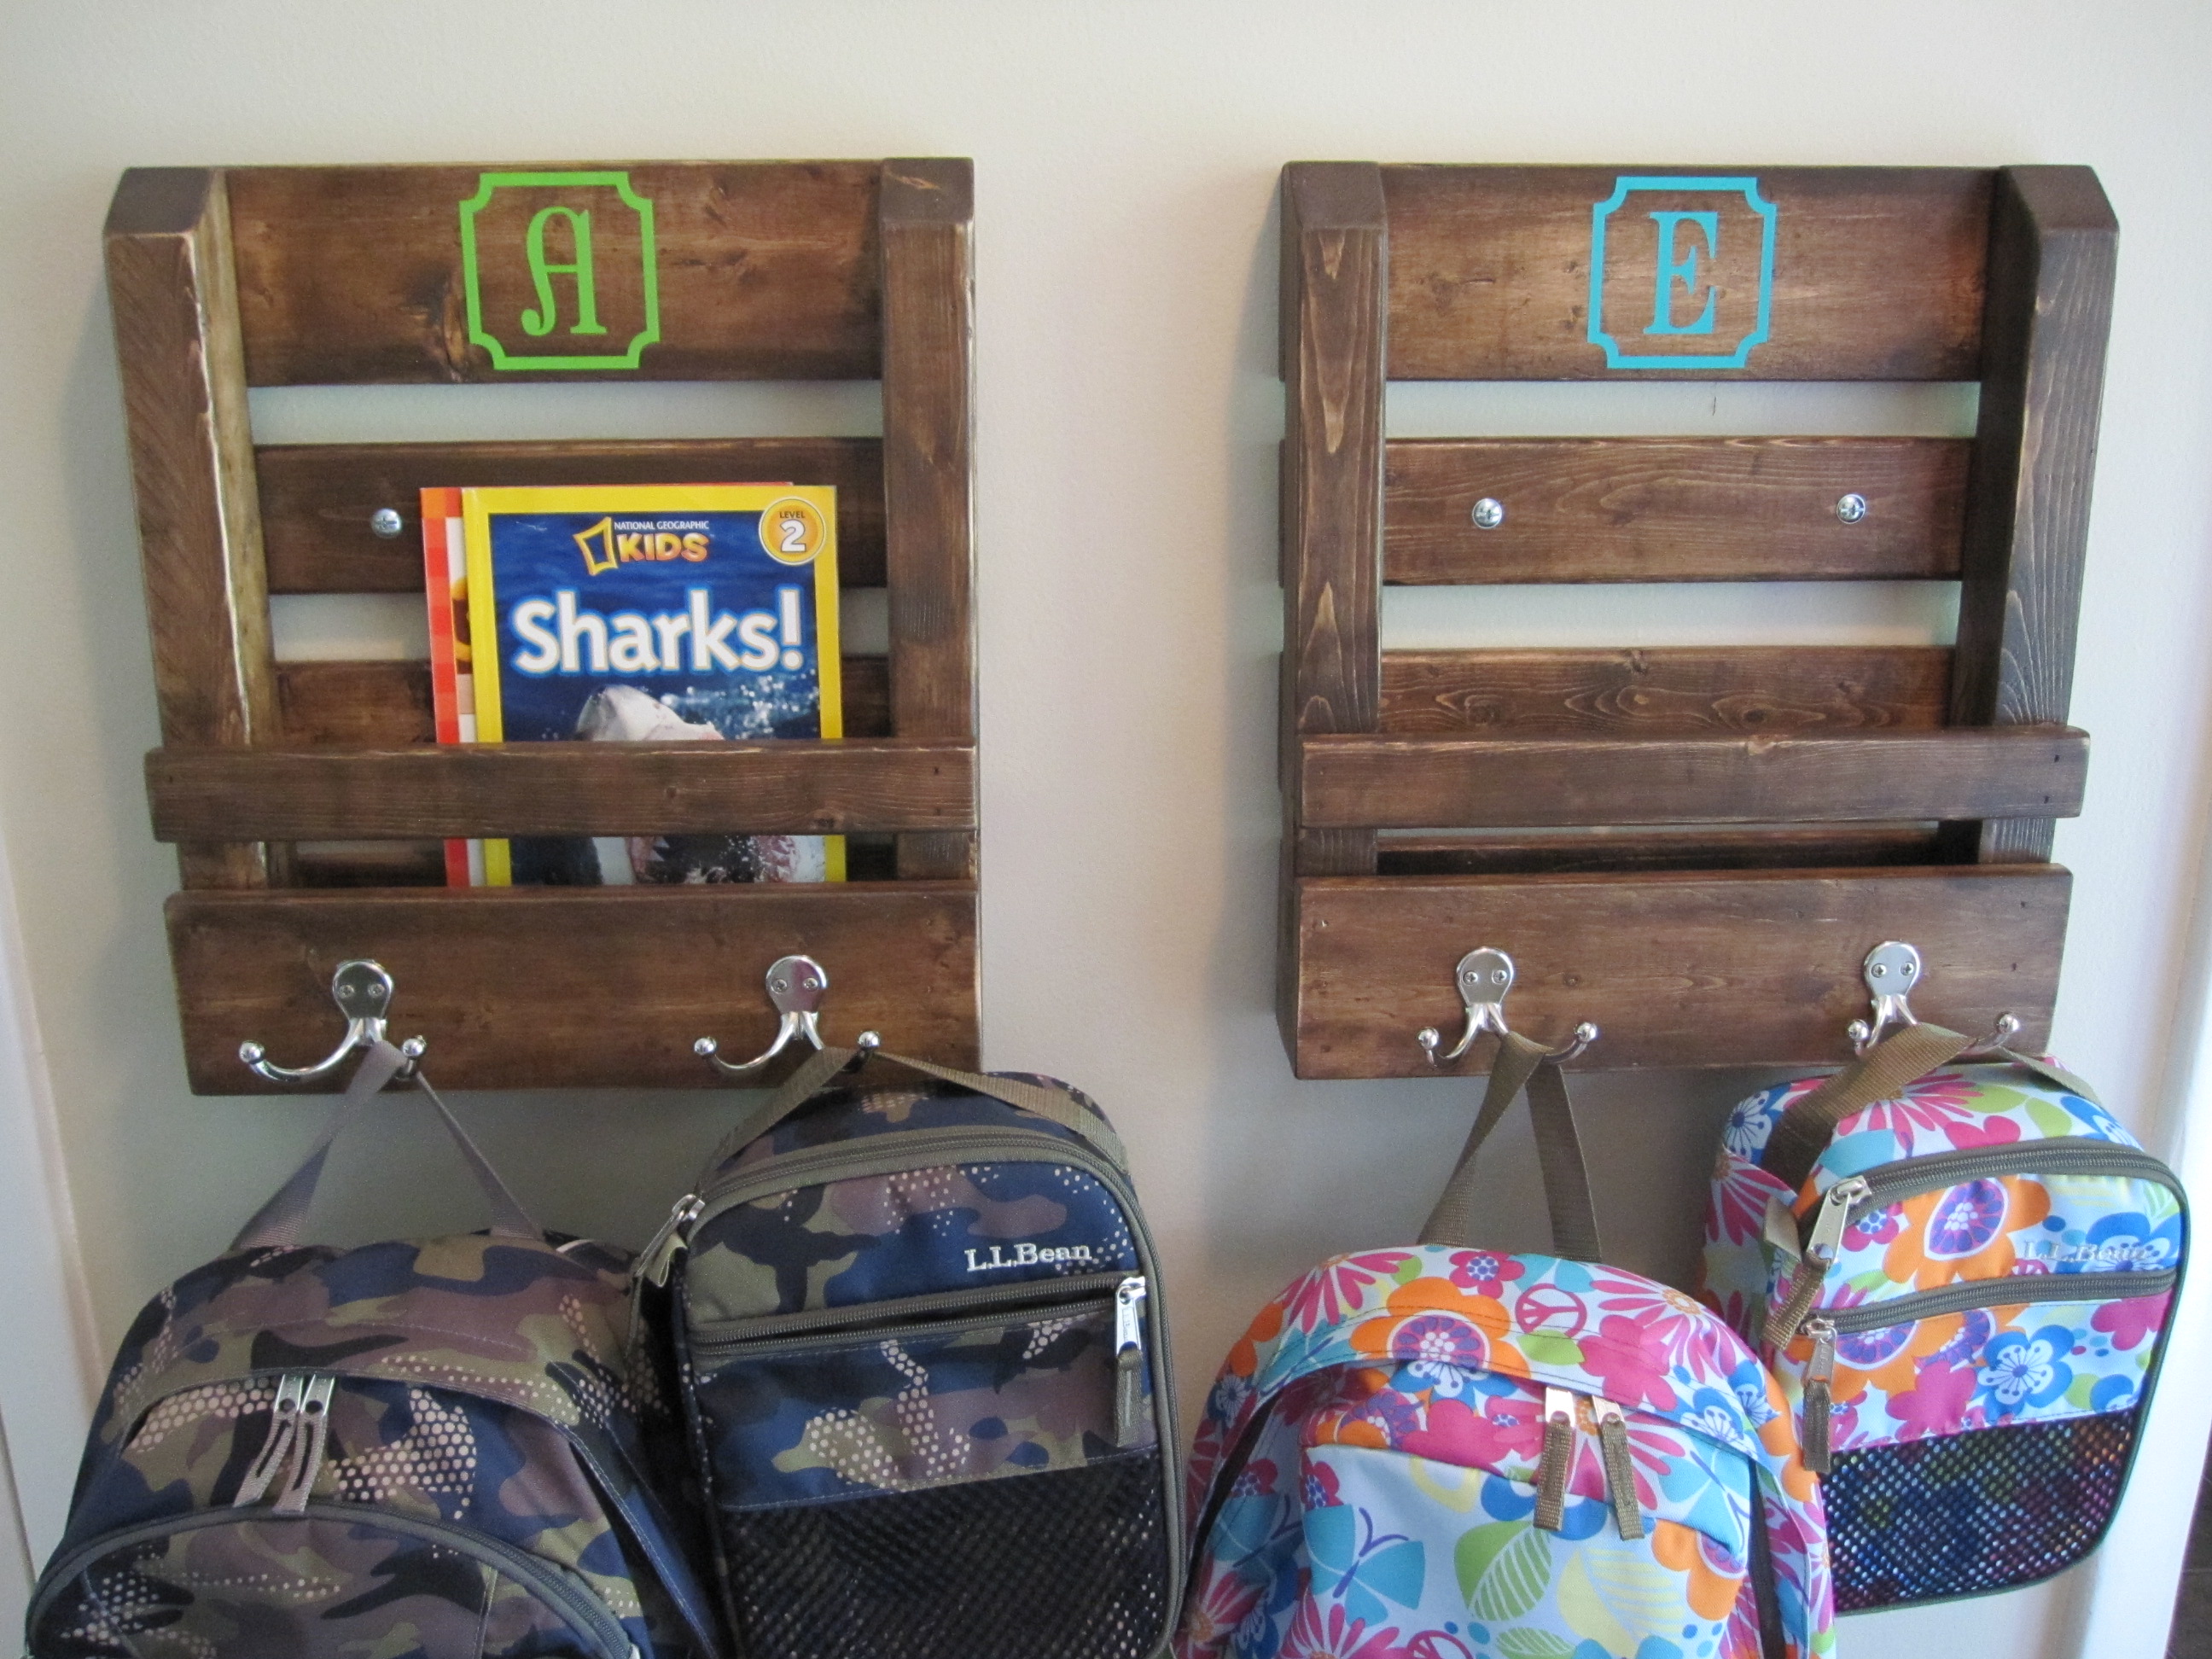
Estimated Cost
$20, for hooks and vinyl. Wood was from the scrap pile.
Estimated Time Investment
An Hour or Two (0-2 Hours)
Finish Used
Dark walnut stain. Topcoat Polywhey in satin.
Recommended Skill Level
Starter Project
Rustic X console table
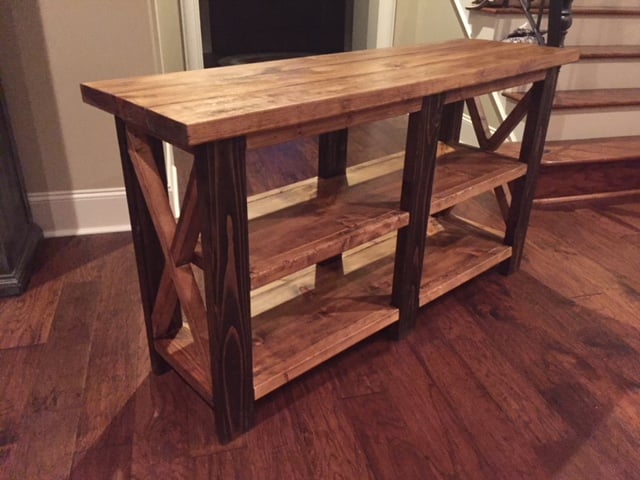
My 14 year old son wanted a piece of furniture to put under his TV. We made it 20 inches less in length but kept the other dimensions the same as the plans. I made the cuts for him, but he did all of the work putting it together, sanding and staining. He loves the outcome and it only took us about 6-8 hours over the course of two days.
Thanks for the plans!
Built from Plan(s)
Estimated Cost
$80-$100
Estimated Time Investment
Day Project (6-9 Hours)
Finish Used
Jacoby for the legs and Early American for the remainder
Recommended Skill Level
Beginner
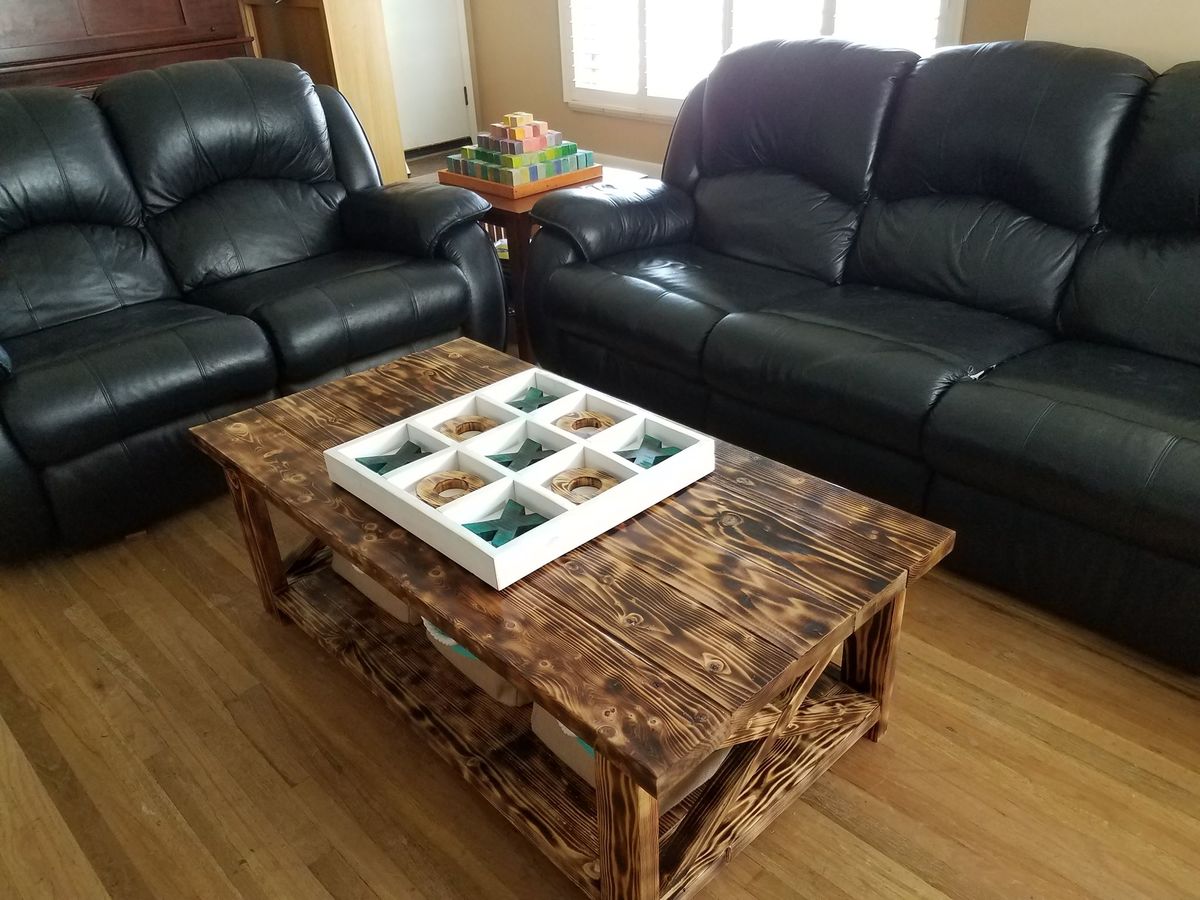
Happy Mother's day
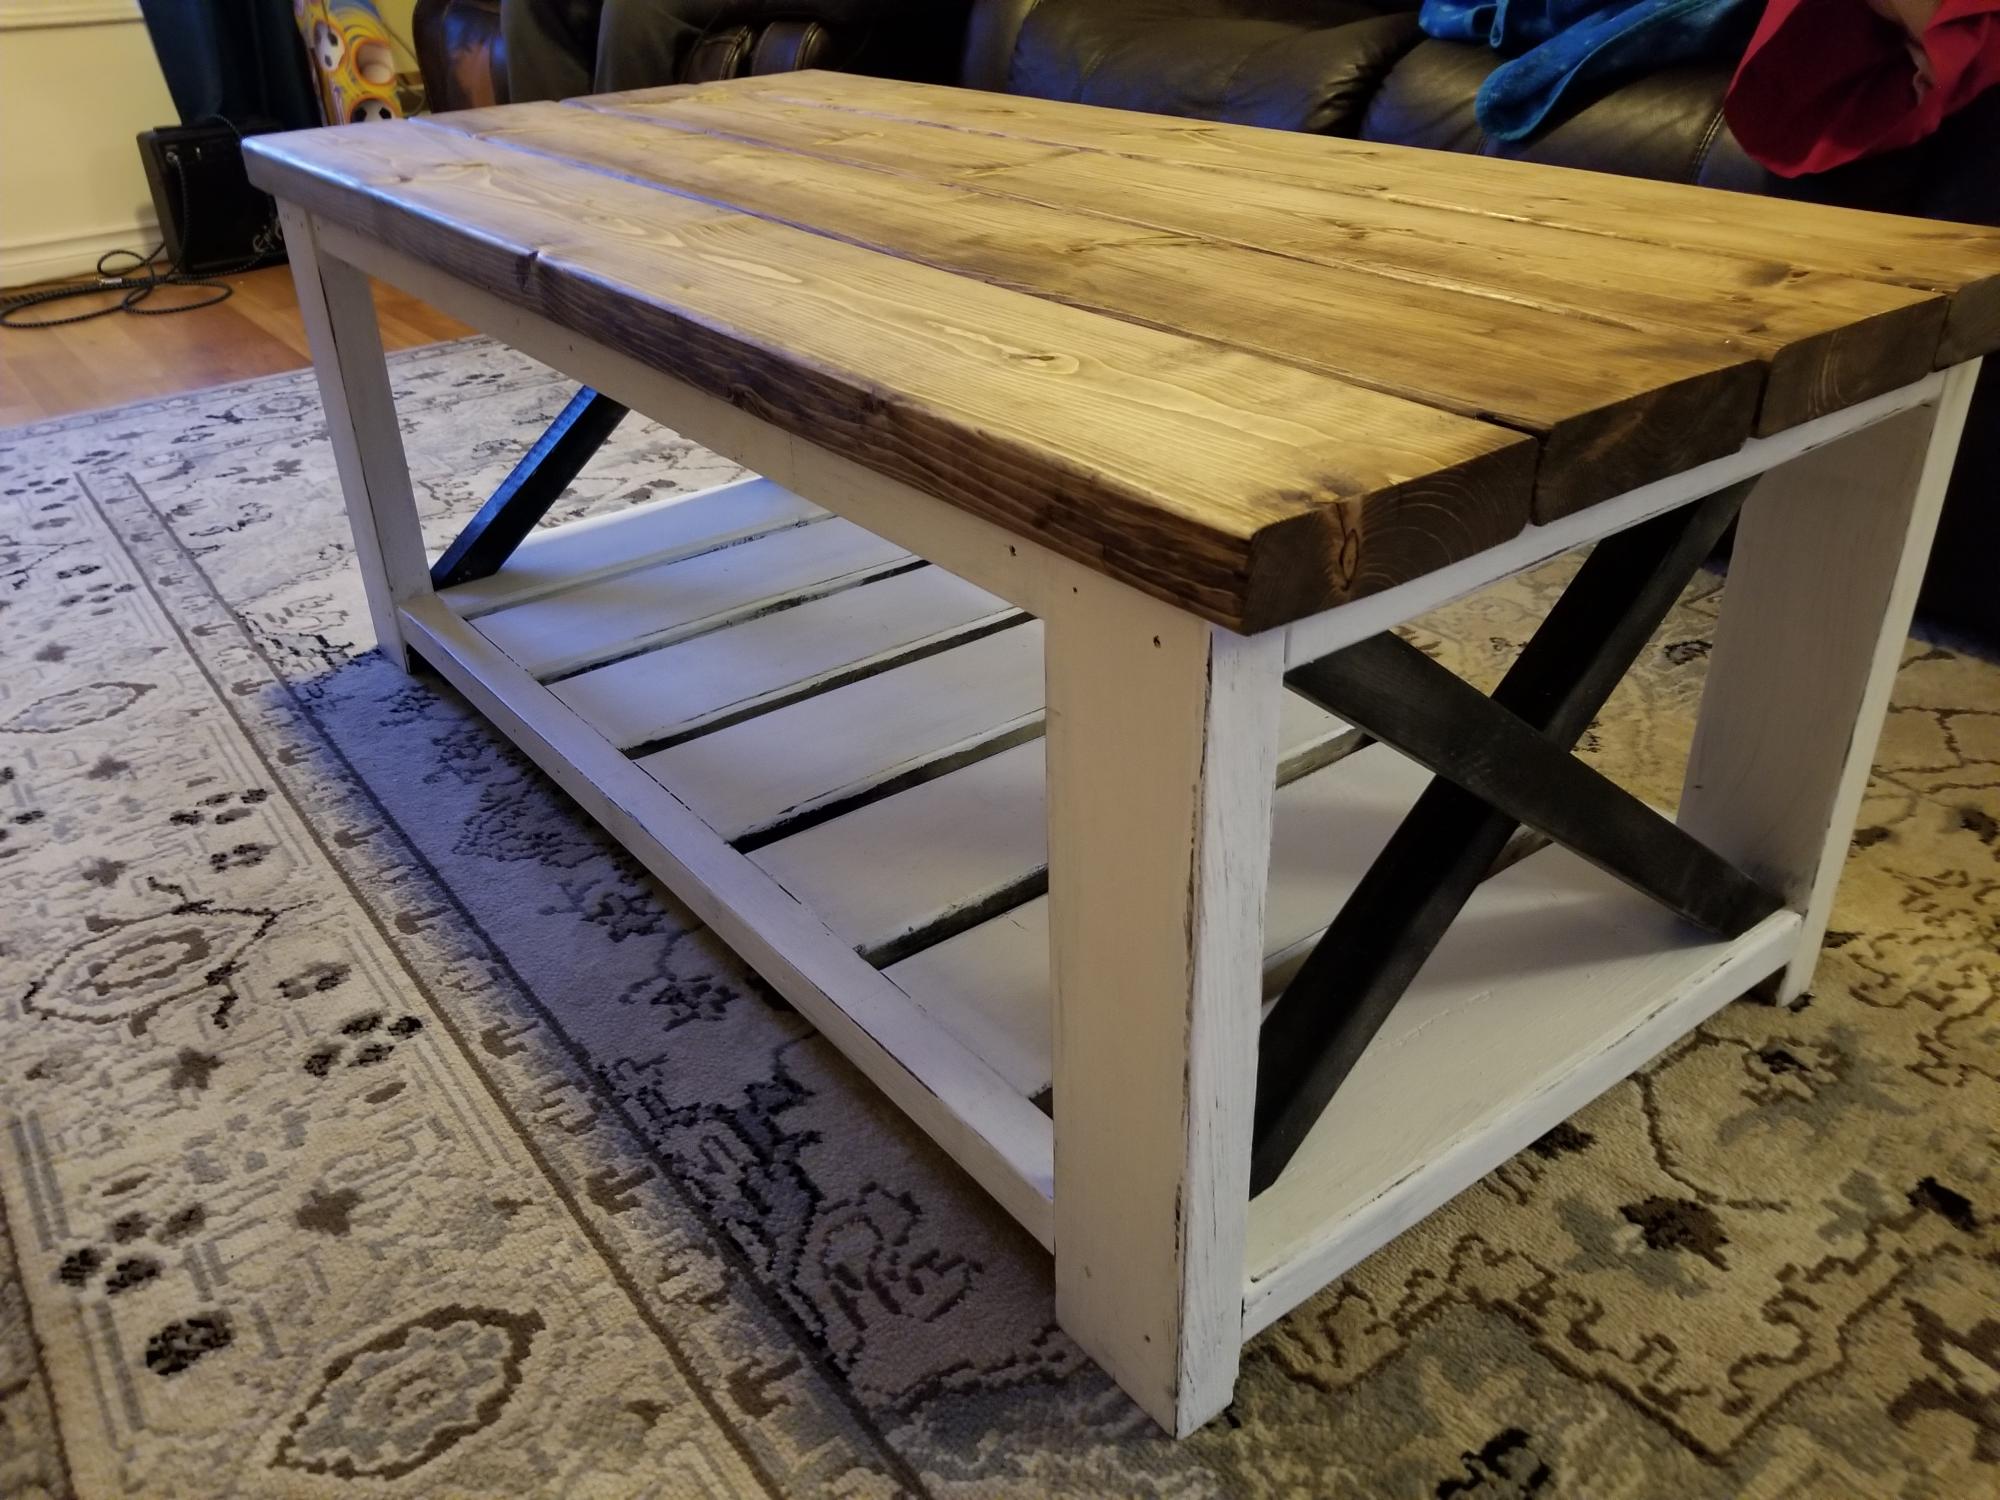
My sons and I decided to tackle a project for mom this year, and the farmhouse coffee table was a great project. Tweaked the design slightly with offset full length cross pieces and a distressed paint finish on the base. Great plans, fun project with the kids, and mom loved it!
Comments
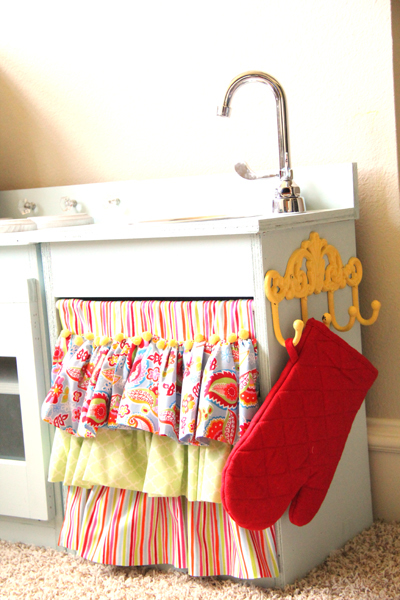
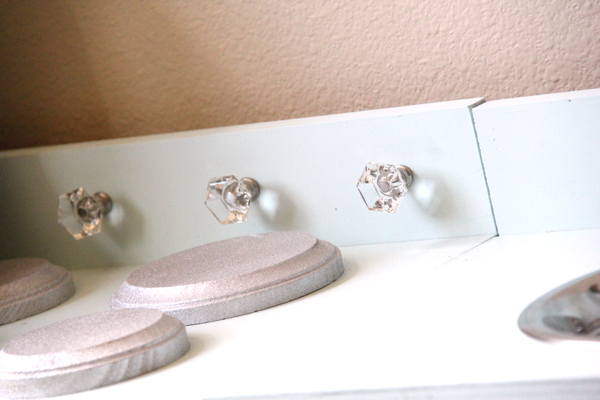
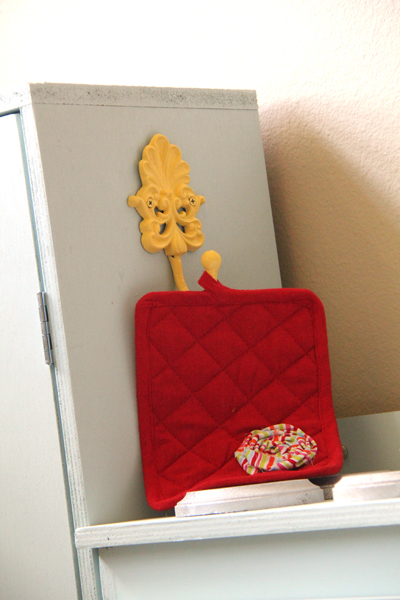
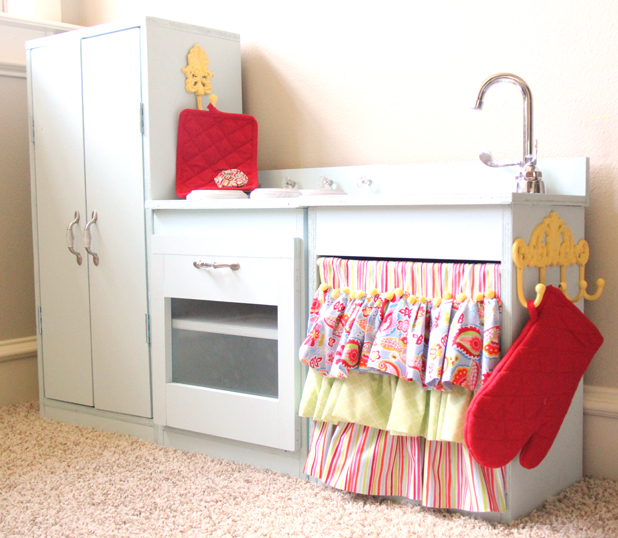
Whitney's Play Kitchen
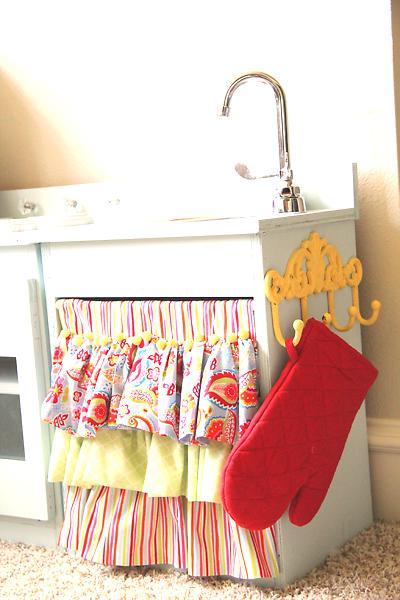
I used Ana's plans for the play stove, fridge and sink. I LOVED Crafting Chick's take on it so I copied her great accessories. I found my knobs at Walmart and my hooks at Hobby Lobby. I also found the fabric at Hobby Lobby. I used 3/4" hardwood plywood, but if I could do it again I would have used MDF. It's much smoother! I still love it though! Oh... So do the kids ;-)) You can read more details at http://www.shanty-2-chic.com/2011/07/play-kitchen-reveal.html.
Built from Plan(s)
Estimated Cost
$150
Estimated Time Investment
Weekend Project (10-20 Hours)
Finish Used
2 coats of Valspar Arctic Edge.
Recommended Skill Level
Beginner
Comments
Thu, 12/22/2011 - 16:05
HOW? hinges on fridge
Hi! We are building this kitchen right now and can not figure out how to mount the hinges!
Not sure what kind of hinges you used? we bought some regular door hinges but they are only able to mount to the outside of the doors. please help. thanks!
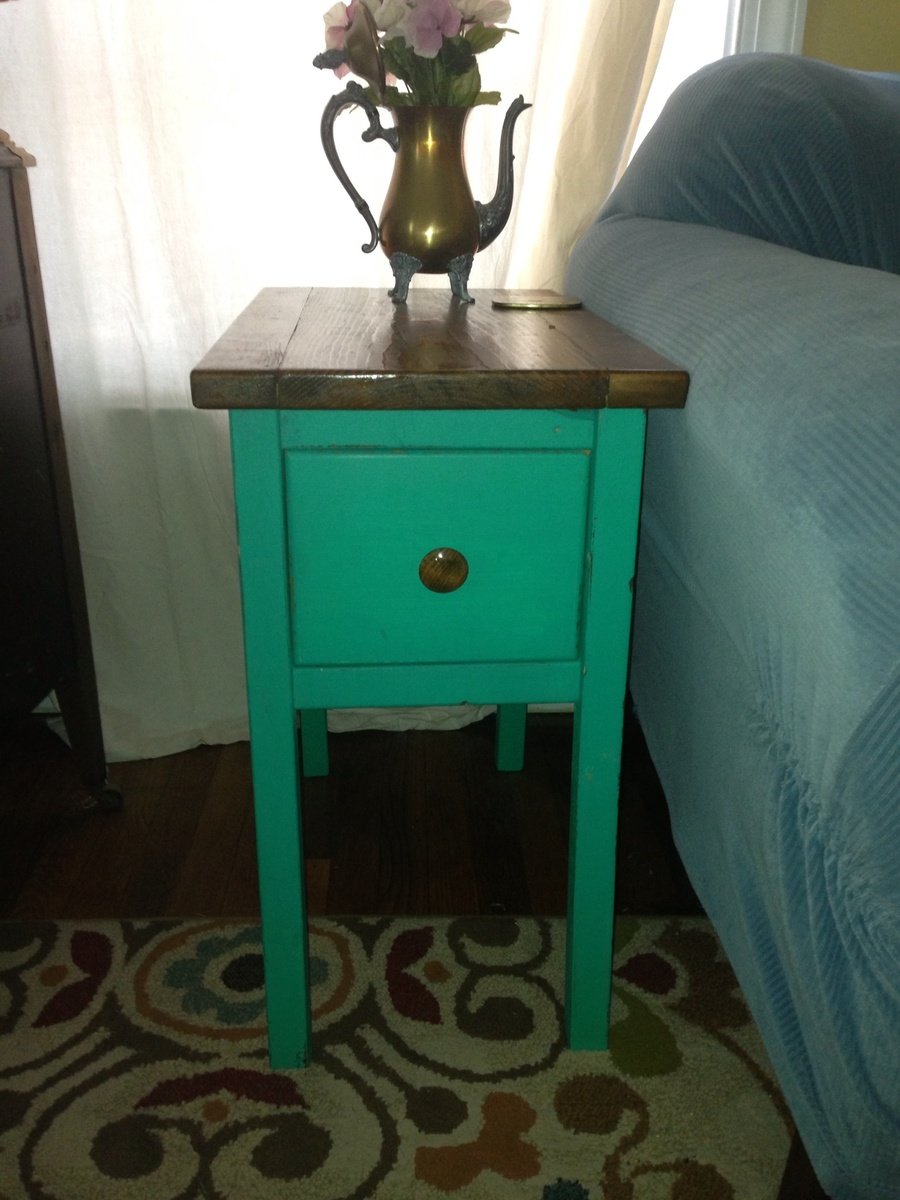
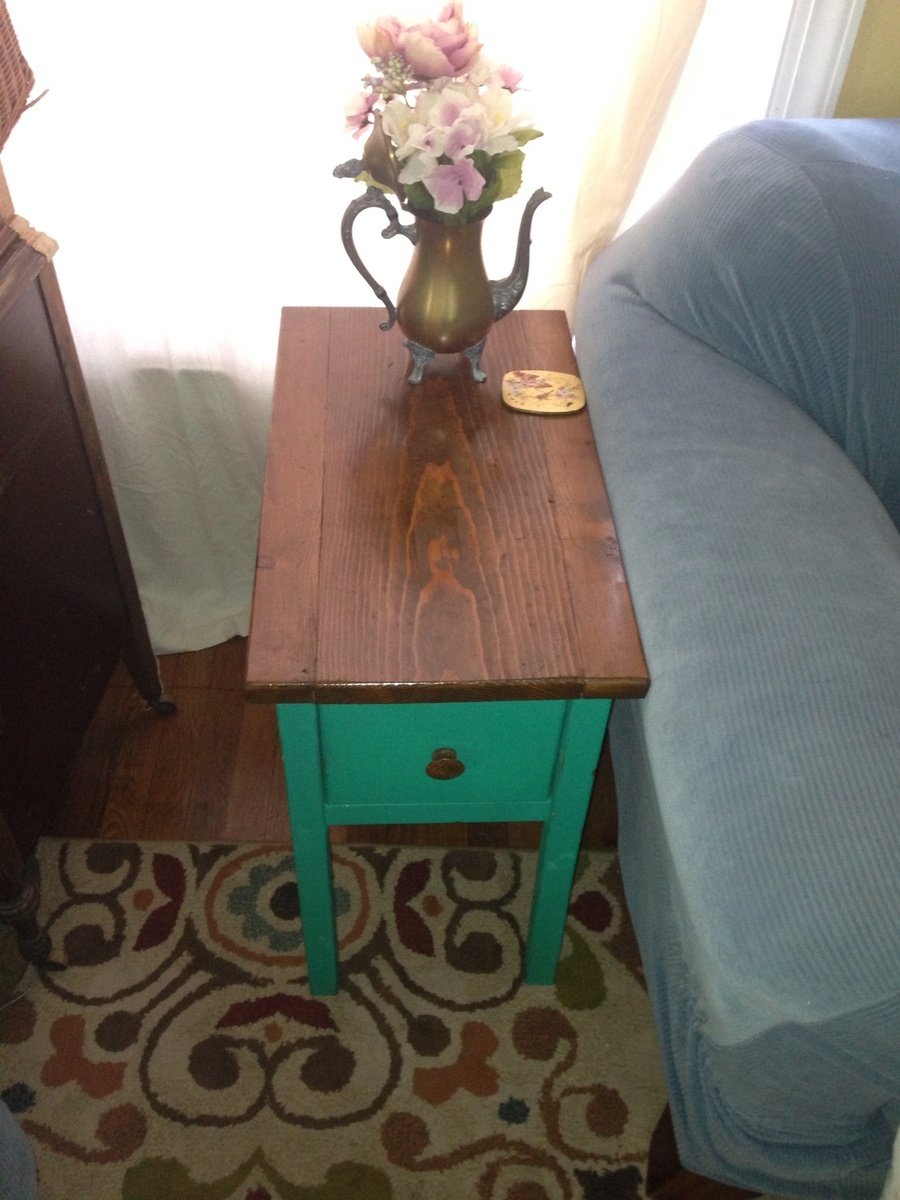
Narrow end table
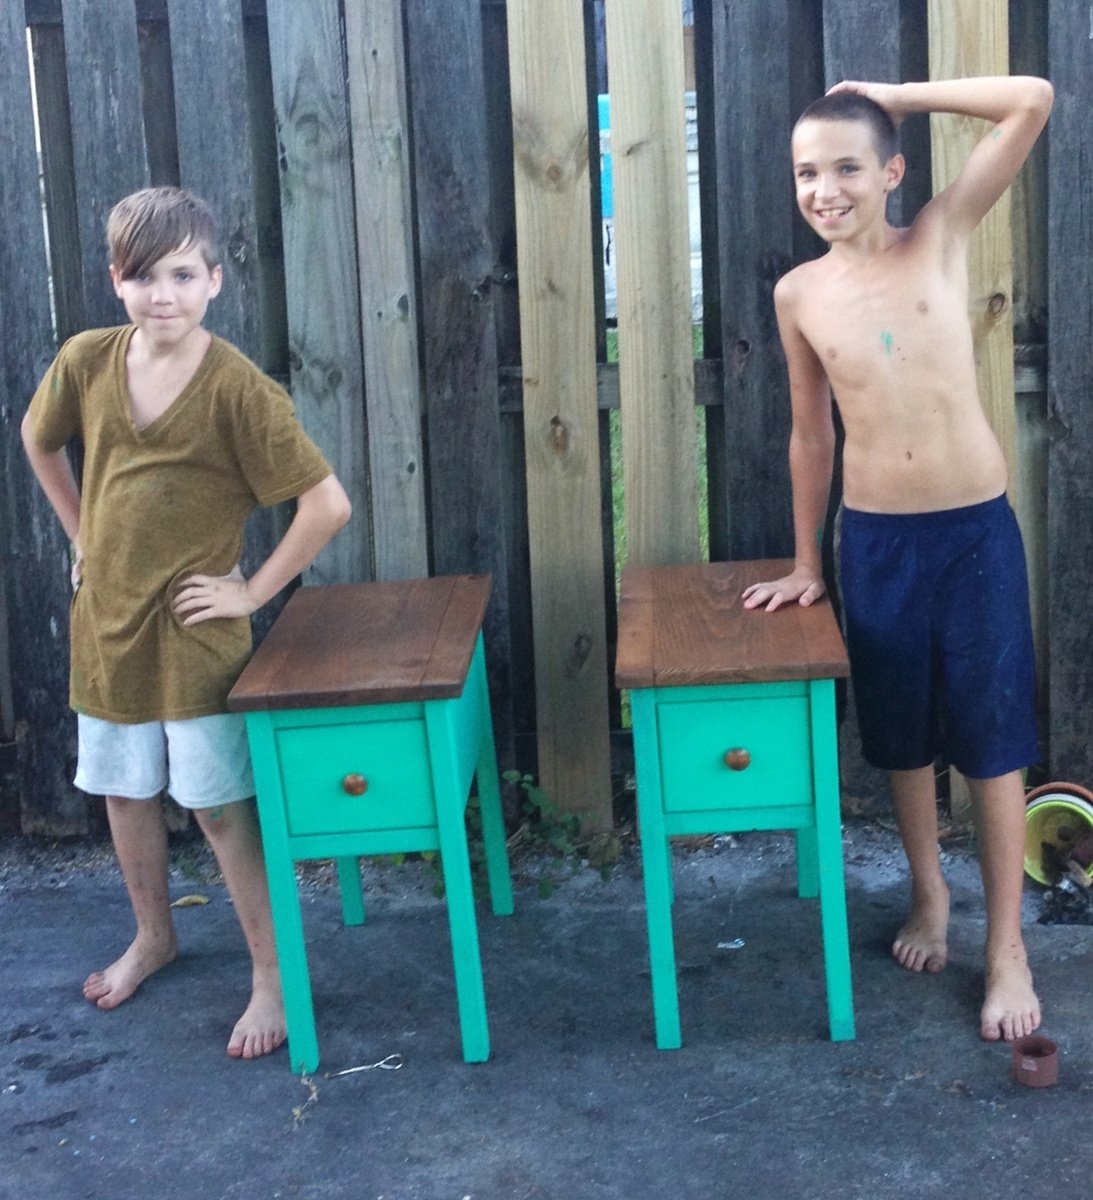
My kids (11 & 12) made these in about 3 days. We have to work during my 2 yr olds nap time so I would say 6-8 hrs total. We always have a lot of scrap wood lying around so this was a great way to use it up. Unfortunately, sometimes when using scrap wood, it is not always the exact measurements that you need but some plan reworking and measuring as you go can fix that. On this particular plan, the only thing we changed was the thickness of the top and a little fudging on the drawer box. We also used our router to round over some or the edges and we made our own drawer tracks along the bottom w/ scrap furring strips. Honestly, those studs you see in the picture, did most of the work and since their skill set usually involves a reference to the newest video game out, I would say this was defiantly a simple project! ;-)
Built from Plan(s)
Estimated Cost
$20 each If you had to buy all new wood
Estimated Time Investment
Afternoon Project (3-6 Hours)
Finish Used
Valspar paint in emerald and varathane brand stain in early American
Recommended Skill Level
Beginner
Comments
Wed, 08/14/2013 - 16:47
Thank you! I showed them you
Thank you! I showed them you comment. As you can tell from their studley poses, they are not lacking in the ego department ;-)
Doll Beds
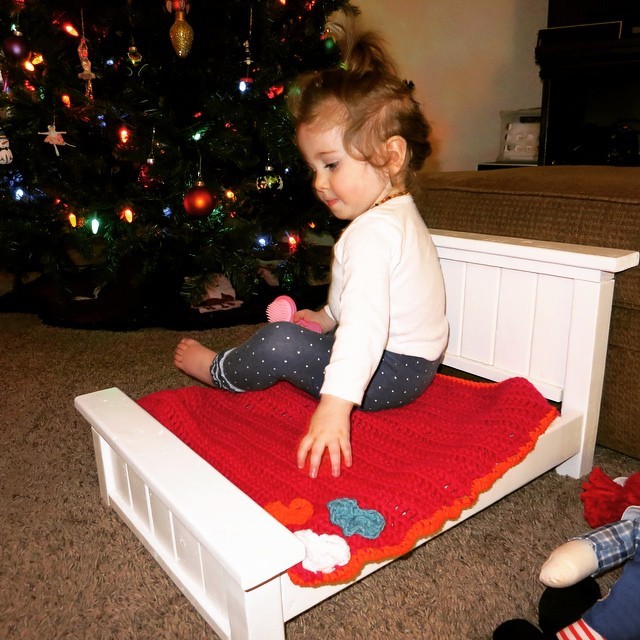
A little late uploading these. Made these for Christmas 2014.

Built from Plan(s)
Estimated Cost
around $50 for both
Estimated Time Investment
Afternoon Project (3-6 Hours)
Recommended Skill Level
Beginner
Coffee Table
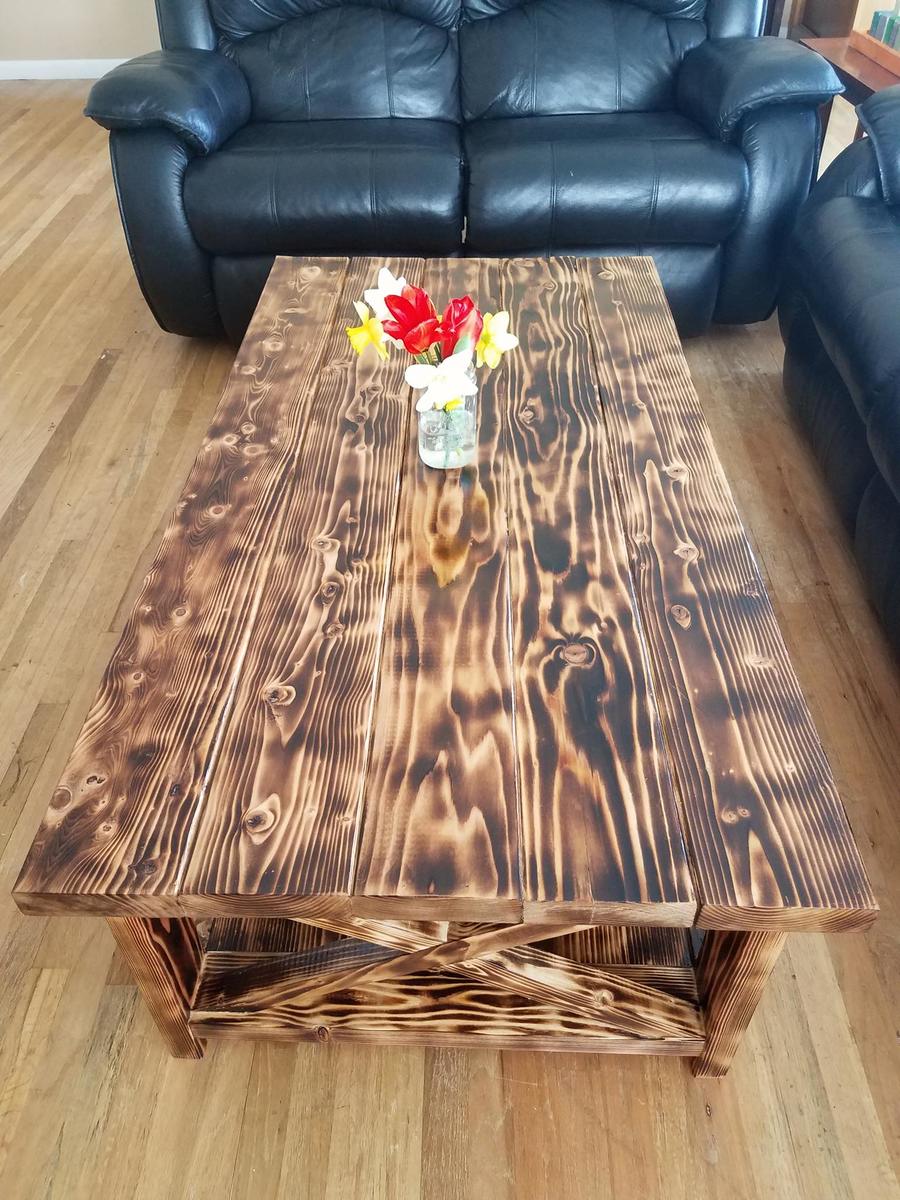
Burned wood finish with stain and lots of coats of poly for protection and shine
Built from Plan(s)
Estimated Cost
$100
Estimated Time Investment
Weekend Project (10-20 Hours)
Recommended Skill Level
Beginner
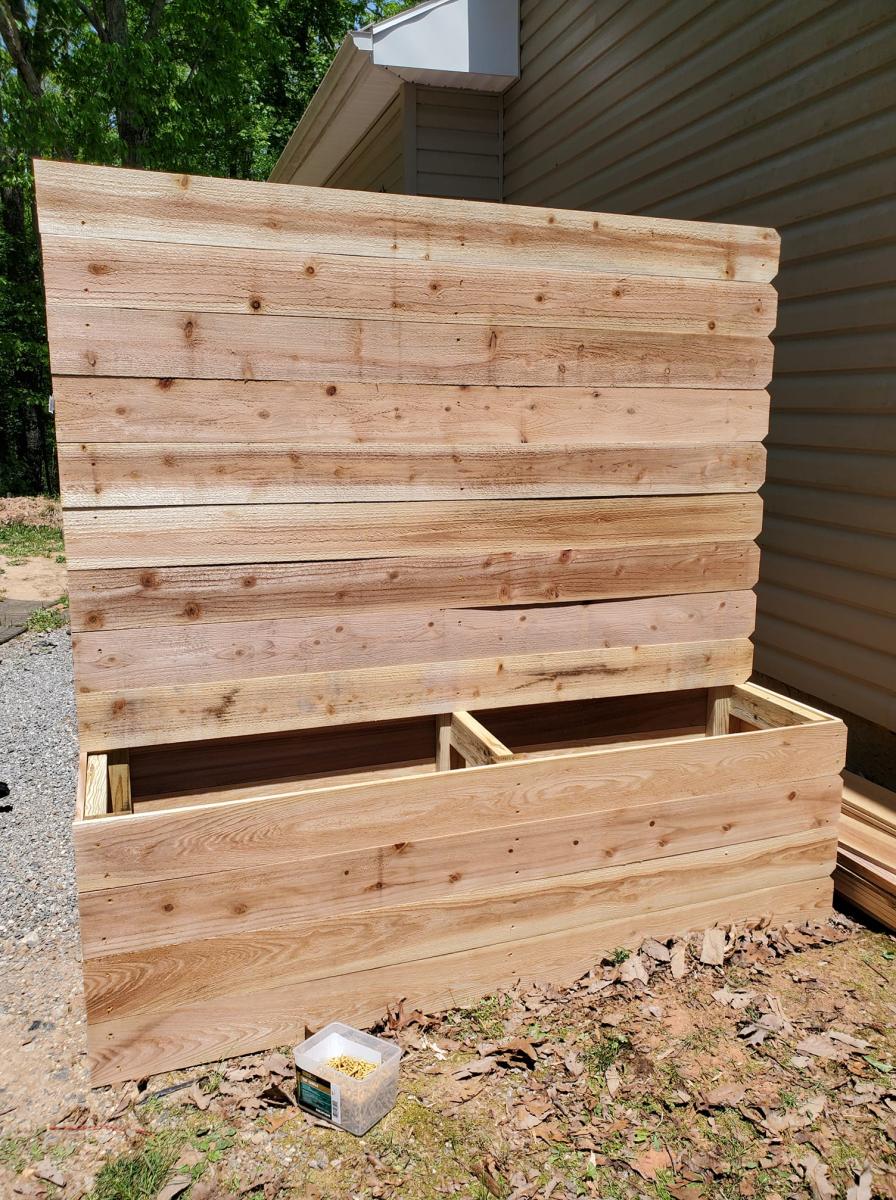
Cedar Privacy Planter and Raised Garden Beds!
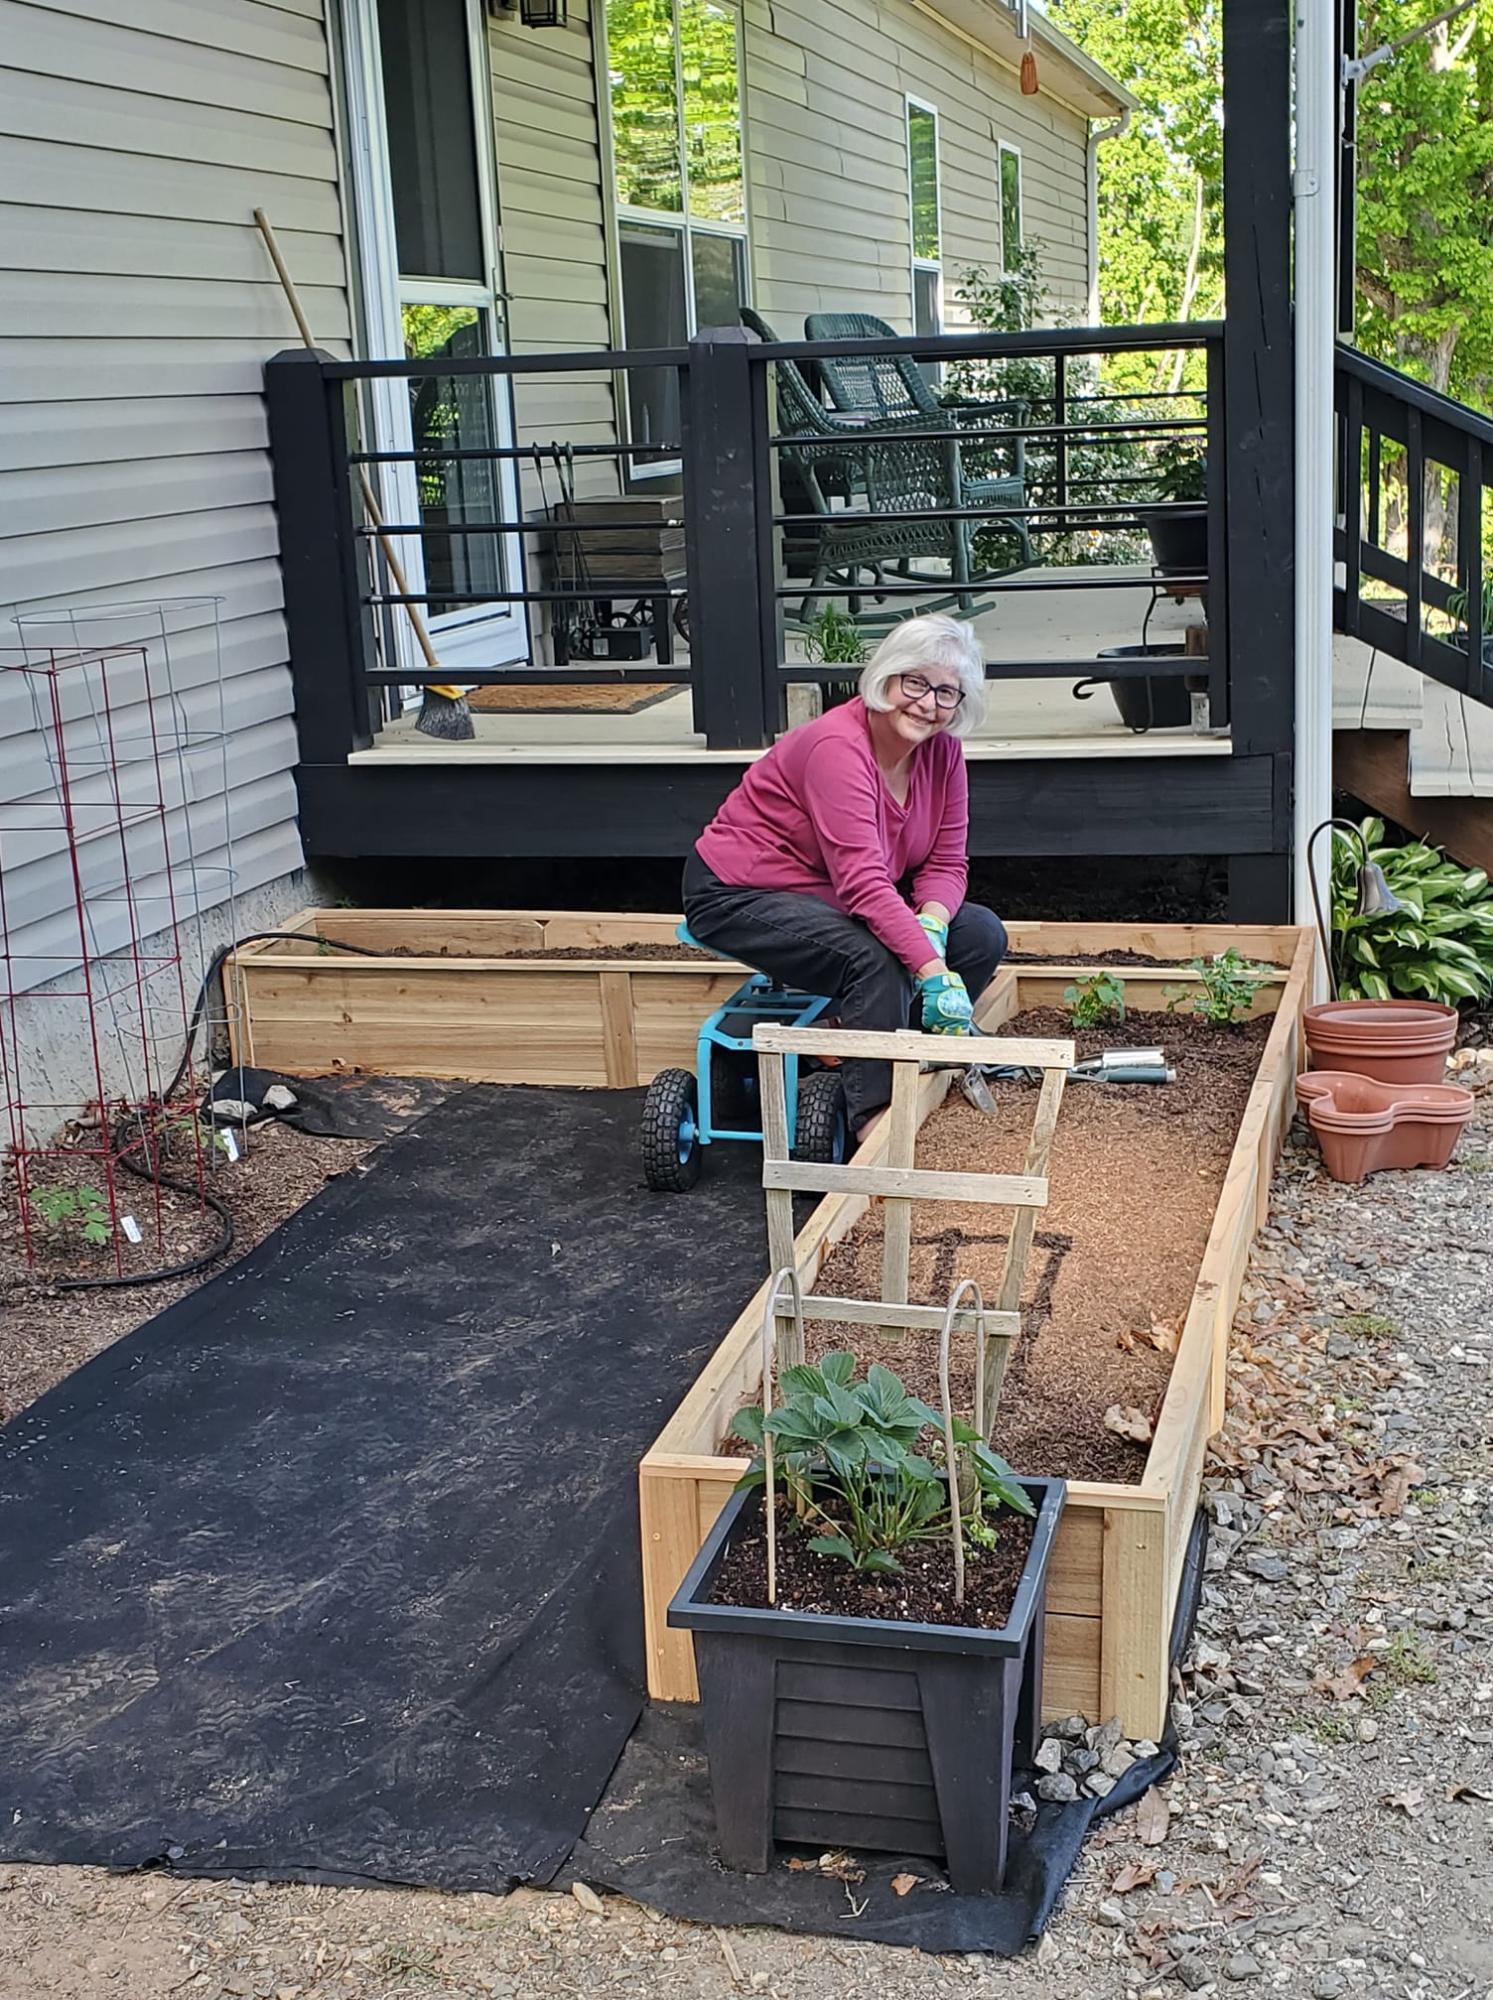
We bought 40 pickets and built the privacy planter and these 2 beds with 2 pickets left over. Might need a planter box on the front porch ![]()
By Terri!
Built from Plan(s)
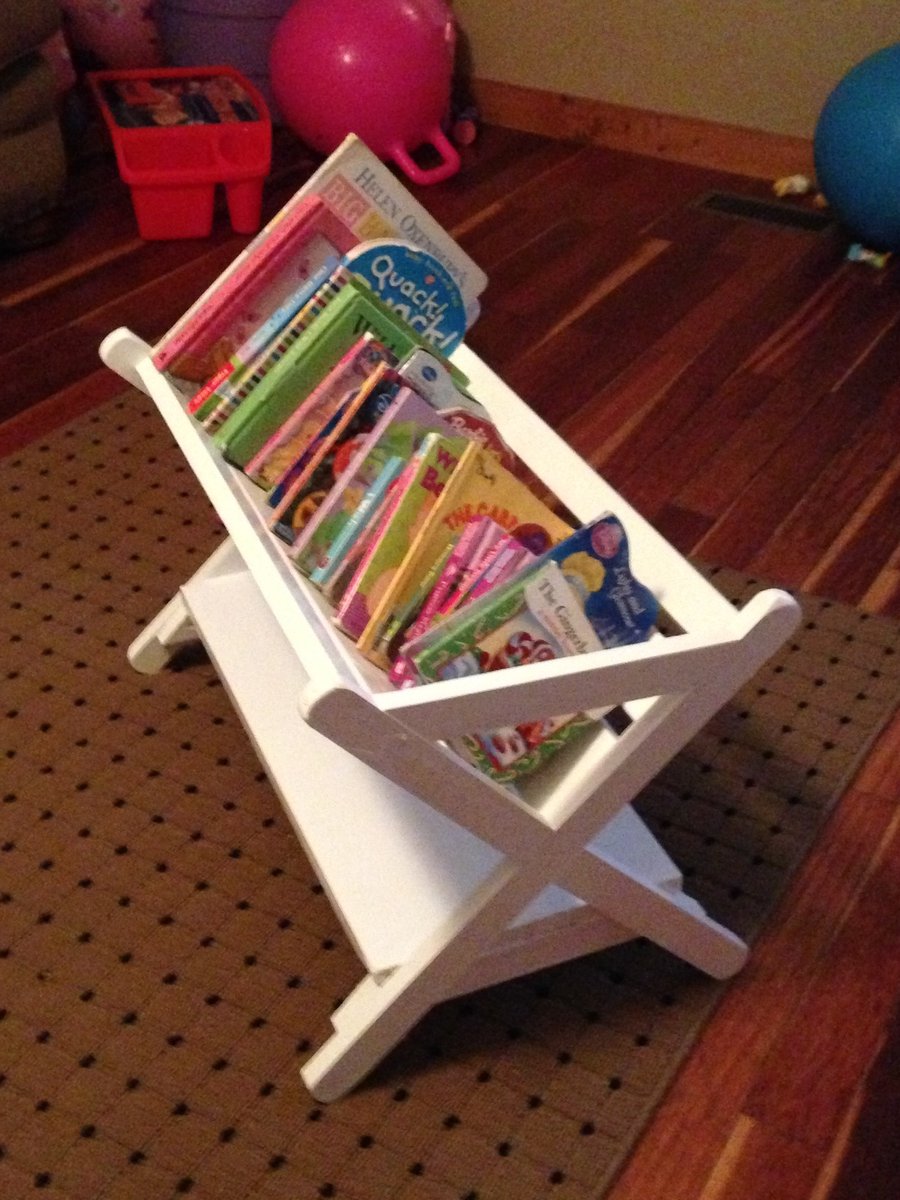
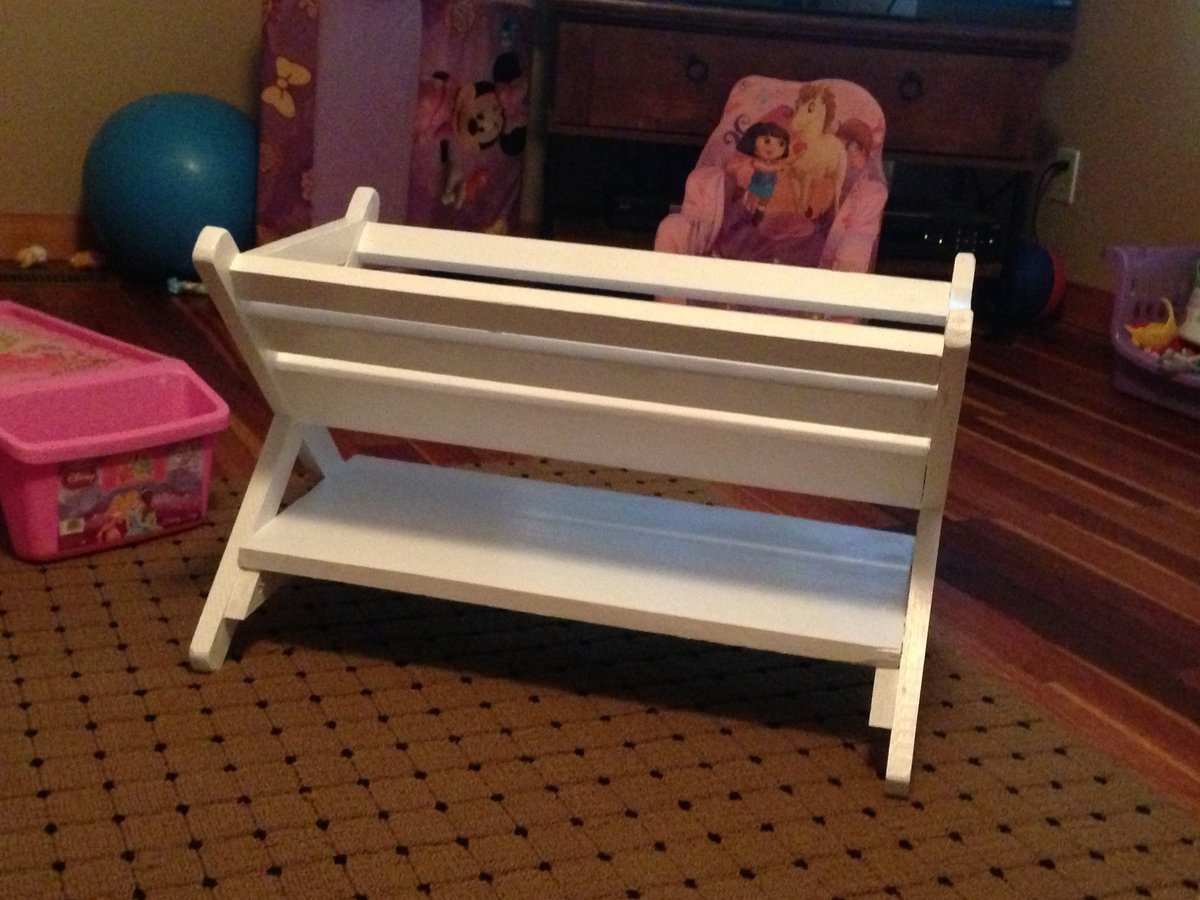
X Book Caddy
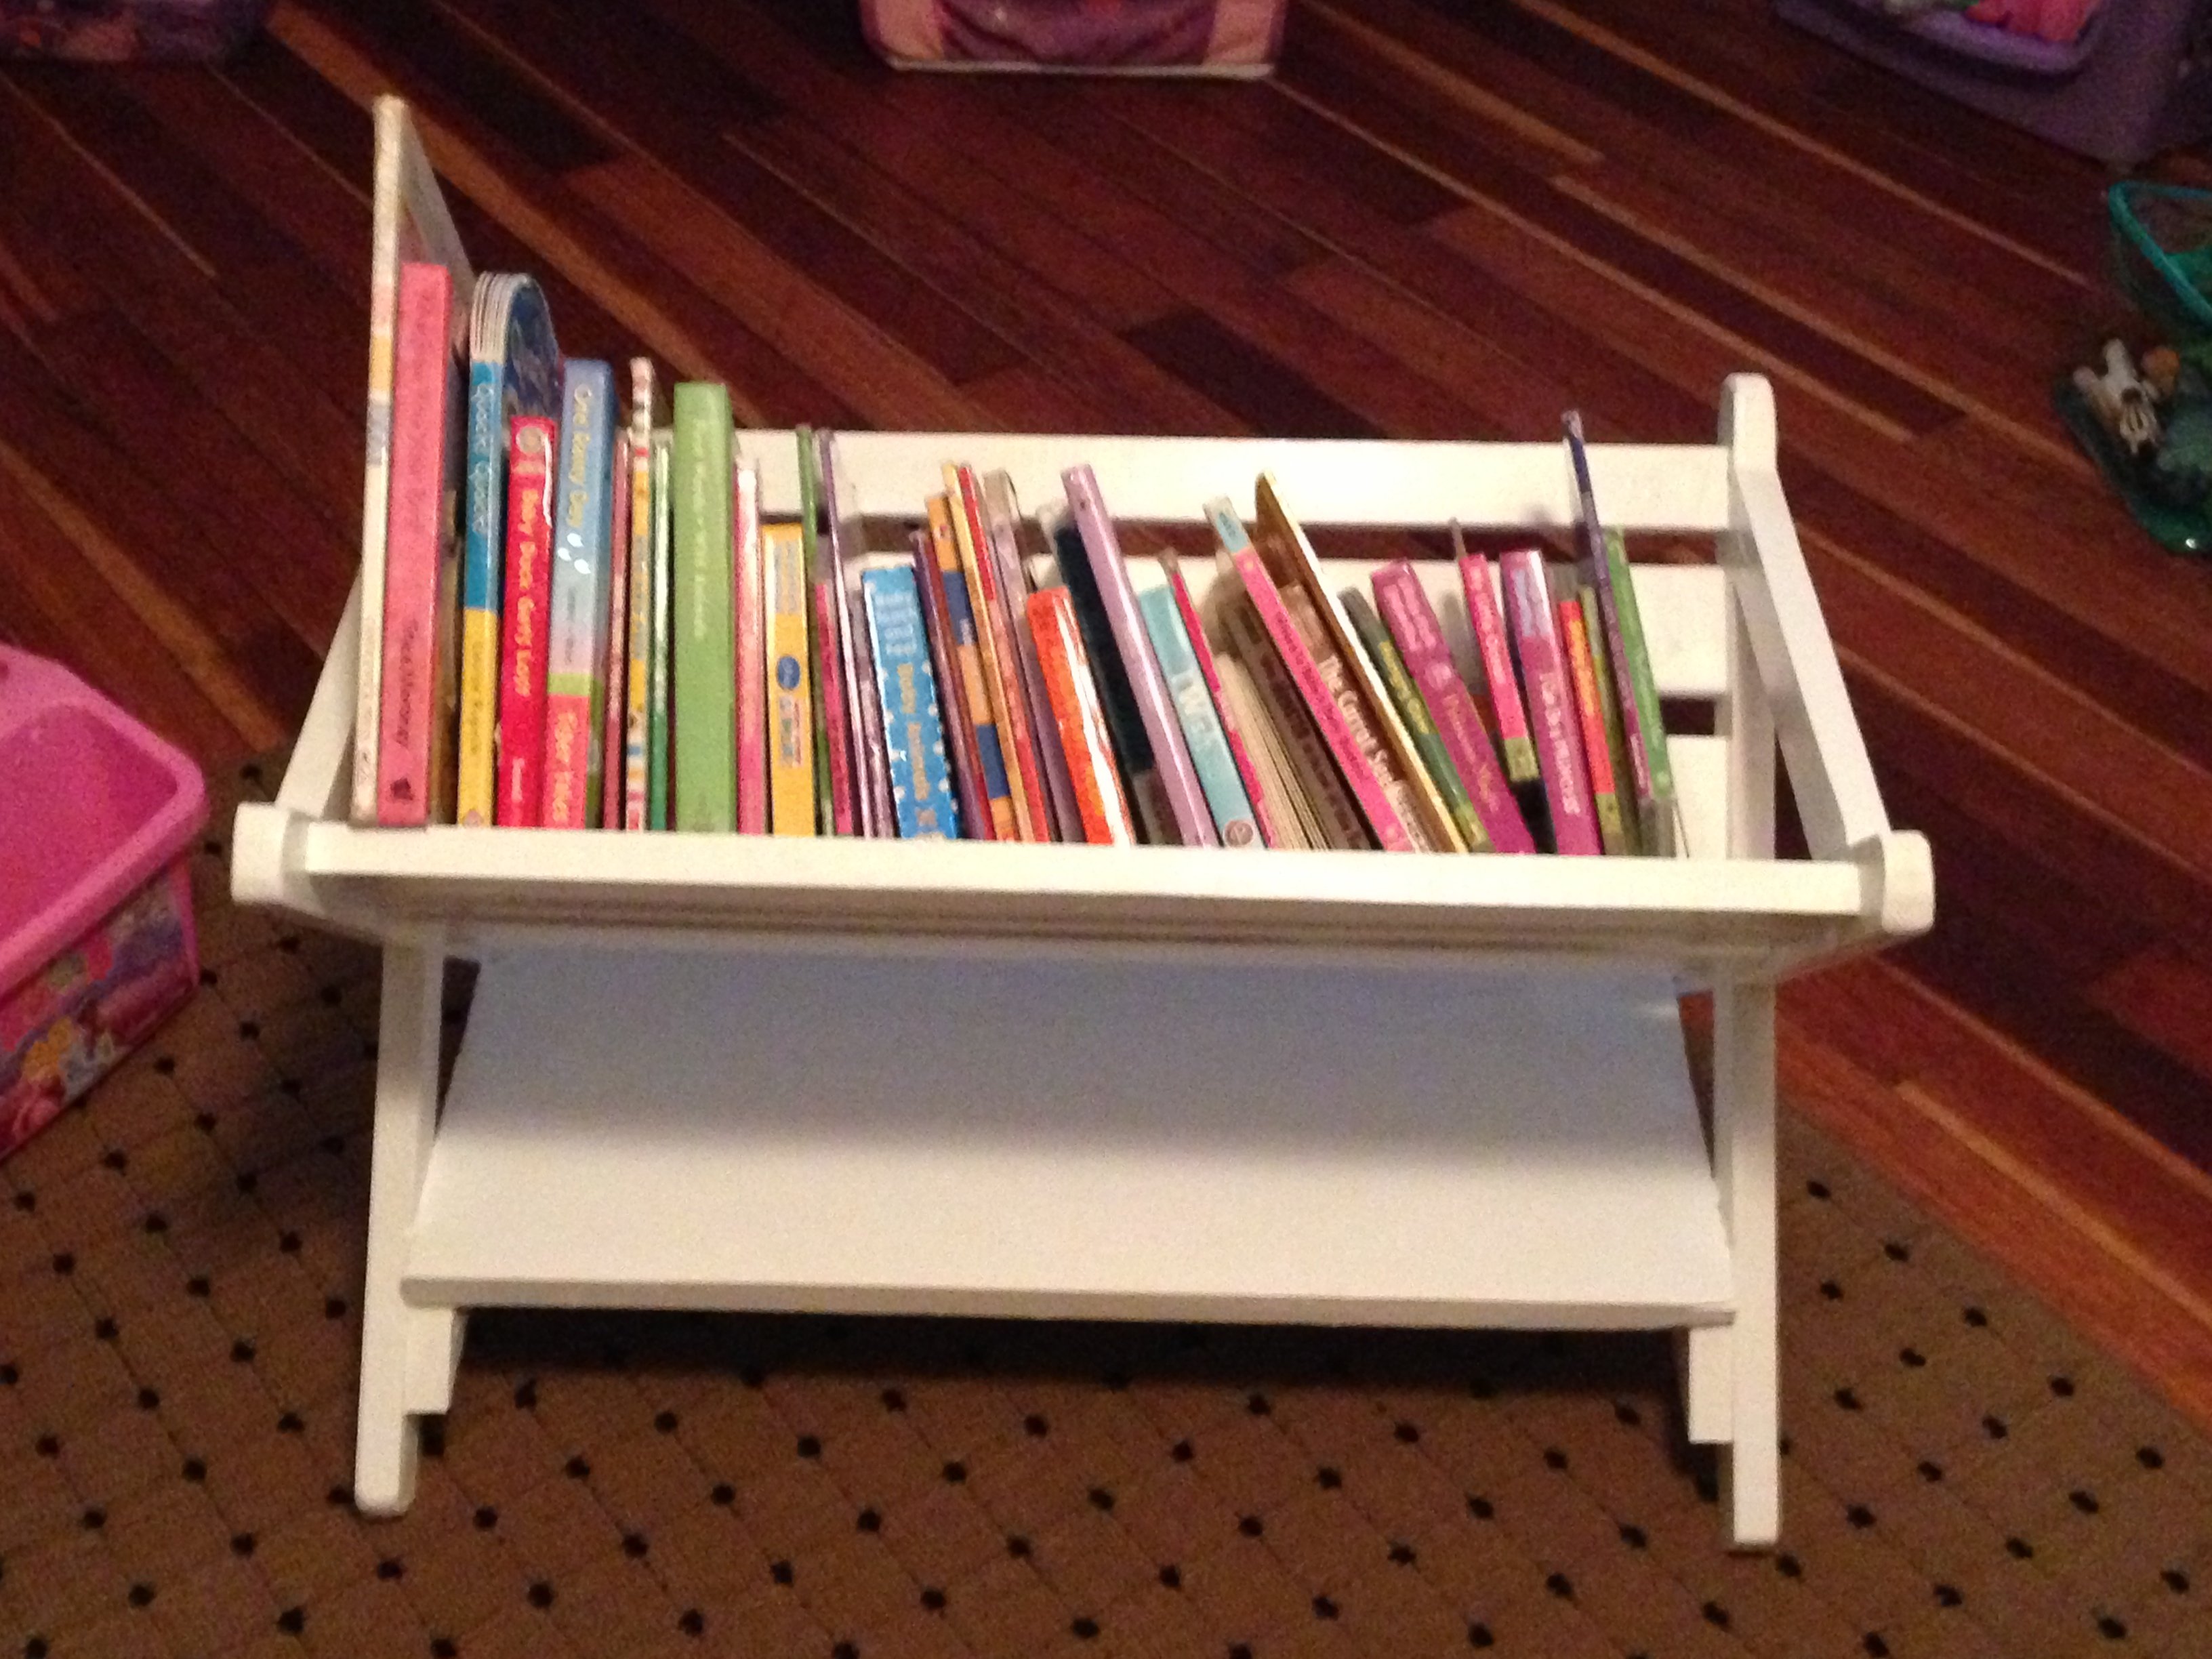
SImple and easy to make. I had leftover wood so all I had to buy was 1x2"s. I'd say the total cost was $15. It's sturdy and holds a lot of books.

Built from Plan(s)
Estimated Time Investment
Day Project (6-9 Hours)
Recommended Skill Level
Beginner
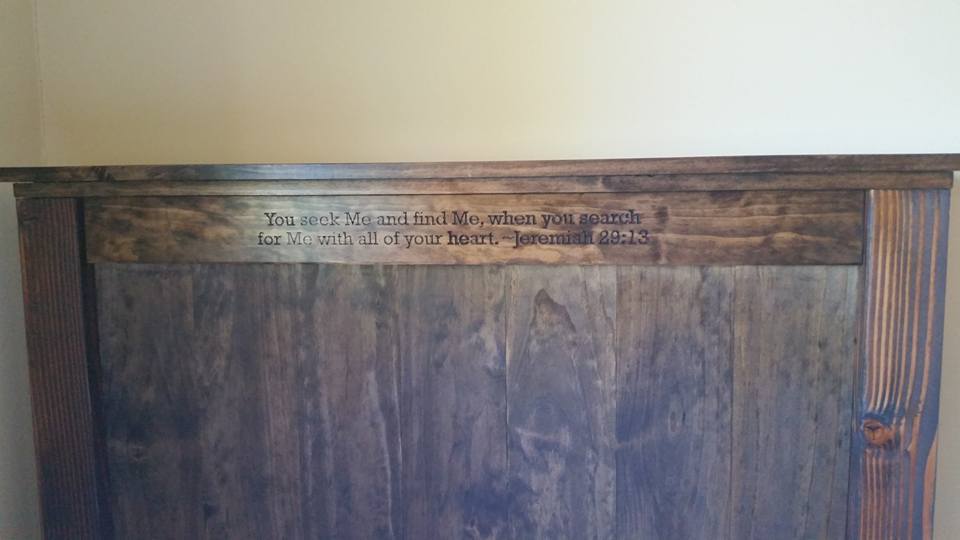
Twin Farmhouse Bed with Jeremiah 29:13 carved into headboard
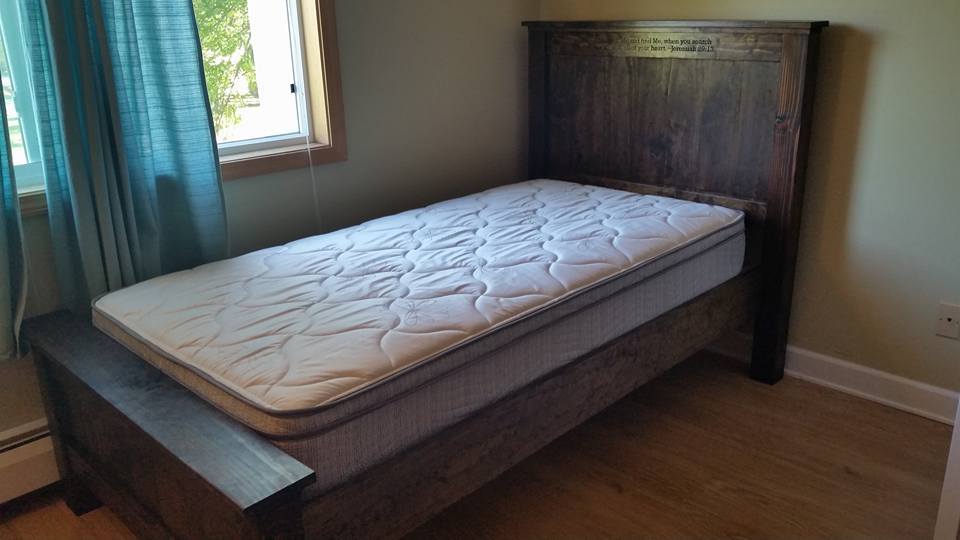
This is the second farmhouse bed that i've built from these plans. I made a slight modification to shorten the headboard for this bed. Overall, it was a fun and enjoyable project.
Built from Plan(s)
Estimated Cost
$160
Estimated Time Investment
Day Project (6-9 Hours)
Finish Used
Walnut, and spray lacquer
Recommended Skill Level
Beginner