Community Brag Posts

Organizer for knitting needles & crochet hooks

Submitted by Wendy KT on Wed, 06/24/2020 - 13:47

I used Ana and Jaime's desk organizer plans to build this, but I'm using it in my craft room instead for my needles/hooks/small accessories. This plan was part of Ana's Handbuilt Holiday plans found here: https://ana-white.com/woodworking-projects/desktop-office-or-vanity-bea…

Estimated Cost
10.00
Estimated Time Investment
Afternoon Project (3-6 Hours)
Finish Used
Duck egg blue chalk paint and clear wax.
Recommended Skill Level
Beginner

Updated Pantry

Submitted by Anonymous (not verified) on Tue, 04/09/2024 - 07:24

Replaced our wire metal shelving with this easy to follow plan. My first time doing a project like this and it turned out amazing!

Lindsey

Built from Plan(s)

Farmhouse Table

Submitted by jwerne2 on Thu, 08/23/2012 - 09:37

We decided to build the Farmhouse Table after our 30 year old dining table began to crack and just wasn't working so well for our family of 5. This was our first project, so we made a lot of mistakes but also learned a lot. One of the hardest things was finding decent lumber that wasn't warped or split. We also made two Farmhouse Benches but they aren't included in this photo.

Estimated Time Investment
Weekend Project (10-20 Hours)
Finish Used
Minwax Special Walnut
Recommended Skill Level
Beginner

Pottery Barn benchwright TV stand

I altered the dimensions from the plans slightly to meet my needs. I added self-closing, heavy duty hinges for the doors because a basic euro- hinge from home depot would not hold the weight of the doors with glass. For the finish, I sanded the edges slightly after painting and used a minwax stain maker to stain the sanded areas giving a clean, distressed look. I used gel stain for the first time on this build. Softer woods such as pine or alder are prone to blotchy finishes when stained. I built the top out of Alder and stained it with gel stain from general finishes. I am very happy with how the top turned out after using the gel stain. I did not have to use a pre-stain conditioner either.

Built from Plan(s)
Estimated Cost
$230.00
Estimated Time Investment
Week Long Project (20 Hours or More)
Finish Used
Crème brulee by Behr, Nutmeg gel stain by General finishes
Recommended Skill Level
Intermediate

Inspiring First Woodworking Project

Submitted by WomanPower on Sat, 06/27/2020 - 21:52

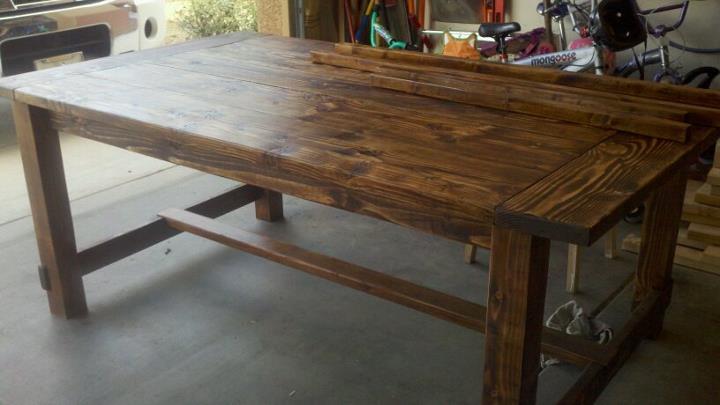
**From a Woodworker First Project Perspective**

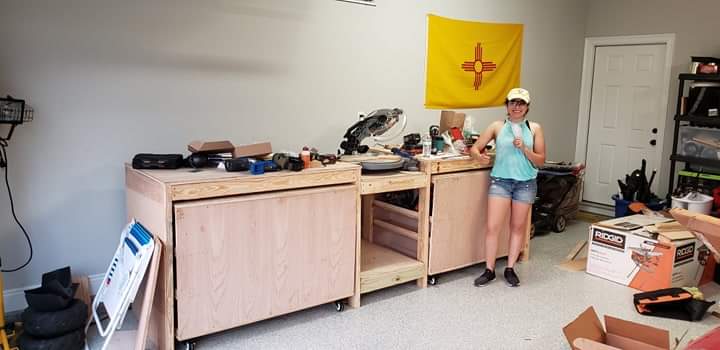
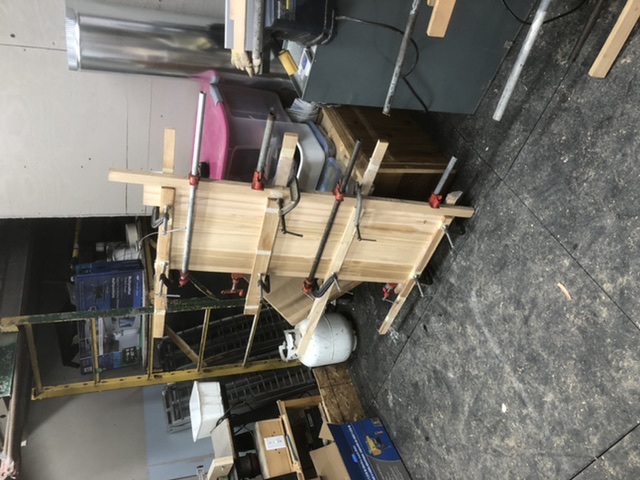
Power Tools: I used a circular saw (Ridgid, lifetime warranty) for all of my cutting because it was the easiest tool to use once I got into a rythem for cutting plywood and other materials.

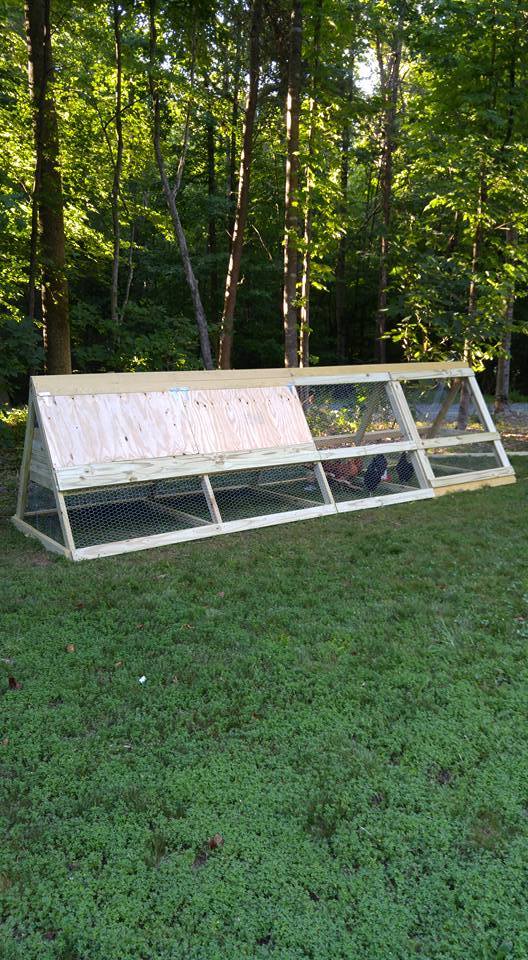
Other helpful tools: I had 2 height adjusting saw horses that made it easy on my back made by Kobalt. There were some mistakes in the beggining with keeping the lines straigt but a circular saw track (kreg) easily fixed that problem for most of the cutting. After awhile it got easier to steadily cut following a drawn line with no track (hubby was impressed). Overall, this project was a process of trial and error but I learned from every hiccup along the way. Next up, chicken coop... :D
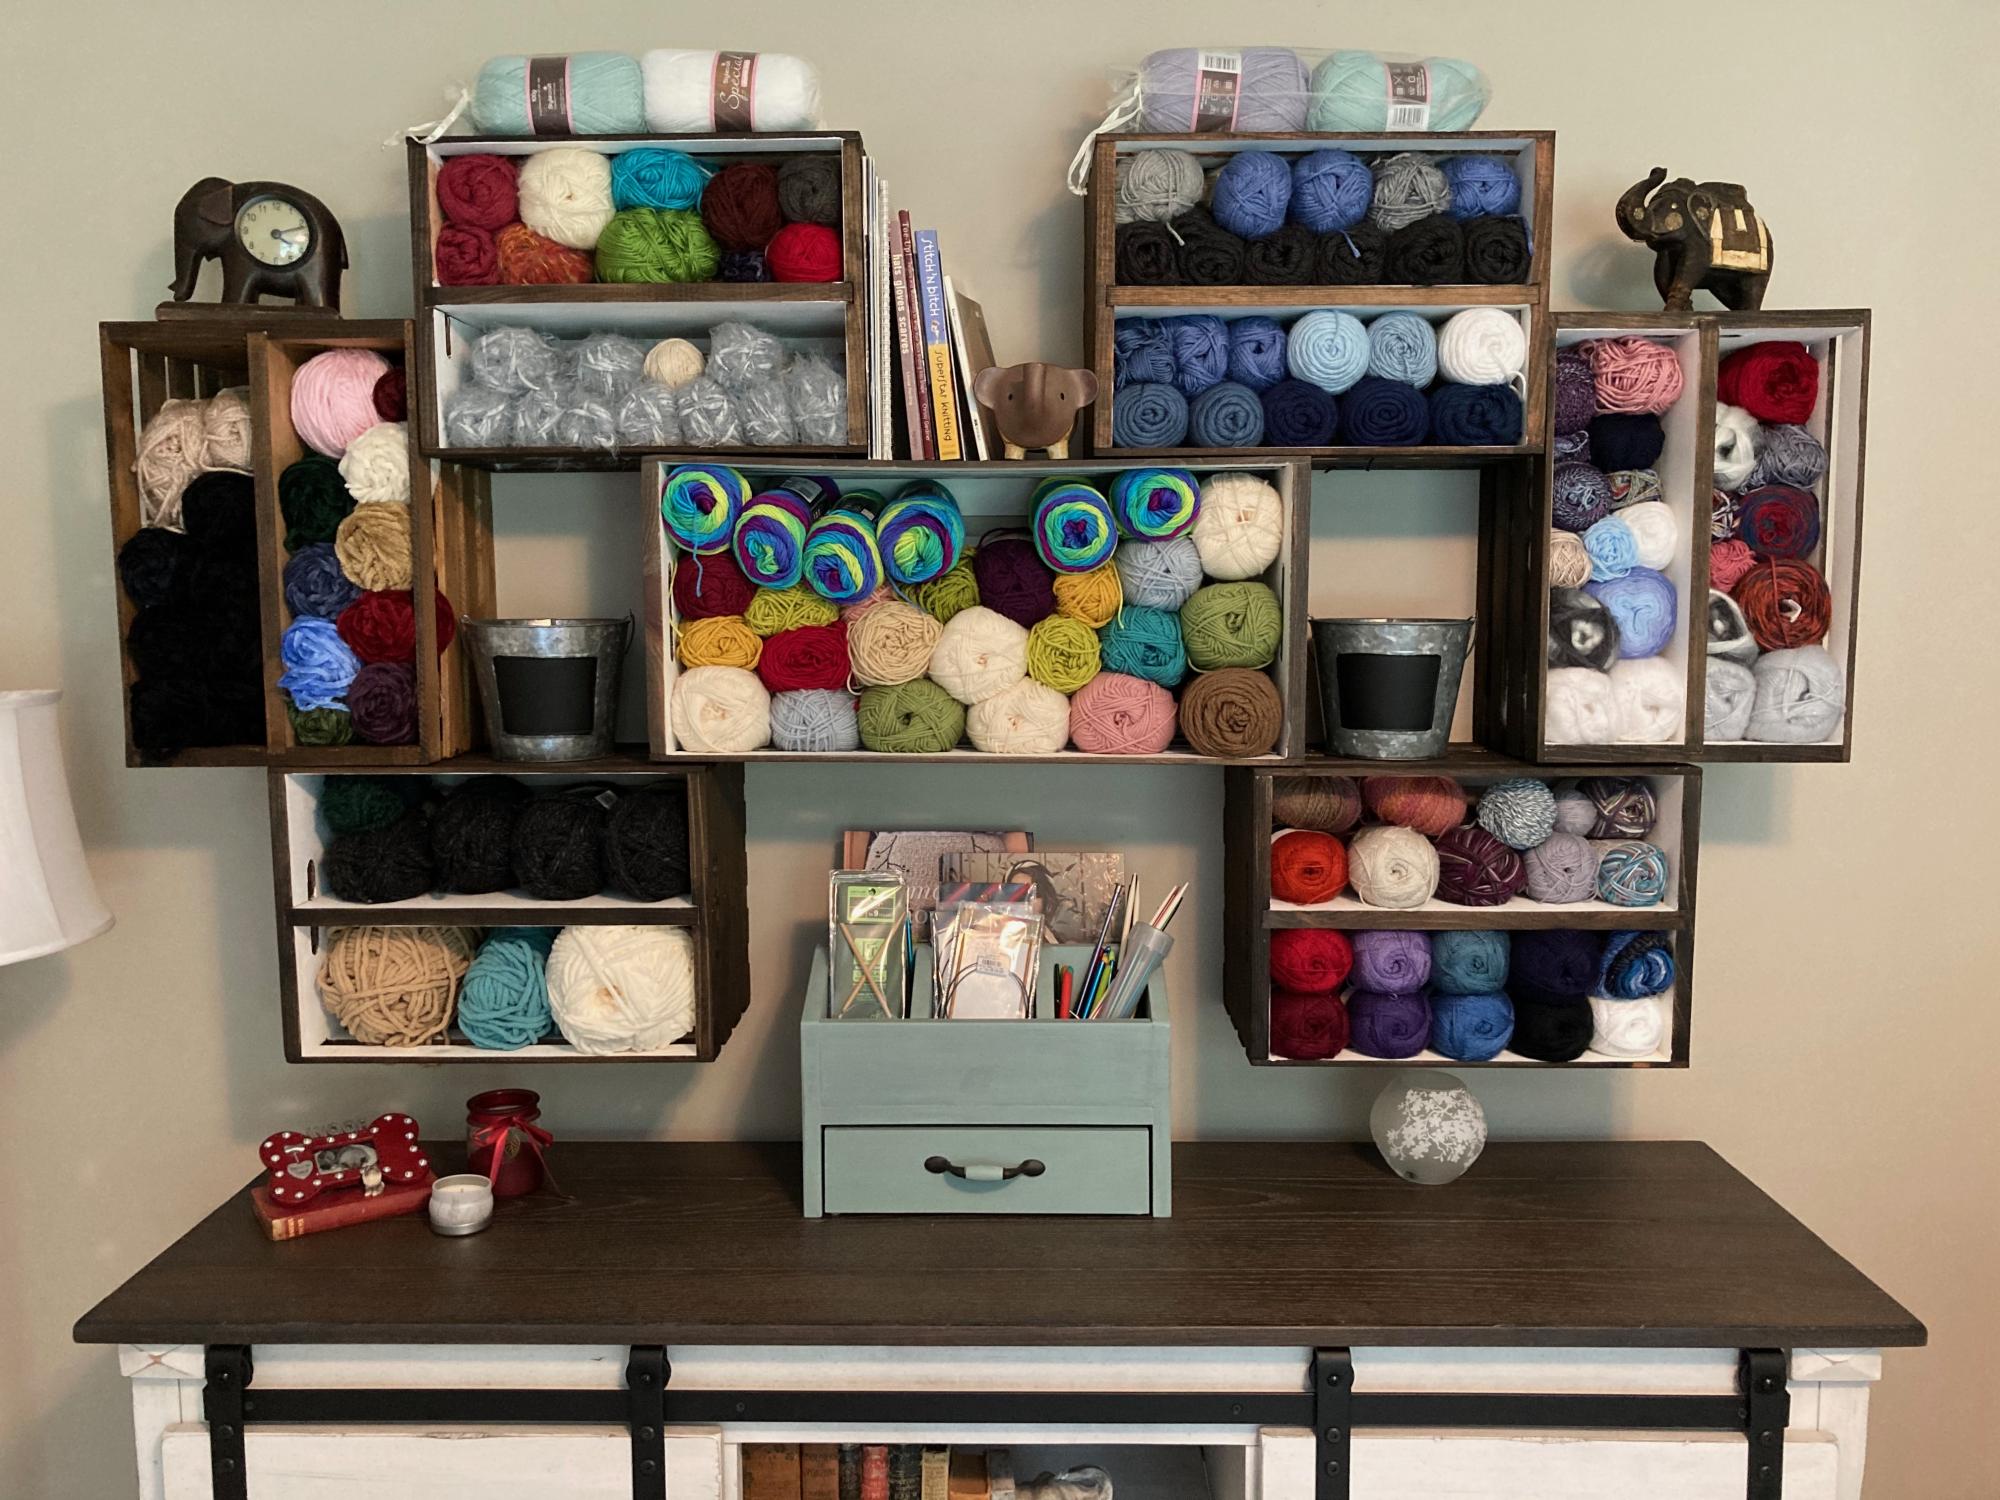
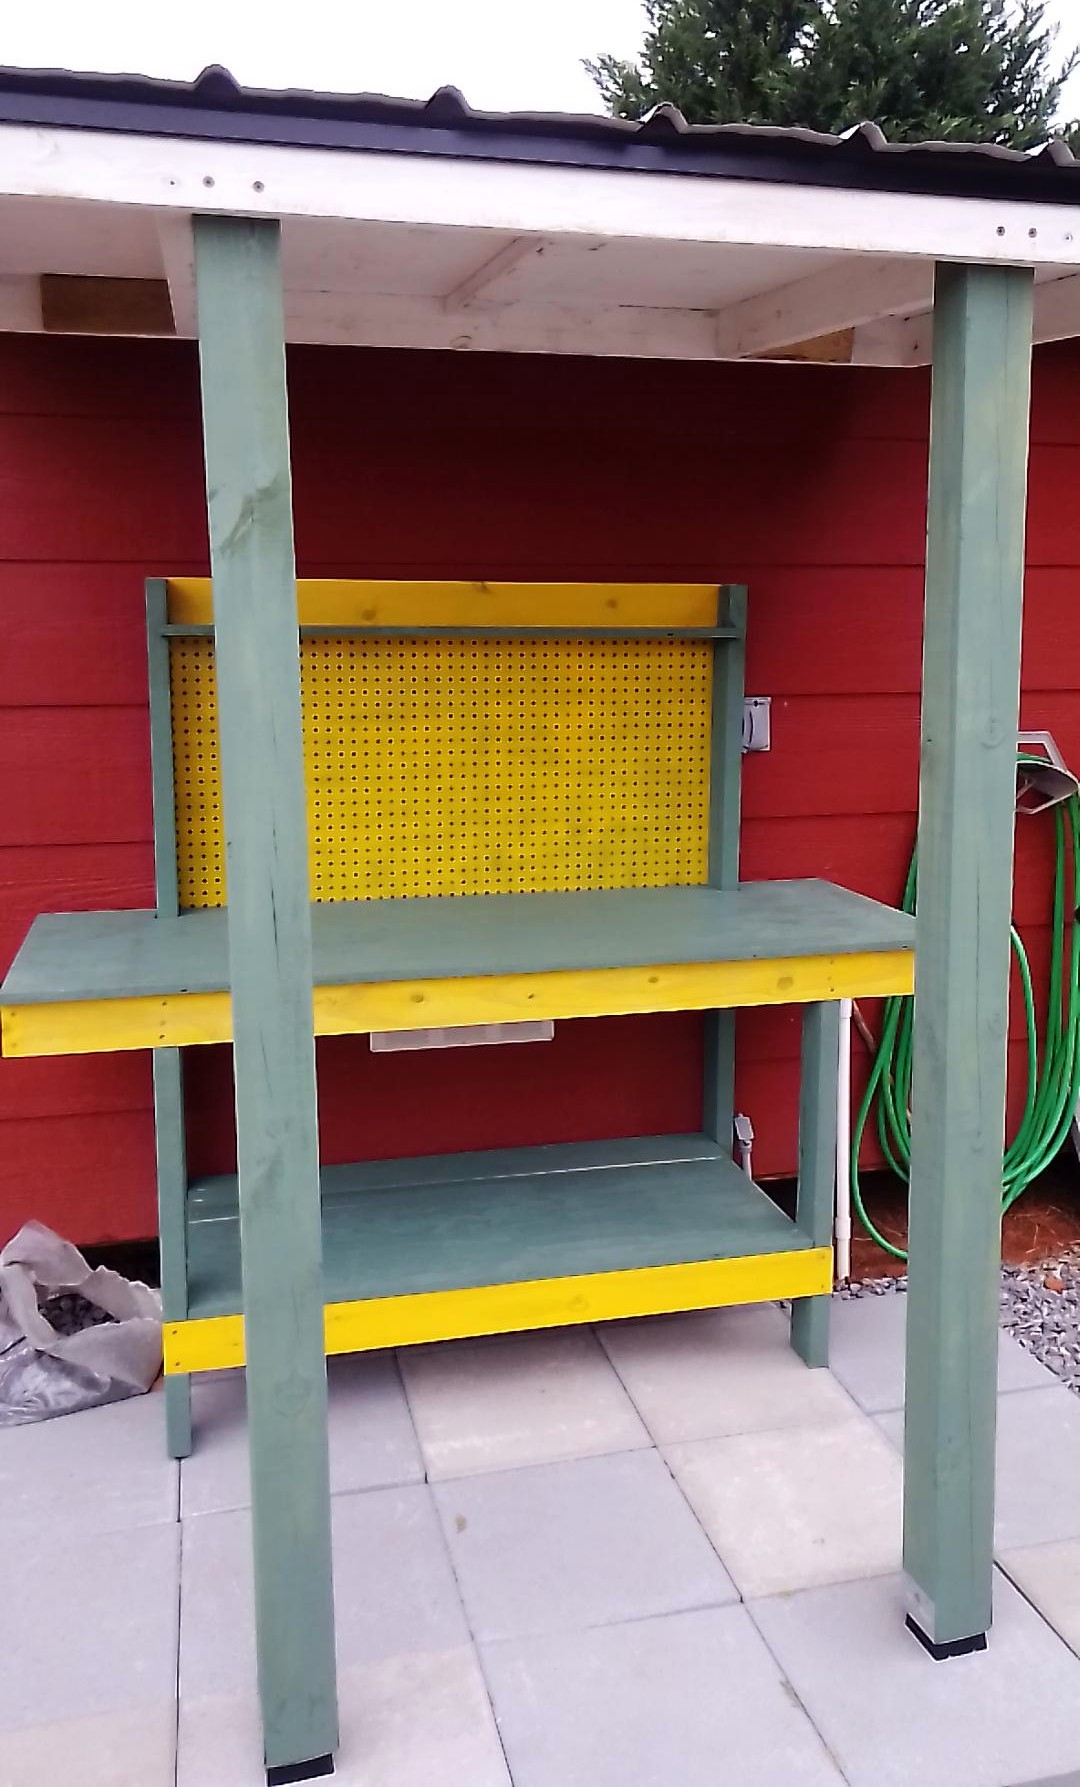
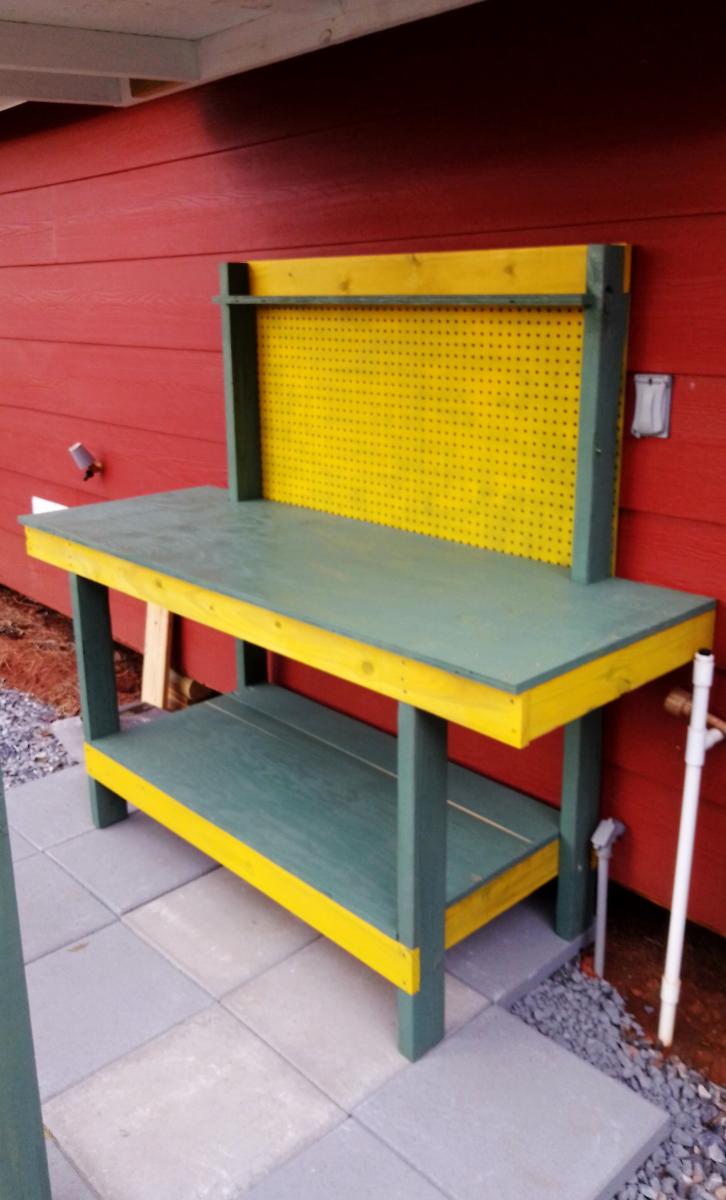
**How It All Started**
While deployed I had a lot of time to imagine my very own personal workspace to complete DIY projects and when I saw this design I could not wait to get home and begin my new hobby. This project inspired me to really get serious about woodworking. Never in my life had I ever built anything from plywood and 2x4s, much less had I ever used a circular saw. I'm proud of myself for completing this from start to finish as a first project. Thank you Ana!

Peace and Blessings,
WP

Estimated Cost
420
Estimated Time Investment
Week Long Project (20 Hours or More)
Recommended Skill Level
Beginner

Wall Jewelry Cabinet

Submitted by jlabis on Sat, 08/25/2012 - 08:57

I used the wall jewelry cabinet plan and modified it a bit to fit the materials that I already had in the garage. The whole project was built using salvaged barn wood and siding that was built in the 1800's. It took a little longer to square up the boards and sand them to a friendly feel but I had little to no finishing time in the end. The plans were so spot on that used them almost exactly.! I just added another cross support to the door and used old barn wood tongue and groove for the back. I also fastened a little piece of wood at the top of the door with one brad nail. I did this to keep the door shut in a more attractive way then a clasp or hasp. The little piece swings out of the way with ease. I bought the knob at hobby lobby for 2 dollars and the hinges were less than 2 dollars. The hardware cloth came in a roll that was 24 inches by 25 feet long for 10 dollars. Basic wood working knowledge and tools are super helpful with this project and as is stated in the original plans... a kreg jig makes it so much faster and easier.! Thanks so much for sharing!!

Estimated Cost
about 14 dollars including the hardware cloth.
Estimated Time Investment
Afternoon Project (3-6 Hours)
Finish Used
Just cleaned the wood with compressed air and sanded to a friendly feel being carful not to kill the old look. Thats the only advantage to using old wood... the finish time is short but the prep time is a little more involved.
Recommended Skill Level
Intermediate

Octagon Kitchen Table

Submitted by rmaenza on Tue, 06/17/2014 - 22:44

I used Ana's plans and modified the top, I used 3/4 MDF with hardwood flooring. I then used 2" door casing for edging.

Estimated Time Investment
Week Long Project (20 Hours or More)
Finish Used
Minwax Dark Walnut with a Spar Urethane finish.
Recommended Skill Level
Intermediate

Comments

Modern Porch Swing squeezed into suburban porch

Submitted by Anonymous (not verified) on Sat, 09/17/2016 - 08:24

This is a super easy build, but it cost us WAY more than the estimate. By the time we painted and hung it the total was closer to $150. 


We we squeezed the swing into the crack between the pillar and wall of my back porch. It barely fit, but we are a family of six so I wanted it to be as big as possible. 

Built from Plan(s)
Estimated Cost
$150
Estimated Time Investment
Day Project (6-9 Hours)
Finish Used
Paint
Recommended Skill Level
Beginner

King Sized Headboard

Submitted by ecsorah on Mon, 08/27/2012 - 11:35

I did not edit this project, except the original project plan called for the bed to be turned sideways, I made this with the bed facing the right original way. The longest part of this project was waiting for the stain. It is not included in the estimated build time.

Estimated Time Investment
Day Project (6-9 Hours)
Finish Used
Minwax Provincial
Recommended Skill Level
Beginner

My first woodworking project

Submitted by Anonymous (not verified) on Wed, 09/21/2016 - 11:38

Our Australian Shepard will no longer be digging the trash out all over the floor!  I did change the plans up a bit because I wanted a hangover off the sides as well as the front. And we used bead board instead of the solid panel. Thanks for the great plans Ana!

Estimated Time Investment
Weekend Project (10-20 Hours)
Finish Used
2 coats of extreme and primer and 2 coats of White paint. I lightly sanded in between each coat. I applied the primer and first coat of pai t qith a roller and the final coat was applied with a paint brush.
Recommended Skill Level
Beginner

Comments

Farmhouse Table (Rustic Table)

Submitted by tmunds on Tue, 08/28/2012 - 21:57

My mom has been addicted to Pinterest for a while now, so eventually she was led to this site. To make a long story short, she asked me to build her a dining room table similar to the Rustic Table design, but just a bit beefier, and with custom dimensions to fit the family's needs. I used 2x8's (8 feet long) for the table top, 2x4's for the apron/skirt, and 4x4's for the legs. This thing is a monster. I'm assuming it weighs close to 200 lbs. I beat the legs up with an old golf club, and scratched them up pretty good with screws.

This was my first time attempting something of this caliber, and I am really pleased with the results. The best part is that my mother LOVES it, and I now look like the greatest son in the world to all of her friends on Facebook!

Estimated Cost
$160
Estimated Time Investment
Week Long Project (20 Hours or More)
Finish Used
Sanded: 120 grit then 220 grit
Stain: Minwax Special Walnut (Brushed)
Finisher: Minwax Paste Finishing Wax (Rubbed in with a rag, then buffed off 20 minutes later).
Recommended Skill Level
Beginner

Comments

JenniferCarter

Mon, 02/09/2015 - 07:17

Hi there! Your dining table came out beautiful! Do you happen to know where those chairs are from? I have a client that is in love with them so wanted to see if you know where they are from! Thanks so much!

Coop and run for Six

Submitted by Anonymous (not verified) on Sat, 09/24/2016 - 08:10

We wanted our chickens to have plenty of room for when we ere not home and could not let them free range in the yard.  One of the six was a rooster-- and long story-- but we don't have him any more-- so 5 chickens now enjoy this coop/run.  It cost about $300 in supplies.  It is 16 feet long.

Built from Plan(s)
Estimated Cost
$300
Estimated Time Investment
Weekend Project (10-20 Hours)
Finish Used
unfinished
Recommended Skill Level
Intermediate

Comments

Cedar chest with black walnut

Submitted by mike - c on Sun, 07/05/2020 - 11:32

My first furniture project. My daughters birthday gift. Made my own patterns and sized as I went. With the materials I had. A few learning mistakes but it’s personal and she loves it. The sides and bottom are 3/4 stock but the top and the base is all 1 1/2 stock.

The Cadar was all ripped from 2” stock and planed to suit. The black walnut was rough, resawn and planed to suit.

Was a many Saturday winter project as my shop is at my camp, had to heat up with the wood furnace each weekend , especially for gluing and finishing.

Estimated Cost
$50 worth of hardware, had the wood.
Estimated Time Investment
Week Long Project (20 Hours or More)
Finish Used
Natural stain and spar varnish
Recommended Skill Level
Intermediate

My Julia Nightstand

This summer my wife and I remodeled our oldest's bedroom. I found this nightstand on Ana's website, and my wife fell in love with it. I had to make it! I noticed there were no brag posts for the Julia, so I felt that I had to contribute as a thank you for finding these plans. Thanks Ana!

Built from Plan(s)
Finish Used
Cream colored Paint, and Lime colored paint
Recommended Skill Level
Beginner

Comments

Playroom Tents

Submitted by macymoon on Thu, 06/26/2014 - 10:34

I built these fun and easy tents for our playroom. They are perfect for reading, or for an indoor camping trip.

Built from Plan(s)
Estimated Cost
Under $10 per tent
Estimated Time Investment
Afternoon Project (3-6 Hours)
Finish Used
No stain. Just light sanding.
Recommended Skill Level
Starter Project

A different take on the Brandy storage bed.

Submitted by Anonymous (not verified) on Mon, 09/26/2016 - 12:25

Made this storage bed but altered it some.  Still a queen size bed, changed the depth of the side boxes to accomate a suitcase so we could get luggage out of the way.  Built this for our cabin in Maine.

Estimated Cost
150-200
Estimated Time Investment
Weekend Project (10-20 Hours)
Finish Used
Lowe's chalk paint and antiquing wax.
Recommended Skill Level
Intermediate

Comments

Mail Boss

Submitted by Drspear98 on Mon, 07/06/2020 - 16:38

After scouring the internet for a piece of furniture that could hide my shredder and act as a filing cabinet, I decided to look here, and lo and behold, Ana had posted this project the week before. It was literally an answer to prayers!

I had a lot of leftover plywood that I cut to size to build this project. The drawer slides were the most expensive part of this project. It was pretty tough and I made a lot of mistakes, but I am very happy with it. It was just what I was looking for. Installing the drawers was the hardest part of this project. I made the shredder compartment to fit my specific shredder, and it barely fits. I already had drawer pulls and paint.

Built from Plan(s)
Estimated Cost
$50 (I had a lot of wood and hardware on-hand)
Estimated Time Investment
Weekend Project (10-20 Hours)
Finish Used
dark chocolate milk paint on top, antique white latex paint; polyurethane finish
Recommended Skill Level
Intermediate

Comments

Shoe Rack

I needed a compact way to organize and store my running shoes. As you can see in the pictures above, the answer was relatively simple. My google search led me http://www.notmartha.org/tomake/shoerack/ . I simplified the idea using 1x2, 1x3, and 1x4 boards. You can see the simple shape these make holds the shoes by the toe. I used a 1x2 board for a spacer between the two levels. On a whim , I added another spacer board and topped it all off with another 1x4 which fit perfectly as a shelf.

Before I assembled the pieces, I predrilld holes across the 1x2 boards. When I installed them piece by piece, it was only a matter of leveling and installing drywall anchors.

Estimated Cost
$30
Estimated Time Investment
Afternoon Project (3-6 Hours)
Recommended Skill Level
Beginner
Back