Rustic X Coffee Table
I'm really bad at making the X's, so I just added some straight pieces for decoration.
When I started my blog This Girls Life ( t-g-life.blogspot.com ) I knew I wanted to makeover my office to give me more room and storage. These bookcases were perfect for that.
My husband Chris and I have been planning for a few years now to build a farmhouse table for our home. Every year for christmas my mother-in-love (mother in law) gifts us a "must have" tool. We like to think of it as her investing in our home and quality time together. Last year she gave us the Kreg gig, holy cow, that sure is a must have!!! :) This year we received a hand sander. Needless to say we were motivated to start our farmhouse table journey.
We loved the table Ana built for her sister, so we followed the plans almost to a tee. We ordered the turned legs from Georgia. Let me also add that we try to buy everything we possibly can that is made in america, from paintbrushes on. I encourage everyone to take the a few seconds to look and spend an extra dollar or two to support america's economy.
The only modification we did to the plan was add a small strip of wood to the base layer for just a little extra touch of character. :)
Combined a few of your plans to make my wife a Workstation. Plans were easy to follow and there were no dimension errors.
I adjusted your Barndoor l Pantry plans to utilize repurposed lumber from a Murphy bed. The shelves are 22" deep for my microwave, toaster oven, etc. It's so functional and much easier to work in my small kitchen.
Cheryl G
I used paint stir sticks as the front of my bins!
I wanted the "bead board" look but to still have a natural wood grain that I could stain for the rustic look. I also really like being "frugal"
I'm still helping my kids furnish their new home. They "hired" me to build them a massive coffee table for their family room. They fell in love with the legs featured in a plan built by Shanty 2 Chic (http://www.shanty-2-chic.com/2013/11/diy-square-coffee-table.html). The legs definitely were the most expensive part of this table!
I made a couple of adjustments: because these kids of mine hope to have kids of their own soon, and the table measures 48x48, I reinforced the lower shelf of the table and the table top with support pieces. I picture babies crawling all over this and wanted to ensure that it would hold up!
I finished with the same steps used by Jen of House of Wood's rustic yet refined finish, but used a dark walnut stain as the base.
Another fun project for me, and they are very happy with it!
And, I just have to say that Osborne Wood products delivers a wonderful product with great follow up and customer service! http://www.osbornewood.com/
Ana, I really loved this design and was pretty easy to build! I like the way the finish turned out by painting it black and just a few coats of poly on top.
The benches are overbuilt with intention of converting 2 benches into 4 chairs in the future. I made them larger so I can simply just cut them in half and add two 4x4s 18 inches higher than the current bench legs at 24" and just deck it as a chair back, seems simple enough. One thing I would change in the design is eliminating the 3 1x12s and 2 of the 1x4s and just going with a solid table top at 33 3/4 x 40 3/4, similar to what I did on the benches.
Let me know what you think and if you have any questions.
Brookstone desk with a white oak top and drawer that I built for my 8- yr old son. It is a very fun build.
Jerry from NC
Wed, 03/27/2024 - 09:17
Having a well-organized writing desk is very important for optimal productivity. While services like https://domypapers.com/creative-writing/ offer assistance with creative writing tasks, finding inspiration in a well-organized workspace is equally important for writing success.
This design came from Ana's website. My daughter Alex asked me for a shelf to hold all her "stuff". She's a typical girl... lots of "stuff". I was able to snap a picture before she started to fill it all up!
I needed a small rectangular table to put between the sofa & wall. I also wanted a small table to set elsewhere in the room temporarily. Nesting tables were the answer. I adjusted several measurements to fit the wood I had on hand for the tops. The larger table used 2 1x8's. The smaller table is topped with 3 1x6's. I also used 1by lumber instead of 2by except for the 2x2 legs.
I built this custom kitchen island for a family friend that wanted something bigger than what can be purchased at a retail store. They also wanted to have a butcher block top for cutting meat. The base is made out of select pine and the stained parts is red oak with a couple strips of birch. The over all project took me 5 days to build. With the top being the longest because it consisted of 94 1 ¼” pieces glued together. Thanks for looking!
For the last year we have been kicking around making a sandbox. We really needed a cover and really wanted seats. So this worked out perfect. We did modify the plan a little to make it just a little bigger. It is 4' x 5' instead of the 4'x4' called for in the plans. Very easy to build...we have very little building experience and pulled it off. We did dig out the grass where the box was going to sit and stapled 2 layers of landscaping fabric to the bottom of the box frame. We also sealed the main box frame with a little silicone to minimize sand leakage.
Mon, 05/07/2012 - 05:32
Thanks. There are the same number of 1x4s on the top they are just longer. I was worried about the benches sagging because of the increased length and was prepared with scrap 2x4s to add support under the first two boards if needed but it doesn't seem to be a problem. We only widened it to 5' though...I think at some point that extra support would be needed.
2nd project - added some additional supports on the back with scraps & fixed a bowing issue. We've had it in the bedroom since October 2013 & love it (especially the price tag)!
I followed Ana White's instructions to a tee and things turned out great! I chose a dark brown wood stain and used an exterior Helmsman Spar Urethane for protection. Because the sandbox will always be outdoors, I ended up putting 5 layers of urethane on it.
I also attached a tarp (not seen in the pictures) to the bottom to hold the sand in. This way the sandbox can be dragged if you want to move it's location.
Farmhouse style wood coffee table with gorgeous balustrade legs, 38" x 38", 18" high. Stained antique oak, sealed for long life...
This is a 12’ Farmhouse Table made from old reclaimed barn wood. I used the plans from Ana White Farmhouse Table and just scaled it for 12’.
Shawn Imes
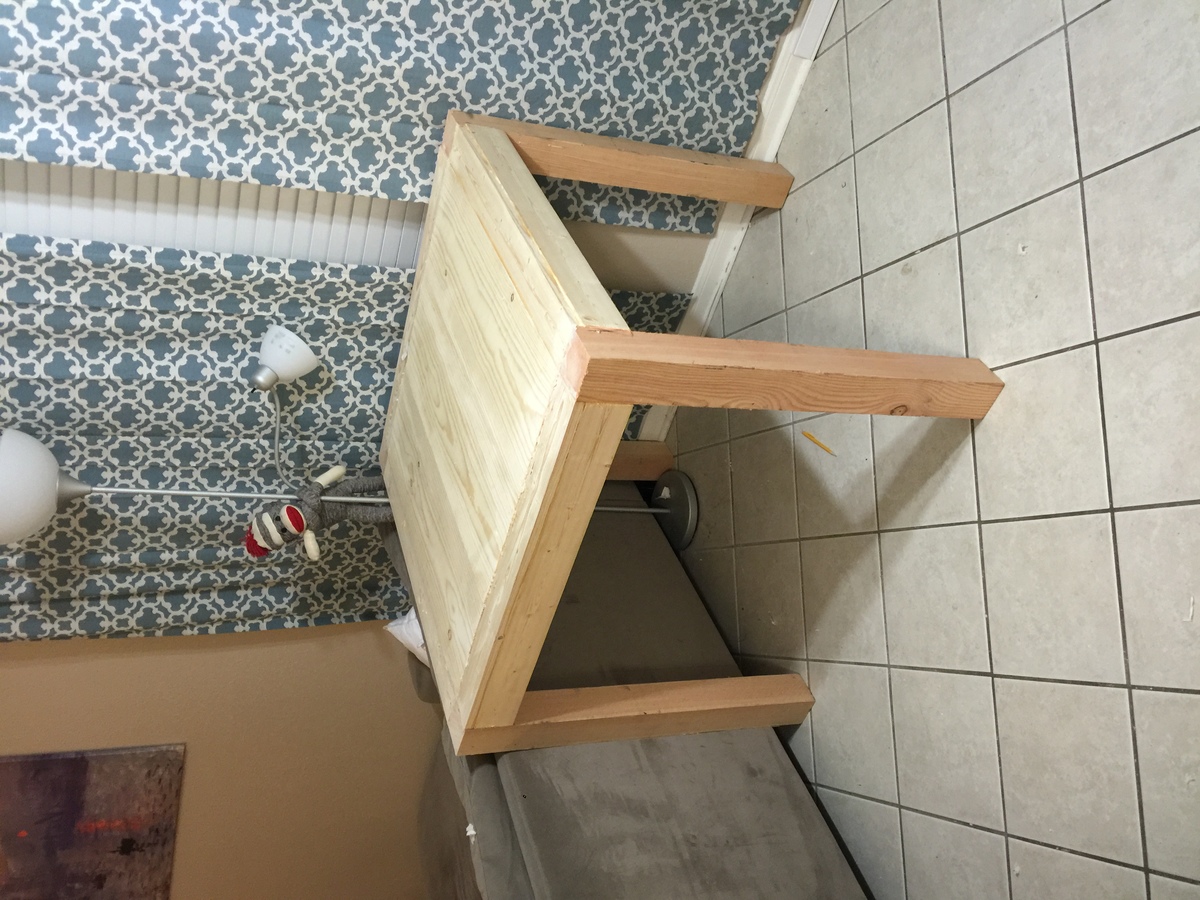
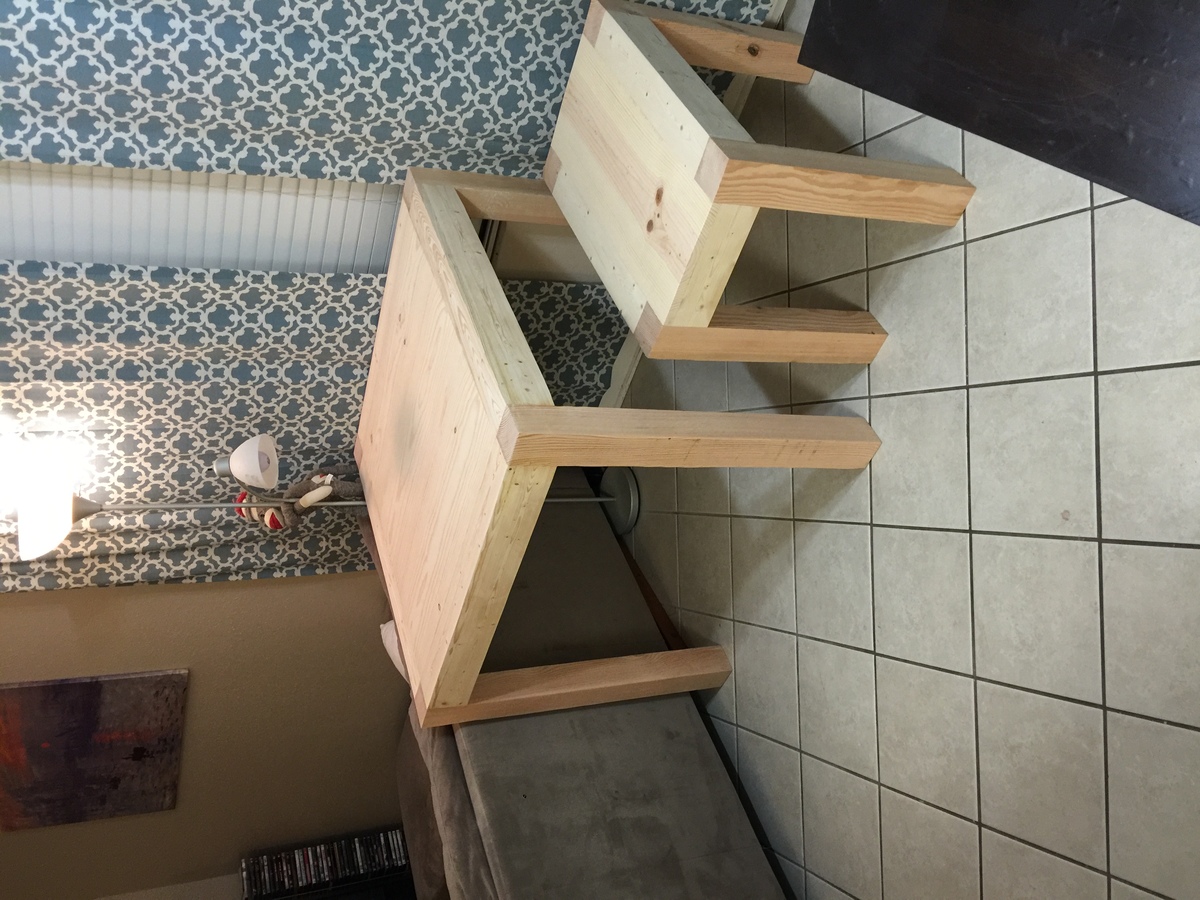
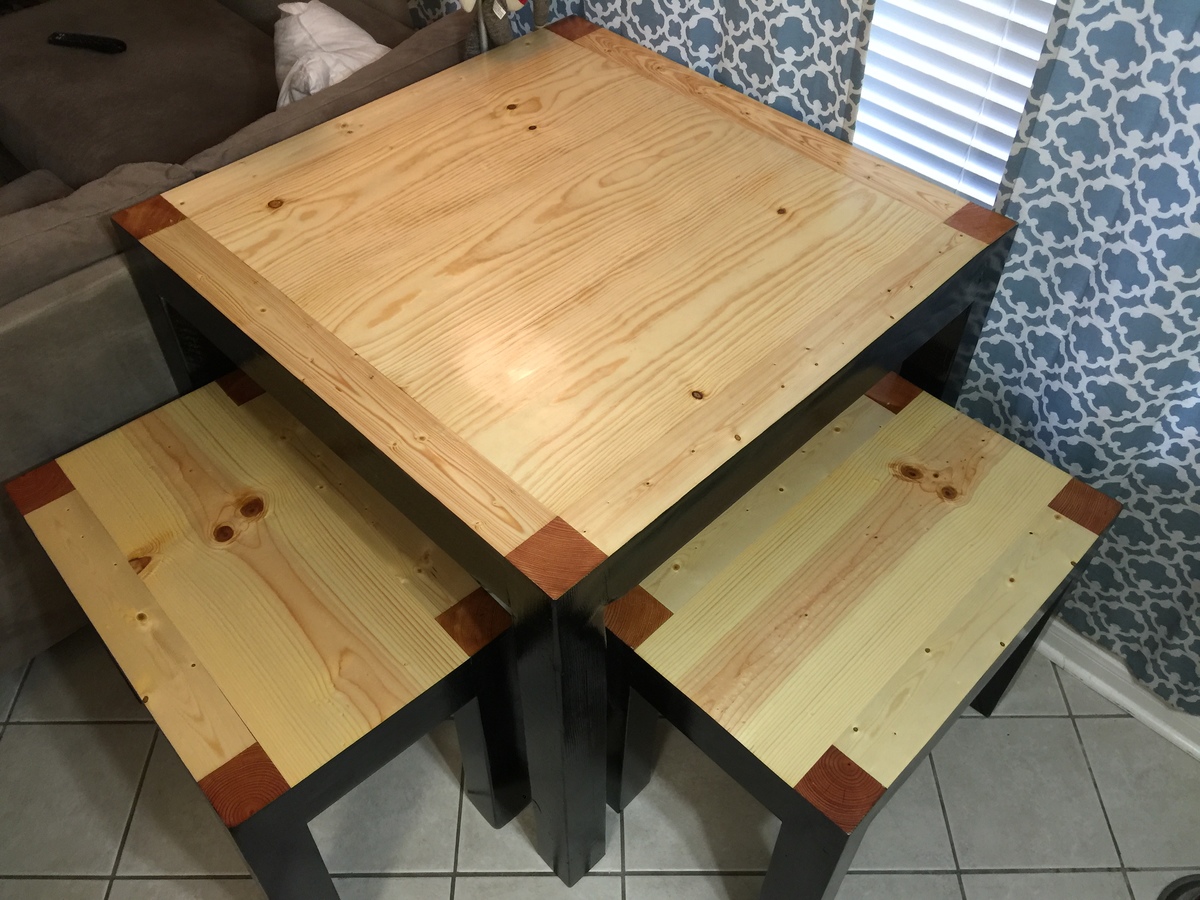
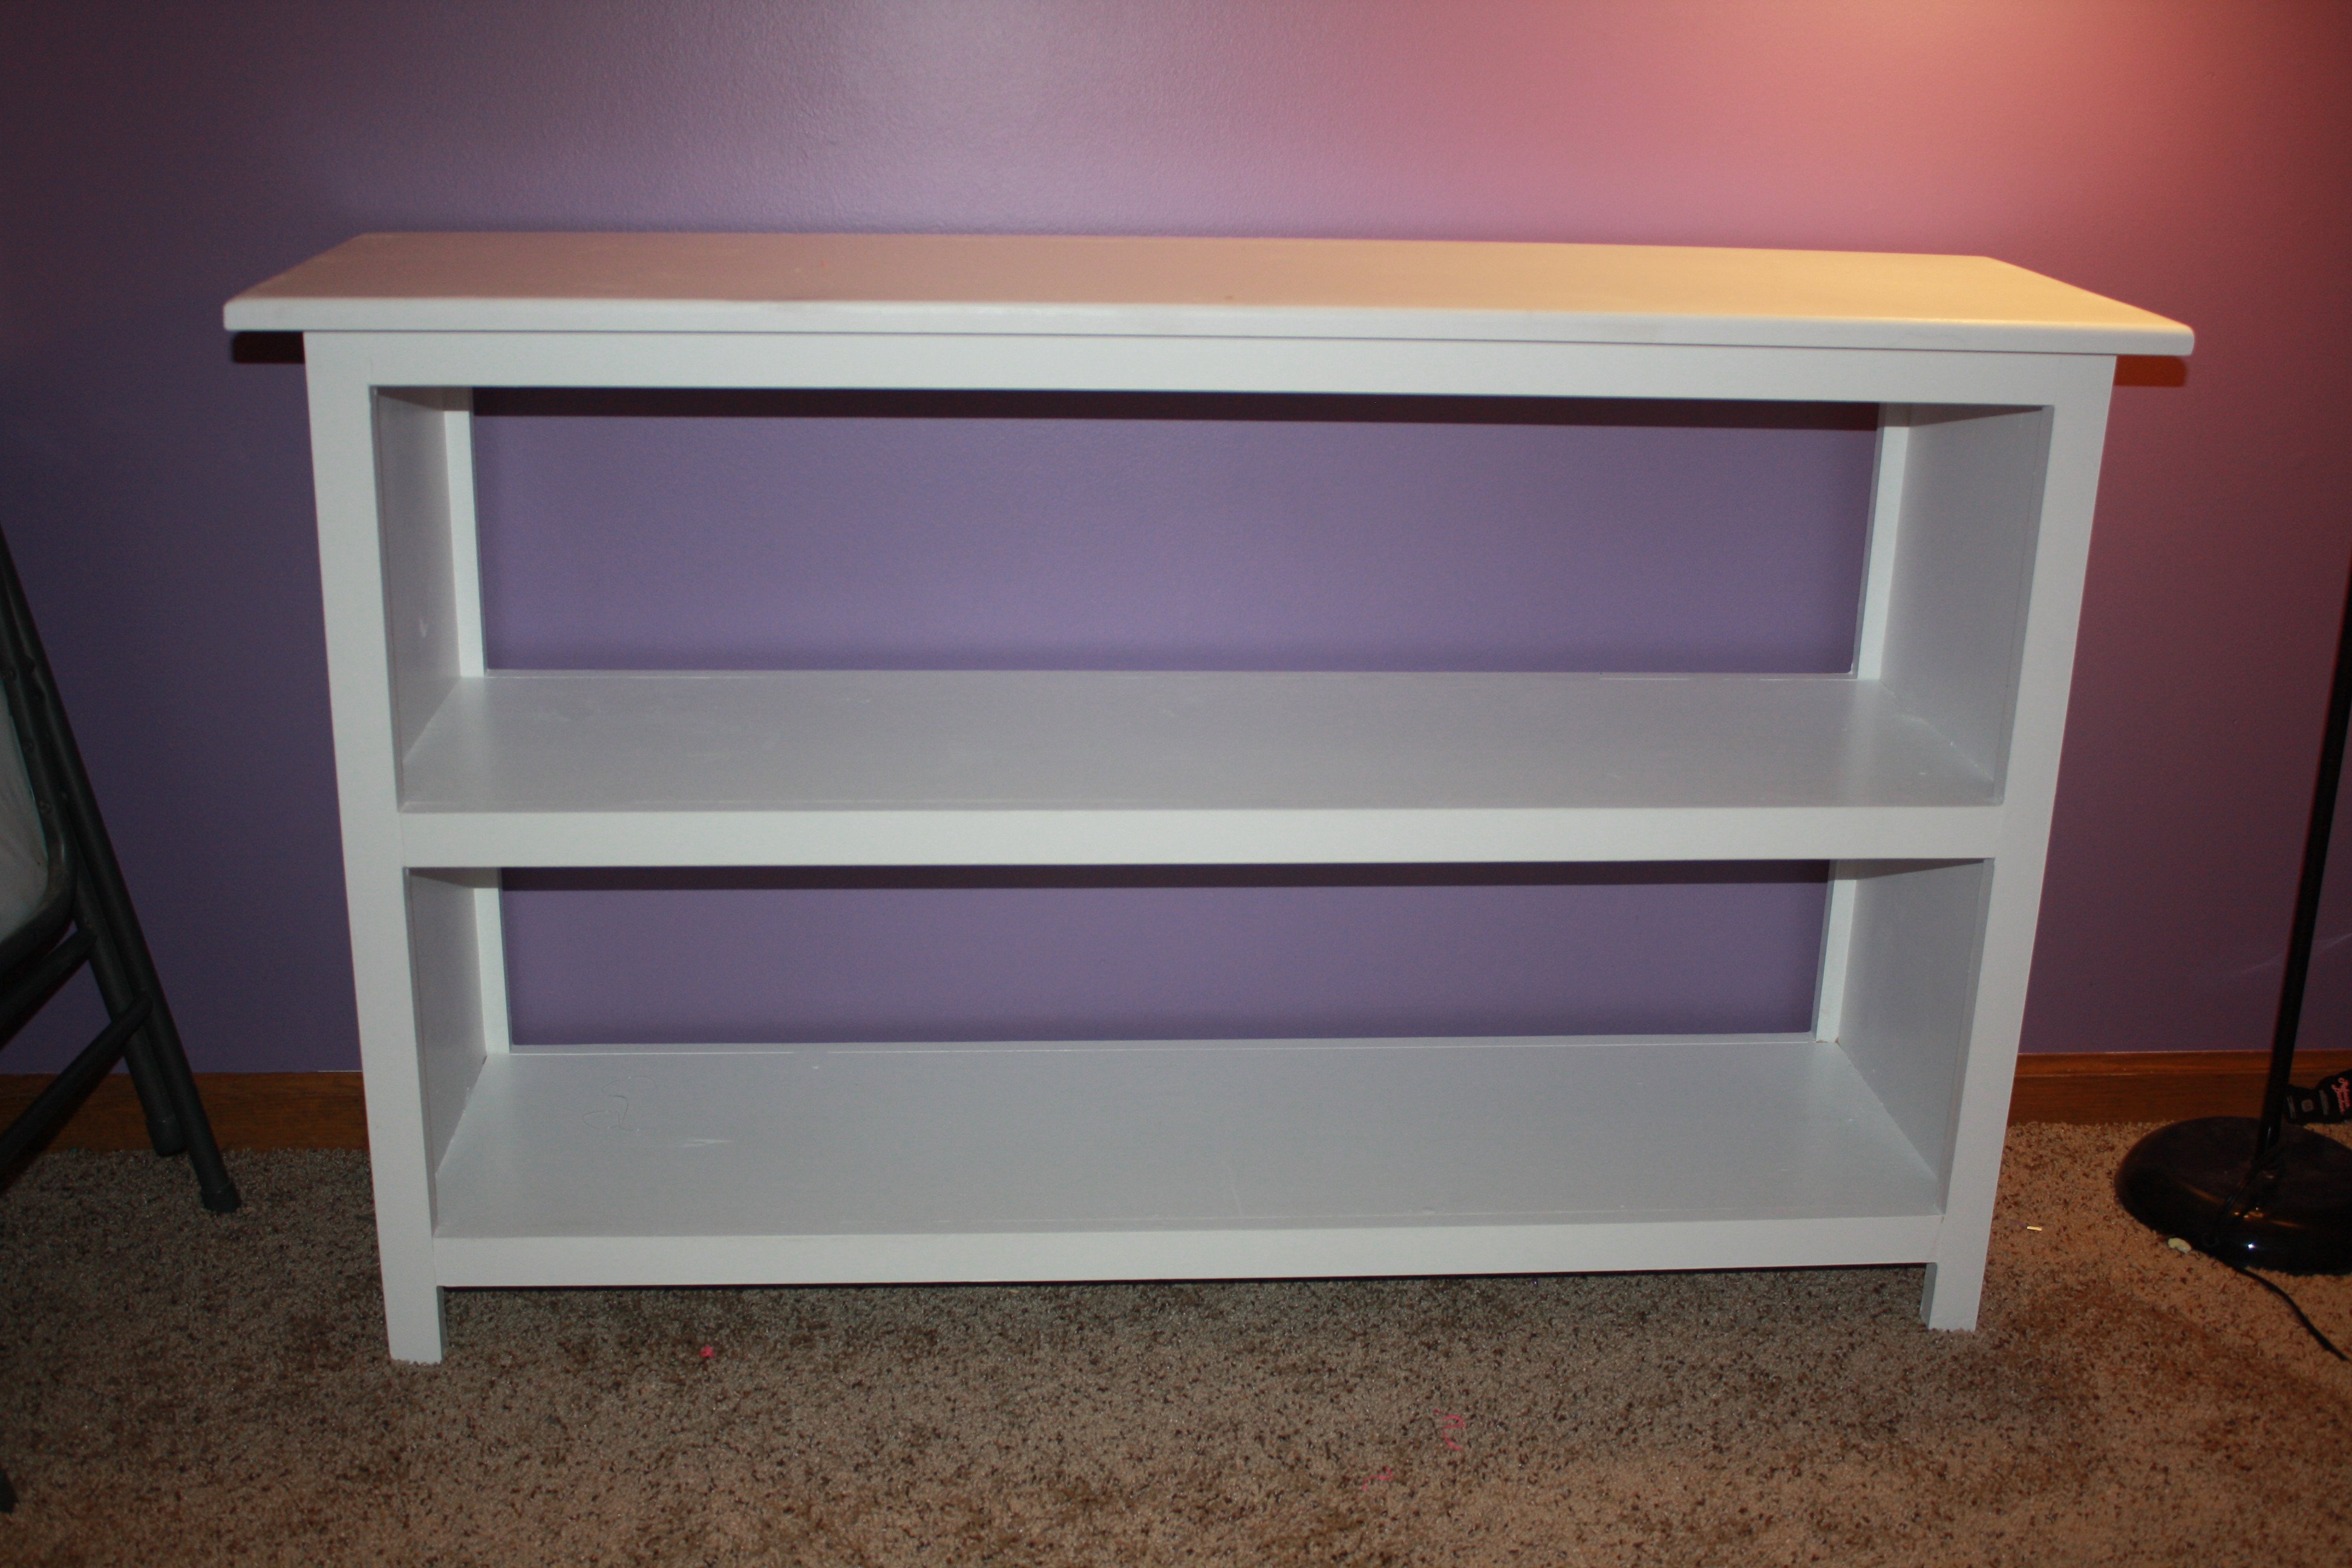
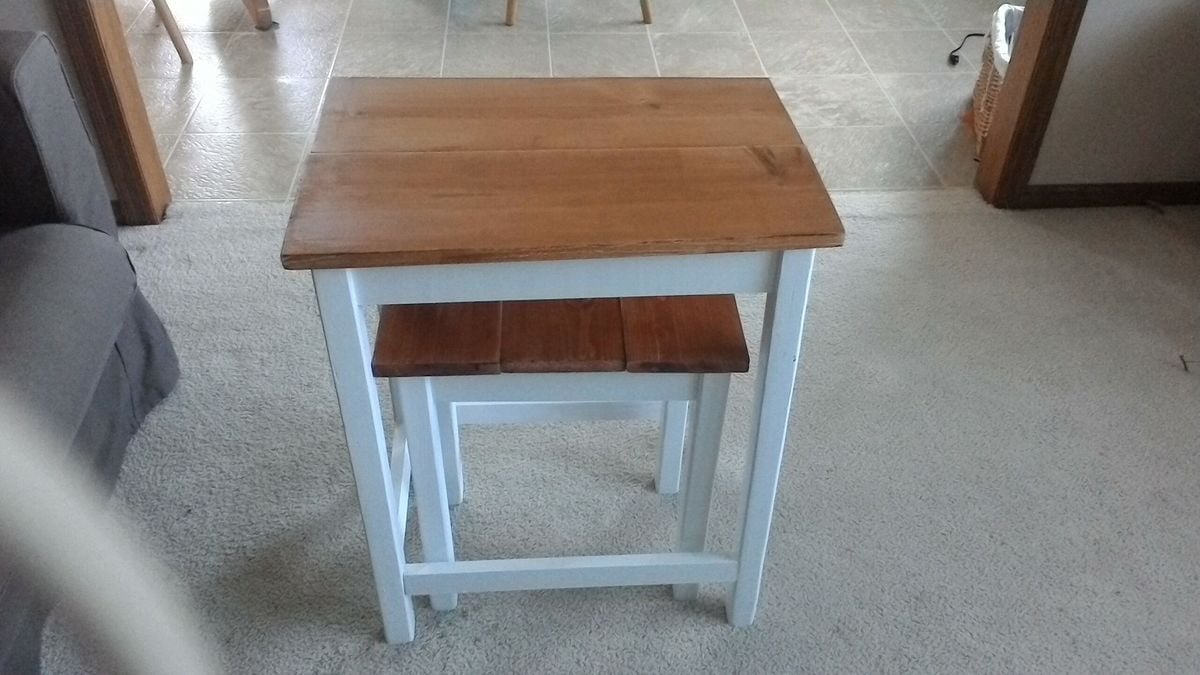
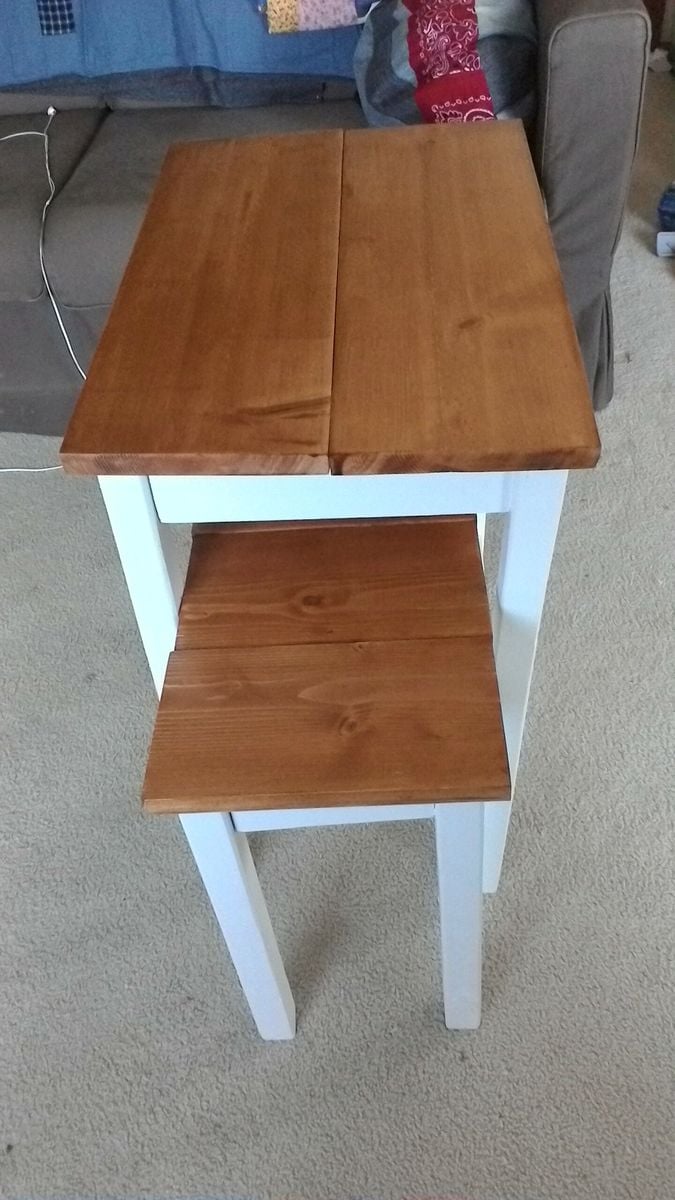
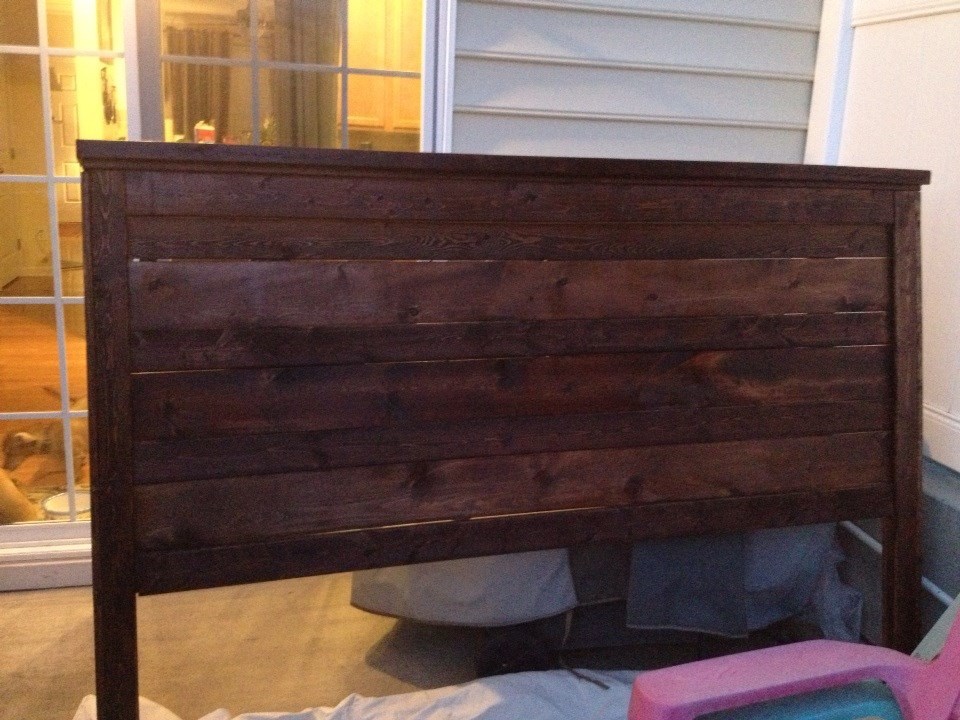
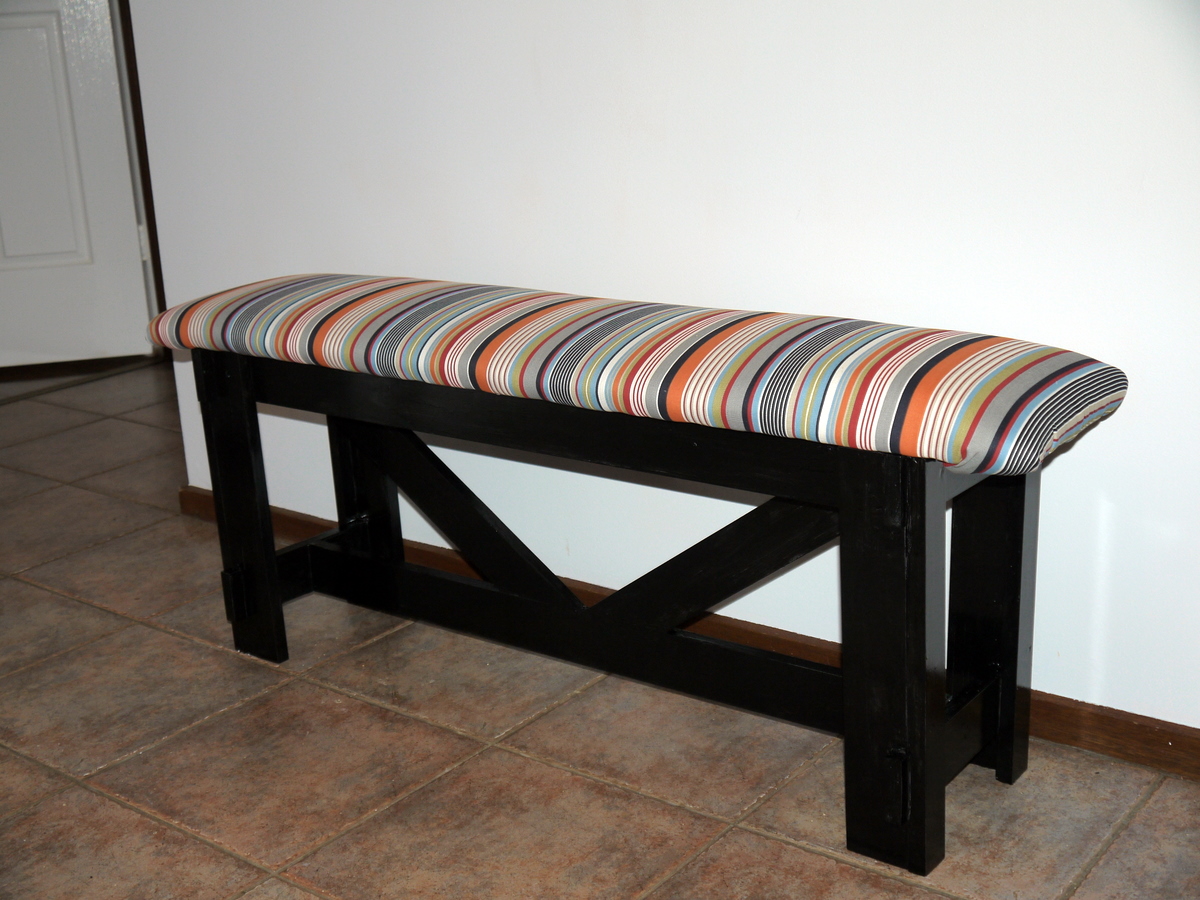
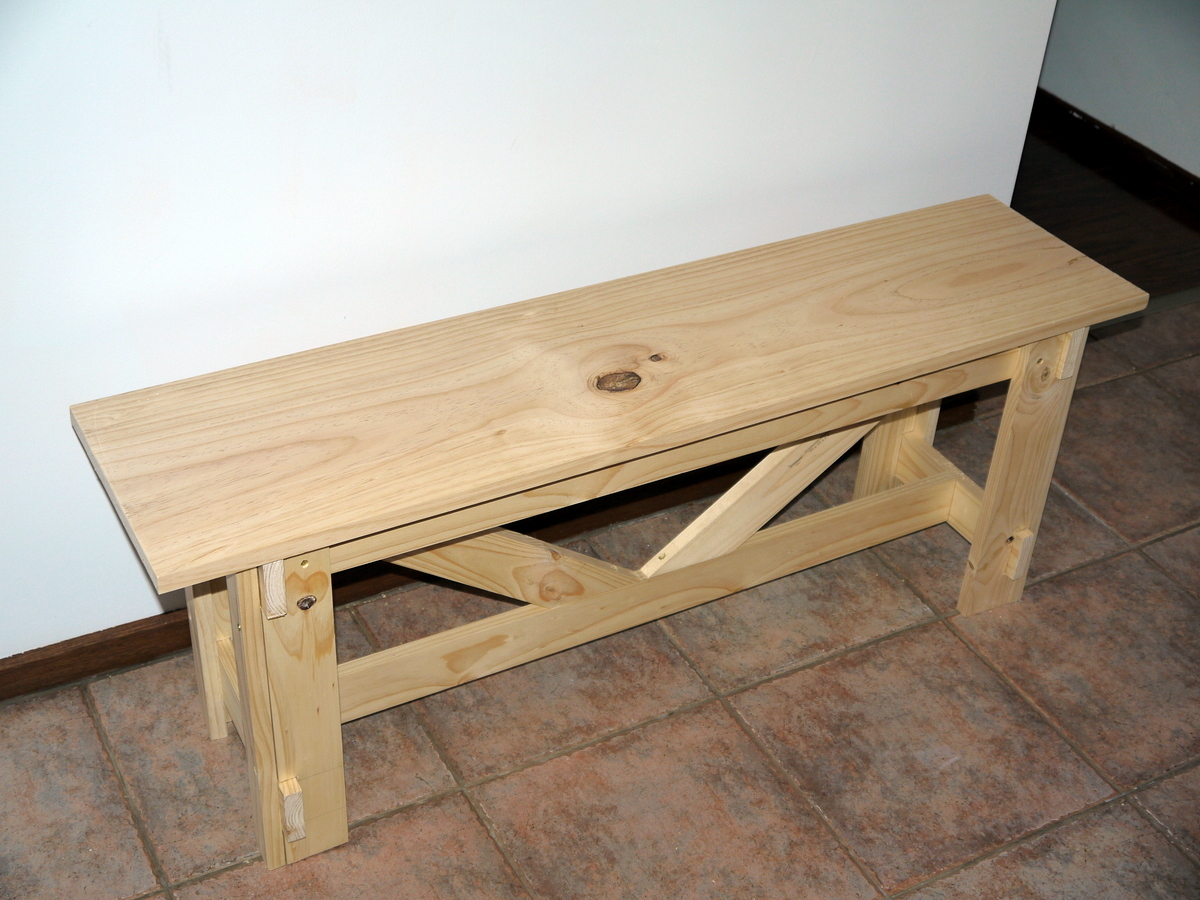
This is the first woodworking project I have done since high school (16 years ago!) and it's more ambitious than anything I attempted then!
It was easier than I thought on the whole, although I got a bit baffled by Australian standard timber sizes being totally different from USA ones. (The guy at the timber yard was all "One WHAT by two WHAT?") And because I couldn't find a 1x12 longer than 47 inches, I had to make the bench slightly shorter. I didn't anticipate how incredibly hard that would make it to calculate the cross support angles. (It's not just trigonometry, because there are multiple possible solutions).
It was the first time I've tried to upholster anything, too, so it's a bit wrinkly at the corners, but I'm happy with it.
I think the painting took the longest. I built the bench in one afternoon, but I had to do four coats of paint (and one of primer), each of which took nearly 24 hours to dry, so it took forever to finish.
I made this little end table for my daughter-in-law to accompany the porch bench I made for her about 2 years ago. It's a simple little table but it does have one unique feature. My son and daughter-in-law cut down a large old cedar tree from in front of their house and gave me the wood. I thought it might be nice to build something for them from the tree so aI milled several pieces of the tree and let them dry in my shed for about one year. It took a while to run the wood through the planner to get it just right. I used the wood for the table top and the wood grain looks just beautiful. In fact, I'm just now leaving to their house on Bainbridge Island to give them the table. I know she'll love it!
We had just moved into our new house and were using an end table for our TV stand I just didn't like it. I found this and modified it so it's shorter and fits in our room better. I also opted to not put doors on it and use it to display items instead. This was a relatively easy build and I'm learning new things with every build I make. It took about 2 days to complete not including filling holes/paint/stain. I love it, it looks so great in our room and I am planning on building end tables to match as well as replacing our buffet with movies in it to match also. Thanks for the easy-to-follow plans!