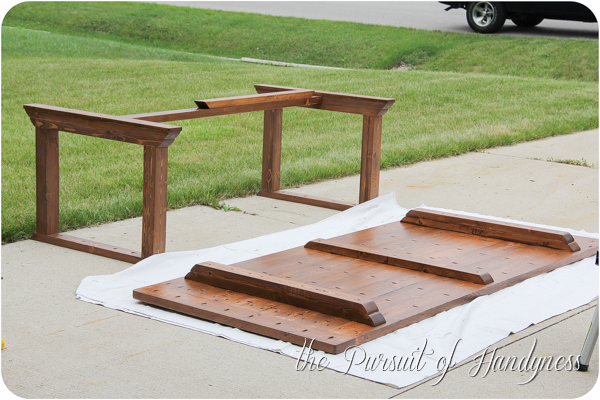
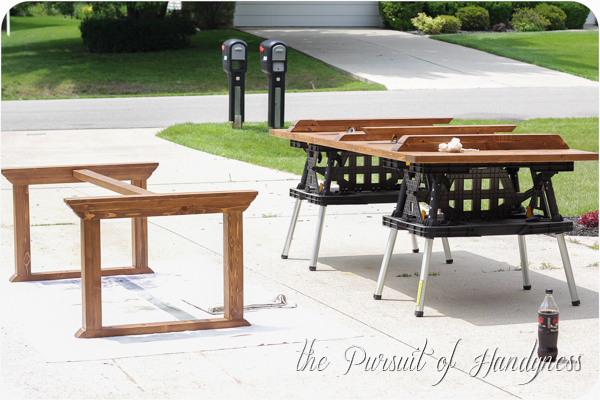
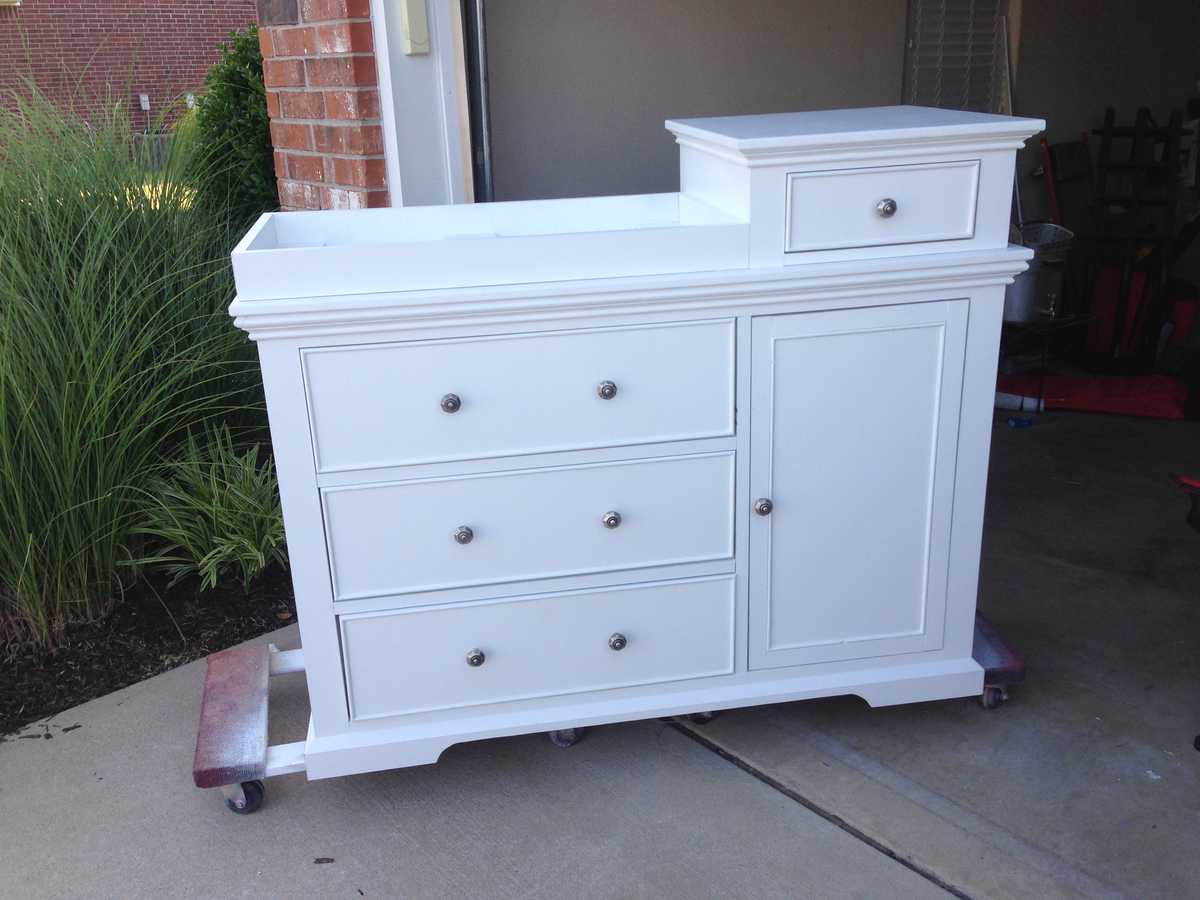
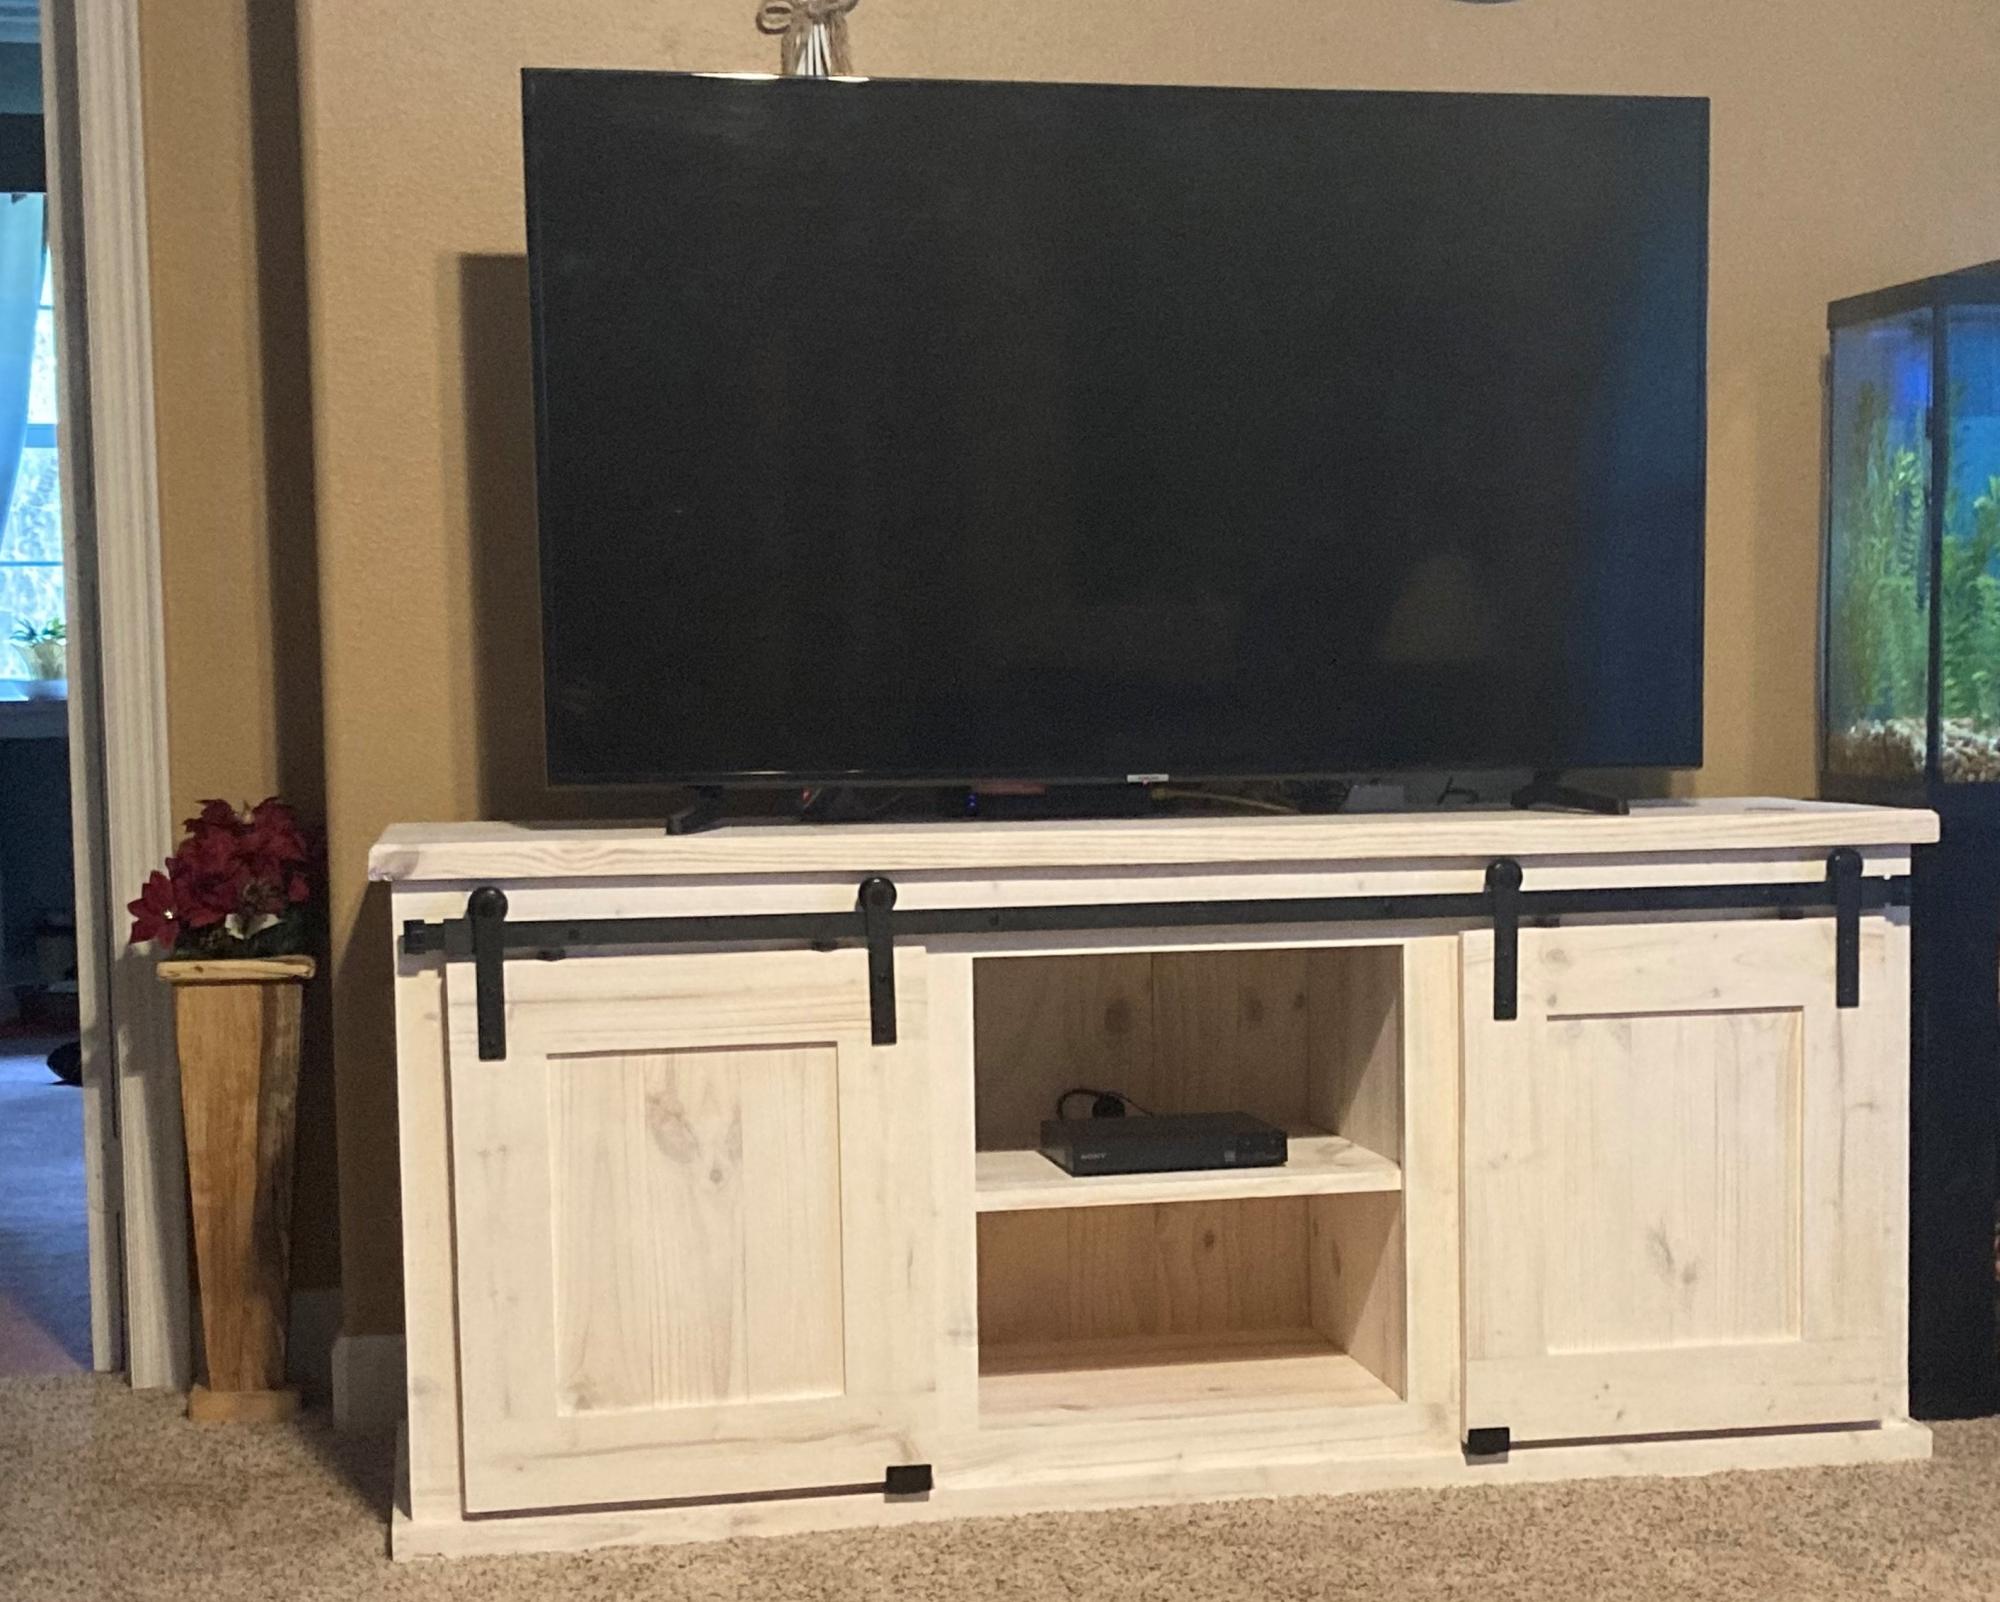
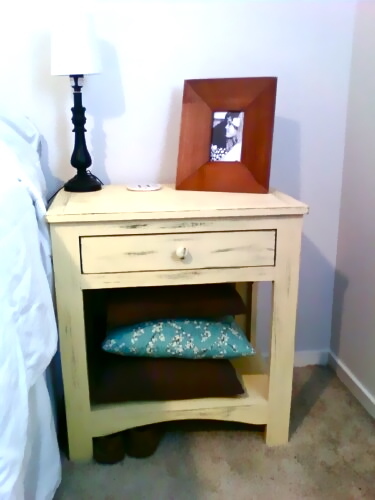
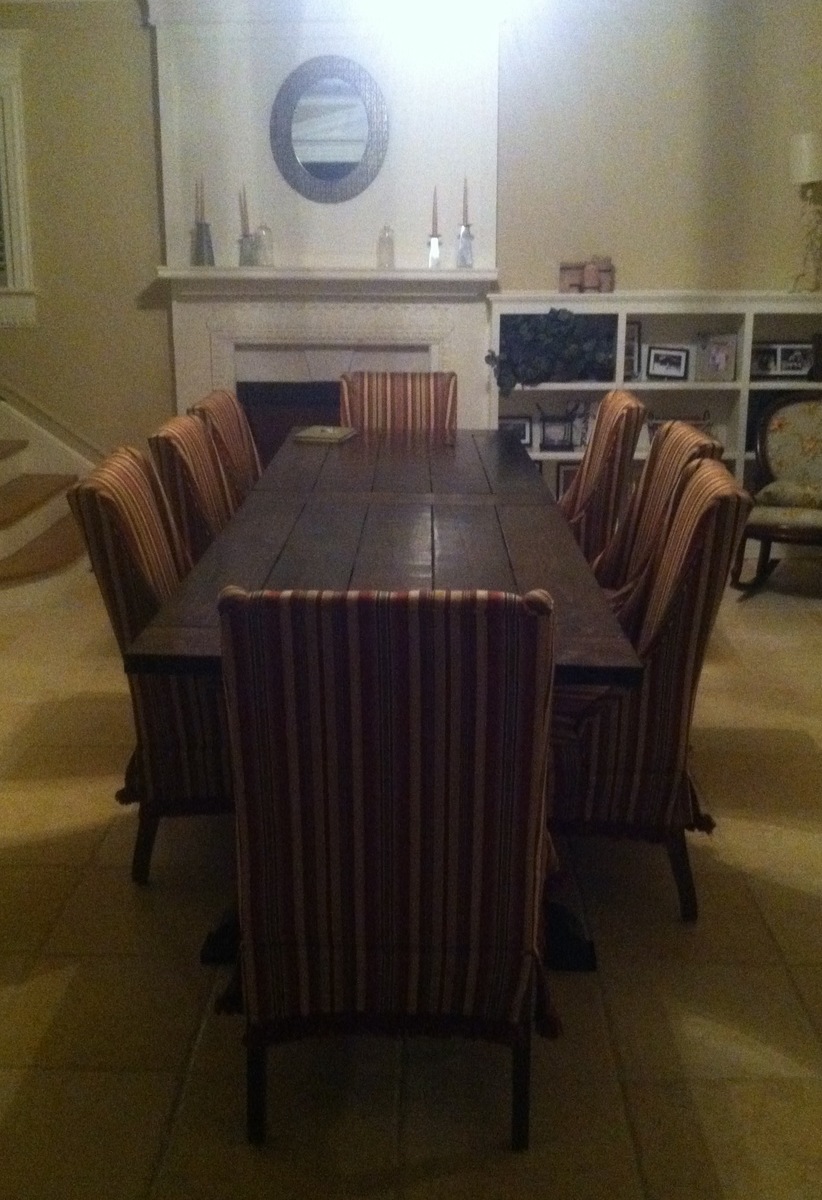
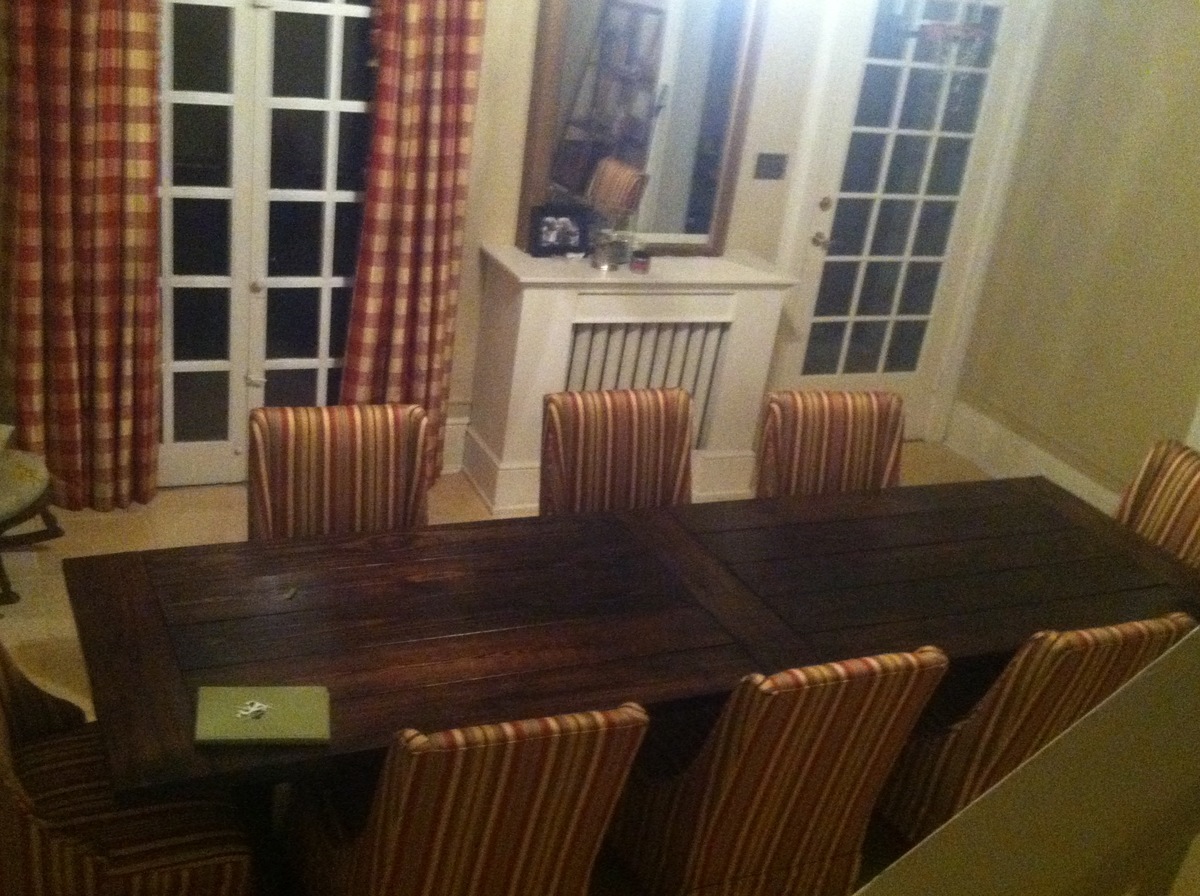
My wife liked the PB Larking High/Low table, but I didn't like the price. Took about 3 weeks of evenings and weekends.
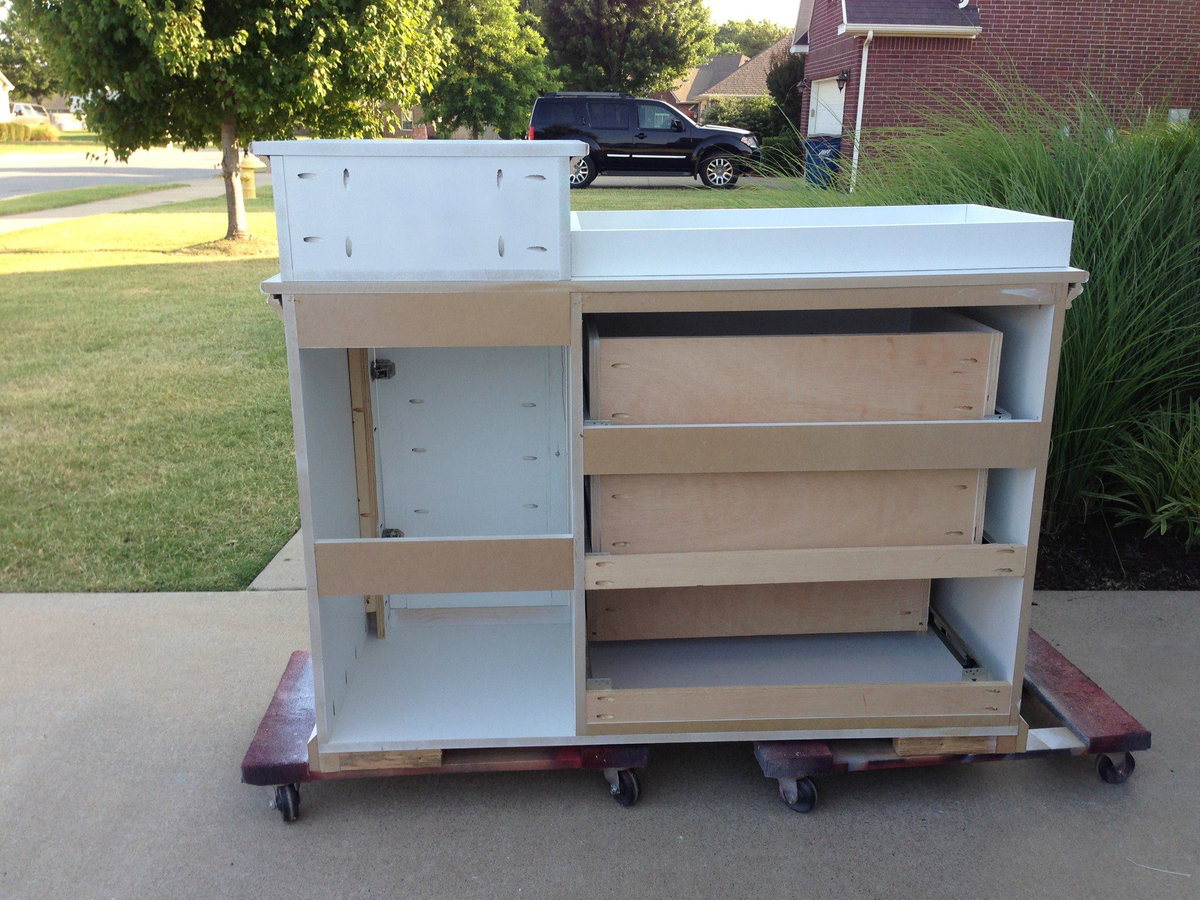
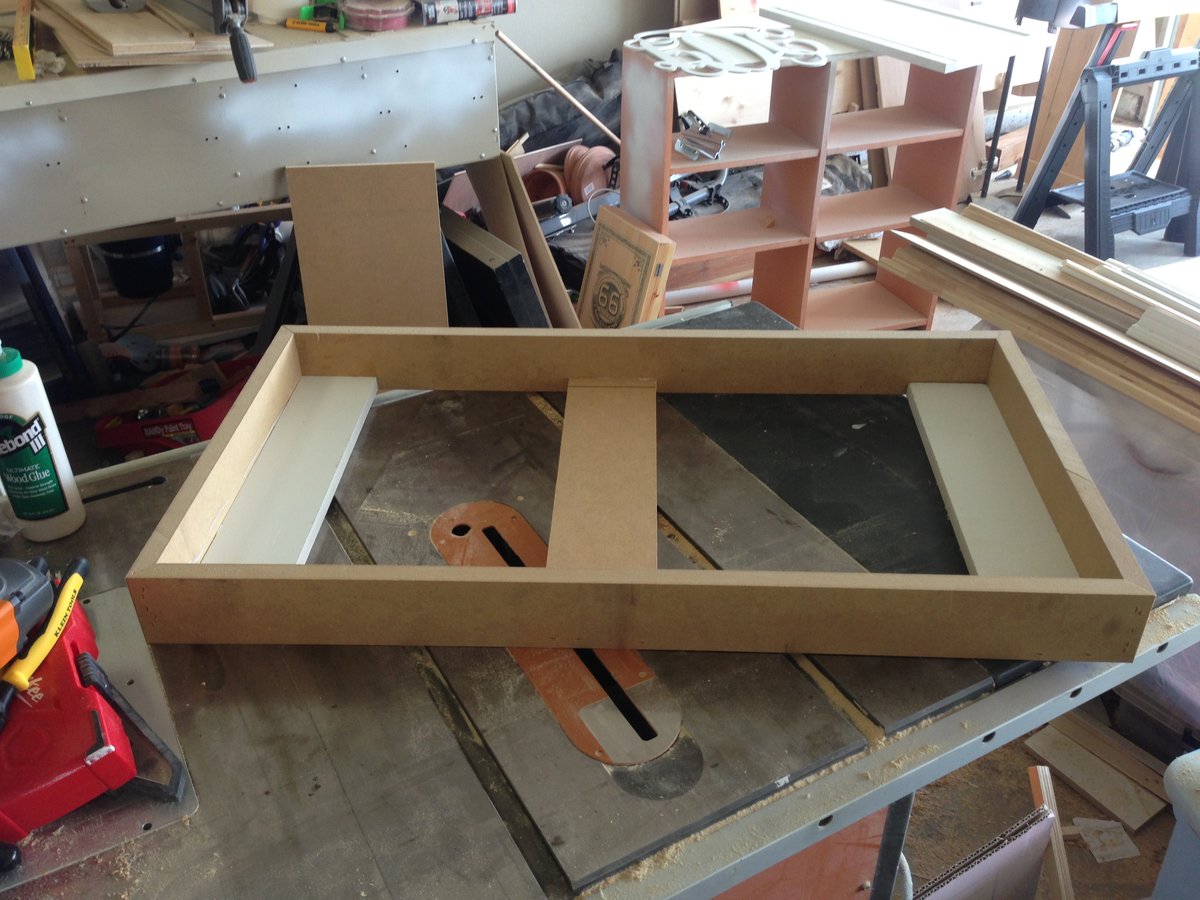
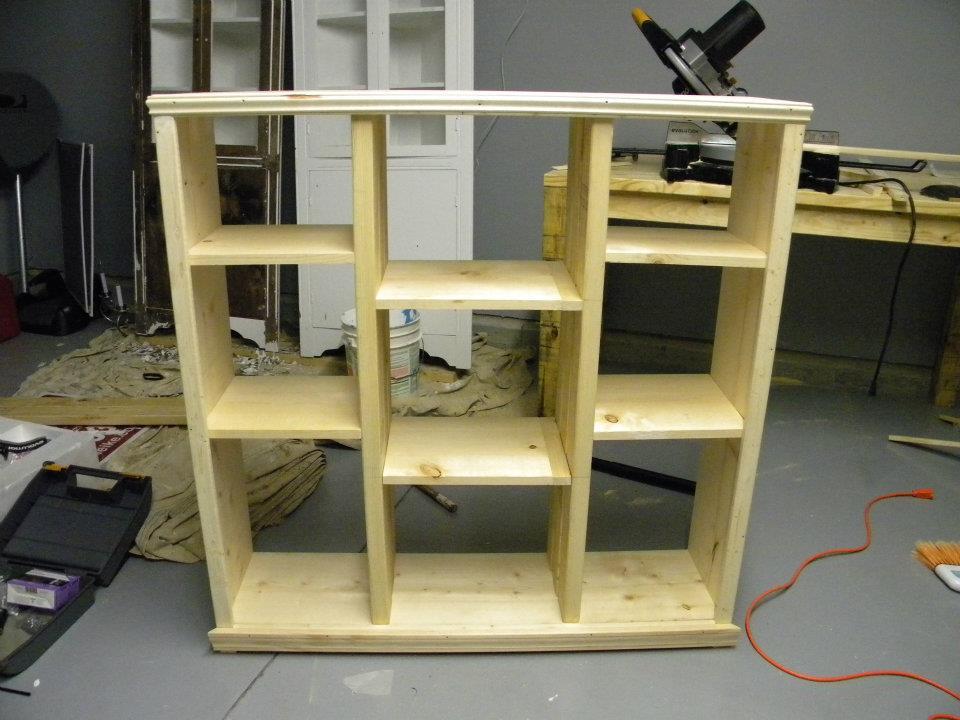
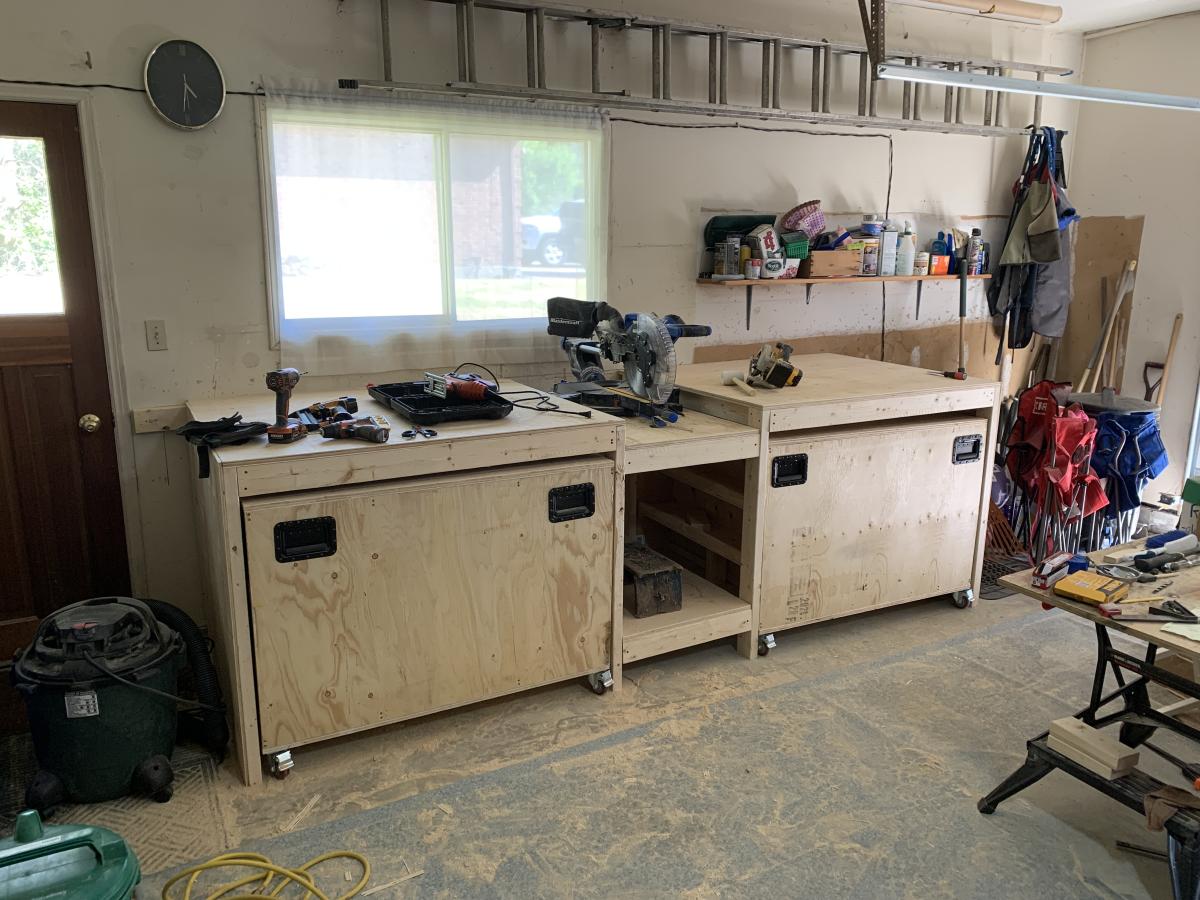
Used 3/4" MDF Panels for sides, bottom, and top
used 3/4" select Pine for face frame
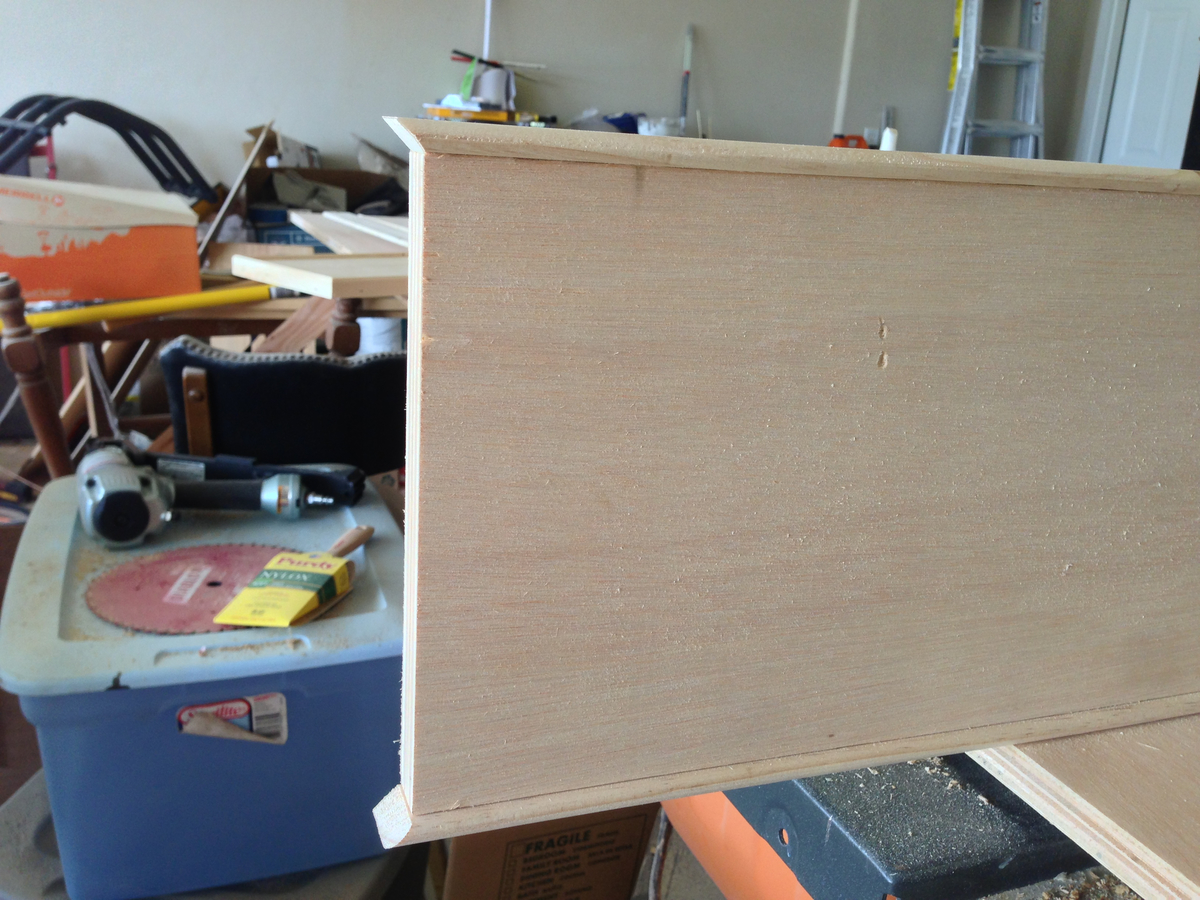
used 3/4" smooth plywood for drawer faces.
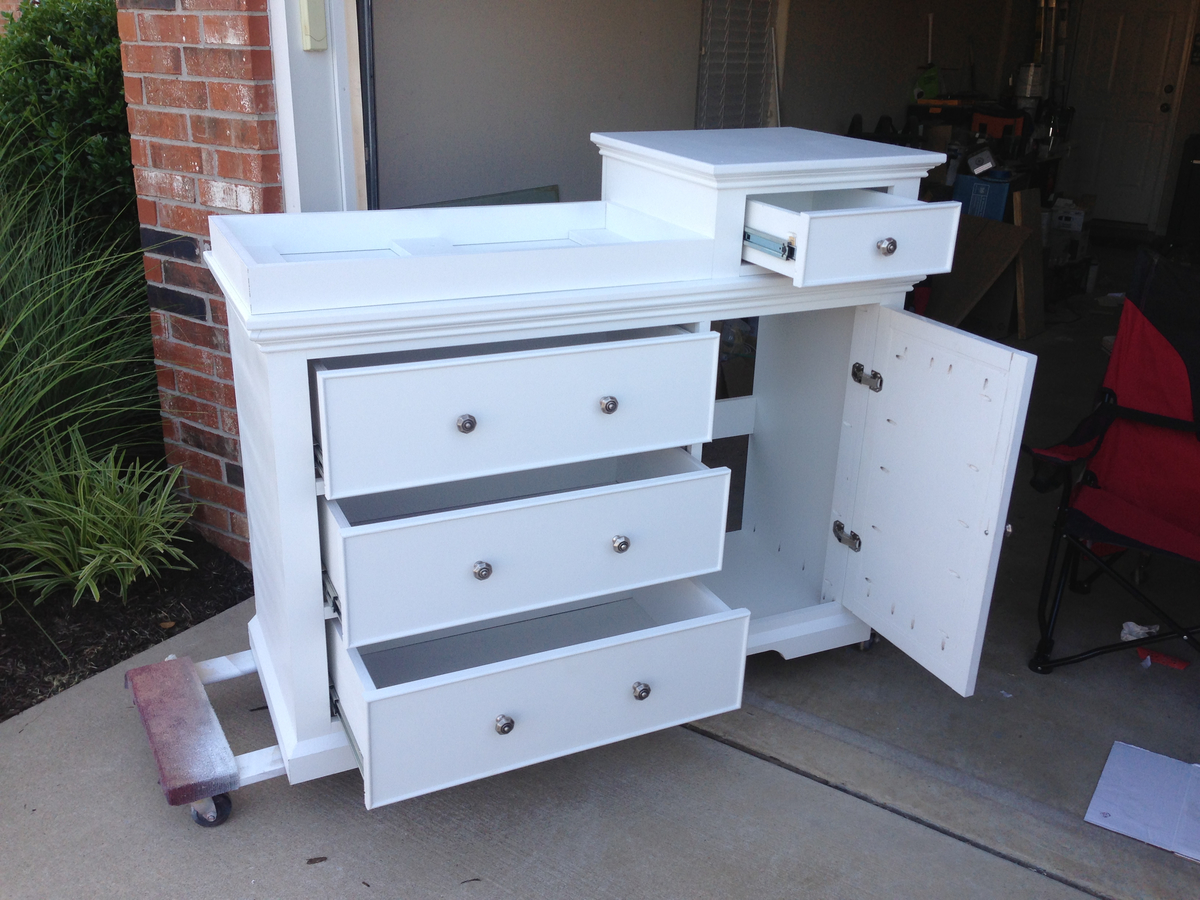
cut additional pine strips at 15/16" and then routed one edge for trim work around drawer face.
same process for right side door, but added 1 1/2" pine to trim along sides and bottom
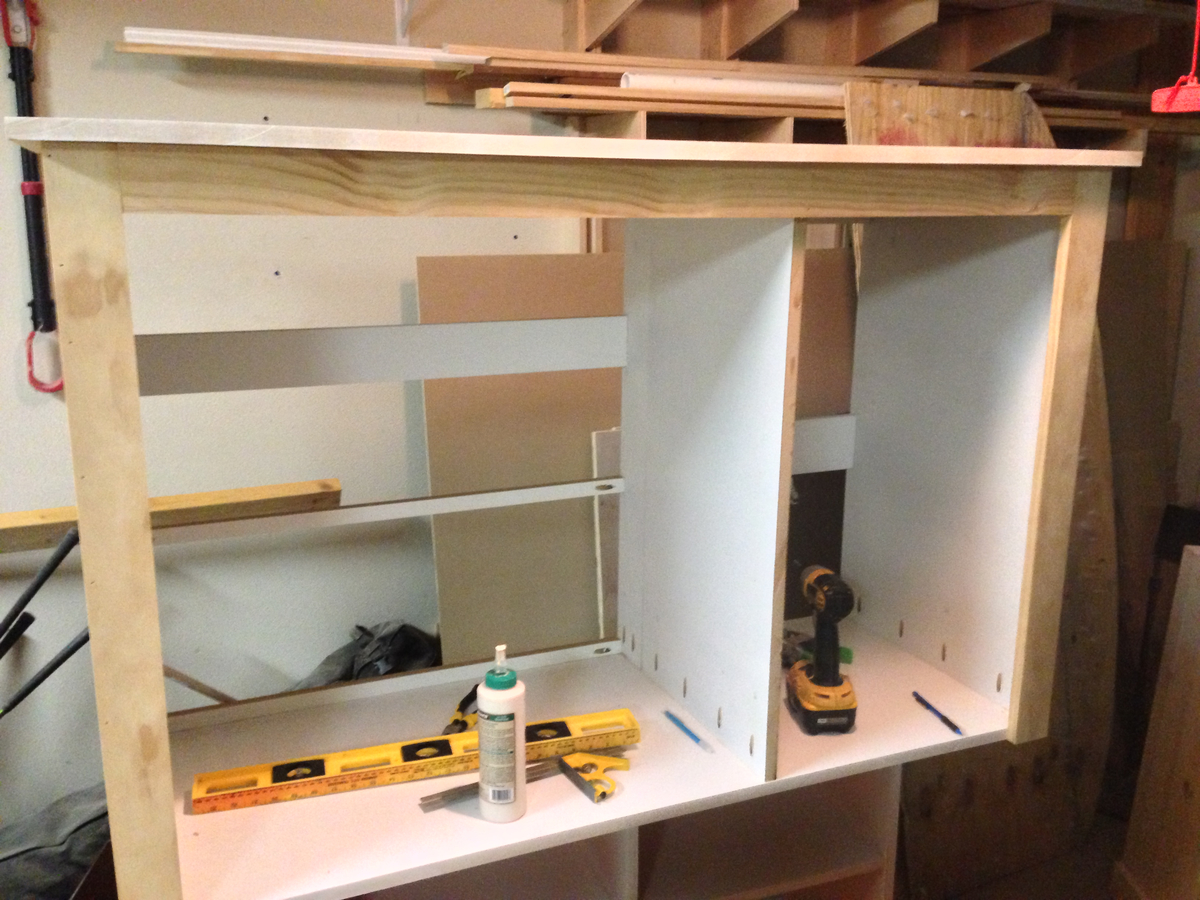
Attached 2x4's to bottom of table and then covered with MDF panel for skirt.
Skirt is an 1/8" raised from floor to give space for carpet and not cause stress on skirt
used a jig saw on front of skirt for cutout
used decorative molding for under the table top lip, you'll need to figure out your overhang for whatever molding you use.
Used MDF for the changing pad holder. about 3 inches tall and then cut to dimensions of pad.
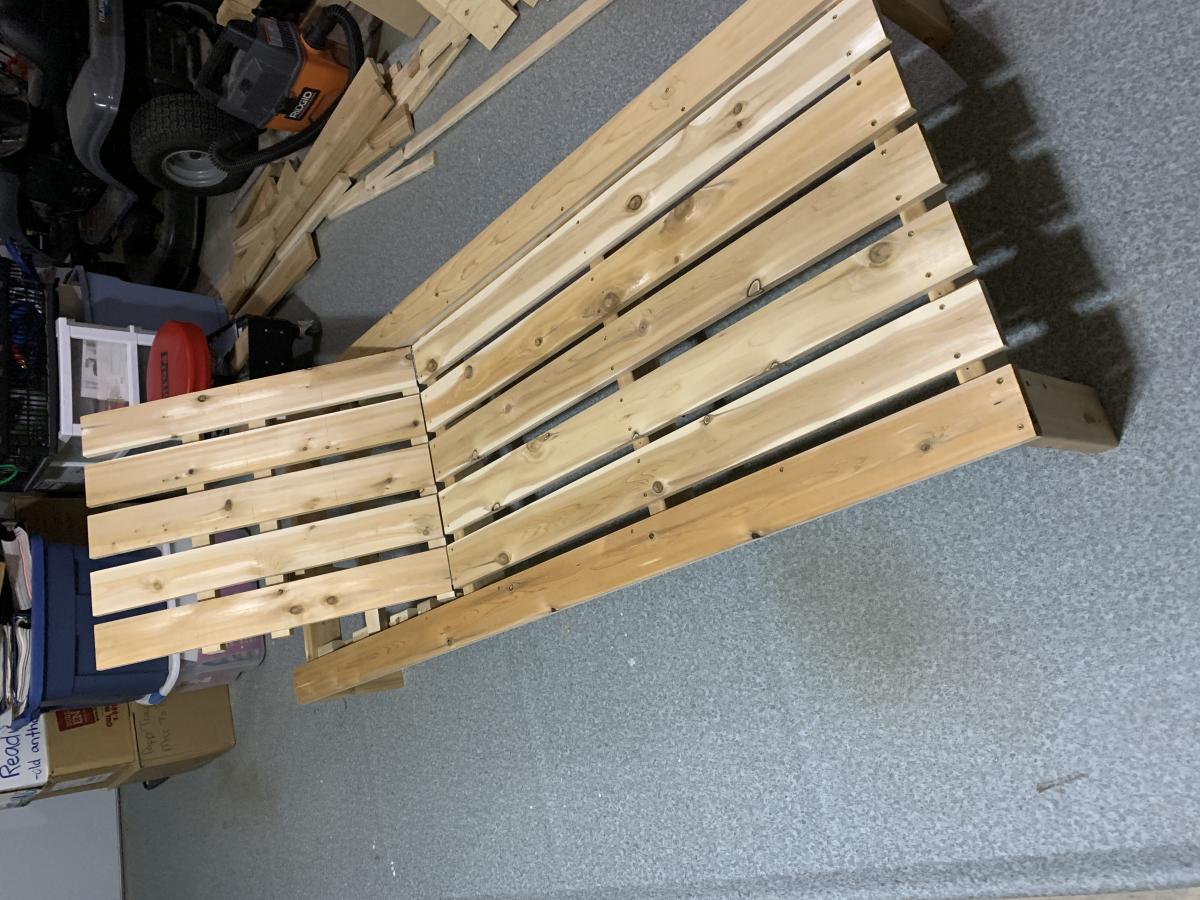
Topper on the right is just a miniature of the full table, from a contraction perspective.
My dimensions are slightly customized from the below.
Changing Table
Overall: 55" wide x 21" deep x 44" high
Dresser Cabinet: 15" wide x 19" deep x 23" high
Dresser Drawer (3): 31" wide x 18" deep x 7" high
Small Top Drawer (1): 11.5" wide x 15" deep x 5" high
Topper
Overall: 34" wide x 17.5" deep x 3" high
Topper drawer inside small cabinet: 16.5" wide x 11.5" deep x 5" high


Comments
AnnieGetYourDrill
Sun, 08/11/2013 - 19:20
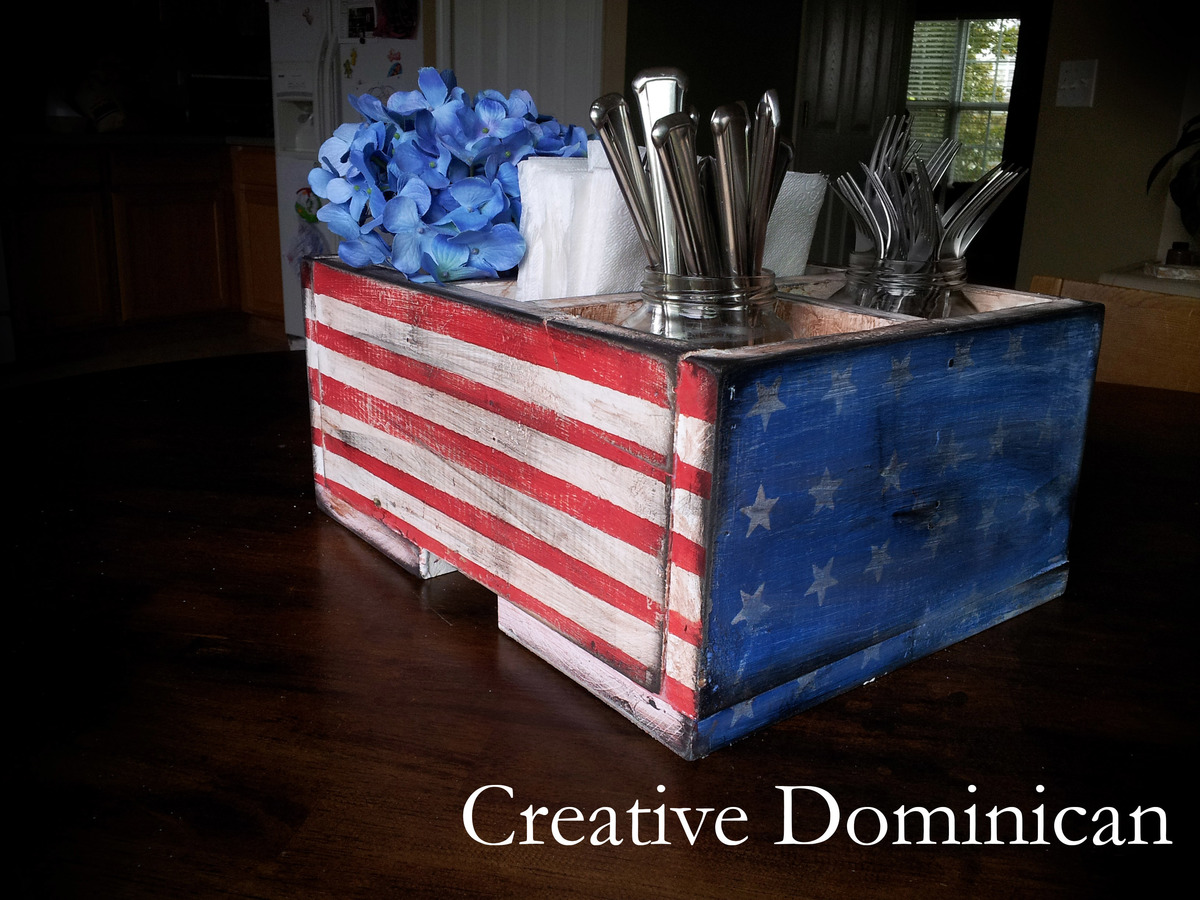
I love how you modified the
I love how you modified the compartments fit the napkins!