Community Brag Posts

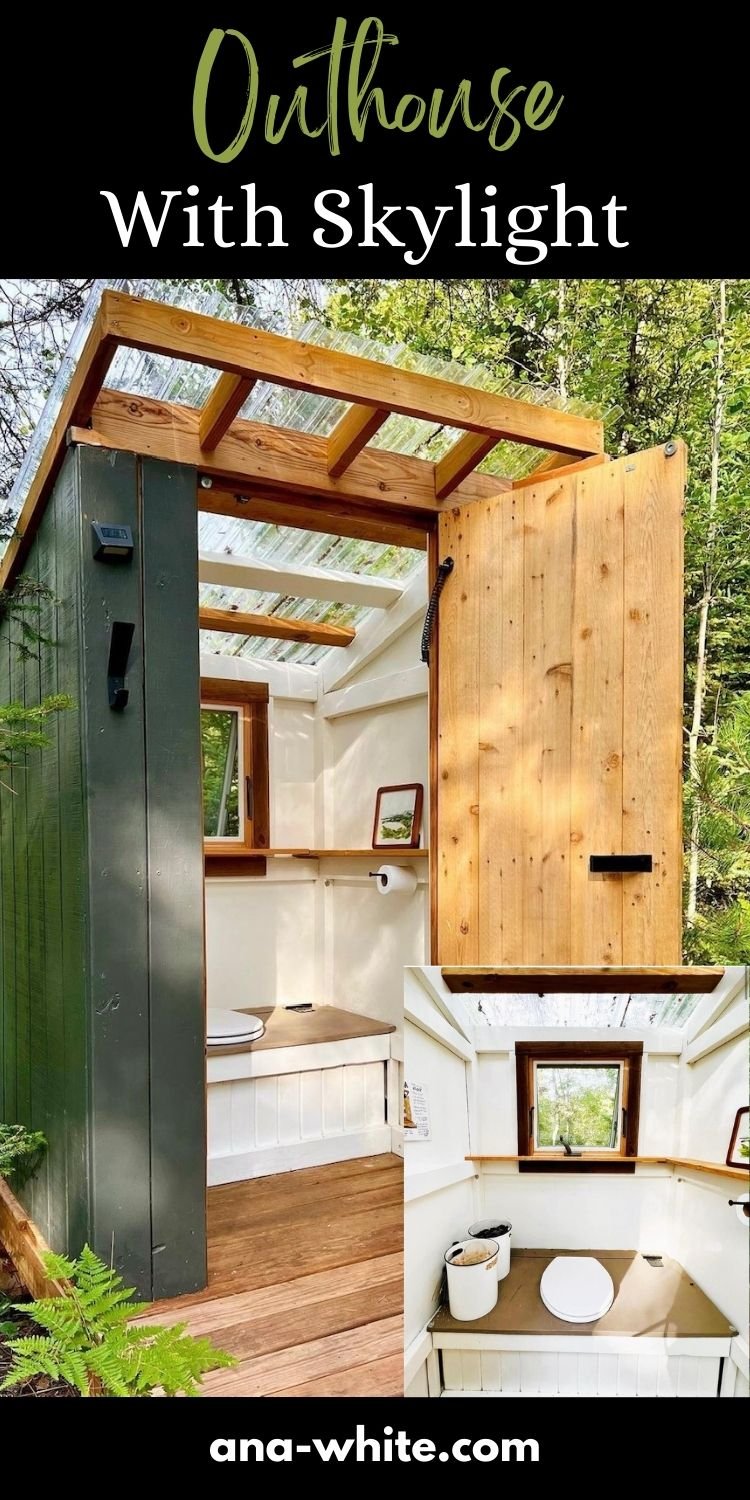
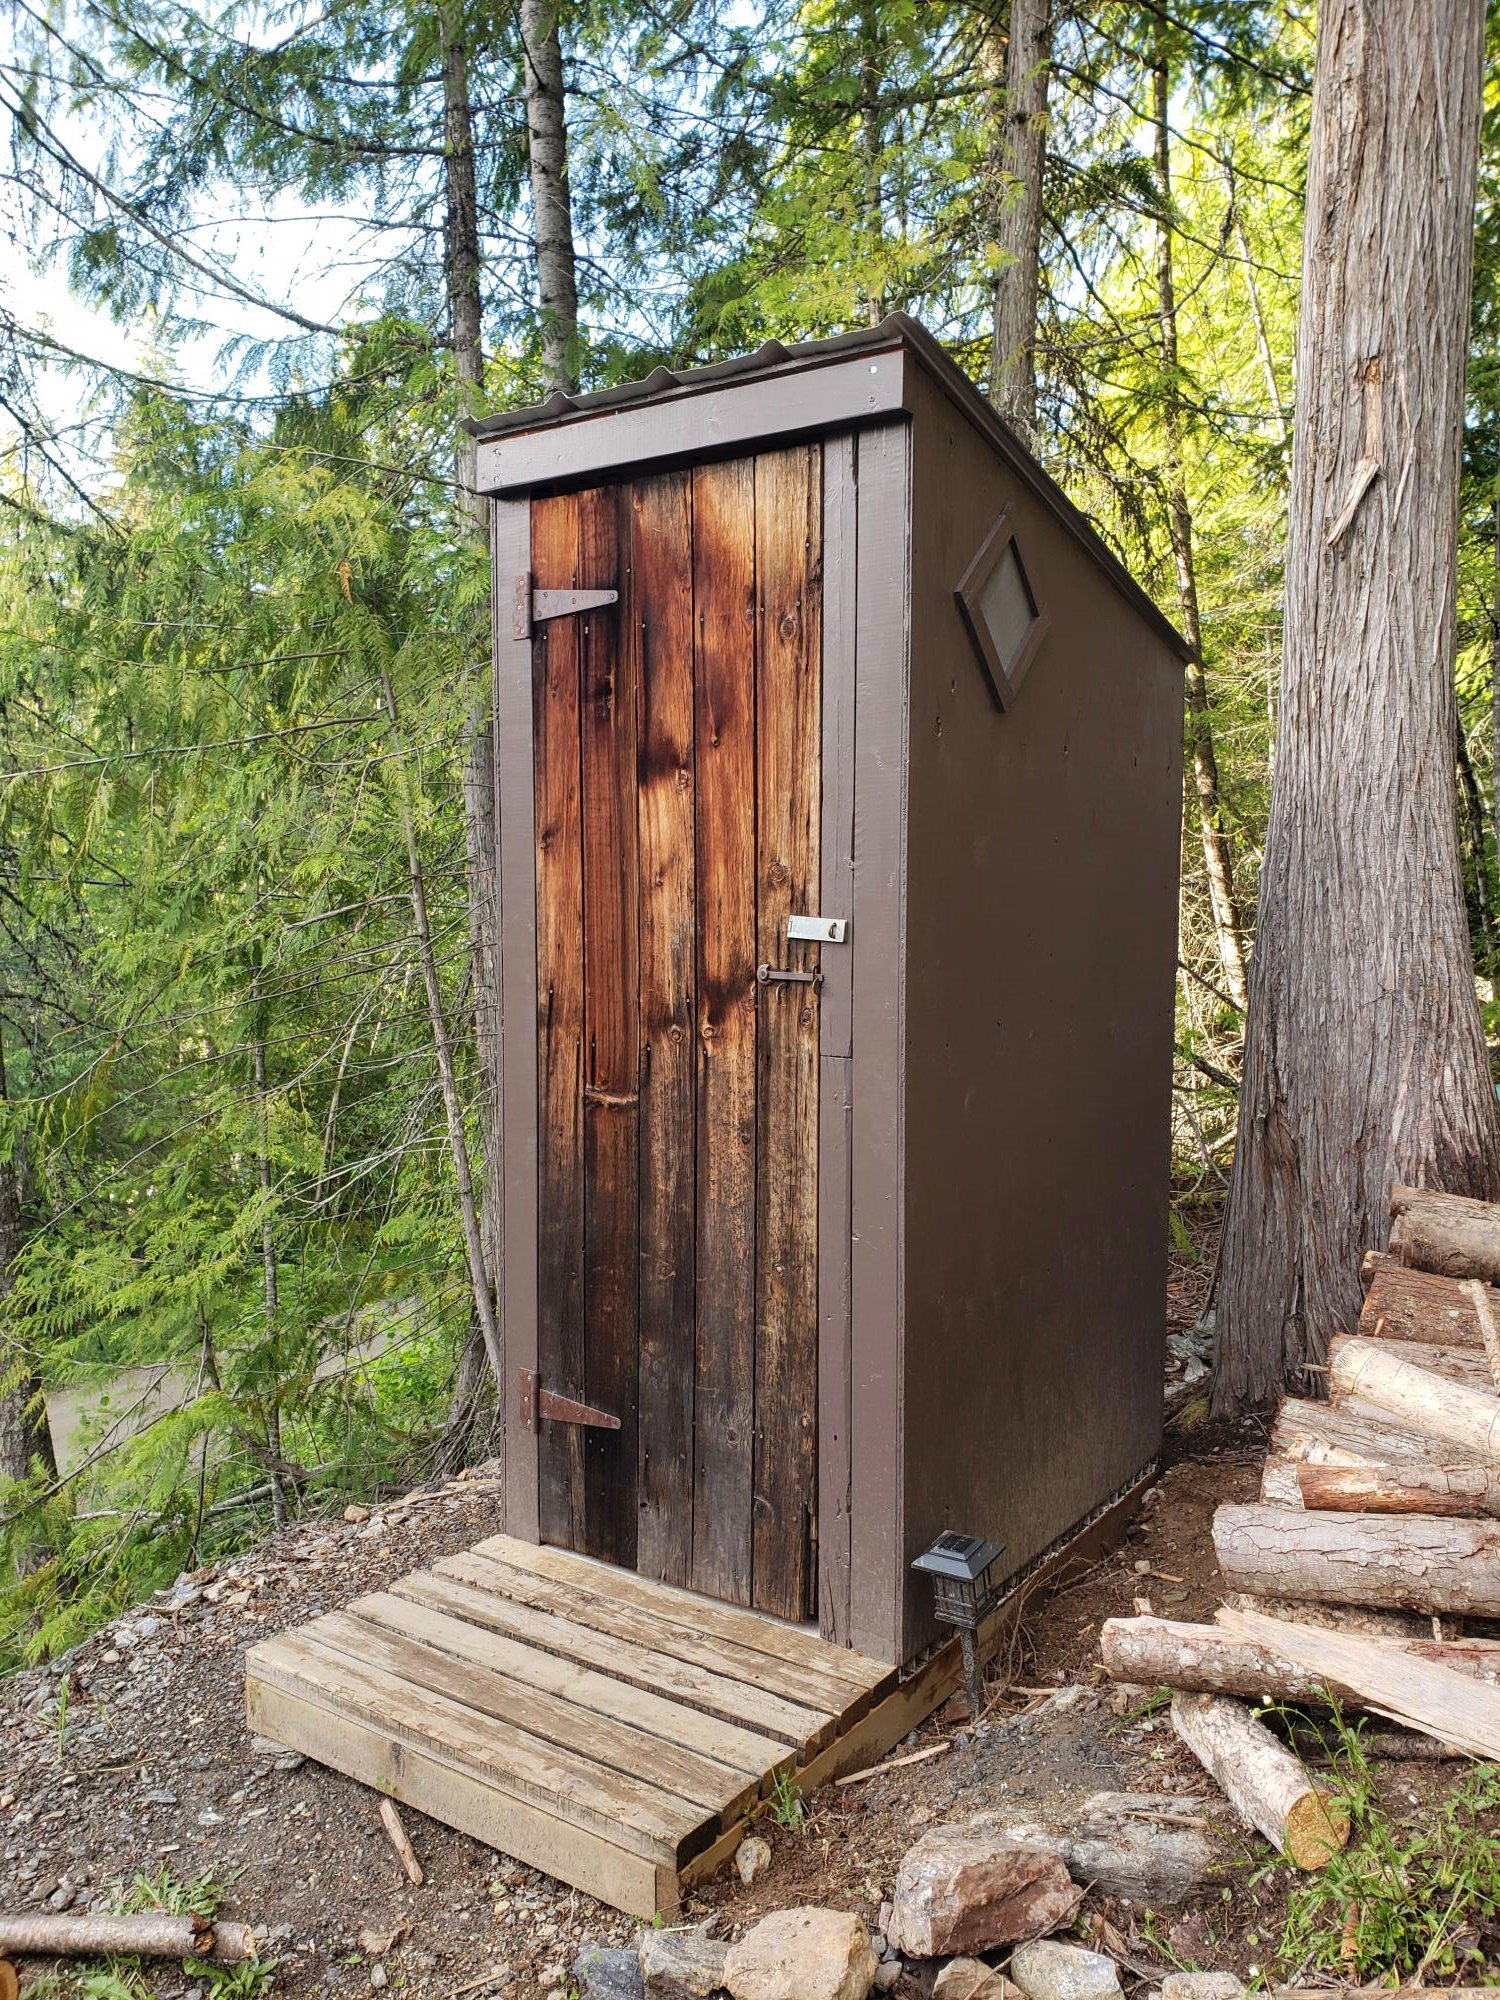
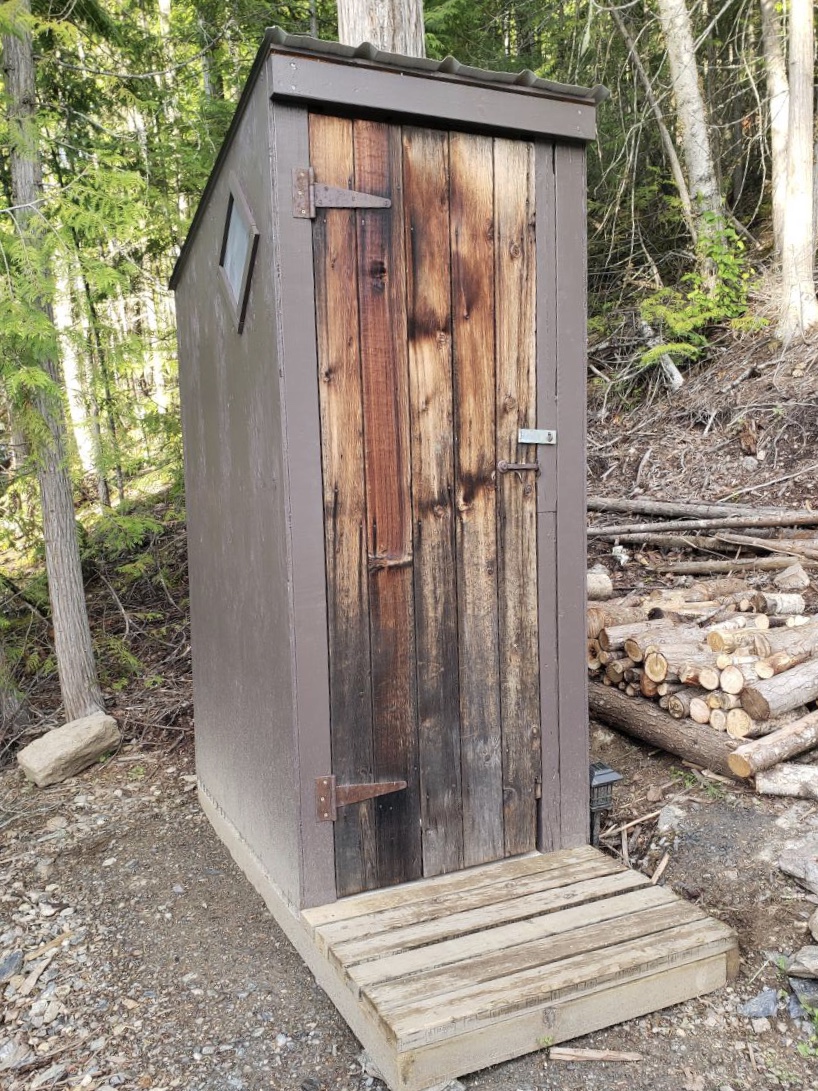
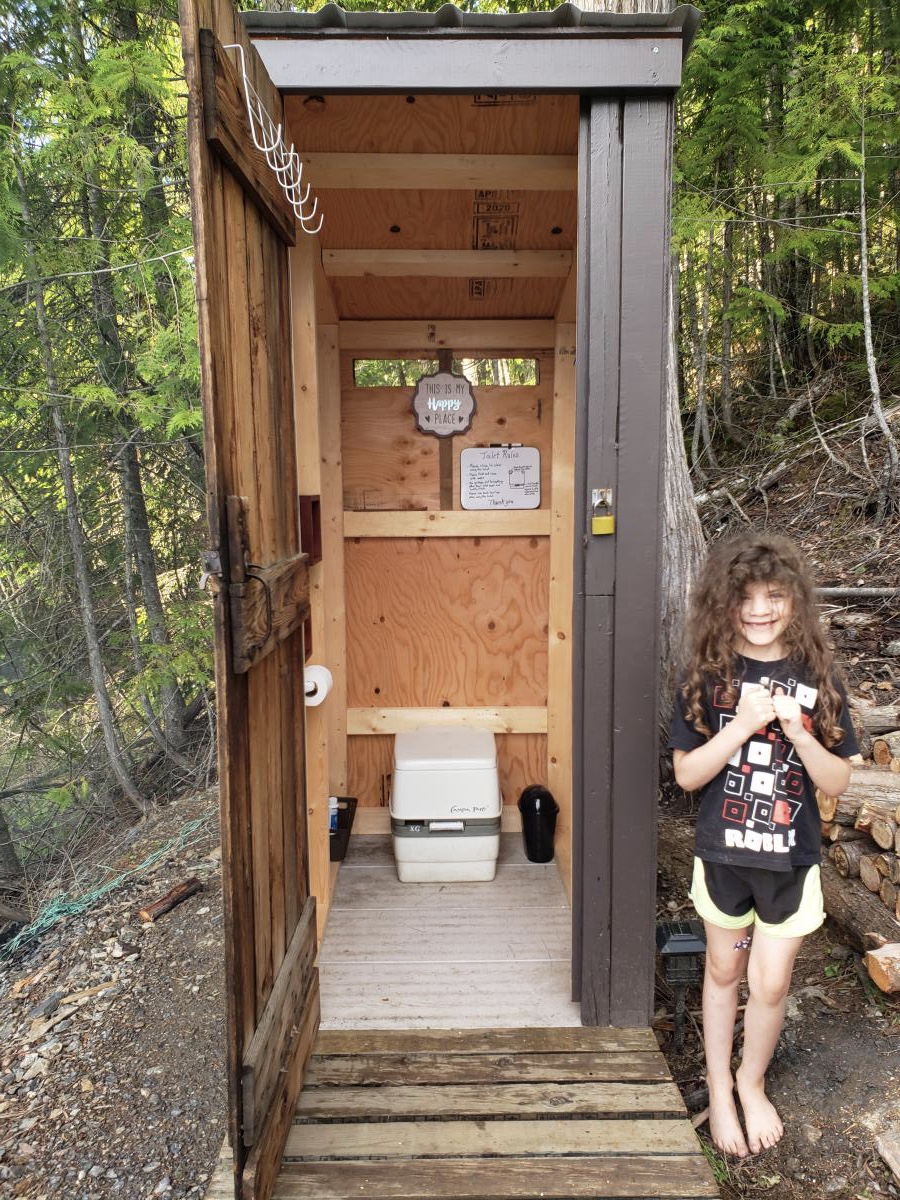
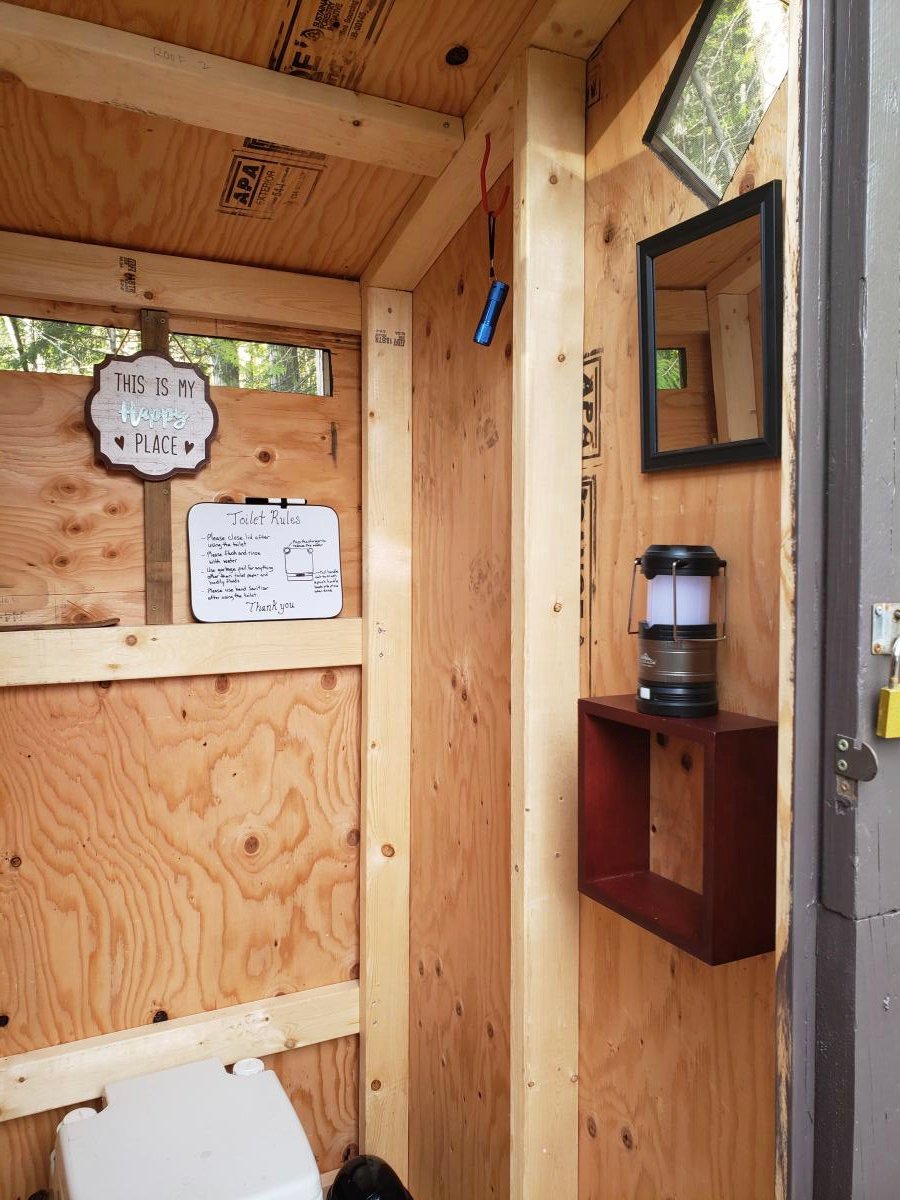
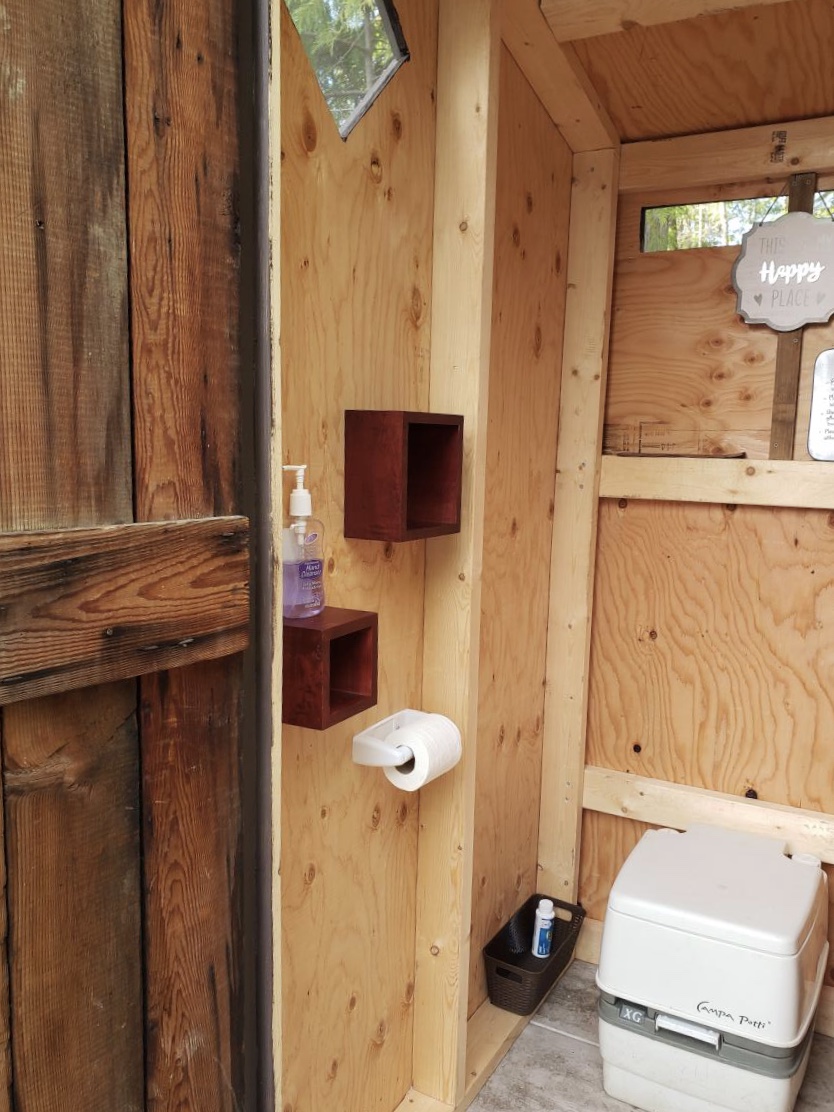
Outhouse with Skylight

Submitted by Anonymous (not verified) on Fri, 08/04/2023 - 11:03

Our favorite throne in town.

My daughter and I built the outhouse in the snow a few years ago. Once the TwoGa was named after the Stuga, the outhouse quickly became “The PooGa” (aka “The Ash-Hole “🤣). We use ash in the winter and sawdust in the summer, to keep away the stink, which works like a charm.

This is an adaptation to an Ana White outhouse design.


Pin For Later!

Outhouse with Skylight

Built from Plan(s)

Comments

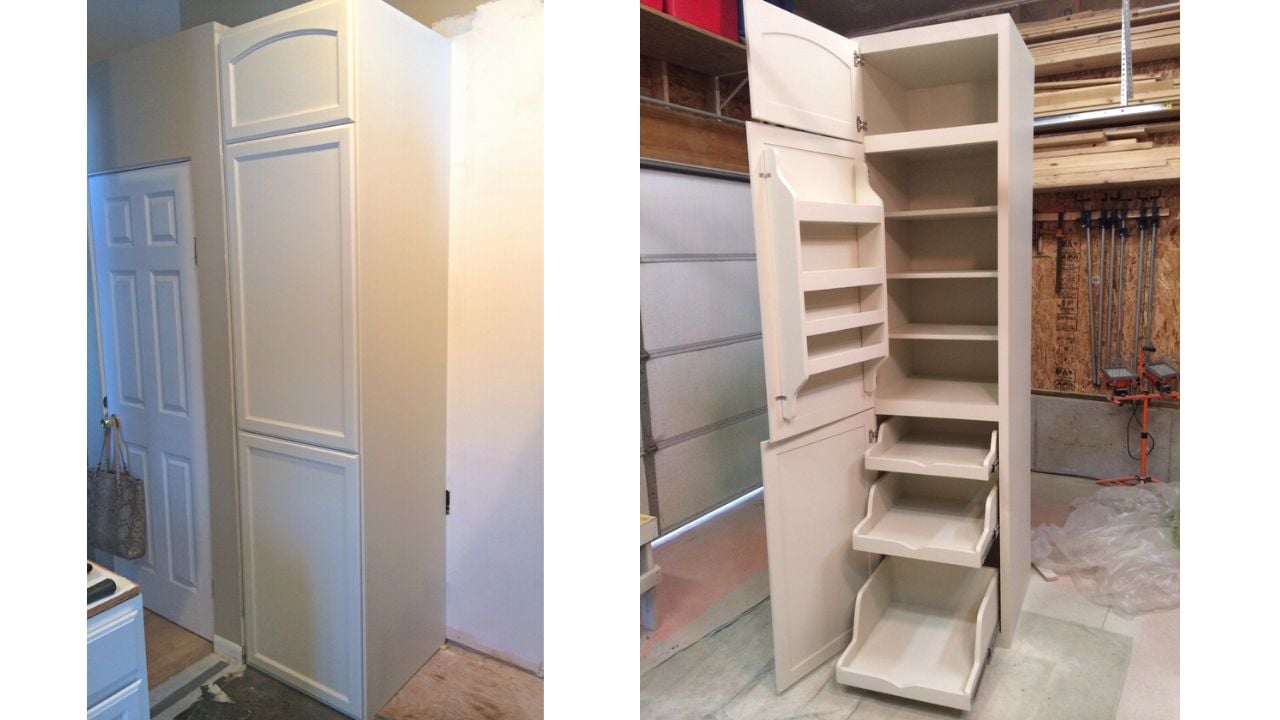
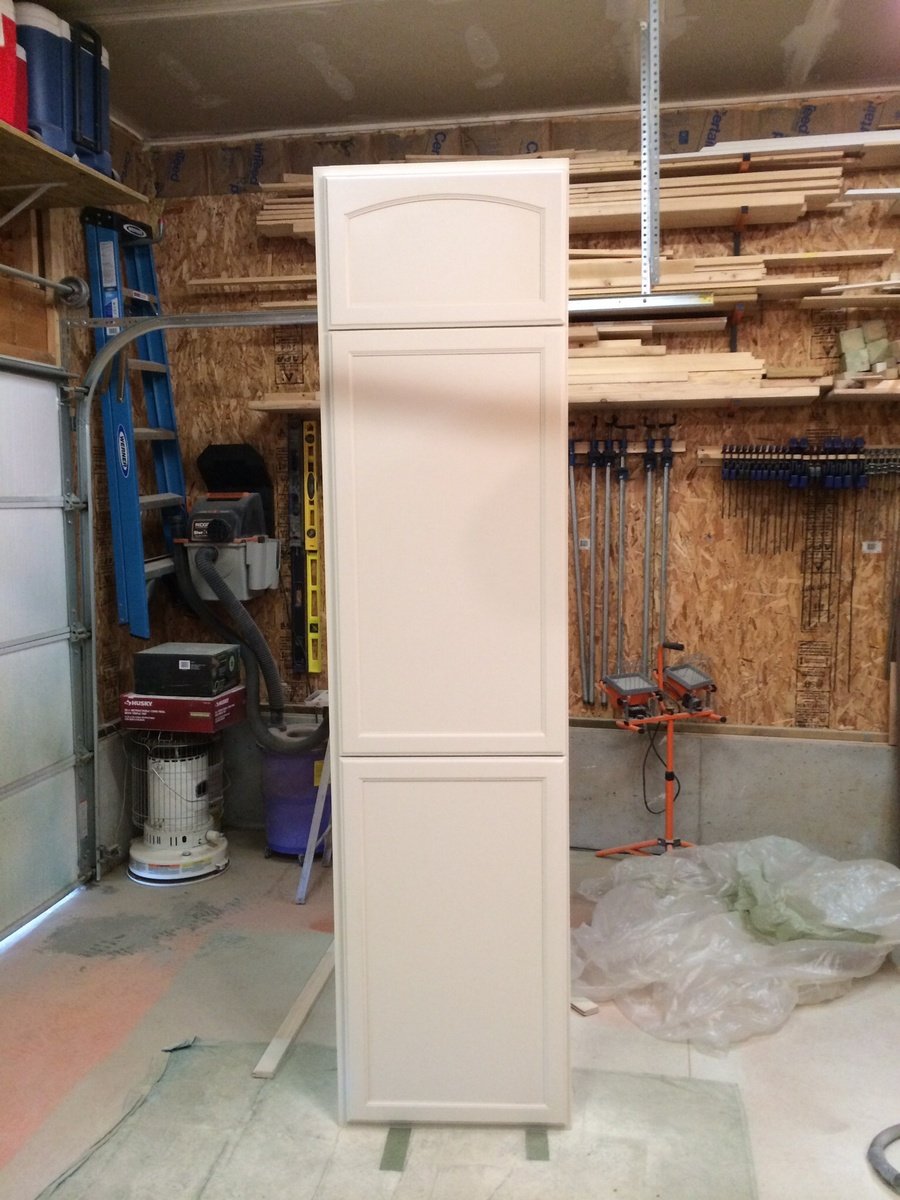
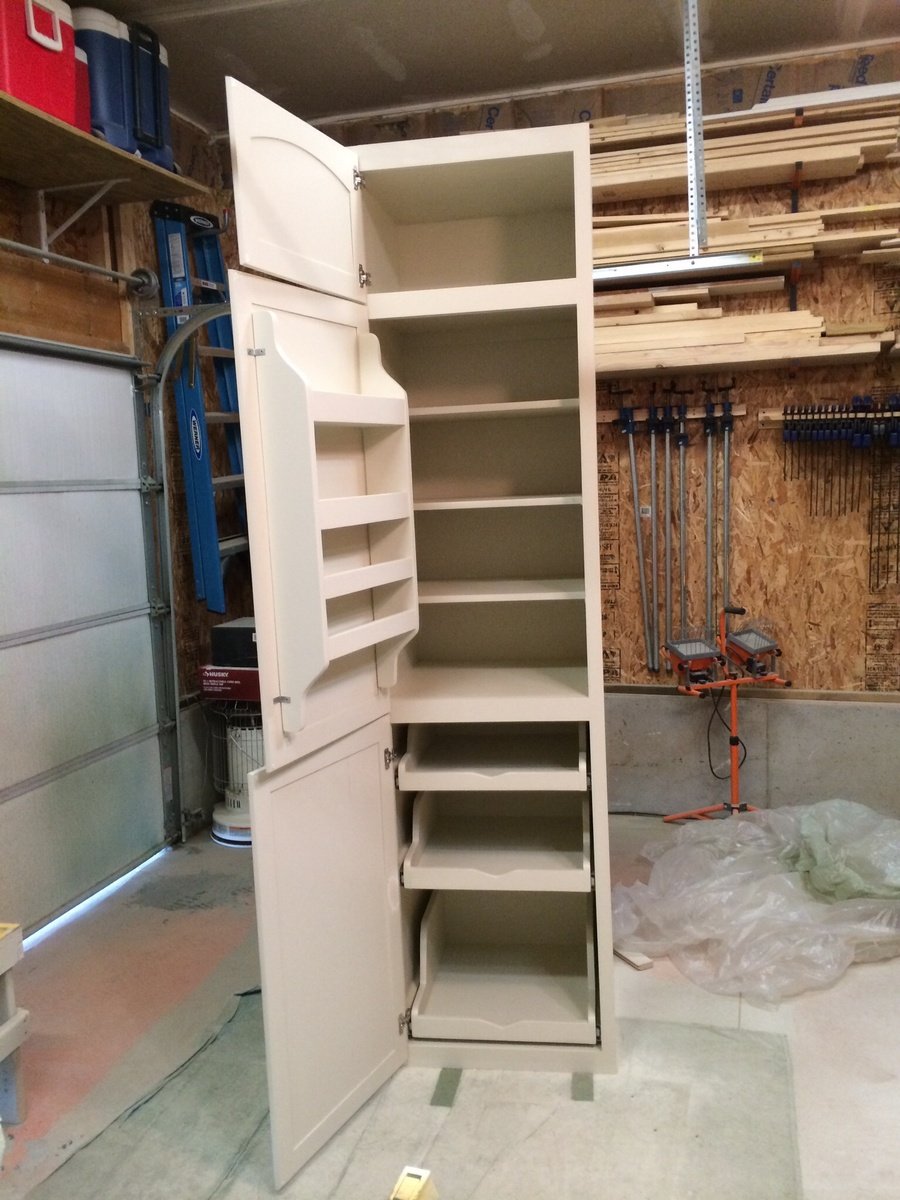
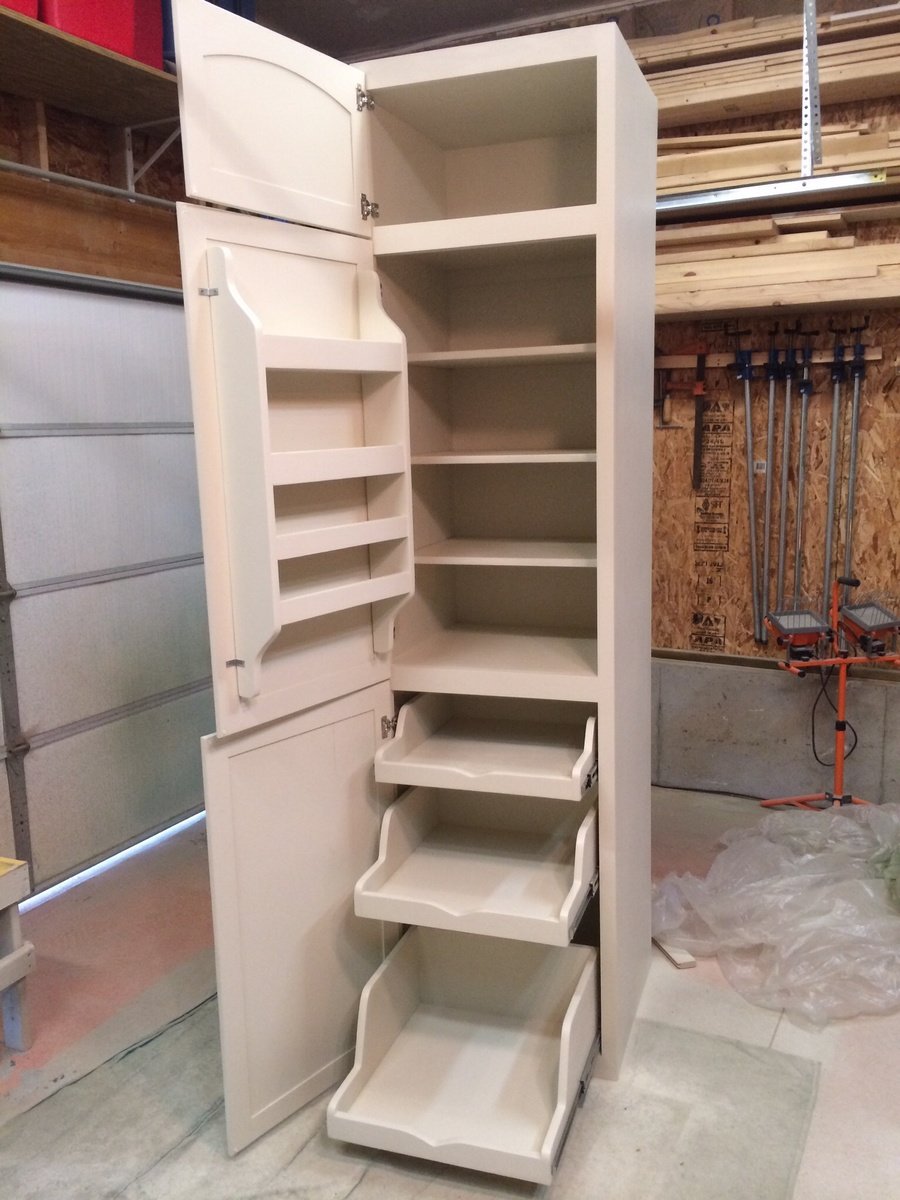
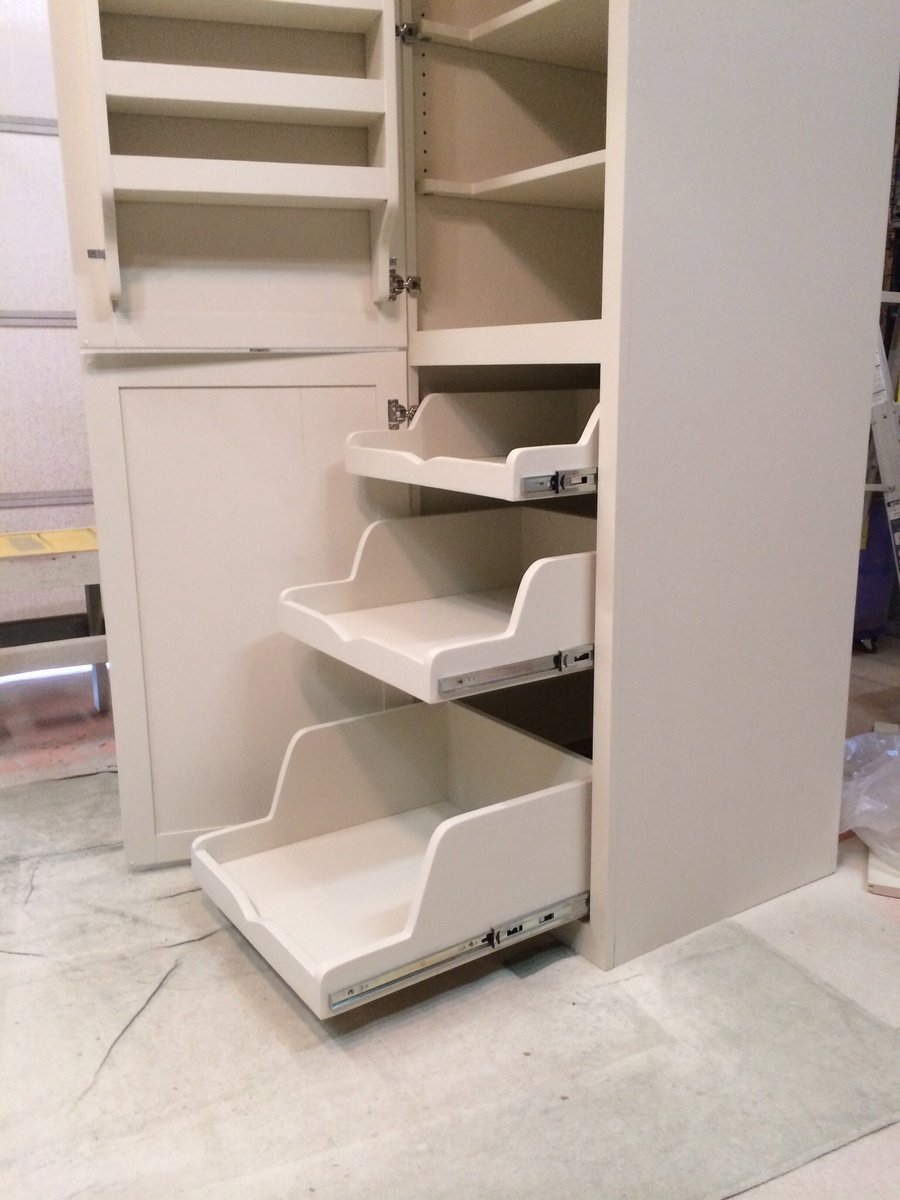
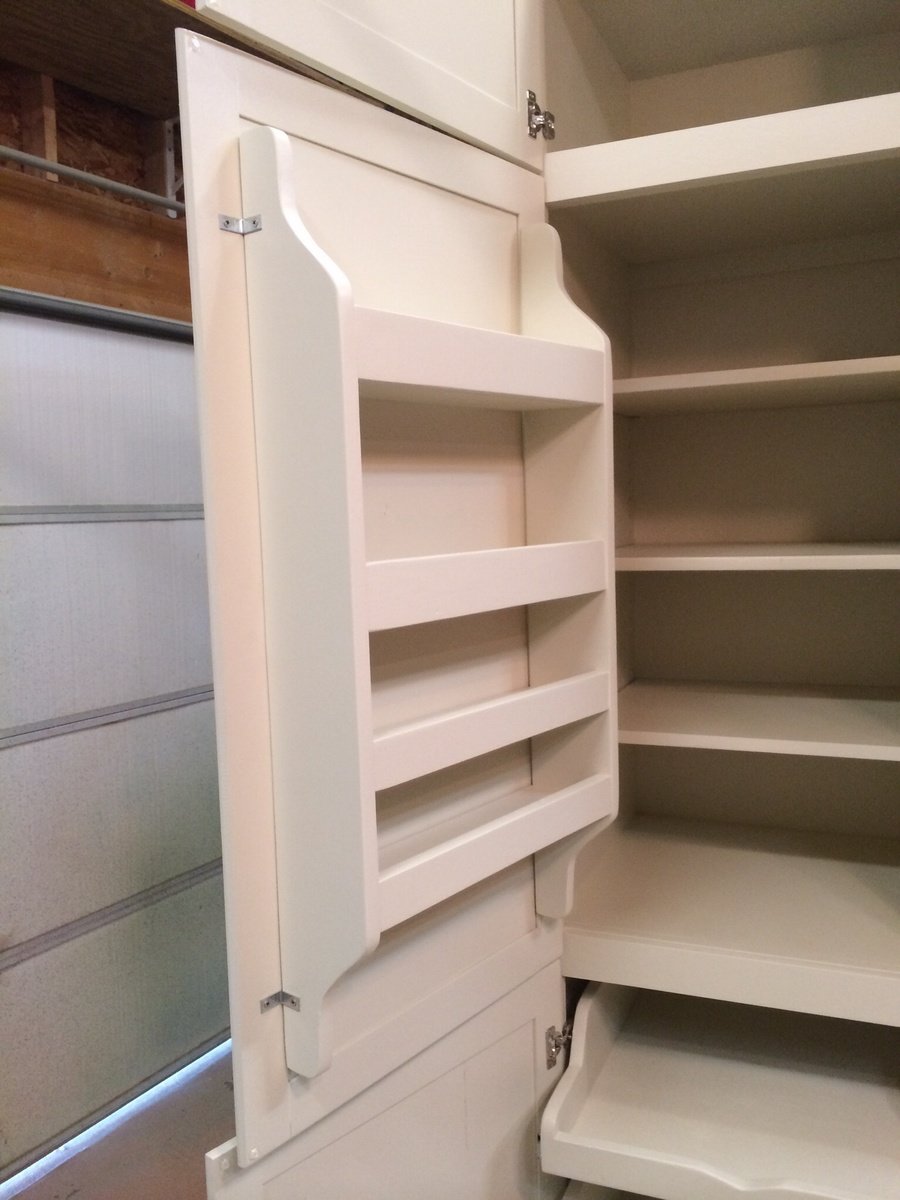
Kitchen Pantry

I made this pantry to match some new kitchen cabinets that my friend ordered from lowes. He wanted me to make all of his cabinets but unfortunately I didn't have enough time, it was kind of one of those things hey I'm redoing my kitchen can you make this. This was all built and designed from a picture his wife found on pinterest with just the measurements for the space it needed to fit in.

Estimated Cost
$400
Estimated Time Investment
Week Long Project (20 Hours or More)
Finish Used
Latex paint and polycrlic
Recommended Skill Level
Intermediate

Comments

alpinecwt

Tue, 02/11/2014 - 09:18

You should definitely get with Ana to make plans for this pantry!! Looks superb,job well done.

OurHome

Fri, 06/17/2016 - 18:39

HI - 

My husband and I have been trying to find a DIY Pantry for our kitchen. We've looked everywhere and finally came across this! We love it and would like to try and build it. Do you have the plans available to share? I look forward to hearing back from you.

suziewelker

Fri, 11/27/2020 - 21:33

I tried the link for crafted perfection in attempt to get the plans for this. It led me back to this website. Is there ANY chance of getting the plans for this pantry PLEASE?

watkinswd

Wed, 09/01/2021 - 13:59

Okay, Ana, where are the Plans? You're killing me with this teaser! I'm not smart enough make something this great without serious plans like you usually produce. Help this old guy, please.

farrellp

Thu, 08/11/2022 - 18:08

Hi Ana! Do you have plans? My daughter is moving and could always use more kitchen cabinets. She loves kitchen gadget everything!

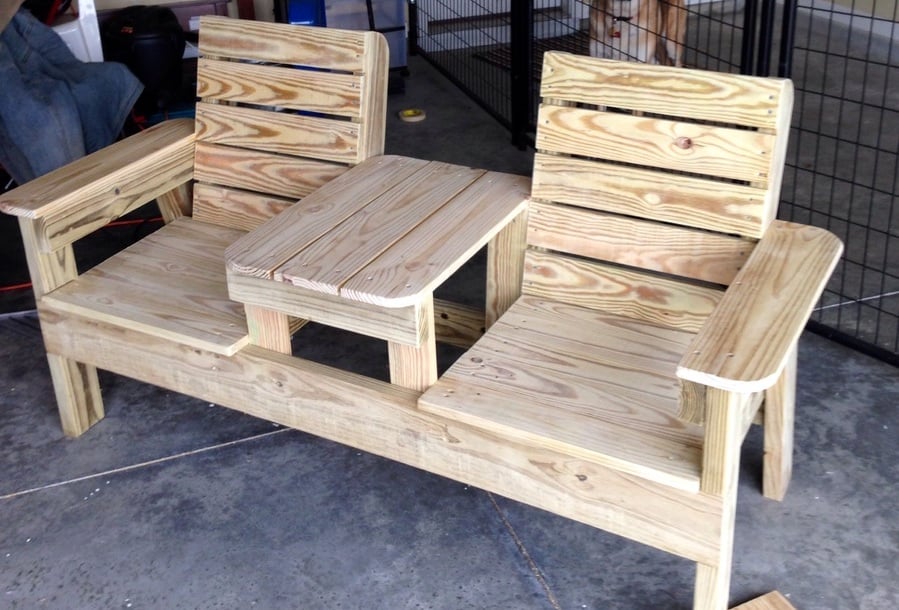
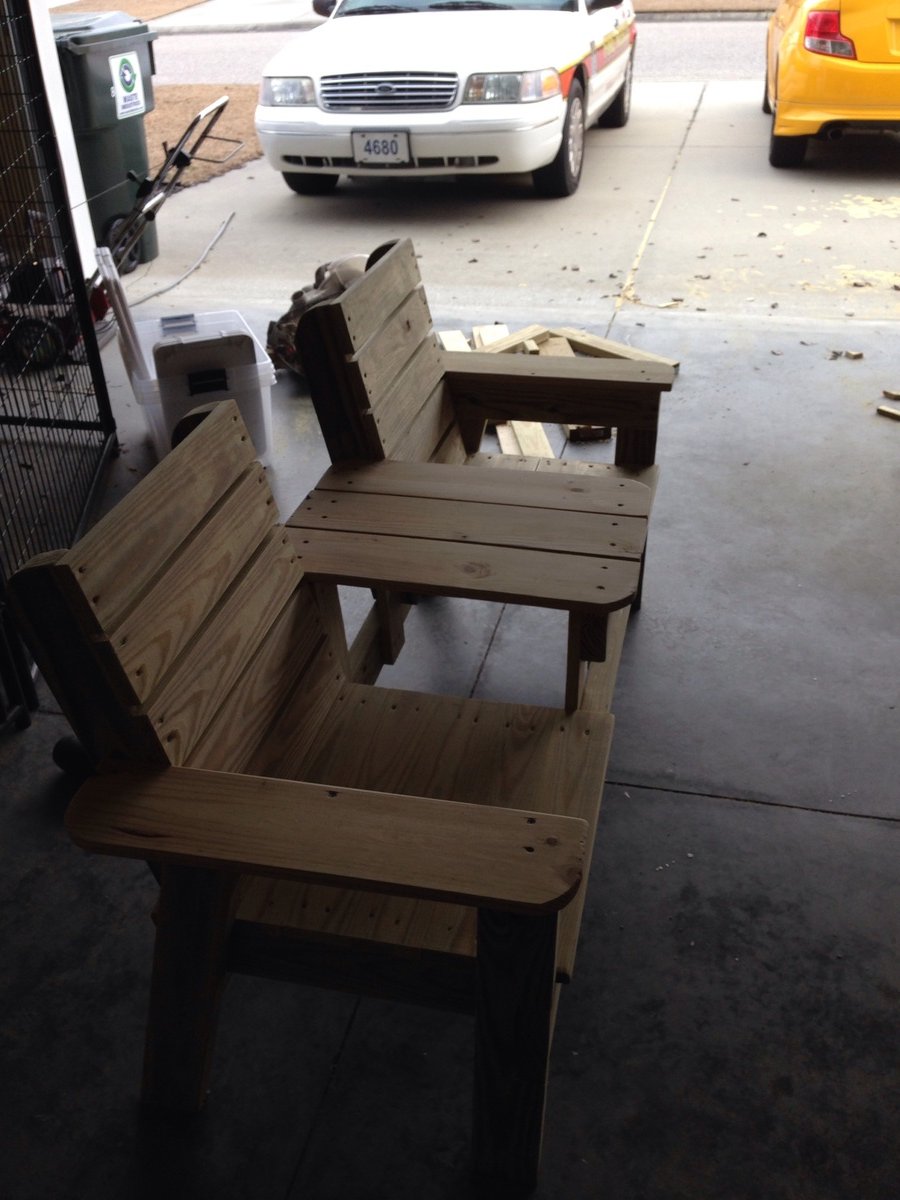
My first project!

Submitted by J_Weeks13 on Sat, 03/07/2015 - 10:26

Thanks for the awesome, easy to follow plans!! All that's left to do is stain it and build another one- I'm going to have 2 on my back patio! A successful first project! Thanks!!

Estimated Cost
$130.00
Estimated Time Investment
Day Project (6-9 Hours)
Recommended Skill Level
Beginner

Comments

thecityalaskan

Sat, 03/07/2015 - 12:27

So awesome!!! Especially for your first project! Super inspiring for those of us who would like to attempt a project like this! Thank you for sharing!

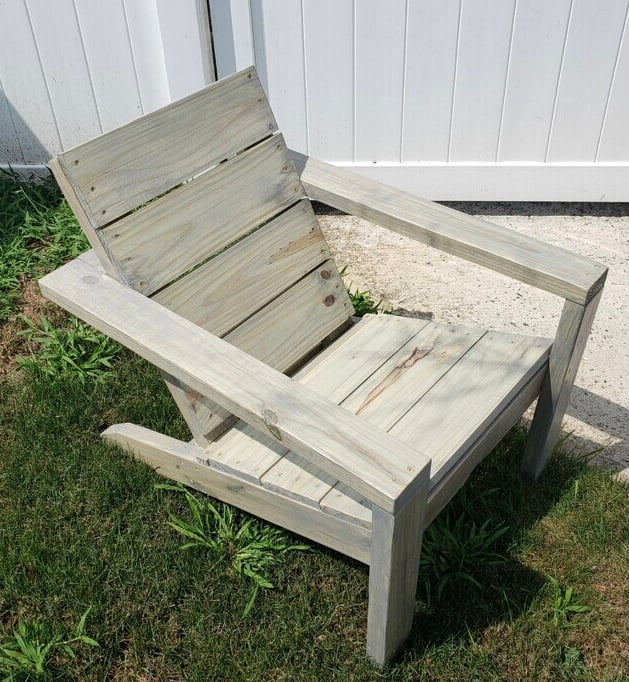
Modern Adirondack Chair

Submitted by Anonymous (not verified) on Sat, 08/13/2022 - 20:12

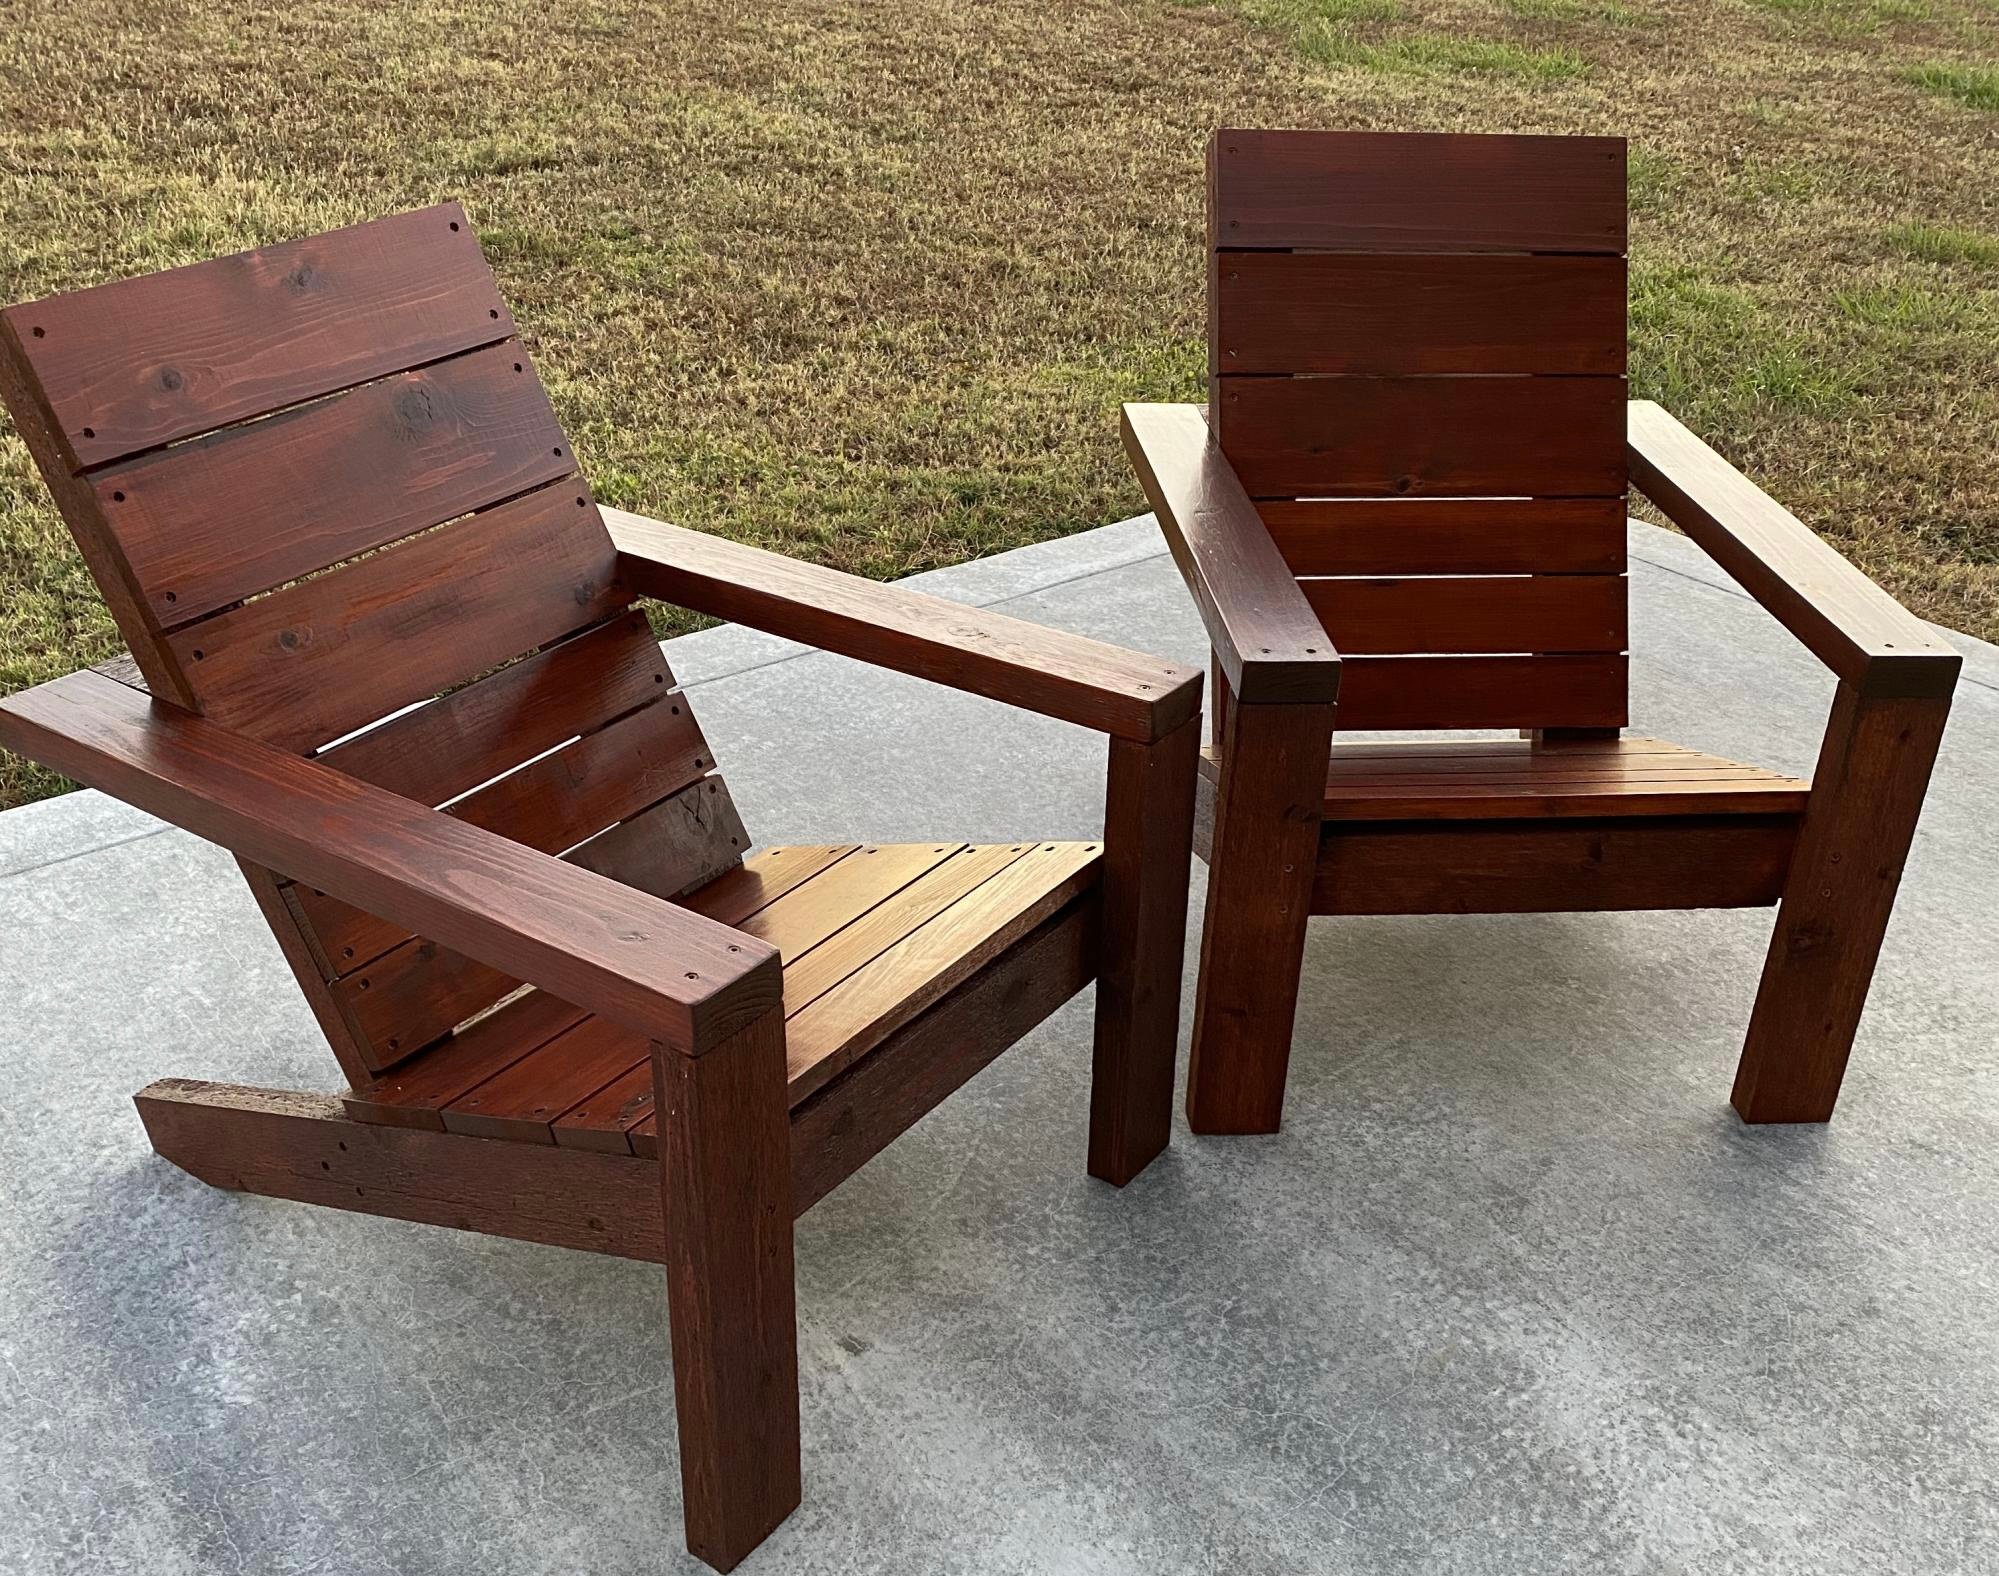
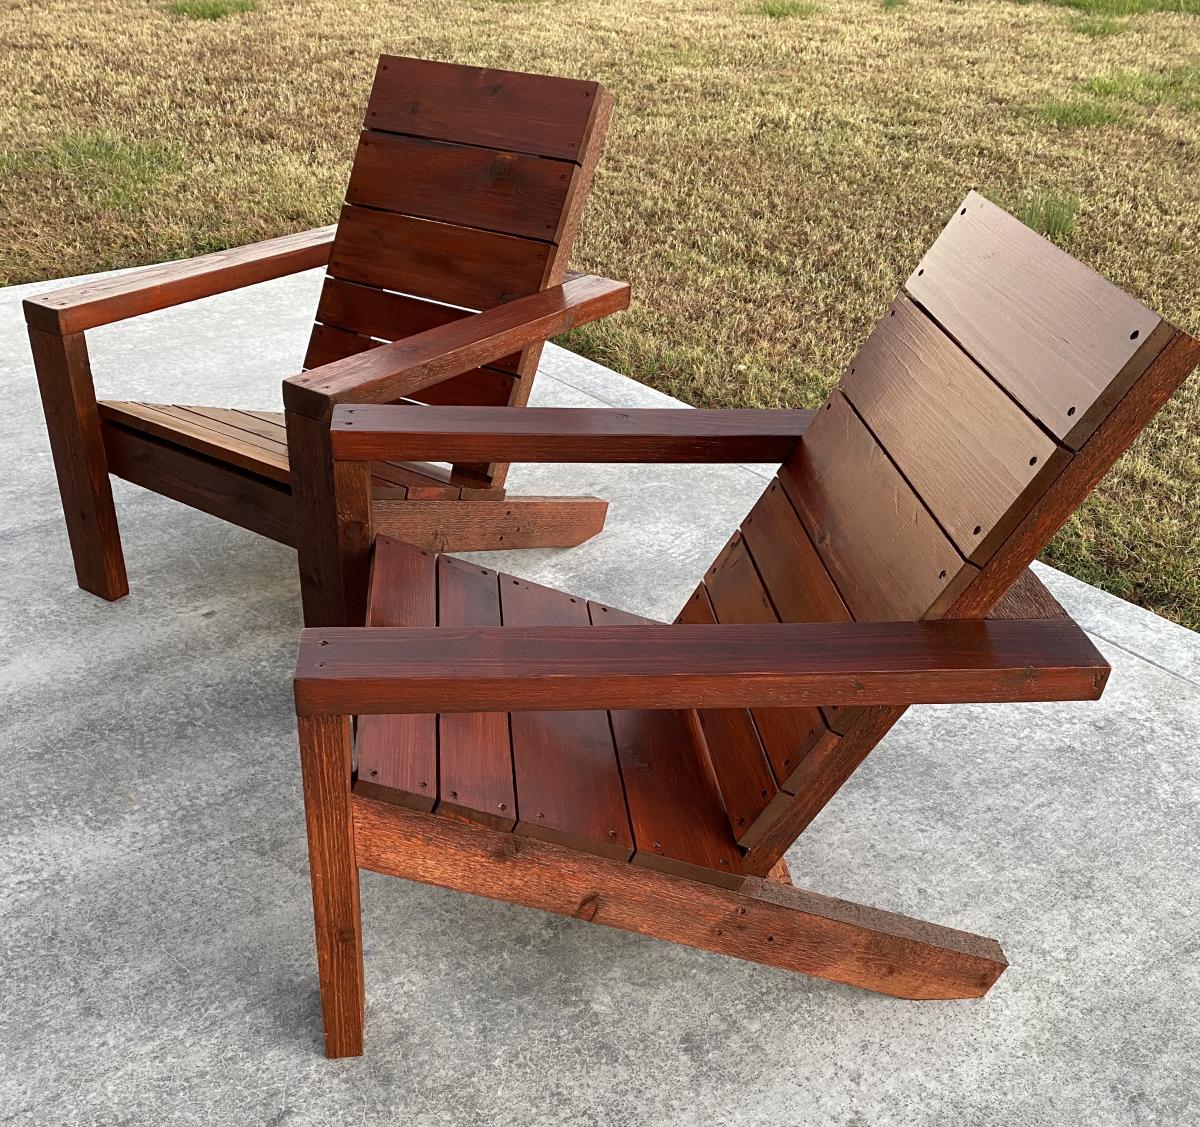
I made this with 1x6 since Home Depot didn’t have any 1x10 treated wood. All the wood I used is treated. I also used the exterior screws and put on a gray poly mixed stain for a little extra protection. I of course messed up the angles twice on the feet, but they just look like I gave them extra decoration now lol. Everybody loves this chair!

Comments

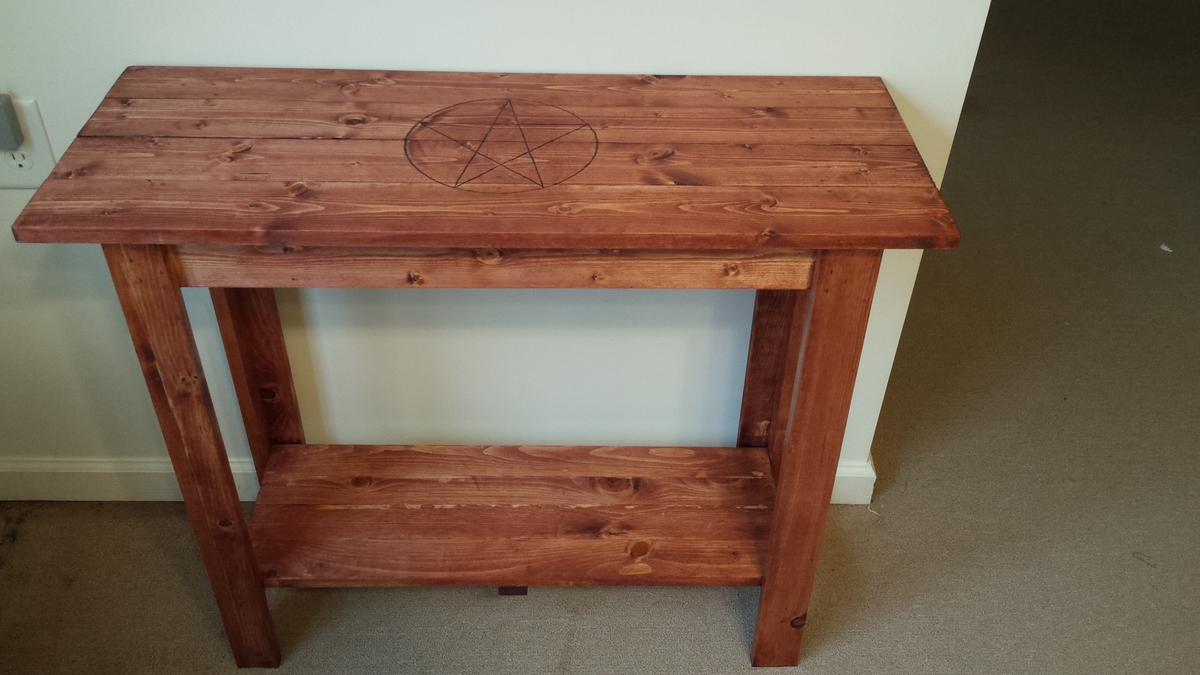
Wiccan Altar

Submitted by Anonymous (not verified) on Thu, 03/16/2017 - 18:12

I took the plan from this and rather than have a two tone with paint, I stained the entire thing and used my wood burner to burn a pentacle in the top. My wife loves her altar.

Built from Plan(s)
Recommended Skill Level
Starter Project

Cubby/Bookshelf/Corner Desk Combo

Submitted by Anonymous (not verified) on Wed, 01/18/2017 - 20:40

This is a mashup of several plans, combined into one big, bad ass, office desk. I've had a little experience years ago in high school woodworking classes, but haven't really built much since. This reminded me how much I enjoy working with wood. So rewarding to be typing this message at my new office desk!

Estimated Cost
$400
Estimated Time Investment
Weekend Project (10-20 Hours)
Finish Used
Minwax "Early American"
Recommended Skill Level
Intermediate

Comments

treemeagher

Wed, 08/19/2020 - 06:25

This is amazing! So amazing could I ask you to share with me what prices from the collection of plans you used and how? I’m looking at your pic trying to figure out how to incorporate the plans you used. I want to build one for myself lol fantastic job!!!!

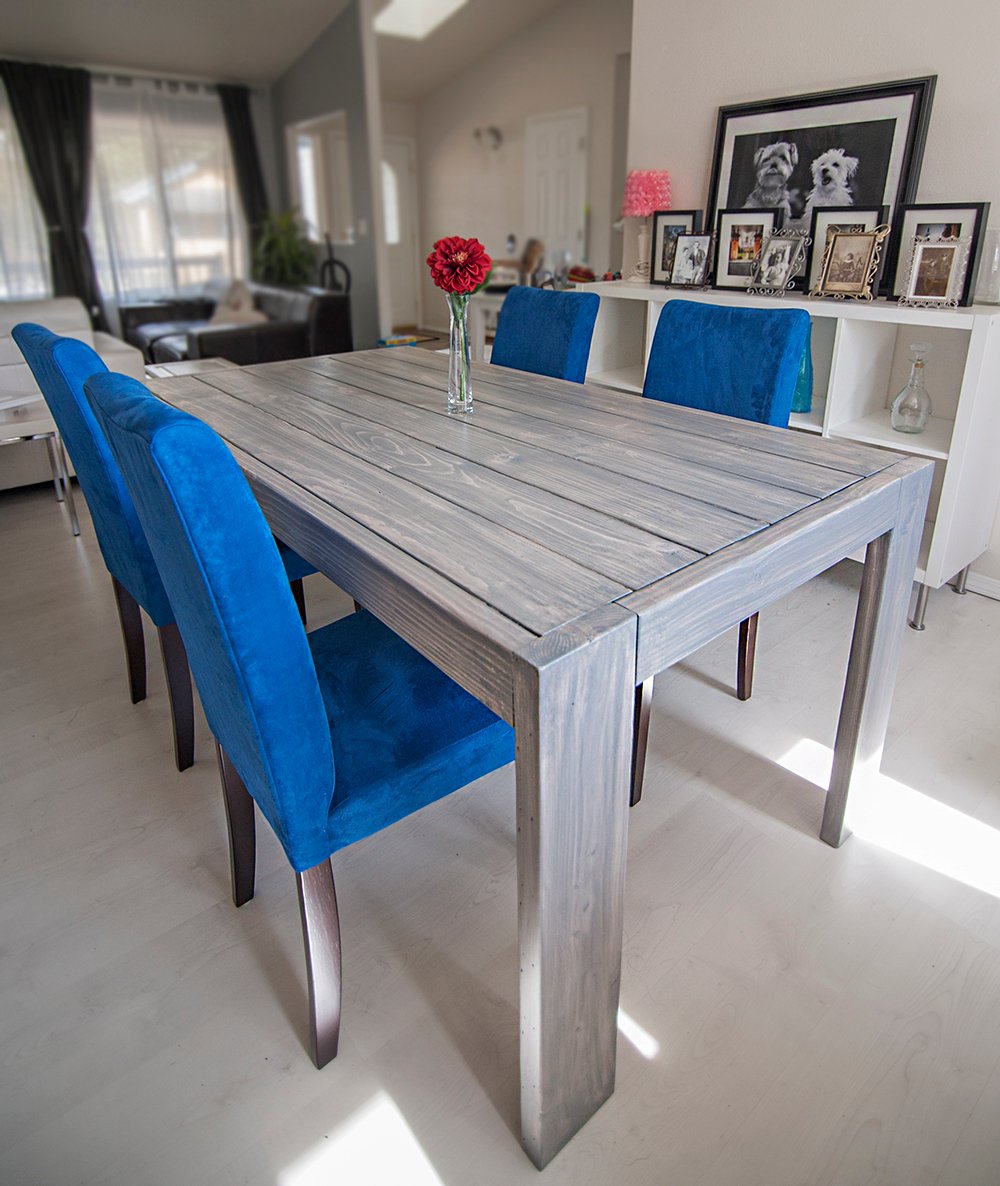
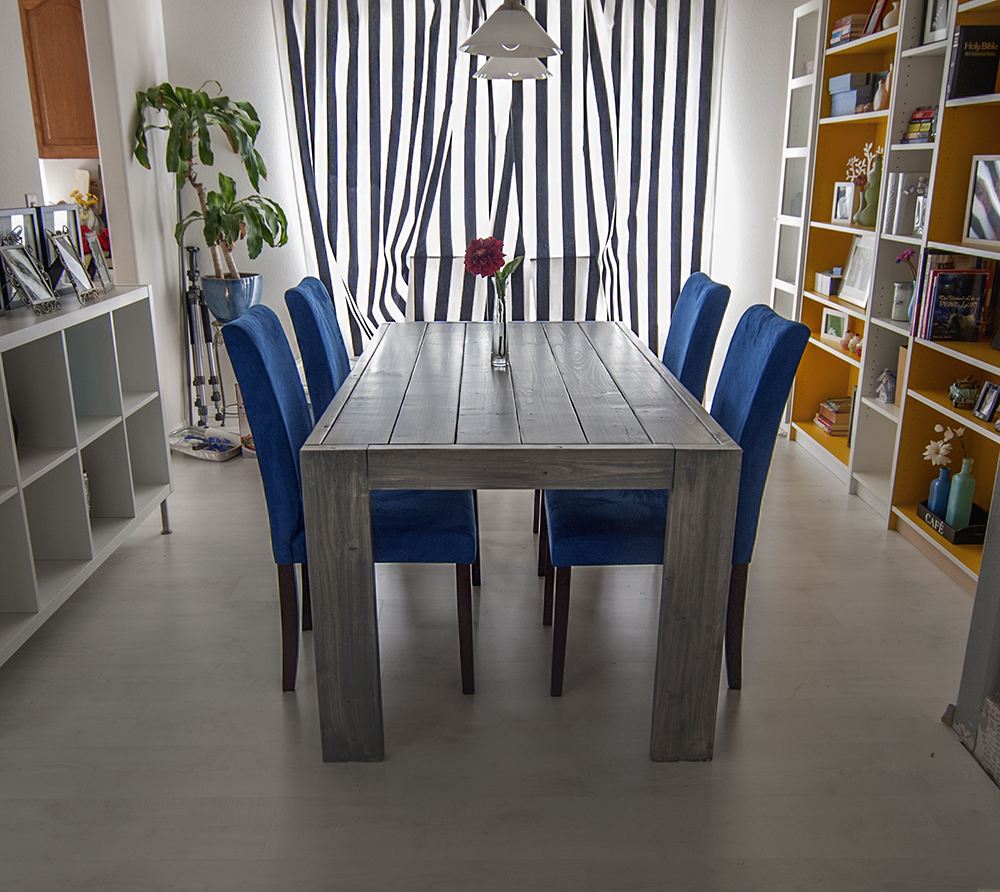
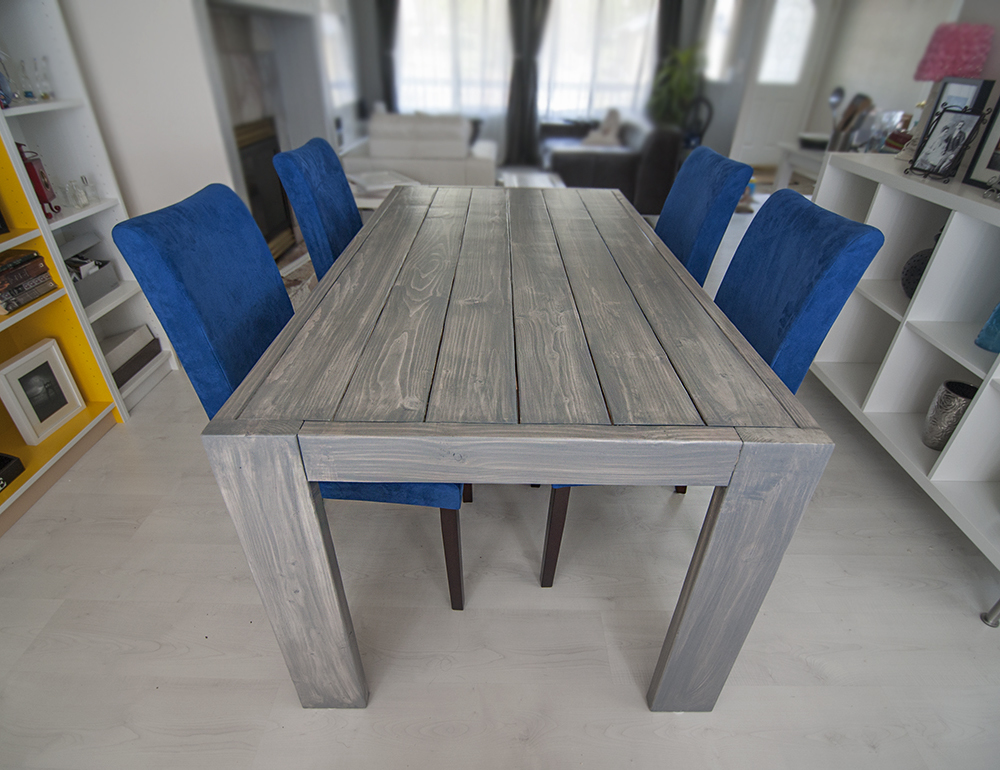
Modern Farm table

My first real project, can't wait to do another one.

Built from Plan(s)
Estimated Cost
70.00
Estimated Time Investment
Day Project (6-9 Hours)
Finish Used
White wash/weather oak grey stain
Recommended Skill Level
Starter Project

Comments

leejinhaeng

Tue, 06/02/2015 - 12:38

Great job!!
I was wondering how did you do the finish on the Pine to come out like that?

cris_stroud@ya…

Thu, 06/04/2015 - 03:15

Thanks! Sorry for the late reply. Didn't get a notice.
1. 3 coats of white wash
2. 3 coats of weathered oak grey stain
3. 2 coats of polyurethane matte finish.

RobA

Thu, 06/02/2016 - 11:00

I know this is an old post. But just wondering about your finish as well. So when u say white wash what did you use?

Beautiful by the way!

Murphy bed

Submitted by bpcooper14 on Wed, 05/08/2019 - 06:09

So I've always wanted to build a Murphy bed.  And by always I mean since I first came across plans here that made it look so simple.  It ended up taking me a while to do because my job has me working 6 days a week so I was only able to work on it for short chunks of time.

I ended up utilizing a few different plans and mashed them together to build a full size murphy bed.  The shelves are the support legs when the bed is down.  The "hinge" mechanism are heavy duty 360 degree seat swivels.

All-in-all it turned out WAY better than I expected with only some minor issues throughout the construction process.  

Next up is a twin xl Murphy bed with a murphy desk attachment that will serve as a craft  table when up.

Estimated Cost
3 - 4x8 sheets of 3/4" plywood ($25 each)
3 - 1x2x8 to wrap the frame ($2-3 each)
1 pack Door Hinge pins to serve as the pins to hold the bed upright ($3-5)
1 pint stain
1 pint shellac
2 - Heavy Duty 360 degree seat swivels ($20)
Screws/nails/etc.

All told, this project probably cost around $200
Estimated Time Investment
Week Long Project (20 Hours or More)
Recommended Skill Level
Intermediate

Comments

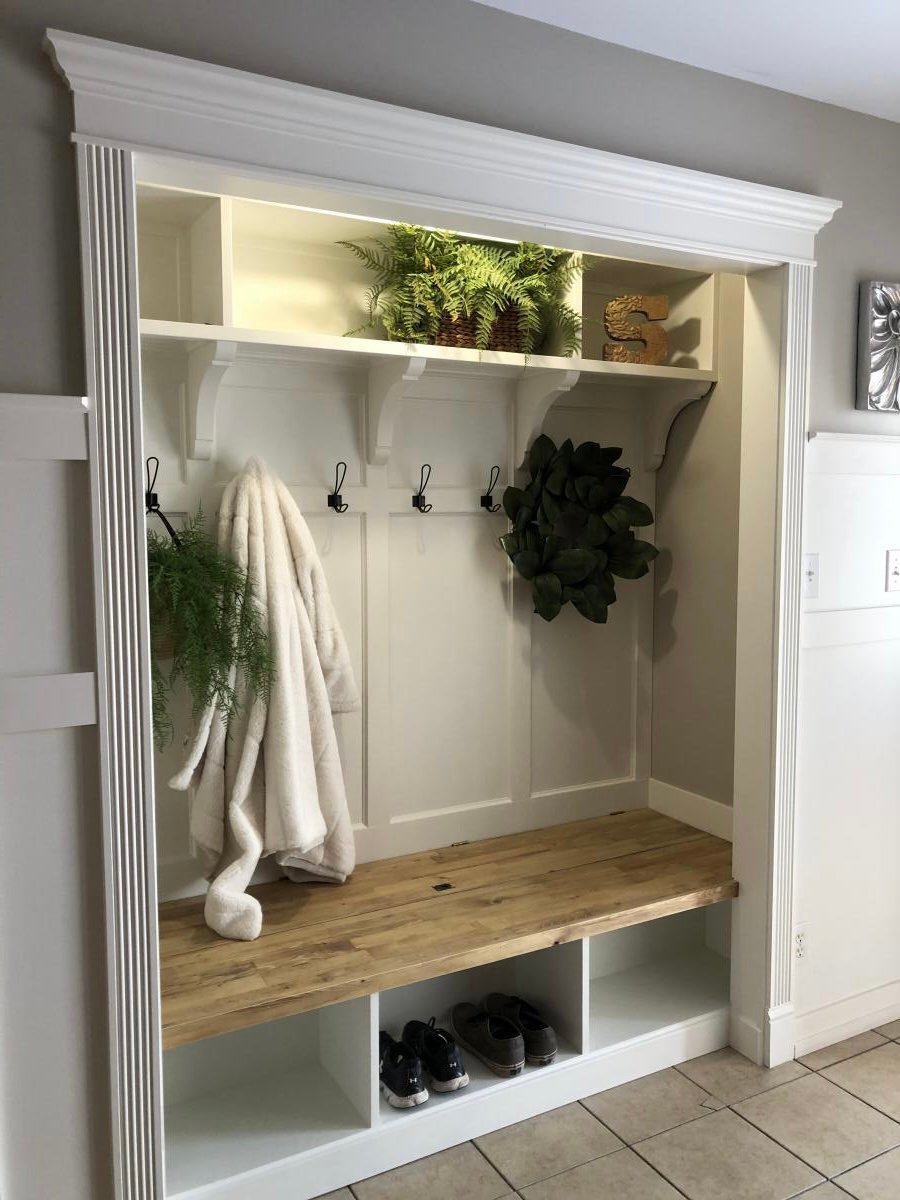
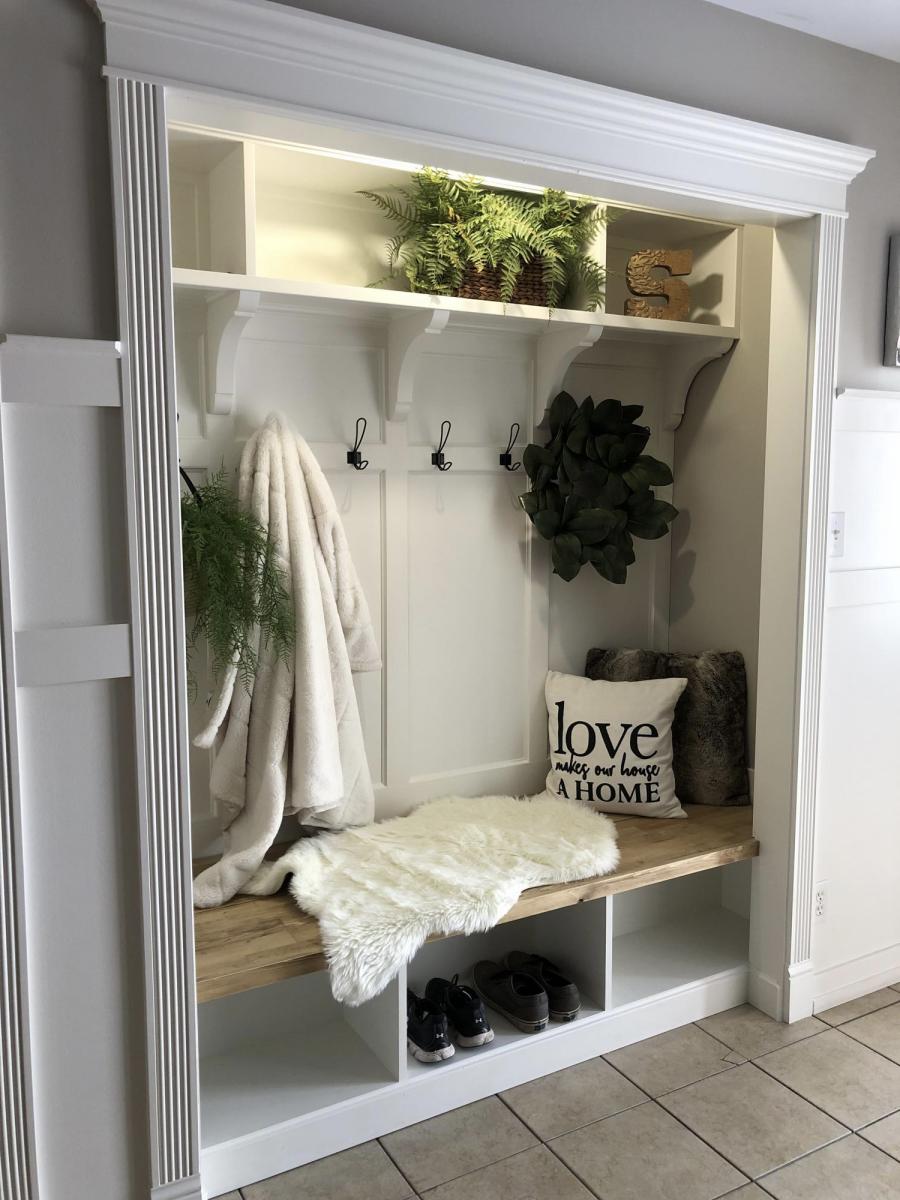
Mudroom Closet Makeover

Submitted by Anonymous (not verified) on Thu, 01/21/2021 - 07:10

The concept of hidden boot storage at the back is genius!!! I knew as soon as I saw your plan that I needed that in this space! Thank you so much for what you do!

Finish Used
Bench seat was wood conditioner, minwax early American, minwax weathered oak. Then finished with shellac. The coat hooks are from Amazon. The ring pull is from Lee Valley.

Comments

6'x6' Box

Submitted by Anonymous (not verified) on Wed, 04/20/2016 - 19:22

I found these plans online and was just waiting for the kids' grandpa to come out and build it. Could be built in one afternoon (depending on how many trips to your local Home Depot, and availability of the correct tools)
Modifications from original plan:
6x6 instead of 4x4
Brackets to hold patio umbrella for shade
Added seat gussets for additional support
Added "wooden flange" around bottom of box to run lawnmower on
One additional center back support on each bench
One centered handle (instead of a handle on each end)
Stapled landscape weed barrier fabric onto the bottom
Sanded all exposed edges

Materials:
4@2x10x8'
12@1x6x6'
2@2x6x12'
8 hinges
2 handles
3 1/2" decking screws (for attaching 2"x boards)
1 5/8" decking screws (for attaching 1"x boards)
2+ 1 1/4" 2-hole straps for metal conduit (for attaching patio umbrella*)
*Our patio umbrella pole was 1 1/2" diameter, but 1 1/2" straps had too much play, so we used 1 1/4" straps and misc flat washers to adjust the snugness to the pole
Cut lengths:
2@2x10 cut to 72" (long sides of the box)
2@2x10 cut to 69" (short sides of the box)
Cut one each of the following out of a 12 footer:
2@2x6 cut to 75" (long side "flange")
2@2x6 cut to 64" (short side "flange")
No cuts were made to the 12 1x6's
Used one leftover 2' from the 2x8x10's ripped in half cut to 11.5" for arm rests
Used two leftover 2' sections from the 2x8x10's ripped in half cut to 21" for back supports
Used the last 2' cutoff to make two seat gussets (cut about 9 1/2" off and then ripped it at 45 degrees)
Used the remaining piece (ripped in half length-ways) to attach to the center of the backrest for additional support and as the attachment point for our handles
We decided to do one handle in the center of the backrest so one reasonably strong adult could open the lid
The bottom "flange" was assembled with the box upside down. Basically a 2x6 screwed to the bottom edge of the box allowing 1 1/2" overhang all the way around
After making cuts, but before assembly, we recommend using a quarter-sheet pad sander (or similar) with 60 grit paper to break all of the edges and round over any ends or corners that will be in contact with sandbox users
Followed other general assembly instructions

Built from Plan(s)
Estimated Cost
$300 with umbrella and sand
Estimated Time Investment
Day Project (6-9 Hours)
Finish Used
We live in a very arid climate (Utah) so we chose not to varnish or paint this project
Recommended Skill Level
Beginner

Simple Outhouse

Submitted by Anonymous (not verified) on Thu, 06/18/2020 - 13:45

We used the plans from the Simple Outhouse to make a space to hold our porta potty. The door is a repurposed barn door and I think it looks amazing! These plans were perfect for us as we were able to build it in panels and reassemble on our property by the lake. Some screened windows to allow for ventilation and light were the finishing touches. Thanks Anna for the simple to follow plans!

Built from Plan(s)
Estimated Cost
$200 Canadian
Estimated Time Investment
Weekend Project (10-20 Hours)
Finish Used
We used pressure treated wood for the base and deck. For inside, we repurposed some scraps of composite decking. Painted with exterior latex "driftwood".

XL Modern Craft Table

I modified this plan so I could have 4 total work areas. Total Size: 48" x 96"

Built from Plan(s)
Estimated Time Investment
Weekend Project (10-20 Hours)
Finish Used
White paint to match walls and trim (SW Alabaster)
Recommended Skill Level
Intermediate

Comments

briannamcelfresh

Tue, 09/08/2020 - 19:42

Is there anyway you can share these plans with me!? I drew out some plans for an identical table but I think my cuts may be off! It would be so helpful.

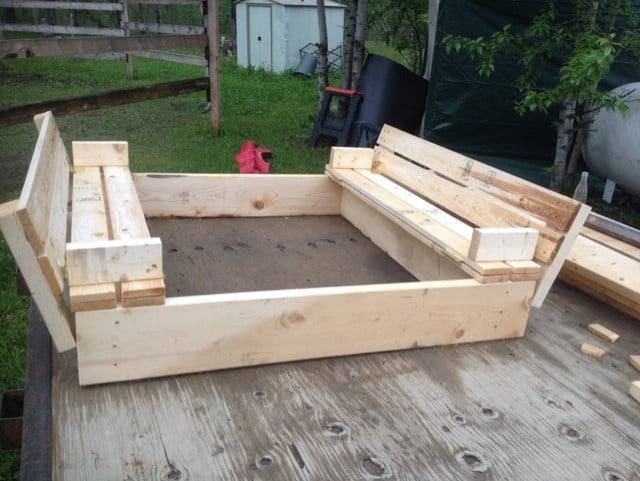
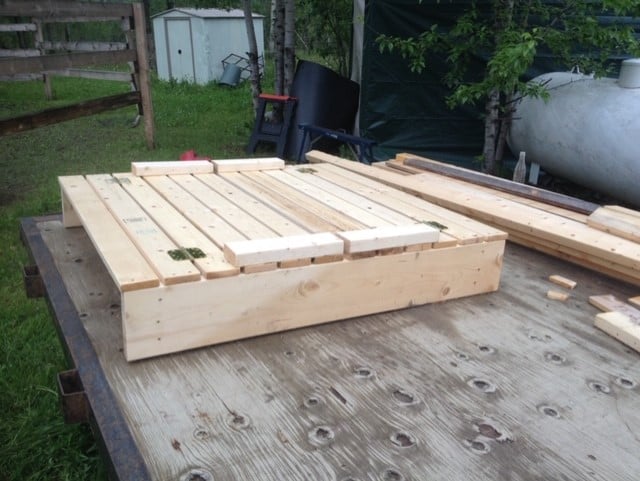
Sandbox with Seats

I built this sandbox for my kiddo's because we have cats! It was great. Easy to build, great plans for it.

Built from Plan(s)
Estimated Cost
$50 CAD
Estimated Time Investment
Afternoon Project (3-6 Hours)
Finish Used
Minwax 2-in-1 in Natural
Recommended Skill Level
Beginner

Drop Leaf Mobile Kitchen Island

Submitted by jkjackson on Sun, 03/14/2021 - 11:19

This was born out of the need for more counter space in our galley kitchen. We don't have the space to add an island. Especially around the holidays, it would be great to have extra space for making cookies, serving big meals, etc. I used Ana's Small Kitchen Island Prep Cart plans for inspiration. I adapted the dimensions to fit at the end of our counters when not in use and added a drop leaf to give us almost 4 additional feet of butcher block counter top when we need it. I used scrap lumber that I had for the cabinet and had an extra drawer handle that matches our kitchen cabinets but bought the butcher block, locking casters, drawer slide and hardware for the legs. Also, the weight of the butcher block makes it want to tip when it's away from the cabinet with the drop leaf down so I added a lead counter weight inside the drawer.

Estimated Cost
$150-200
Estimated Time Investment
Weekend Project (10-20 Hours)
Finish Used
Behr paint for the cabinet, food grade mineral oil and cutting board wax for the butcher block
Recommended Skill Level
Advanced

Comments

jkjackson

Sat, 07/24/2021 - 16:59

Sure! I used a 4 foot butcher block and cut it down. The horizontal part is 13 1/2" and the drop leaf part is 32 1/8" attached with a piano hinge. The legs need to be cut and hinged to fit when folded up. This one is made so that the drop leaf fits right under the overhang of the kitchen countertop that it is next to so it's snug against the cabinet and not an issue but, if you want it to be freestanding, the weight of the butcher block will pull it over if you don't weight the cabinet down with something as well. I got a 5 pound lead bar from Amazon in case we need to use it somewhere else. I hope that helps! Let me know if you have any other questions.

lawn and garden shed

Submitted by brittanyj on Wed, 08/19/2015 - 13:17

Needed a shed to store bikes and mowers, etc, so I'd have more room in the woodshop : )  I made a lot of modifications to the plan to fit my space and make it much larger.  The completed size is 7 foot tall at the peak, 6 feet deep and 5.5 feet wide.  I made it as a 3 sided shed, using the wall as the 4th to save on cost, increase air flow, and make the exterior house wall accessible.  I also made an egress in the back of the shed in order to get behind the shed if needed. 

Instead of roofing shingles, I opted for ribbed metal sheets and one clear sheet in the middle to make a skylight, so there would be light in the shed.  This is my favorite part of the project.  It was a huge pain to attach the roofing from a ladder with very limited access, but it looks great and I love the light coming in.  We have very little rain in CA, so I'll have to wait until winter/rainy season in order to test out its waterproofing. 

Since the shed sits between the house and the neighbors block wall fence, and I wanted to use as much of the space as I could, I decided to design the shed to have the side wall against the house rather than the back wall, as shown in the plan.  This took a large amount of modifications, but with careful planning and measuring, it can be done.  This also meant blocking off access to behind the shed, so I cut an egress in the back wall and added hinges so you can lift the back cut out panel, and rest it on a stop block attached to the fence behind it in order to have access.  That's what woodworking is about- problem solving.  Love it. 

As you can see by the full shed picture, it fits a large amount of stuff- 2 adult bikes, mower, edger, trimmer, chainsaw, hedge trimmer, garden tools, shovels, etc, with plenty of room for more.  I now have a free corner in my garage that I've already filled with a DIY rolling workbench and more pegboard space for tool hanging.  Woodshop increased space= happy Brittany. 

I should also mention that building the frame and adding the pickets was quite a quick and easy job.  The hardest and most time consuming part was the roof (I didn't have metal cutting tools), rolling each very heavy wall to the site (I was alone) and the previous 2 weeks in which I built the paver patio the shed sits on.  Hard work, but worth it.  I love it!

Built from Plan(s)
Estimated Cost
$280
Estimated Time Investment
Week Long Project (20 Hours or More)
Recommended Skill Level
Intermediate

Comments

brittanyj

Mon, 01/25/2021 - 13:15

It has been incredibly useful for storing! One thing about the skylight- Over time the sun has warped it and there is now a hole and crack there. So I wouldn't plan on the clear roofing being a long term solution- I will be replacing it with either thicker clear roofing or 2 layers.

Slat Bench

Cost: $45
Made this bench smaller than the plan so it measures 48" X 18". Using it in a spare bedroom so it will eventually get stained to match the wood furniture.

Estimated Cost
45
Estimated Time Investment
Afternoon Project (3-6 Hours)
Finish Used
Haven't stained the wood, can't decide on a color.
Recommended Skill Level
Starter Project

Comments

Rapturee

Mon, 12/04/2017 - 09:17

That was my idea as well, to shorten it. My wife just asked me if we could part with a few chairs on the back side of our dining room table and if i would make a bench or two across the back wall. Well "of course" i said hahah!!  Nice job on yours!!   :{)

Outdoor rolling bar top

Submitted by Anonymous (not verified) on Wed, 07/08/2020 - 19:43

We had some leftover granite from an outdoor kitchen build and wanted to maximize the use of it. We loved the look of a rustic table from Pottery Barn and set out to find something that was asking the same aesthetic. I came across the Jilly and Mia workbench console and thought it would work great with some minor modifications. I shortened the overall length and height, went with some heavy duty casters to support the weight of the granite, and reinforced the cross beams that would support the 3/4" plywood sheet and granite. I went with cedar for this build since it was outdoors and I'll finish it with a clear sealant.

Built from Plan(s)
Estimated Cost
$300
Estimated Time Investment
Day Project (6-9 Hours)
Recommended Skill Level
Intermediate

Comments

2x4 Essential Adirondack Chair

Submitted by mricks1960 on Mon, 11/16/2020 - 11:31

I used Western red cedar to build my chairs. The build was a little more expensive but well worth it. The chairs were stained with Cabot’s Australian Timber Oil ( Jarrah Brown). Thanks for the plans Ana, your site is awesome and you do a great job! Mark


Comments

Fancy Jewelry Box built by my daughter and me

Submitted by wowmom_cs on Tue, 05/07/2019 - 09:25

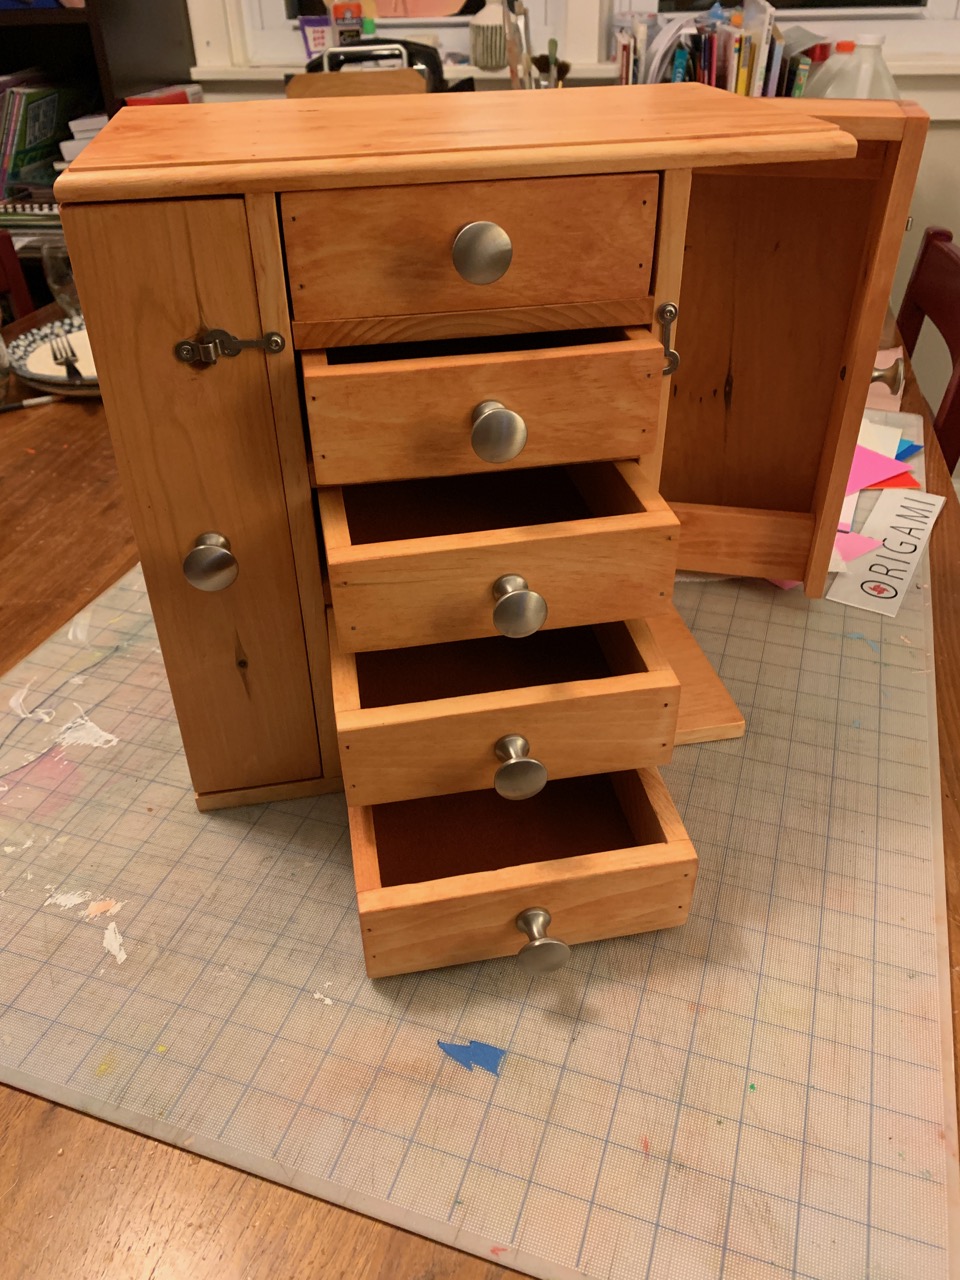
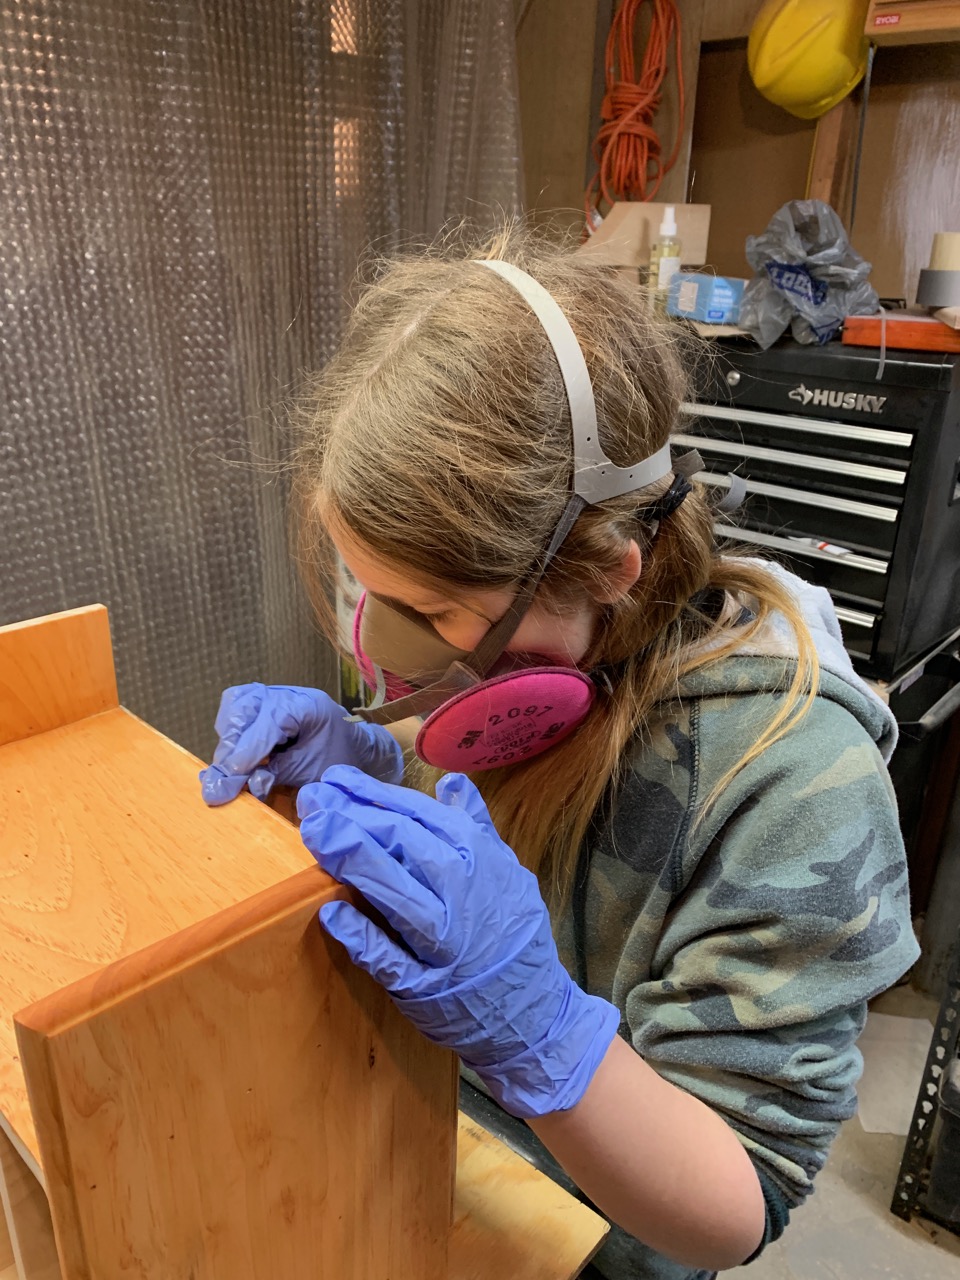
My 10 year old daughter is always creating. She recently decided that she wanted to do a woodworking project with me. We started by searching online for a design that looked doable and came up with the Fancy Jewelry Box from the Ana White website.

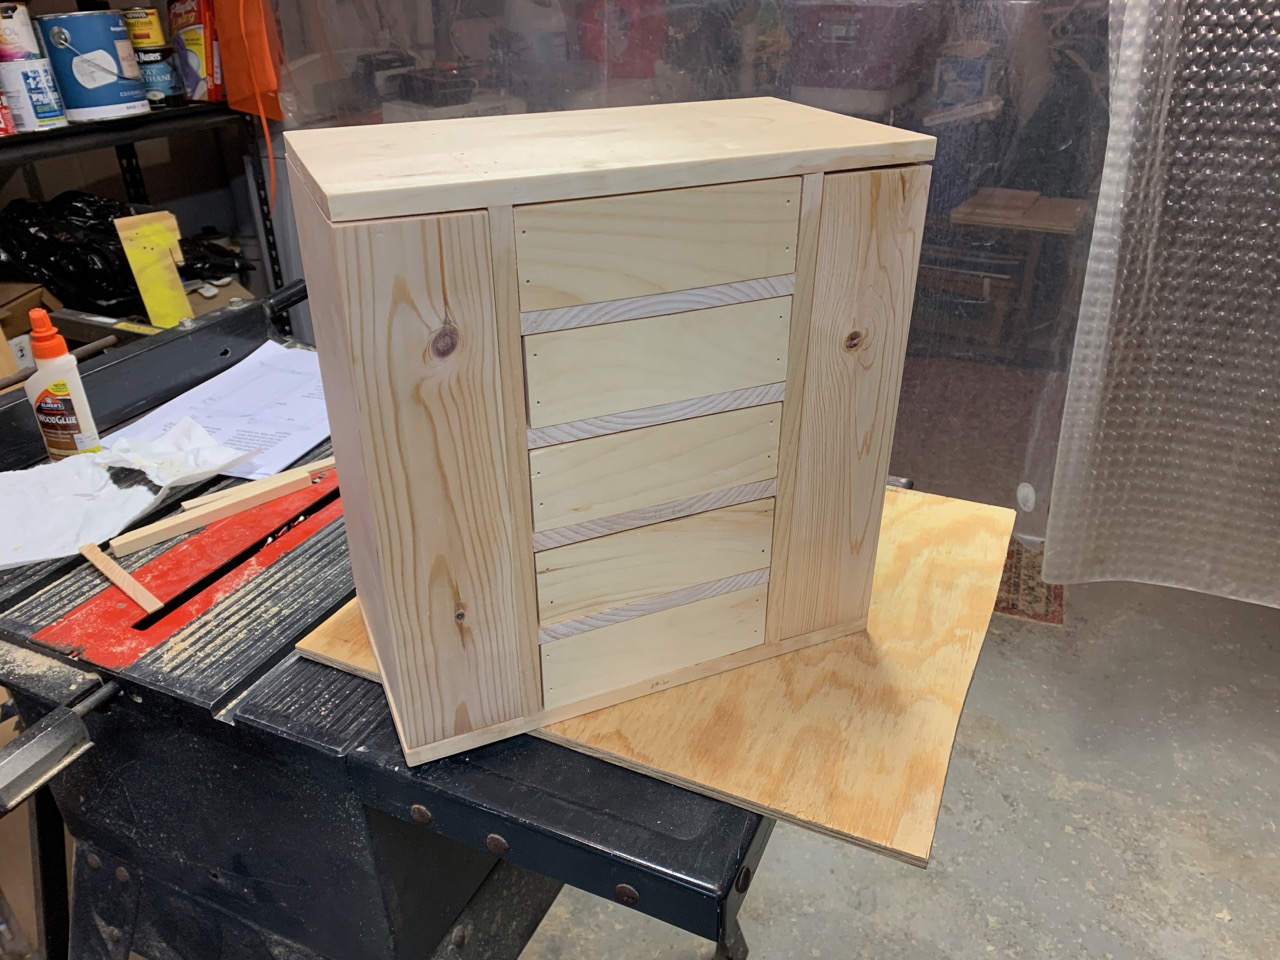
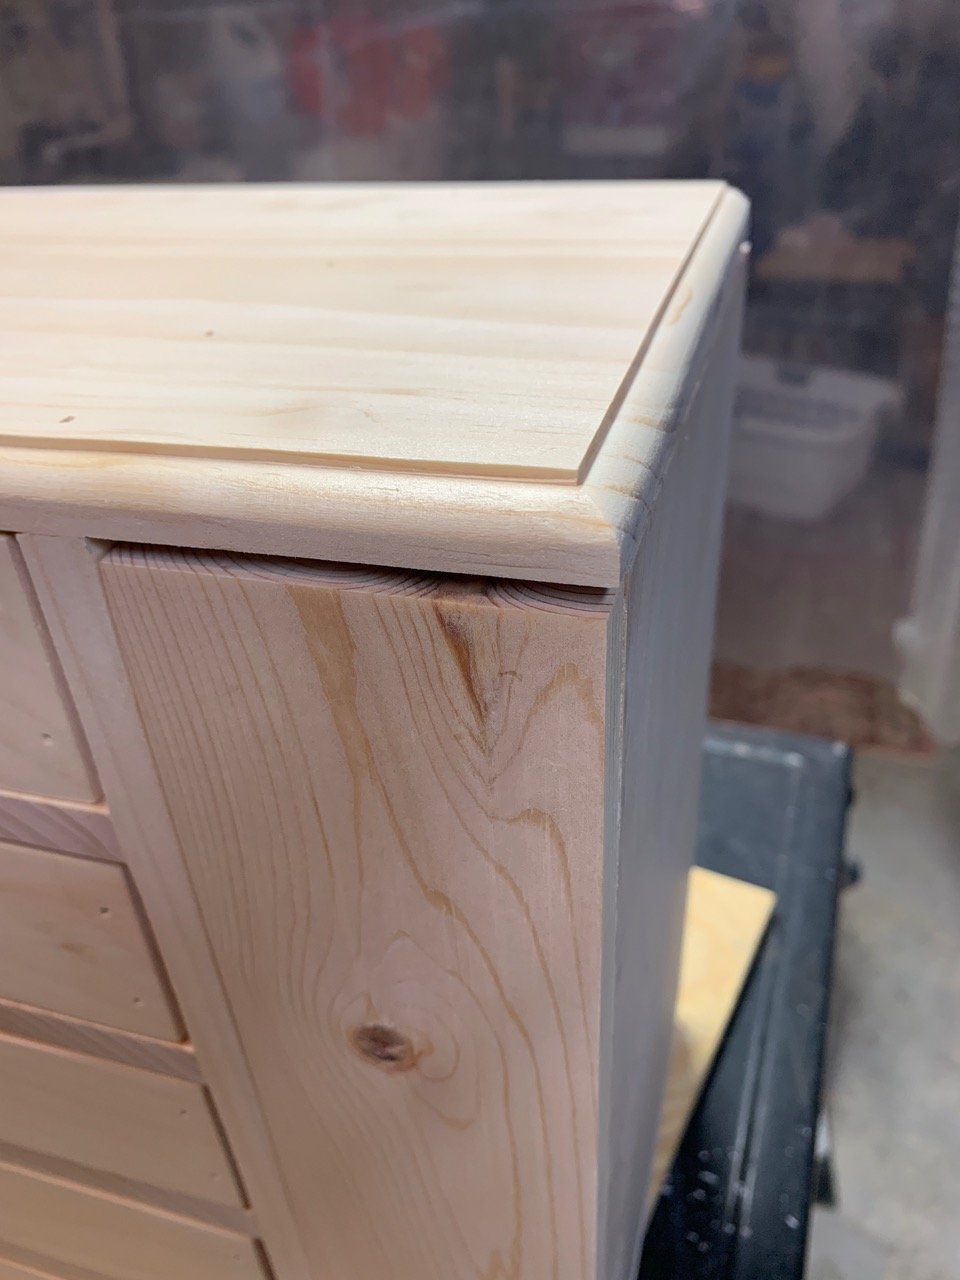
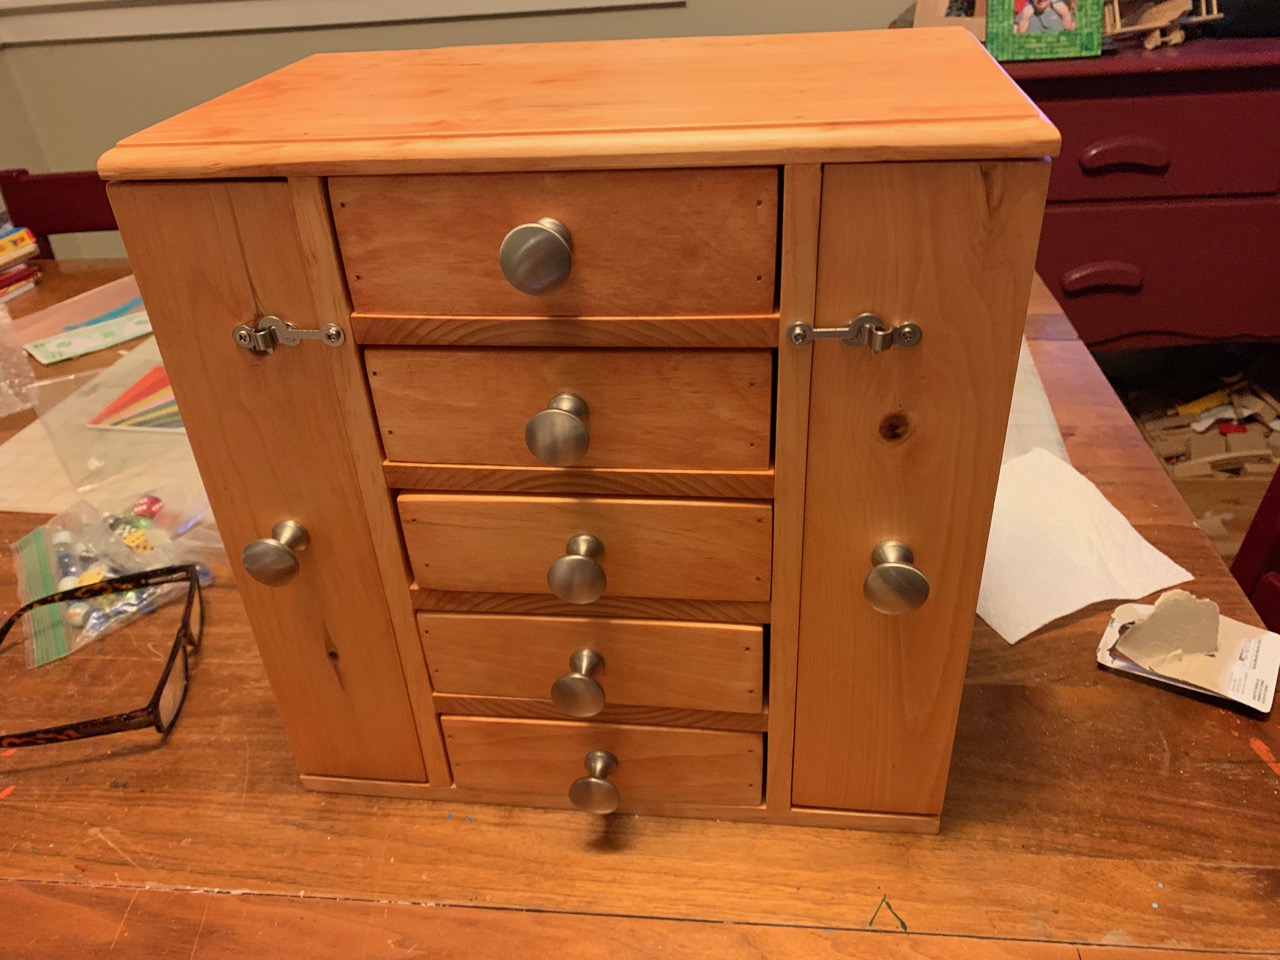
We decided that using the full thickness of 1x stock gave the piece a bit more of a clunky look than we were after. And since I have a thickness plainer, we milled our stock down to just under 1/2”. But that meant that we had to rework many of the measurements on the plan. This also made the drawers deeper and wider. Which is nice. A happy mistake happened when, while rough cutting the individual pieces before milling them down, I inadvertently cut the pieces between the drawers too narrow. We ended up turning them 90 degrees which allowed them to fit. This is why you see the end grain on those pieces. But we like it.

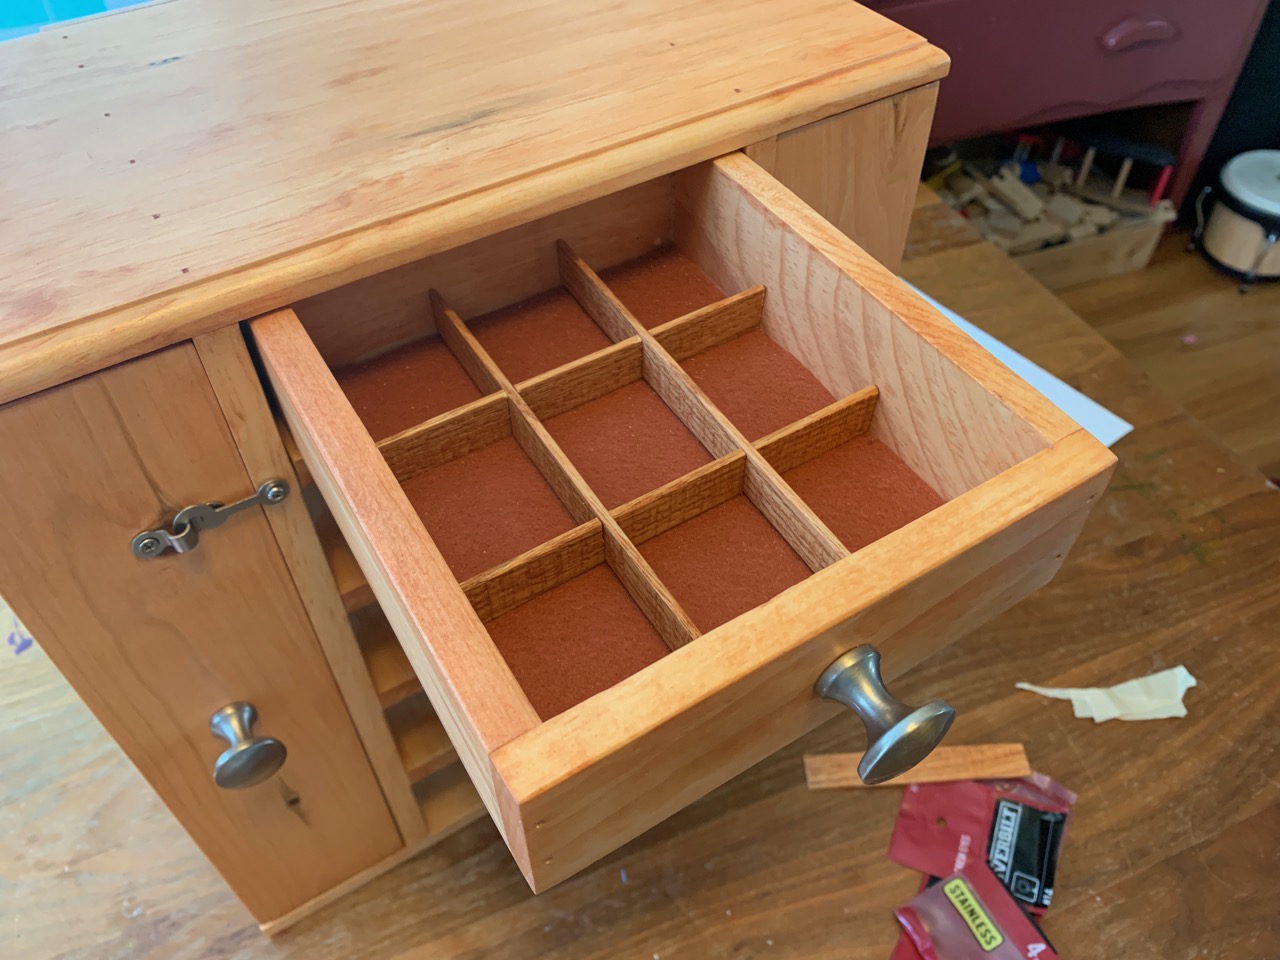
We also altered the plan a bit so that the edges of the plywood on the faces of the drawers and doors do not show. We added a nice border to the top of the box with a curved router bit. We lined the drawers with felt and then added some dividers here and there using some scraps of oak which we sawed thin with a bandsaw.

The original plan was to paint the box, as opposed to staining it. It wasn't until after I had nailed on the top and the drawer fronts that my daughter decided she wanted to stain it. That's why you can see those nail holes!

We had such fun making this Jewelry box. 

Built from Plan(s)
Estimated Cost
I don't remember. Not much.
Estimated Time Investment
Week Long Project (20 Hours or More)
Finish Used
Stain and water based polyurethane. We used 2 coats of poly "sanding" it between coats with fine steel wool.
Recommended Skill Level
Beginner

Comments

Modern Adirondack Chair, Super Sized

Submitted by Anonymous (not verified) on Fri, 08/21/2020 - 10:39

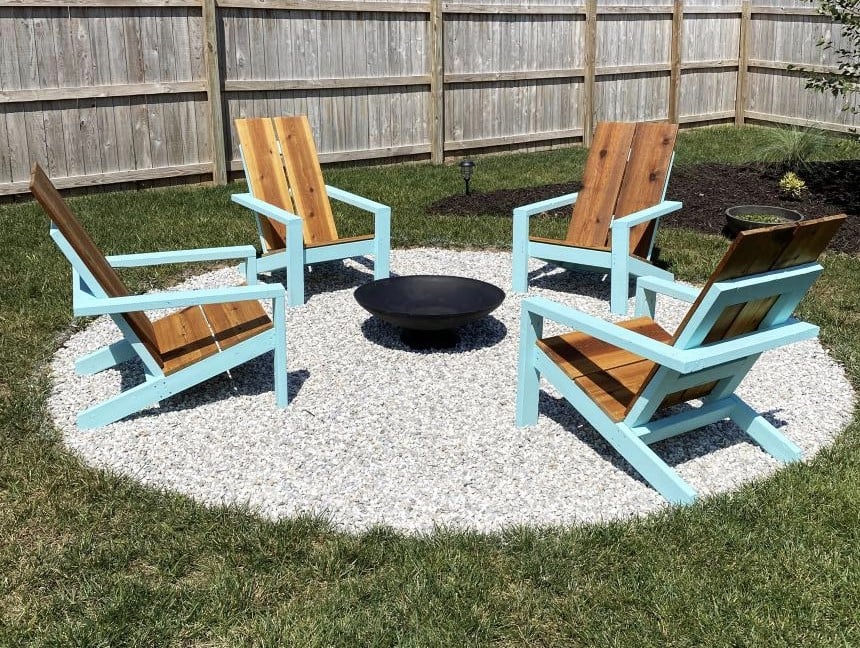
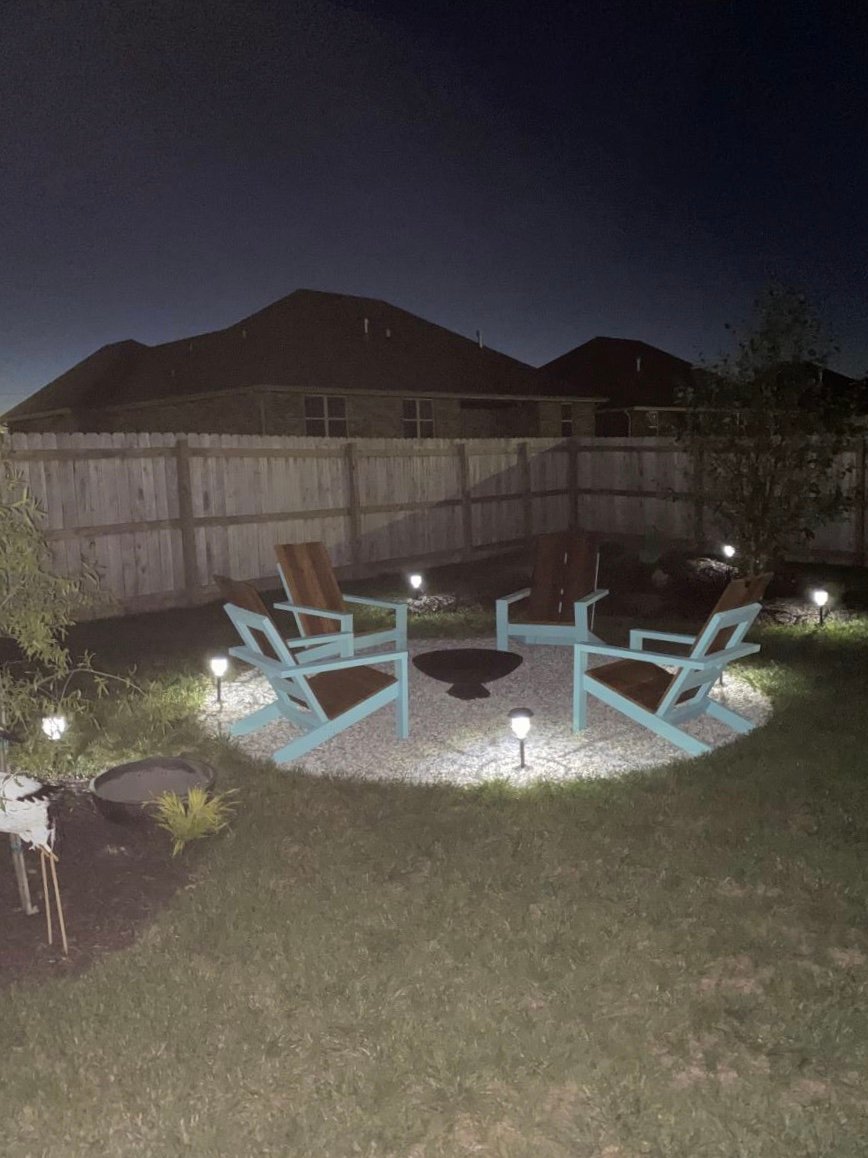
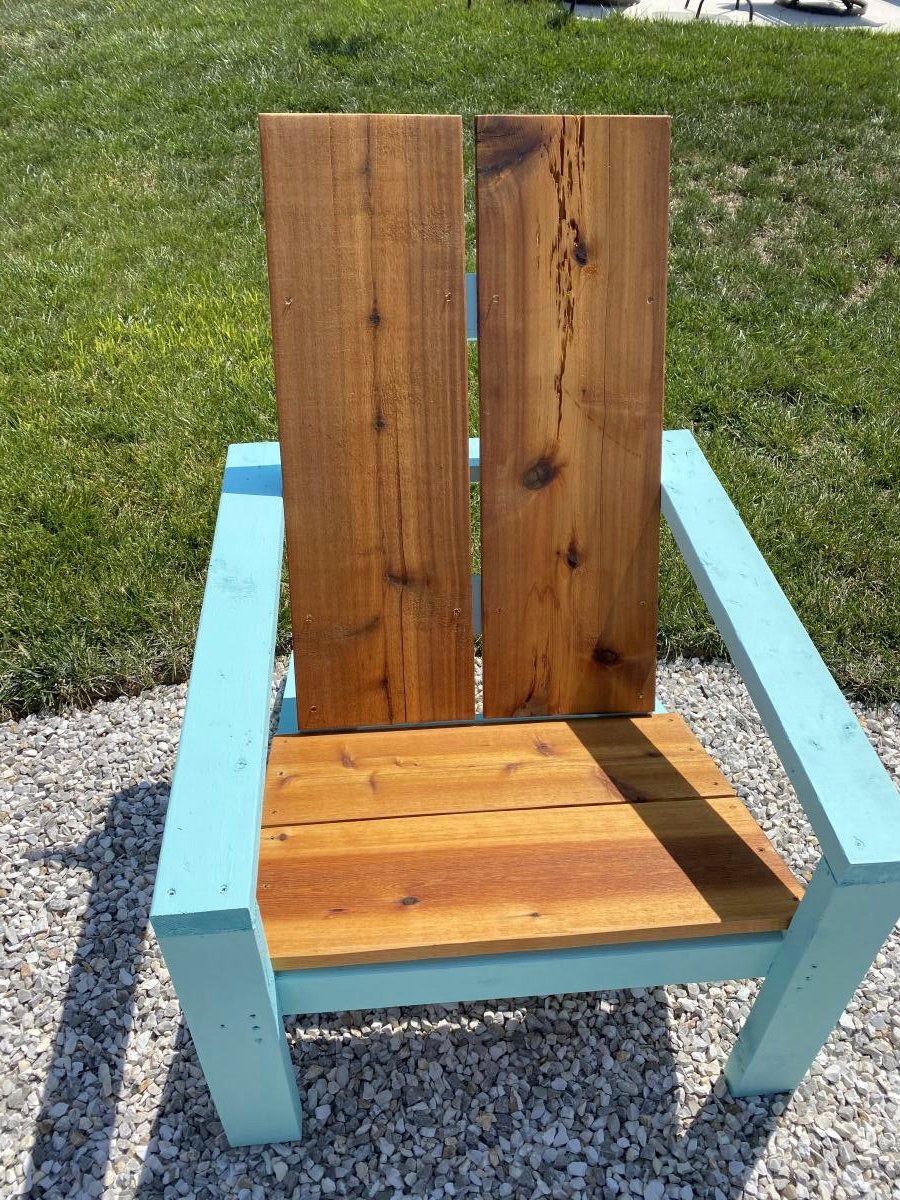
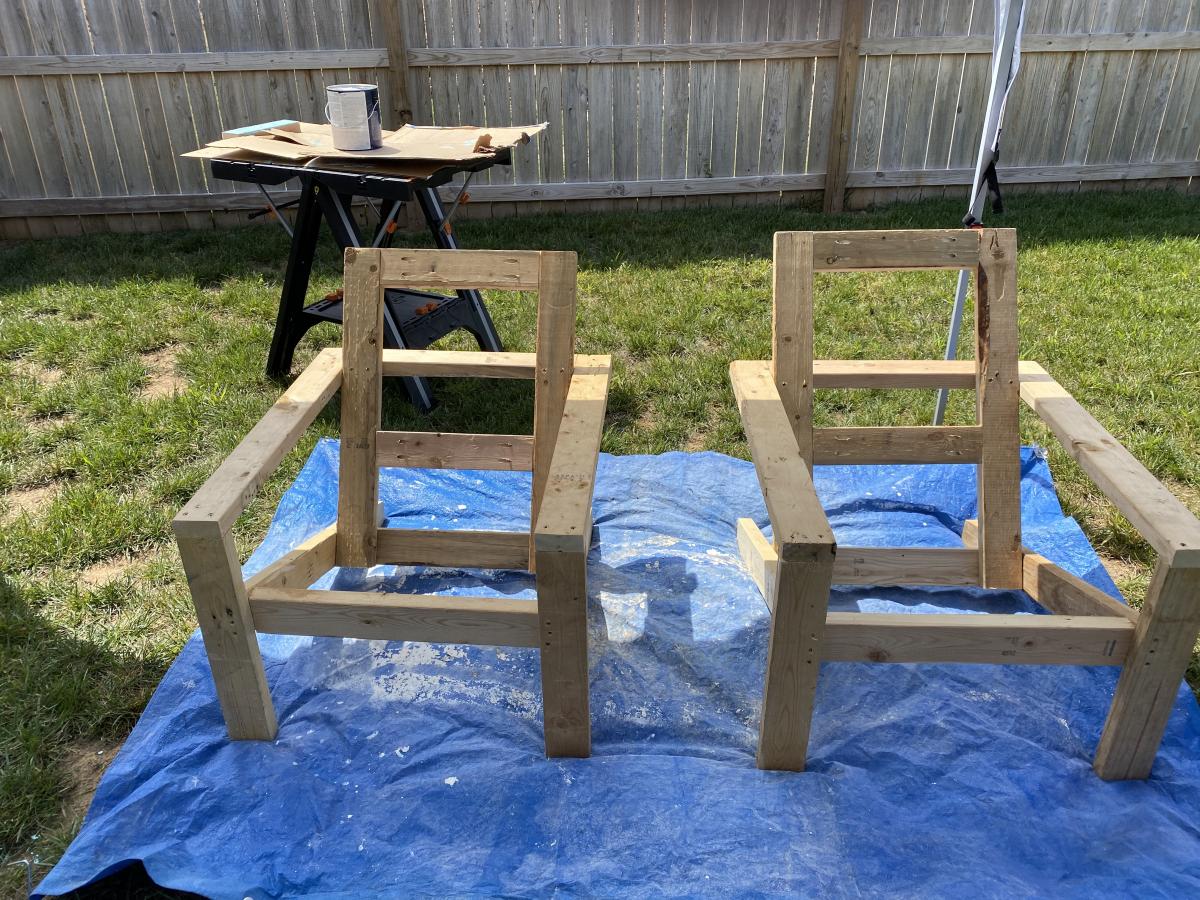
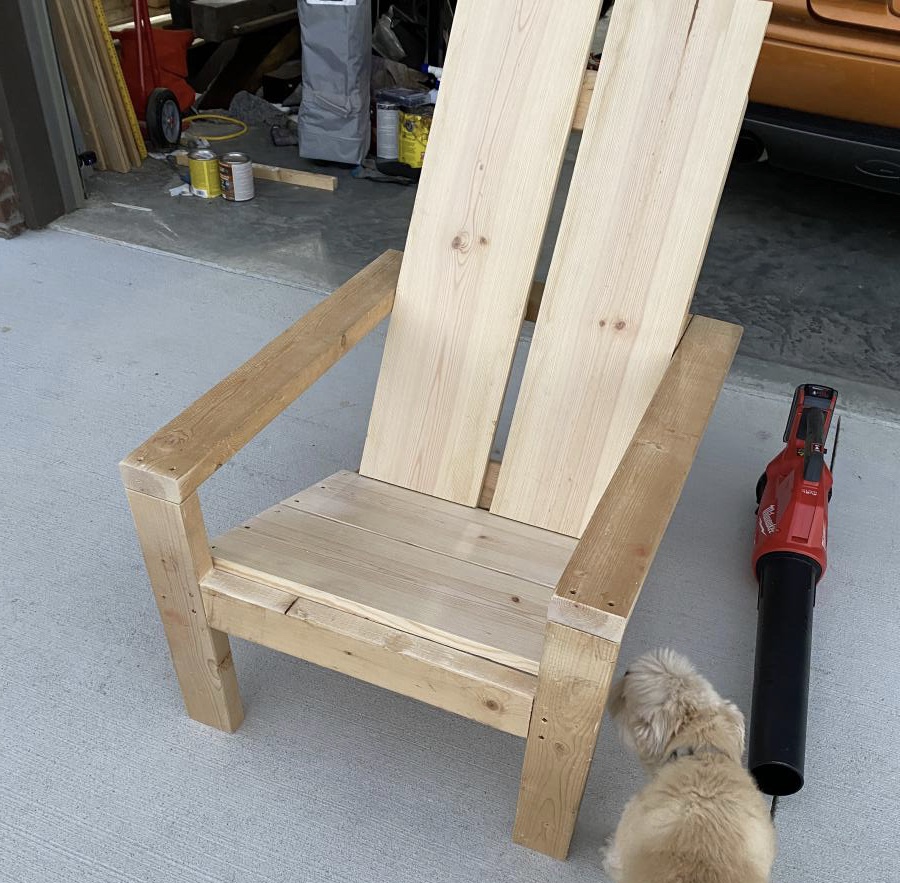
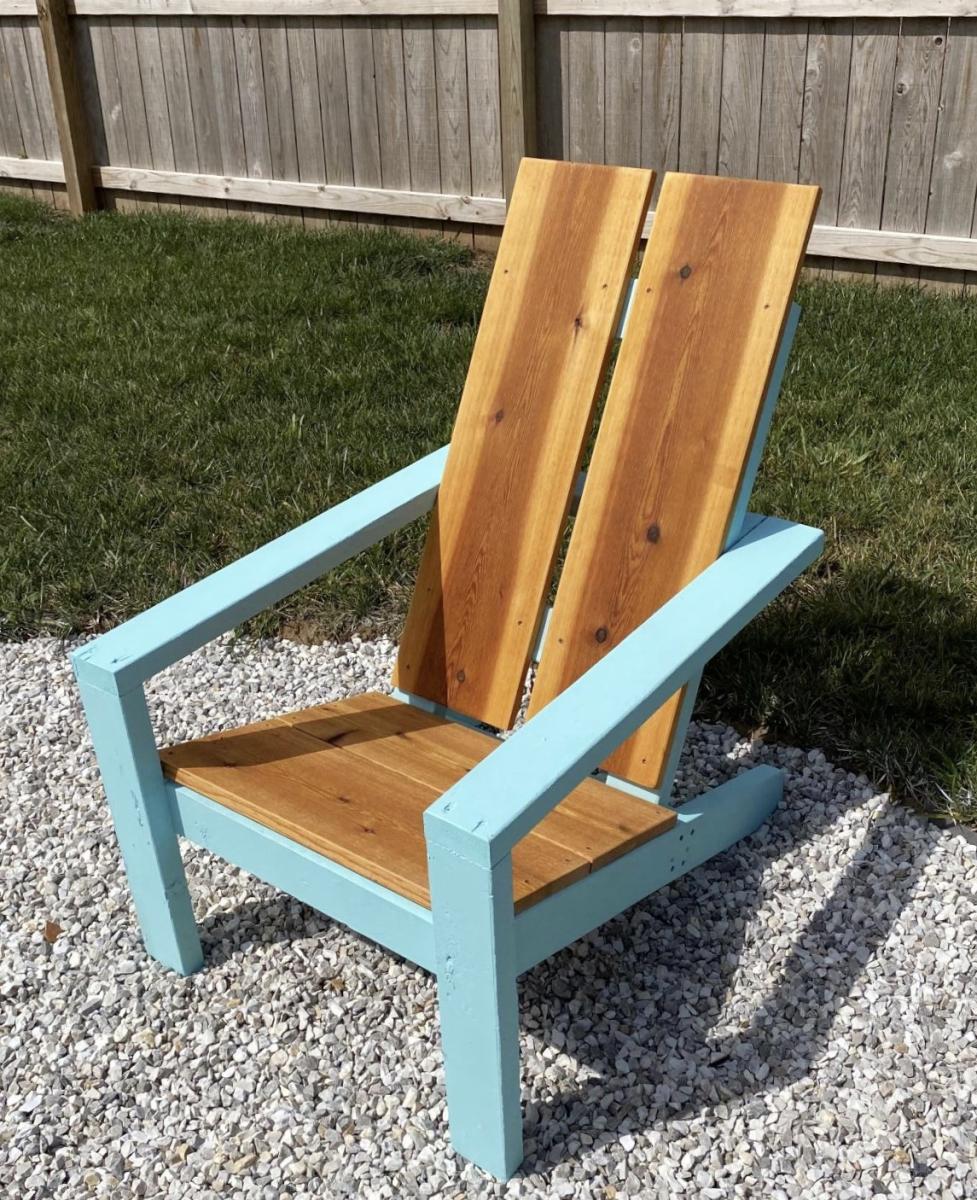
Am a big fan of Ana's work, and have used several of her plans in prior builds including the more traditional Adirondack chairs. Those stayed with my old house, and I wanted something different for my new house. Really liked her Modern Adirondack design with the floating arm rest. However, plans are like recipes to me--a guideline. I wanted the back boards to run up and down, and I am a bit more robust than the lovely and petite Ms. White, so they would need to be wider after I built the first one at 19 1/2" wide per plan. The next three I made 22" wide and that worked well without throwing off the geometry and angles of the other parts. Since I ran the backboards up and down, I needed some cross beams for stability and to give an attachment point for the middle of the boards. Cut some 2x4s at 15" wide, drilled pocket holes in both ends, and attached in between the back supports with the pockets facing up to be hidden by the back boards. All of the 2x4s were leftover cut-offs from the houses being built in my neighborhood. Since the frames were free, I splurged and went with cedar boards for the backs and bottoms. With the wider frames, I had to use 1x12s ripped down to 10 3/4" to get the right look (about a board's width in between). Needed some color, so I painted the frames Teal Seaglass from Menards. Cedar was stained with a natural deck stain from Sherwin Williams. I experimented with salt paint (mixing unsanded grout with the paint) to give a heavily textured and weathered finish but this was unecessary--the wood was distressed enough and I am a terrible painter. It also toned down the color so I skipped that step and just went with 2 coats of plain paint. It looks like outdoor furniture should up close. As always, am pleased with Ana's plans. Thank you for doing all the hard work!

Estimated Cost
about $200 for all 4 chairs due to cedar and paint
Estimated Time Investment
Weekend Project (10-20 Hours)
Finish Used
Paint - Pittsburgh matte exterior with Dutch Boy coloring Teal Seaglass
Stain - Sherwin Williams Superdeck stain, Natural finish
Recommended Skill Level
Starter Project

Comments

Seasonal And Holiday