Community Brag Posts

Workbench

Submitted by Anonymous (not verified) on Sun, 11/22/2020 - 05:47

Thanks for the simple plans Anna, they worked out great!. I resized the table to make maximum use of the material, still within the same quantity you specified in your plans. I glued the legs along the lengths of the table, and kept the table top and shelf screwed in, for easy dismantling, if necessary.

Finally I added pop down heavy duty wheels allowing me to move the table (not shown in this pic) easily. When the wheels are not being used they pop up, making the table very stable. The height of the table is about 1/2” lower than the table saw, making it an ideal outfeed table as well.

Great design, and fun build.

Estimated Cost
Cn$148 (went with a finished 3/4” 4x8’ ply board)
Estimated Time Investment
Day Project (6-9 Hours)
Finish Used
None
Recommended Skill Level
Intermediate

Comments

Pallet wood painter's ladder shelf

Submitted by Anonymous (not verified) on Sun, 06/25/2017 - 18:50

Made this one with shelf edges/trim just on the sides. Somehow my top shelf didn't span the width so had to add a little shim on each side but it all worked out! We had all the pallets and used 1x3s for the frame because some of my pallet wood was heavy hardwood. It was not without frustration because I was working with uneven/warped pallet wood but it hits the rustic look.  I am happy with how it turned out. 

Built from Plan(s)
Estimated Time Investment
Day Project (6-9 Hours)
Finish Used
English chestnut minwax stain and matte interior sealant
Recommended Skill Level
Beginner

DIY Rustic Sideboard

I worked on this project over the course of a few months, and I absolutely love the result! I posted all the info at my blog: http://www.designatedspacedesign.com/2017/10/01/a-rustic-sideboard/


Built from Plan(s)
Estimated Cost
Around $400
Estimated Time Investment
Week Long Project (20 Hours or More)
Finish Used
I painted it repose gray by sherwin williams. The top is a mixture of dark walnut and weathered gray stains.
Recommended Skill Level
Intermediate

Cottage bedroom bookcase

Submitted by yhaas on Thu, 10/29/2015 - 20:42

I used 1 x 10s to make the bookcase a little shallower, and left the back open. Thanks for the great plan.

Built from Plan(s)
Estimated Cost
$100
Estimated Time Investment
Weekend Project (10-20 Hours)
Finish Used
Varathane diamond finish water-based polyurethane, satin.
Recommended Skill Level
Beginner

A's Full Size Loft Bed

Submitted by Hulsberg on Sun, 08/12/2012 - 14:58

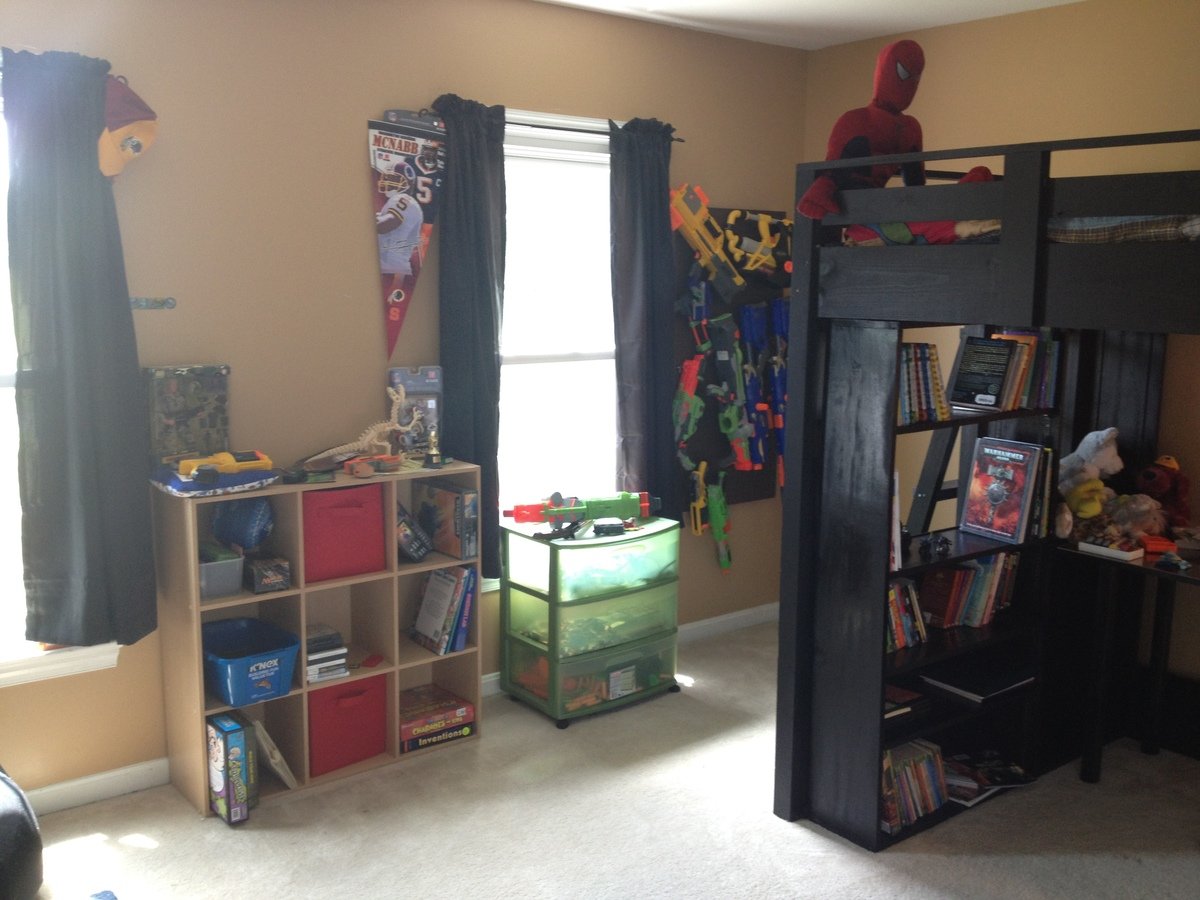
My son needed more room in his bedroom...and to be rid of the very girly furniture he inherited when he moved into his "big boy-ish" bedroom. At 10 yrs old, it was high time he got a bed that wasn't pink-tinged, white washed pine with 4 posters and enough curlicues to choke a forest. He also needed a desk which I couldn't really fit in his room with the armoire and chest of drawers that came with the Queen sized bed.

So off to Ikea we went and I saw a black loft bed for $300, but it was really, really high which meant I would have to cut it down and it was not sturdy at all. I looked at PB and saw the $1800 bed. Um, no - that wasn't happening. So, off to Ana-White I went and I'm so happy I did!

I built the full sized version of these plans and, to keep costs down, used wood I had on hand. This meant I had to work a bit at the cuts, but it all worked out.

Mods:
1) I modified the railings to have the ladder at the end of the bed to keep away from the ceiling fan.

2) Because I put the ladder at the end of the bed, I got very nervous about having a soon-to-be teen climbing on to a ladder secured to a 1x10 that was only connected to the side railings with glue and screws. So I sandwiched extra 1x3s over the bottom rails and attached them to the top railing.

3) I was very nervous about making sure that the bed was adequately supported so I put a 2x4 down the center instead of the 1x2.

4) I went a wee-bit overboard screwing things together to the point where it's a bit embarrassing and now I have to paint over the screw heads.

5) I made the ladder treads with 2x4's, modifying the inside spacer board cut lengths.

Because I had quite a bit of lumber on hand, the bed only ended up costing me about $90.

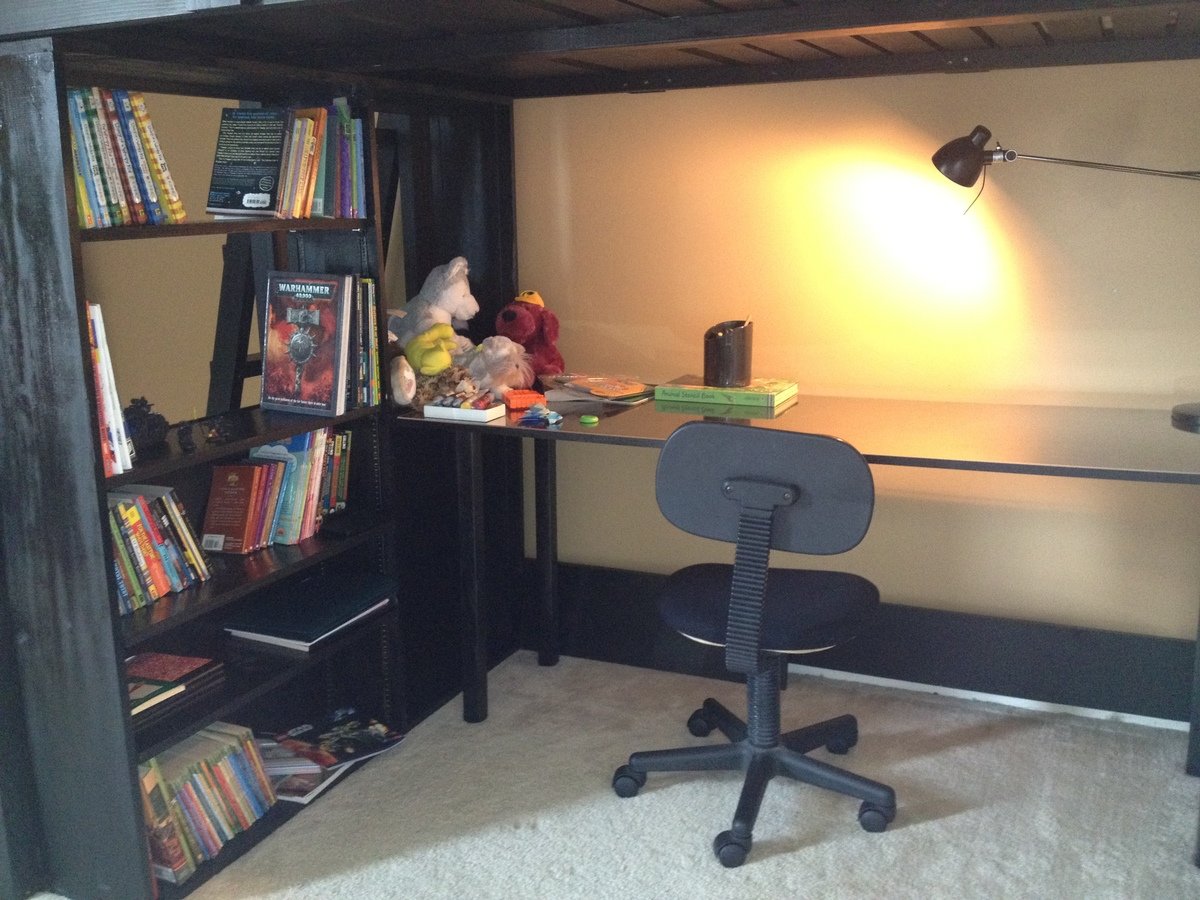
For the bookcase, I did end up buying the 1x12s and the adjustable shelf railings. I made the book shelf the entire width of of the bed and split the two sections based on width of the 1x24 board I bought for the desk. I only put the backer board up half way so that the daylight could get underneath the bed and make it not so cave-like.

The book case cost me about $70.

The desk was the easiest...but most costly item. A 1x6x24, 4 table legs and the table leg mounts ran me about $80. The plexiglass top that I had cut for the top cost me about $80.

Time wise, this would have taken me a lot less time than the 4 months it took - but I worked on it as I could and when I could, by myself. I got some friends to help me bring it upstairs and put it back together, but it was mostly done when I could fit in some time.

My son LOVES this and it really does give him so much room!!! Thanks Ana - I really appreciate it!

Built from Plan(s)
Estimated Cost
with paint, screws and bookcase hardware, about $450
Estimated Time Investment
Week Long Project (20 Hours or More)
Finish Used
gloss spray paint / primer in one.
Recommended Skill Level
Beginner

Comments

Jennifer P (not verified)

Fri, 01/18/2013 - 07:38

Hi!

To modify this to be full sized, I just added 15" to the width of the bed. Ana said this in the plans:

Cutting Instructions:

Converting to Full Size This bed can easily be converted to full size. You will simply need to add 15″ to all boards that run parallel to the ends. This includes the planks, end top pieces and the slats. Shopping list will need to be adjusted as well.

So I modified the cuts to the head and foot board parts and the full size mattress fits perfectly.

For the shelving underneath, I just looked at some of Ana's other plans for shelves and winged it.

Simple Composting Toilet Outhouse

Submitted by Emillie on Thu, 06/18/2020 - 13:36

We built this composting toilet as one of the first things we did on our piece of vacant land. (How can you build anything else without somewhere to go when nature calls?)

An eco-friendly design was important to us, so we used cedar fencing instead of plywood. Otherwise, we followed Ana White's simple outhouse plans. It came out perfectly! It even has a rain barrel for hand washing.

Estimated Cost
800
Estimated Time Investment
Weekend Project (10-20 Hours)
Finish Used
We stained the outside with a semi-transparent stain and varnished the inside with an outdoor varnish.
Recommended Skill Level
Beginner

outdoor patio furniture

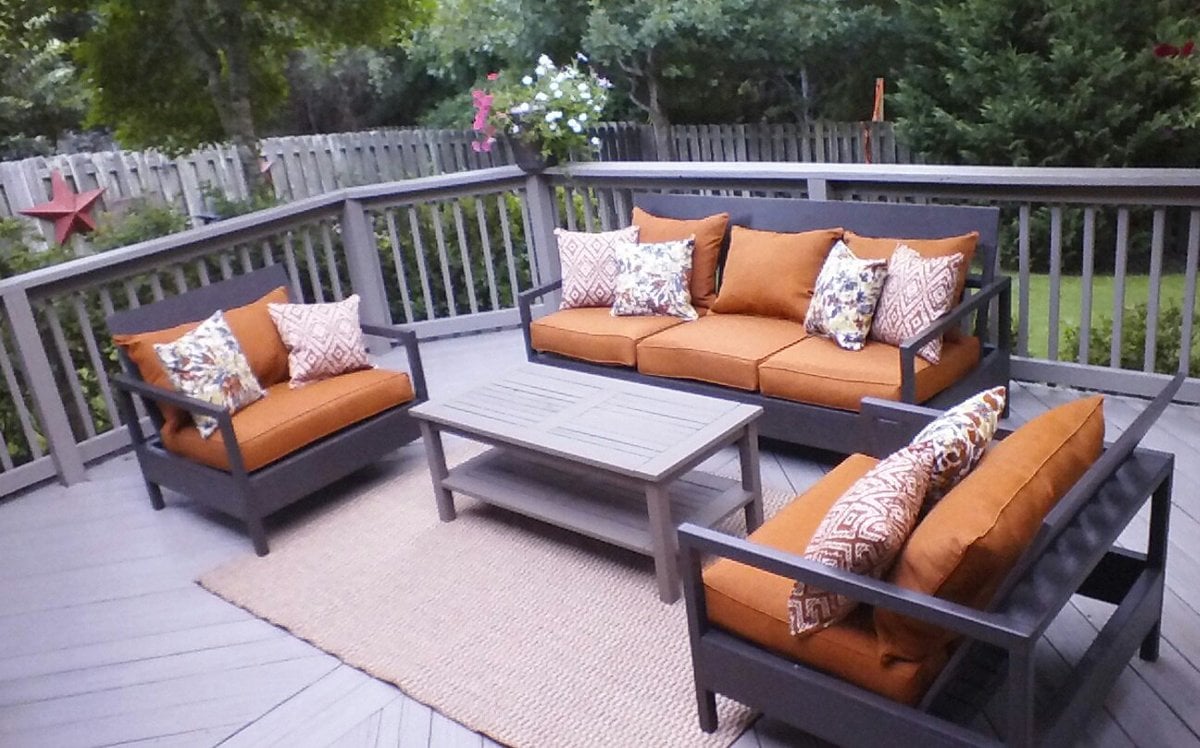
Well this was first project my hubby and I tackled together. He actually let me use the power tools. The plans were great! Loved having a shopping list! I made the cushion s myself. I have to say, I wish I had made the couch and chairs the size of cushions available at Lowes . AFt e r you buy foam batting fabric and chording I found set at lowes for a lot less but I am so happy how it all turned out . Thks for providing plNz!

Estimated Cost
500 with cushions
Estimated Time Investment
Day Project (6-9 Hours)
Finish Used
Non transparent stain.Olympic elite stain an sealant n one
Recommended Skill Level
Beginner

Comments

charitydtrull

Sun, 05/24/2020 - 14:45

I can't find the plans for these pieces. I found the one using 2x4, but these pieces look like they use 2x2. Can someone tell me where to get the plans?
Thank you,

Seasonal And Holiday

modern park bench

Submitted by debinmi on Sun, 09/28/2014 - 11:50

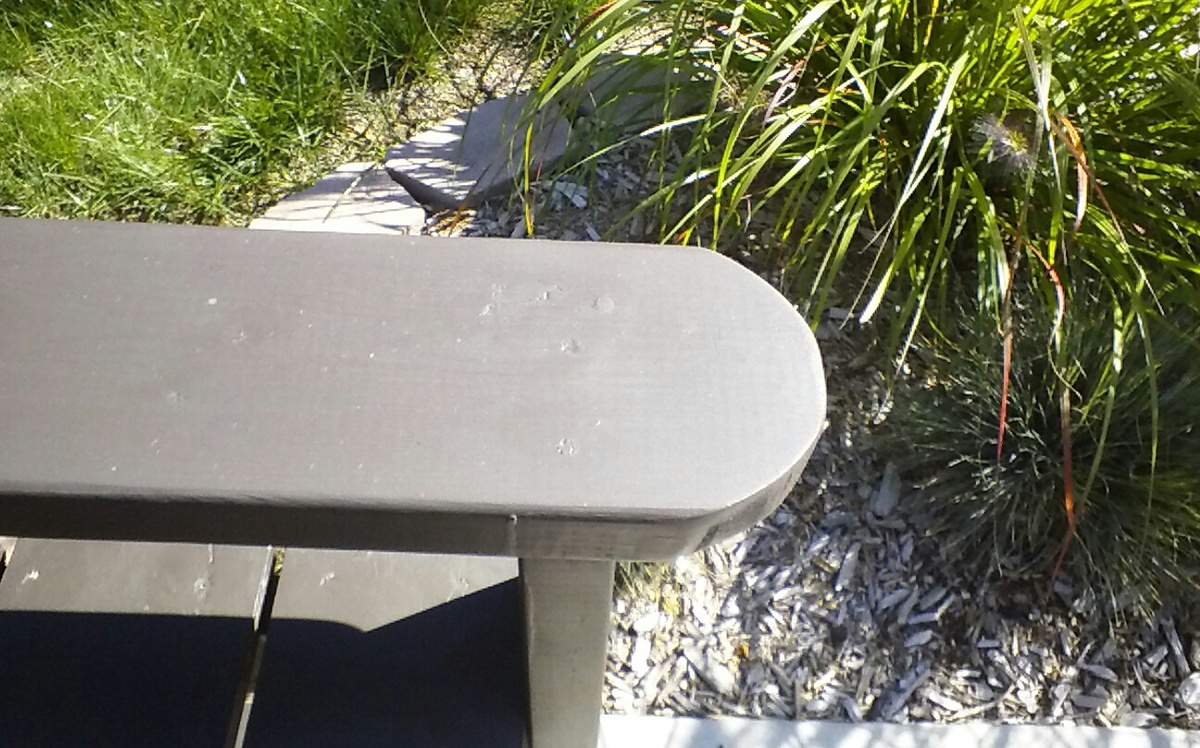
Spent an hour or so an evening after work to make this bench .  Also made the umbrella stand but haven't drilled the hole for the umbrella yet so it' s still in the garage.  Love the bench, it's long & deep enough to lay down upon.  Made the arms from a 2x6 and rounded the front w/ a jig saw, made the other end the same size as the 2x4, and made them longer than the plan. Pretty simple, did use pocket holes in places. First major build & 1st brag.

Built from Plan(s)
Estimated Time Investment
Day Project (6-9 Hours)
Finish Used
Pittsburg exterior stain in Oxford Brown
Recommended Skill Level
Starter Project
Seasonal And Holiday

Tilt Out Trash Bin

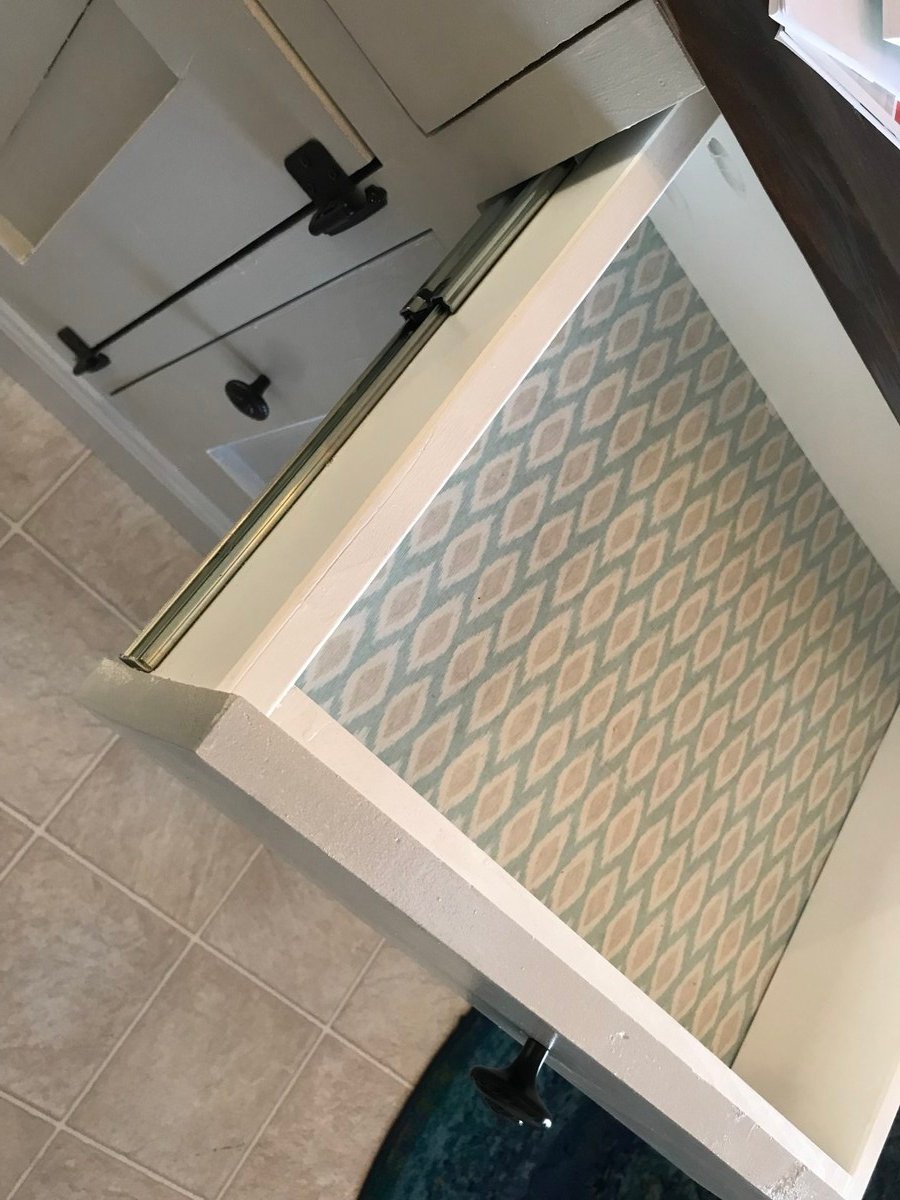
This was my first project using an Ana White plan....Modified it a bit...quite happy with how it came out...it was very low cost to make and a lot of fun.

Estimated Time Investment
Weekend Project (10-20 Hours)
Finish Used
Varathane Stain....Spring Oak
Recommended Skill Level
Beginner

Basement Play Gym

Submitted by Anonymous (not verified) on Fri, 01/08/2021 - 05:51

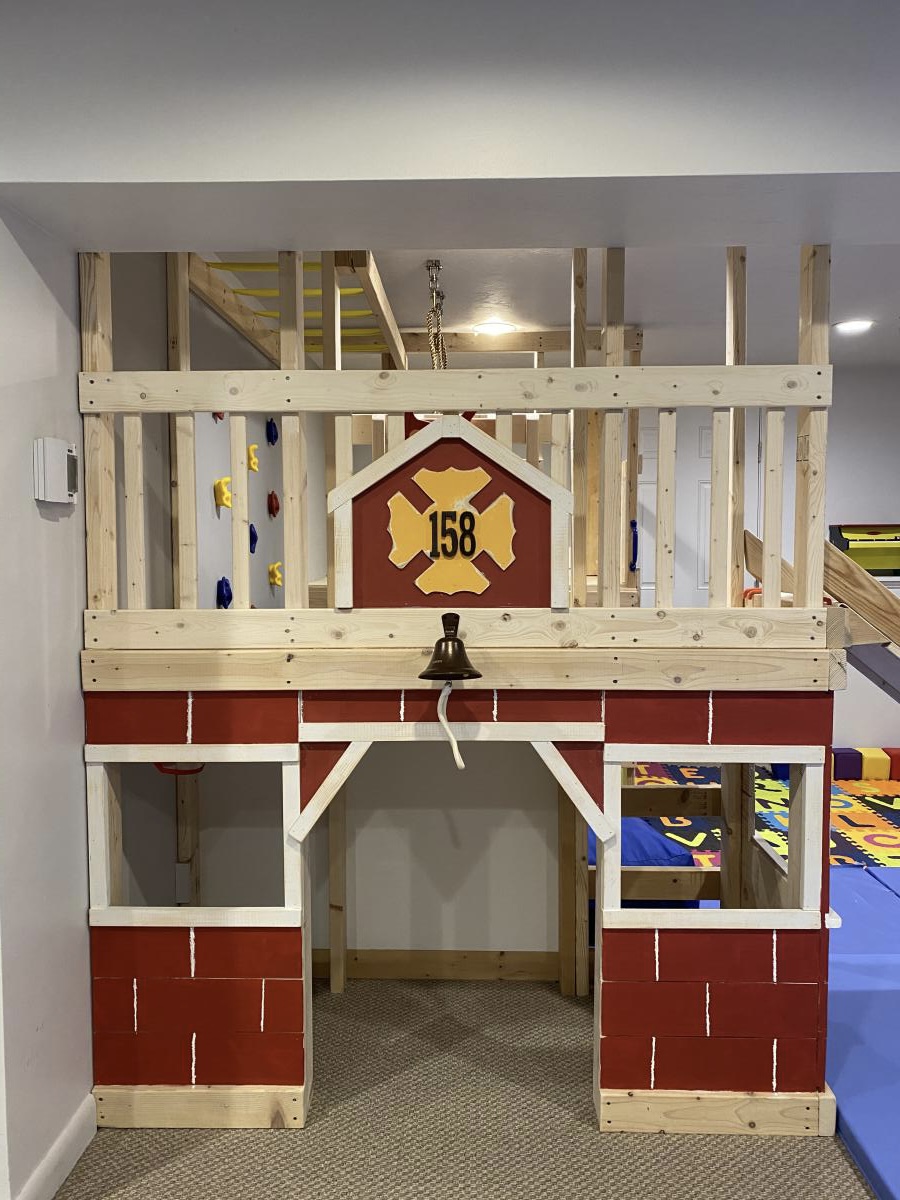
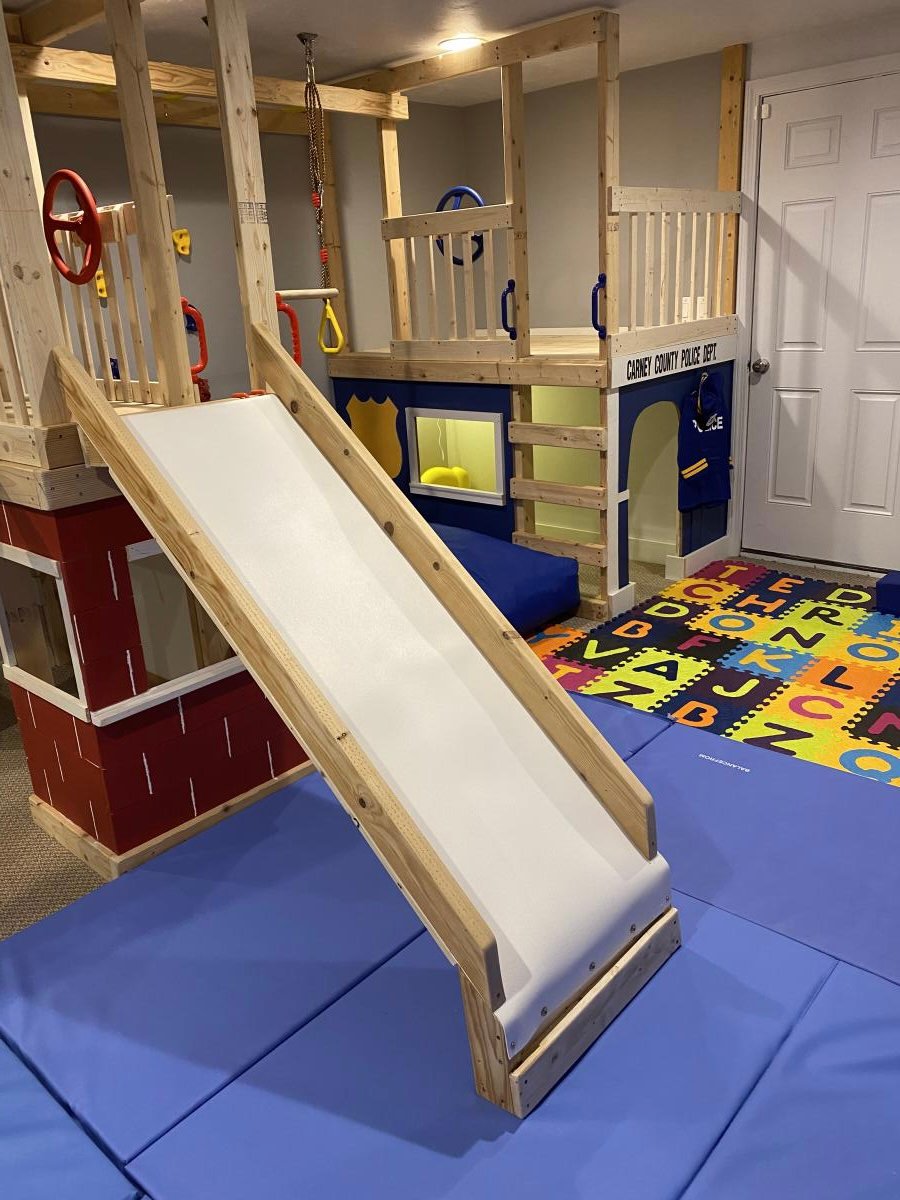
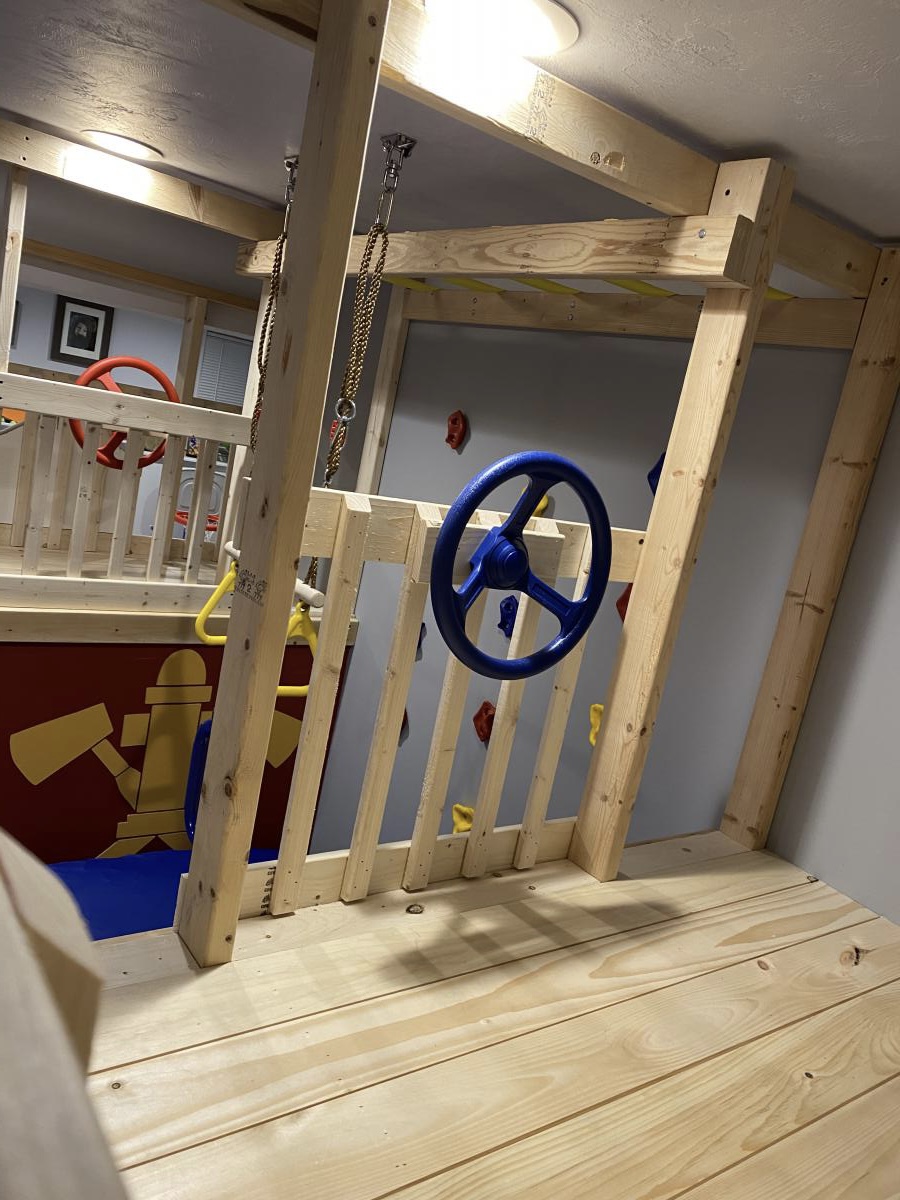
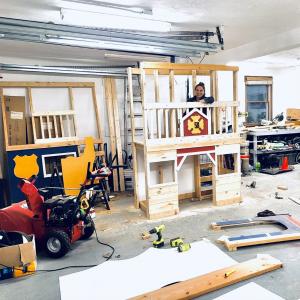
With Christmas approaching and the realization that my three young boys had way too much “stuff”, I enrolled the help of my dad to build this amazing basement play area. When I found Ana’s plans for the play gym with monkey bars, I knew we were in business. I modified the design to fit our space and we were off. Such a fun build and my boys absolutely love spending time down there. Thanks so much for your continued inspiration and the confidence you give us mamas to build with the big boys, Ana!!

Estimated Cost
$1000
Estimated Time Investment
Week Long Project (20 Hours or More)
Recommended Skill Level
Intermediate

Comments

Ana White Greenhouse

Submitted by Anonymous (not verified) on Wed, 04/06/2022 - 12:41

We built the first one about 8 years ago, and then the wind flipped it over and scattered it all over the back part of the property. I then dug footings and anchored the second one down; I was able to save the Dutch Door I made for the first one. Thanks for the plans!!!

Built from Plan(s)

Comments

Seasonal And Holiday

Over the toilet medicine cabinet / storage

Submitted by skyzen on Tue, 11/19/2013 - 17:06

I recently discovered your blog and got really inspired. After building a couple of beginner projects following your plans, i started to think about making something that can be used as medicine cabinet and does not take much space. Came up with the idea for this over the toilet storage rack.

My goal was to recycle/reuse some of the stuff that was sitting in my garage.
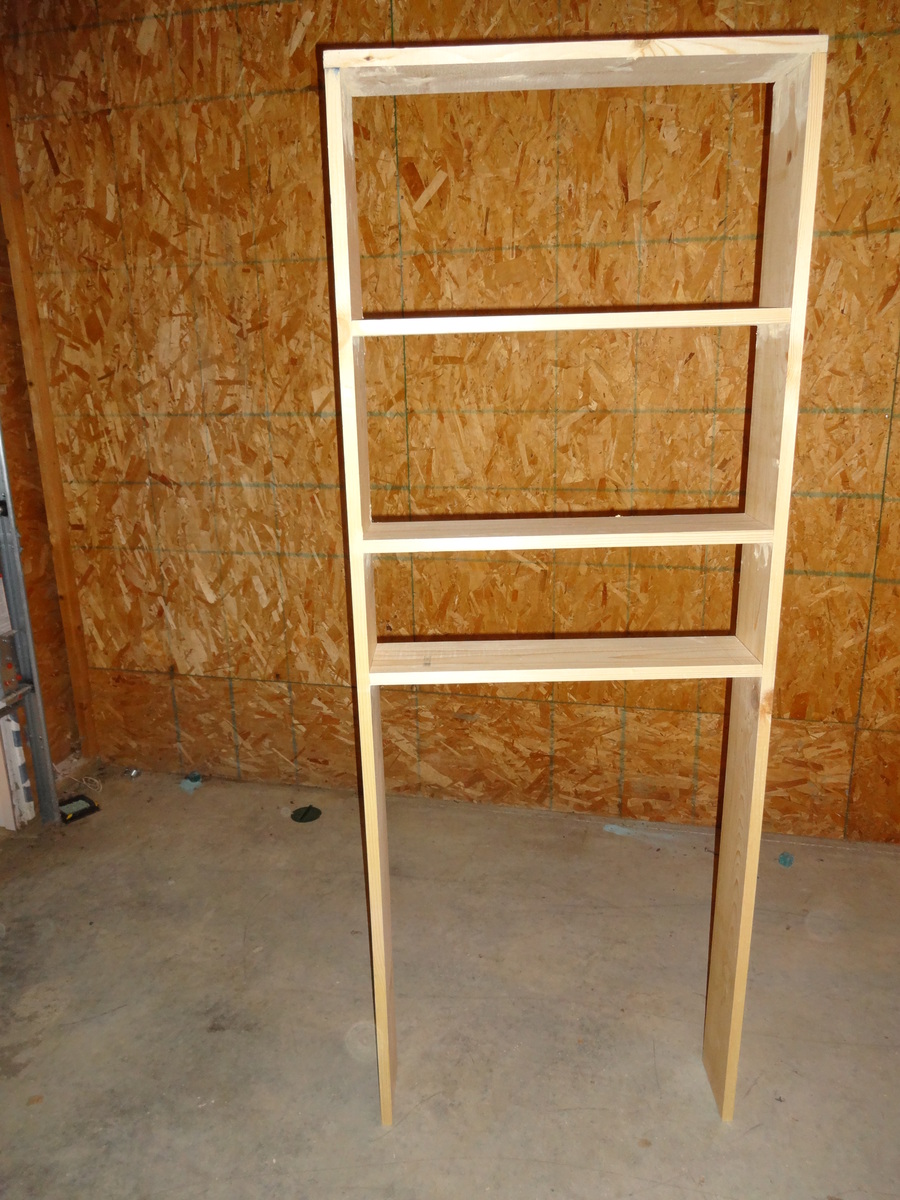
Started with building a frame using 1x6s (24 inch for shelves and 72 inch height). Used plastic table mats were used as sliding windows. Found a PVC trim (8 ft) for $2 at lowes that has been used as the rails/track for the windows. The back is piece of cardbord that was scrap from an old broken ikea bookshelf.

I am pretty happy that i recycled some stuff and made this in less than $15.

Estimated Cost
$15
Estimated Time Investment
Afternoon Project (3-6 Hours)
Finish Used
Minwax Bombay Mahogany Satin
Recommended Skill Level
Beginner

Comments

kevinwdavies

Tue, 12/01/2020 - 14:20

Did you do anything to the bottoms of the legs to prevent wet floors from wicking into the wood? I am wanting to build something similar to replace a particle board cabinet-in-a-box because the particle board did soak up water and get ruined. What I'd REALLY like are metal end caps with an adjustable foot (like you put at the bottom of a table leg) but I can't find a combination of the two anywhere.

Jewelry Boxes

Submitted by yhaas on Sat, 11/28/2015 - 06:55

I made these boxes for my daughters for Christmas. I used maple, and I rabbeted the drawers and backs so that the plywood would sit flush. On the first box, I attempted to join with dowels, but as a novice, that didn't work well, and I converted to a few countersunk screws. On the second box, I used glue and nails as the plan suggested, which was much better. Installing the box hinges and lock was the most finicky part of the project.

Built from Plan(s)
Estimated Cost
$150
Estimated Time Investment
Weekend Project (10-20 Hours)
Finish Used
The dark wood is stained with Goudey stain - San Miguel Oak. Goudey is a family-run Toronto business, and they make beautiful stains. For the finish, I used Tried and True varnish oil. Hardware was from Lee Valley Tools.
Recommended Skill Level
Beginner

Comments

JoanneS

Wed, 12/02/2015 - 14:28

Gorgeous jewelry boxes!  You did a beautiful job, and I'm sure your daughers will love them!  Love the finishes too!

Murphy bed

Submitted by bpcooper14 on Wed, 05/08/2019 - 06:09

So I've always wanted to build a Murphy bed.  And by always I mean since I first came across plans here that made it look so simple.  It ended up taking me a while to do because my job has me working 6 days a week so I was only able to work on it for short chunks of time.

I ended up utilizing a few different plans and mashed them together to build a full size murphy bed.  The shelves are the support legs when the bed is down.  The "hinge" mechanism are heavy duty 360 degree seat swivels.

All-in-all it turned out WAY better than I expected with only some minor issues throughout the construction process.  

Next up is a twin xl Murphy bed with a murphy desk attachment that will serve as a craft  table when up.

Estimated Cost
3 - 4x8 sheets of 3/4" plywood ($25 each)
3 - 1x2x8 to wrap the frame ($2-3 each)
1 pack Door Hinge pins to serve as the pins to hold the bed upright ($3-5)
1 pint stain
1 pint shellac
2 - Heavy Duty 360 degree seat swivels ($20)
Screws/nails/etc.

All told, this project probably cost around $200
Estimated Time Investment
Week Long Project (20 Hours or More)
Recommended Skill Level
Intermediate

Comments

Reclaimed Wood Bedside Table

Submitted by Ktosaka on Fri, 11/22/2013 - 07:31

I had inherited some bed frame wood from our local Re-store and have been working it into projects here and there. We needed some actual night stands and I loved the look of the Reclaimed Look Wood Nightstand, but they were a little too tall for our bed. The height of the original plan is 28" and I ended up taking out one drawer for a total height of 20". I also found two sets of drawer slides at the Re-store and decided that an open shelf on the bottom would better suit our needs, so I crossed the reclaimed plan with the farmhouse plan to create a shelf on the bottom. The bottom is built the same way that the sides are, but attached so that the 2x2 is on the underside.

I didn't have enough wood from the bed frame to make two full tables, so I used Douglas fir 2x2's for the legs (the best the local big box home improvement had that day for my price) and white board for the table tops and every other board for the sides and shelves. This was my second real building project, so they were really easy to put together, but it was a lesson in making everything super square because of the drawer slides. The finish I used also goes great with a 130 year old dresser that you can see a bit of next to the finish table. The wood only needed one coat to reach the color closest to that dresser and it hid the fact that I used three different types of wood in this project. Overall they are just what we needed in this space. The bed frame is IKEA, but I am thinking about making the Reclaimed Look Bed Frame to match the tables in the future.

Estimated Cost
$75 for two side tables
Estimated Time Investment
Day Project (6-9 Hours)
Finish Used
One coat Minwax Provincial stain with two coats of Minwax Wipe-on Poly. I like the look of the wipe-on, but this is the first time I've used it so I'm hoping two coats is enough. For the application, I went with old cotton socks.
Recommended Skill Level
Beginner

Restoration Hardware inspired Maison bed tutorial and finish. Starting with Ana's platform base.

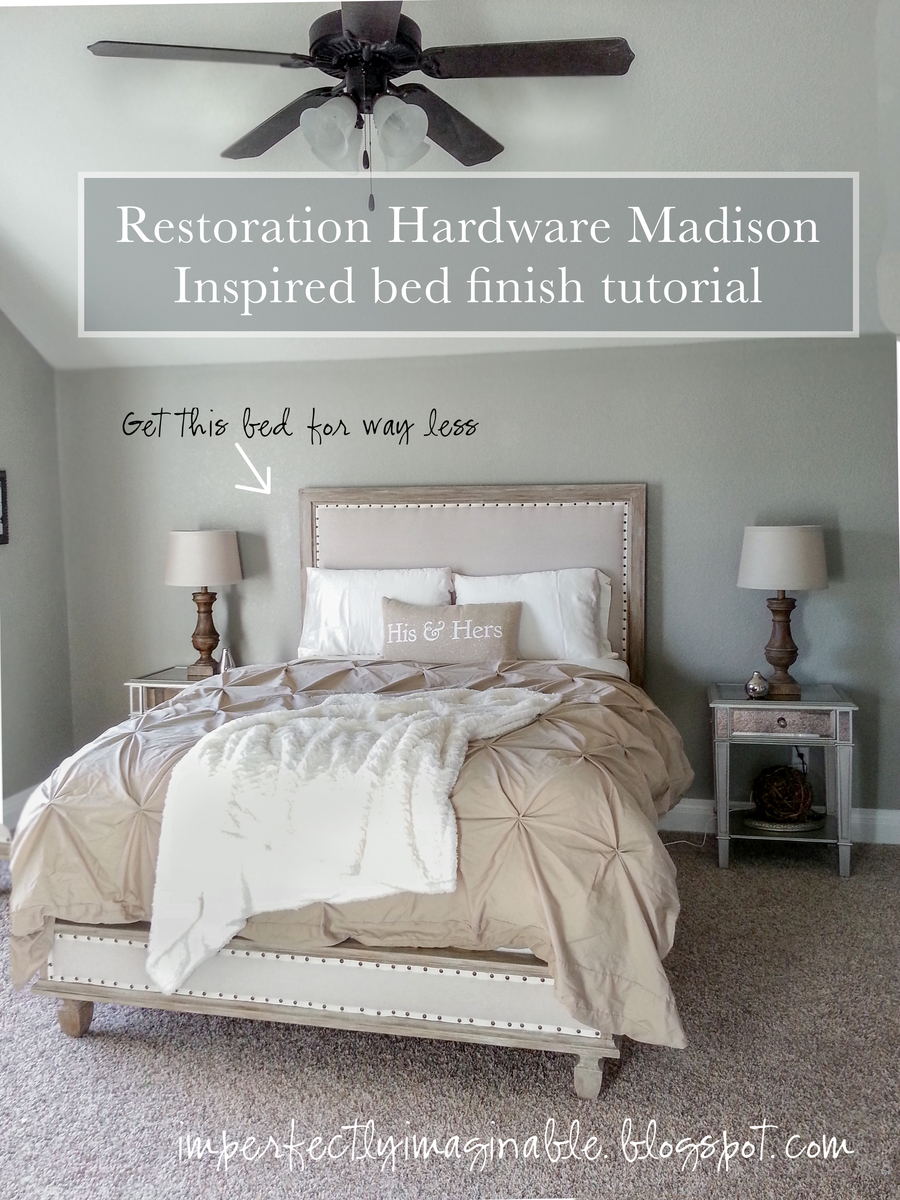
I have wanted a Restoration Hardware bed for so long. Now I have "one" but for way less and we did it all ourselves. starting with Ana's platform bed plans we build on it and walk through the process and even the custom 3 part finish. for a full tutorial please see my blog. http://imperfectlyimaginable.blogspot.com/2013/11/restoration-hardware-…

would love to hear from you and see any projects that are completed.

Estimated Cost
under 400 I think the lumber cost me 175 or so
Finish Used
custom 3 step finish please see blog for tutorial
Recommended Skill Level
Beginner