Community Brag Posts

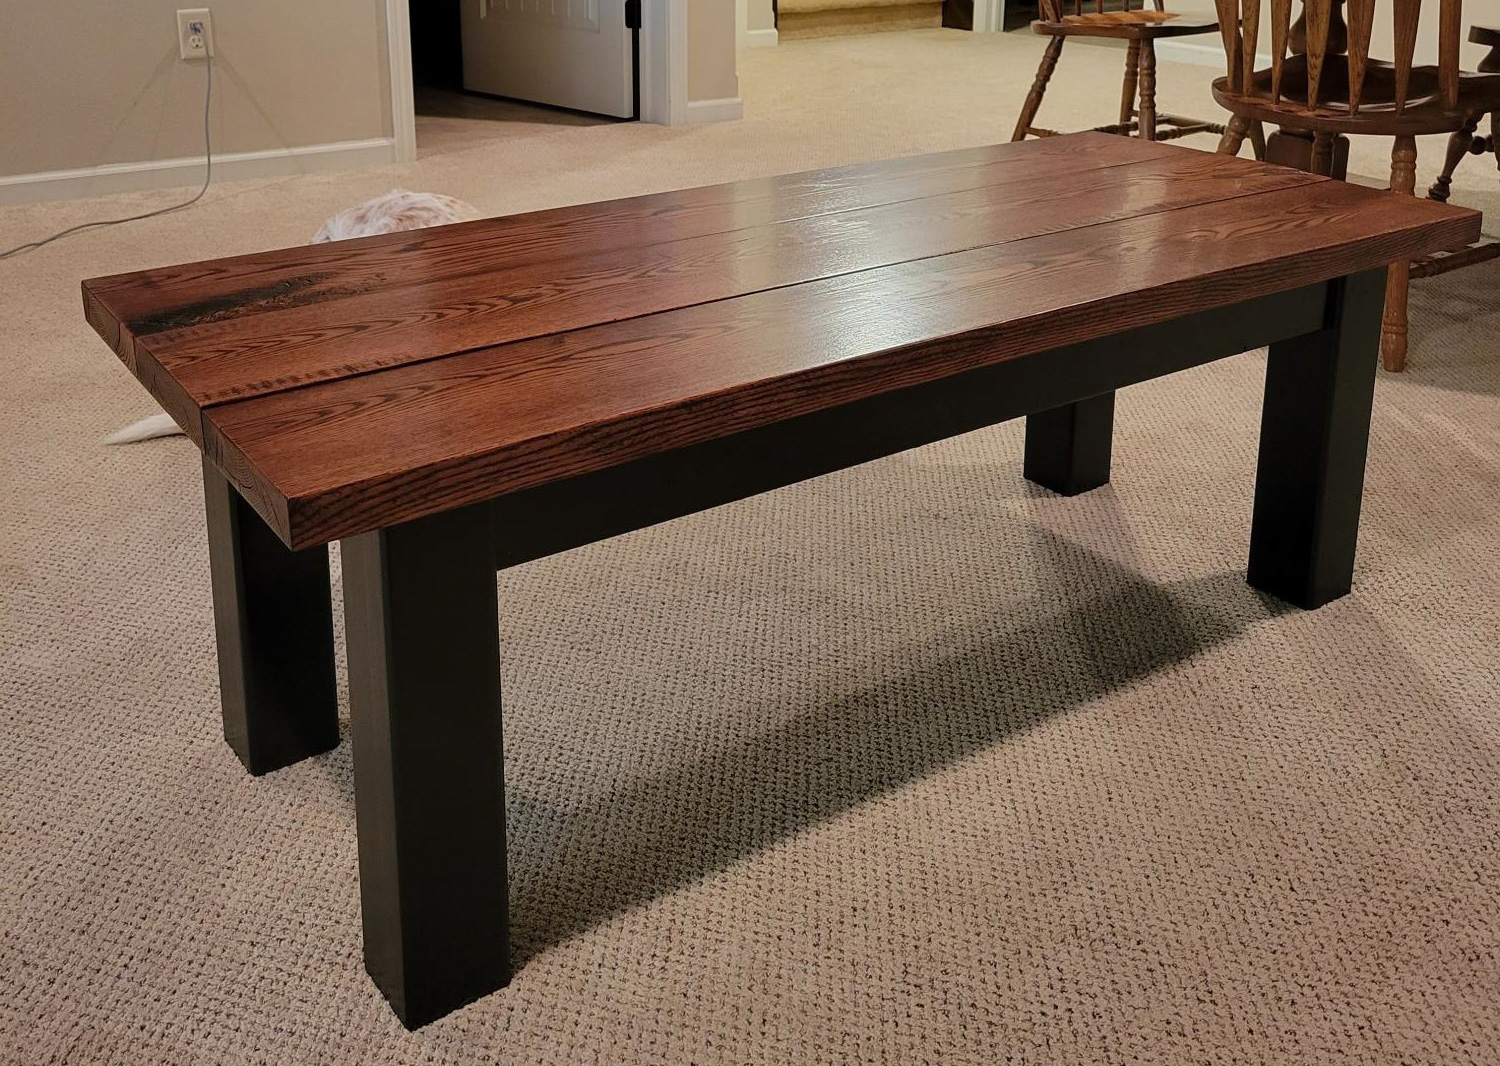
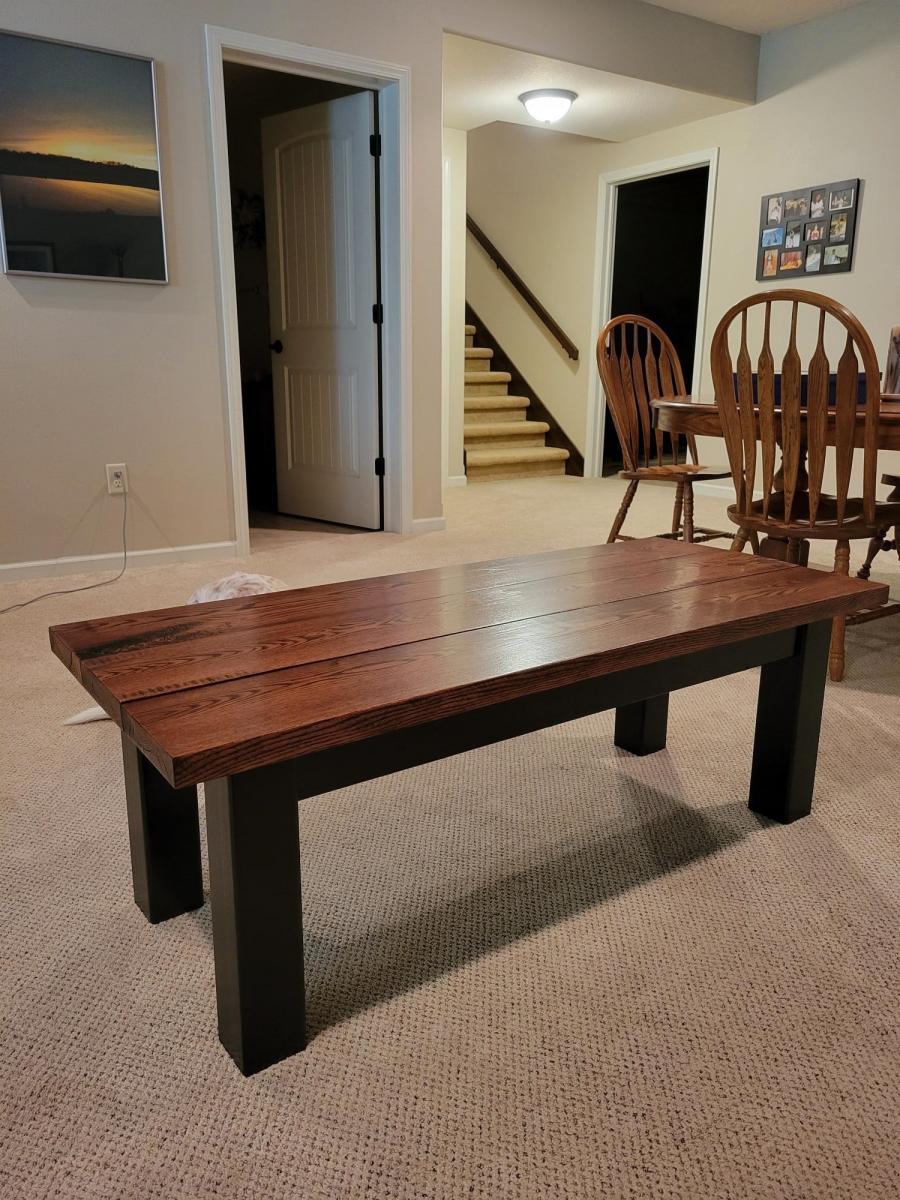
Simple 2x4 Bench

Submitted by jennibee on Sun, 09/14/2014 - 17:03

I made this in an afternoon. Loved this project. It is made with 2x4's using a Kregs Jig and mitre saw (plus additional tools like a drill and square).  This was my frist time using the Kregs Jig and I am sold!!

The free plans were taken from another website. They are very detailed and there is even a video (I recommend it as he gives a great tip for making sure the back stays equal/level to each other before putting the back on). Even though you can build this by yourself, I did have help for the heavier sides once they were assembled.  I plan to build the additional side table soon and finish them both with sanding and staining when the weather seems less iffy for rain.

If you are looking for a good beginner project that doesn't take forever or have complicated steps, this is your project.

Built from Plan(s)
Estimated Cost
Around $50
Estimated Time Investment
Afternoon Project (3-6 Hours)
Recommended Skill Level
Beginner

King Bed Frame

Submitted by Anonymous (not verified) on Tue, 04/18/2017 - 16:39

This was a fun project. Easy instructions great piece of furniture. It is very sturdy. I'm a beginner at DIY wood projects so this was a rewarding project.
Built from Plan(s)
Estimated Cost
$200
Estimated Time Investment
Weekend Project (10-20 Hours)
Finish Used
Minwax red Chestnut and American Chestnut. Treat the American Chestnut more like paint than stain it dries quickly.
Recommended Skill Level
Beginner

Headboard based on PB Oxford Storage Bed

Although I didn't build this from a plan I wanted to be sure and share it as it is because of my experience building from Ana's plans that I felt comfortable giving this a shot.

My in-laws were just updated their lake cabin and wanted a storage headboard as space is a premium and it will be the only furniture in the guest rooms. It is unique as it has shelves on either side which can pull out to function as a small night stand, perfect for cell phones, books etc. The back of the piece is tongue and groove knotty pine which for the more rustic look they wanted.

I will probably do things a little different when I build the next headboard but overall I am satisfied with the end result. I chose not to do a lower storage area, mainly to keep the cost down. It could be done very easily but this piece is already very heavy and that there is plenty of storage.

Estimated Time Investment
Weekend Project (10-20 Hours)
Finish Used
Special Walnut stain with semi-gloss Polycrylic. All of the wood was sanded and then I applied wood conditioner. One coat of the stain and three coats of the semi-gloss. I live in Minnesota and build it in my garage so I had to wait until this week when temperatures finally were warm enough to apply the finish.
Recommended Skill Level
Beginner

Comments

Farmhouse Table~squared.

Submitted by Dinabu on Wed, 05/04/2011 - 09:24

I really really wanted a farmhouse table...but...we had a space that needed a square table AND I needed to fit 8-12 people (or more!) so we modified Ana's farmhouse table plans to not only be square, but really big as well. This table is 6 ft on each side. Since the table itself was so big, we reversed the breadboard ends and used a 2x4 on 2 ends just to even out the size a bit since is not rectangular...and the area is quite small but needed a big table. I didnt want it to be completely out of proportion. We did not use a stretcher because of the square factor, but each leg is a 4x4 post and reinforced underneath. It's HEAVY. It won't be moved anytime soon! I'm loving it:)

Estimated Cost
$250
Estimated Time Investment
Weekend Project (10-20 Hours)
Finish Used
Black semi-gloss with 2 coats of clear gloss poly for legs and table skirting, dark walnut for top with 5 coats clear gloss poly.
Recommended Skill Level
Beginner

Comments

Murphy Bed Cabinet

Submitted by Aventusman on Mon, 11/30/2015 - 14:07

I made this cabinet to house my murphy bed.  I used the Toy or TV Armoire plans as a start and adjusted the measurements as needed.

Estimated Cost
$250
Estimated Time Investment
Weekend Project (10-20 Hours)
Finish Used
Painted White
Recommended Skill Level
Beginner

Comments

Round Pedestal Table

Submitted by Anonymous (not verified) on Fri, 07/21/2023 - 10:46

Built this for my wife for our anniversary. Plans for the table was easy to follow. Used poplar for the table top. I copied the chairs from our large dining room table that we purchased so the two sets would match. I’m an Ana White follower looking forward using more plans. I used a jig saw to cut the circular table top instead of the skill saw using a fence.

James / League City Texas

Built from Plan(s)

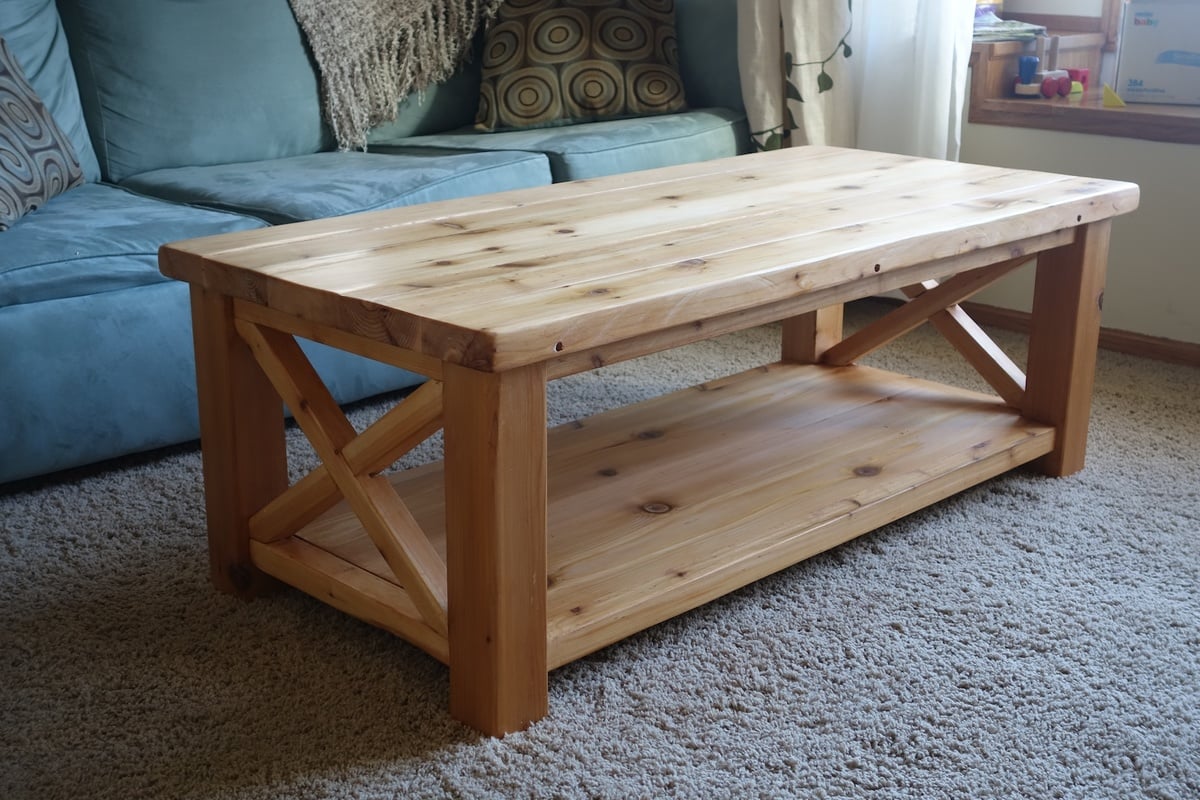
Rustic X Coffee Table in Cedar

Submitted by daveJay on Fri, 04/11/2014 - 07:16

This is my first real piece of furniture I've built. We decided to build it in Western Red Cedar because our local home improvement store had a good selection of it. It was pricier than pine, but it holds stain really well and is really beautiful.

I modified the plan and bought a 4x4 for the legs, then I cut that down to 3" x 3" exactly with my table saw. That way it doesn't look like a standard cut of wood, but something more custom. As a result I had to put corner notches in my bottom piece so that it would fit in with the legs. That was tricky to do, but would have been easier if I had a jigsaw

I made a few measuring errors and had to correct it by trimming down the table top so there was only an inch overhang on the edges. So this is actually a few inches less deep than the plan called for, but it worked out ok I think.

With the X's I laid them on top of the legs and traced a line to cut rather than trying to cut an exact miter. I also traced it so that I'd cut a bit off of the top and side of the corner so that it fits in nice and snug on both edges.

I also traced the intersection lines. Then I set my table saw (don't have a circular saw) to 1/2 an inch and just cut out several notches in between the intersection lines so the to X pieces could overlap each other. A "halved joint" I believe it's called.

Built from Plan(s)
Estimated Cost
$120
Finish Used
I finished it with a coat of Minwax Honey Maple gel stain followed by some Minwax Paste Finishing Wax. Just put a thin layer of wax on, wait for it to dry several minutes and then buff it out with a clean rag till it's got a nice shine.
Recommended Skill Level
Beginner

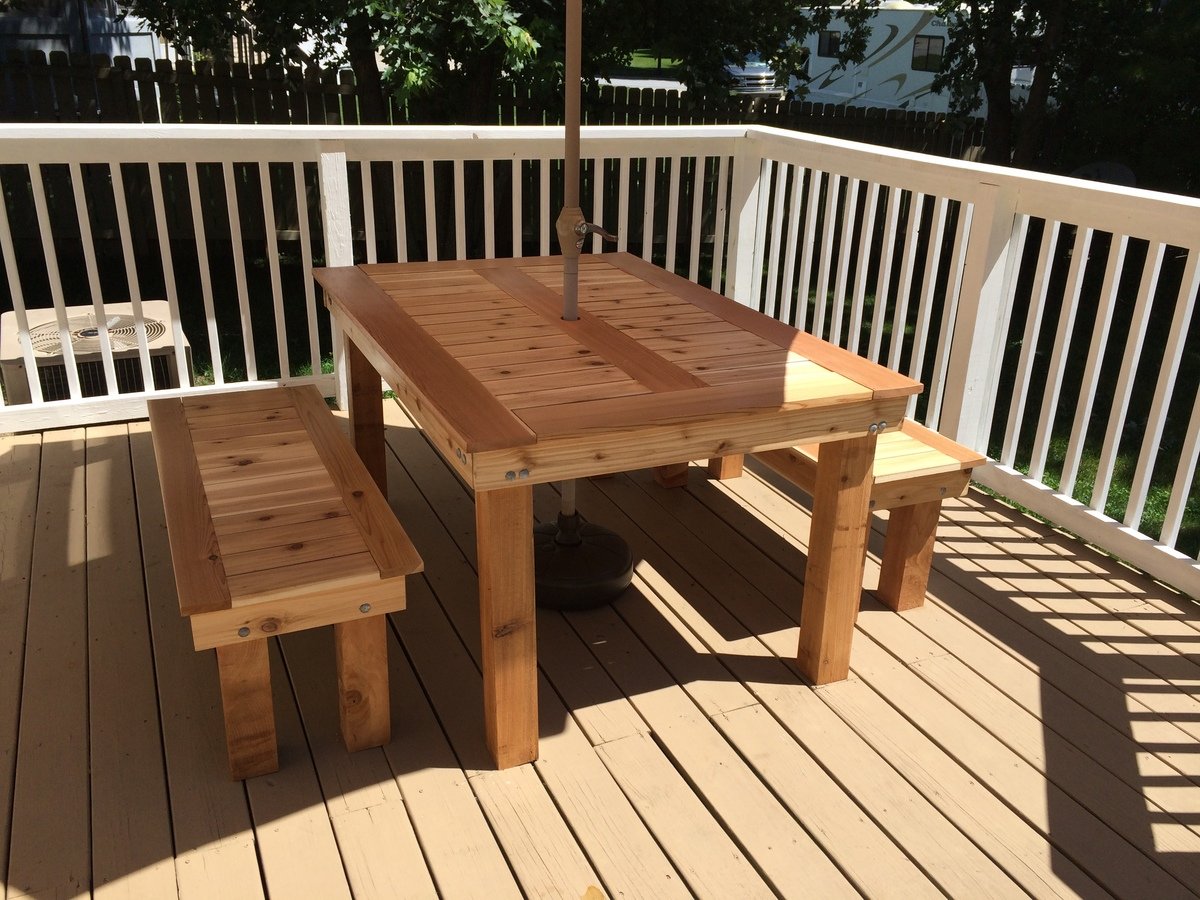
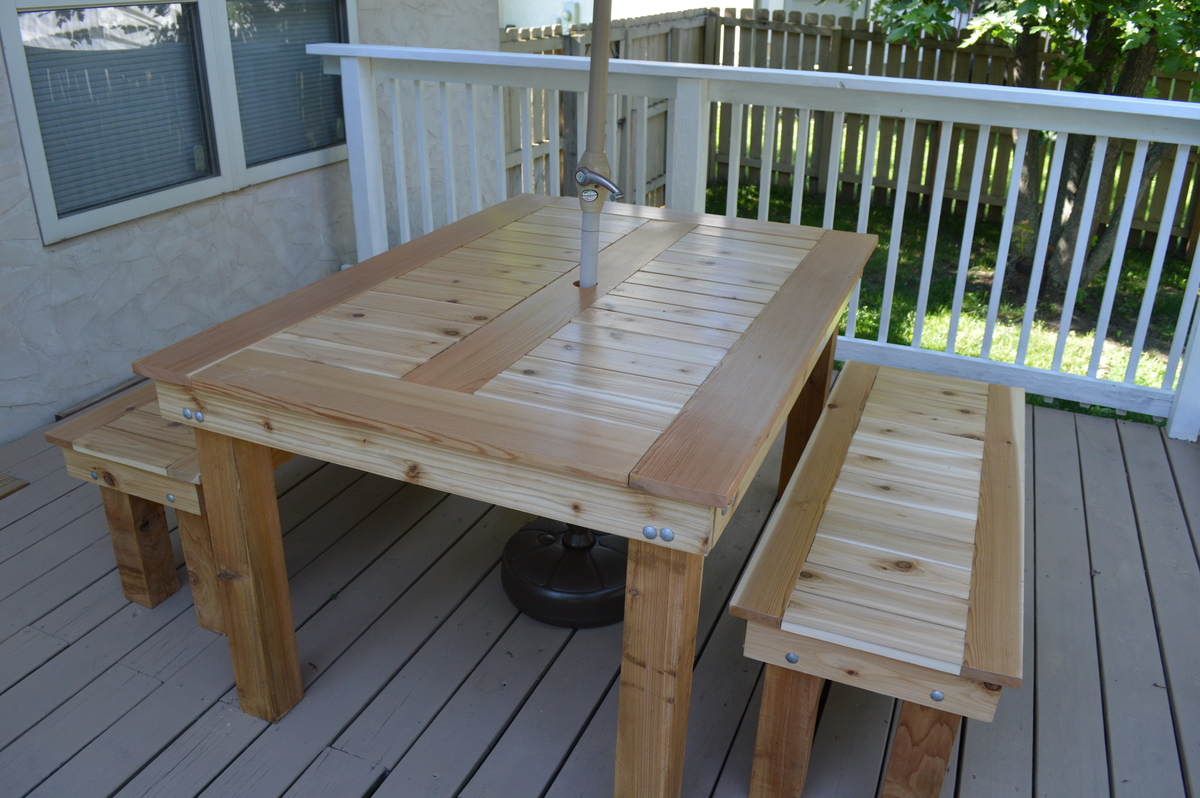
Cedar Outdoor Dining Table and Benches

My wife and I loved the version that Finns-Dad made but we wanted it to be rectangular. The top is 1x6s around the edges with 1x4s in between. The frame is 1x4s. The bench tops are all 1x4s with 4x4 legs. There are 3/8 inch lag bolts in the legs. We did 4 coats of the urethane.

This was my first major project, and while there are many things that I would do differently if given the opportunity, we're still very pleased with it.

Built from Plan(s)
Estimated Cost
$350
Estimated Time Investment
Weekend Project (10-20 Hours)
Finish Used
Rust-Oleum Varathane Classic Clear Water Based Outdoor Spar Urethane Semi Gloss
Recommended Skill Level
Beginner

Comments

Shoe Dresser

Submitted by Anonymous (not verified) on Sat, 04/01/2017 - 08:26

We used the shoe dresser instructions with some modifications to make it longer

Built from Plan(s)
Finish Used
Stain, polyerthane, chalk paint and wax
Recommended Skill Level
Advanced

Simple Play Kitchen

Submitted by Anonymous (not verified) on Sun, 06/04/2023 - 13:03

I made this play kitchen as a Christmas present for my kids, and it’s been a big hit! It’s built mostly from leftover hardwood plywood, and a couple of 1x12 pine boards. The oven knobs and faucet were cut from redwood scraps and attached with 1/2” dowels to freely rotate. The vertical surfaces were painted with leftover house paint and sealed with water-based polycrylic. It was a fun build, and I learned some new skills (like installing hinges)! Thanks for the plans!

Comments

Weatherly Pergola with Hammocks

Submitted by jacquiejn on Mon, 04/27/2020 - 08:22

I've wanted a place to hang our hammocks for a few years now. We have some really nice hammocks from a local artisan. This past weekend, we built the framing with intentions of making it a pergola at a later time. With encouragement of my son & boyfriend, we decided to add the pergola on Sunday. I liked this plan because it wasn't as complicated or expensive as a lot of other plans out there that use 2x6s instead of 2x4s. Adding the angle brackets really solidified the whole structure. I'm so thrilled with this project! Unfortunately, today (Monday), it's raining, so I can't go hang out there.

Built from Plan(s)
Estimated Cost
300
Estimated Time Investment
Weekend Project (10-20 Hours)
Finish Used
We will allow the wood to dry most of the summer before finishing.
Recommended Skill Level
Intermediate

Outdoor Sectional

I scaled back the length of the sofa by a few inches and I made the sectional only one seat to fit my space on the deck. This was my first woodworking project that I did by myself. I got the cushions for more than 1/2 off at Ikea so the whole project cost about $150 ($80 for the cushions). It took me about a week to complete but the total time was less than 10 hours to build and stain. I'm pretty happy with how it turned out.

Estimated Cost
$150
Estimated Time Investment
Weekend Project (10-20 Hours)
Finish Used
Pittsburgh Paints Stain & Sealant in One for Decks, Fences, & Siding in Walnut. I brushed on the exterior stain just like a paint. I did the top part of the sofa first, then flipped it over and stained the bottom. Read instructions on the label.
Recommended Skill Level
Beginner

Comments

Outdoor Patio Deck Chairs

Submitted by nlindauer on Tue, 05/24/2011 - 06:42

Made these chairs from plans found on the Kerig Jig website. I added the cup holders for convenience and lowered the seats by 2 inches to account for our short legs. Chairs were stained with an outdoor fence treatment that was tinted with a light grey color.

Estimated Time Investment
Day Project (6-9 Hours)
Finish Used
Olympic Maximum Solid - Grey Base
Recommended Skill Level
Beginner

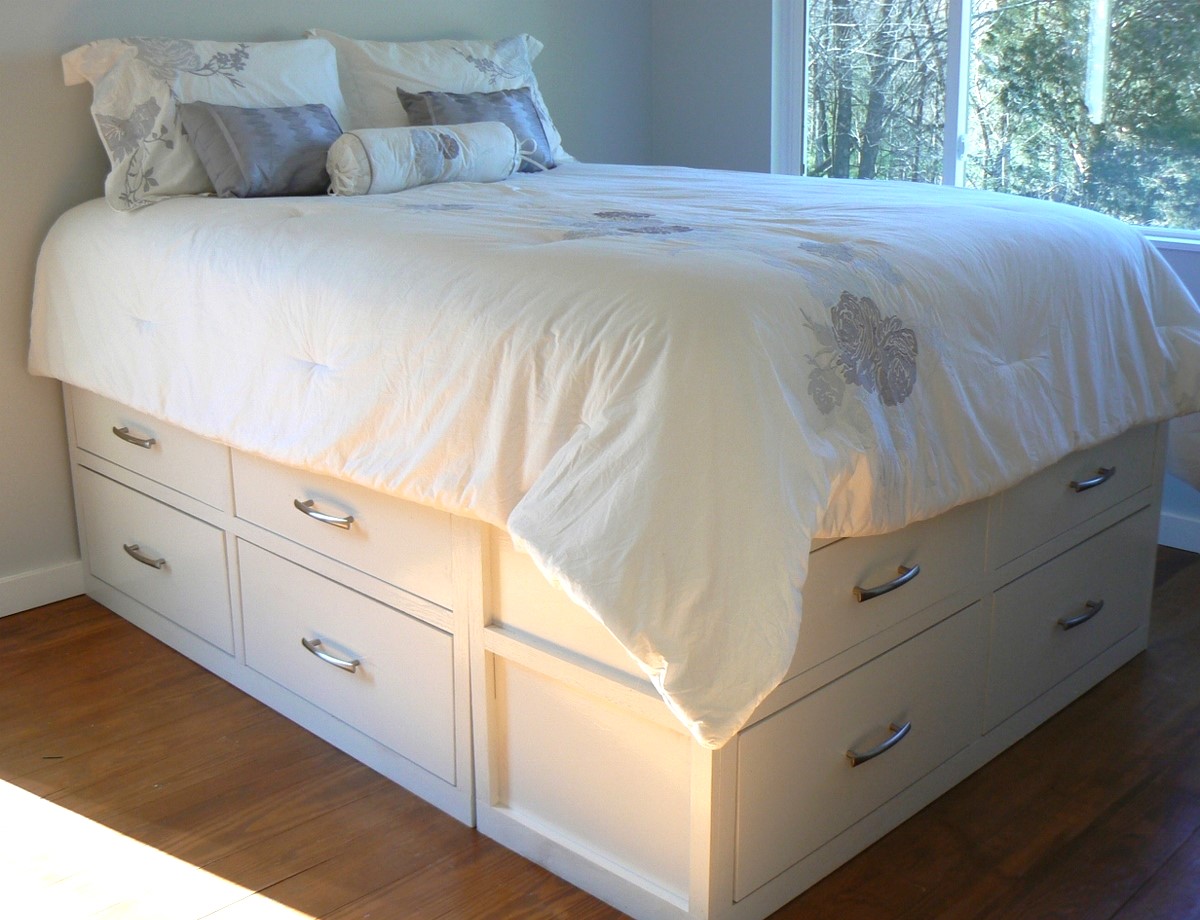
Modified Queen Stratton Bed

Submitted by APagano on Tue, 02/07/2012 - 11:57

After we built the first level, we decided we didn't like how low to the ground the mattress was going to be, so we made another level. Our master bedroom is very small so this gives us plenty of storage space! The floor throughout the house is wavy, so theboxes do not meet perfectly ( you can see a slight gap at the bottom) which drives me crazy, but I will have to live with it for now. We kept the drawer face simple (less work, and we like the clean lines). Our mattress is quite thick, so I see myself building a step stool in my near future! This was our first project and very easy to follow. Already working on my next project. I am addicted! Thanks for the great site, Ana!

Built from Plan(s)
Estimated Cost
between 500 and 700, taking into account paint, handles, screws, etc
Estimated Time Investment
Weekend Project (10-20 Hours)
Finish Used
Oil based ultra white from Lowes. I think it was Velspar.
Recommended Skill Level
Intermediate

Comments

Guest (not verified)

Tue, 02/14/2012 - 12:54

I too modified this plan with a second rob of drawers and im in the finishing stages of it (hardware and paint). How tall is yours?

APagano

Wed, 02/22/2012 - 13:05

Total height is 25 inches. I love how tall it is, because the dogs cannot jump on the bed! I wish we would have thought about the double drawer height before we started as it would have brought the cost and time down significantly. We live and we learn. Enjoy your new bed!

Marie421 (not verified)

Tue, 07/31/2012 - 19:48

Just wondering how you attached the double drawer layers together... Love the look of it...

APagano

Mon, 06/10/2013 - 17:41

Sorry for the delay in response. I haven't been on the site in awhile and I could not figure out my password! We used the Kreg Jig to attach the top level to the bottom. Looking back on it, we should have just built the walls as one piece, but since the top drawers were an addition, after the fact, we just had to deal. The 1x2 trim piece gave it a finished and less pieced together look. It has been so long since we built this, the details are fading!

In reply to by APagano

diy_lover

Sat, 08/06/2016 - 20:37

I'm new to furniture making and was wondering if you had plans for your work since I like the height, queen and twin size? Also, I was wondering if any drawers are for storage purposes, as I would like them to be?

natasha

Mon, 10/08/2012 - 08:00

Hi this is exactly what I need to do!
we just bought a new bed and I new I'd be making this not thinking I decided not to buy the box spring, now I realize my bed will be on the floor...

I would love it if you could share everything you learned in making it double decker! please
thanks
Natasha

APagano

Mon, 06/10/2013 - 17:48

Better late than never, I hope...
First thing we learned, the bed is a little too high, so we should have made slightly smaller drawers. Still happy our dogs can't get up there, but I have to actually hop up on the bed every night, and still have yet to get around to making my step stool.
Second, cut the side pieces for the height needed for two drawers, then you have a cleaner look with no middle trim piece. I don't mind it, but I would like it more without, I think.
That is really all I would change. The plans were easy to follow and made it easy to alter for our needs.

reneemwhiten

Tue, 05/07/2013 - 23:52

I am flabbergasted by this AMAZING bed you MADE over the WEEKEND! This is simply unbelievable! I absolutely could never do something like this. Are you willing to make a King size one exactly like this and sell it to me??
Oh please?!
Renee

APagano

Mon, 06/10/2013 - 17:53

Thank you for those kind words! I was a little nervous about taking on such a big project, but we had a fun time building it { I can't say the same for sanding and painting :-) } and are very happy with the space it freed up in our very small bedroom! Just take your time, invest in a Kreg Jig, and you can do it too!

ENTRYWAY bench with drawers

Submitted by Anonymous (not verified) on Fri, 10/16/2020 - 13:31

Built from scratch. First DIY build ever! Thank you for your plans. I customized it for my space 💜 instagram @onefortyfour_

Built from Plan(s)
Estimated Cost
250.00
Estimated Time Investment
Weekend Project (10-20 Hours)
Finish Used
Behr white paint. Polycrylic seal
Recommended Skill Level
Intermediate

Comments

Large Old English Style Farmhouse Dining Table

My wife and I were wanting a large outdoor farmhouse table that looked stylish, and like it could have been bought at Pottery Barn or another high-end furniture store. We found this plan that Ana white had made "Small Old English Style Farmhouse Dining Table". We often host groups from our church and will have 15-20 people on our patio or around our pool area, so we needed a bigger table... I just made some modifications to make it longer (7ft) in length to better fit our space and allow for more people to sit.

To make this plan longer, I simply adjusted the cut-list on the long 1x2s, 1x4s, and 1x6; and added a crossbar to prevent the longer tabletop from sagging. I also added the diagonal corner struts to make the table a little sturdier.

Adjusted Shopping List:
4 - 1x2 @ 8ft
5 - 1x4 @ 8 ft
6 - 1x6 @ 8ft
Waterproof 1 1/4" Kreg screws (for outdoor use)
Minwax Weathered Oak
Minwax Vintage Grey

Adjusted Cut-List
• 2 - 1x2 @ 26.5"
• 2 - 1x2 @ 76.5"
• 2 - 1x2 @ ~33.25"
• 2 - 1x4 @ 26.5"
• 2 - 1x4 @ 76.5"
• 4 - 1x4 @ 7.25" w/ 45º miter (diagonal corner supports)
• 1 - 1x4 @ ~28" (Crossbar - I forget the exact measurement)
• 6 - 1x6 @ 82"

For seating we just bought some inexpensive farmhouse weather resistant chairs from Walmart:
https://www.walmart.com/ip/Yaheetech-Metal-Dinning-Chairs-Stackable-Cof…

Estimated Cost
$170
Estimated Time Investment
Day Project (6-9 Hours)
Finish Used
Minwax Early American (base), Minwax Weathered Grey (2nd coat)
(See more on outdoor use of stains: https://ana-white.com/blog/2019/05/outdoor-wood-furniture-finishing-secrets)
Recommended Skill Level
Beginner

Comments

Texas Flag Bench

Submitted by MrG915 on Thu, 04/22/2021 - 21:12

Modified the woven back bench plans to make this Texas Flag Bench. 48 inches wide.

Built from Plan(s)
Estimated Time Investment
Day Project (6-9 Hours)

Comments

Modified workbench

Submitted by jayhicks84 on Sun, 05/24/2020 - 19:45

A modification of the traditional work bench. Great for storage. Bench area of 70 inches with 18 additional inches for the table saw.

Comments

Laundry Cabinets - Shorter Brook laundry basket dresser with folding table

Submitted by DTeague on Sat, 08/25/2012 - 07:49

To finish my laundry room off I decided to build laundry cabinets - this laundry basket dresser is perfect! I used 8in. fold down shelf brackets (like the ones in Lady Goats Miter Saw cart). I also cut corners on the back since I was out of plywood after building my laundry cabinets. I used 3 1 X3s to support the back. I used a pine project board for the top which is only 24in deep so I did adjust the plan for that and the baskets still fit!


Estimated Time Investment
Afternoon Project (3-6 Hours)
Finish Used
Minwax Golden Oak on top and Valspar Semi-gloss white paint
Recommended Skill Level
Beginner

Comments

julie05_5

Fri, 11/21/2014 - 14:13

This laundry room looks exactly like mine! Even the paint and tile colors :) I've been wanting hamper storage as well as the folding counter forever and I love that this one can pop up or down easily. Thanks for the idea!

Outdoor bar table

Submitted by hueybp on Tue, 07/21/2020 - 20:06

Not quite finished but love the table already. Trying to decide how to stain/paint it. The Kreg jig was a must for this project. It was my first of hopefully many! I used cedar for the 4x4s and 2x6 top pieces. The 2x4s are treated lumber (only because there were no more cedar ones....apparently lumber is getting hard to get lately!!!). Anyway....thanks for the great plans and motivation for this project.

Built from Plan(s)
Estimated Cost
Lumber was about $150 bucks (I bought mitre saw and kreg jig, too)
Estimated Time Investment
Afternoon Project (3-6 Hours)
Finish Used
Will probably use semi transparent stain
Recommended Skill Level
Beginner

Love this plan. Coffee Table

Submitted by Anonymous (not verified) on Mon, 08/30/2021 - 19:08

I loved this plan. Easy to make, using Kreg Jig . Did it in one afternoon.

Built from Plan(s)

Comments

Back