DIY Bar Cabinet

I bought this tv corner cabinet for $40. I spent many hours turning into my perfect bar cabinet. I built a custom lighted liquor display. I have posted photos of the transformation.

I bought this tv corner cabinet for $40. I spent many hours turning into my perfect bar cabinet. I built a custom lighted liquor display. I have posted photos of the transformation.
i took the step stool plans and using imagination and a CNC router put themin a new "catagory". John Ogren

Modified the classic bunk bed plans to fit crib size matresses for our 1.5 & 2 year old girls, loved how my toddler bunk beds turned out!
Mon, 08/01/2016 - 17:27
Hi,
Could you email me the change in measurements you used for the crib mattress?
It would help me out so much. I want to build a similar one for my boys.
Thank you.
Danielle S.

I saw this table on wyrmwoodgaming.com but I wanted to see if I could make it myself. I did it all in Cherry and used Tung oil to finish it. I have two coats of Tung oil on there for a finish. In all I paid about $800 for the cherry and flat steel I used for the magnetic rails on the sides.
Michael Frerichs


Made corn hole boards for my daughter and son-in-law for Christmas. I personalized with pictures of their German shepherds. I also added lights around holes for night play.
Barb
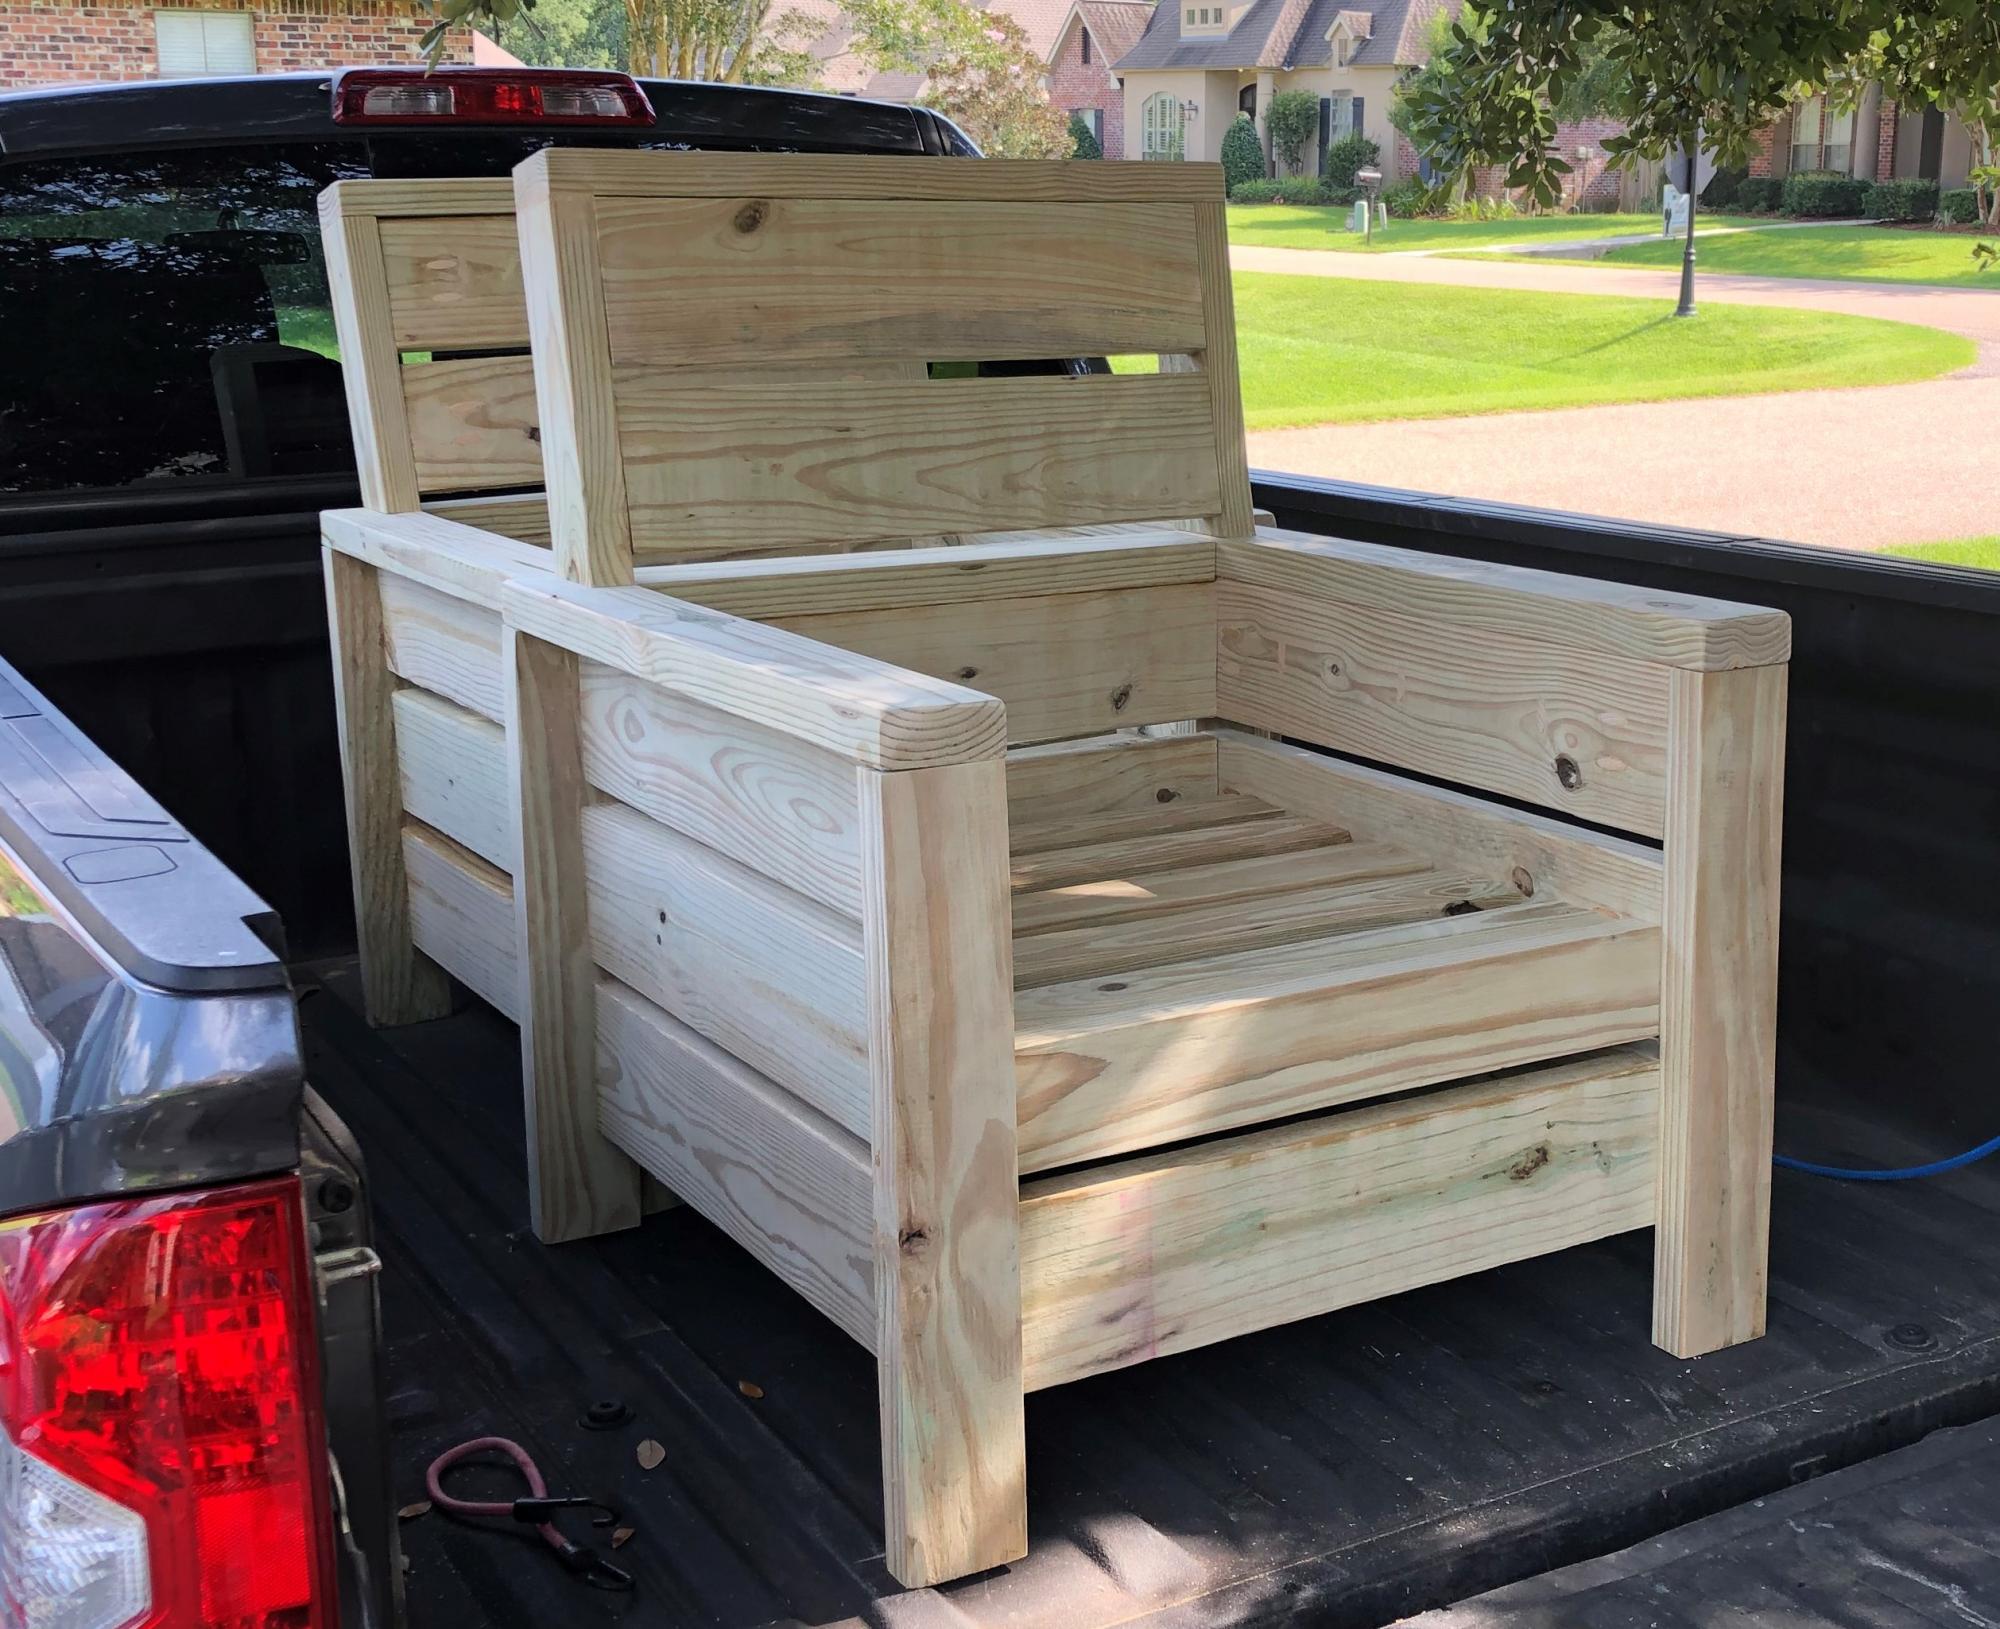
Per request of my wife, I opted to add a backrest to the chair. I feel as though my backrest design keeps with the style of the original build. I accomplished this by cutting the 2x4 vertical arms of the backrest at 13 inches with a 10 deg miter cut at the base. This allows you to keep with the 3/4" on the 2x6 backrest slats. I finished it off with a 2x4 top plate. I'd also note that I made slight modifications to the plans to accommodate 24" cushions.

This is a rabbit hutch I created for my kids 5 rabbits. The thing that makes this hutch really nice is if you have a large lawn you can just move the hutch a little bit every day and the lawn gets mowed, fertilized and you don't have to worry about cleaning up all the rabbit droppings. I also mounted a rabbit feeder on the inside of the house door to keep the food dry, which has worked really well.
Here is a short blog of all the steps in its construction:
http://design.medeek.com/gallery/RH3080_COPALIS_2013/RH3080_COPALIS_201…


Sun, 05/05/2013 - 01:52
I apologize I haven't got the completed planset up for this project yet but I will try to get it up in the next couple of weeks as well as a very complete materials list. You will need to go to a farm/feed store to get the correct 1"x2" wire and 1/2"x1" wire for the floor. Do not go to Home Depot and use the cow wire they have or the hardware cloth for the floor, neither of which are the correct choice. Home Depot has the lumber but not the wire. If you have any questions or even improvements to my design I would be interested in hearing from you.
Sun, 09/13/2015 - 19:18
Finally got around to uploading the plans. I still need to create a material list for this plan but the basics are there now. We've had rabbits in it for about a year but recently we've tried some guinea pigs and it works great for that as well. The guinea pigs can pretty much live off just the grass and dandelions but you do need to move it daily to give them plenty to eat.
Needed a table for food prep with my grill and found your plans! I used treated lumber for the base and nice cedar planks for the top. The treated lumber had a whiter than usual color which made the base really pop out. I put a nice pecan stain on top and a few coats of poly so the BBQ sauce wouldn't stain it! This was so easy, literally took 2-3 hours to build, stain and poly was done over the next few days. Ready for my next ana-white project. Thanks for posting these plans.
Wed, 07/09/2014 - 16:24
I was looking on Pinterest and found this table. It was exactly what I was looking for. You inspired me to go out and buy a miter saw and some wood and make the table. It turned out wonderful. It now has a permanent place on my patio and gets used when I grill mostly. I was hoping to be able to upload a photo but don't see the option to do so. Anyway, I want to say thanks for the great plans/instructions.

My husband modified these plans by making it a 42" tall bar high table. He built it and I stained it with Dark Walnut Danish oil and it came out better than we imagined. Thank you for these awesomely cool DIY plans.
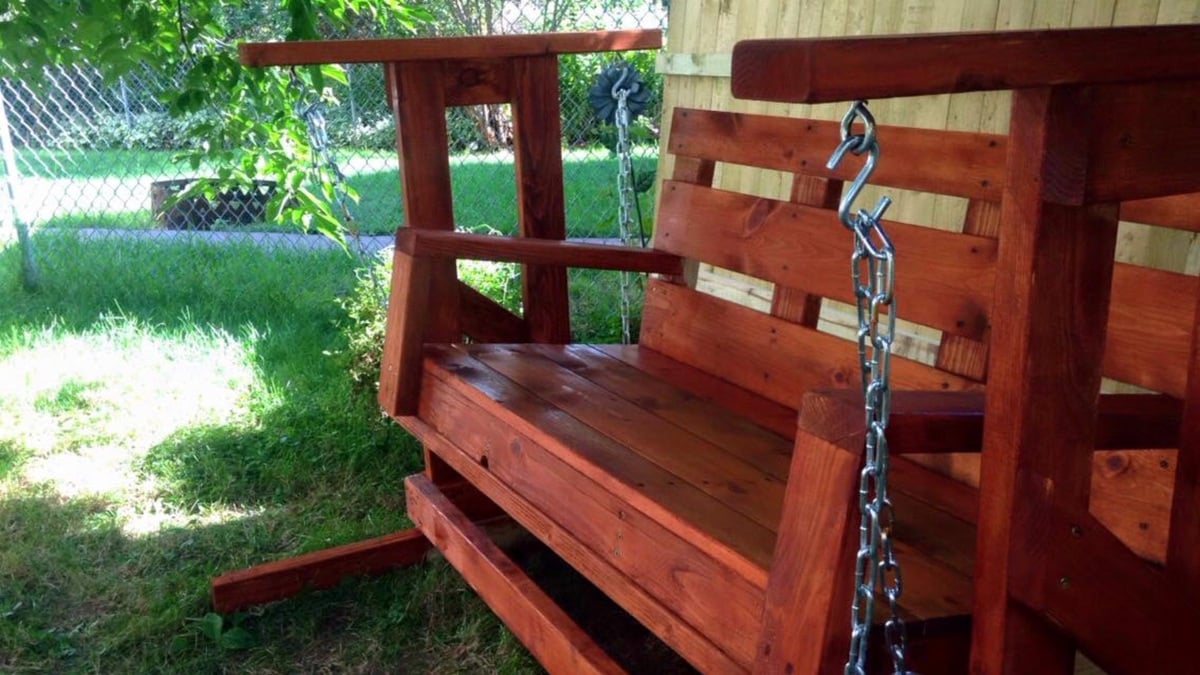
The bench was easy to build with great instructions. I had Home Depot make my cuts for this first project and then I went and bought a miter saw and other power tools for future ones. So much fun.
Mon, 03/14/2016 - 08:35
Great work. DId you do anything different to the swing itself? How did you build the frame. I'm looking to do this exact thing for my patio. I don't have anywhere to hang the swing.
Thanks for sharing any info.
Sat, 06/13/2020 - 16:54
Made the chair and then built the glider frame for it just eyeballing the picture. I can't figure out how to upload a photo of my design, but can try to describe it.
I made mine with a 4x4 on the base of each leg, but a 2x4 would work as well, it was just what I had on hand. The base board on each leg I made 48". From there I put two 48" vertical boards. The vertical boards were centered and from the front edge of the first board to the back edge of the second board. Two 16" boards were then used at the top and bottom of the vertical boards to hold them in place. Cap it off with a 30" board on top of the verticals. This is where you'll attach your eye bolts. I put both eye bolts 3 1/2" back from the front (a scrap of 2x4 works well as a guide). To join the two legs, I used two 52" boards on top of the base 4X4 of the verticals (one in front of the legs and one behind).

This grill table took a weekend to build. The base is made of cedar and top is concrete. More information on how to build this table is available on my blog.


Used scrap pine sitting around- a 1x10 and 1x3's. Most time consuming part was cutting out the hand holds. Wanted a rustic look, so I weathered the boards by first beating them with hammer, screwdriver and crowbar, then with tea and steel wool vinegar "stain" to age the boards. One coat of poly on top. Made the plugs with dowels, adds to the rustic look.
I've been building Ana White American Girl doll furniture for my two daughters for the last three years, culminating with my biggest build of all - a modified version of Ana's dollhouse.
My wife kept telling me it would end up being huge, and she was right. The great news is that it doubles as storage when the girls aren't playing! 2 Bedrooms, kitchen, living room, bathroom, and upstairs bonus room for dance and gymnastics. 78" tall x 76" wide, mounted to the wall studs for safety. Lots of joy in our home on Christmas day. Thanks Ana!

Planters build by Urban Wood Solutions


Fri, 03/31/2023 - 04:23
These are incredible. They look a little deeper, and would be good for vegetables. How deep are they?
DIY Potting Bench by At Home with Xin on Instagram

Outdoor Coffee Table

What a pleasure it’s been to build this! Hope you don’t mind but I added a simple backrest…
Incidentally I made a pair of them, but run out of time so the other is in kit form waiting for the weekend!
Hope you like what we achieved! Keep the great ideas coming!
Graeme Jobey


I used Ana White’s plan for Grill Nesting Table for my inspiration. The dimensions were altered to accommodate my electric smoker and small Weber grill. I also revised the design so that my pile of recycled wood could be used. I made the “open” side to the back.
Billie Corbin

My husband and I built this Grill Station. We made the table top wider and out of 1 solid piece of mahogany. I wanted a wider table so we made it 30 inches wide. We sealed the table top with marine grade sealer and the rest with exterior clear sealer.


Built from scratch. First DIY build ever! Thank you for your plans. I customized it for my space 💜 instagram @onefortyfour_

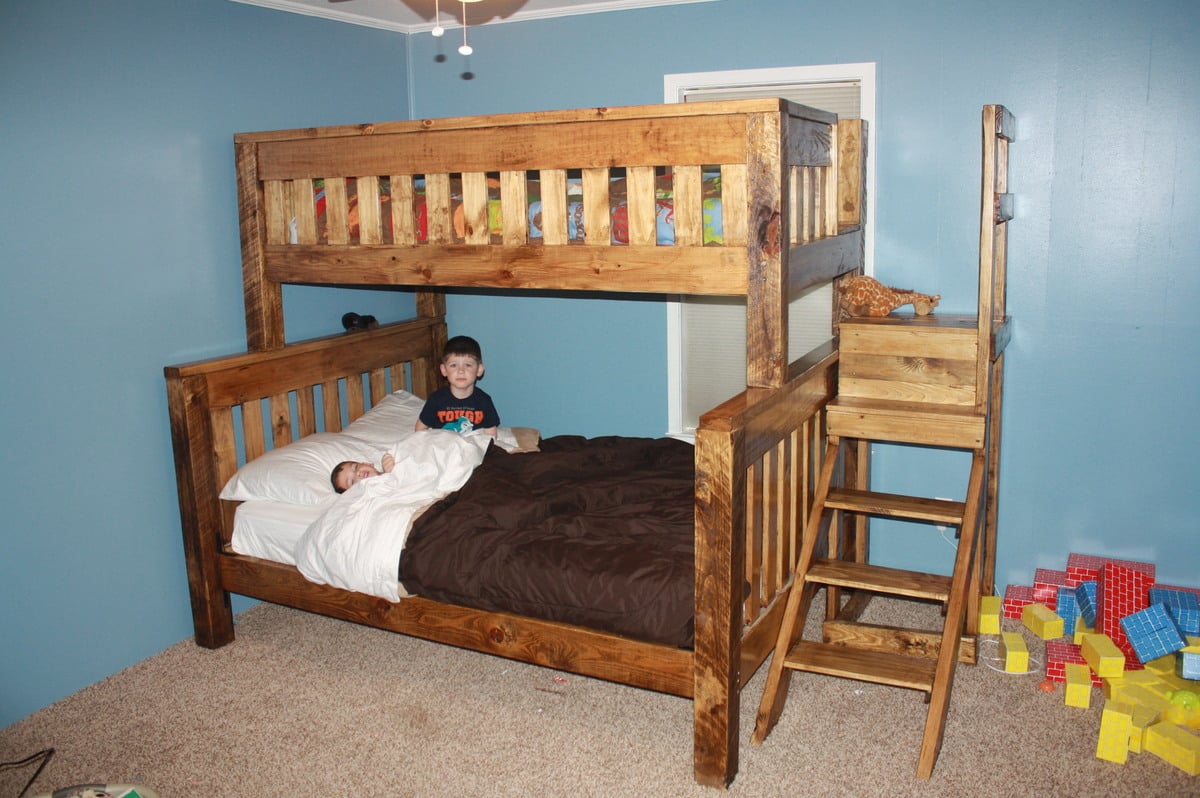
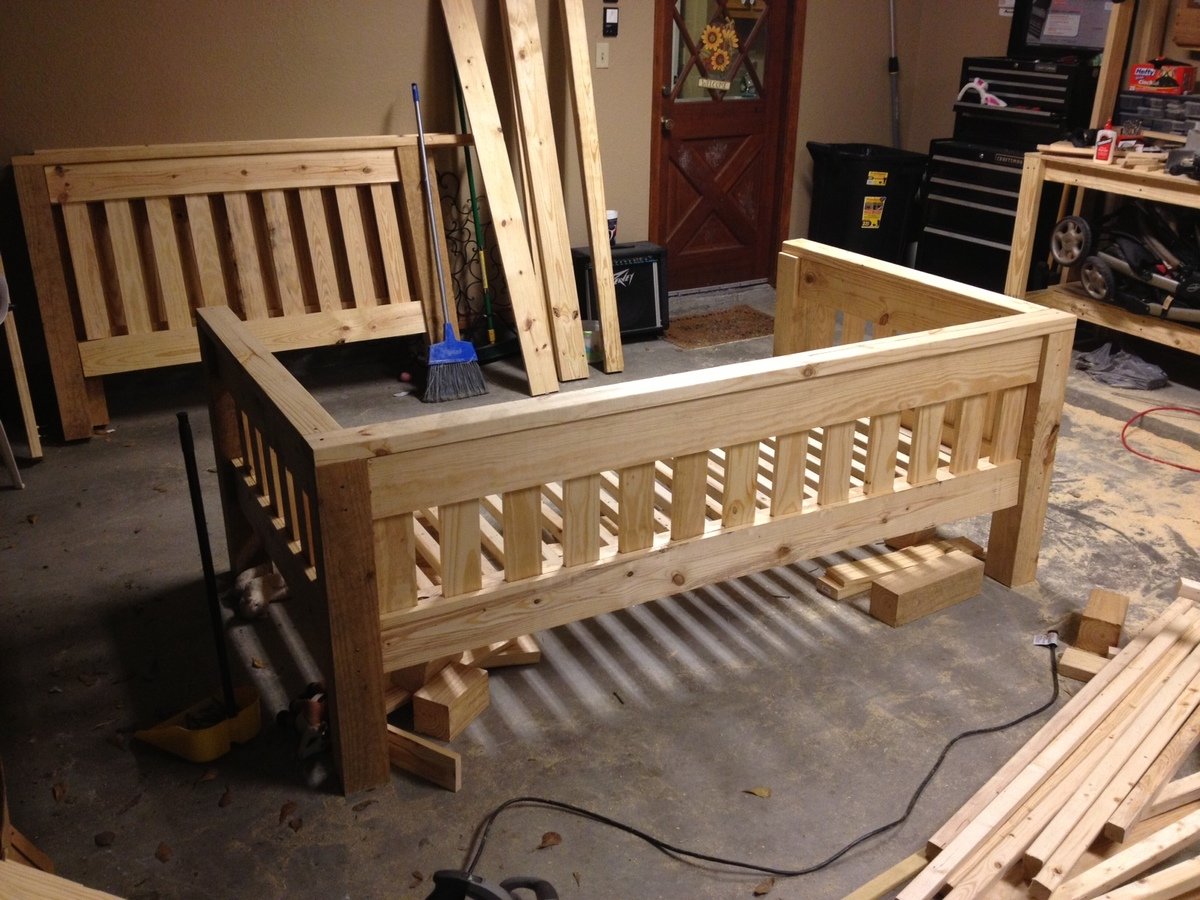
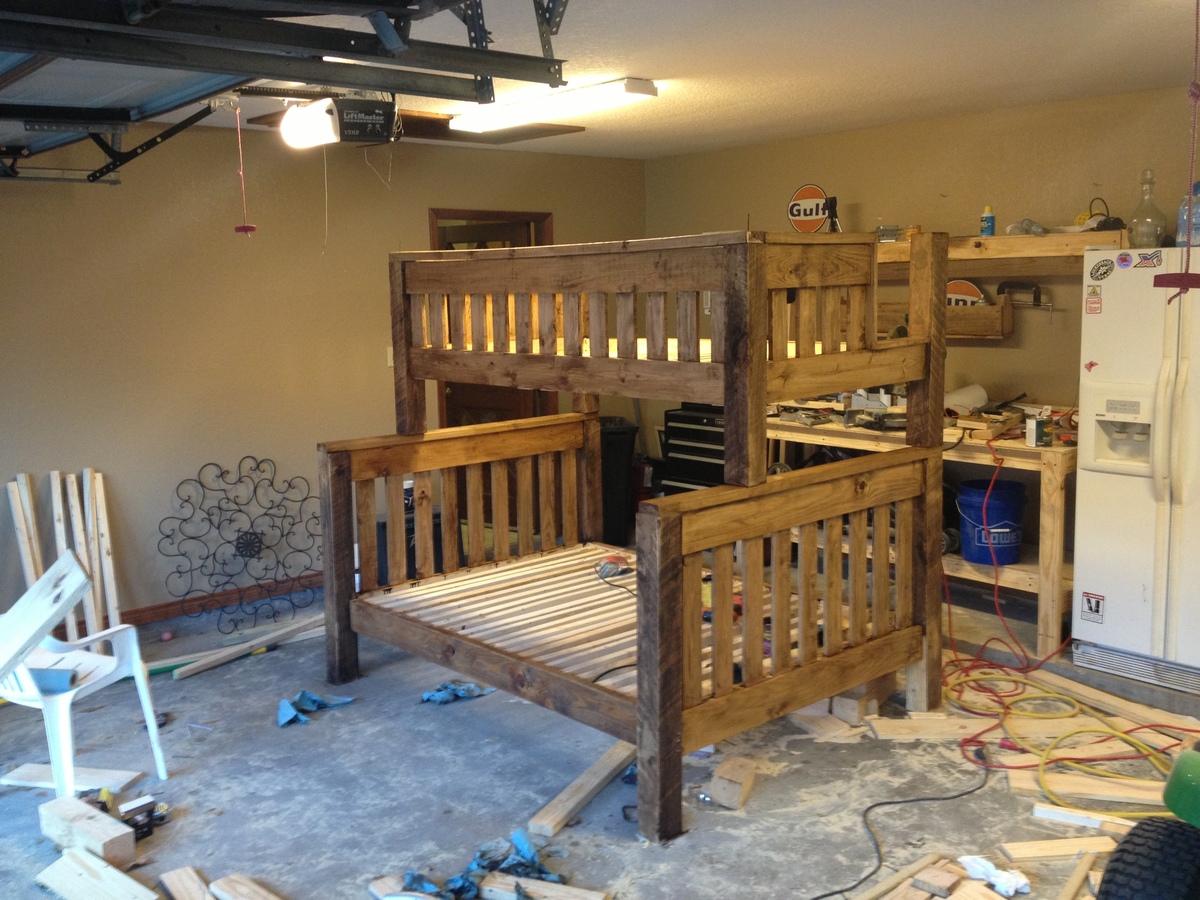
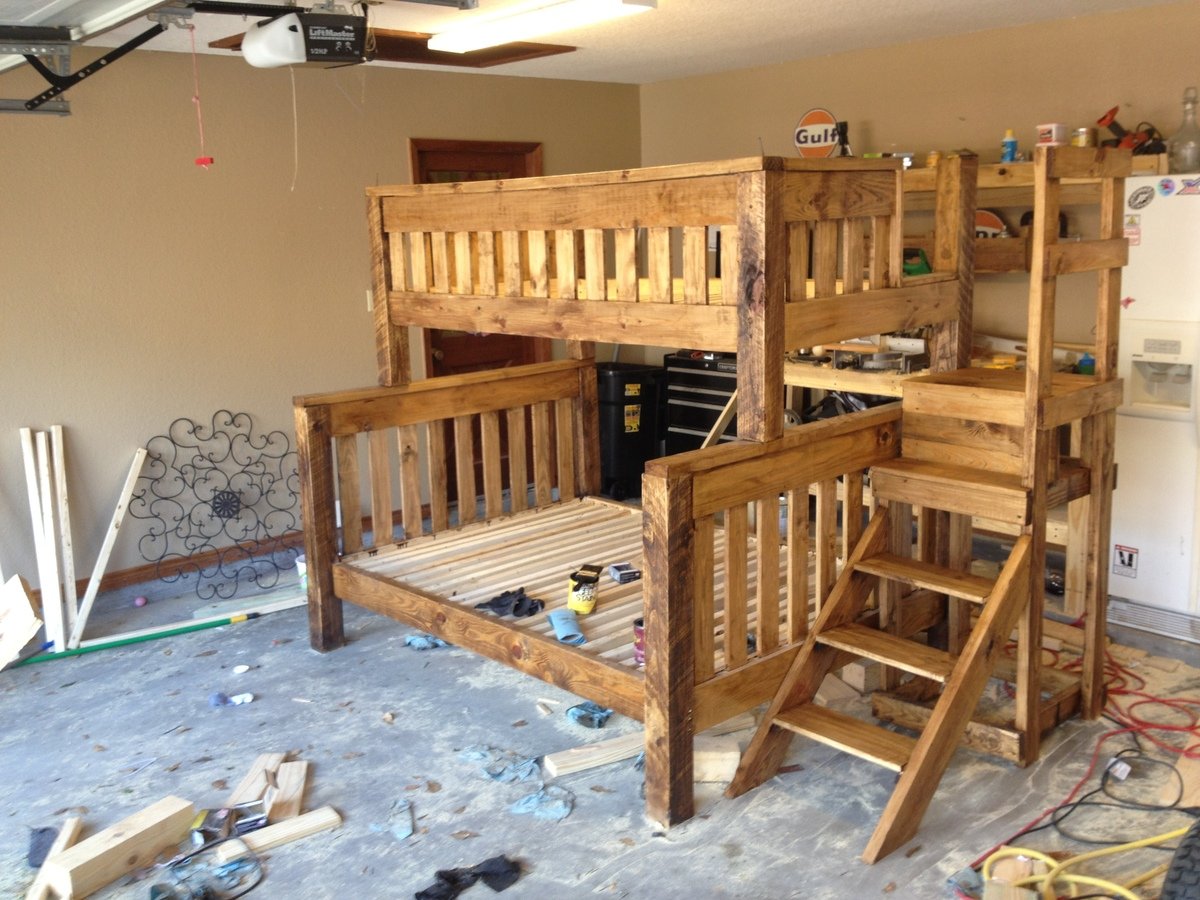
My 4 year old kept asking for a bunk bed, so my wife and I went to the furniture store and saw we would be paying close to $1000 for a junkie bunk bed. We told him it cost too much and left it at that. Then he started bringing us pennies, dimes and all the change he could find to pay for the bed. So I found this website and decided to attempt to build him one. I started building it after work on Monday, continued for a few hours every evening and finished Saturday morning. It turned out amazing, and both the boys love it. It is extremely sturdy, and will last beyond my lifetime. It's just a good quality design. Total Cost was about $300. Not bad for what we would have been paying for a lesser quality bed. Changes I made: I added the railing on the front of the upper bed to match the headboards and railing on the back side because my wife is a worrier. I also designed and built the stairway and bolted it to the lower bed. I am no professional carpenter, a novice at best. Most people with a little carpentry knowledge can build this. Thanks Ana, we all love it!
Tue, 04/02/2013 - 05:17
Wow, you did a wonderful job! What a sweet story with your son bringing you any change he found. Adorable. I'm sure your sons are so proud of you and it means so much more than just store bought. In looking at that first smaller picture of just the top part, it looks like a view from the back side of a day bed. You can take apart the bunk beds when they get older and you have one full bed and one day bed. Awesome!
Sun, 06/29/2014 - 05:09
Could you post the plans and cutting list for this twin over full bunk bed?
Tue, 12/23/2014 - 23:22
I would love to build this for my grandsons, but I can't seem to get the plans for it, I need instructions becuse I am in training. Thanks
Comments
racegurl10
Thu, 03/18/2021 - 00:07
Wow that beautiful do you…
Wow that beautiful do you have directions on what you did?
frendlygrl
Tue, 07/06/2021 - 19:04
Is this your project?
So this is not your project? Because there isn't much information or a before and after picture. This gave me an idea for our home.
coldduck22
Sun, 08/15/2021 - 18:34
Yes, this is my project…
Yes, this is my project. What would you like to know?
Jeremywilson
Wed, 12/29/2021 - 06:41
This looks beautiful and…
This looks beautiful and authentic at the same time. Love how it gives me a theatre vibe! cabinet makers mornington