Community Brag Posts

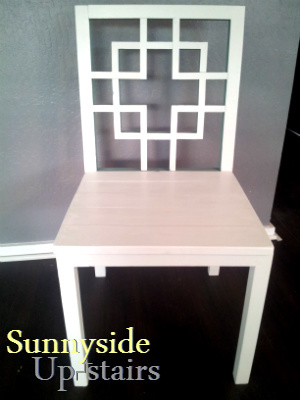
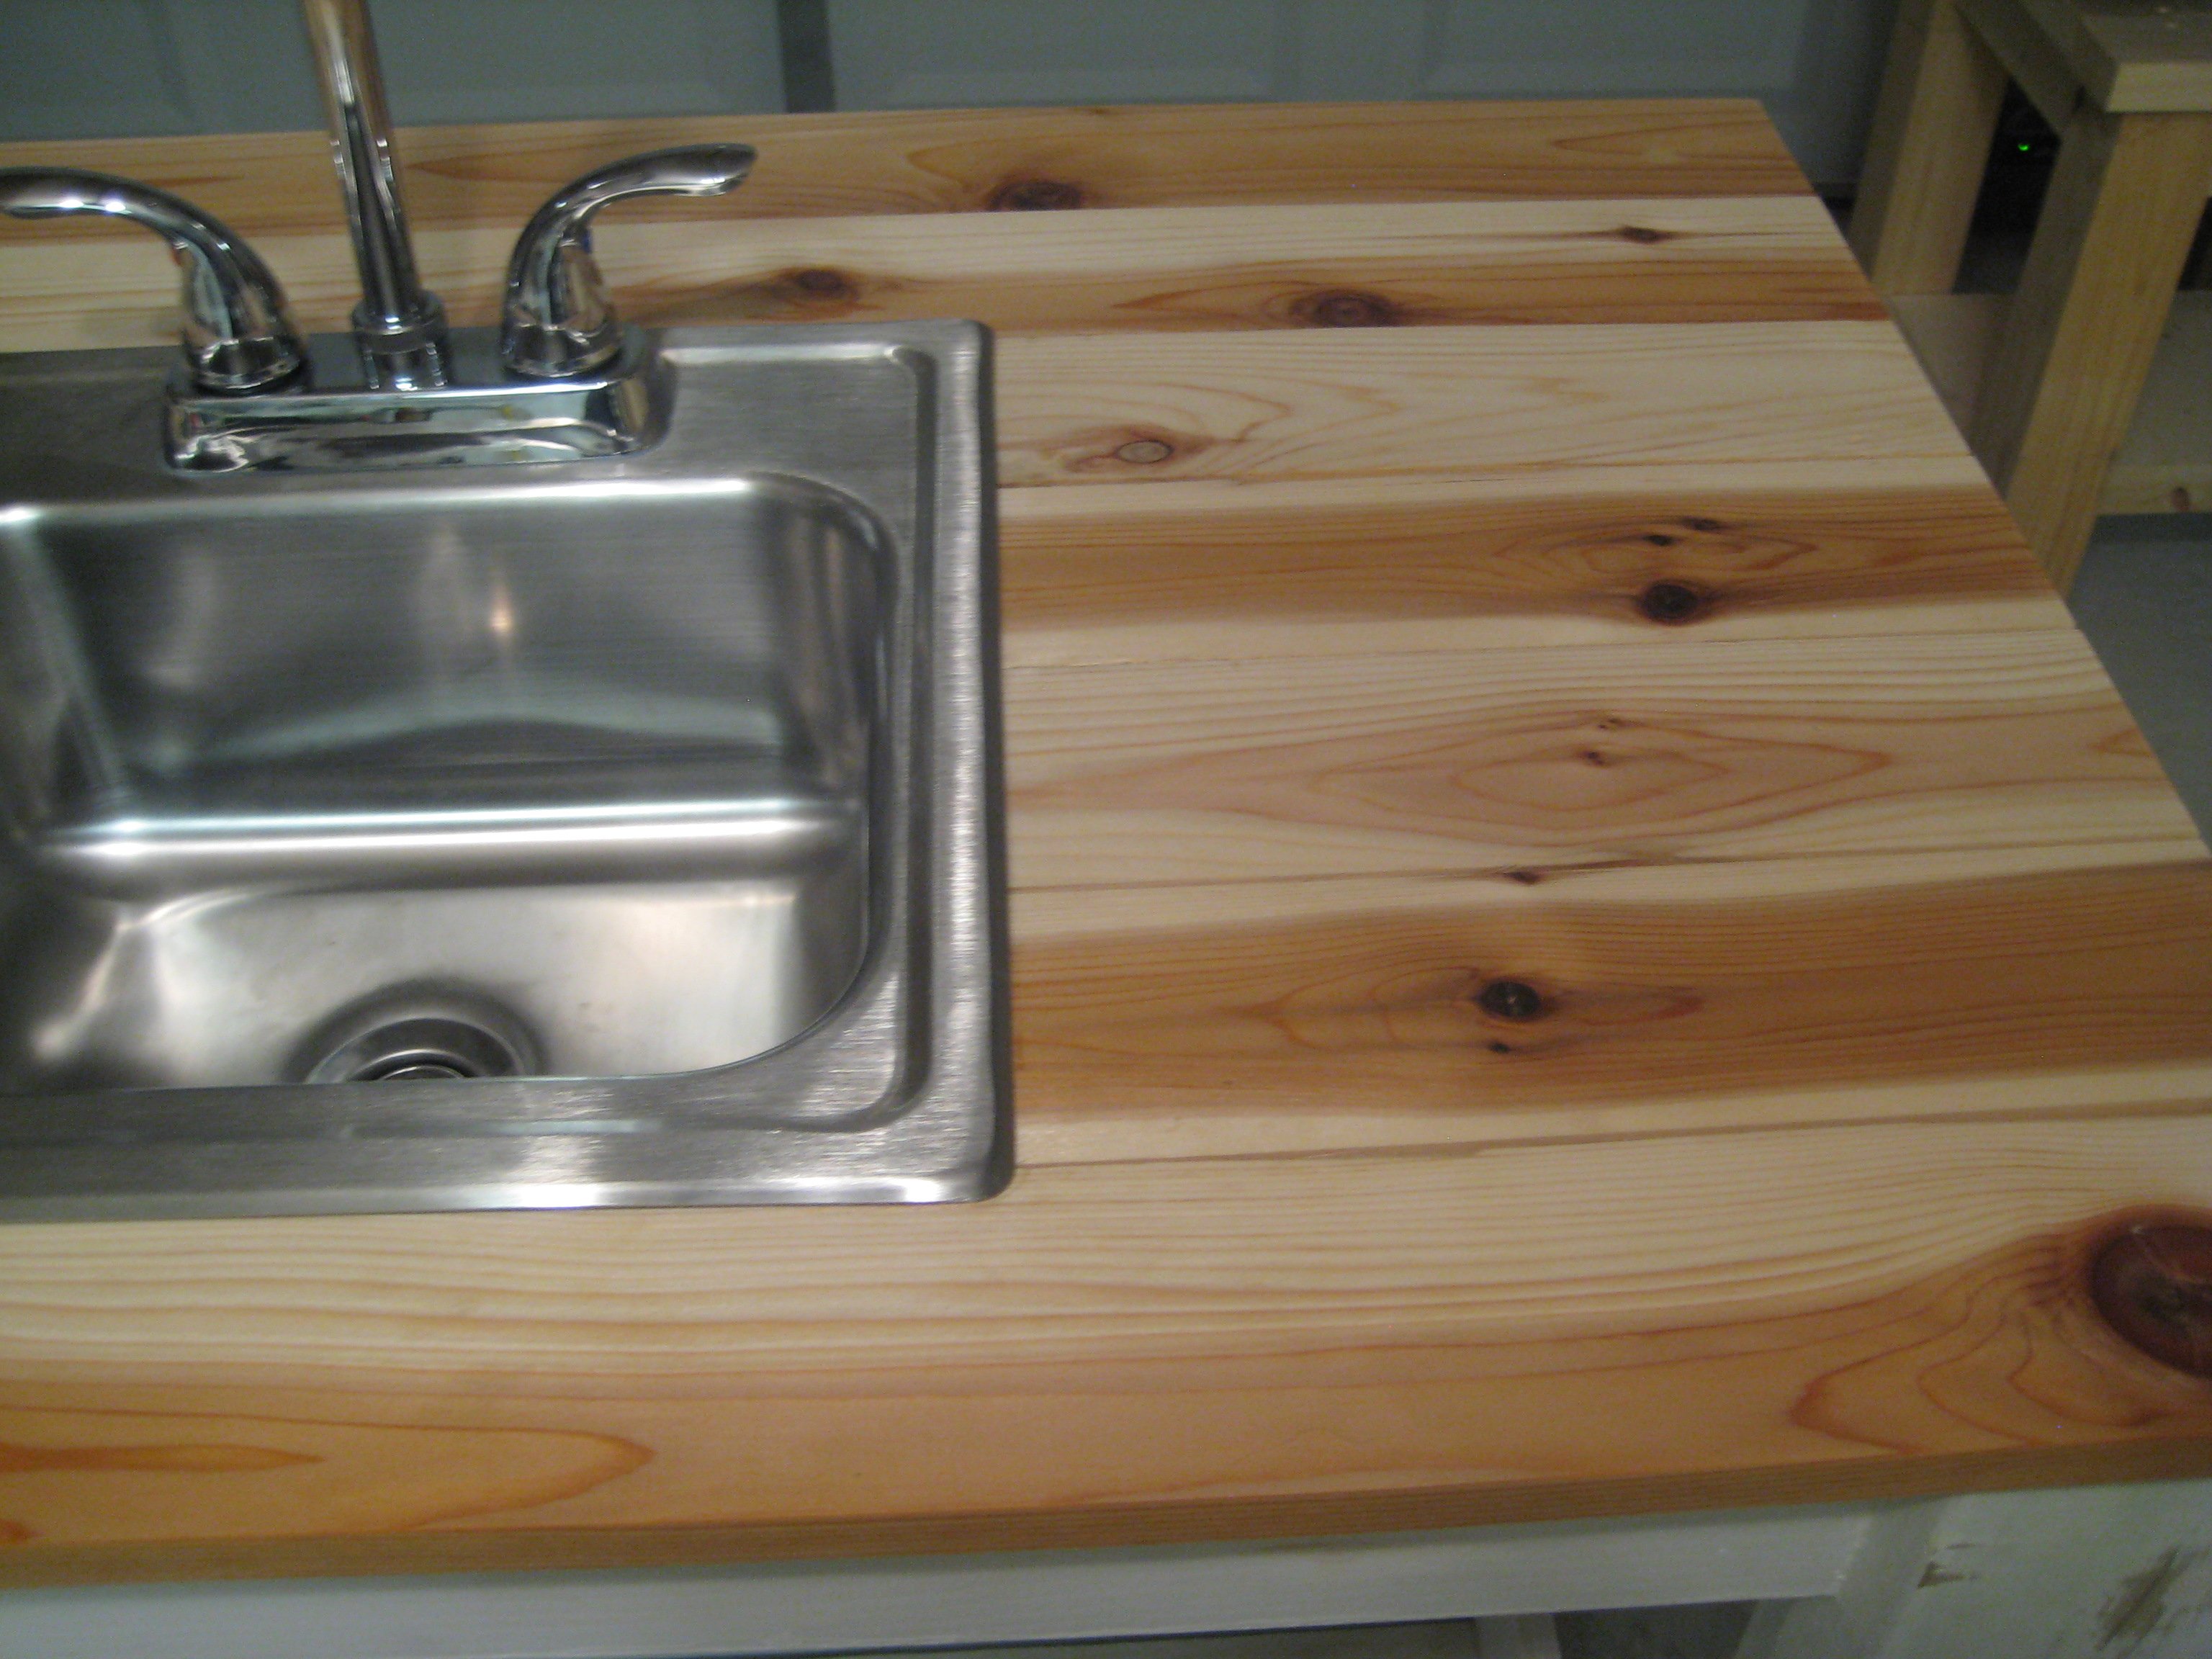
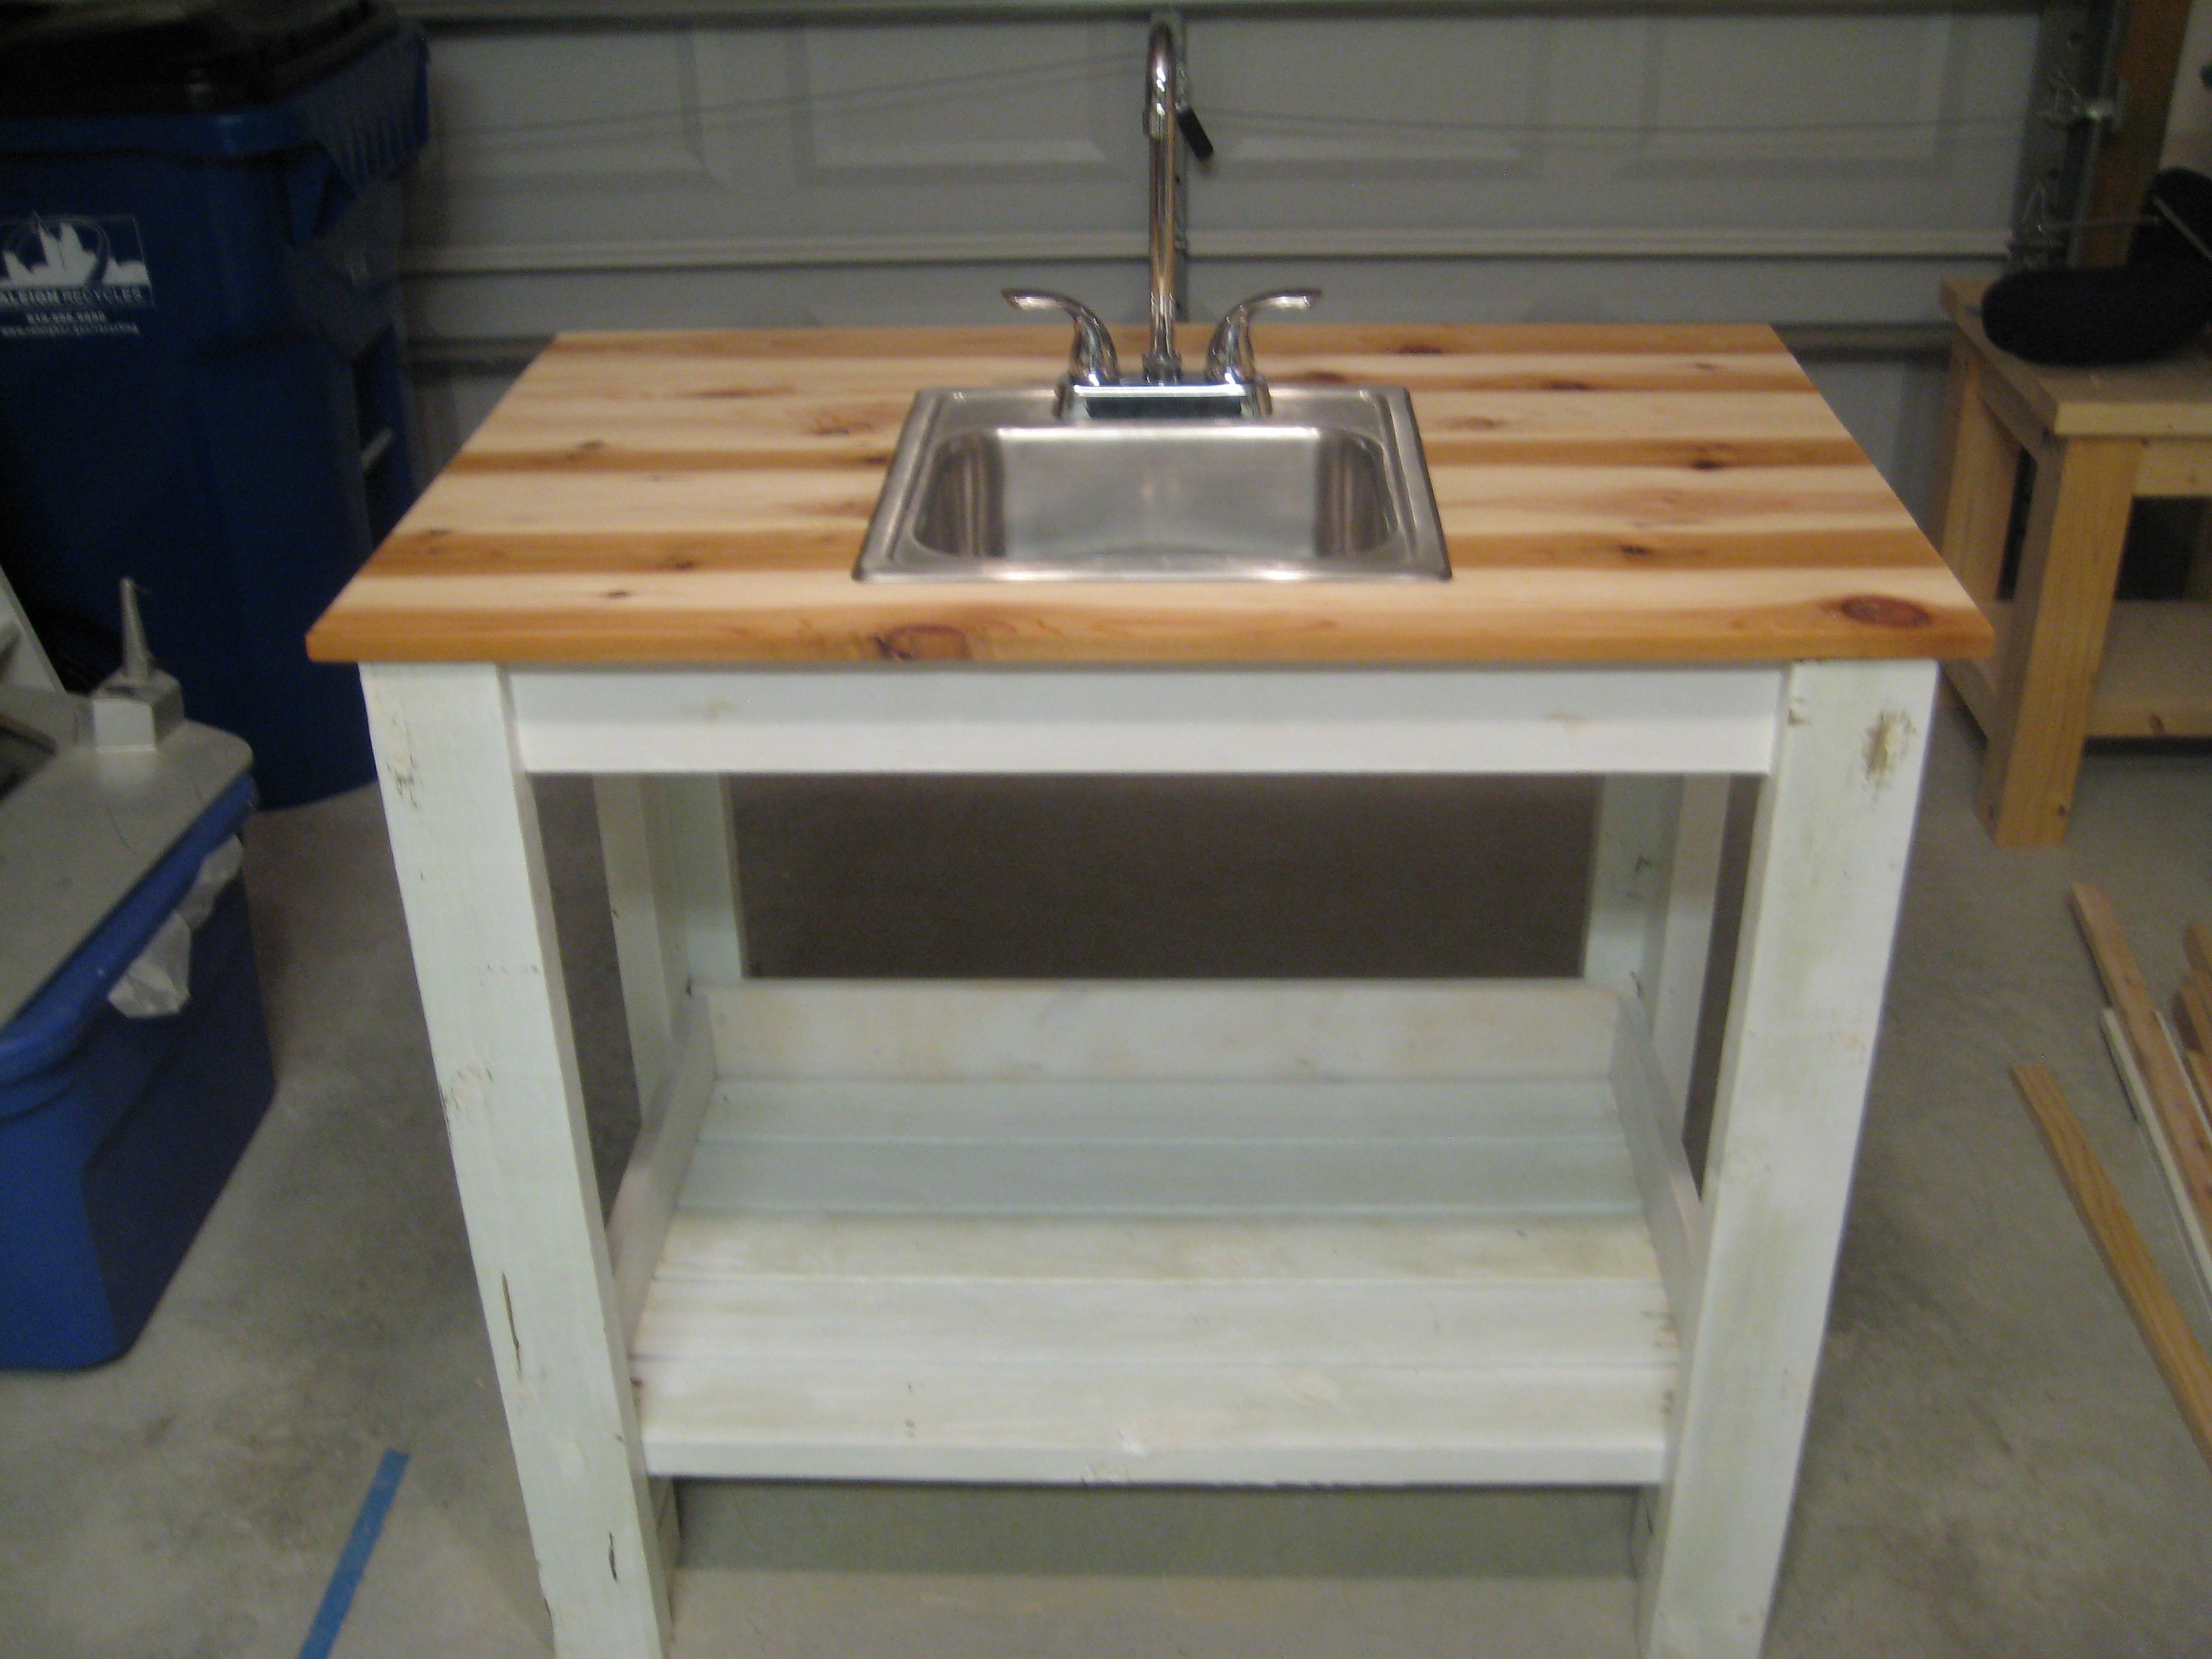
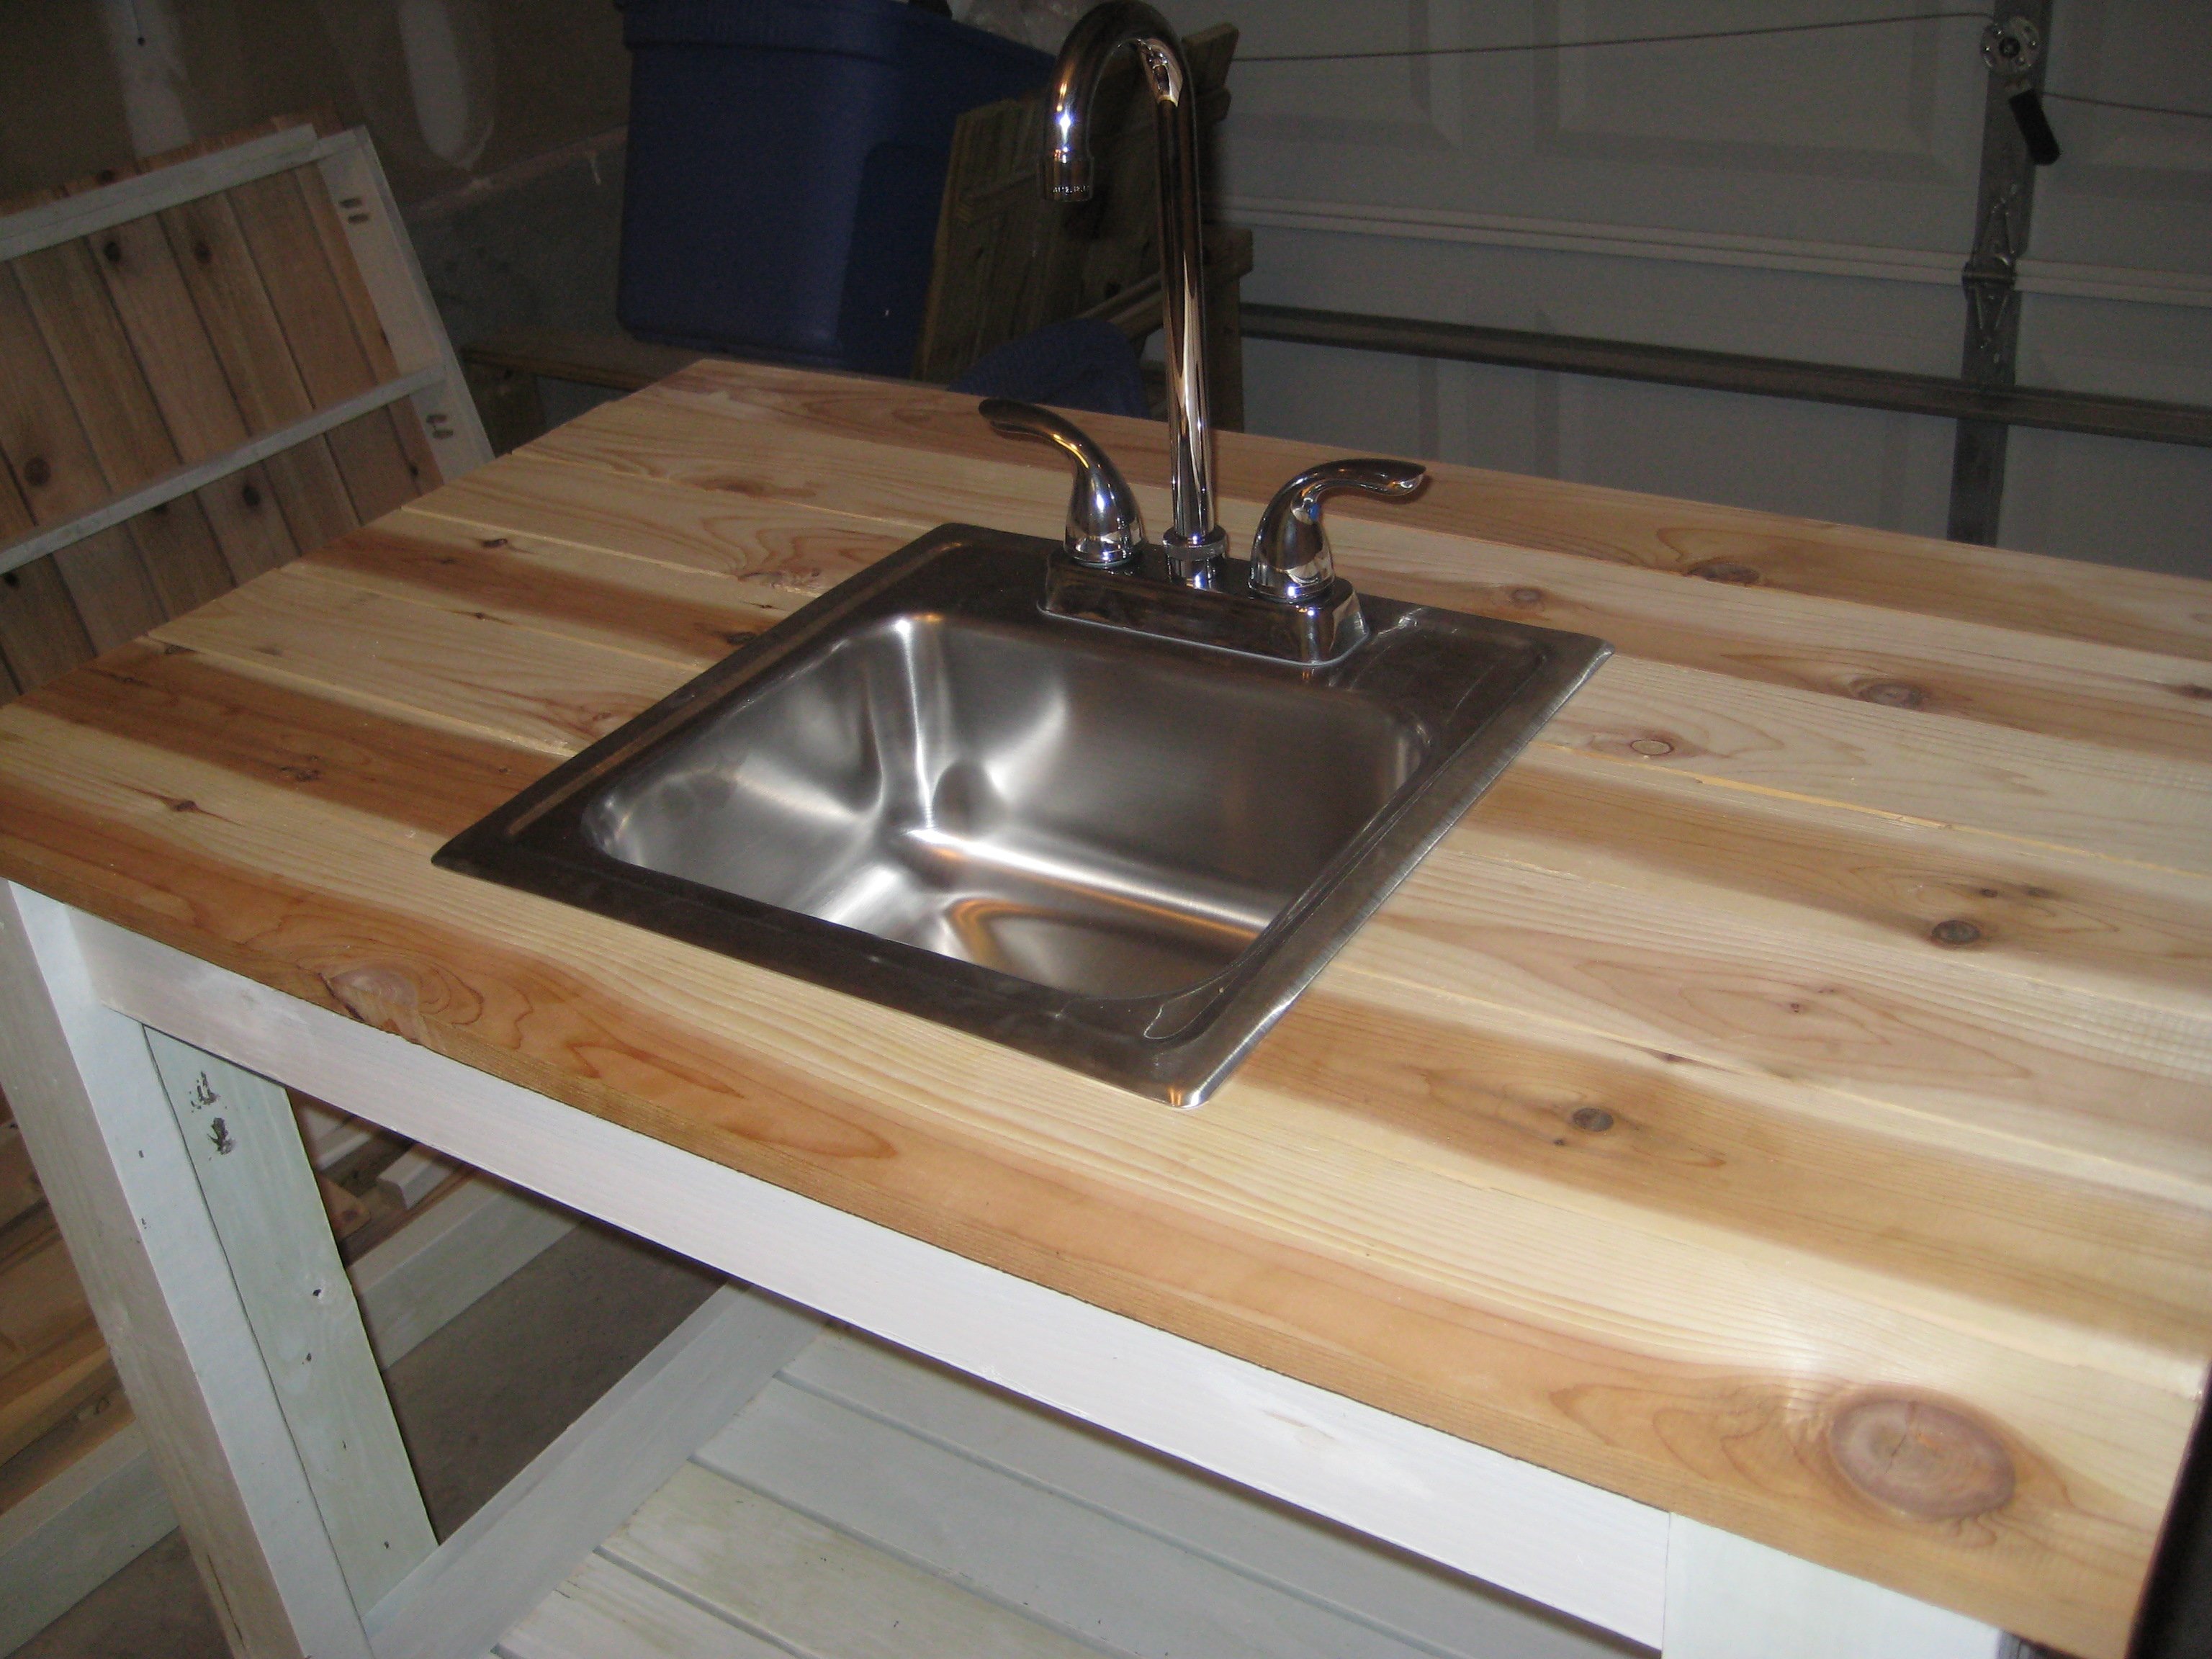
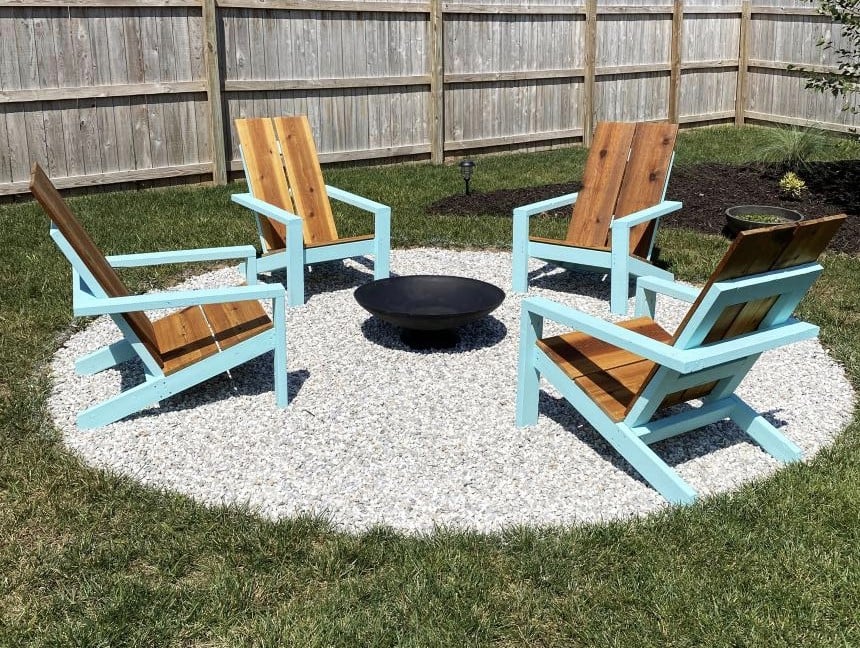
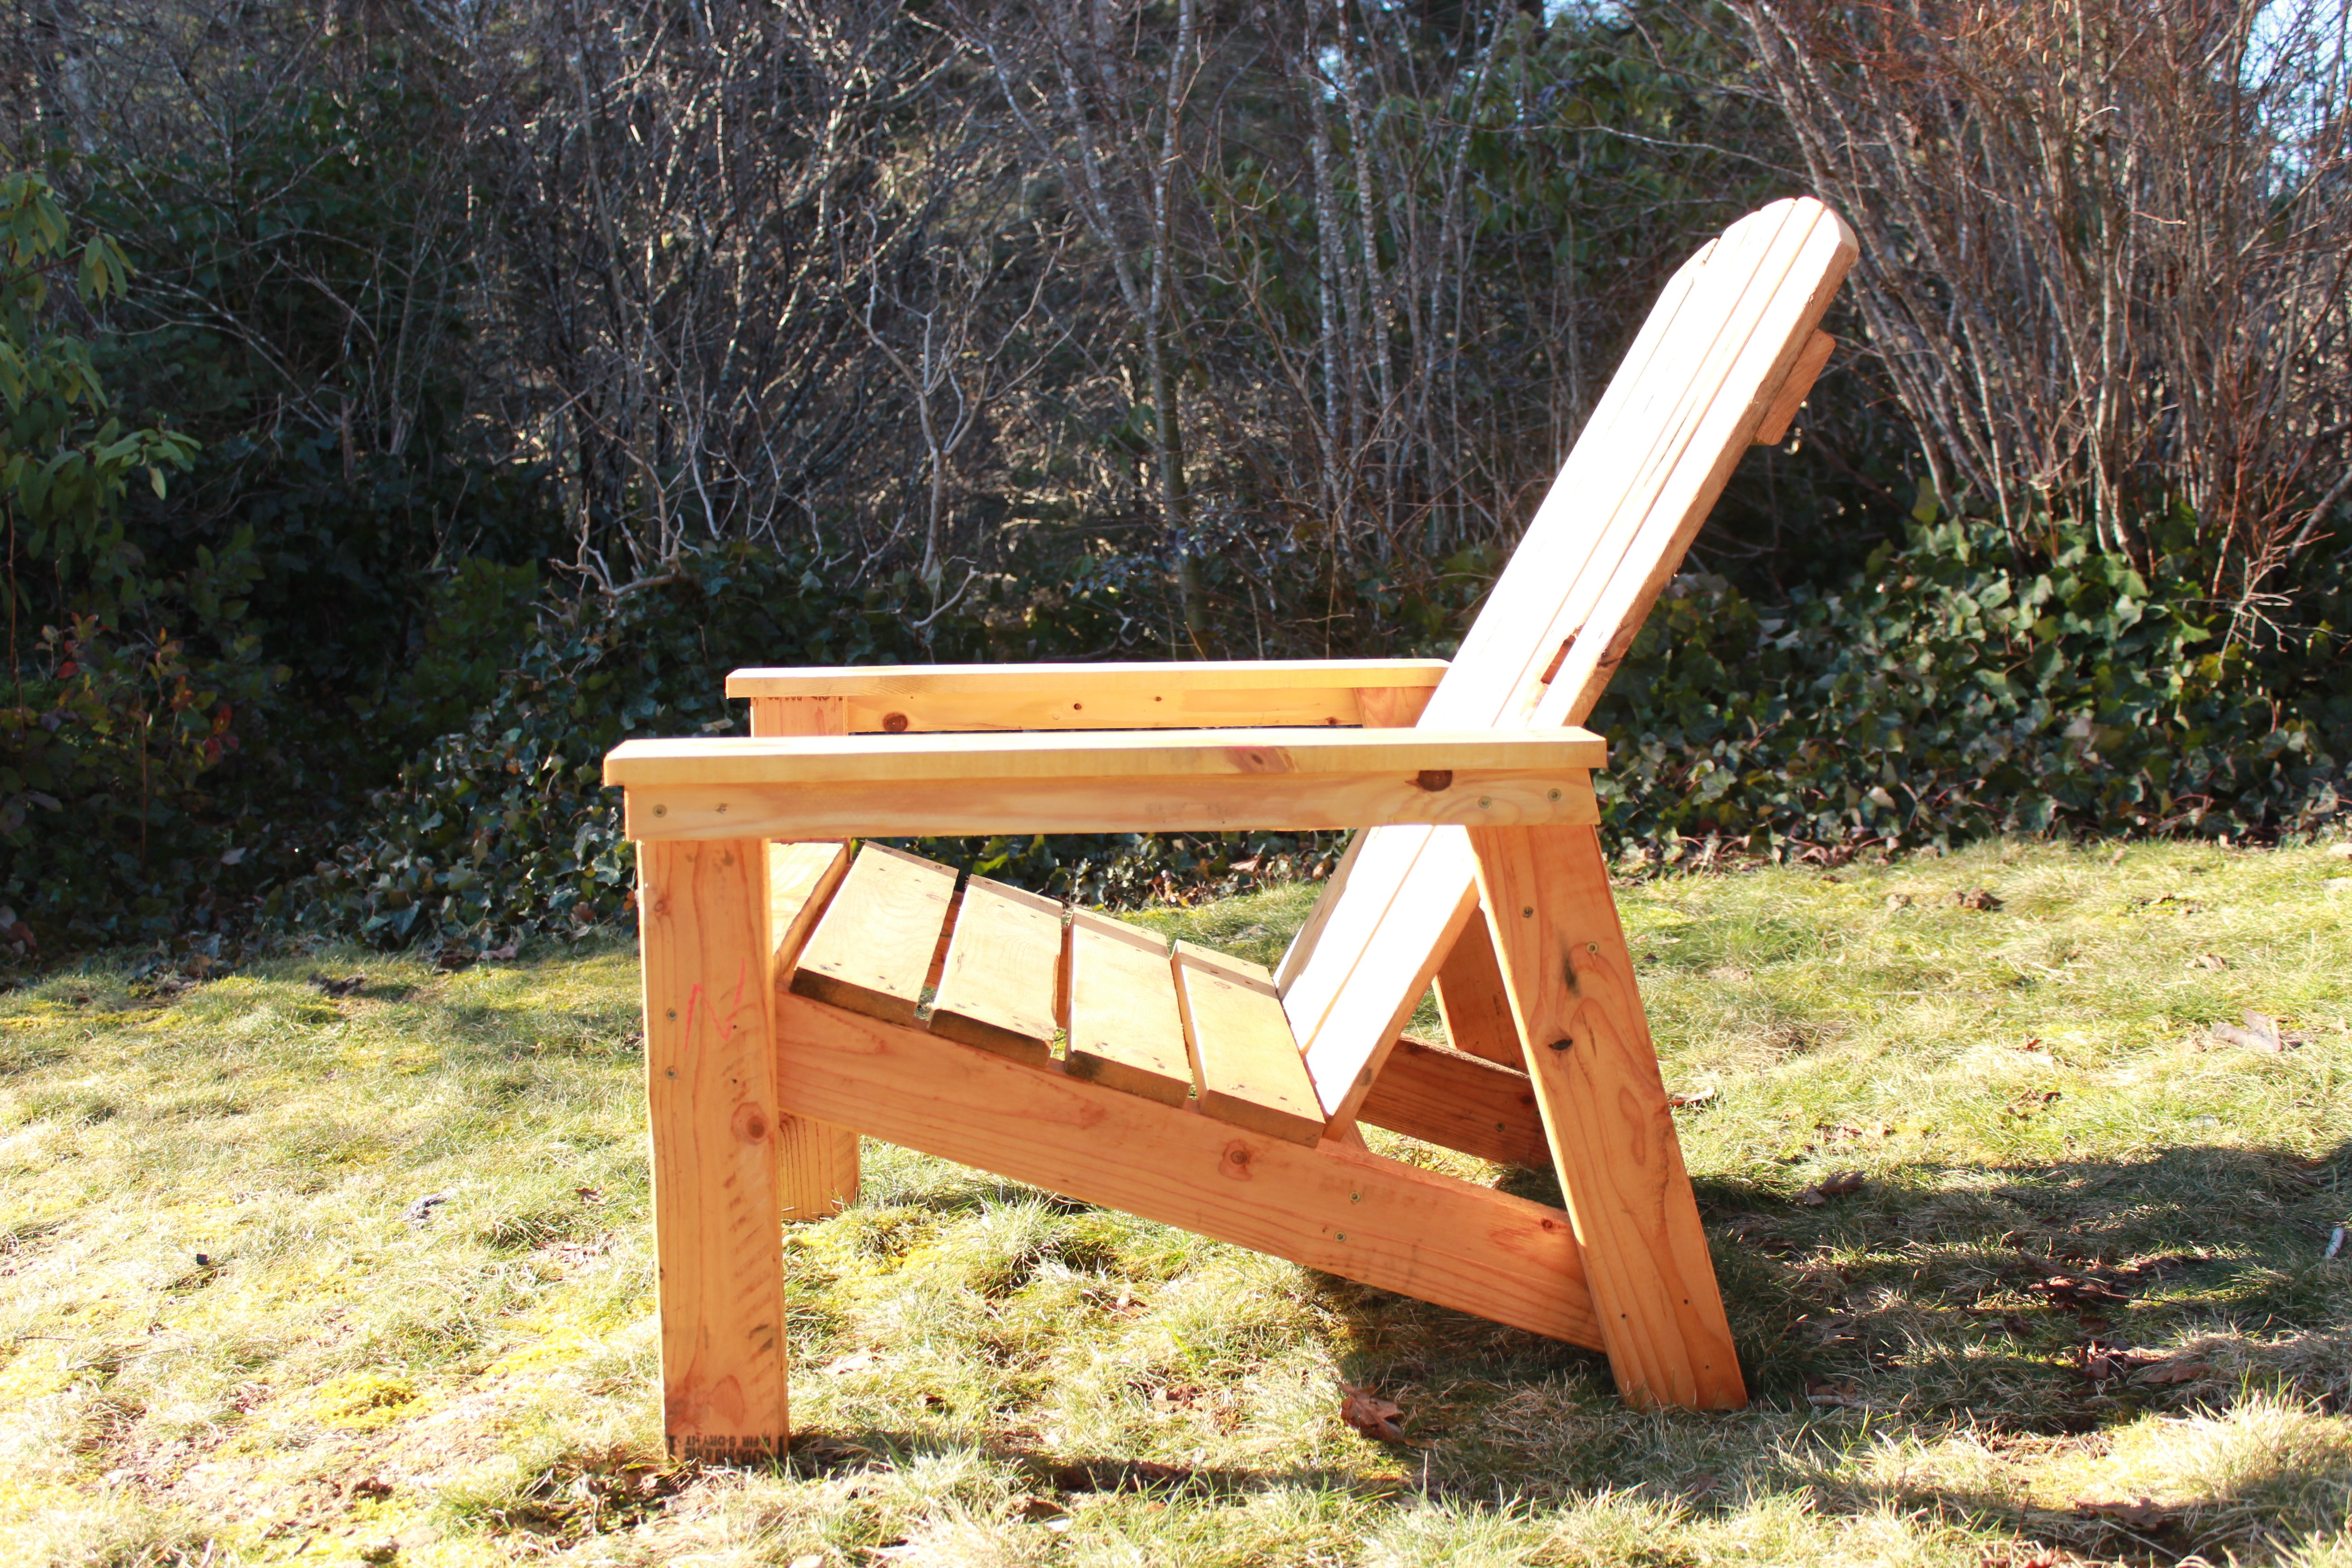
Squared2 Dining Chair

My husband and I loved the Squared2 Chair we saw on this site and we knew that we wanted to have this design for our dining chairs. As my building experience has increased, I thought it was time to try. This is my first chair: it is not perfectly executed, but I learned a few things along the way and I've decided to buy a few tools, too. I modified the square back pattern cut lengths explained briefly on my little blog.

Built from Plan(s)
Estimated Cost
$28 for me, using wood we already owned. $50 otherwise per Hawai'i prices.
Estimated Time Investment
Weekend Project (10-20 Hours)
Finish Used
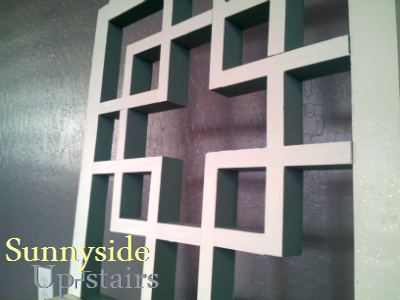
Painted top coat: sample container of Valspar Mystique ($3, already owned) + Valspar shimmer powder ($7 new purchase) and Glidden Flat "oops" teal ($3 quart, already owned) inside squares on chair back.

Sealant/Protectant: Minwax Polycrylic ($17, already owned)
Recommended Skill Level
Intermediate

Comments

Modern Slat Top Outdoor Wood Bench

Submitted by ckaye on Sun, 07/07/2013 - 18:38

We wanted an outdoor bench for our front entrance way, this one is just what we were looking for! Thank you for the plans.

Estimated Time Investment
Day Project (6-9 Hours)
Finish Used
2" x 6" Spruce Black Stain
Recommended Skill Level
Beginner

Comments

beardjulie

Wed, 05/04/2016 - 10:01

I am really a novice. The plans say that the 1x4's should be 18-1/2" high? But the measurement of the vertical legs are 14", and the horizontal piece is 4" high, which adds to 18". It all looks flush in the photo. Could you explain what I am missing? Thank you so much!

In reply to by beardjulie

Rudystawarek

Wed, 05/04/2016 - 11:30

So from what i see in the plans Each 1x4 board is to be cut at 18" and the 2x4 is to be cut at 14-1/2". Cutting the 2x4 at 14-1/2" will insure the 1x4 and 2x4 are fluish for the end product. It doesnt seem to add up given the demensional names of the lumber hahaha however the actual width of a 2x4 (the one the will be going horizontal) is acutally 3-1/2". so then you cut you 2x4 leg piece at 14-1/2" and then lay the horizontal 2x4 on top the total height will be 18" and should be flush with your 1x4 that is cut at 18"

beardjulie

Fri, 05/27/2016 - 14:04

That is too funny! That is a dead give away that I'm new at this! Thanks you!

beardjulie

Fri, 05/27/2016 - 14:04

That is too funny! That is a dead give away that I'm new at this! Thanks you!

Queen size storage bed with headboard storage

Submitted by Cranky on Mon, 01/29/2018 - 12:49

There was some deviation from the original plans..  We made the storage boxes a bit taller and the headboard has several new features.

First off, the under-bed storage takes up the whole size of the bed.  So the drawers (six of them) are nice and deep.  One of the drawers is actually the dog's bed now.

The picture doesn't show it but behind the headboard there are cubbies for storing books, tablets, phones, glasses, etc.

On both sides of the headboard there are four electrical outlets plus two USB charging outlets for charging tablets, phones, etc.

There are two reading lamps on the headboard as well.

I did the construction portion while my talented wife did the amazing paint job.


Estimated Time Investment
Week Long Project (20 Hours or More)
Finish Used
FAT paint, charcoal colour.
Recommended Skill Level
Advanced

Comments

Axel

Sun, 06/09/2019 - 04:28

That's awesome! Do you have notes on how you did the modifications and the additional features?

Wooden garden tools storage shed

Our last project was building a tiny garden tools storage shed. We used only 1 x 4 boards. We don't have any plans, but you can watch the entire building process on our YouTube channel. We are very proud of the way the project turned out.

Built from Plan(s)

Comments

Seasonal And Holiday

Dining Table and Chairs

This was my first table - I added extensions by notching out the end 2x4's and making extensions that slide into the pockets. There were a few mistakes I made that will be corrected when I build my next.
I modified the length of the table down to 5 feet long, but with the extensions in it goes up to 8'. The table is also 34" tall due to a giant husband and Great Dane. The chairs were likewise modified in height and I made the backs a bit fancier using 1x2's and a nail gun.

Estimated Time Investment
Week Long Project (20 Hours or More)
Finish Used
Chairs are painted and waxed, table is stained and polyurethaned. When I do my next table it will be waxed.
Recommended Skill Level
Beginner

Dining room set (with Classic Chairs made Simple)

Submitted by Anonymous (not verified) on Mon, 07/18/2016 - 10:16

This was my first attempt at making furniture...but it turned out GREAT!  My fiance was about to buy a VERY similar dining room set for $1300 before I stopped her and insisted that I could build it myself, finish it to match our kitchen/dining room, and save a TON of money!

Built from Plan(s)
Estimated Cost
$350 total
Estimated Time Investment
Week Long Project (20 Hours or More)
Finish Used
Minwax Expresso Stain plus 2 coats of Minwax Polycrylic on table top and seats
Minwax Classic Black Polyshades on frame
Recommended Skill Level
Beginner

Comments

My Greenhouse

I went from a 6 x 8 Harbor Freight Greenhouse to this one 10 x 12. I added a few windows...

Built from Plan(s)

Comments

Seasonal And Holiday

Cedar Planter for Pole Beans

Submitted by swhitead on Mon, 07/20/2020 - 10:41

Increased width of box to 46" by using 8 fence boards instead of 3. put base at 12" down, lined box with landscaping fabric to hold dirt. Created trellis with 1x2 boards with 10" long corner braces, spaced screws 6" apart around edges and weaved cotton thread to create the trellis. Used 12" scraps of 2x2 to create a "slot" inside the center of the planter to support the trellis. Added container mix and green pole beans started in egg cartons earlier in the spring.

Built from Plan(s)
Estimated Cost
$35
Estimated Time Investment
Day Project (6-9 Hours)
Finish Used
None
Recommended Skill Level
Intermediate
Seasonal And Holiday

Basement Play Gym

Submitted by Anonymous (not verified) on Fri, 01/08/2021 - 05:51

With Christmas approaching and the realization that my three young boys had way too much “stuff”, I enrolled the help of my dad to build this amazing basement play area. When I found Ana’s plans for the play gym with monkey bars, I knew we were in business. I modified the design to fit our space and we were off. Such a fun build and my boys absolutely love spending time down there. Thanks so much for your continued inspiration and the confidence you give us mamas to build with the big boys, Ana!!

Estimated Cost
$1000
Estimated Time Investment
Week Long Project (20 Hours or More)
Recommended Skill Level
Intermediate

Comments

Basic Outdoor set

Submitted by Anonymous (not verified) on Sat, 05/22/2021 - 15:05

I used the Outdoor Set plans to start with the sofa, but I didn't like the height of the back. I adjusted it with pallet boards and copied the curved shape of our Adirondack chairs. The bench was made entirely from upcycled wood, including pallets and landscape ties. All the cushions were made with fabric (waterproof) shower curtains. The most expensive part was the 4" foam for the cushions. I used Varathane Diamond Wood Finish, so it will all last for a really long time.

Estimated Cost
$400 Canadian
Estimated Time Investment
Week Long Project (20 Hours or More)
Finish Used
Varathane Outdoor Diamond Finish Satin - water based
Recommended Skill Level
Beginner

Comments

Lounge Chair

Modified the arm rest and the back to my liking. 

Built from Plan(s)
Estimated Time Investment
Afternoon Project (3-6 Hours)
Recommended Skill Level
Intermediate

Comments

gmhurley

Tue, 06/23/2020 - 08:59

Hi, are plans available for this modified chair design? I like that the seat pan appears to be flat and the Adirondack style to the back slate.

Chicken Coop with Run

Submitted by Jen Marzen on Fri, 06/17/2011 - 02:10

My husband and I live on a small hobby farm and are growing/raising a lot of our own food. We decided to venture into working with chickens. We wanted to start out small so we got 6 chickens and needed a home for them. We found a kids play house one day while shopping and got the idea of modifying it into a chicken coop with a run. We took off with this idea and with quite a bit of modification and some extra building materials we were able to raise it up in the air and attach a run so our chickens would have a nice home to protect them from preditors and the emements and not to mention one that looks good in our yard!

Built from Plan(s)
Estimated Time Investment
Weekend Project (10-20 Hours)
Finish Used
Cedar deck stain and white outdoor house paint
Recommended Skill Level
Beginner

Comments

Heather Dalton (not verified)

Tue, 02/21/2012 - 19:08

Are the plans available? I have Black Copper Marans and Lavender Ameraucanas and I really need to separate the LAs from the BCMs and this would be perfect!

madrona (not verified)

Tue, 02/28/2012 - 10:21

I'd also love the plans!
Great job - it's beautiful!

guest (not verified)

Tue, 02/28/2012 - 10:22

I'd also love the plans - thanks!

Eliza B (not verified)

Thu, 05/31/2012 - 10:02

Can you please post the plans you used? I have 4 week old chicks that need a coop. Thank you very much.

Jen Marzen

Sat, 06/02/2012 - 15:22

Sorry guys there are no plans for this coop. My husband and i just "winged it" and built it without any plans.

It is a play house that we found at Mills Fleet Farm and we modified it to make it a chicken coop. We put together the play house based on instructions from the box (with a few of our own modifications to make the window on the ground etc.) added some chicken wire to the doors and bay window, added some 4x4 "stilts" and a floor to get the house in the air, and constructed a frame around it with 2x4's and wire fencing to make the run

Sorry I dont have any plans to give you guys!

Seasonal And Holiday

My Simple Outdoor Sink

Submitted by kmatt55 on Sun, 08/14/2011 - 16:46

I finally completed the last piece to my customized simple two-toned outdoor collection...an outdoor kitchen sink!!! It still needs a couple of touch ups... but more on that later. This is by far my favorite and easiest project to date. We plan on using this as a grill caddie/garden station. This will eventually go onto a 24x12 deck up against our kitchen window (The indoor and outdoor sink will be against each others backs). I decided to go with the Sturdy Workbench plans for the base mainly because of the weight. We wanted something that's going to be difficult to move since it will be hooked up to outdoor plumbing. I used treated 2x4's for the base, cedar 1x4's for the top. I bought the bar sink for about $70. I also used a Kreg Jig to screw in the cedar slats from underneath so the screws won't be visible from the top. FYI - Wait a couple of weeks before you paint soaking wet treated wood. The green chemical from the 2x4 is starting to leak through my white paint. I'll have to go and prime/paint it again when it finally dries. Other than that, it came out 10 times better than I could ever imagine.

Built from Plan(s)
Estimated Cost
$120 ($70 for sink and hardware)
Estimated Time Investment
Weekend Project (10-20 Hours)
Finish Used
Thompson's Water Sealer, semi-gloss exterior white paint.
Recommended Skill Level
Beginner

Comments

Vegasboiz

Sun, 09/29/2013 - 08:16

I love the sink table a lot. I have been looking for one for a long time. Can you tell me what is the length, width, and height for this table. Thank you very much. Jimmy

My gigantic bed!

Submitted by ThiaD on Sun, 03/06/2016 - 07:45

Thank you so much Ana for providing such good plans! I use your Mom's Fancy Farmhouse Bed plans and added drawers underneath (a girl can never have too much storage!) using your Under Bench Trundle Drawers plans. I made it look a bit different than yours so it fits with the desk I already have in my room and used Mortise Bedlocks to assemble it, so it will be easier to take it apart when I move next time. This was my first project using your plans and my Kreg Jig and I'm hooked!

Estimated Cost
600 CAD
Estimated Time Investment
Week Long Project (20 Hours or More)
Recommended Skill Level
Intermediate

Comments

Platform inspired bed frame

Submitted by KL728MX on Sun, 02/23/2014 - 15:01

I had searched for a nice bed frame for the longest time. I wanted something that would last and the prices in furniture stores or antique shops were crazy. I found the plans for the platform bed/headboard and modified them a little. I used 2x12's for the frame and set my 2x6's down inside for my box spring. 2x6's for the headboard and trimmed it the same way as in the plans. I love it. Thanks for the plans Ana.

Built from Plan(s)
Estimated Cost
125
Estimated Time Investment
Day Project (6-9 Hours)
Finish Used
Rust oleum dark walnut. I didn't put polyurethane on it so it would have an older look.
Recommended Skill Level
Beginner

Comments

Jmar2038

Fri, 05/30/2014 - 18:40

Love your inspired bed! What size mattress is your frame for? I am looking to make a frame just like yours for a queen size bed. Do you have your measurements or are they pretty similar to the original post? Complete beginner here, any help is much appreciated!!

Outdoor Sectional

Submitted by diychica on Fri, 06/06/2014 - 16:40

I used 2x12 instead of 2x4 for the base and four 2x6 instead of six for the seating area. So this modified version is higher and narrower compare to the original plan.

Estimated Time Investment
Week Long Project (20 Hours or More)
Finish Used
Redwood transparent stain
Recommended Skill Level
Beginner

Modern Adirondack Chair, Super Sized

Submitted by Anonymous (not verified) on Fri, 08/21/2020 - 10:39

Am a big fan of Ana's work, and have used several of her plans in prior builds including the more traditional Adirondack chairs. Those stayed with my old house, and I wanted something different for my new house. Really liked her Modern Adirondack design with the floating arm rest. However, plans are like recipes to me--a guideline. I wanted the back boards to run up and down, and I am a bit more robust than the lovely and petite Ms. White, so they would need to be wider after I built the first one at 19 1/2" wide per plan. The next three I made 22" wide and that worked well without throwing off the geometry and angles of the other parts. Since I ran the backboards up and down, I needed some cross beams for stability and to give an attachment point for the middle of the boards. Cut some 2x4s at 15" wide, drilled pocket holes in both ends, and attached in between the back supports with the pockets facing up to be hidden by the back boards. All of the 2x4s were leftover cut-offs from the houses being built in my neighborhood. Since the frames were free, I splurged and went with cedar boards for the backs and bottoms. With the wider frames, I had to use 1x12s ripped down to 10 3/4" to get the right look (about a board's width in between). Needed some color, so I painted the frames Teal Seaglass from Menards. Cedar was stained with a natural deck stain from Sherwin Williams. I experimented with salt paint (mixing unsanded grout with the paint) to give a heavily textured and weathered finish but this was unecessary--the wood was distressed enough and I am a terrible painter. It also toned down the color so I skipped that step and just went with 2 coats of plain paint. It looks like outdoor furniture should up close. As always, am pleased with Ana's plans. Thank you for doing all the hard work!

Estimated Cost
about $200 for all 4 chairs due to cedar and paint
Estimated Time Investment
Weekend Project (10-20 Hours)
Finish Used
Paint - Pittsburgh matte exterior with Dutch Boy coloring Teal Seaglass
Stain - Sherwin Williams Superdeck stain, Natural finish
Recommended Skill Level
Starter Project

Comments

Seasonal And Holiday

Kentwood Book Shelf

This was my first major build with plans from Ana. I actually found this bookcase via Shanty2Chic. It went smoothly and all in all took me a few evenings about an hour at a time. I have 3 kids so it did take me a little longer to finish. I am so impressed with myself and so is my husband. I used a 10" chopsaw for most of the cuts. I also used my KregJig. Thanks Ana!

Estimated Cost
$100
Estimated Time Investment
Day Project (6-9 Hours)
Finish Used
Minwax Special Walnut followed by Annie Sloan Chalk Paint Dark Wax Finish.
Recommended Skill Level
Intermediate

Comments

Adirondack chair from Pallets

Submitted by Anonymous (not verified) on Fri, 03/24/2017 - 19:42

I decided to try and use the plans on Ana's site but with a twist. I wanted to limit myself to using only pallets. I think it turned out great! I can't upload all the photos because they exceed the maximum size limit. If I was able to you could see how each chair is slightly different and has a lot of character. I finished them with a waterproofing oil which I highly recommend over other finishes. 

Estimated Cost
$10 for screws.
Estimated Time Investment
Afternoon Project (3-6 Hours)
Finish Used
Cabot oil
Recommended Skill Level
Beginner

Comments

Wood Toy Box

This is a great beginners project. I wanted something that would match my living room and still be functional for my daughter to get her toys out . We have a full tutorial at our blog.... www.Ahouse-2-Home.com Also , if you have any questions please feel free to leave us a comment! Thanks!

Built from Plan(s)
Estimated Time Investment
An Hour or Two (0-2 Hours)
Finish Used
Chestnut stain
Recommended Skill Level
Beginner

Comments

ImTheNana

Sun, 01/25/2015 - 07:15

Is there another source for the plans? The linked site is down.