Planter step

I only needed one step up, but replacing the old, cracked, weird, faux concrete step with the new planter box worked great!

I only needed one step up, but replacing the old, cracked, weird, faux concrete step with the new planter box worked great!
I built six armless and two corner sections of the outdoor sectional but now I need to paint it and make cushions. For more details: http://www.homeandawaywithlisa.com/blog/2012/1/5/patio-furniture-in-pro…


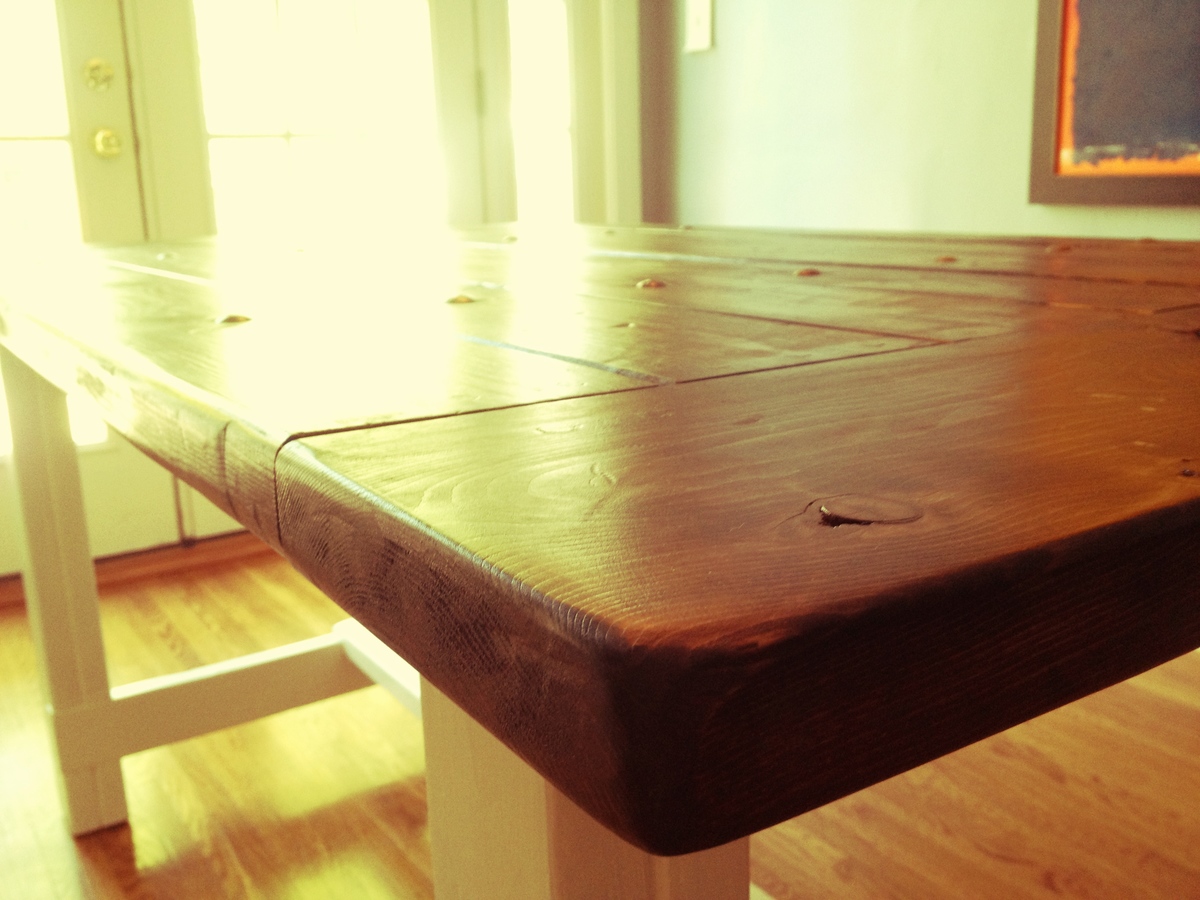
I used Ash wood from my local woodworking shop. The wood varied in width but is a true 2" thick. The table is 12' long and 4.5' wide. I didn't see the need in having the X on the leg ends as the ash was plenty strong enough to hold the top planks. Plus, I really like the look without it. I did add a cantilever beam in the center to stop sag. I didn't feel like I needed diagonal bracing in the center to support the cantilever beam (Note: Original design has center diagonal supports in wrong direction which do nothing for structural integrity of table). The table top planks were strong enough to span an 8' distance. The table top over hangs each end by 2' on center. I left the wood as rough cut as possible. I did rough it up a little more. I sanded with a #36 grit only to sand off writing, dirt, and burrs. I stained with MinWax Early American and sealed with Satin Poly by MinWax. Feel free to ask any questions. This is my 2nd wood project and I am hooked.


Wed, 02/19/2014 - 14:37
Can I ask how you attached the top supporting plank under the table top and also how you attached the bottom cantilever into the upright supports?
Fri, 04/04/2014 - 08:39
I screwed the top cantilever planks on each end into the post. I notched and screwed the center cantilever support. I actually didn't need the center cantilever support because the wood could span the distance but I did it just to be safe.
Wed, 10/22/2014 - 10:39
I love the roughed up top. How did you get the lines in the table top? It looks fabulous!

Theses cabinets were built for a customer from plans they had found online. The hardware was ordered with the plans for an extra expense and the glass was made to order. Hope you enjoy them thanks for looking.


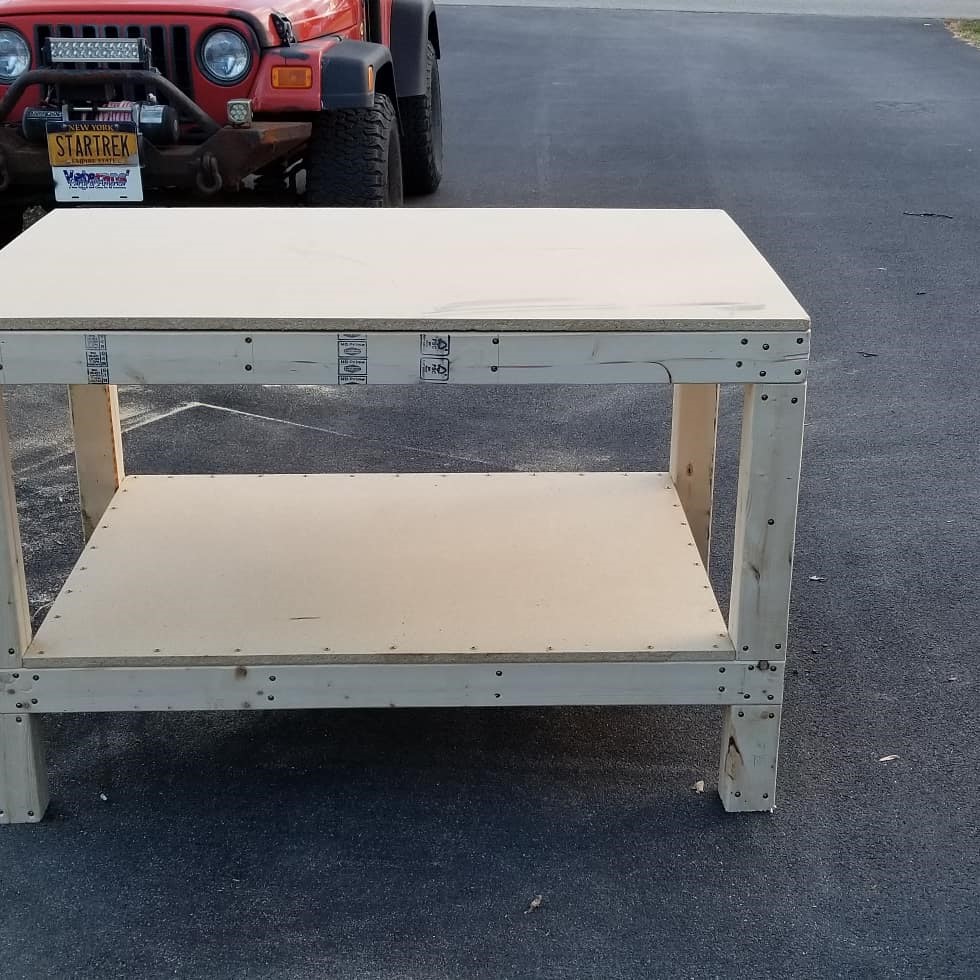
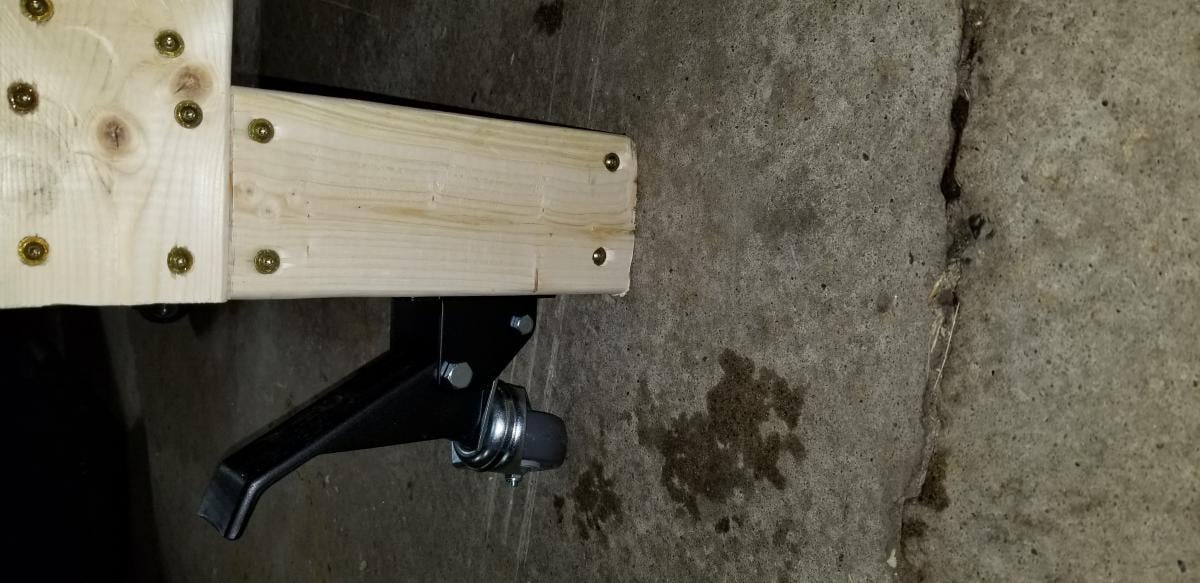
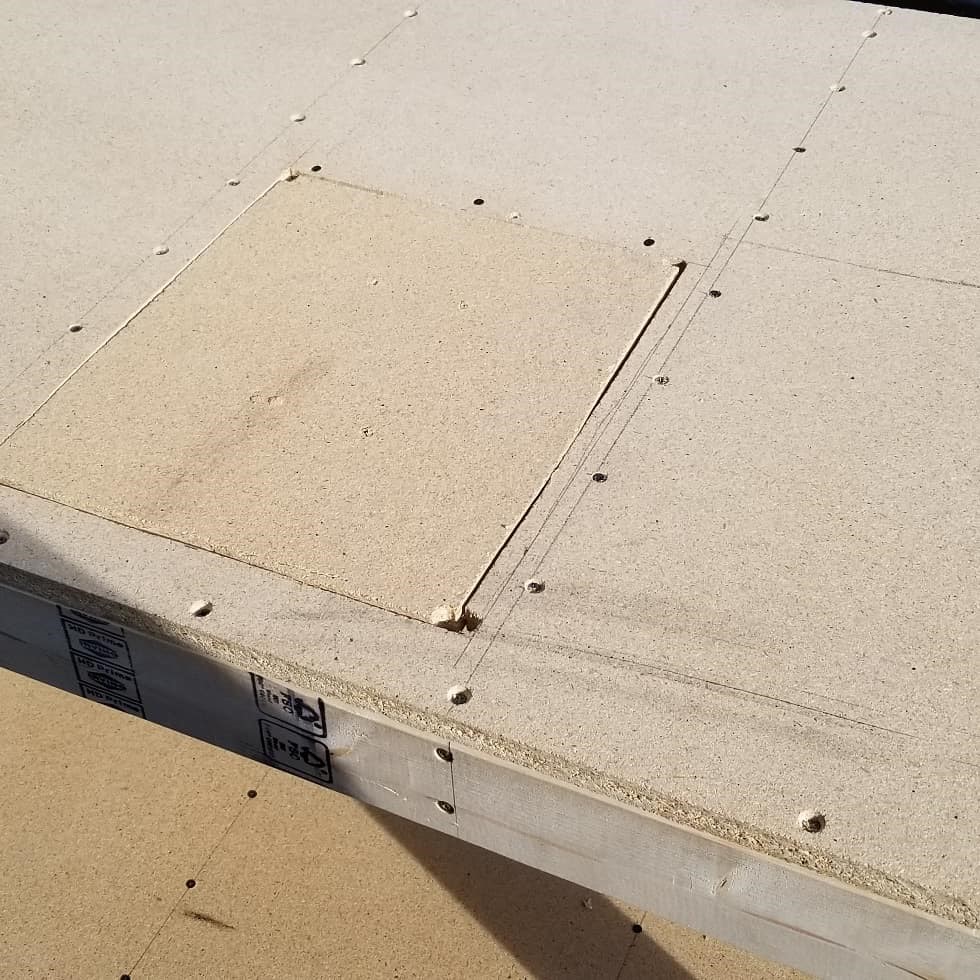
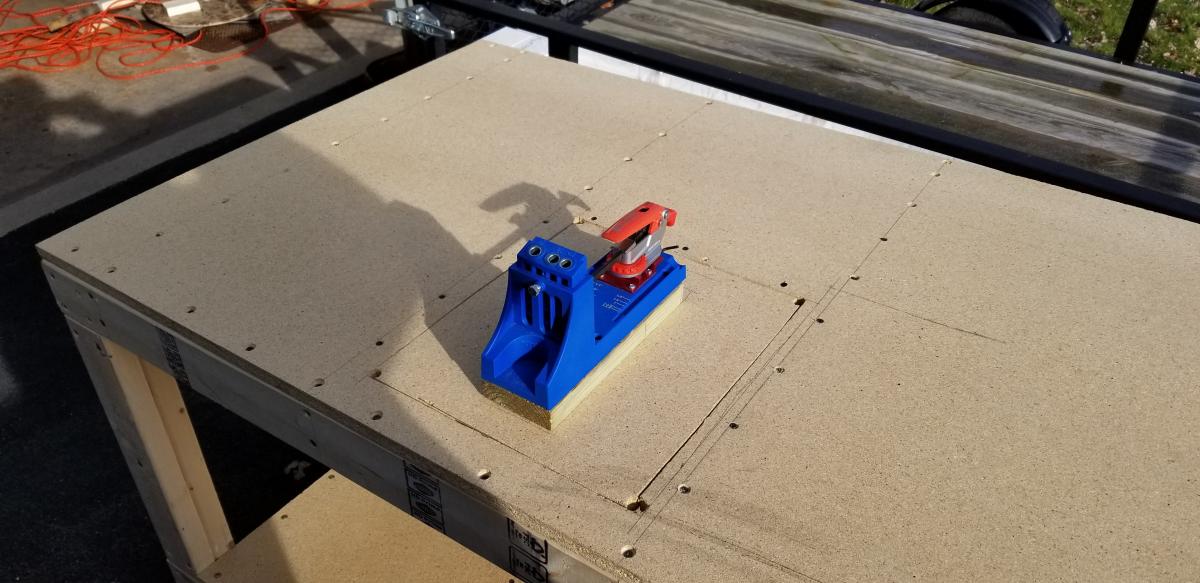
Built this for my garage shop in a day. Added a cutout for my Kreg Pocket Hole Jig, a power strip and casters for ease of movement.


Using Ana's Ten Dollar Ledges project, we created these shelves for our children's rooms. They were so easy to make and paint and hang. We absolutely love them and so do the kids! Our shelves were 32" long to fit in a particular spot. The shelves also cost a little more than the price listed in the plans. Perhaps my husband bought a higher grade of wood. I'm not sure, but it was worth it regardless. You can see more of our kids' rooms and our old house renovations at our blog Lovely Chaos.


My wife and I recently built this farmhouse table with her grandpa. It was a lot of fun and we are really happy with how it turned out. The table is 80 inches long, 43 1/2 inches wide, and 31 inches tall. The extensions are 15 inches long and 43/1/2 inches wide, and the bench is 61 inches long, 15 inches wide, and 19 1/2 inches tall.
It tooks us about 4 weekends (around 32 hours) to finish the project and the included rebuilding the base of the table after our first one cracked.
We modified the plans a bit. We used 4x4s instead of glued together 2x4s for the legs on the table and bench.
We also used the plans on this blog (http://tommyandellie.com/?p=2582) as a guide.
This was the first time my wife and I have tired a DIY project and we had a ton of fun. Her grandpa had some experience with wood working and had all of the tools we needed but you can certainly do this without any extensive wood working experience.
Sorry for the duplicate post. This is my first time on the website and the first time I posted it came across as 'guest'
Tue, 08/16/2016 - 13:34
I forgot to mention that with the extensions the table expands to 110 inches.

Kitchen dining bench with storage. Due to the plugs being in an awkward position, I opted to build this bench with a facade as opposed to adding a back and sides. This also meant it had to be panelled in situ which was a fun challenge! It has piano hinges as well as soft close pistons making for a great storage bench that is in keeping with the rest of our kitchen.


Expecting our second child, my wife and I decided to do away with our guest bedroom and combine it with our office. The only problem was our queen bed took up way too much space and it didn't get enough use to justify the sacrifice. We looked at the wall bed options available for purchase and decided they were way too blah and very expensive. I then found the "A MURPHY BED YOU CAN BUILD, AND AFFORD TO BUILD" post on Ana's website (thanks for the inspiration)!
Using cheap pine boards, plywood, door hinges, vinyl upholstery and stain I constructed the wall bed you see here. It really wasn't that difficult but facing it took the most time. To give the boards a more rustic look I used a utility knife to shave off the edges/corners and stained them with the Minwax American Walnut water based stain and the Minwax White Wash Pickling. When this started we thought we were going to have to settle for something unattractive and less than desirable. Seeing it in our office now, we love our new bed and actually think it makes the room look much better! I didn't keep track of costs, but it couldn't have been more than $150.


Tue, 07/08/2014 - 08:08
Looks great! May I ask what the final outside dimensions were? Curious to see if this would work for me.
Thanks!
Wed, 08/06/2014 - 09:23
I would have to measure it when I get home... at work currently. Looking back, I think the best approach is to take the measurements from the plan, find the difference between standard mattress and queen mattress dimensions (check wikipedia for standard sizes), then add that difference back to the plan. I cut it real close on mine and could use a little more space. It would be nice to make it a bit deeper and with some head room to store comforters and pillows.
Sat, 03/21/2015 - 08:32
To fasten the facing I used wood glue then a Ryobi 18ga nail gun. It's part of their 18v One+ line and works great!
Sun, 12/28/2014 - 12:59
I am dying to get started on this wall bed project. I keep getting this message when trying to open the Plans.
The page you are looking for is temporarily unavailable.
Please try again later.
can someone help me find them.
Sun, 12/28/2014 - 12:59
I am dying to get started on this wall bed project. I keep getting this message when trying to open the Plans.
The page you are looking for is temporarily unavailable.
Please try again later.
can someone help me find them.
Sat, 08/15/2015 - 12:05
did you ever find the plans?
I'm having thee same problems
Tue, 08/09/2016 - 15:24
Hi. I would love to try this. Looking to build in the next month before parents in law come over. Is there any working links to the plans??
Wed, 01/24/2018 - 21:42
WHERE CAN I FIND THE PLANS, MATERIALS LIST AND DIMENSIONS? THE ATTACHED LINK TO YOUR ARTICLE LEADS TO A TWIN SIZE BED. THANK YOU
Thu, 01/25/2018 - 06:30
is there a link to the plans? I can't find them and I really want to make this

I'm building a house for a client who wanted a country farm house feel. The kichen cabinets are custom frames with beaded board inserts.
The custom kitchen island is unusually large for this size home at 10' 6" x 4'. The base cabinet 90" x 25 1/2". But, there is no dining room. I wanted the island to not look like the rest of the cabinets. Then I found Ana's design. I reworked the design to fit my space and the buyers preferences. Trash pullout, larger drawers ect. My plan was so far from typical site built trim that I decided I would build it myself or it would really be a budget breaker. I do have experience in all aspects of building but, this is my biggest trim project. Time? I'm sure I have 40 + hours in it. Money? The columns alone were $500. I'm sure I have $1,500+ in it. Don't even ask how many cool tools I had to add to my collection just for this project!
I built the custom kitchen island in pieces in the shop, and assembled it in place. Very heavy, no way to move it after assembly. The stain went on today. I'm happy with the way it turned out. Thanks for the inspiration Ana!
Fri, 10/21/2016 - 08:13
WOW! This is absolutely breathtaking! Just think of the memories that will be created around this beauty. The cabinets are great, but the console island steals the show! Job well done!
Sat, 10/22/2016 - 10:42
Incredible build! Please share a photo of it done too!
This was a week-long project. I love this site because there are so many original tables to get great ideas from! I chose the Farmhouse table plans because of its simplicity and beautiful lines. The length of the table was a little much for my room, so I shortened it a touch. Dark walnut for the stain and Satin Ultra Pure white for the legs to match the trim in my house... a real beauty! Have fun with yours!!!



Believe it or not, this is my very first furniture project. Inspired by my 8 yrs old son special needs to be able to draw his curtains close whenever he felt the need, I happily took on the challenge to build this for his pirate themed bedroom. I have not filled the holes yet nor have I stained it in the walnut finish we have chosen. The weather is just too cold for my taste (will wait until spring). Currently, I will work on hemming the curtains. I am just so proud that I could not wait until next year to share it with you all. I carefully changed the dimensions to a full size bed, changed the storage shelves sizes to accommodate 8 cube bins and 2 book shelves, added the canopy and some multi-coloured adjustable LED lights. Feeling so proud and have one really thrilled little boy! Thanks Ana!!!

Mon, 11/03/2014 - 14:21
Great build! Love the added curtains. Congratulations on an awesome first furniture build!
Mon, 11/03/2014 - 20:00
Thank you very much! I had so much fun building it. Besides, there is nothing more gratifying than getting a great big hug from my son with a heartfelt thank you. Priceless!
Now my other two children have me planning their beds. :) Mixing things up a bit using two totally different type of plans. Can't wait to see the results.
I recently painted my kitchen cabinets with a Rust-Oleum Cabinet Transformations kit, and I wanted to add some matching shelves for items I could store above the stove and coffee maker.


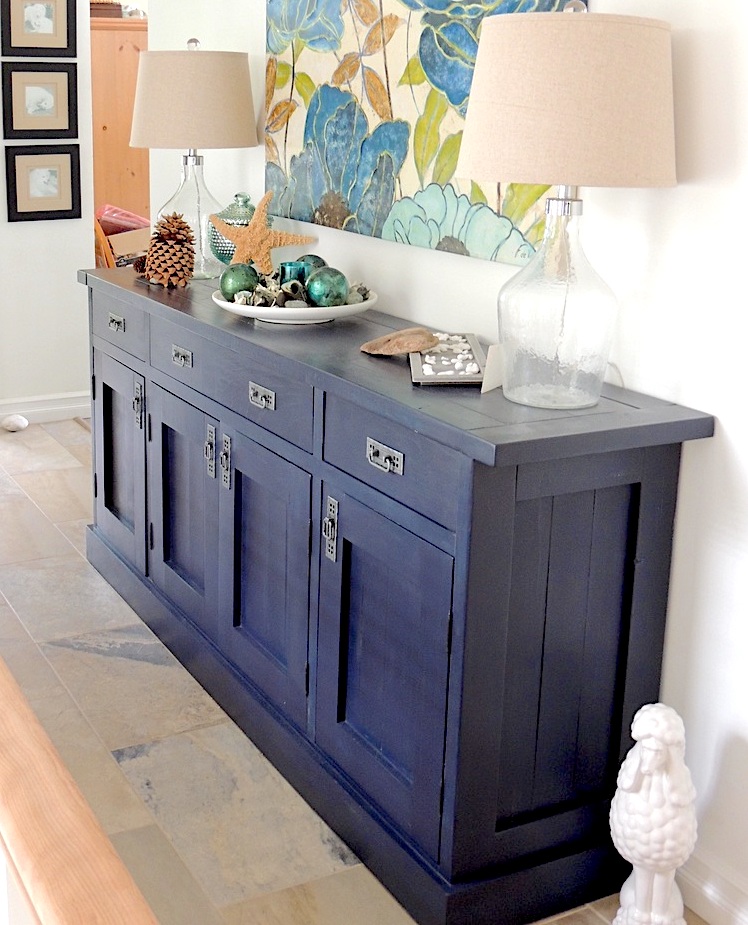
This was my second project and my first piece of furniture I built from Ana's plans. We have a vaulted ceiling in the hallway near my entry and needed a really big piece to fill up the large blank wall. I always hated the space but now I Love It. The Gigantic sideboard is perfect there. I finished it with milk paint and paste wax. If you inspect it closely it is not perfect but for my first piece... I love it and it's supposed to be rustic right!


In reply to Hardware by jillcookie
Sun, 01/04/2015 - 18:08
I got the pulls at Richelieu hardware. Classic Metal Drop Pull - 750
Product #BP750908. http://www.richelieu.com/ca/en/category/decorative-hardware/cabinet-har…

I designed this desk from another desk I built. With this one, I wanted the overall foot-print smaller but still something that was able to organize all our office stuff and be able to close everything to keep it clutter-free. We have a small apartment, and although this desk is about the size of an up-right piano, it works perfectly into our living space!
I made it out of raw hardwood (Ash) and because I knew just the wood alone would make this desk heavy/bulky to move I made the top hutch removable. It's held in place by wood pegs (dominos). All the shelves are adjustable and the drawers are full-extension (something I've never had - wahoo)! The drop-down door is help up by 2 pull-out boards on each side (my first desk had chains). I spend a lot of money on this desk because I knew it was a chance in a lifetime to make and wanted it to be perfect and something that would last generations.
I built the main carcass off of plans/measurements I designed, but then all the insides, drawers, shelves, doors, etc where made as I built (because just a millimeter difference in building changes everything)!
If you want more pictures/descriptions of the building process I wrote about it in a 4-part series on my blog.


Wed, 09/23/2015 - 11:22
is there plans available for this project?
In reply to is there plans available for this project? by Nsmjc
Tue, 09/27/2016 - 12:20
Hi there! I'm sorry but I don't have plans put together on it! I designed it in Google Sketchup and have some 'screen shots' I could send you for basic measurements if interested. You can e-mail me at [email protected]
Mon, 06/15/2020 - 09:08
Hi. Do you happen to still have those 'screen shots' or any other info/dimensions from this build? LOVE LOVE LOVE it!!

This was my first build and it was so much fun! I used a Kreg jig to construct the shelves using Ana's plan and then secured them to the wall with anchors. It took only a few hours from the trip to the hardware store for lumber to painted and finished ledges on the wall.

I needed sturdy stairs for my 2 60lb dogs. My bed is 33 inches from floor to top of mattress. So, this is my very first project completed by myself! Custom size pet stairs 24inx24inx24


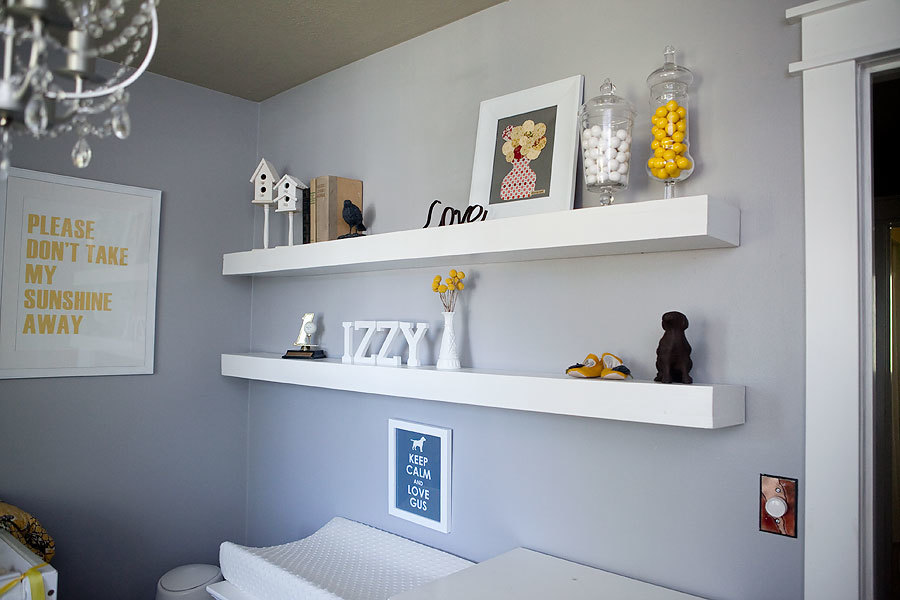
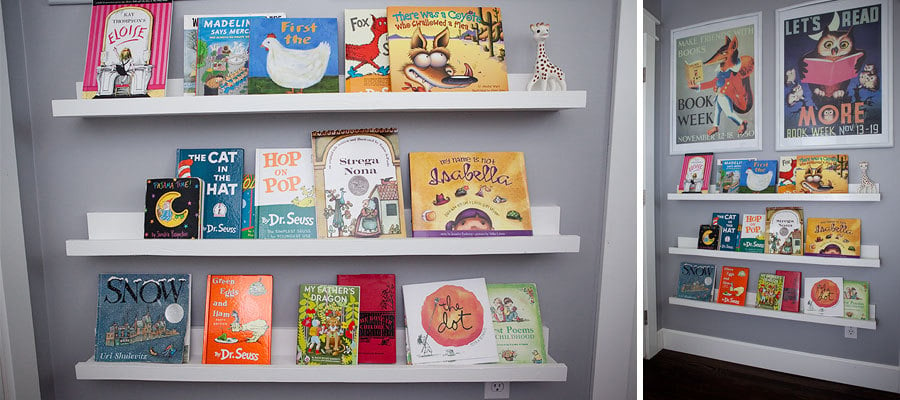
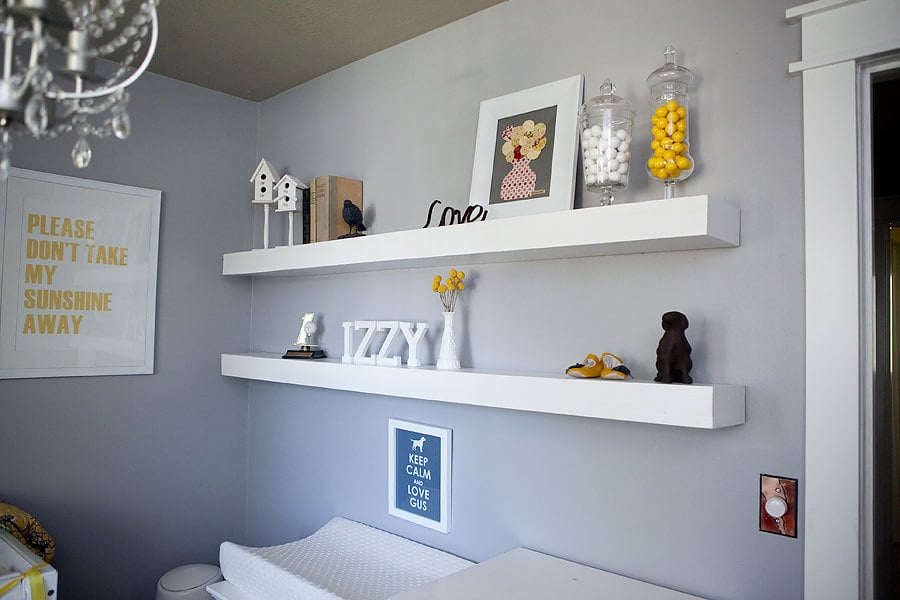
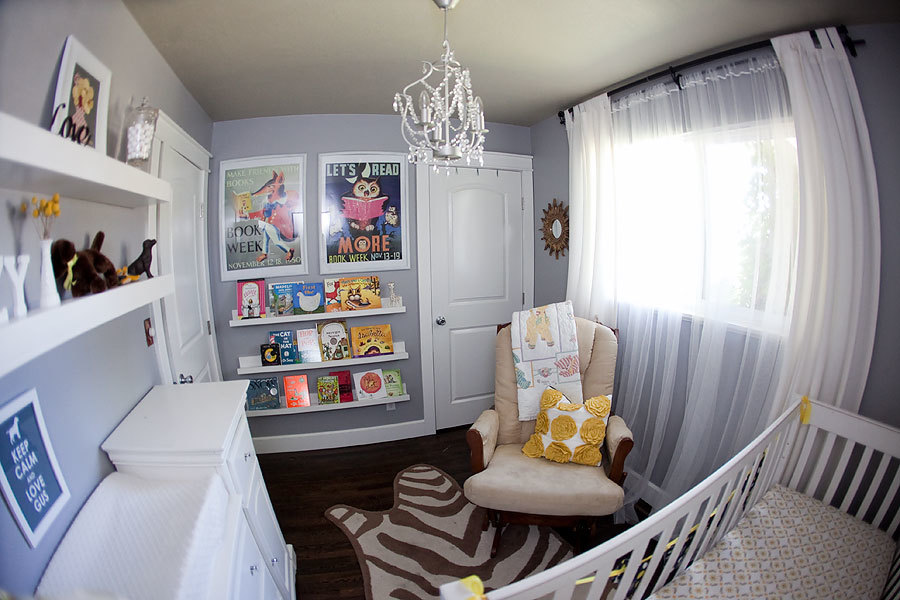
I used Ana's plans to build floating shelves and the ledge shelves for my nursery.
Sun, 07/24/2011 - 09:03
It looks great! Also, where did you find the vintage reading week posters? I'd LOVE to know! Thanks!
Tue, 07/26/2011 - 08:10
What a beautiful nursery!! Nice job on the shelves!

We wanted to put up a whiteboard to use for homeschooling and were amazed at the cost of even a small one. We got some shower board from Lowes that measures 8 feet by 4 feet, put 1x2" boards over the top and side edges and screwed through them into the wall studs, and added a Ten Dollar Ledge shelf we'd already been using for the kids' books. Super easy and it looks great!

I built the faux fireplace from your plans and wanted to share it with you. Thank you and God bless you. - Joe


The Ana White corn hole board plans were straightforward and easy to understand. Building was a breeze. Our boards turned out great!
Comments
Ana White
Fri, 07/12/2019 - 19:36
This is perfect for your…
This is perfect for your front door ! Love how you tied it in with your house colors.