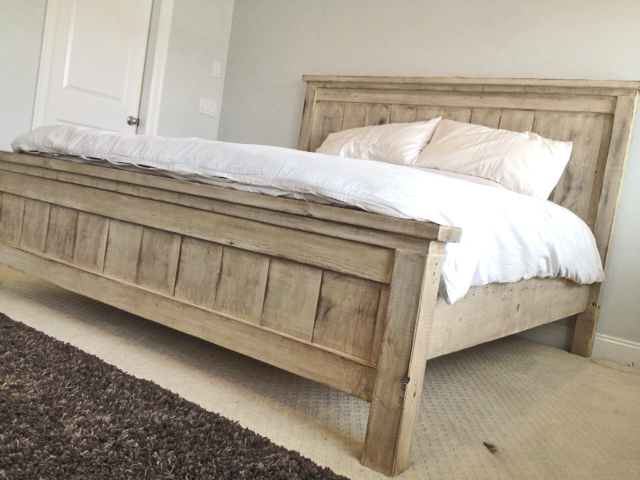
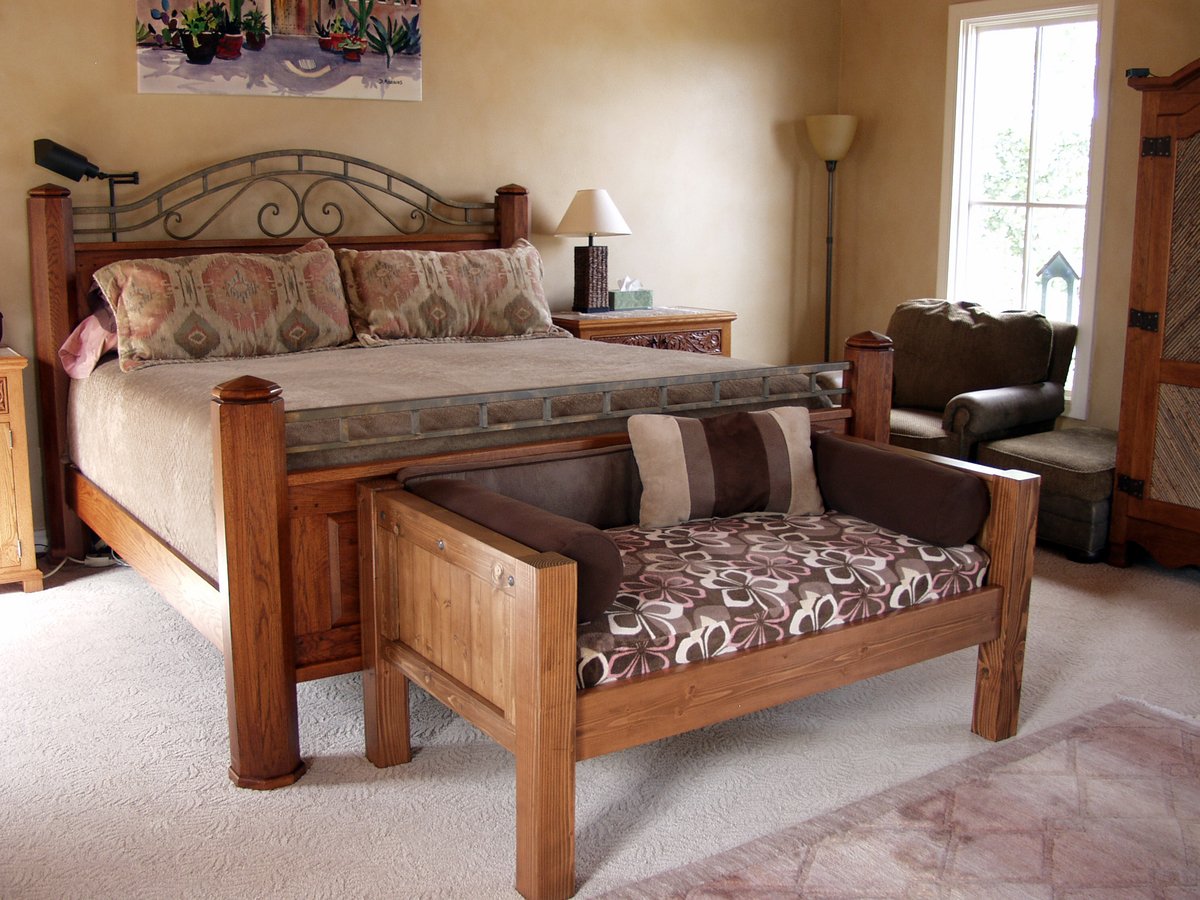
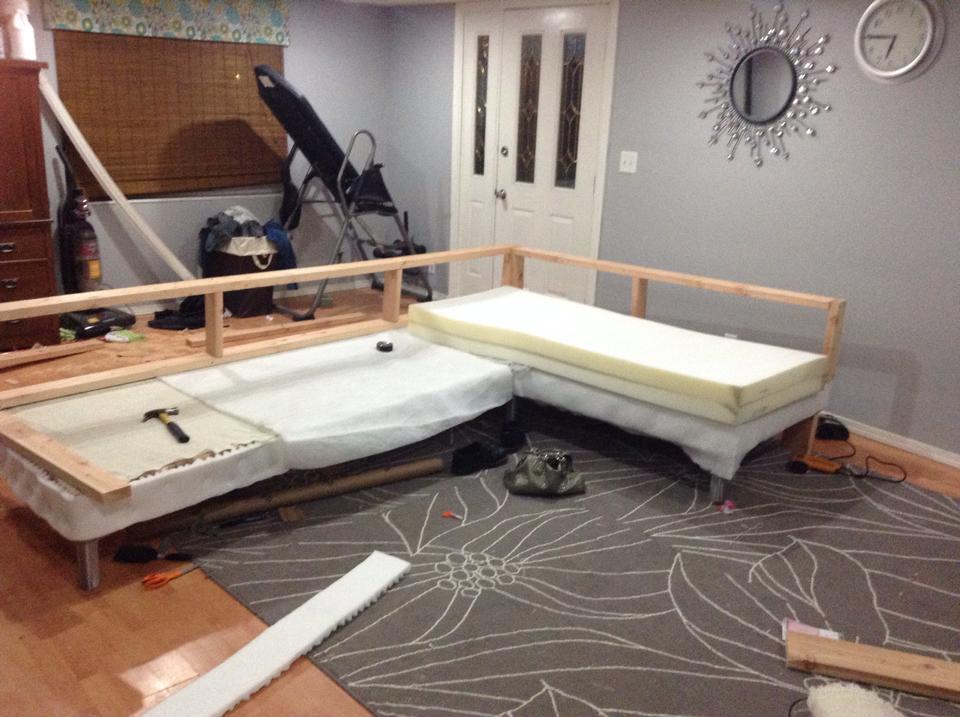
Yes, my husband and I share our bedroom with 6 dogs and an occasional cat (or 4). Our older dog (Petra) has slept on our bed for over 10 years, and she's getting too old to jump anymore. We didn't want her to feel like she was getting kicked off the bed, so I made Petra her very own bed at the end of ours so that she wouldn't feel left out. I was inspired by MurdaRae's dog bed (http://ana-white.com/2012/06/doggie-daybed), and thought it was genius to use a toddler/crib bed. So I went looking for plans on Ana-White, and came up with a mixture between a couple of twin bed plans. I love that the plans are easy enough to modify my sizes, and come up with exactly the custom solution that I need. This was my first big project using Bri-Wax. The last one was kind of a disaster when the wax changed the stain color to something not-so-great. With this project, I learned to wait at least 2 weeks before attempting to wax it. I was blown away with the results. It is a beautiful subtle satin finish that feels great to the touch. Plus, I can easily touch up all the dog fingernail scratches that will inevitably occur. When I re-assembled the bed in my bedroom, I actually nicked it in a few places. No problem -- slap on some more Bri-Wax! My Bri-Wax was 11 years old, and pure liquid. I tossed it in the fridge (per Bri-Wax's recommendation), and it was as good as new. The only real problem I had with this project was leaking sap from one of the 4x4s. I'm still fighting this today. In talking with Rustoleum/Zinsser reps, they said that no sap could penetrate their "Seal Coat" shellac product. After 5 coats, the sap is still penetrating, but only if I turn it on it's side or upside down. I'm still baffled. I made the mattress cover out of a dog blanket, and made the cushions from some remnant fabric (suitable for dogs and weekly washing), so this was a fairly inexpensive project. It was a success because Petra slept in her bed from the fist night and loved that she had all the room to herself, and no boston terrorists (I mean terriers) attempted to bother her.
Estimated Cost
$65 for Wood, $60 for Crib Mattress, $7 for stain, $9 for Decorative Clavos
Estimated Time Investment
Weekend Project (10-20 Hours)
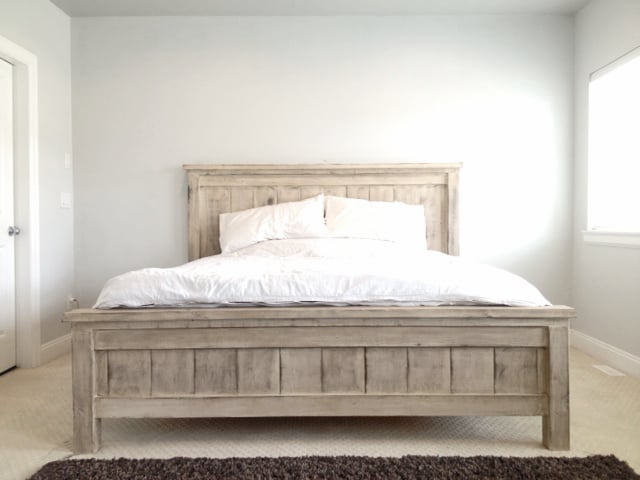
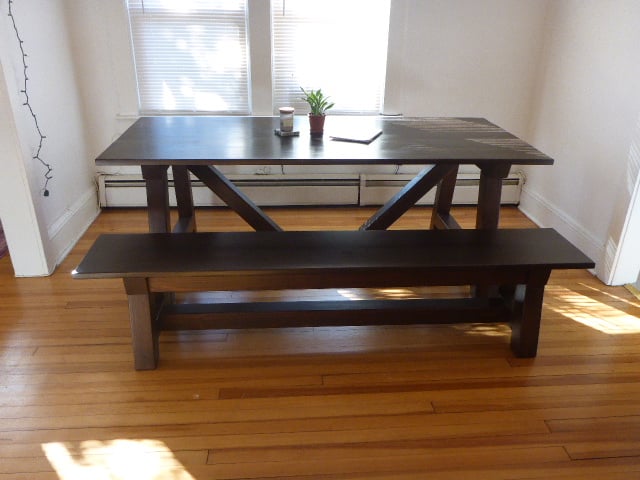
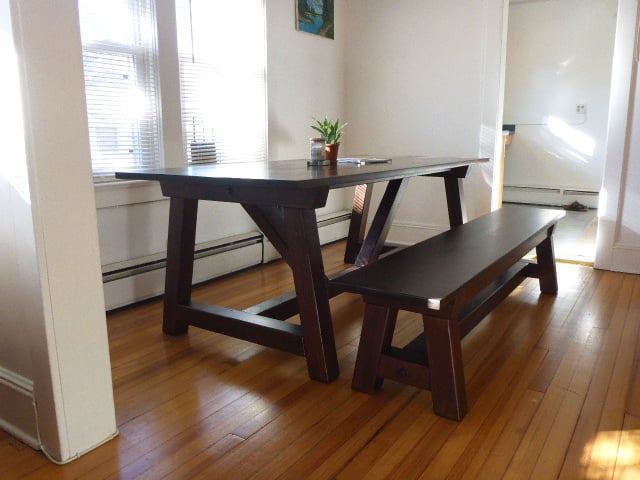
Finish Used
Combination of Minwax Water-based stains: 6 parts Colonial Pine: 1 part American Walnut, followed 4-5 Coats Bri-Wax (Light Brown)
Recommended Skill Level
Beginner


Comments
jhavinga
Thu, 05/22/2014 - 16:34
Thank You Ana.
Thank you for sharing all of these awesome projects. I was always hesitant when it came to wood, but now I cant seem to stop!
JGoates
Tue, 06/10/2014 - 08:13
More about your finish
How exactly did you achieve this finish? sand first, paint second, sand again and then stain?
In reply to More about your finish by JGoates
jhavinga
Wed, 06/11/2014 - 13:43
How I got the finish!
(You can do all this before or after your project is put together or not.)
Be sure to do a test piece before hand so you can see exactly what your getting :)
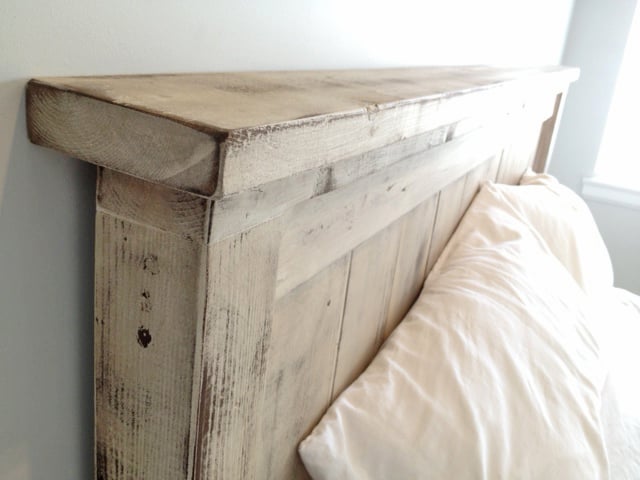
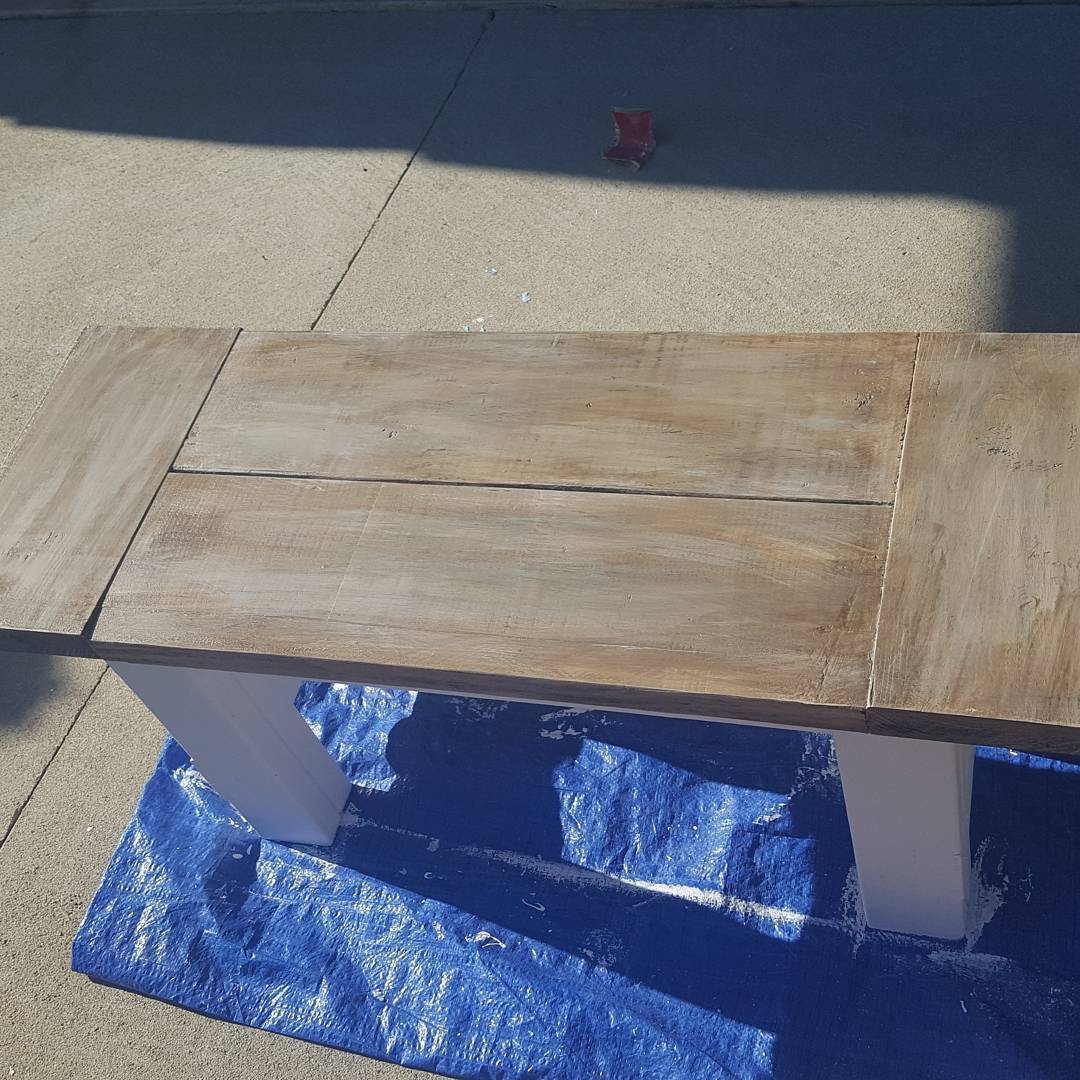
The first step I did once the head board and foot board were put together, was to sand any sharp edges or corners. I liked mine rounded and worn looking. I did not sand anything else.
Second step is to paint 1 even coat of a basic white latex paint.
Third step is to sand away some white paint. because we didnt sand it before hand the grains in the wood will be very bumpy. so the paint on the grains will sand off while the paint lower than the grain will remain. makes sense? hopefully i explained that right!
Fourth step is to now wipe on the stain of your choice. I went with Dark walnut. It stains the paint a bit bringing the white to a gray/brown tone. and stains the wood dark walnut so the grain patterns show up dark.
Let me know if you have any other questions and good luck!
jbogan15
Thu, 01/29/2015 - 07:49
sanding
What grit of sand paper did you use to sand off the white paint? and did you sand it by hand? Also, for the dark walnut stain, did you wipe off immediately or leave it on for a bit before wiping? Beautiful bed, I want to achieve this look!
In reply to sanding by jbogan15
jhavinga
Fri, 02/06/2015 - 09:15
Hi jbogan15, thank you!
Hi jbogan15, thank you!
For sanding I used a palm sander with 120 grit to get the job done a bit quicker, than went over lightly with 220. When staining I actually just dipped a rag in the stain and would wipe the stain on. =)
Good luck!
Justin
kosborn
Fri, 01/27/2017 - 11:05
SIde rails
Love this look! Exactly what I am trying to achieve...A few questions about the side rails. How high did you connect them to the 4x4 posts and exactly how did you connect them? Did you use brackets or screw right into the posts? Thank You!
barkleyl
Thu, 09/05/2019 - 15:07
Mattress height
I have seen several beds from Anna White. I was wondering if the frame require a box spring mattress or not. If not, are the beds lower than what a traditional mattress and box springs are. Thanks !