Community Brag Posts

DIY Campsite Outdoor Storage and Grill Station

Submitted by Anonymous (not verified) on Thu, 08/31/2023 - 11:28

We made the grilling station to keep at our seasonal campsite and it's absolutely fantastic! We have since added some L brackets and 2 shelves, and this is where we store our extra cases of water, soft drinks, outdoor cooking utensils plus an air fryer! Super easy plans, with well written instructions for even the novice (me and hubs) diy builders!

Ali W.

DIY Garden Bench

Submitted by Anonymous (not verified) on Wed, 11/29/2023 - 07:37

Garden Bench Project. Christmas Gift for my daughter-in-law. Cost of materials $75 and invested about 5 hours into the project. I modified the length to fit their porch. I sanded all the material and slightly rounded over all of the material edges. Recommend installing the seat BEFORE you install the arms as it is much easier to fasten. I extended the arms by an inch because I thought it looked better than cutting it flush to the leg. We will paint it in the Spring after the material dries out and can accept paint. It was fun to build. I have seen similar benches on Etsy for over $500.

Built from Plan(s)

Farmhouse King Bed- Beetle Kill Pine

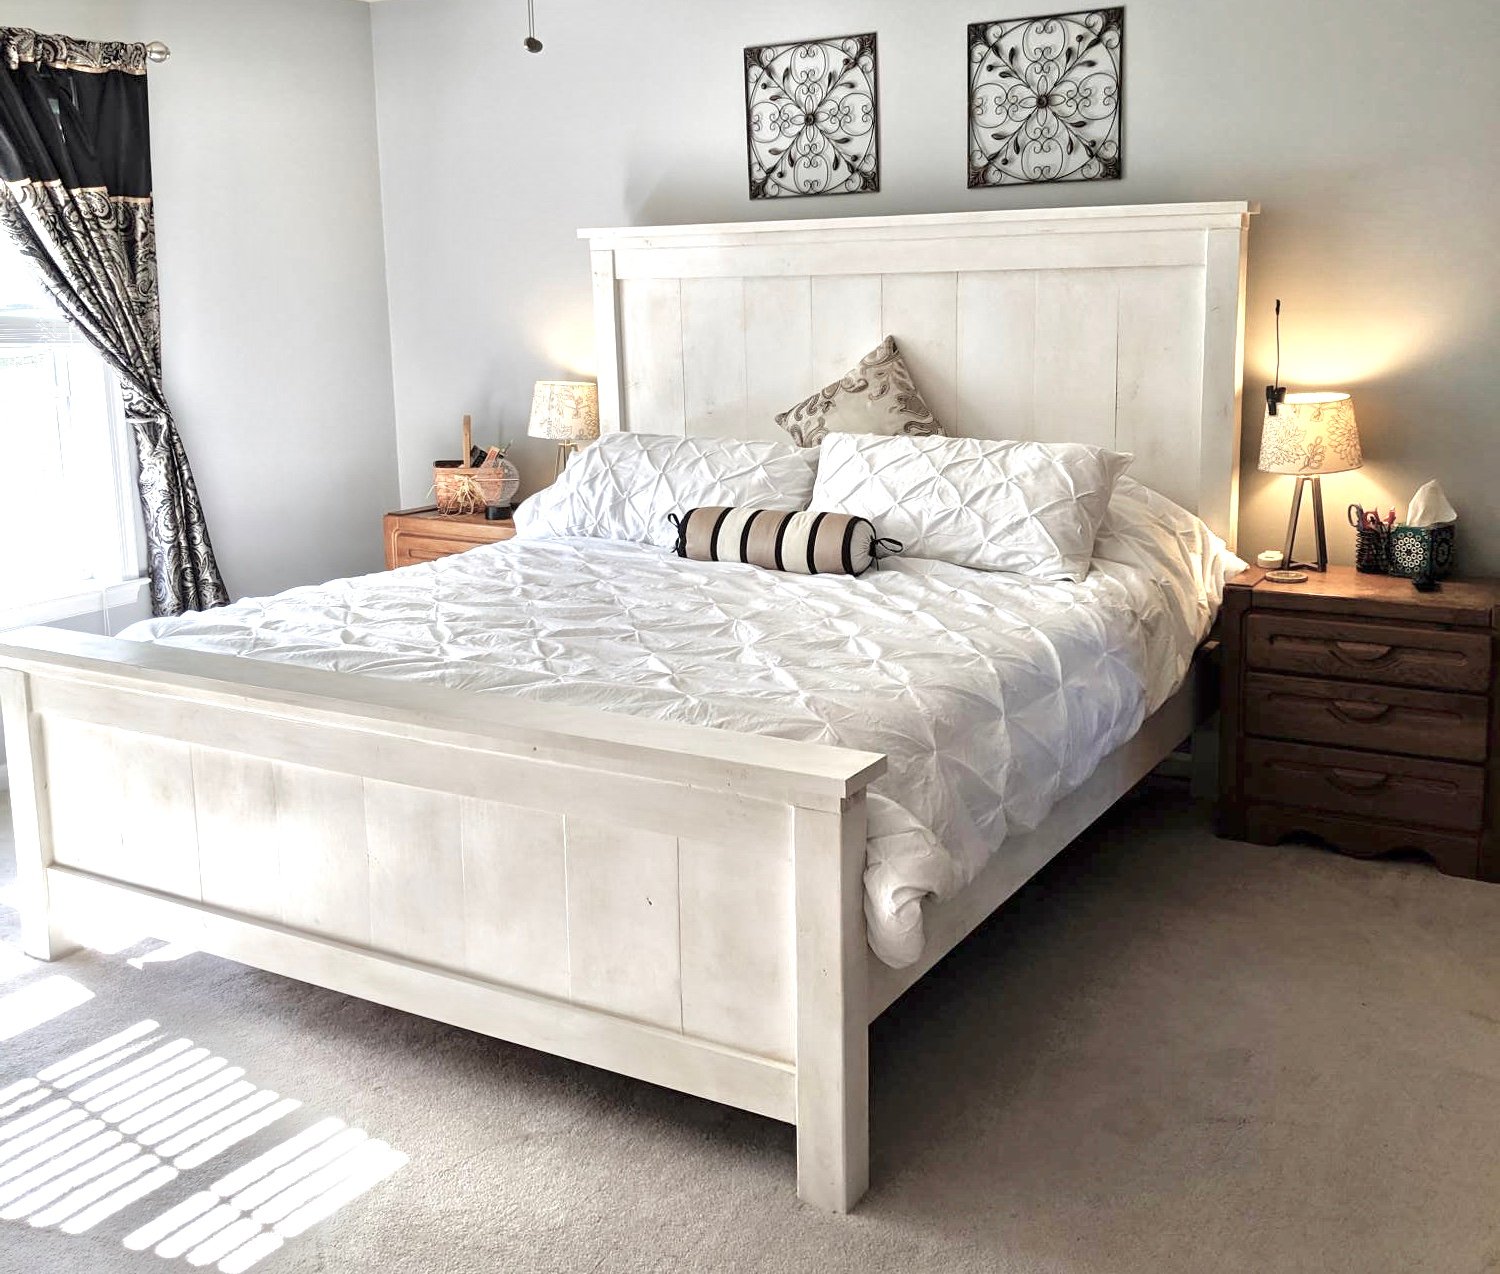
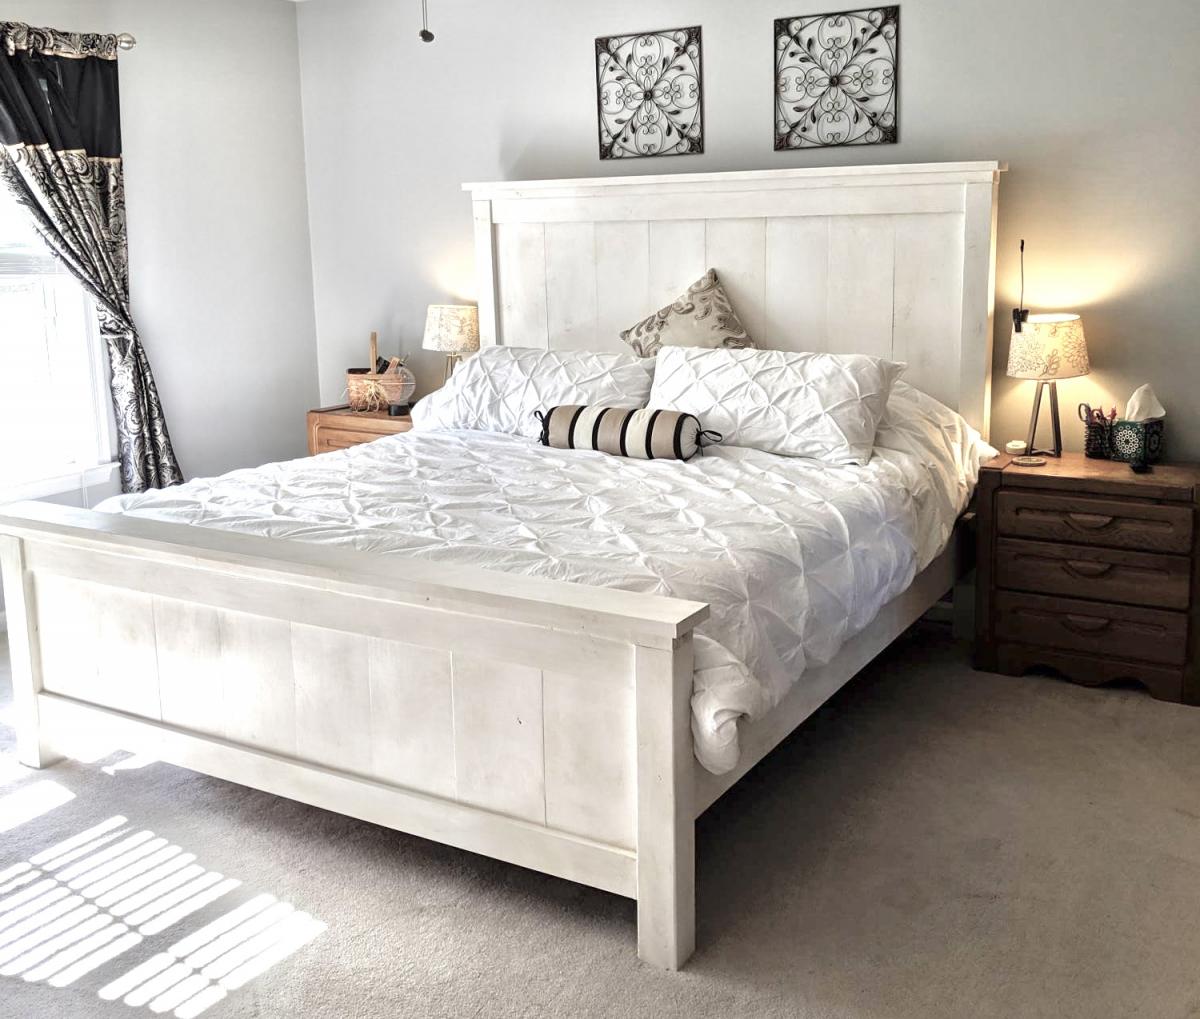
This was our first build and it was quite a big project to take on to start with. We had so much fun and learned so much along the way. 

Our biggest lessons were to hand pick our wood and make sure we get the straightest pieces possible. We had to wrestle some wood to make this bed work!  Clamp everything especially when using large bolts as the pieces would pull apart from each other. We even used a ratchet strap at one point becuase our small clamps weren't cutting it. I'm sure there's a better way and we'd love to hear about it but we made what we had work. We also had to figure out how to attach the side rails and at what height. We ended up using 3 4-inch screws on each end to screw them into the posts.  

We love this bed not only because it was a labor of love but because its such a solid beautiful piece. 

Estimated Cost
$200
Estimated Time Investment
Week Long Project (20 Hours or More)
Finish Used
Minwax Polycrylic Water based - 4 coats, sanded using a 220 grit sanding block in-between each coat.
Recommended Skill Level
Intermediate

Comments

Huffaker6971

Sun, 08/18/2019 - 13:47

This is exactly what I've been looking for. Are there plans for this build?

sxewhodey

Sun, 03/01/2020 - 11:29

Very nice! I love the lighter wood too, but my wife likes the darker stain, so we compromised in the middle for the finish. Why  arethe post always so red? I can appreciate the natural tendency of nature to add color, but the 4*4's are always red-er in color. Do they always use a different pine or certain part of the tree for those?

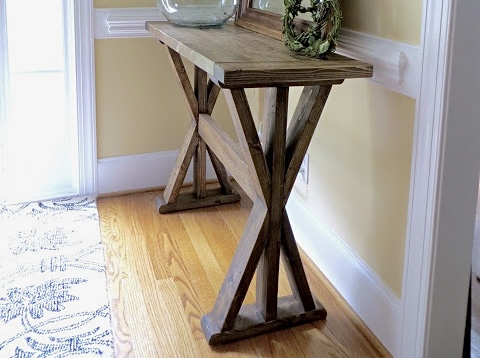
'X' Entryway Table

Submitted by danicarby on Sat, 09/24/2016 - 14:32

This table is built out of only 2x4's - that's 5 boards for about $15!  It was pretty easy and took half a day.  If the fancy angles are too hard to cut safely I recommend doing 45-degree angles!  I'm happy to have a nice entryway - first time my whole life! :)

I've created a post on my project blog wth instructions & pictures for anyone to make their own.

Rustic console table

Estimated Cost
$15 for Lumber
Additional for Screws and Wood Finish
Estimated Time Investment
Afternoon Project (3-6 Hours)
Finish Used
Minwax Wood Conditioner, Minwax Dark Walnut Stain then lasly, Paste Wax (Dark Brown).
Recommended Skill Level
Beginner

Comments

danicarby

Tue, 09/27/2016 - 12:16

Thank you Ana!  You made my day!  It was such a treat to see it posted on your Facebook page!  I told my husband that NOW that "I am famous" (haha) that I should be able to get the jointer & planer I've been begging him to let me buy!  I'm thinking maybe a direct message from  you would be just the trick! :)

Richard6959

Wed, 01/29/2020 - 13:54

What angle were the leg cuts? More than 50* because my saw wont go that far. Please let me know. 

Ryan's Washer/Dryer Pedestal

Submitted by zoolander on Fri, 12/05/2014 - 17:25

I loved this design.  I couldn't believe that they wanted to charge me almost $600 for the pedestals for the washer/dryer set that I bought on black friday, so I decided to give this project a go.  I basically used the same construction plans from Sausha's project, but I dressed mine up a bit.  First, I chose a bit larger trim for the tops and bottoms of the posts.  Then, I bought some 2" baseboards and did the top and bottom with baseboards.  On the bottom, I had to use my tablesaw to trim off about 1/2" because I used 1x1" boards on the bottom so that I could have more space for baskets.  Then, on the top, I inverted the baseboard and allowed it to overlap a bit so that if it were to vibrate, the washer/dryer could not fall off the edge.  I also added some fabric on the top (stuff that I use to cover the bunk boards on my boat trailer...kind of like a very thick and durable felt material) to cut down on vibration and also keep the units in place.  Finally, I added sides by using wedge trusses on the inside of my side posts and then I put a 1/8" piece of plywood over top and nailed/glued it to the trusses.

It turned out great.  Thanks for the plans Sausha!

Estimated Cost
$125
Estimated Time Investment
Weekend Project (10-20 Hours)
Finish Used
paint
Recommended Skill Level
Intermediate

Comments

Zlk200

Mon, 12/21/2015 - 17:38

Did you use sanded plywood? Did you use any veneers for the exposed 2x4's to get a smooth finish or did you paint right on it?

lastly, what is the name of the trim you put on the 4x4s? I've hard a hard time finding it. Thank you!

In reply to by Zlk200

zoolander

Wed, 06/29/2016 - 13:59

Sorry for the super delayed response.  I didn't realize this question was here.  I did not plane anything.  I did sand the surfaces a bit, but I didn't get too crazy.  I put 3 thick coats of paint on it which made it pretty smooth.  If you look very closely in person, you can still see a bit of wood grain, but it is only noticable if you really get down and look.  I did use a lot of wood putty to fill all of the gaps and crevaces and then I sanded those parts pretty well.  


With regard to the trim, the top literally just standard baseboard material turned upside down, and then the little trim on the tops and bottoms of the 4x4s is just another standard strip of moulding that I got from Lowes.  I think they call it "Chair Rail" moulding.  Its the stuff that you put down if you are doing some sort of paint separation or wainscoting.

http://www.lowes.com/pd/1-625-in-x-12-ft-Mdf-Chair-Rail/3403018

I used woodglue on all of the moulding and tacked it on with a nail gun.  Then I filled all of the nail holes with wood putty and also use the putty to fill gaps where the corners came together to make that look smooth.

I hope that helps...you are probably already done with your project by now, but I figured that I would answer anyway.  :)

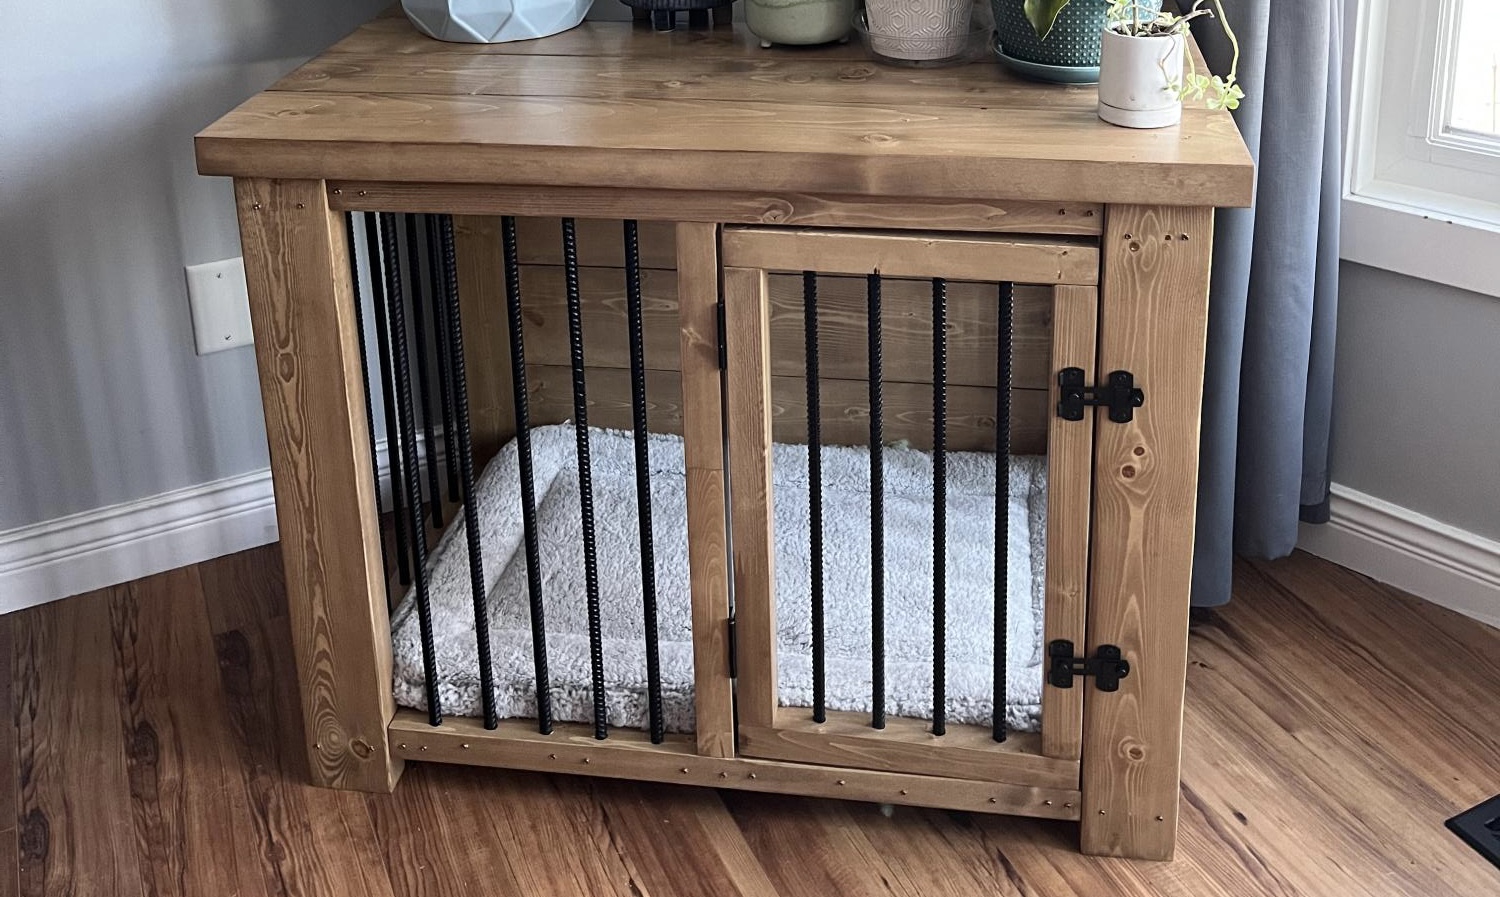
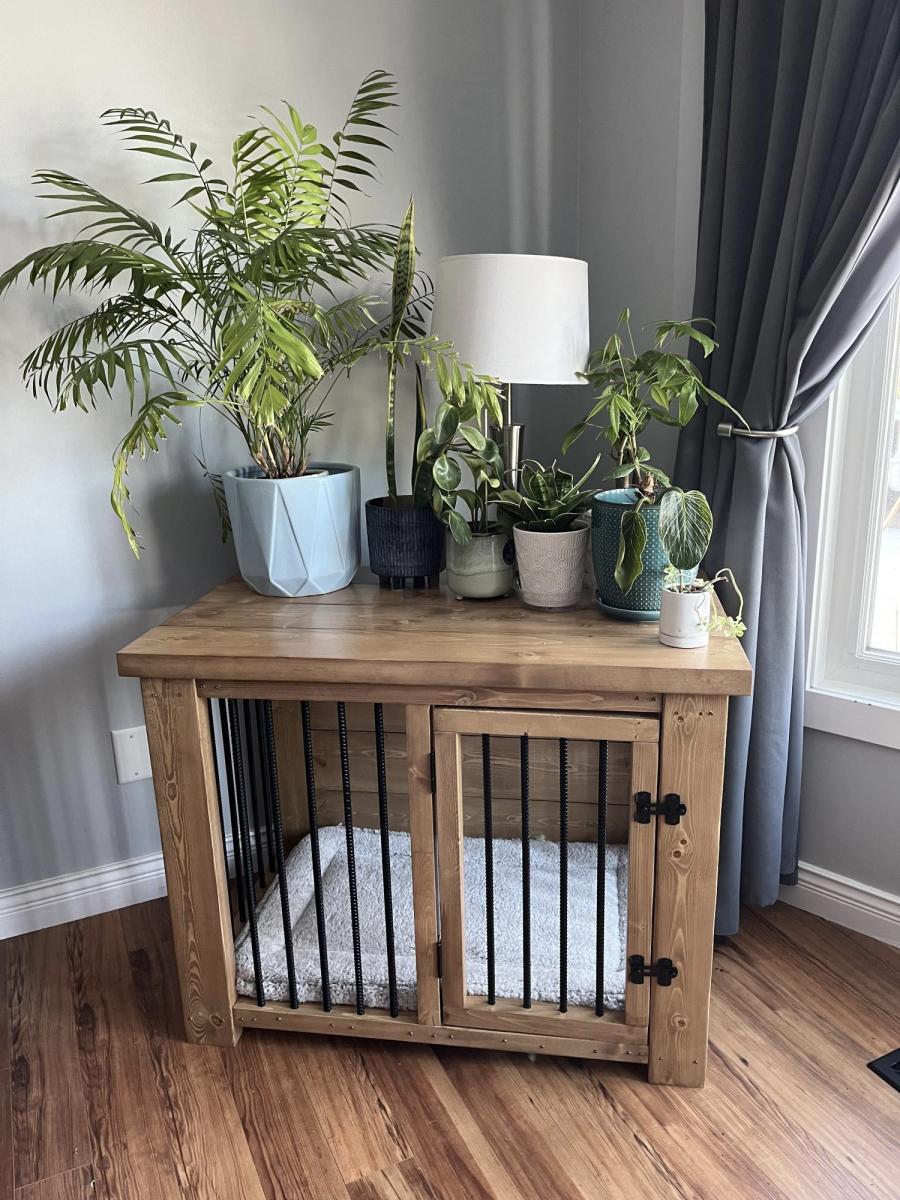
Dog kennel

Submitted by Anonymous (not verified) on Fri, 03/03/2023 - 06:54

In January, I came across your plans for the farmhouse, coffee table. I made it, and loved it! I had been wanting a new spin on kennels for our dogs. And thought your coffee table transformed into a dog kennel would be perfect, and they are!!

Comments

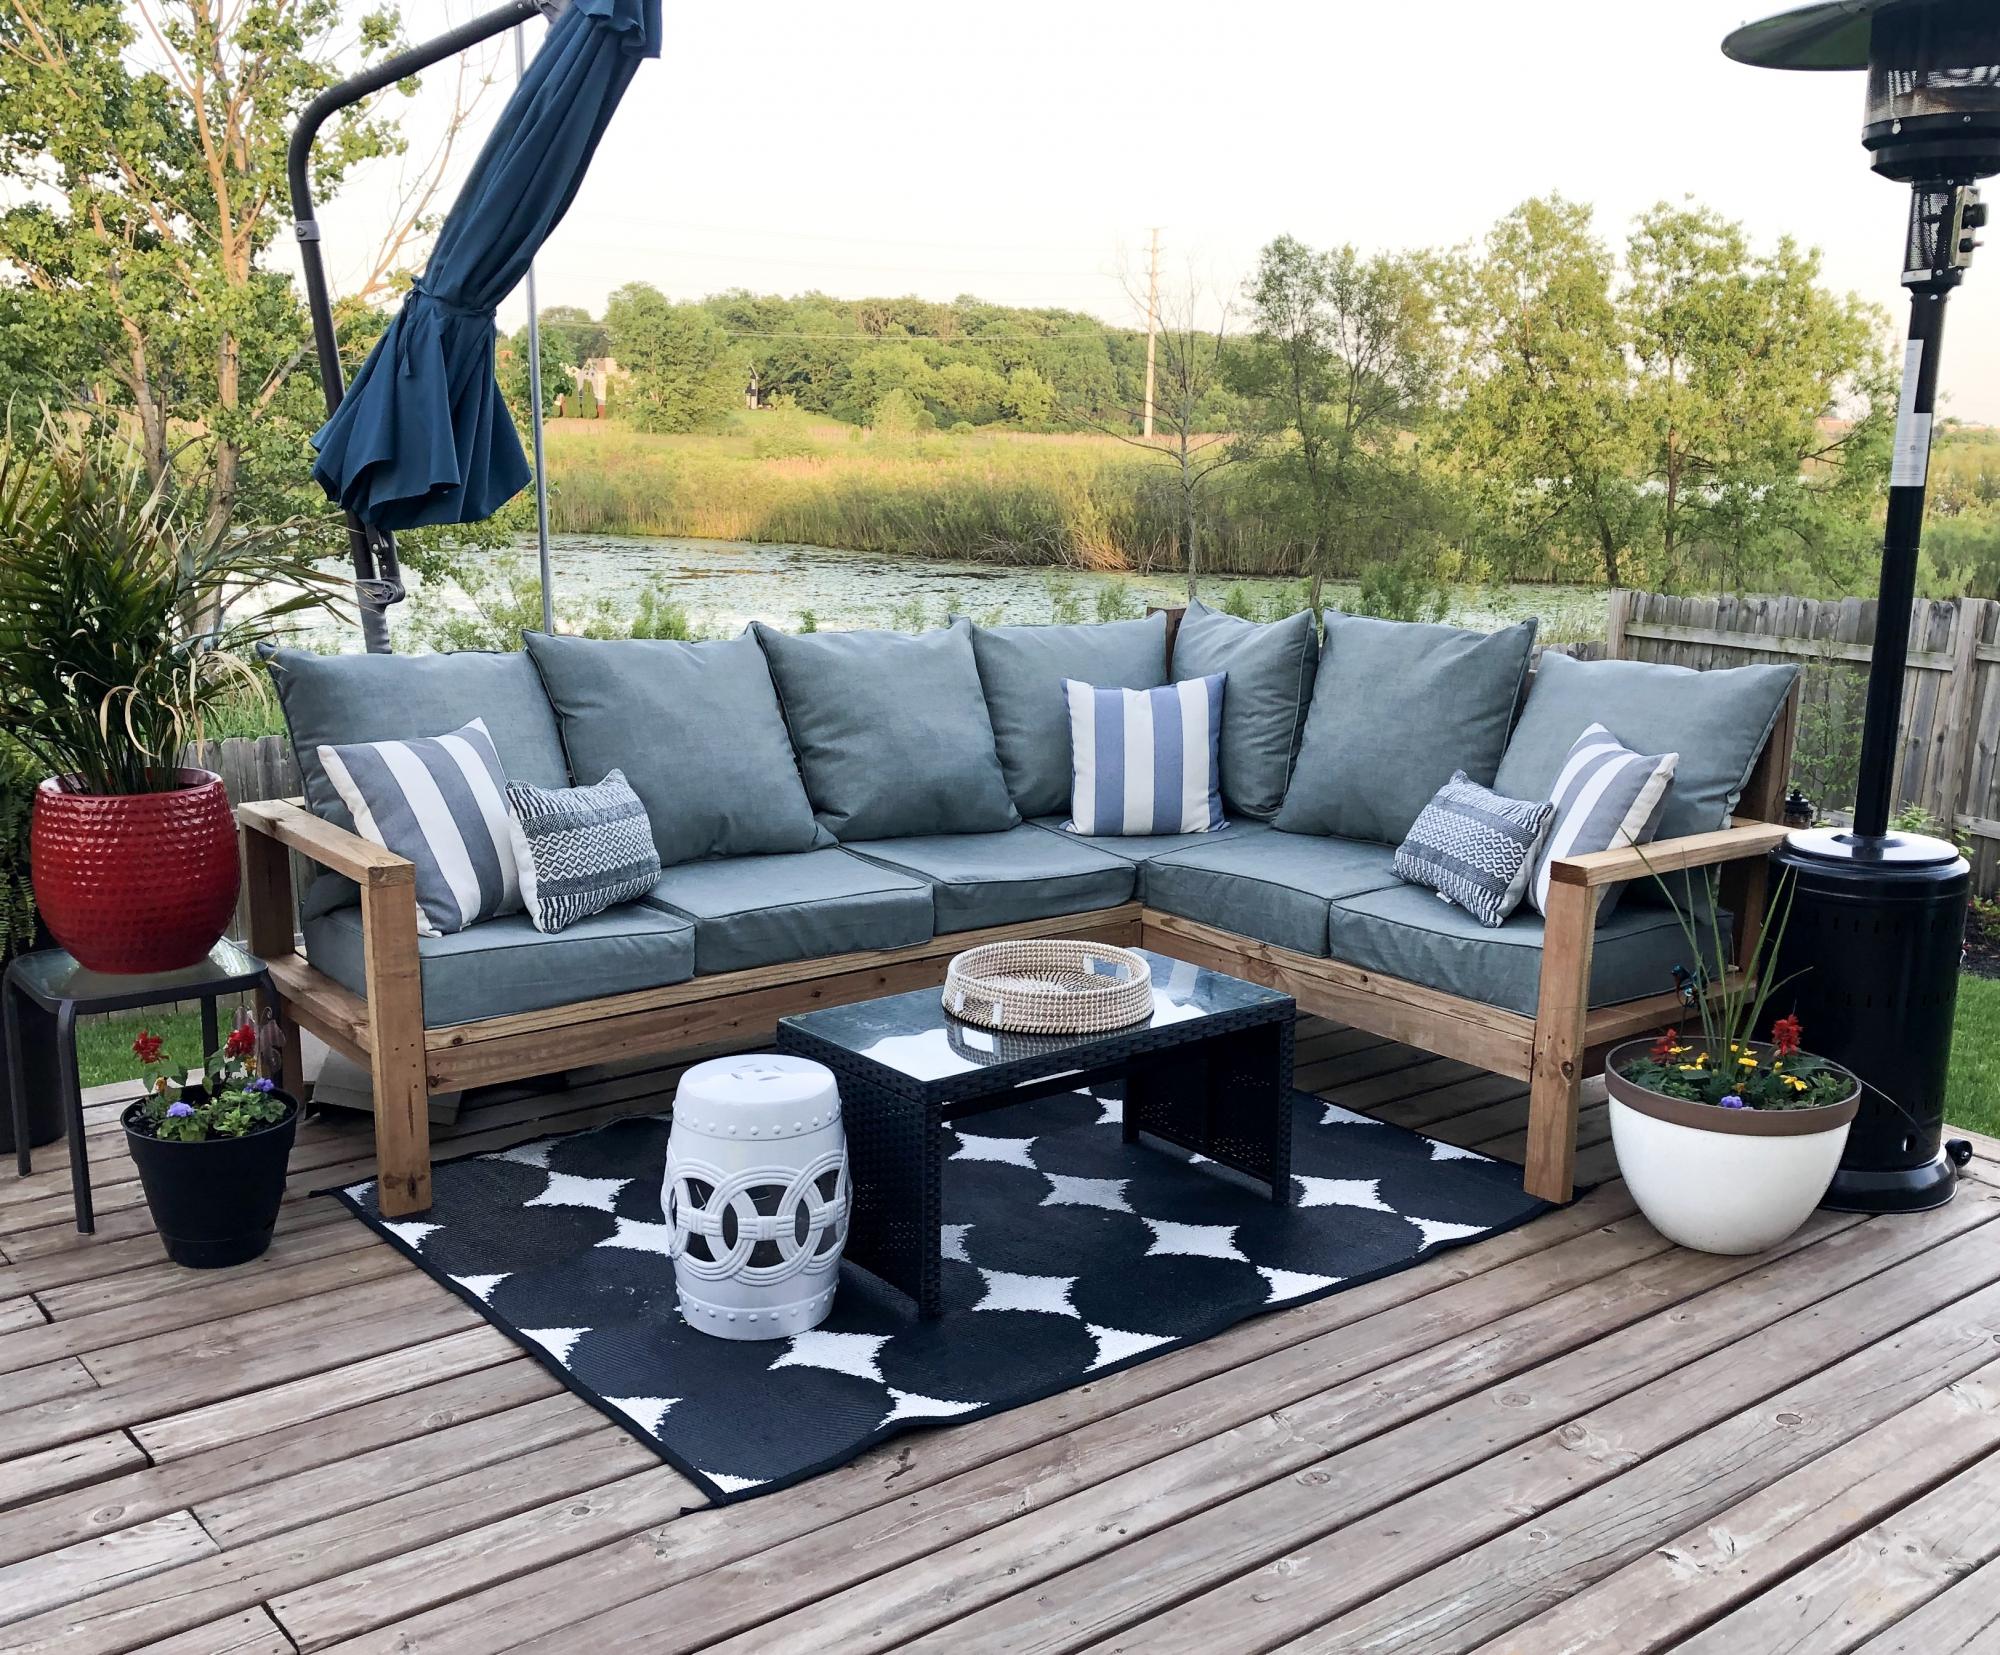
Outdoor Sectional

Submitted by KristenP on Thu, 06/06/2019 - 18:00

We built Ana’s outdoor sectional in a few hours and it’s made a huge impact on our deck! It saved us so much money but looks like a high end piece! Thank you for the simple and structured plans!

Estimated Cost
$200
Estimated Time Investment
Afternoon Project (3-6 Hours)
Finish Used
Cedar Stain
Recommended Skill Level
Beginner

Comments

Modern Park Bench

Submitted by TaylorMade on Tue, 03/08/2016 - 18:42

HI Ana! Just wanted to tell you thank you for sharing all your knowledge. I really got inspired reading your book and looking through your website. I was quite intimidated but I finally completed my first build. It feels amazing and I am so grateful for your help! XO Sarah Taylor

Built from Plan(s)
Recommended Skill Level
Intermediate

Comments

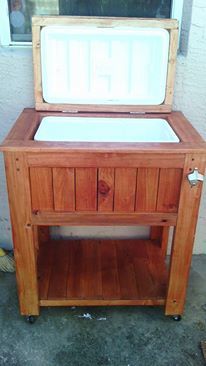
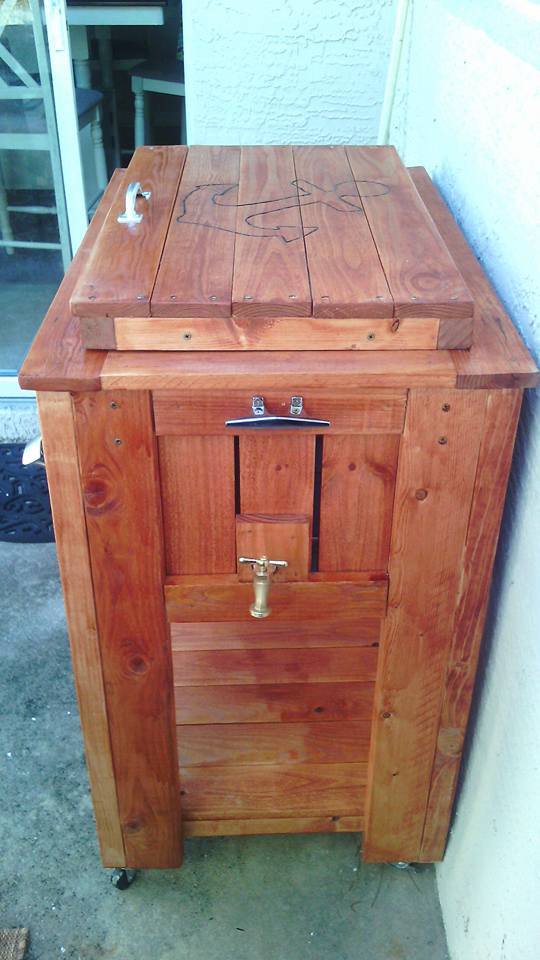
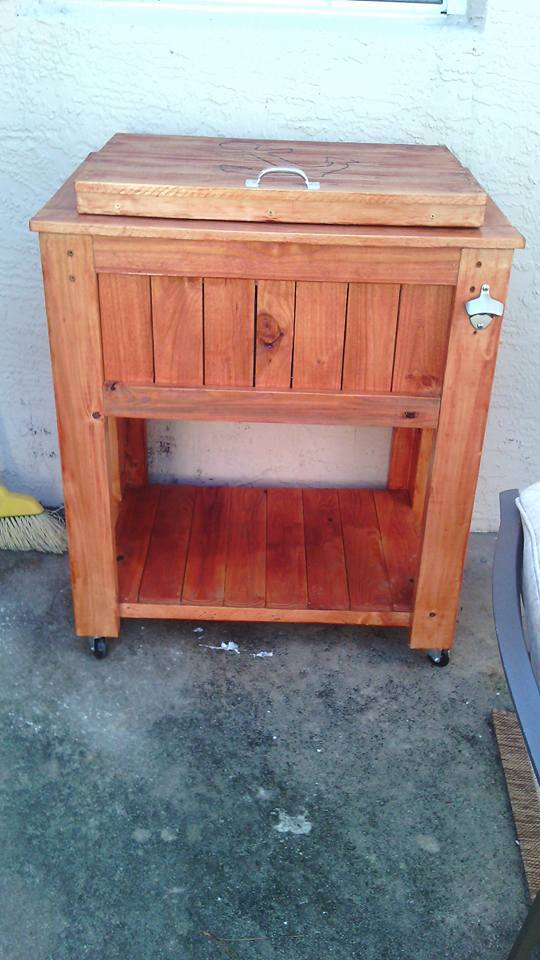
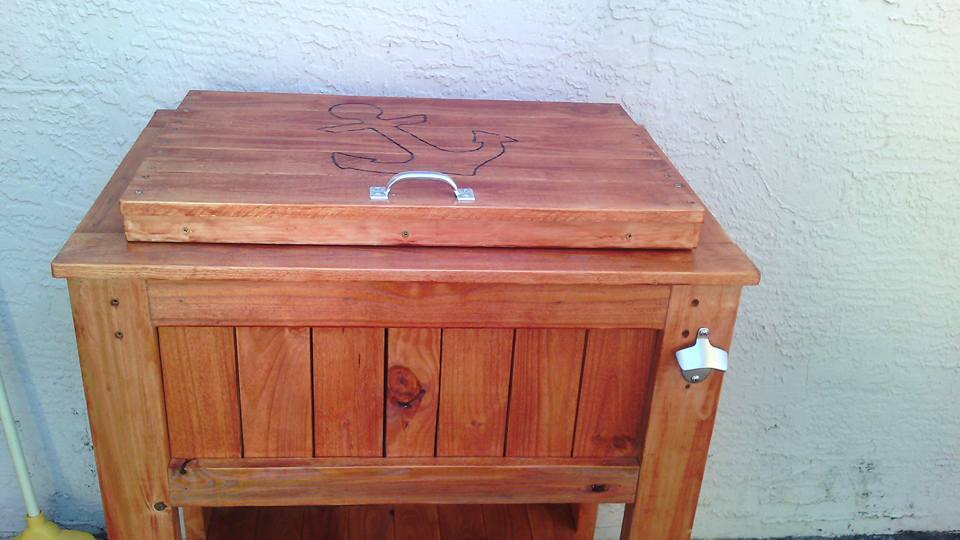
Wooden patio Cooler by DIY Pete

This was my very first project I did. Very proud of how this turned out. Now my sister has one and I am building another one with Mickey Mouse on it for my other sister. I build it in a day with lots of breaks due to 4 teenagers.

Built from Plan(s)
Estimated Time Investment
Day Project (6-9 Hours)
Recommended Skill Level
Beginner

Tall Rustic X Bookshelves

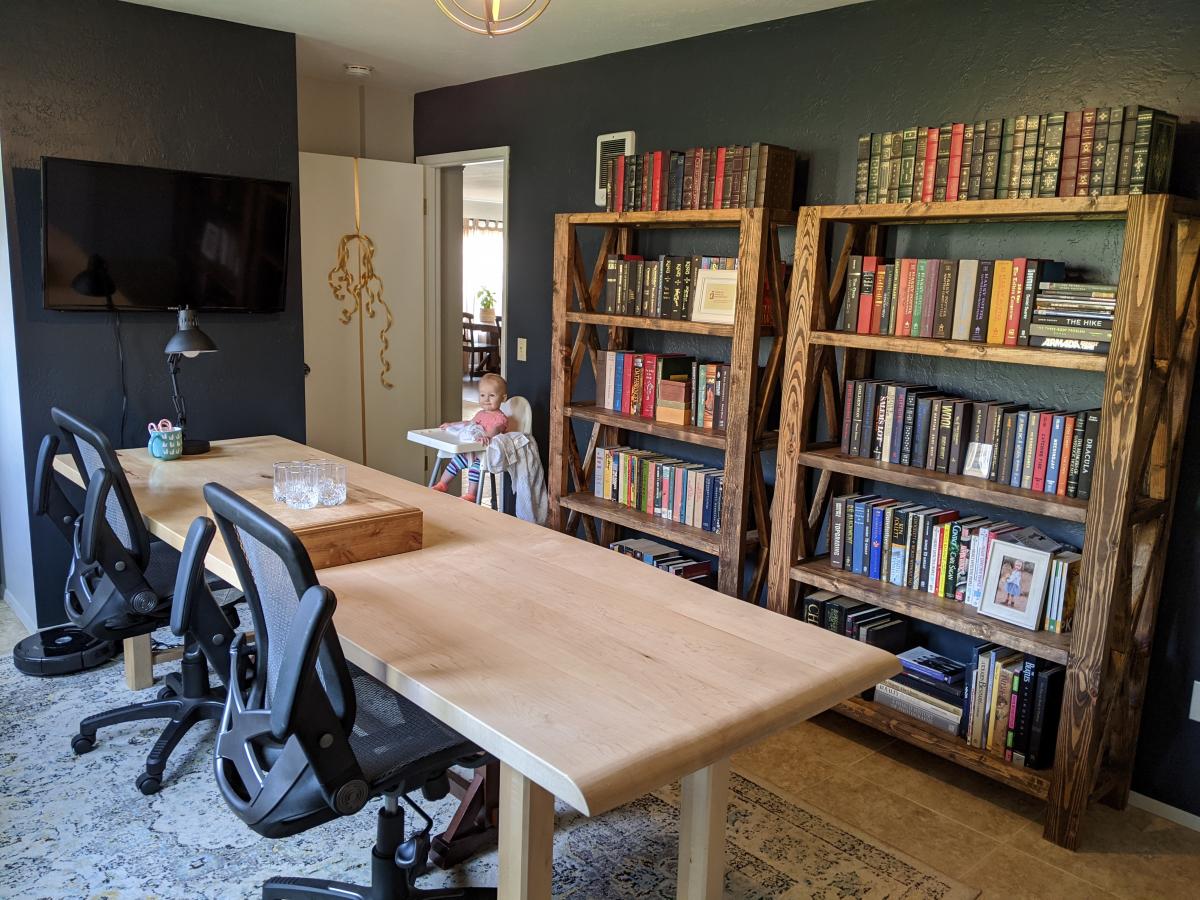
I followed the Rustic X Tall Bookshelf plan to make a set of bookshelves for my husband for Christmas! It was my second ever woodworking project. The plan was really easy to follow and so fun to make! I ended up using an additional shelf piece on the very top for a more modern spin on it. I also bought a pocket hole jig to use on this project. I'm happy with how it turned out!

Built from Plan(s)
Estimated Cost
$75 per shelf
Estimated Time Investment
Weekend Project (10-20 Hours)
Finish Used
MinWax English Chesnut Wood Finish and Paste Wax
Recommended Skill Level
Intermediate

Led cornhole boards

Submitted by boneill on Mon, 07/06/2020 - 20:19

Made some cornhole boards and added led lights to make it super fun. We call it cosmic cornhole lol. Love it.

Estimated Cost
$60.00
Estimated Time Investment
An Hour or Two (0-2 Hours)
Finish Used
Unfinished
Recommended Skill Level
Beginner

Chicken Coop

Submitted by Elloh on Tue, 08/11/2020 - 11:05

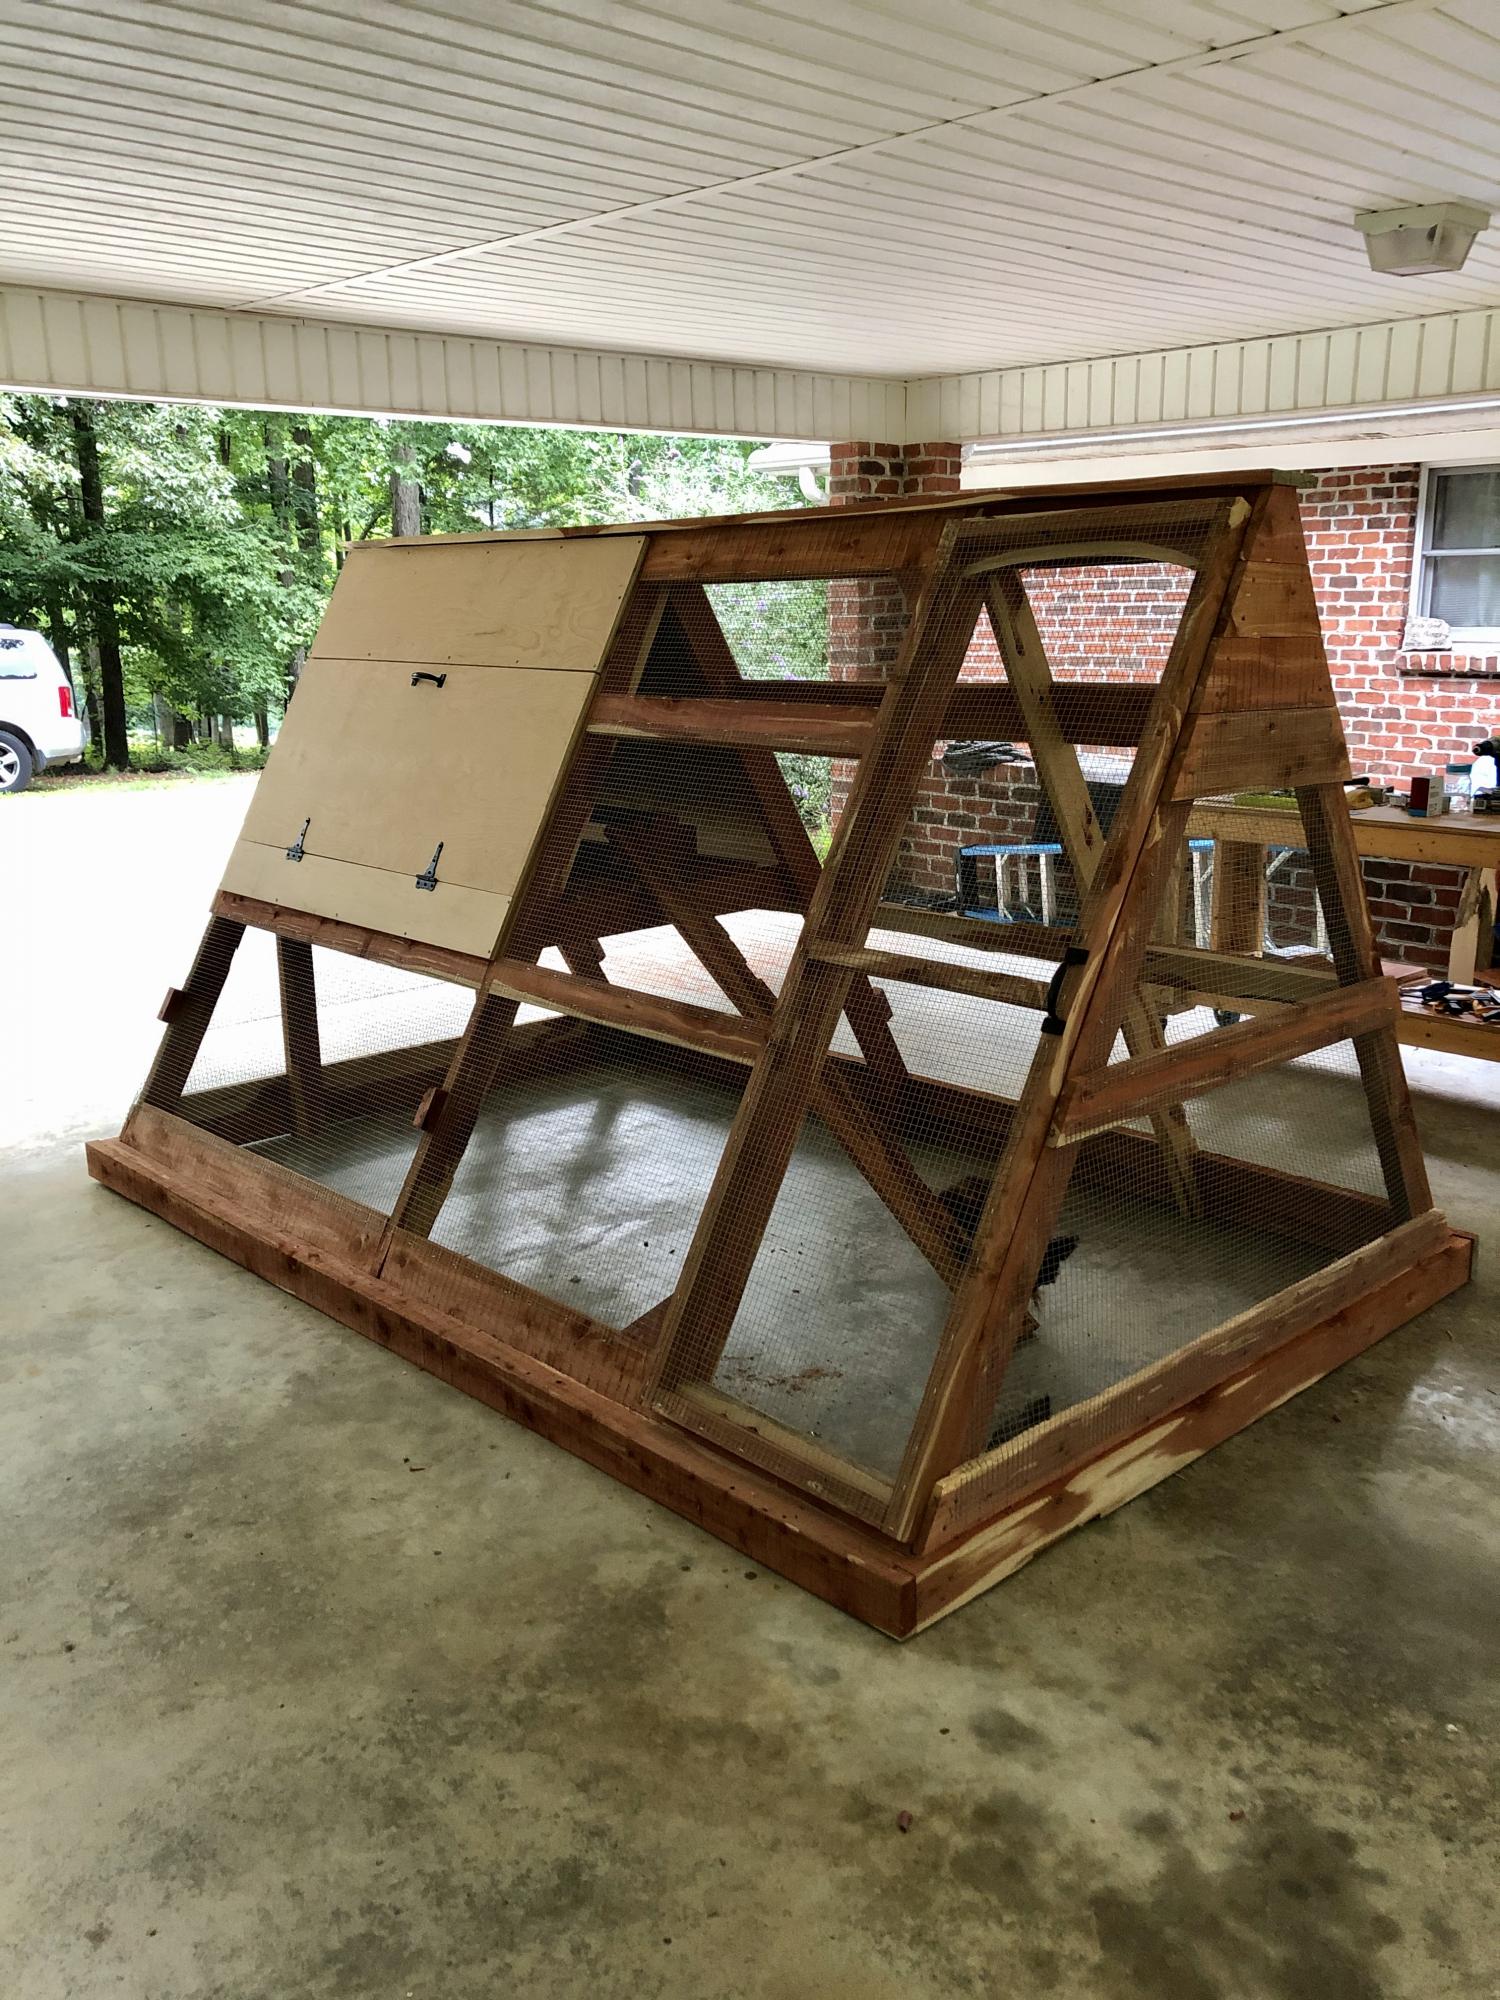
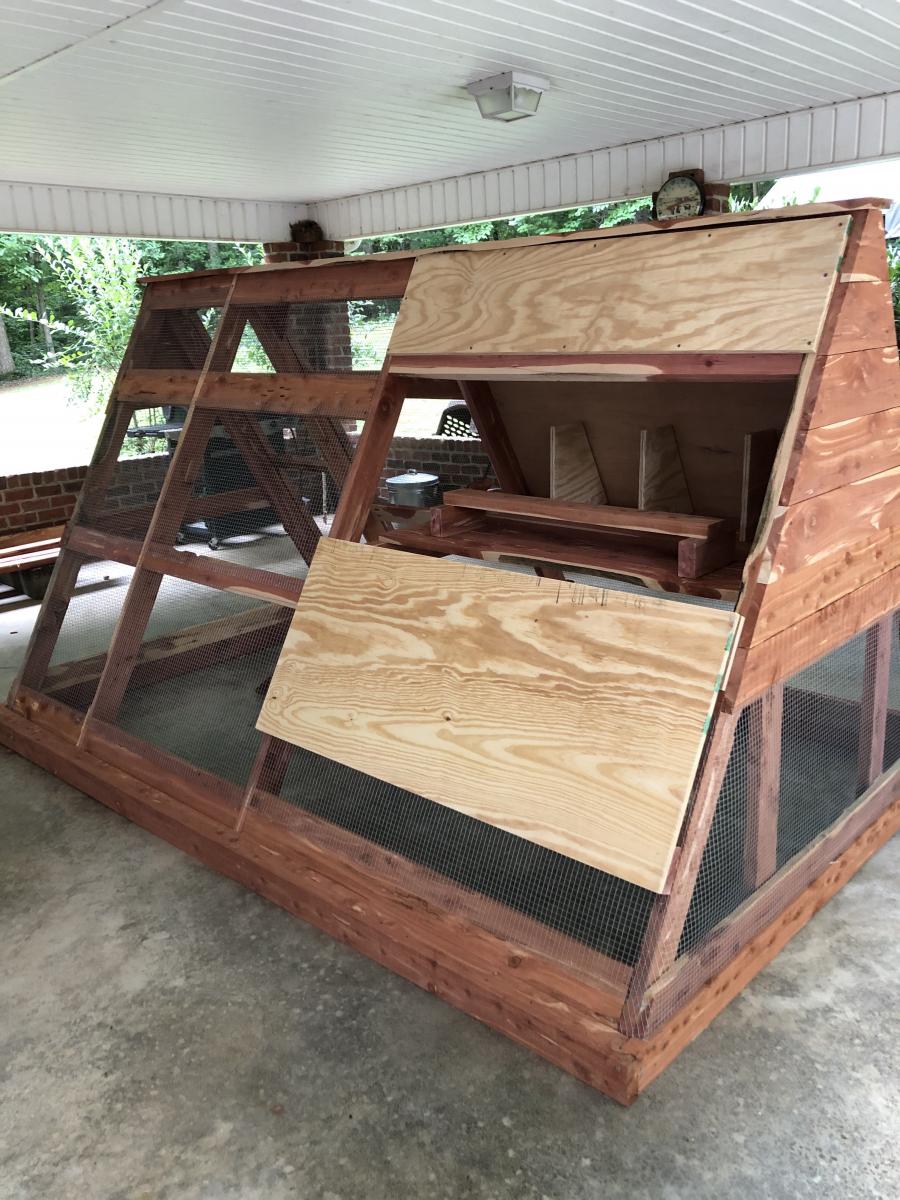
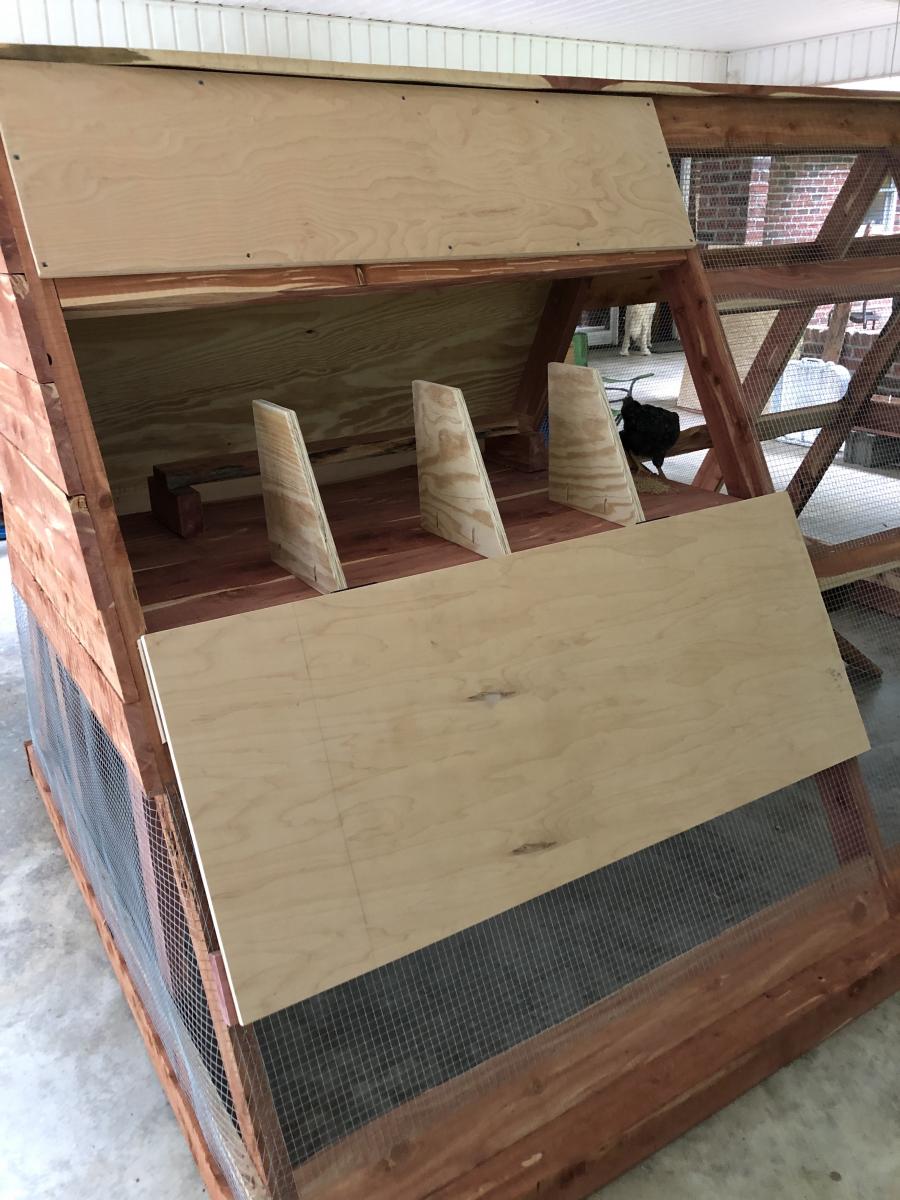
This was my biggest build yet and these plans along with being able to see a few brag posts with modicifactions made this project less intimidating. I extended the coop in order to add a walk in door. The drop down doors on both sides will give plenty of access and help with cleaning. I've added door latches to all the doors since putting it in place. My dad provided the cedar so that greatly reduced my costs. This project took about six days to complete. The fun part was getting it out of my carport : ) This was built for my daughter's chickens and she is thrilled with it. So am I! Thanks for the plans Ana!

Estimated Cost
Hardware, screws, hardware cloth and plywood - around $150

Outdoor side table

Keeping budget with wood projects, made side table for outdoor fire pit area.

Estimated Cost
$25
Estimated Time Investment
An Hour or Two (0-2 Hours)
Finish Used
Legs and braces=rosewood stain
Top=honey pine
Recommended Skill Level
Starter Project

Rustic Pot Rack

My kitchen needed a rustic pot rack to hang all my pots and pans. Instead of paying way too much money, I decided to get exactly what I wanted by making it myself. $20 worth of 2x6's and spray painted hardware purchased at The Home Depot in an oil bronzed was all that was needed to create this rack. I attached the hardware with metal screws to give it an even more rustic feel.

Estimated Cost
$20 for lumber
Approximately $60 for hardware
$10 oil rubbed rust oleum spray paint
Estimated Time Investment
An Hour or Two (0-2 Hours)
Finish Used
Minwax Special Walnut
Minwax paste finishing wax
Recommended Skill Level
Starter Project

Comments

Shot Glass Display Coffee Table

My father-in-law wanted a display case for his shot glasses, but I didn't like the idea of putting that much glass, hanging vertically. So I suggested a coffee table. This is what I came up with. I used 1x4 boards for most of it. ¼" plywood on the bottom, with 2x2 supports underneath, the actual display part is from ½" project panels I had laying around, and the dividers are from ¼" plywood scraps. The legs I picked out from the store (I don't have or need, a lathe). For the top, I used ¼" thick acrylic. I thought about glass, but they have lots of grandkids over all the time, and I didn't want a little hand going through the glass. (Side note on the acrylic, when you cut it, do it by hand, not with a power tool, as the acrylic will heat up and can melt). Other than that, I got a couple hinges and small lock closure for the acrylic, and stained it all. (Sorry for the white background picture, I tried to crop out everything else around the table)

Comments

Cat Tree/Condo

Submitted by Joni on Sat, 05/11/2013 - 07:22

I always wanted a cabin-type cat tree where my cats could crawl in and feel safe, but still have a great view of the birds out of a window. I tried to draw my vision on paper, but that had a hideous result. Learning Google SketchUp (at least the basics) was an absolute necessity. I could never have built this without drawing it in 3D first, and seeing how the boards would connect, etc.

For the scratch pad, I built a frame out of 2x4s on top of plywood, covered it with carpet, and dropped the standard size scratch pad in place. This is the cat's favorite feature. I put barn doors on the window with tiny hinges so that I can close for added privacy. The tree sits against a window so that the back side is totally open. I made cozy zippered cushions for the platforms (that can be taken off and washed). I covered the carpeted areas with spare carpeting.

Estimated Cost
Approx. $30 for can of paint, varnish and a 4x4 (all other was scrap material)
Estimated Time Investment
Weekend Project (10-20 Hours)
Finish Used
Combination of Minwax Water-based stains: 6 parts Colonial Pine: 1 part American Walnut, followed 3-4 coats Minwax Polycrylic
Recommended Skill Level
Intermediate

Comments

bhoppy

Fri, 07/12/2013 - 09:36

Would you mind sharing your dimensions for this? It is absolutely beautiful!

Jodi W

Sun, 08/25/2013 - 08:10

Do you have the plans somewhere? I really want to build this (even got the okay from the hubby!) but I don't think I could do it without some serious guidelines...

Joni

Fri, 08/30/2013 - 15:55

First, sorry for the late notice; I just happened to look and saw the comments/questions.

I don't have plans...all I have is a google sketchup diagram that I created as a guideline for my construction (which is included in the photos), which is not to scale. Actual measurements are:

* Base (green carpeted base): 33.5" x 19"
* 4x4 legs: 35" tall
* 'Mezzanine' scratch pad level: 22" x 17.5"
* Mid-level base: 18" x 32"
* Enclosed cabin: 18.25" x 22.5" x 17" high
* Highest point: 56"

This has turned out to be a fantastic hit with the cats. They use all 5 levels, but the scratch pad and cabin are their favorite spots. If you need anything else or additional pics, please contact me.

Jodi W

Fri, 08/30/2013 - 18:15

Thanks for the dimensions, Joni! I'm trying to learn SketchUp so I can draw up my own plans, also. If I can't figure it out, I'll hand it off to my 12 year old, who is a pro at it (go figure). I know my cats will love it if I can manage to get it built!

Joni

Thu, 10/31/2013 - 14:30

Bhoppy -- I looked at your cat tree on facebook. It's awesome! The sturdiness of it shocked me too. And I was initially worried that my cats might knock it down!!

The worst part of building it was getting that lower scratch pad level on straight with the 3 posts. I'd never want to do that again!
Thanks for sharing, Joni

gregmasciola

Fri, 01/02/2015 - 01:18

Funny, almost every time I'm looking for ideas or inspiration when I want to build something, I end up back on this site. I was searching for pictures of cat trees and this was the only one that made me say "Holy crap, that's EXACTLY what I want!" My cat will love it!

M0710NM4N

Mon, 04/27/2020 - 20:41

Not sure if anyone is still around to see this, but I fell in love with this tree the second I saw it. Wondering if anyone created a detailed plan and might have it handy or possibly a detailed sketchup and wouldn't mind sharing the save file?

In the event nobody has either... I'm planning on having someone else build this for me as I don't have the tools nor skill to do it myself. I have a few questions:

1. The tree base/platform, what's a good recommended thickness?
2. The platform for the scratchpad... is there any certain reason it's so much thicker compared to the other platforms?

Thanks.

whiteroses9

Sun, 09/12/2021 - 11:51

Reverse engineering this project, using just 2x4s. None of the photos show the undersides. How are the plywood pillow bases attached for the top and bottom of the cabin? and the base of the top viewing platform?

Cute corner cabinet!

Submitted by rmurray87 on Sun, 06/02/2013 - 11:24

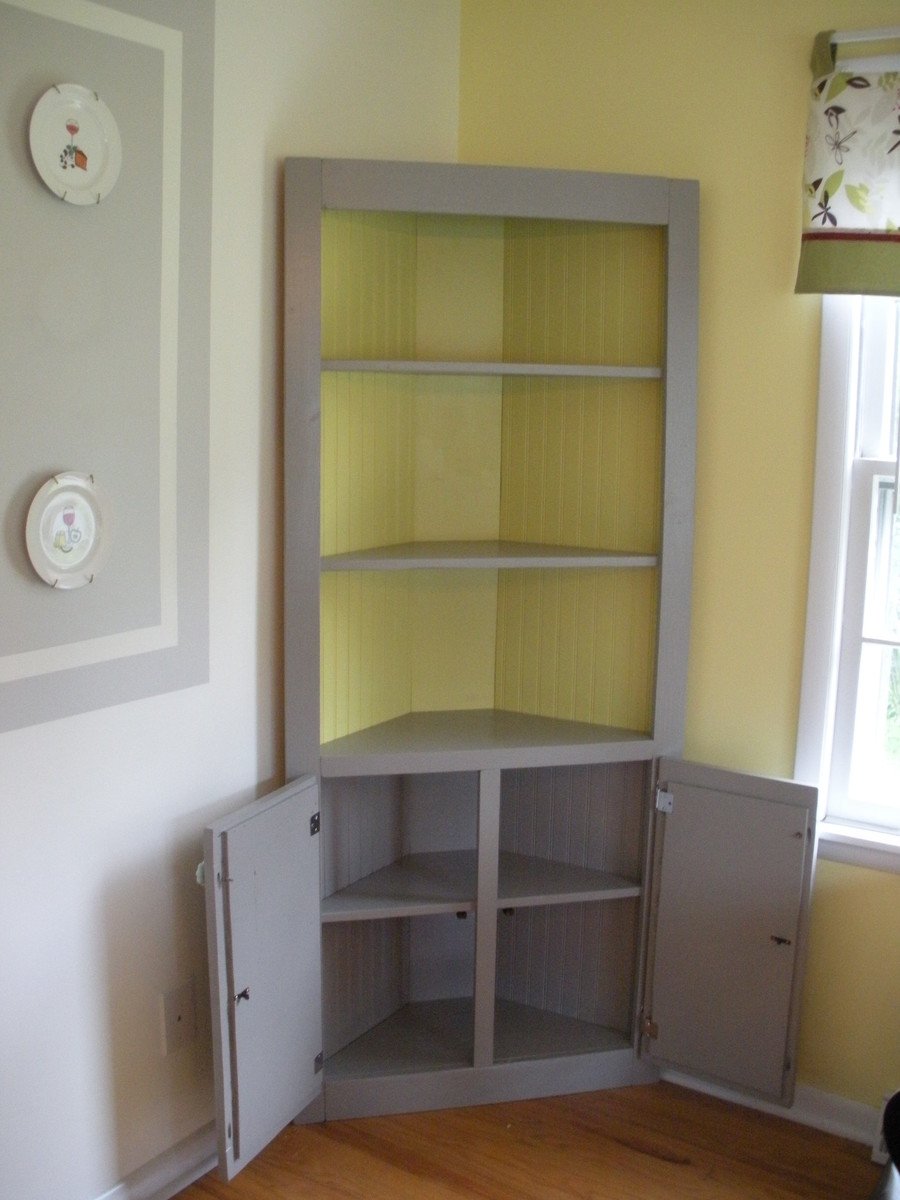
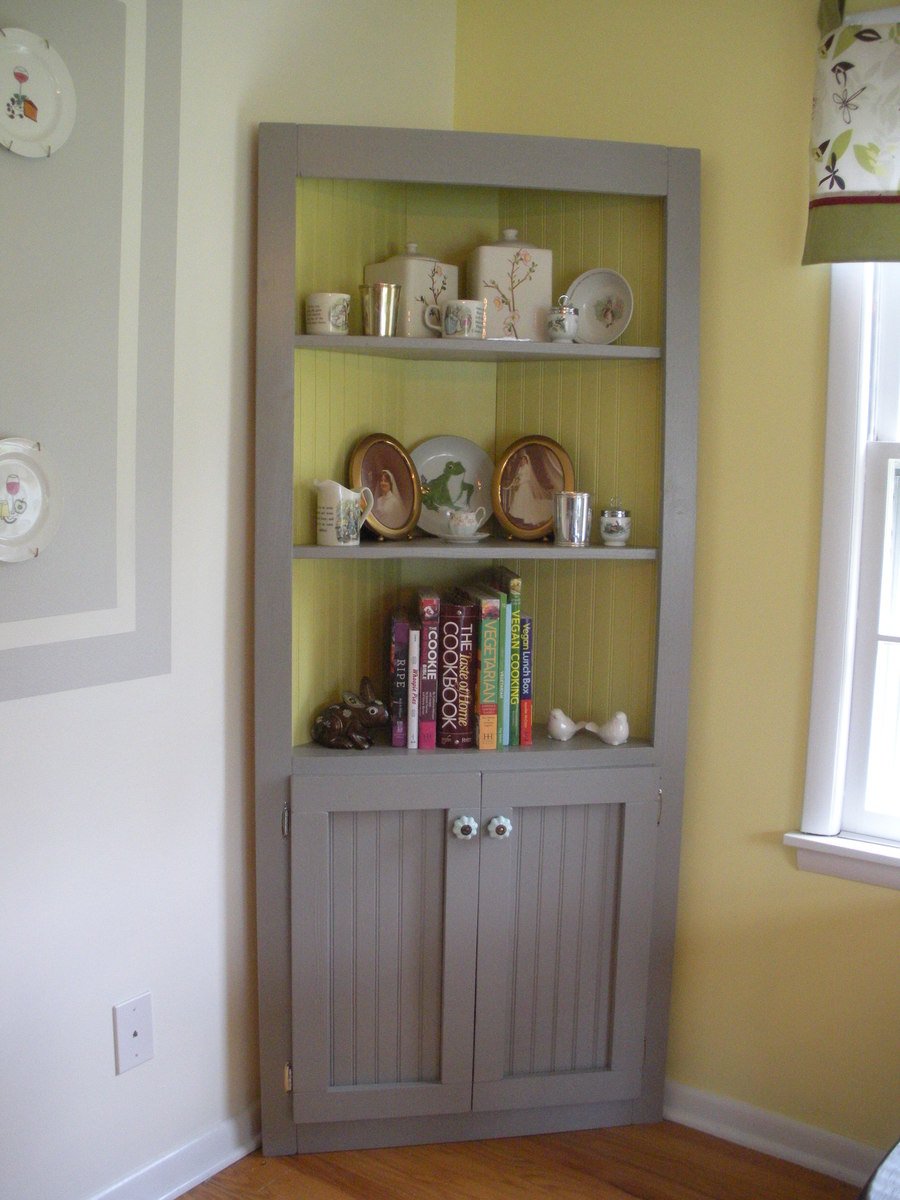
This project took me the majority of a three-day weekend to complete, but it was well worth it! I had the lumber store cut the beadboard panel for me so that it would fit in my car. This was also the first time I built something with doors on it, which was a bit of a learning curve, but came out alright in the end. I used pocket holes to build the face frame, and attached the shelves to the frame first before attaching them to the 1x8 back. I used 1 1/4" pocket hole screws and 2" wood screws. I left off the trim at the top and didn't bother to cut out the footer, but I think it still looks pretty cute.

Built from Plan(s)
Estimated Cost
$110
Estimated Time Investment
Weekend Project (10-20 Hours)
Finish Used
Accent color: Appletini from Valspar
Main color: Earthy Mushroom Taupe from Glidden

Everything was given a good sanding and a healthy dose of primer before painting.
Recommended Skill Level
Beginner

Comments

Jamie's Little Car

This was my second build (easier than my first project...the Adirondack chair). Its a heavy piece and plenty sturdy as a birthday present for my one year old nephew and his sister and cousins to play on. Bought a plastic steering wheel from amazon.com. the textured paint (Anchor Gray - textured metallic by Martha Stewart was perfect for the wheels). Couldn't find the plans on ana-white but did get them from http://www.morelikehome.net/2012/10/day-26-build-little-car.html?m=1

Estimated Time Investment
Weekend Project (10-20 Hours)
Recommended Skill Level
Beginner

Standing Outdoor Planter

Submitted by Anonymous (not verified) on Fri, 04/14/2023 - 06:42

A friend of mine has issues with her knees but loves gardening so I built this to allow her to continue gardening. She loved it.

I didnt follow any particular set of plans I watched several you tube videos and combined different ideas from the videos to develop my own plan.

Comments

King Bed Frame for adjustable base

Submitted by Anonymous (not verified) on Tue, 10/08/2019 - 05:50

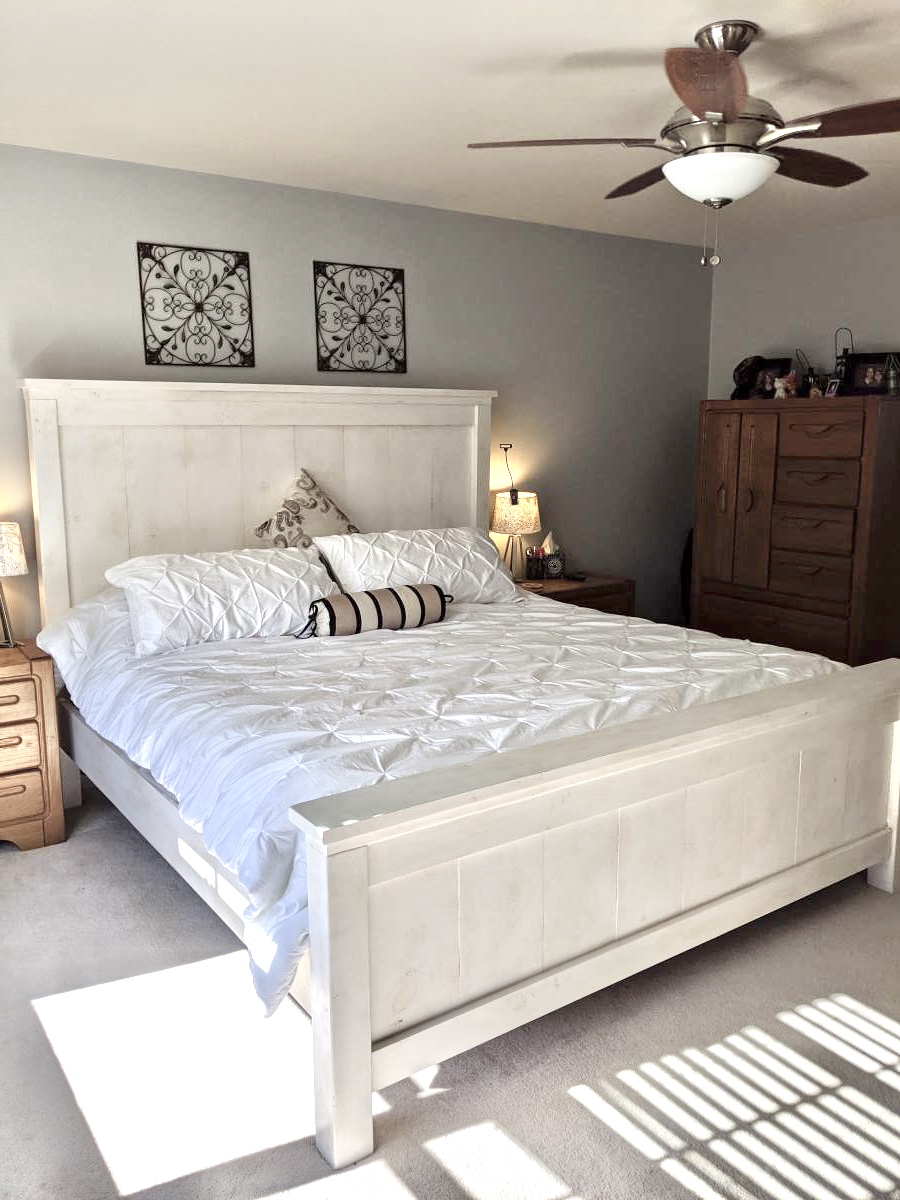
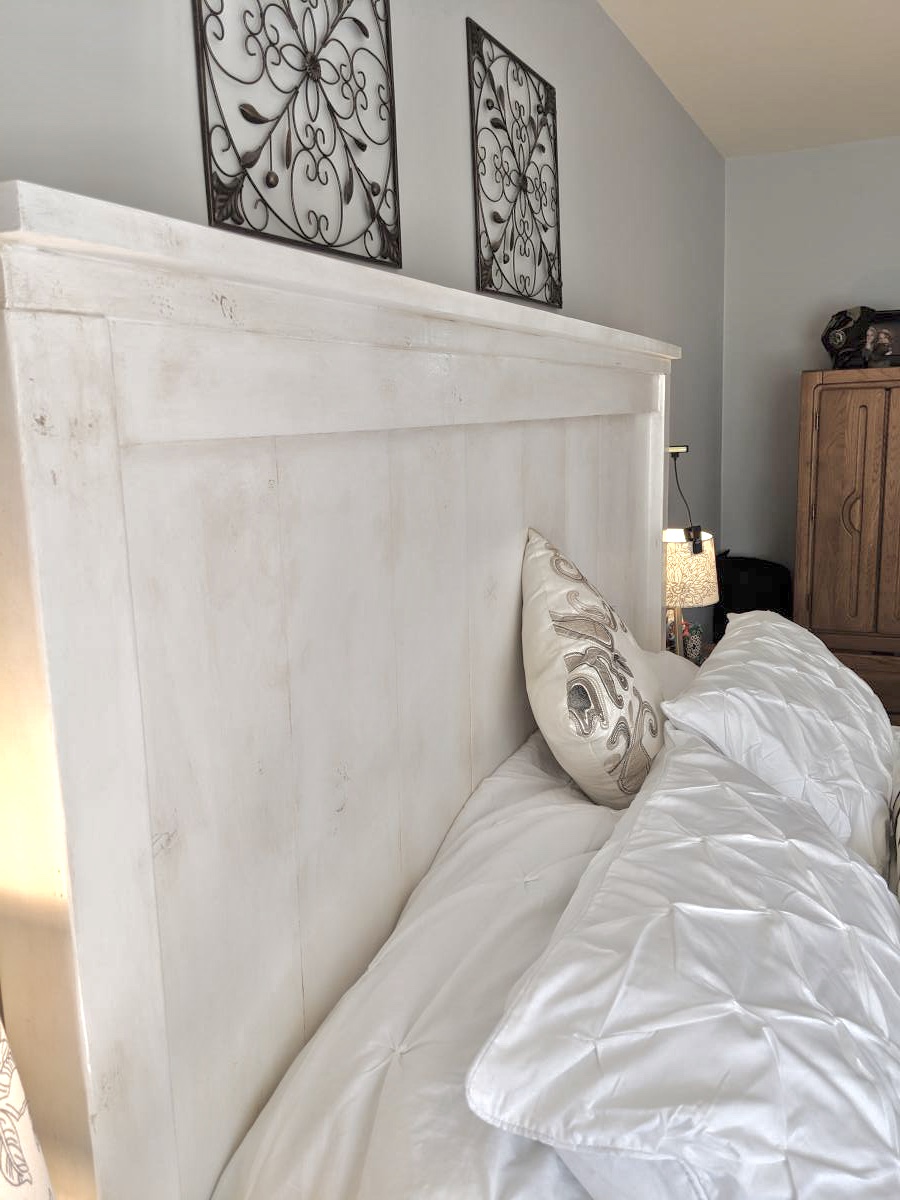
I could not find a frame which would accommodate my new adjustable king base. Modified Anna's plans by increasing the height of the headboard and footboard. Finished with chalk paint and antique finish for a rustic look. Side rails attached with mortises to allow for moving bed in 4 pieces if needed. Love my new bed

Estimated Cost
$300
Estimated Time Investment
Weekend Project (10-20 Hours)
Finish Used
Chalk paint (purchased from Habitat for Humanity re-store) using recycled paint. Finished with three coats of Annie Sloan wax
Recommended Skill Level
Intermediate

Comments

khowe791

Sat, 11/30/2019 - 03:31

Hi! We are making this headboard this weekend. We want to increase the headboard height and footboard as well. Do you happen to know the cut measurements or how you adjusted the height of the 1x6 (or 1x8 as others used) to make it work? Yours looks perfect! Thank you in advance for any feedback!