Community Brag Posts

Porch swing bed

Submitted by Beaulook on Tue, 01/28/2014 - 16:29

Started off with the original design but enlarged it to fit an oversize single mattress. The mattress cost me $35 from a local faith farm, while the materials came in around $200. I decided to hang under my backyard pergola. Fun and easy project.

Built from Plan(s)
Estimated Cost
$250
Estimated Time Investment
Day Project (6-9 Hours)
Finish Used
Cedar stain
Recommended Skill Level
Beginner

Comments

bhammond

Tue, 01/28/2014 - 21:10

Wow this looks so inviting I might just have to make one too! Nice work-- it looks great!

Shorty

Tue, 01/28/2014 - 21:26

Really great job on your porch swing bed AND an awesome looking patio/yard. Looks amazing all around!

Debbie Perkins

Mon, 07/27/2015 - 22:45

I want this!  I just made a couple of plant stands for my front porch.  My husband asked me what my next project was, why, a swing bed.  (This was only my second project!)  I want to put cup holders in those big ole arms!  We have a house at the beach in South Alabama, so, you gotta "hydrate."  This is an awesome swing.  I can't wait to do mine...pillows to rest on, one foot on the concrete pushing me in a slow swing. Cold beverage in my hand or in my cup holder. Yep, southern girl has a new project.  Love it!

Laundry Room Table

Submitted by TX Shaun on Wed, 07/01/2020 - 21:05

I modified the plans for the farmhouse console table to create a laundry room table. I changed the shelf height and used 2x4s running the entire length for the shelf.

Built from Plan(s)
Estimated Cost
$50
Estimated Time Investment
Afternoon Project (3-6 Hours)
Finish Used
Minwax grey stain and white paint.
Recommended Skill Level
Beginner

Nesting Office Station

Submitted by Sb1212 on Tue, 07/14/2020 - 18:38

So loving this nesting office station❤️! We will have a sofa sleeper in the office as well. So we needed a desk that could be moved to the wall when the sofa sleeper is being used by guest. I saw a post from Ana for her Nesting Grill Station and I came up with the idea to make this nesting office station. The cabinet includes a file folder drawer (which is from Ana's mail boss plans), a regular drawer, cabinet doors with shelves. One of the shelves is a pull out shelf for the printer. I think it came together great! Design for nesting desk inspired by these plans: https://www.ana-white.com/woodworking-projects/nesting-grill-station https://www.ana-white.com/woodworking-projects/mail-boss

Estimated Time Investment
Weekend Project (10-20 Hours)
Finish Used
Minwax Golden Pecan
Valspar Signature Ultra White in satin
Recommended Skill Level
Intermediate

Comments

Sb1212

Sat, 10/03/2020 - 08:35

Hi, Thank you! Actually I didn't add wheels to the design since this will be in an office with thick carpeting. I added adjustable metal foot pads to the bottom of the desk.

Camp Loft Bed With Stairs Bunk Style

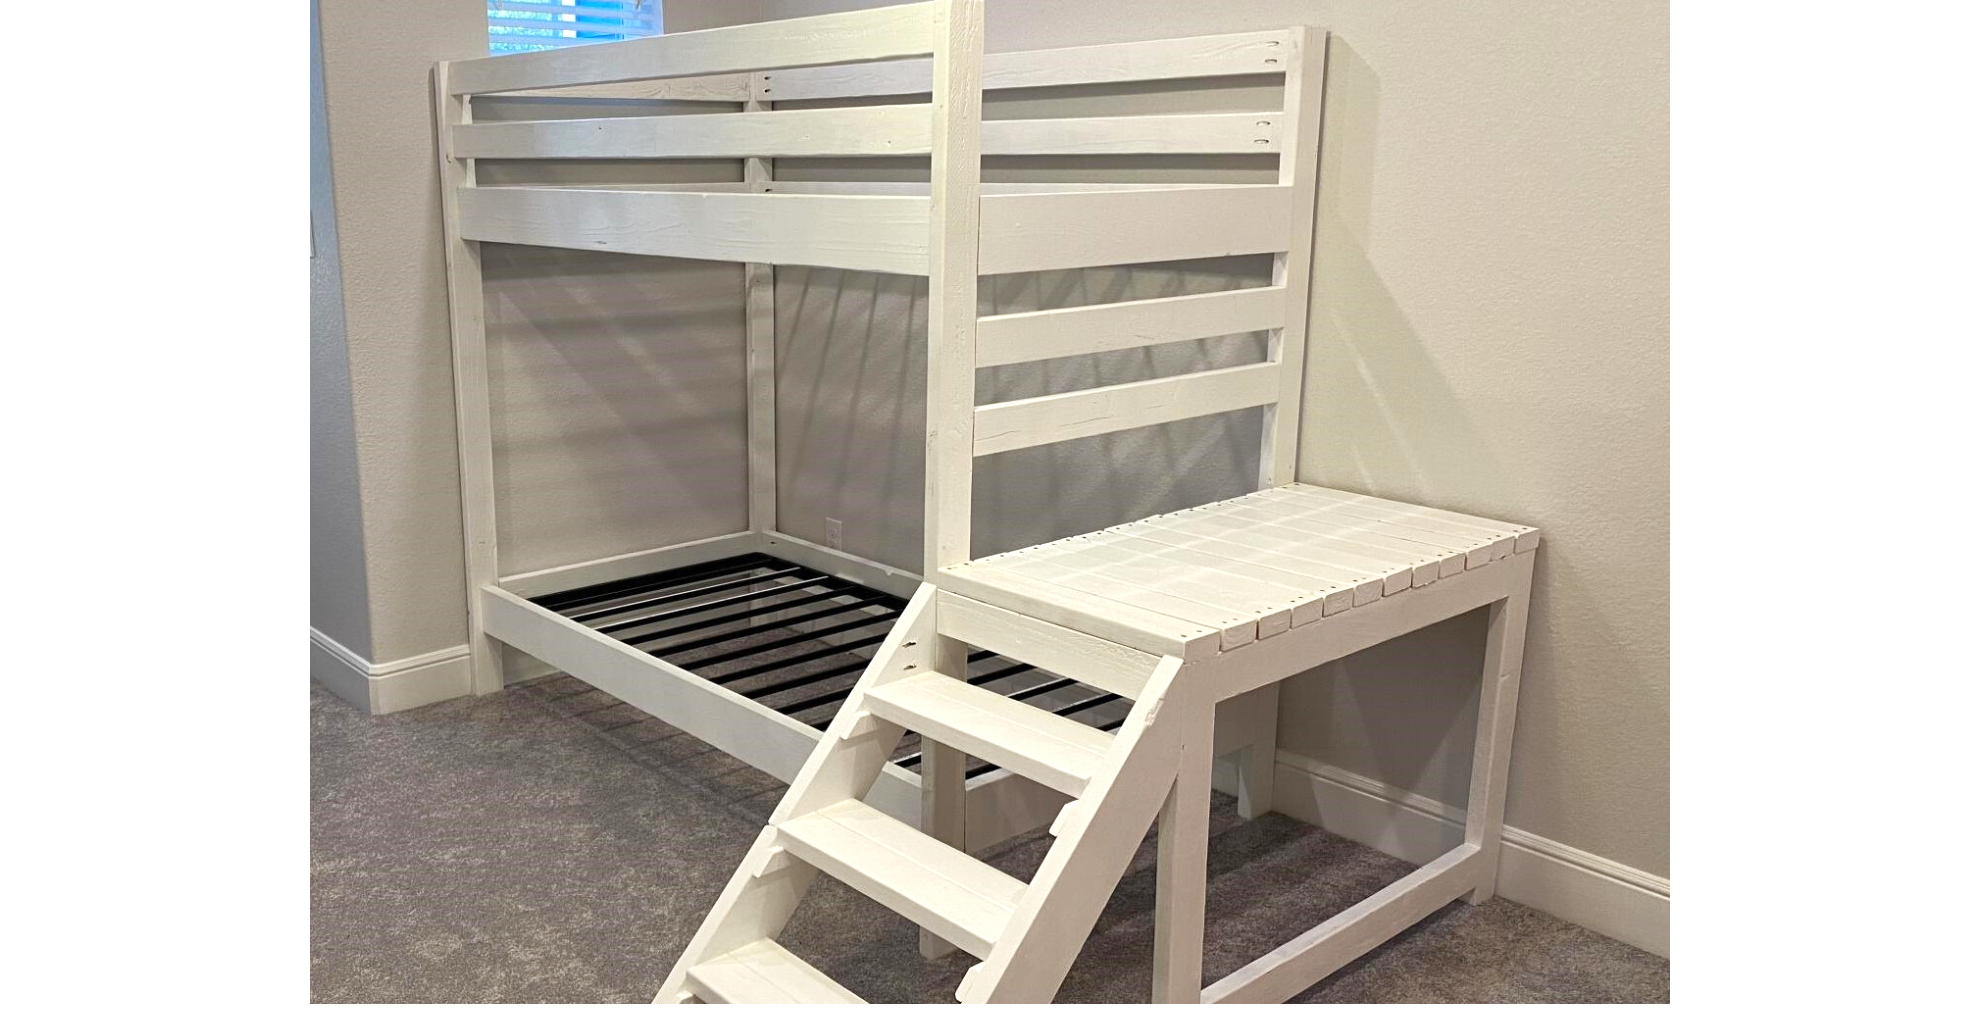
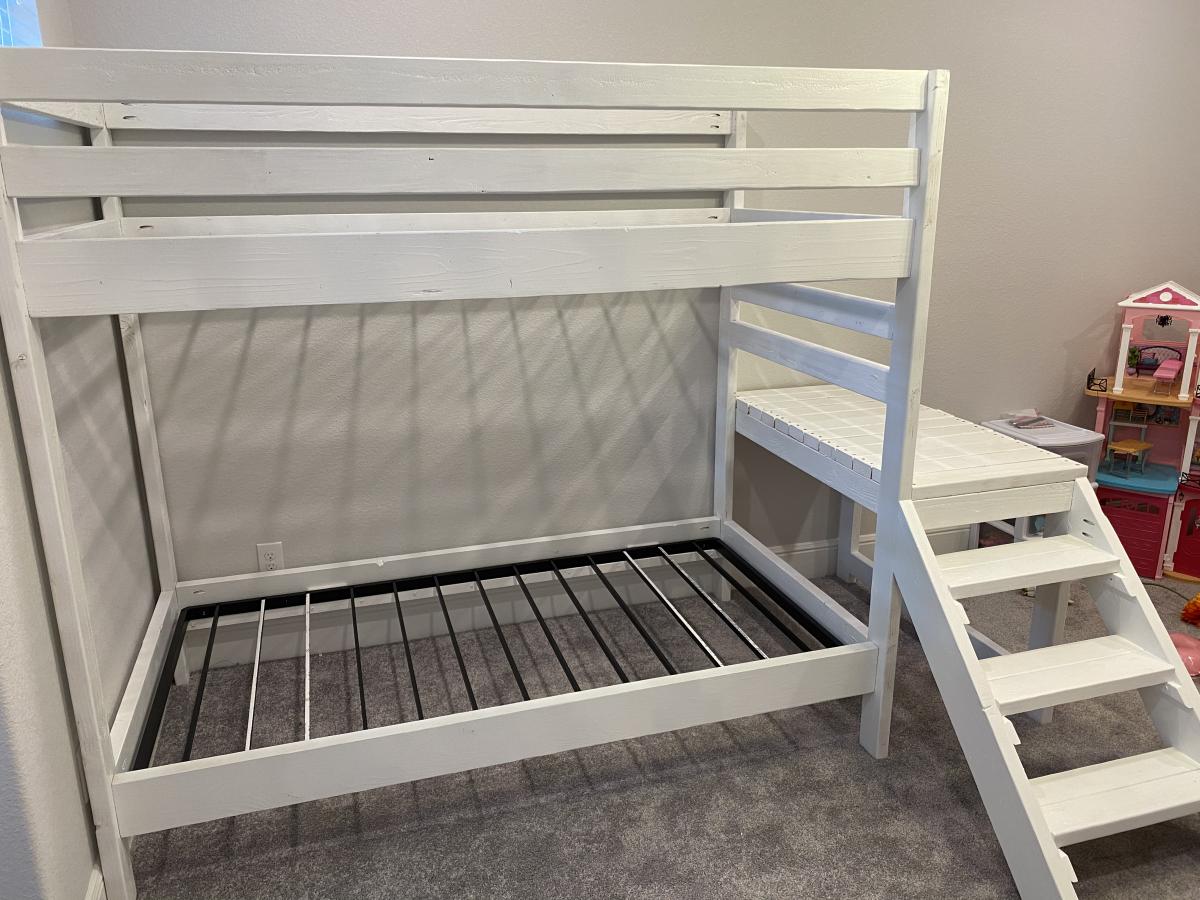
Used the Camp Loft Bed with Stairs Plans but double the bed rails. I just loved that the stairs and platform make it a little safer getting in and out.

Estimated Time Investment
Weekend Project (10-20 Hours)
Finish Used
Just Ultra White.

Comments

Dog Crate with a twist...

Submitted by AlexO on Mon, 05/08/2017 - 19:08

I really liked the Large Wooden Dog crate but wanted the sides to be lower and wanted to make sure there was no easy chew escape.  Not sure if you can see from the photo but the cats have taken over... Will need to make a larger one for the dog!

I followed the plan pretty much other than lowering the panel on the side and replacing the wooden bars with rebar.  The rebar was a bit of a learning curve getting the holes lined up perfectly but I figured it out and I think it came out pretty good!

Used all pine 1x3 and 1x2s.  Picked up a pine panel for the top and the bottom is a 3/4 plywood. Made our own chalk paint for the finish and sealed it with wax.

Oh, forgot, added tongue and groove pine for the back and finished it and the top with Antiguing wax.

Lots of fun and I think I will make a double one next!

Built from Plan(s)
Estimated Cost
Around $100 if you don't count all the practice pieces for the rebar!
Estimated Time Investment
Week Long Project (20 Hours or More)
Finish Used
Chalk paint and antiquing wax
Recommended Skill Level
Intermediate

Potting Bench

Submitted by bluejazz on Thu, 03/24/2011 - 12:09

The plans are great.  This went together really fast.  I am cheating a little here, it is not quite complete; I need to add the side blocks on top and my wife would like a another panel added to the front at work height level, just for looks.  But the overall look won't be changed.  I struggled some with finishing (I usually do).  A couple spots  have runs I didn't see.  One will be covered by the front panel I'll add,but another needs sanding.

Just for fun I added a picture of the bench 3 years later. Its held up well to a lot of use and a lot of sitting out in the elements.

Built from Plan(s)
Estimated Cost
$100
Estimated Time Investment
Weekend Project (10-20 Hours)
Finish Used
General Finishes Cedar Exterior 450 Water based stain. I was going to add a spar varnish to extend the life. I decided against that because while it likely would extend the life, I would have to strip it to re-stain. After a couple years, I can simply re-stain without stripping if I don't varnish.
Recommended Skill Level
Beginner

Not quite the same

Submitted by cyfry77 on Sun, 04/10/2011 - 14:45

This was something I build a couple years ago, it's not the same as this plan, but very similar. When we moved in to the house, the slab was already poured, with 4x4s already in place, I just used what was there and my imagination for the rest.

Built from Plan(s)
Estimated Cost
$200
Estimated Time Investment
Weekend Project (10-20 Hours)
Finish Used
Purple outdoor deck stain. (Behr?)
Recommended Skill Level
Intermediate

Quad Bunkbeds

Submitted by Newfey on Thu, 07/18/2013 - 19:29

This is a set of bunk beds that I made for my daughter Alicia for their getaway home at Canadian Lakes, MI. Now their children can invite their friends and have a fun place to sleep.

Recommended Skill Level
Intermediate

Comments

JoanneS

Fri, 07/19/2013 - 02:37

Wow! This looks absolutely amazing! I like the light and shelf in each bunk too. Spectacular!

spiceylg

Fri, 07/19/2013 - 04:45

Newfey, these are awesome! I've seen pics of this type of bunk over the years, but never anybody attempting them as a DIY from a non-professional, unless you are one? Either way, they certainly look professionally done. Love, love, love!

In reply to by spiceylg

Newfey

Fri, 07/19/2013 - 07:56

I am not a professional by any means and have a limited tool supply. My daughter sent me a picture and asked if I could make them for her. It was a big project as their getaway home is 165 miles from where I live. It took quite a few weekends to complete.

kelleer

Fri, 07/19/2013 - 08:12

This is totally awesome. were there plans that you might have used as a base to go from or were you able to design it on your own?

In reply to by kelleer

Newfey

Fri, 07/19/2013 - 09:24

That was one of the problems, I had no plans, only the picture as a reference. It was a design as I went along and needless to say I gave a sigh of relief once that I saw the mattresses fit into their places.

Lasso the Moon

Fri, 07/19/2013 - 11:49

This is a dream room. They look so beautiful! How fun to have extra places for friends to stay the weekend.
Anna

momofour09

Fri, 08/30/2013 - 06:48

I've been viewing pictures of these style bunkbeds for a while. I'm almost certain I could come up with something but most definitely lose my sanity along the way. This would be great in my girls room and you did an awesome job!

meganhammon29

Sat, 07/25/2015 - 20:25

Ana I am looking to see if you have actual plans for a quad bunk bed? Also what about a quad corner bunk bed? We are trying to put our 4 girls in one large room and this would really help make it work!

Pool Noodle Holder from DIY Planter Box

Submitted by Anonymous (not verified) on Sat, 06/04/2022 - 06:58

I modified the plans for the planter box to make a holder for Pool Noodles. I made it 40" tall and used 4-4" fence pickets and 1-5.5" fence pickets. I used a 4" spacer and the openings worked out perfect. I stained inside and out since it would show with 2 coats of the solid stain. It is perfect! Thank you so much for the inspiration and plans!

Comments

Shiplap Fireplace

Submitted by Anonymous (not verified) on Tue, 12/20/2022 - 19:10

We did the Easiest Shiplap Fireplace in a weekend, thanks to Ana’s plans. I convinced my husband to help me build this by upgrading to a 65” tv and adjusting the dimensions. We also built a shelf behind the tv to hold our receiver and Xbox that is hidden when the tv is in place. Ana’s tutorial was amazingly and gave us the confidence to finally build something that’s been on our list for 2 years!

Comments

Garden Tool Storage Rack

Submitted by kwildman on Tue, 04/28/2020 - 20:45

This isn't an Ana White plan but I've learned so much from this site that I designed and built this garden tool rack. Its pine 2x4 construction. I love it!

It is 84" tall x 72" long x 26 wide (opening) and 48"wide for garden tool hangers.

Estimated Cost
100
Estimated Time Investment
Afternoon Project (3-6 Hours)
Finish Used
No finish
Recommended Skill Level
Beginner

Comments

$40 Ping Pong table top game

With Father's Day rolling in, my sons and I needed a gift, stat! My husband thinks that Table Tennis is the quintessential father-son activity, so that was an obvious choice.
We needed something easy to make, easy to store, and budget friendly. With a 6, 4, and 2 year old helping out, I made a foldable mdf ping pong table that could easily be placed on our picnic table outside.
We had home depot cut the mdf in half, primed it, taped off some lines, spray painted it with chalkboard paint (bonus, you can keep score!), and screwed 4 small hinges to attach the 2 halves. We added a removable table tennis net, some paddles and balls, and have played nearly every day!

Estimated Cost
$40
Estimated Time Investment
Afternoon Project (3-6 Hours)
Finish Used
Chalkboard spray paint
Recommended Skill Level
Starter Project

Comments

Entry shelf modified to a bathroom shelf

Submitted by Anonymous (not verified) on Wed, 02/15/2017 - 19:10

This was so fun, used contact paper on the back plywood and it turned out really well.

Estimated Cost
Less than $75
Estimated Time Investment
Weekend Project (10-20 Hours)
Finish Used
White satin paint from behr
I sanded between coats and used a fine bristle brush.
Recommended Skill Level
Beginner

Mantel Moulding Headboard - King Size Here!

Submitted by lydiamatt on Mon, 01/25/2021 - 13:23

Hello,
I have a PDF with material, cut list, and assembly steps for anyone interested. I also used Type 2 wood glue and all screws with this build, substituting for nails in the original plan!
Please email me at [email protected] with any questions!
Thanks
Matt

Built from Plan(s)
Estimated Time Investment
Afternoon Project (3-6 Hours)
Finish Used
I have painted this Extra White, and stained with Special Walnut from Minwax.
Recommended Skill Level
Beginner

Comments

Rustic Adirondack Bench (love seat)

I loved the Rustic Adirondack Chair so much I felt I needed to make a bench in the same style. I had to be a little creative with the chair plans and modify them to make my bench work. I am absolutely thrilled with how it came out! I already have a friend who has requested a chair and bench (love seat) for his son's wedding gift!

Estimated Cost
Material costs for the wood was $85-ish. Wood prices are nuts right now!
Recommended Skill Level
Intermediate

Comments

mjackson41995@…

Fri, 08/20/2021 - 16:37

You can make the 1x10 in any length you want. I’m planning on making a loveseat too and The measurements I chose for the seating area will be 48” long (which is the size for 2 seat cushions).

The Step 1 in Ana’s plan, all measurements will be the same.

Step 2: The two 2x4 horizontal supports will be cut at 48”.

Step 3: the two 1x10 seat panels will be 3 inches longer than the horizontal supports. So you will cut the 1x10 seat panels at 51”.

Step 4: Instead of two, you will need THREE seat supports. So cut three 2x4’s @ 32 3/4”. The third seat support will go in the middle of the other seat supports, drilled to the horizontal back support.

Step 5: Attach your back bottom horizontal support which will be a 2x4 at 48”.

Step 6: Attach the 1x10 seat back panels. You will cut (3) 1x10 @ 48”.

Here is the cut list for the loveseat version of Ana’s Adirondack plan. These are the lengths I chose. So with this cut list your loveseat should be big enough for two 24x24” seat cushions. I plan to add cushions for extra comfort.

My cut list:
(2) 2x4 @ 31 3/4”
(2) 2x4 @ 19 1/2”
(2) 2x4 @ 33 1/4” Cut at 20 degrees as per Ana’s plan.
(3) 2x4 @ 48” Horizontal supports. One goes behind your calves.
The other connects the end frames/arm rests at the back.
(2) 1x10 @ 51” Seat panels.
(3) 2x4 @ 32 3/4” Vertical supports for the back panels.
(3) 1x10 @ 48” The back panels.

Chicken coop and run

Submitted by Anonymous (not verified) on Tue, 10/05/2021 - 11:01

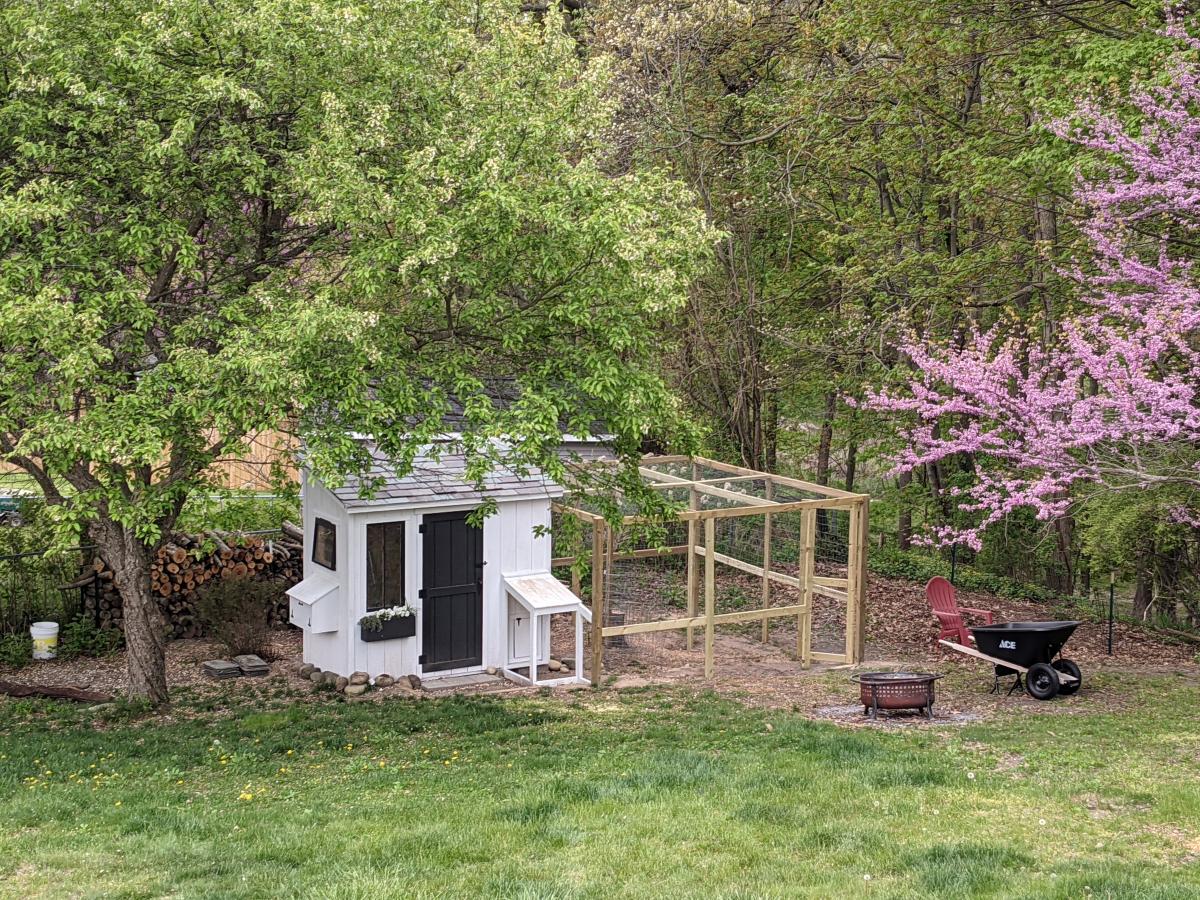
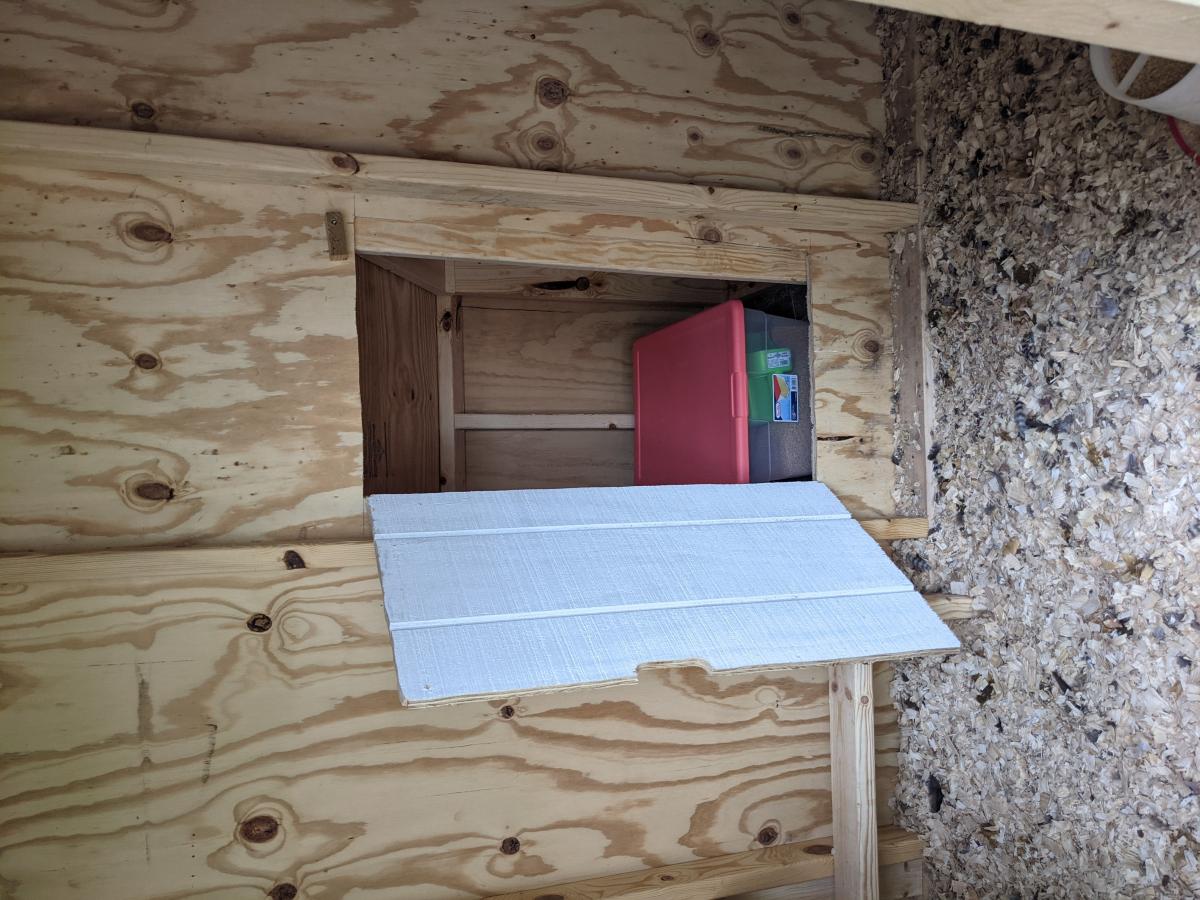
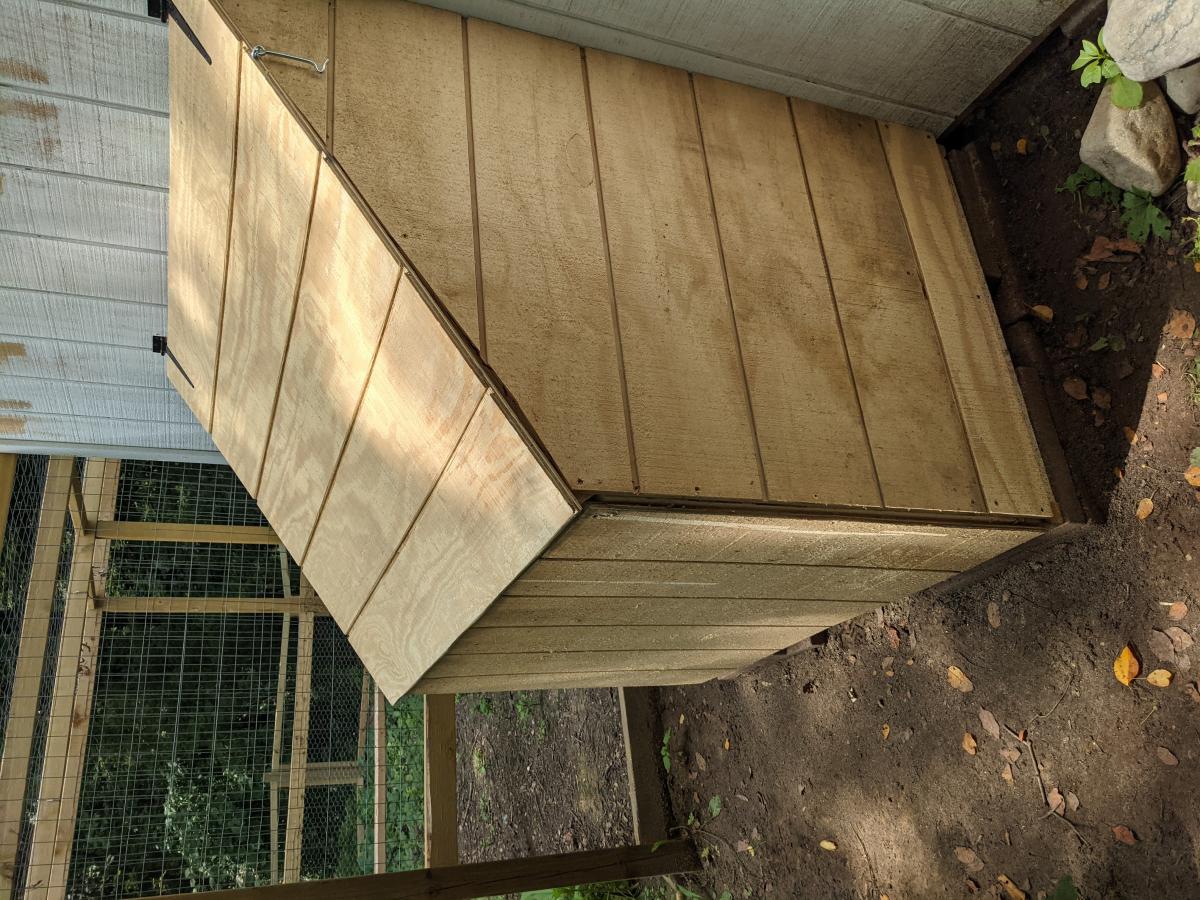
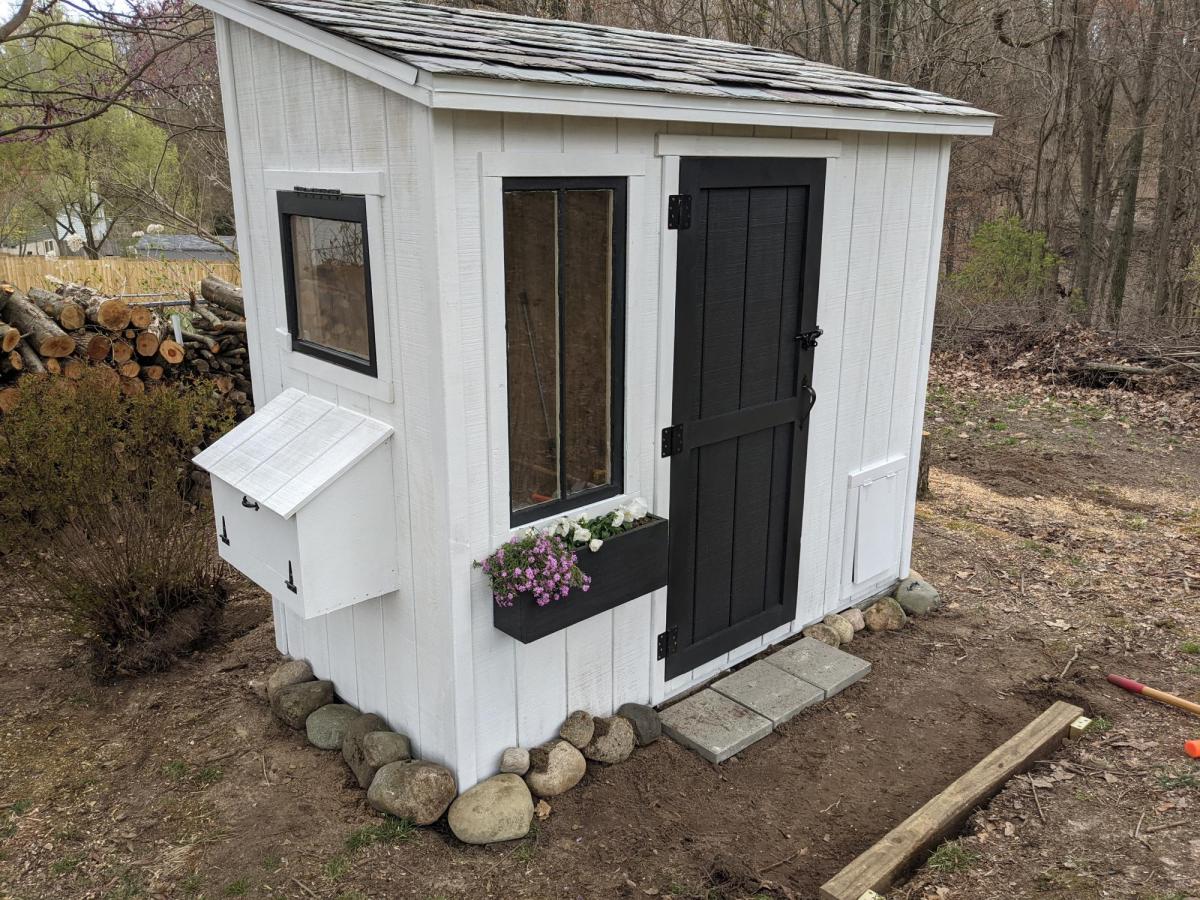
I followed the Shed Coop Plans to make this chicken coop and designed my own run. Because I wanted to view the chickens coming in and out of the coop, I moved the chicken door to the front and built a little covered area to shelter the coop door so I did not have to have the entire run extend over the front. I also made the access to the layer boxes be accessible from the front rather than the top so that my kids could more easily access the egg boxes. I thought these were great plans to follow and easy to adapt to fit what I wanted in a coop. I also ended up adding a lean-to storage on the back with an inside access so I could easily refill their feed.

Built from Plan(s)

Comments

Seasonal And Holiday

Children's Table and Chairs

Submitted by jjunge08 on Mon, 01/01/2018 - 10:43

I made this table and chairs for my 1 year old nephew.  He is still a little small for it but the table and chairs are both very sturdy.  The table top is a one piece, 24 x 36 ,edge glued pine board.  I used the one piece table top as an alternative to screwing the 3 boards together.  I followed the plans for the table for the most part.  As for the chairs,  I followed the plan to build the seat base.  For the legs of the chairs I took advise from carongirls' table and chair brag post and used 2x2's. I used 1x3's to stiffen the chair legs.  I also lengthened the table legs and chair legs by 2 inches.  


Estimated Cost
Table and Chairs - $50-70

Estimated Time Investment
Weekend Project (10-20 Hours)
Finish Used
White and Gray Paint
Recommended Skill Level
Beginner

Freestanding Closet

Submitted by vendo on Fri, 04/08/2022 - 16:44

My daughter's room didn't have a closet, so I built one. This only took a couple of hours to build. I found the bins on Amazon and built to fit. It's 60" wide 18" D and 75" tall. I love this plan, it's super easy to modify the size and configuration!

Built from Plan(s)

Pet Stairs

Submitted by alli2410 on Tue, 03/13/2018 - 06:26

I needed sturdy stairs for my 2 60lb dogs.  My bed is 33 inches from floor to top of mattress.  So, this is my very first project completed by myself!  Custom size pet stairs 24inx24inx24

Estimated Cost
$40-50
Estimated Time Investment
Afternoon Project (3-6 Hours)
Finish Used
Minwax polyshades Espresso gloss (3 coats)
Recommended Skill Level
Starter Project

Comments

Back