Community Brag Posts

Our first project, EVER!

Submitted by RyansMama on Wed, 07/13/2011 - 18:30

I had never built anything before. I also hadn't had a headboard in years, so I figured two birds with one stone. The biggest lesson we learned was how important it is to find the best wood. One of our pieces was not straight and we ended up having to make another trip out to the store. Otherwise, it was a pretty easy build!

Estimated Time Investment
Weekend Project (10-20 Hours)
Recommended Skill Level
Beginner

Nightstands

Submitted by kaileelev on Sun, 09/13/2015 - 19:21

I based these off of the mini farmhouse bedside table plans, but changed a lot of the dimensions, added sides/back and chose to use plywood for the top, sides and shelf. The plywood did not stain very nicely for me- I learned my lesson! The drawers were definitely the hardest part!

Built from Plan(s)
Estimated Cost
$60
Estimated Time Investment
Weekend Project (10-20 Hours)
Finish Used
Minwax provincial stain (two coats) with 2-3 coats of polyurethane.
Recommended Skill Level
Intermediate

Farmhouse Doll Bed for 18” doll

Submitted by ehrobson13 on Sun, 08/12/2018 - 10:54

Wow!  I’m so pleased with how this turned out!!  Super easy and mostly done with scraps left over from other projects. Was able to get the bed and bedding completed for under $30.  Smaller (and cheaply made) beds on the AG website cost well over $100.  Thanks to this plan, I’m able to give my niece a birthday gift that will last her for years...maybe even generations.

Estimated Cost
$30
Estimated Time Investment
Weekend Project (10-20 Hours)
Finish Used
Rustoleum Primer/Finish Gloss Spray paint - light purple
Recommended Skill Level
Intermediate

Comments

ehrobson13

Sun, 08/12/2018 - 10:57

The only reason I listed this as an “intermediate” skill level is because of the sewing portion of the project.  Covering the mattress and sewing the bedding (since there’s no plan for that part of the project) isn’t really a no-brainer sewing project.

Farmhouse coffee table

Submitted by Anonymous (not verified) on Sun, 05/29/2022 - 17:19

All pocket hole joinery
Base is painted shade of white
Top is dark walnut

Comments

Doll Highchairs

Submitted by canesa on Fri, 07/15/2011 - 01:38

I built 11 doll highchairs for my daughters 5th "Adopt A Baby" birthday party! These chairs were fast and easy to build and I had a BLAST painting them! The girls loved, loved, loved them! A little extreme for a 5 year old birthday party? Maybe. But definitely worth it!

Estimated Cost
Under $10
Estimated Time Investment
Week Long Project (20 Hours or More)
Finish Used
Paint, scrapbook paper, modge podge and duct tape!
Recommended Skill Level
Beginner

Comments

glennj

Sun, 07/17/2011 - 08:17

I agree. WOW! I have a question about the painting. Did you do that all by hand or is some of the more detailed areas paper that you glued on with modge podge or some other crafting adhesive? I really love these little chairs.

momofour09

Thu, 12/29/2011 - 12:29

That idea is really sweet! My girls would love to have a party and this is a good theme. You did a great job :)

My first big boy bed!

Submitted by ldulitz on Mon, 08/19/2013 - 13:17

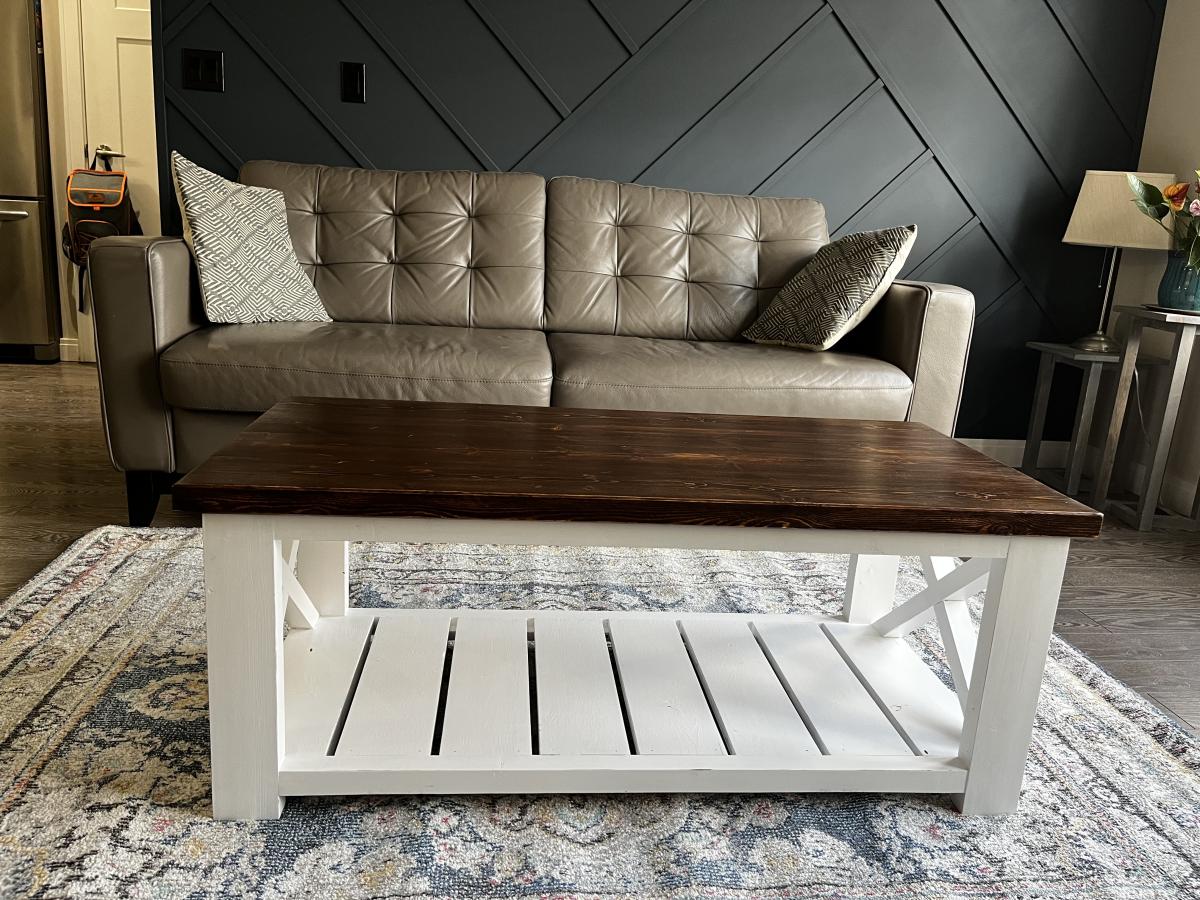
So we couldnt find any bed we really wanted for my son, and this one was perfect.
I used the wood one step up from the whitewood at HD, which had too many knots for this, and was .75 more. Still had to pick thru the 2x4 and 2x6s but the quality of the wood was much better.

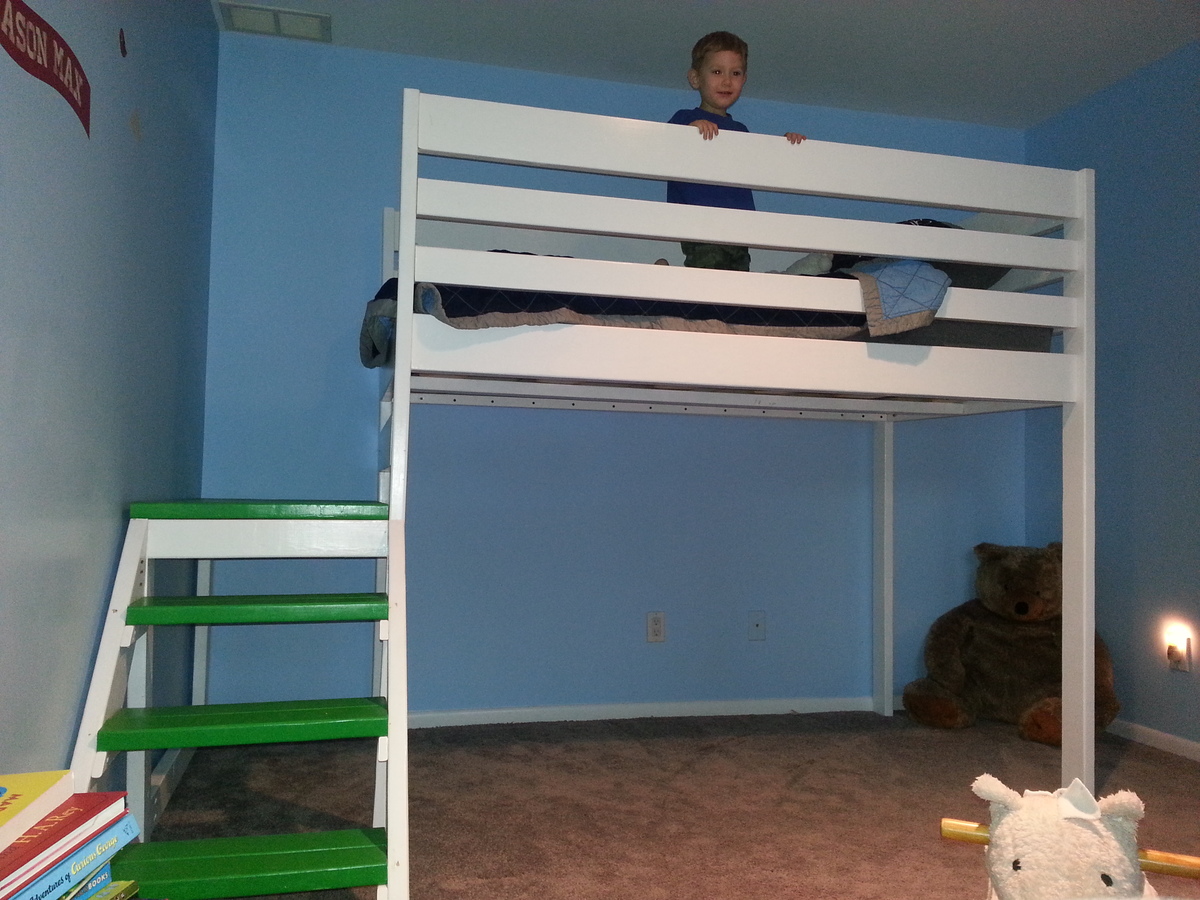
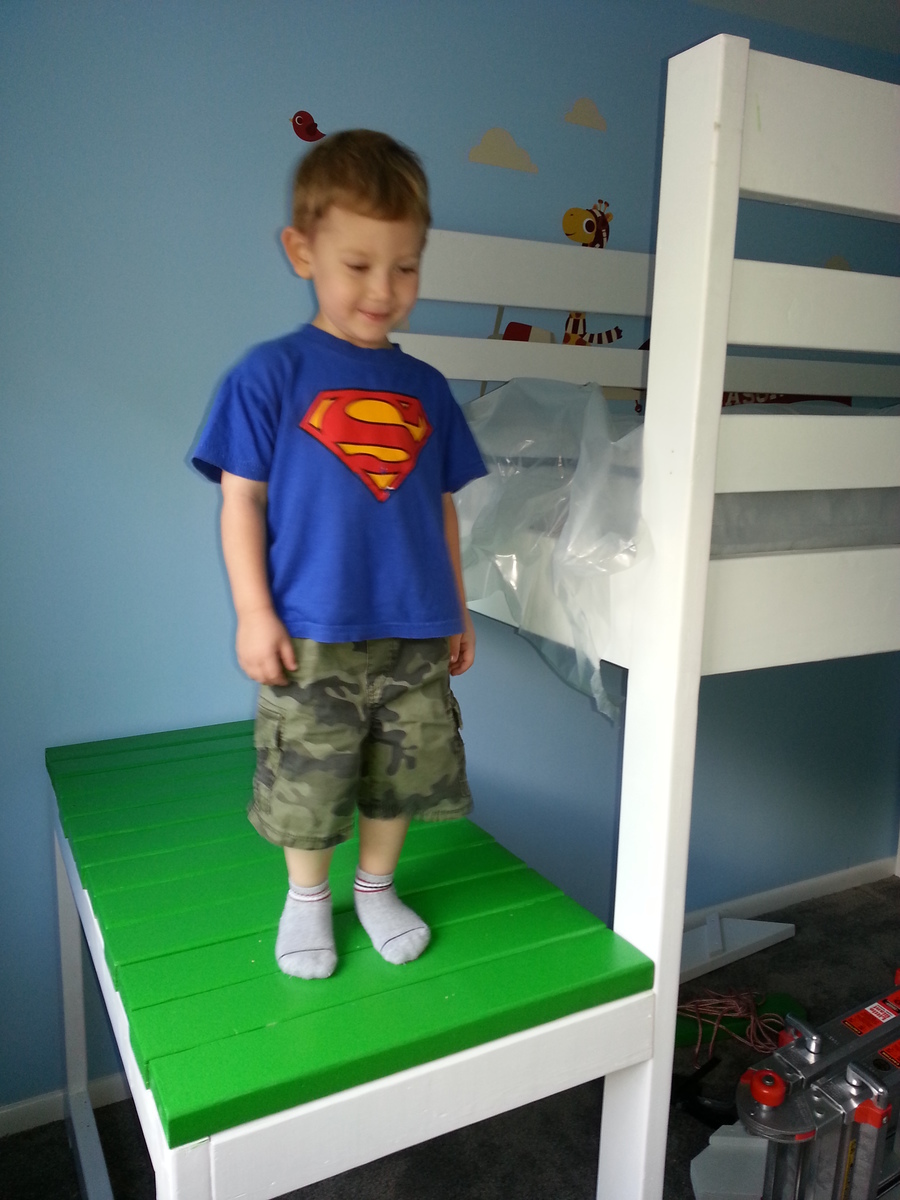
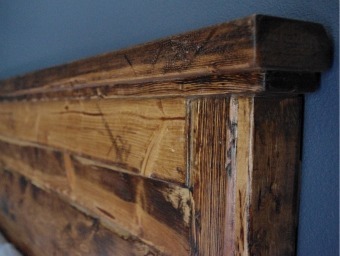
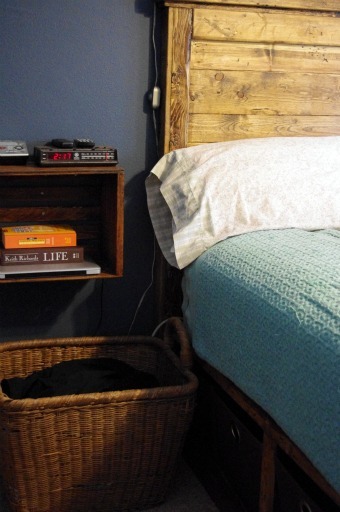
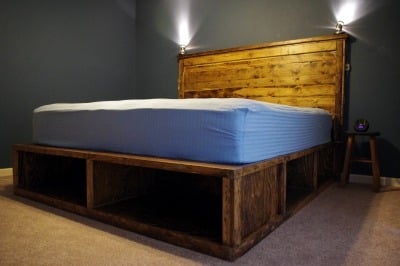
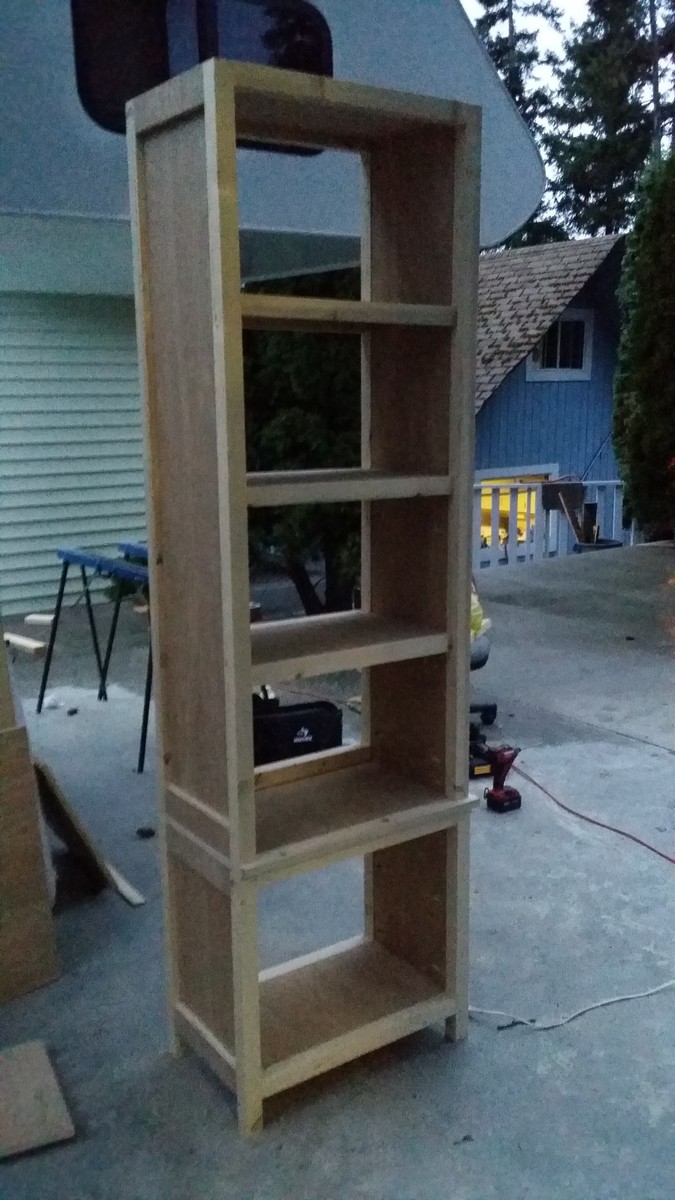
After seeing what another bragger posted, i raised the posts to 72" instead of 66", which allowed for an additional 2x6 at the top. The mattress stayed at the same height, but know i sleep better thinking he wont roll off.

Lesson learned from this: Sand the primer!!! i never knew to do that before in my life and wow, what a difference.

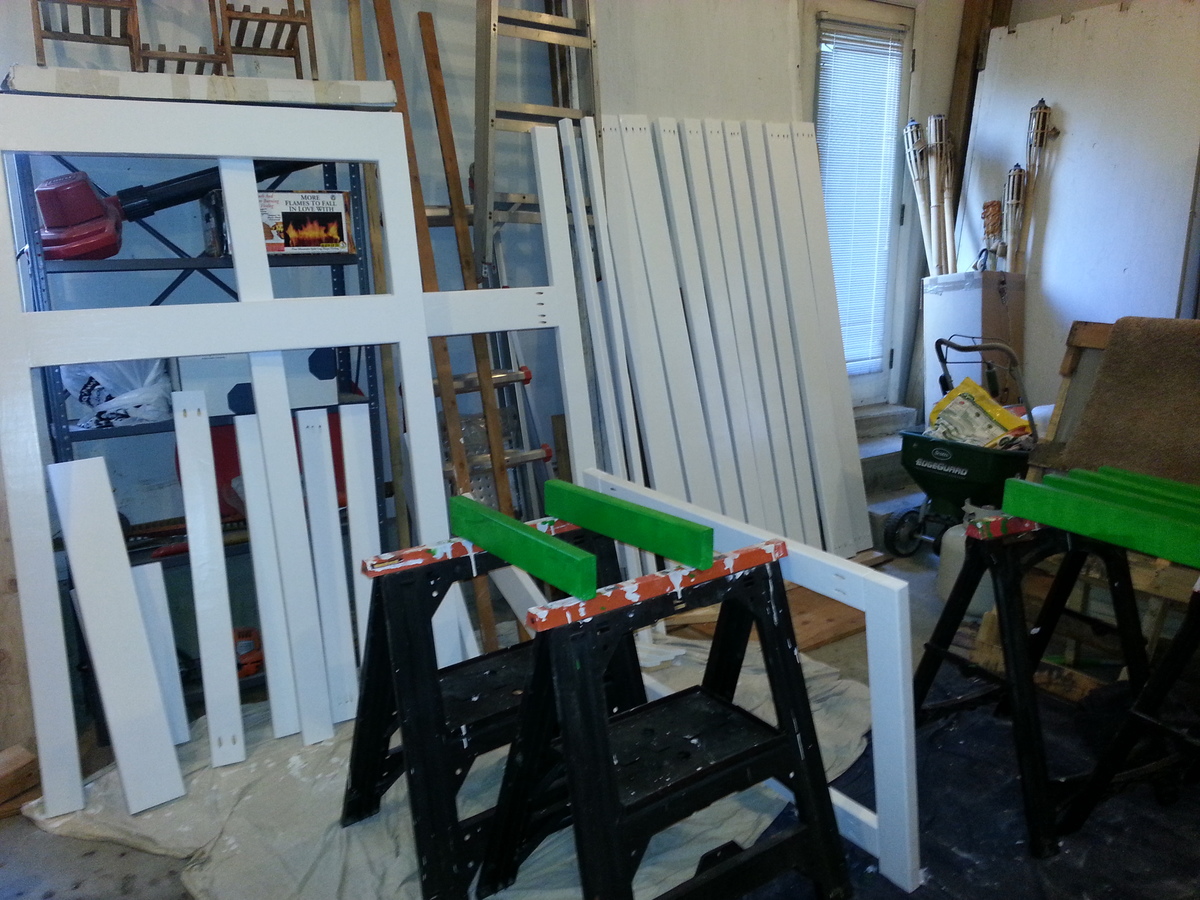
Painting Steps were:
Sand wood,
prime, ( Used Zissner BIN)
Sand primer with 220
Wipe with Tack cloth
Paint ( Used Behr Ultra White Semi Gloss and Behr Par Four Green Semi Gloss)
Sand lightly with 320 grit
wipe with Tack
Paint again.

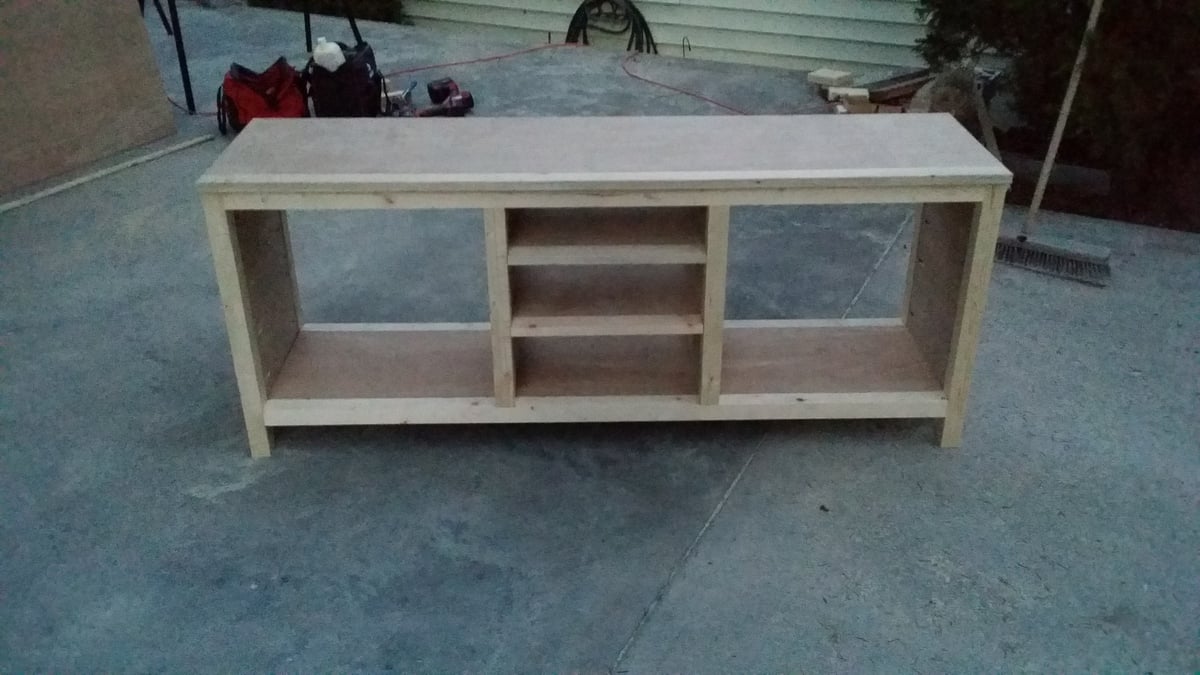
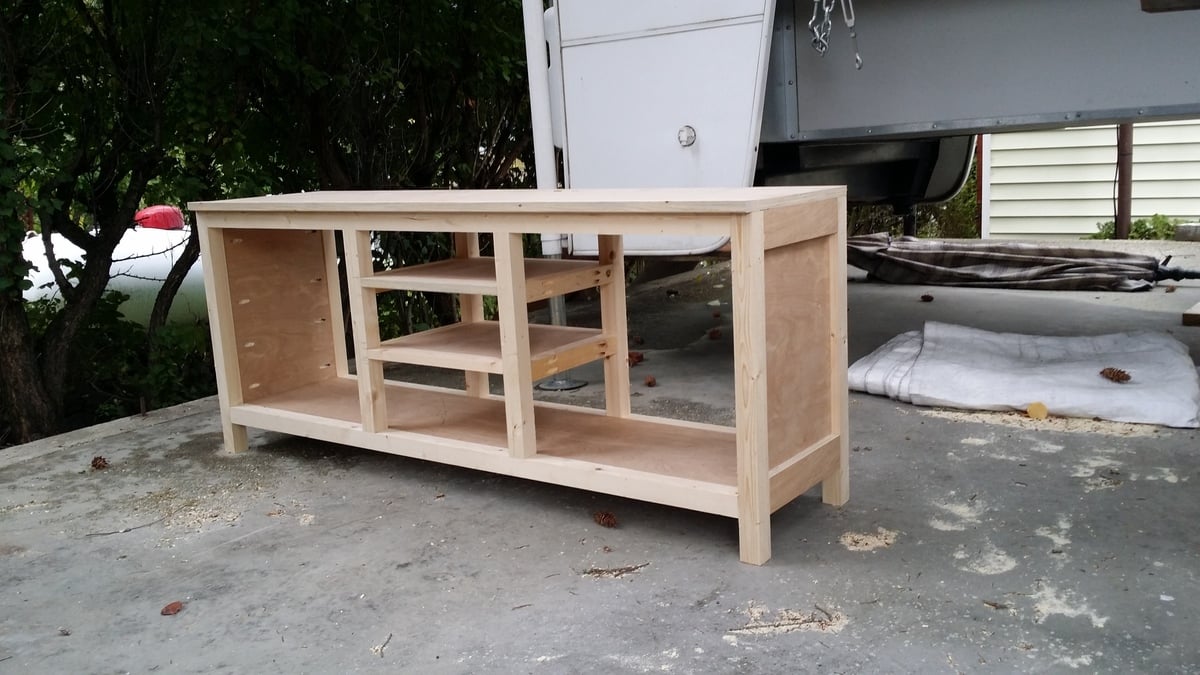
The two end pieces and the deck were assembled in the garage, but the cross pieces and steps were built in the bedroom.

Im thinking of creating a mini gate where he climbs up just for sleeping that i could put in once he is in his bed to really prevent rolling... trust me.. he rolls everywhere. May be to the height of the top 2x4, halway the length of the opening, and use dowels or something.

Note the second picture didnt have the 2x6 ladder step installed yet.

Thanks Ana for the plans! My son never wants to leave the bed!

Estimated Cost
150
Estimated Time Investment
Week Long Project (20 Hours or More)
Finish Used
Behr Ultra white Semi Gloss
Behr Par Four Green Semi gloss
Recommended Skill Level
Starter Project

Vintage Step Stool

Submitted by dkelly75 on Sat, 09/19/2015 - 11:51

This is the 2nd step stool I built, the first was for my daughter and I just followed the plans. Built this for my friends son Hayden, decided to add the H for his name. It was a tag team build, I built it and painted it and my wife did the sanding, distressing and wax sealer. 

Built from Plan(s)
Estimated Time Investment
Day Project (6-9 Hours)
Finish Used
latex paint and wax sealer
Recommended Skill Level
Beginner

Comments

Big Red Buffet

I was on a mission to find just the right buffet to house Grandma's china and infrequently used serving dishes.  Countless searches in second hand stores, hours scouring Offer-up and Craigslist, and even some regretable purchases all led to the building of this magnificent buffet. I found a build plan for the planked wood sidboard, printed it and started in. I had always planned on painting it and wanted a rustic look so decided on budget friendly lumber. The frame and top of the unit is made from fir and the drawers and doors from pine. The door insets and the back of the unit is pine beadboard. The top and interior of the buffet is finished in GF Antique Walnut Gel Stain. I used a wipe-on polyurathane on the interior of the buffet and the inside of the drawers.  I choose an amazing shade of red for the exterior of the buffet:  GF Milk Paint in Holiday Red. It was my first experience with milk paint and it was a pleasure. It went on so smooth and brush-stroke free. After two coats of Holiday Red milk paint I applied a single coat of GF High Performance Top Coat in satin finish. This really enhanced the color of the Holiday Red and served as a base for a glaze application.  I mixed the GF Antique Walnut Gel Stain with ten percent mineral spirits and glazed the entire buffet. I got into all the nooks, crannies and knots and left a thin coating on the face of the unit. I loved the buffet before the glaze, but now I was head over heals. The buffet was finally finished off with two coats of High Performance Top coat. Mission accomplished!

Built from Plan(s)
Finish Used
I used all General Finishes products. Holiday Red Milk Paint - 2 coats, High Performance top coat - 1 coat, Antique Walnut gel stain mixed with ten percent mineral spirits for glaze, and finally two more coarts of high performance top coat, the top is Antique Walnut gel stain with 3 coats of high perforamance top coat.
Recommended Skill Level
Intermediate

Organizing My Little Boys!

Submitted by MamaPepper on Sun, 07/17/2011 - 15:05

I really needed an entry way system that was easy to corral all of my 3 boys shoes/coats/crap, etc. . . and I LOVED this plan! I messed up on the frame, so just left it off, and decided that I didn't need the back either. I painted little chalkboards on the side of each boys cubby.

I'm fairly certain that this isn't made perfectly, but it's perfect for us! This was my 2nd project and I'm really super psyched about it!

Built from Plan(s)
Estimated Cost
$60ish or so?
Estimated Time Investment
Weekend Project (10-20 Hours)
Recommended Skill Level
Beginner

Leaner mirror

Submitted by krochelle on Tue, 08/20/2013 - 08:18

This was made as a present my mom's birthday. I found a good sized mirror at the thrift shop which was perfect for the project. I adhered it to some plywood, added trim around it, bulked up the top and bottom with multiple layers and types of trim and added some crown molding to the top. The finish is "A Day at the Jewellers" by Valspar with a Red Mahogany stain/glaze over top.

Estimated Time Investment
Day Project (6-9 Hours)
Finish Used
A Day at the Jeweller by Valspar with stain overtop
Recommended Skill Level
Starter Project

Ridge Media Console

Project was a bit difficult but extremely rewarding when completed!! I followed Ana White's advice......"take a break and always finish your project!!!"

Built from Plan(s)
Estimated Time Investment
Weekend Project (10-20 Hours)
Recommended Skill Level
Intermediate

Comments

Farmhouse style queen headboard

Here's a queen headboard we just completed for our guest bedroom.  

It only took an afternoon to build this simple yet stunning headboard, and then a little more time to paint, distress, and wax it.  

More information is available on our site at FamousArtisan.com

Estimated Cost
100
Estimated Time Investment
Afternoon Project (3-6 Hours)
Finish Used
Chalk paint and wax
Recommended Skill Level
Beginner

Library Coffee Table with Reclaimed Barn Wood Top

Submitted by wendywmp on Wed, 08/21/2013 - 19:42

Modified the plans to be only 3 drawers which saved on weight and hardware. Used reclaimed 100+ year old barn wood for the top, adding lots of character.

Estimated Time Investment
Week Long Project (20 Hours or More)
Finish Used
Cabinet: Minwax gel stain in Red Elm, and Winwax wipe-on satin poly. Top: West System epoxy to stabilize and fill 'defects', sanding sealer and wipe-on satin poly.
Recommended Skill Level
Intermediate

Comments

Rustic X

Submitted by Burrel on Sat, 10/03/2015 - 08:22

I built this for my daughters house warming gift.

Estimated Cost
125.00
Estimated Time Investment
Weekend Project (10-20 Hours)
Recommended Skill Level
Intermediate

DIY farm house table

Submitted by Anonymous (not verified) on Mon, 10/15/2018 - 21:41

Followed the farmhouse the design but with my ite dimensions and 4x4 legs. Also painted base and blue/gray to pop through when sanding eyese.

Estimated Cost
175
Estimated Time Investment
Weekend Project (10-20 Hours)
Recommended Skill Level
Intermediate

Bedroom Dresser Cubbies / Media Stand

Submitted by Debi G on Wed, 07/27/2011 - 14:08

This is inspired by pieces I've seen here, though I sketched it out on paper myself to make sure it would suit the limited space in our room. I built the simple piece to match our bed (made from Ana and her reader's plans, see my photos below).

Originally, I planned to include cabinet doors, but with the limited space we have, this is better for us.

For nightstands, I stained plain wooden crates I had in the basement. Still working on how to hide the cords.

The baskets under my bed are from Bed Bath Beyond. The baskets in the "dresser" are from Target.

Sorry about the poor photo quality.

Built from Plan(s)
Estimated Cost
Built from leftover materials (Baskets $5.99 each)
Estimated Time Investment
Afternoon Project (3-6 Hours)
Finish Used
Minwax Provincial (one coat) and one Minwax water-based poly coat.
Recommended Skill Level
Beginner

Comments

Debi G

Wed, 07/27/2011 - 14:09

I was trying to show that these pieces are a set, but instead the photos look pretty random.

Debi G

Sat, 12/10/2011 - 07:41

Sorry I haven't logged in in so long--the bed follows plans for the king Stratton, combined with the reclaimed wood headboard. The headboard is attached to the wall. We can slide the foot bench part out to hide presents behind, which is really handy (though heavy) to do.

Daun Family Coffee Table

Submitted by stevendaun on Sun, 08/25/2013 - 08:10

This was an excellent set of plans and the finished product looks great in our home.

Estimated Time Investment
Week Long Project (20 Hours or More)
Recommended Skill Level
Intermediate

simple stool

Submitted by vic b on Mon, 08/26/2013 - 19:27

I shortened the legs to 20 inches and left the lower rung off.
It lives in the playroom and is just the right height for our sons desk.

Built from Plan(s)
Estimated Time Investment
An Hour or Two (0-2 Hours)
Recommended Skill Level
Starter Project

Media and Storage unit

Submitted by jpurp on Sun, 10/11/2015 - 18:47

I followed the basic plans but adapted it to fit in my cabin.  The whole unit is 82" high by 126" wide.  I also put in more drawers and made the fronts in a shaker style. I used 2x4's that I ripped down to 2x2's and 3/4 inch birch plywood.  I trimmed out the birch with 1" pine boards. I sanded the whole unit, primed with an oil primer and painted 2 coats of latex from General Paint in Grayling.   I don't know how many hours I put into it.  A lot.  Probably around 80.  Mostly by myself.  My husband helped with getting the 4x8 sheets of plywood through the table saw and occaisonally when I needed a 3rd hand to pursuade some wood to do my bidding.  I love how it turned out.  Tons of much needed storage in my cabin.

Estimated Cost
Wood, screws, sandpaper, primer and paint. Approximately $600. I'm in BC Canada. Most things cost more.
Estimated Time Investment
Week Long Project (20 Hours or More)
Finish Used
Oil primer and latex paint from General Paint. Colour Grayling.
Recommended Skill Level
Intermediate

Comments

Modified Wide Cabin Dresser

Submitted by bcarter_1 on Tue, 10/30/2018 - 04:32

We modified these plans to make this, liked the sides.

Estimated Time Investment
Week Long Project (20 Hours or More)
Recommended Skill Level
Intermediate

Comments