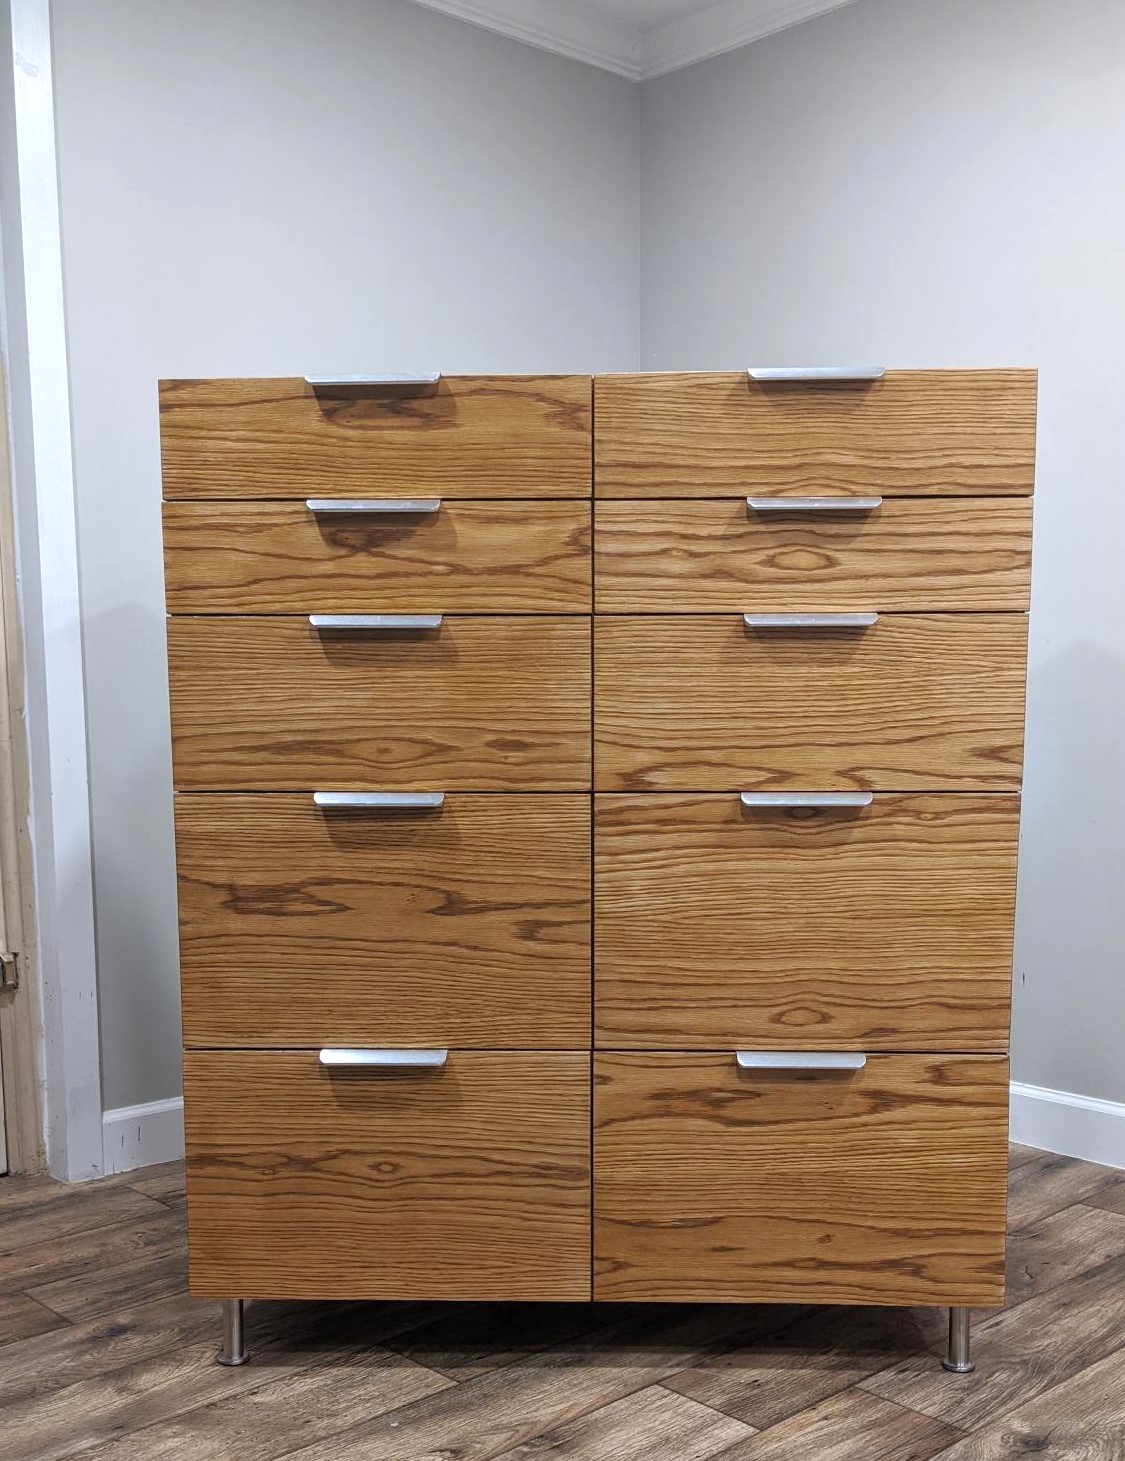
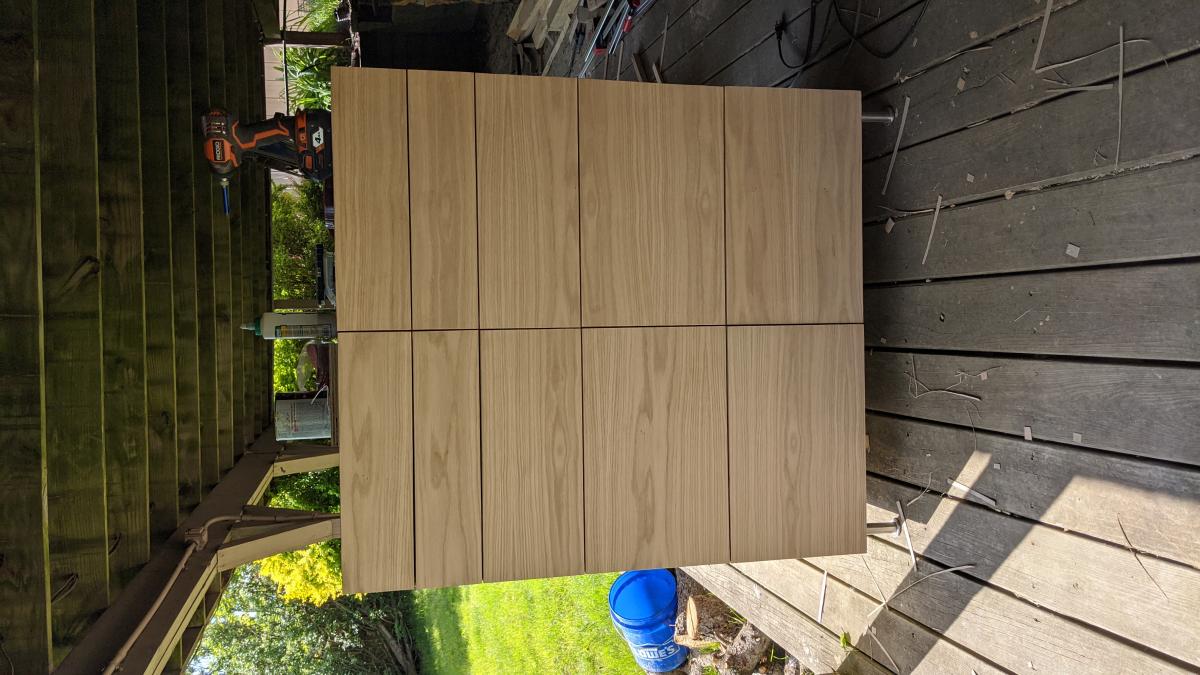
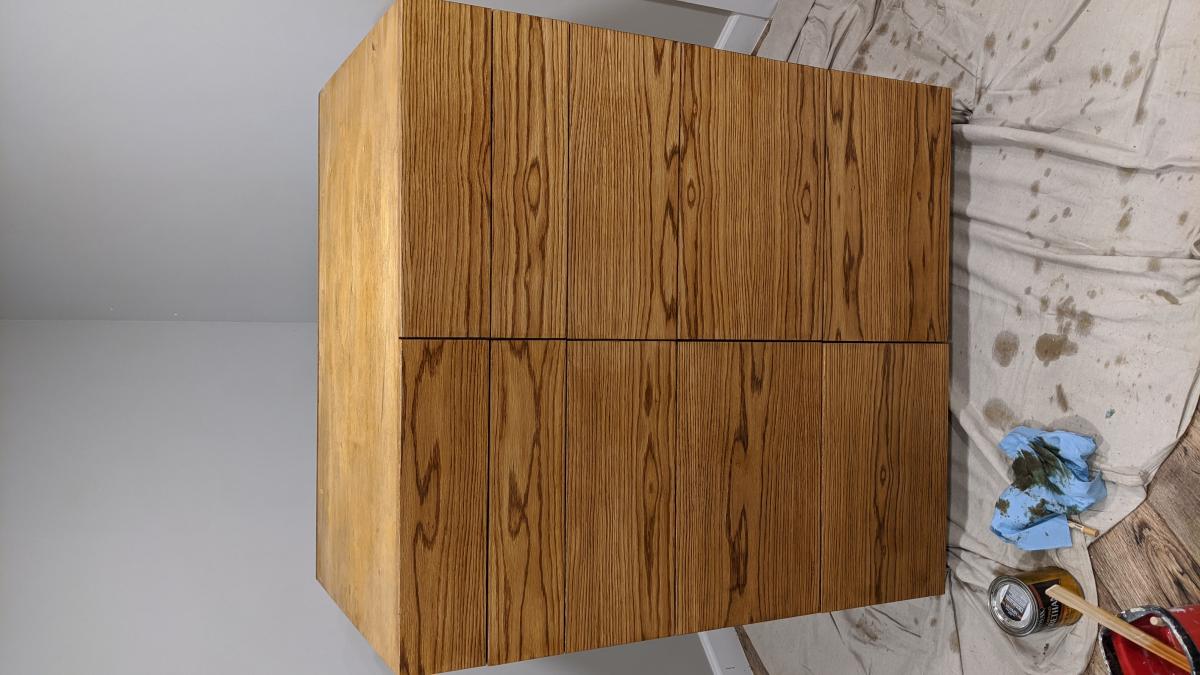
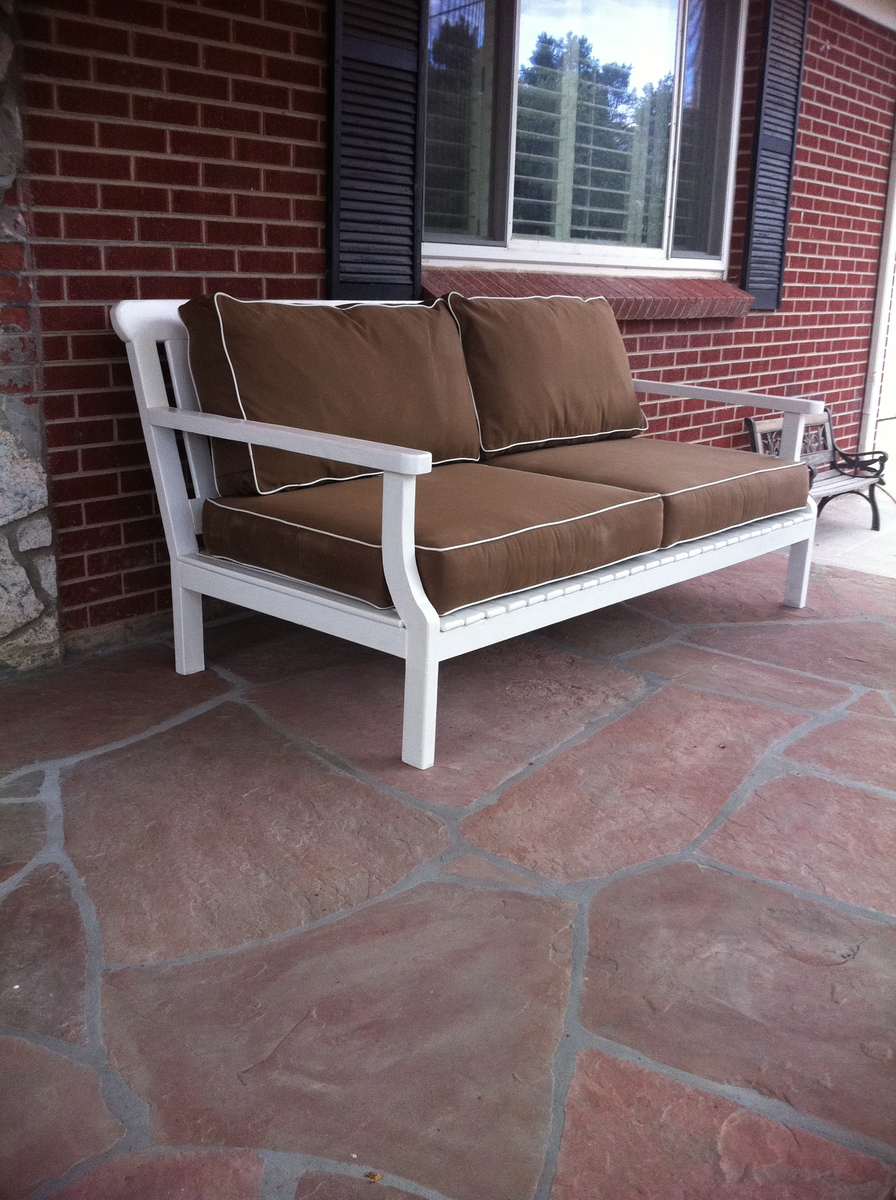
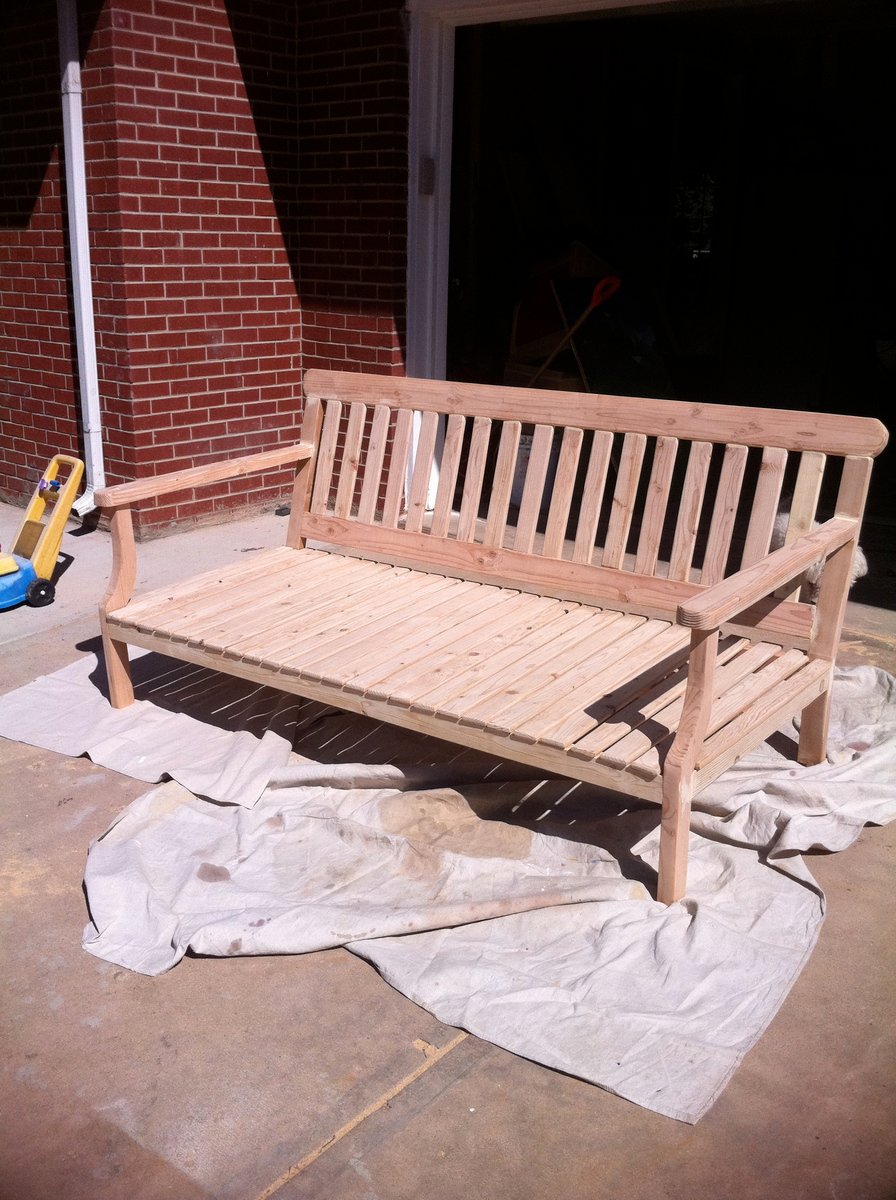
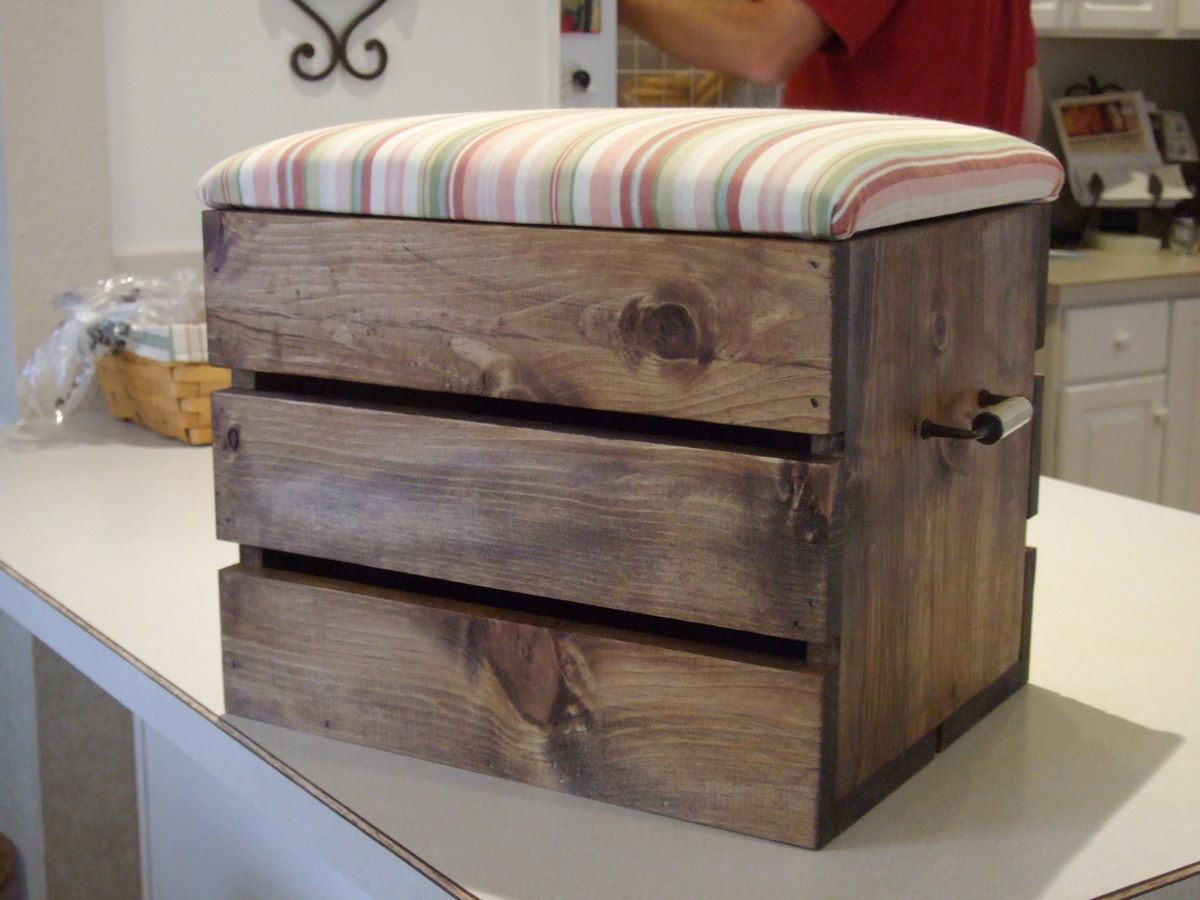
Vintage Crate
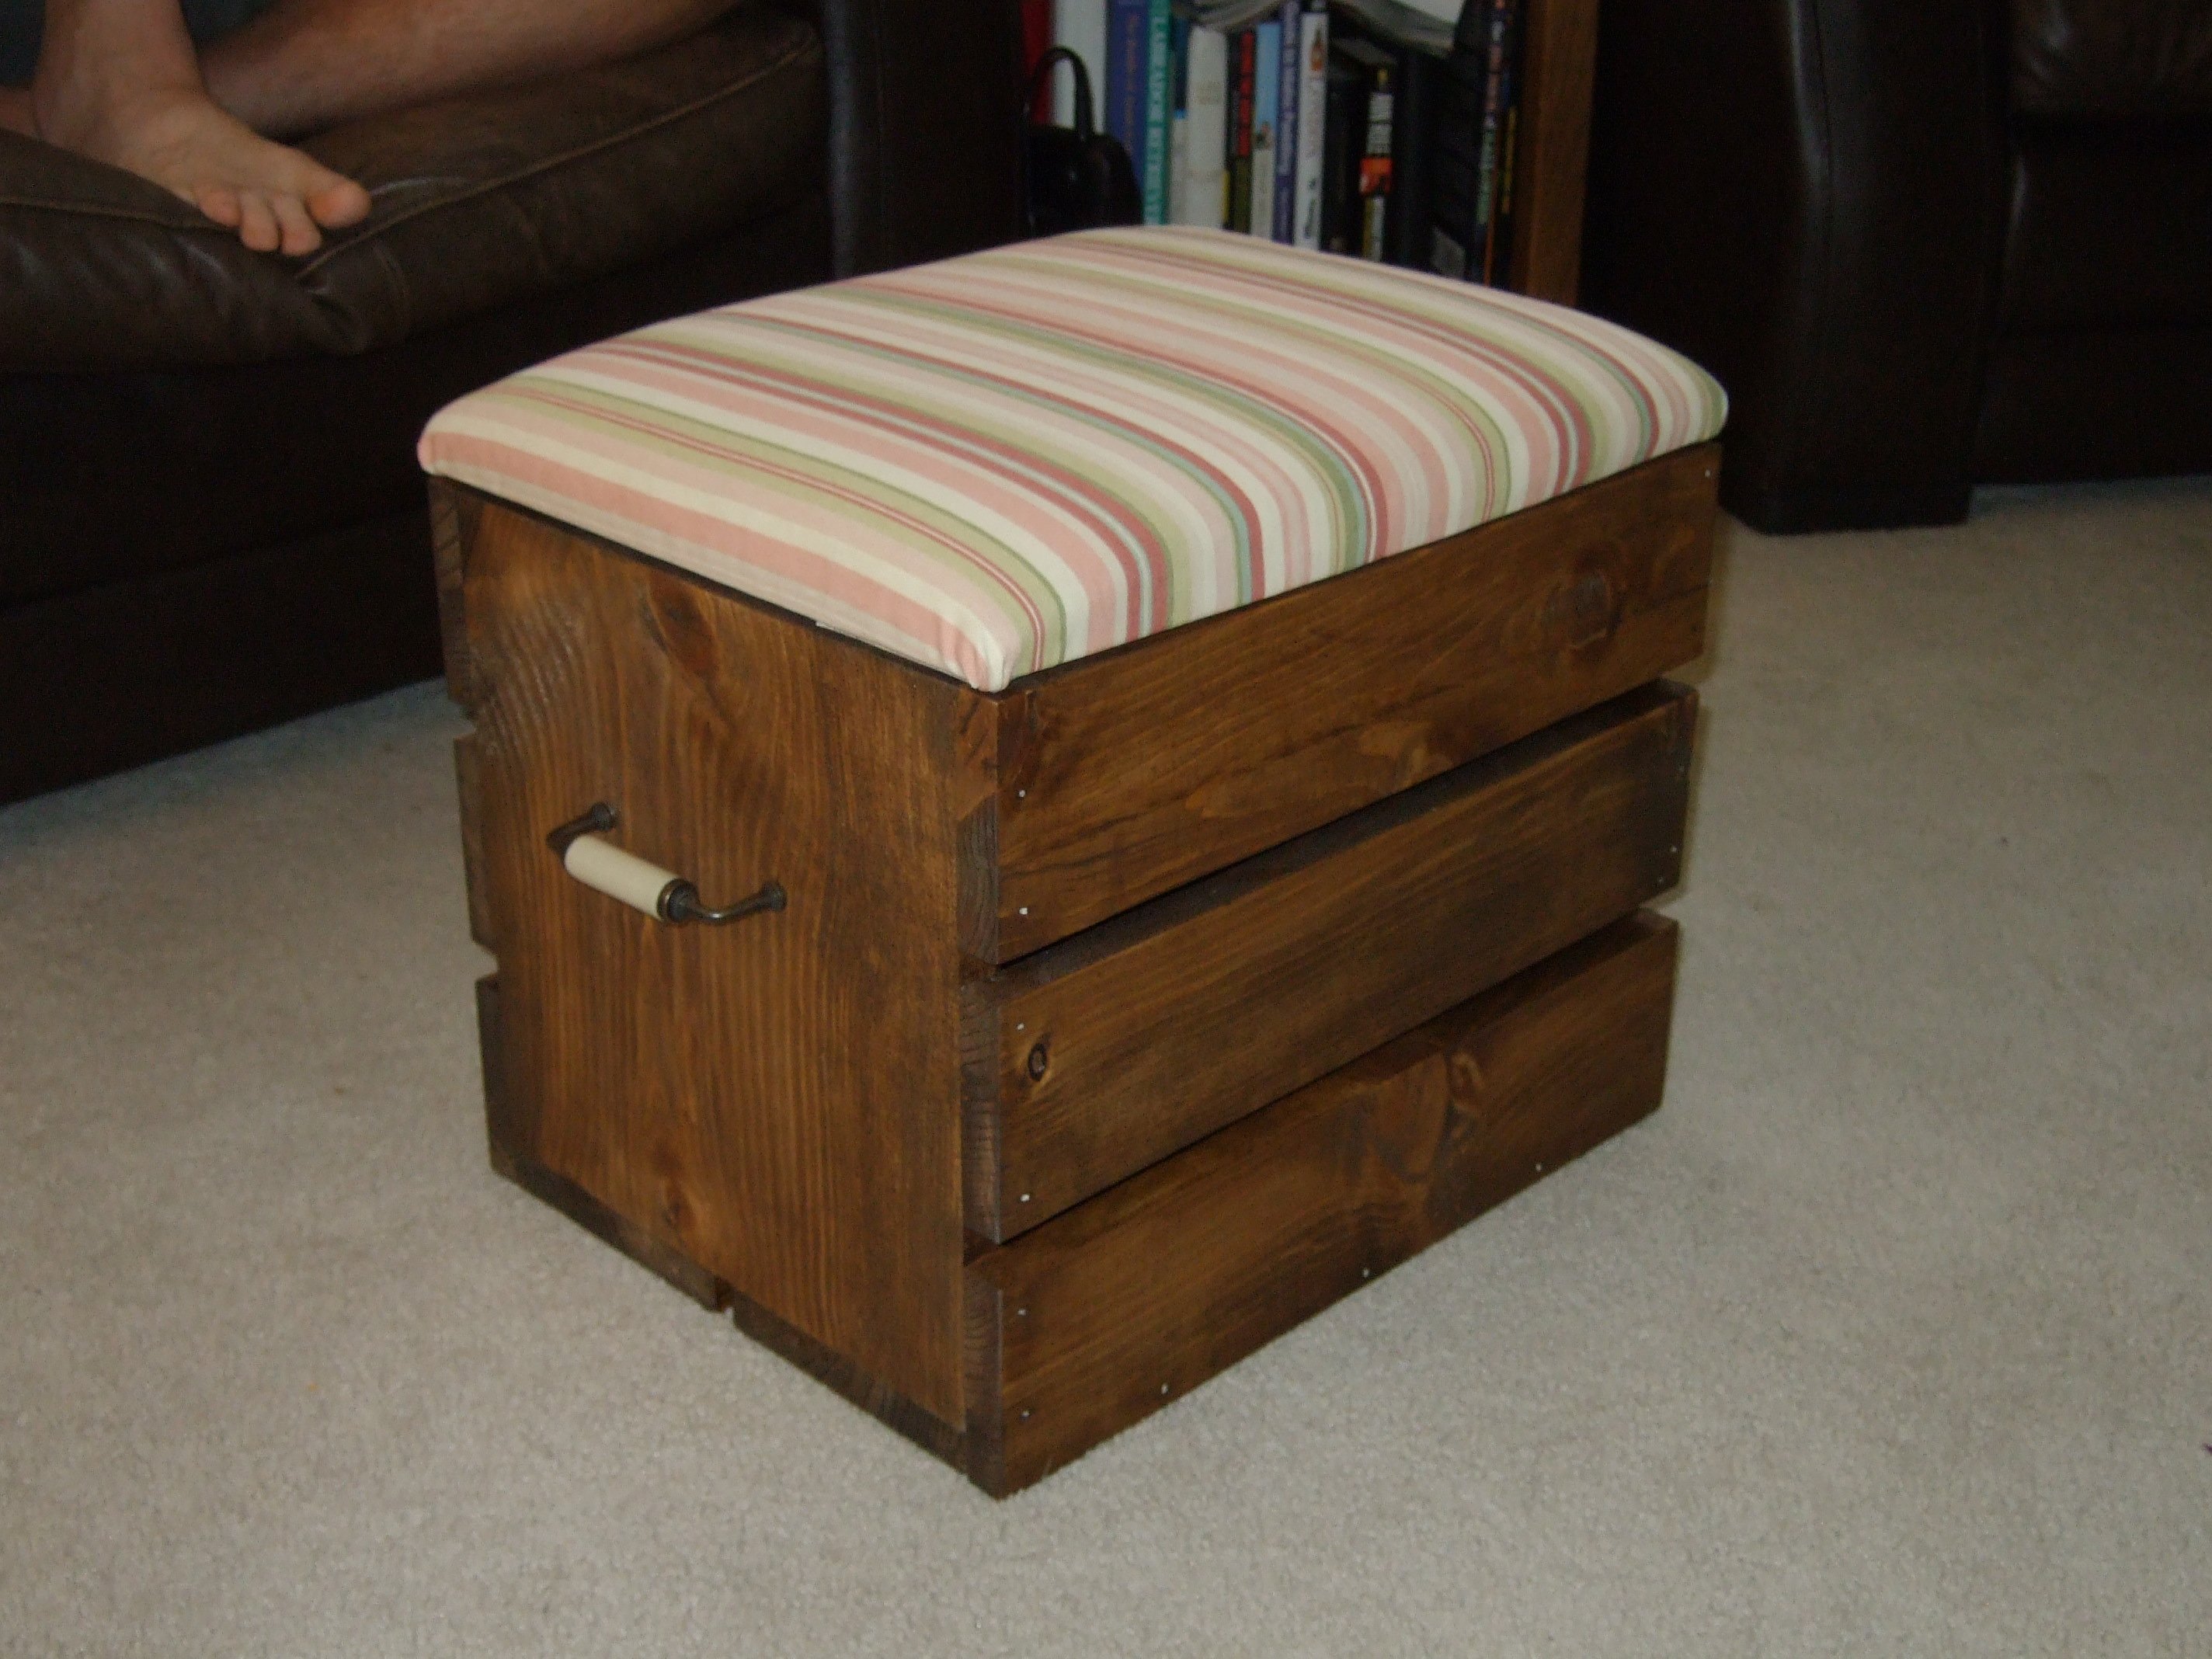
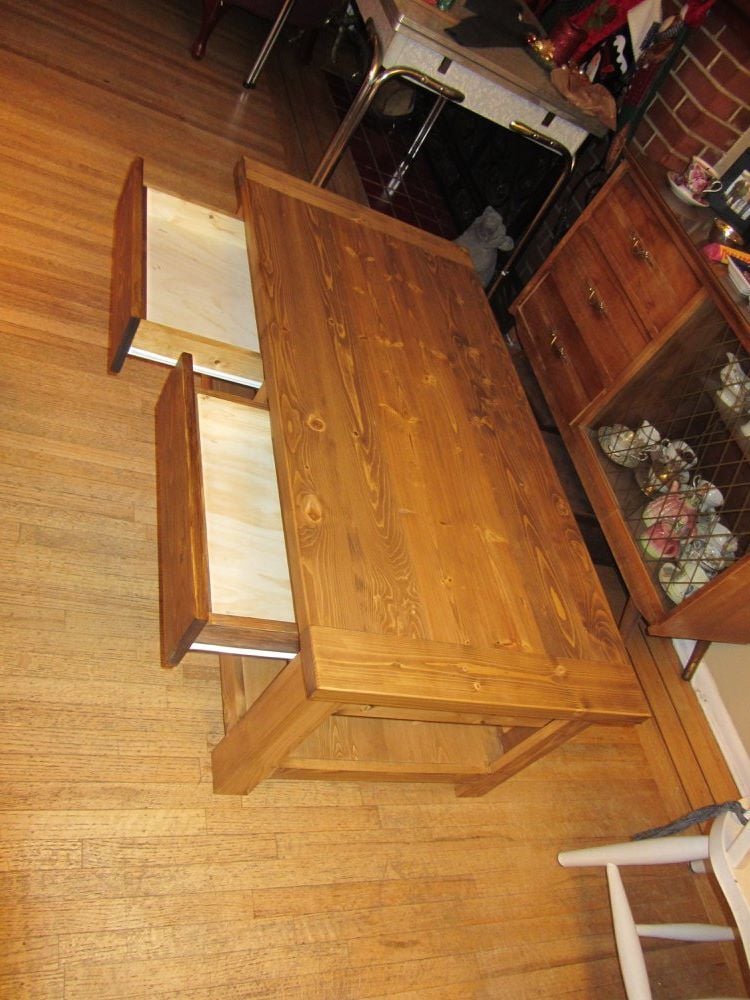
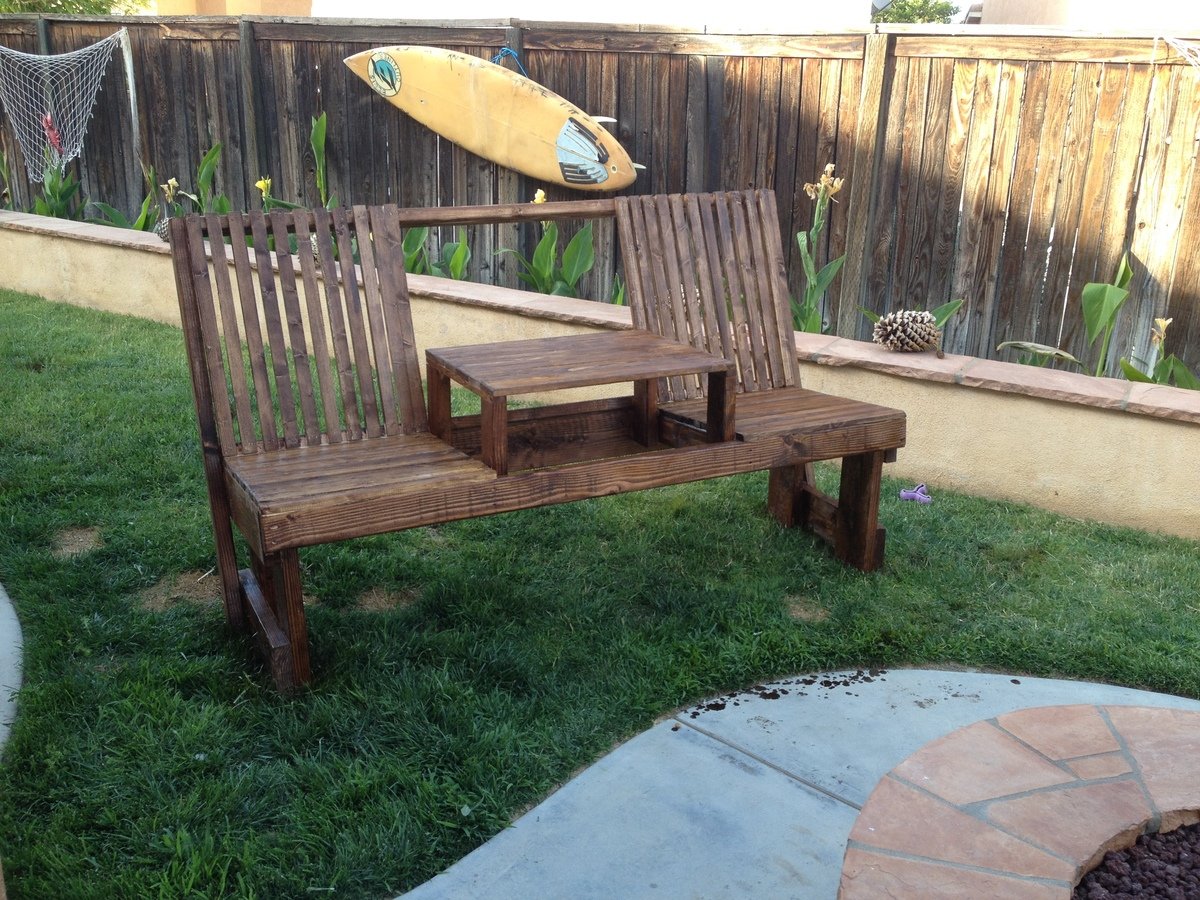
I left off the casters, but added a one inch foam pad covered with outdoor material to make an ottoman. I made sure the top was removable so we could also use it as storage. I've got a little material left over to make a matching throw pillow.
Built from Plan(s)
Estimated Cost
$13 for the wood, $7 for the handles and $5 for the material. All other material I had on hand
Estimated Time Investment
Afternoon Project (3-6 Hours)
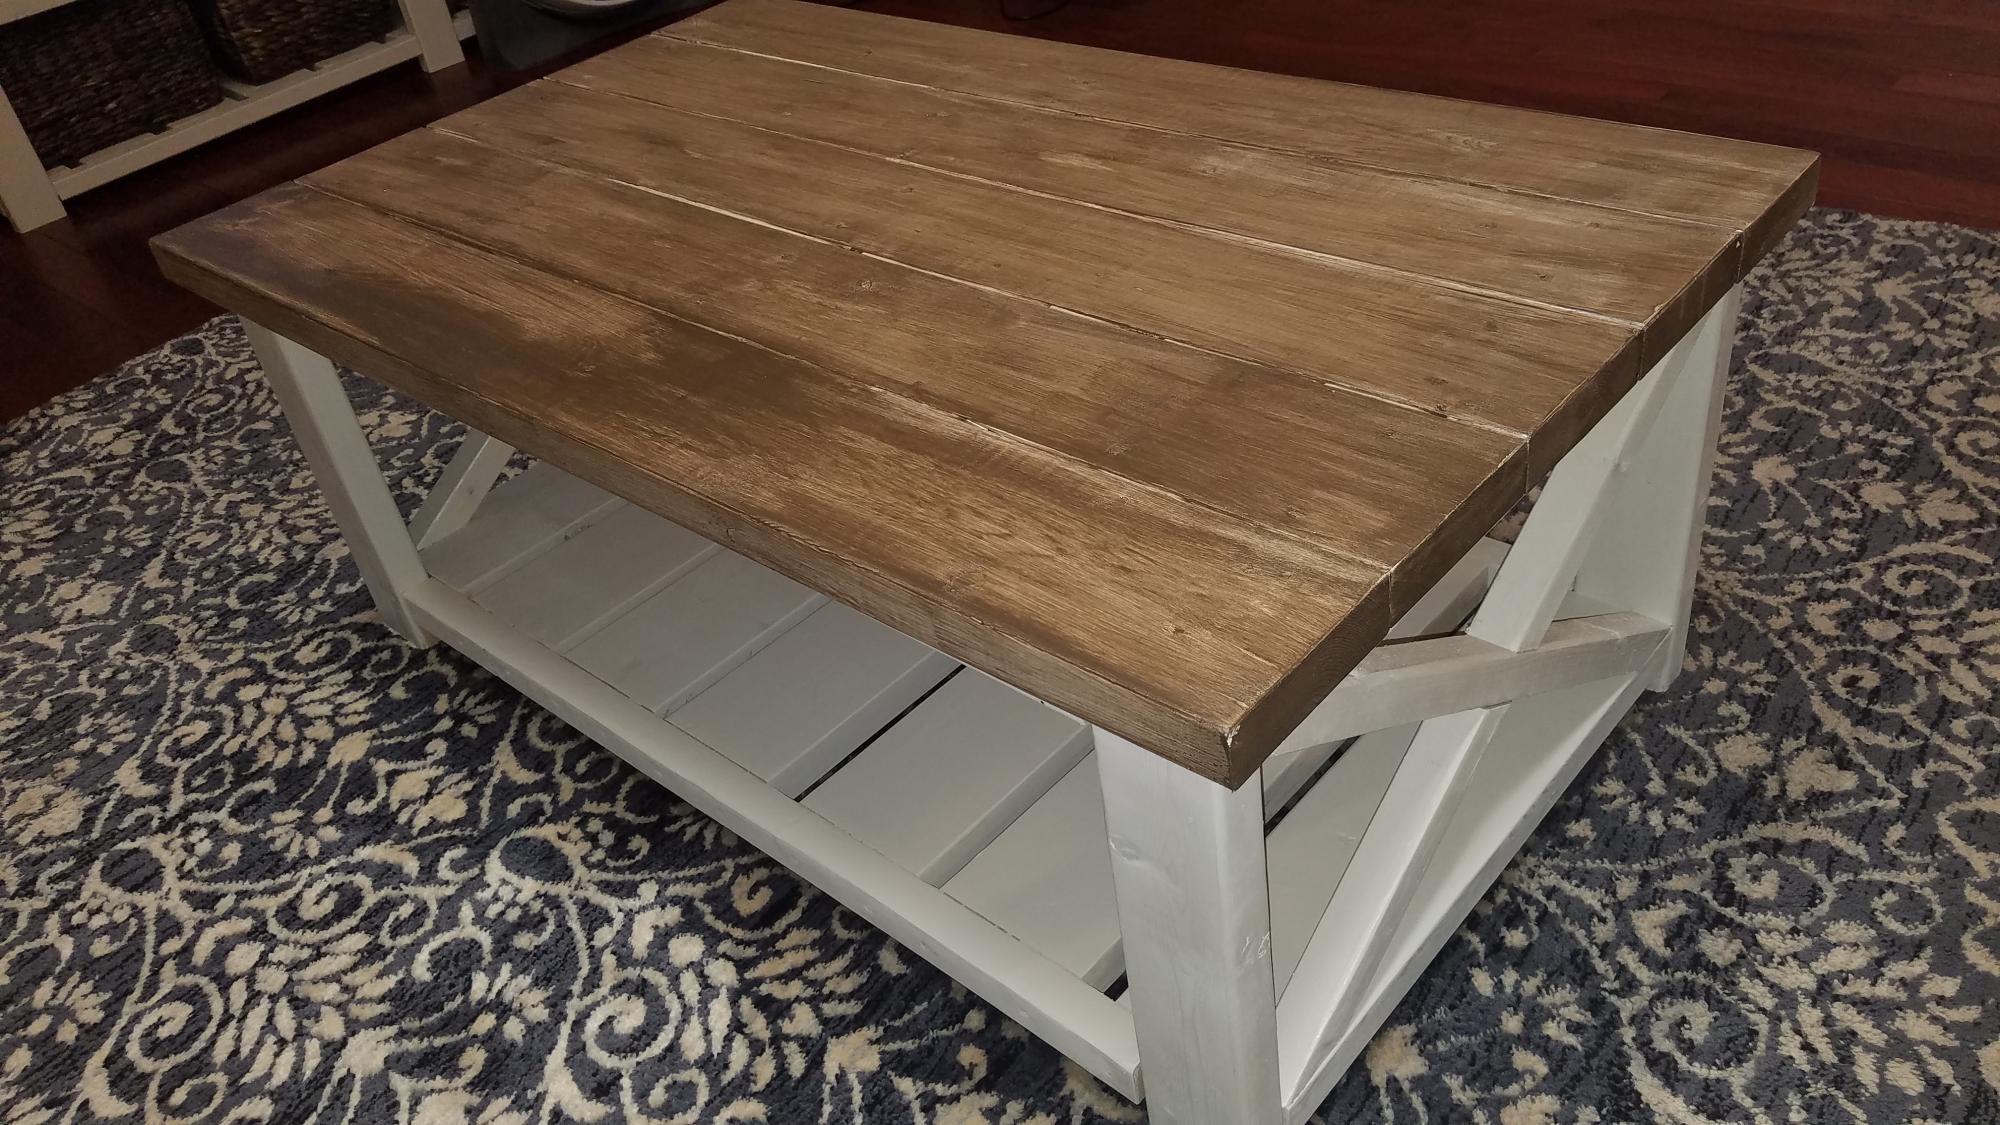
Finish Used
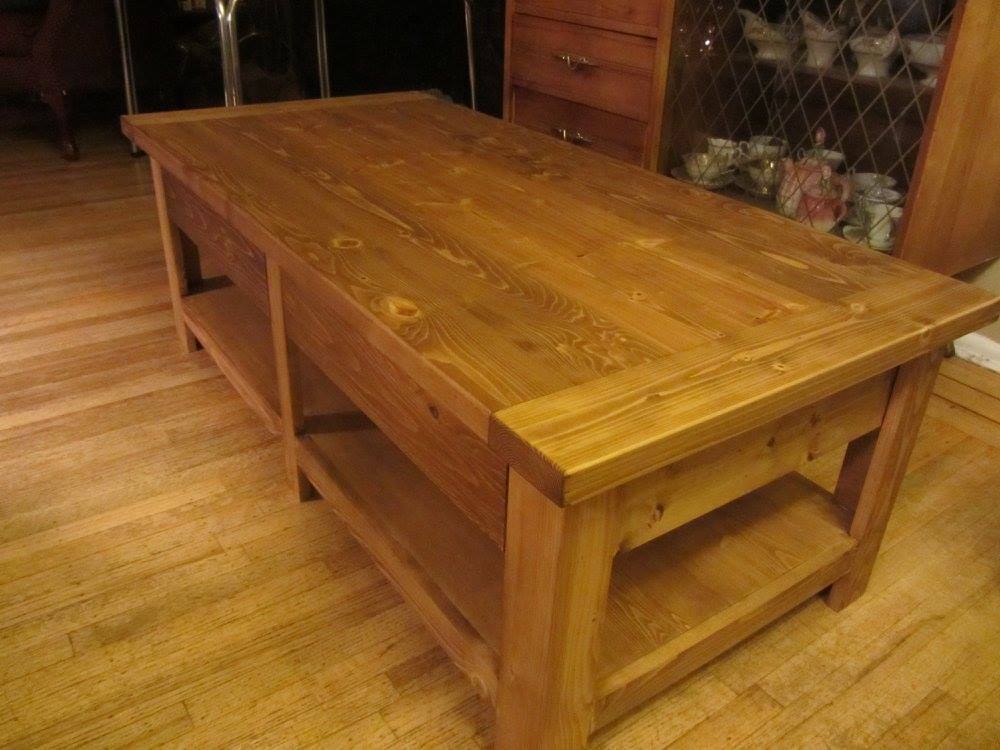
Minwax stain and polyurethane semi-gloss
Recommended Skill Level
Beginner