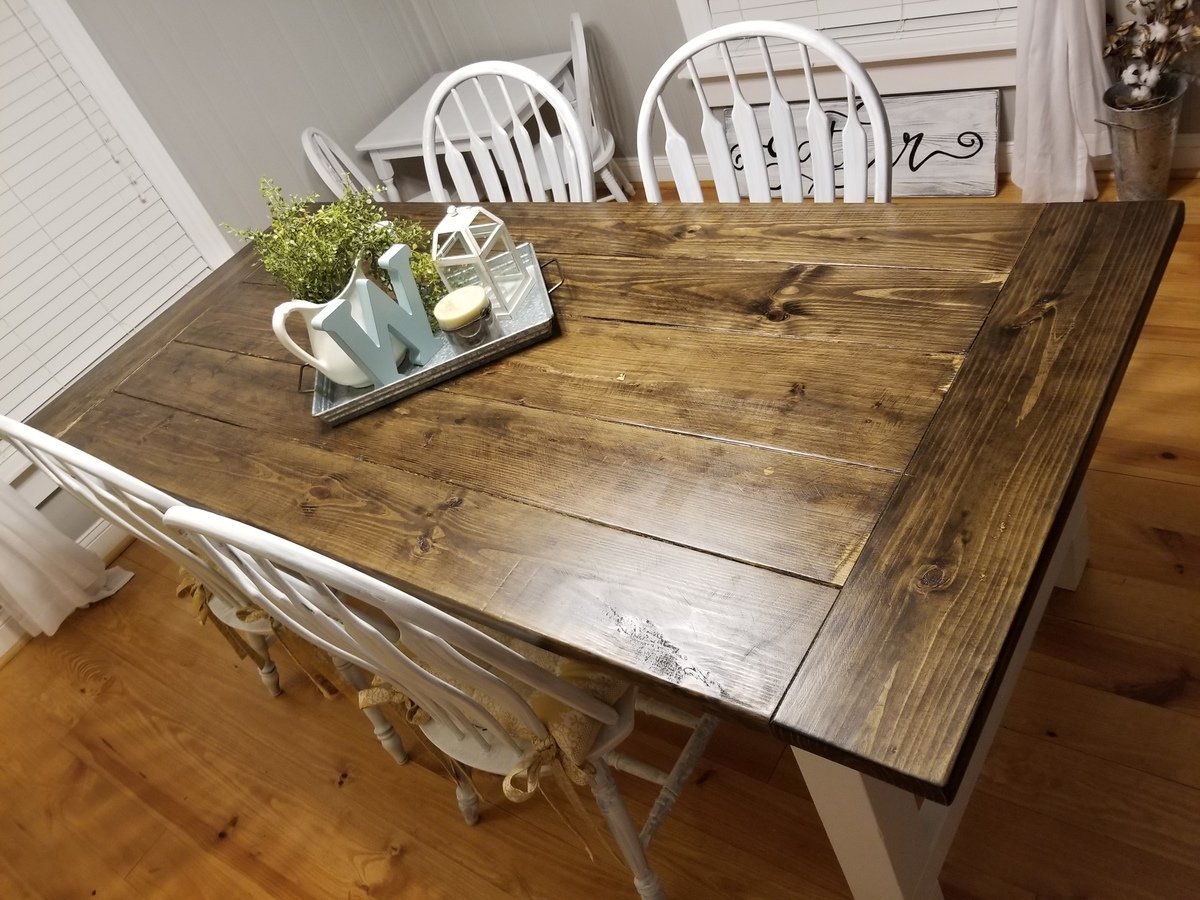
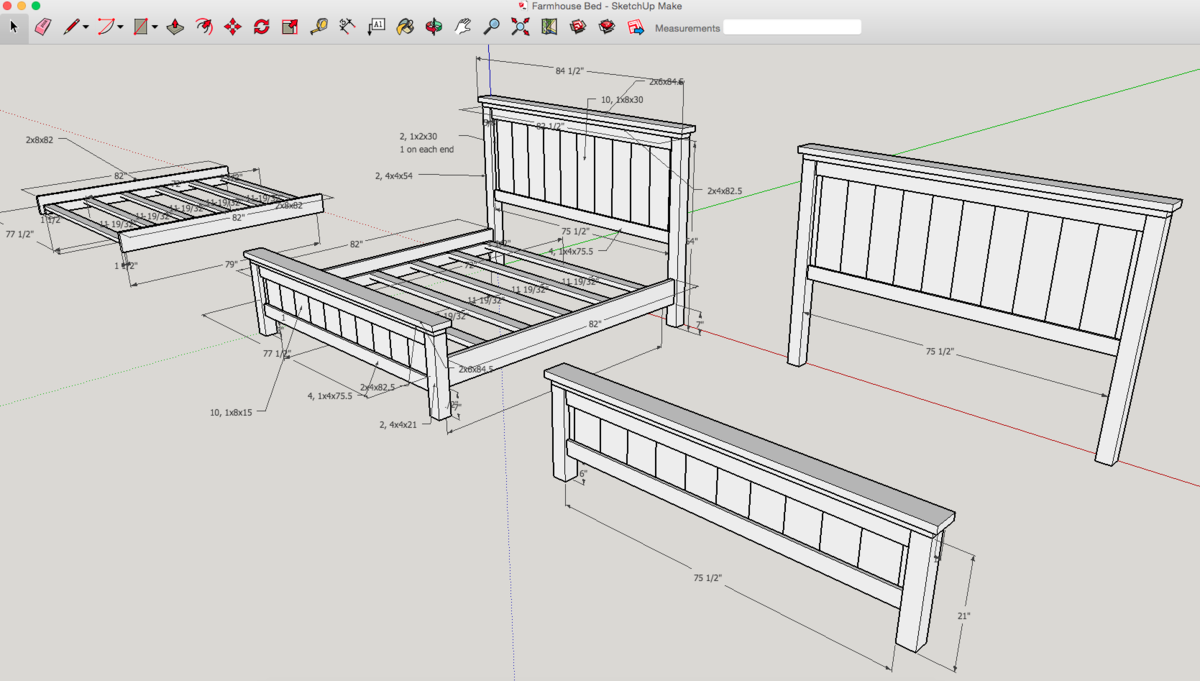
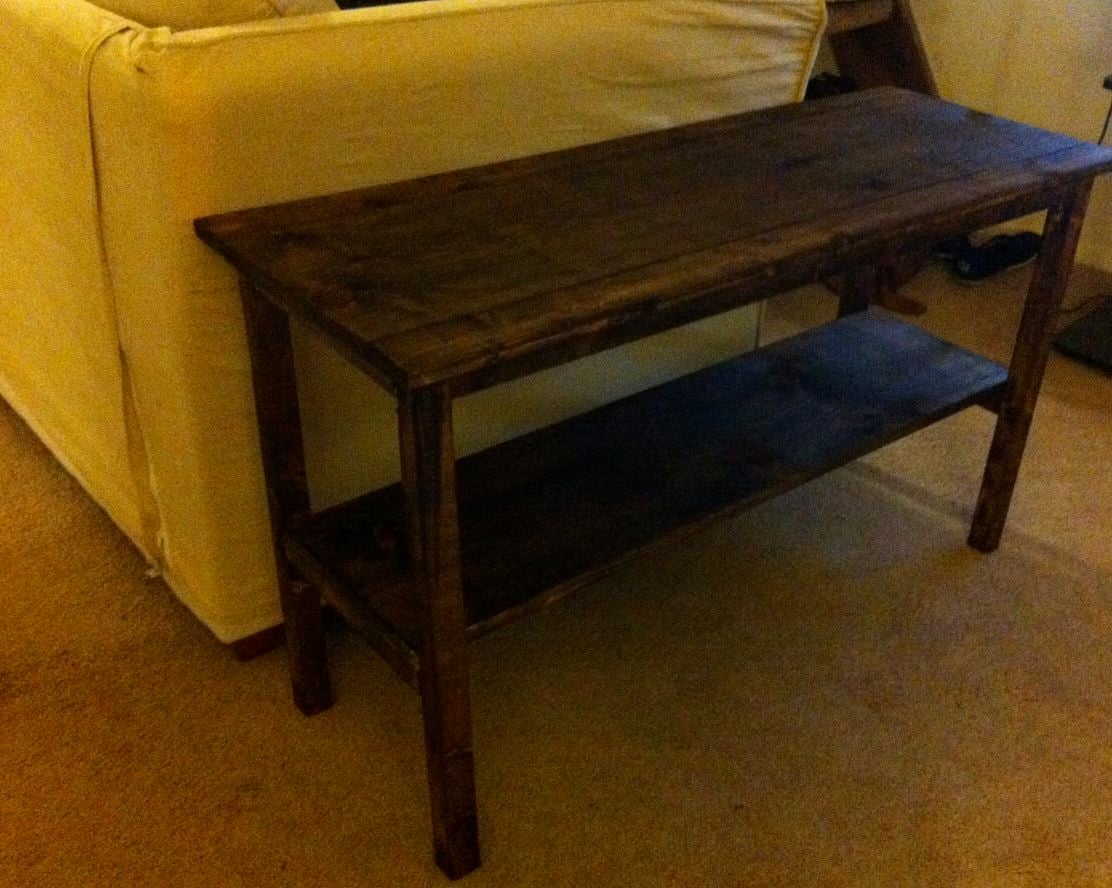
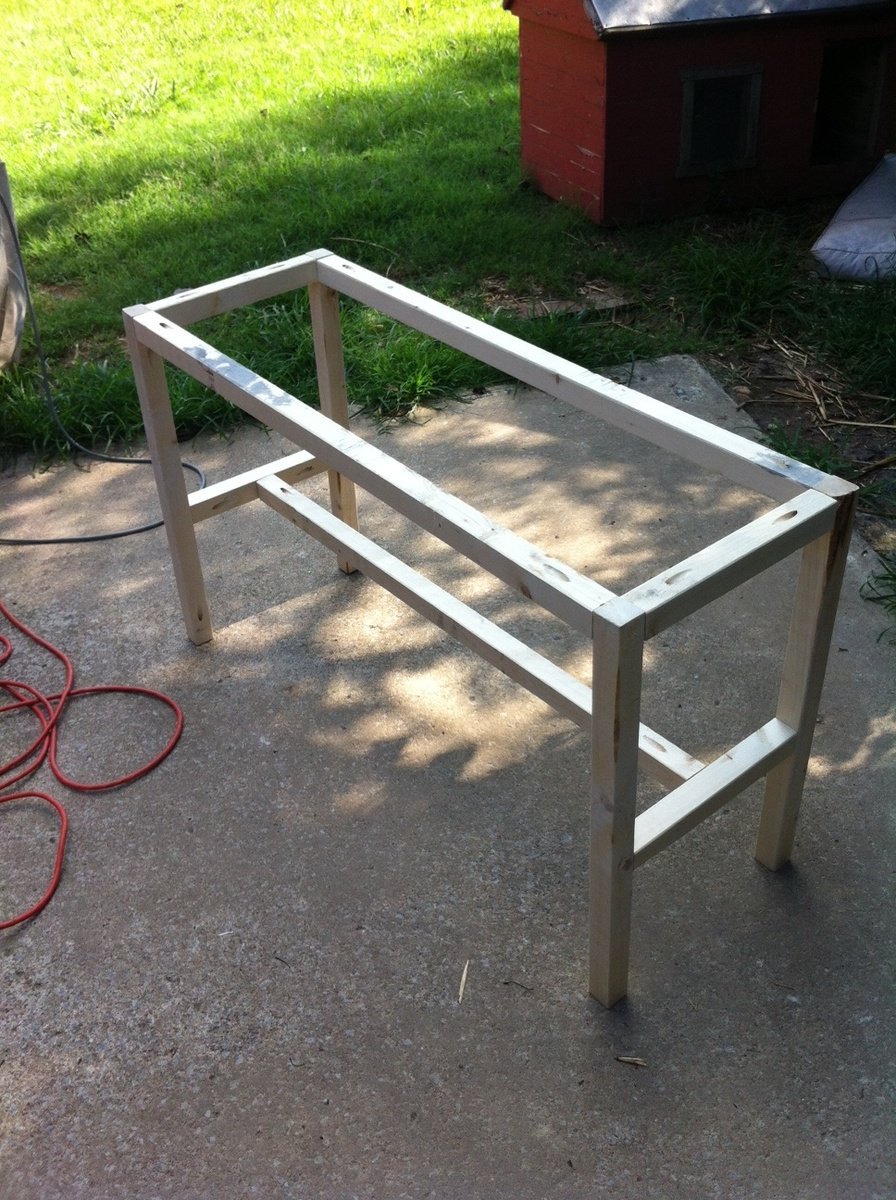
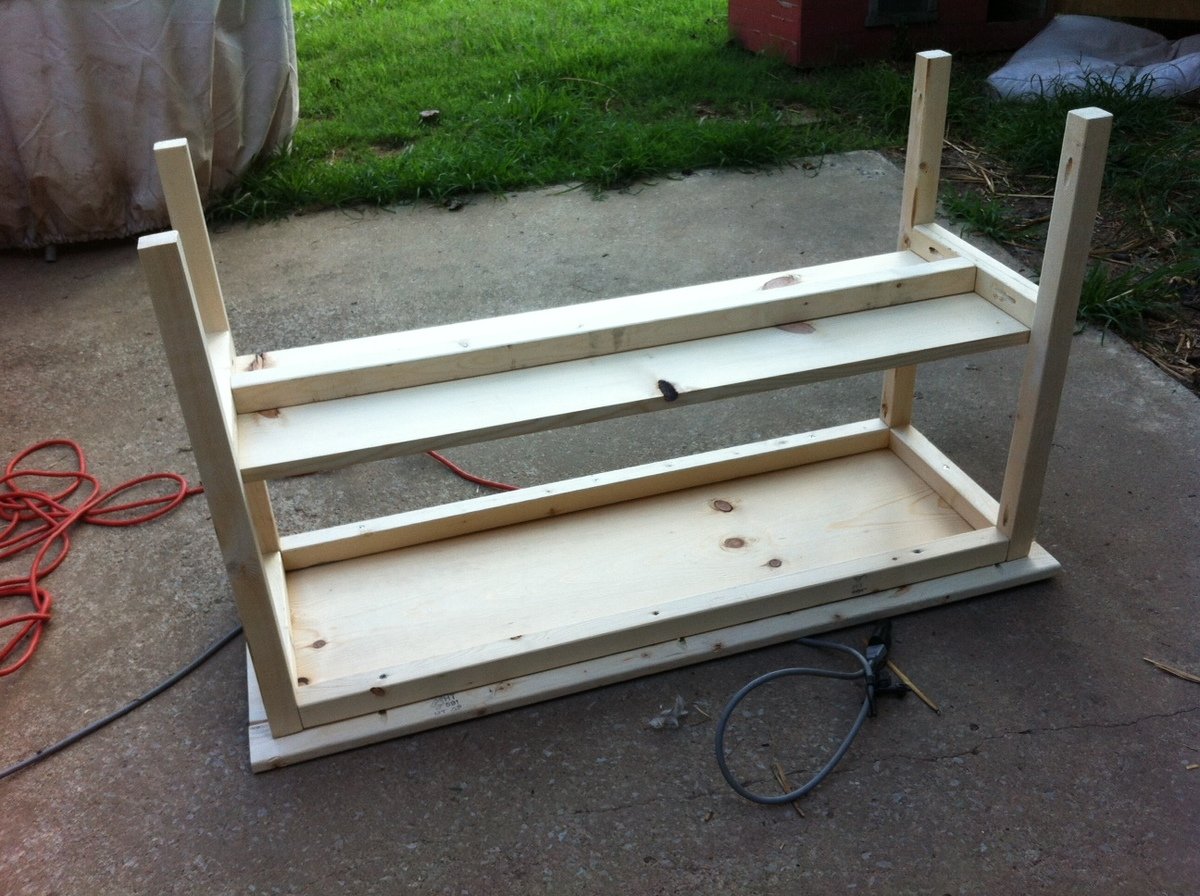
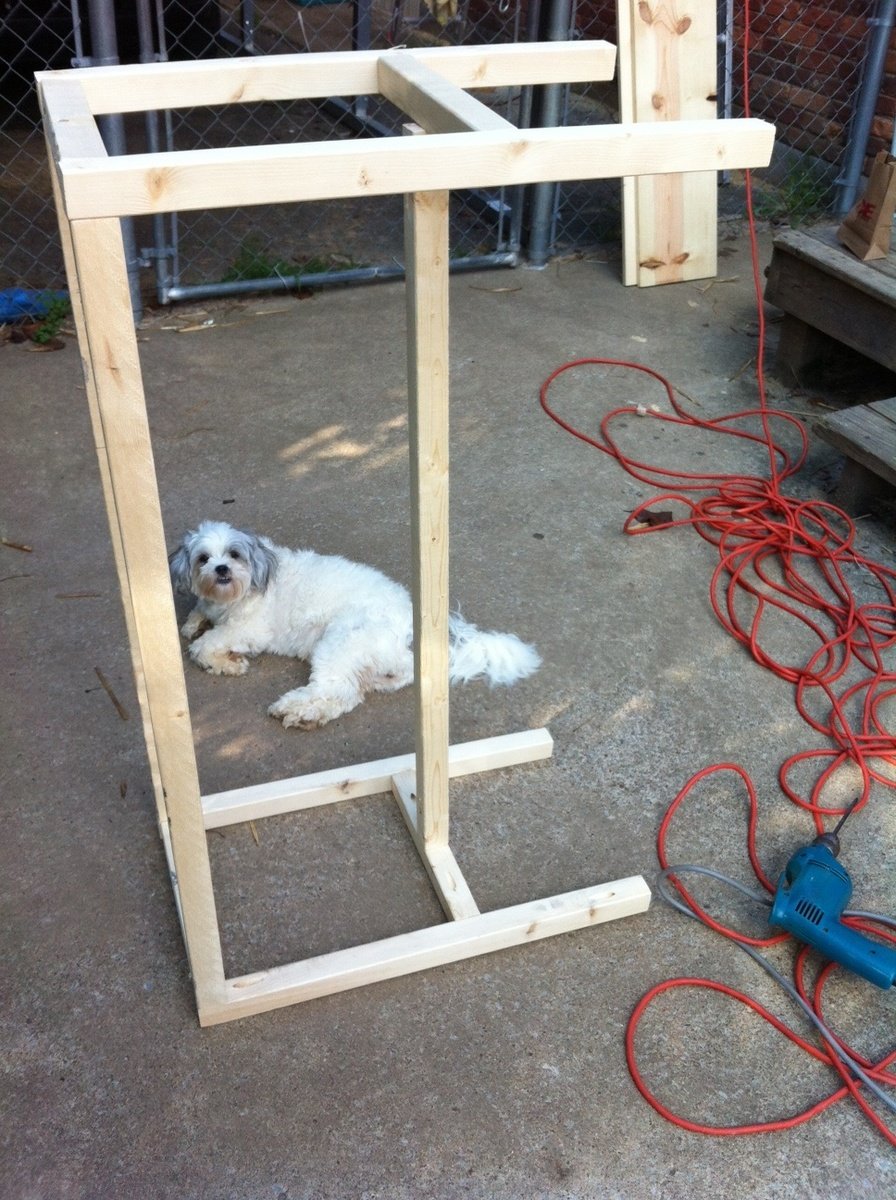
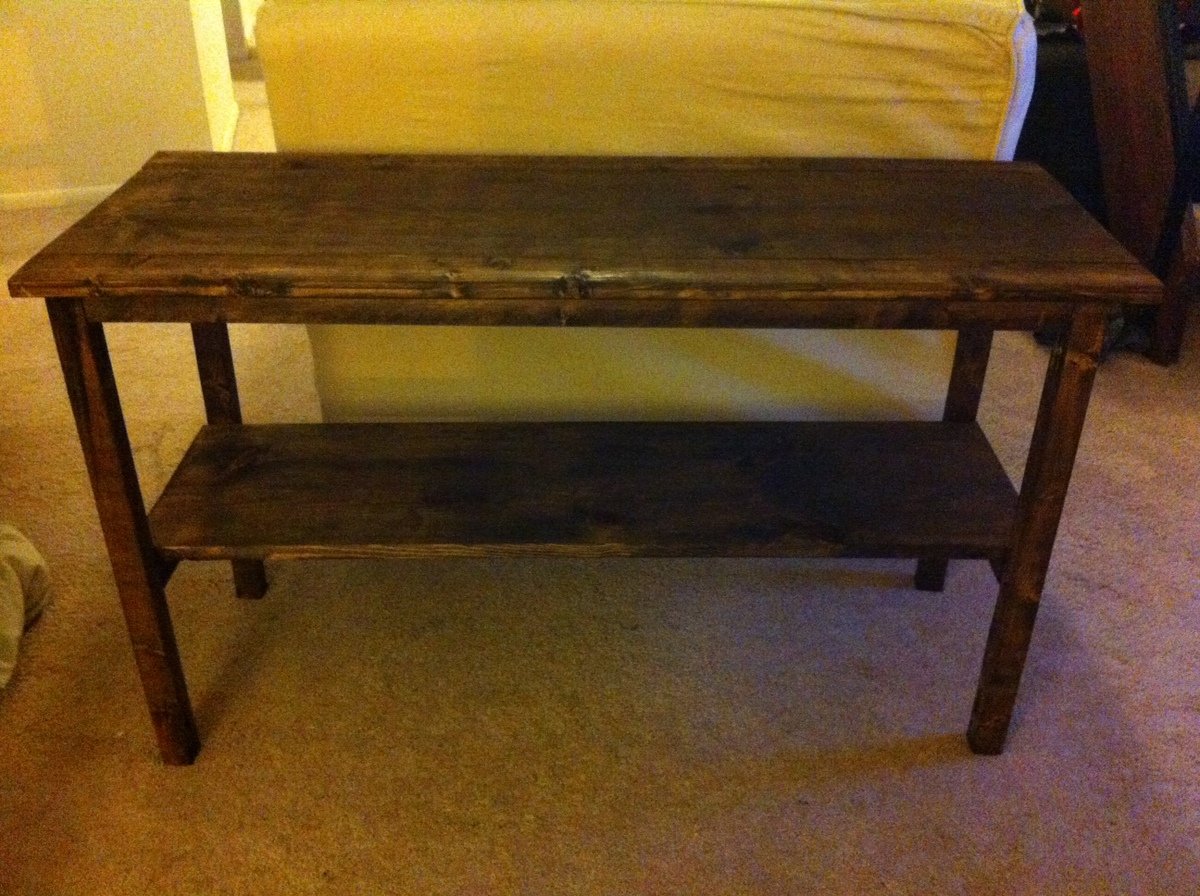
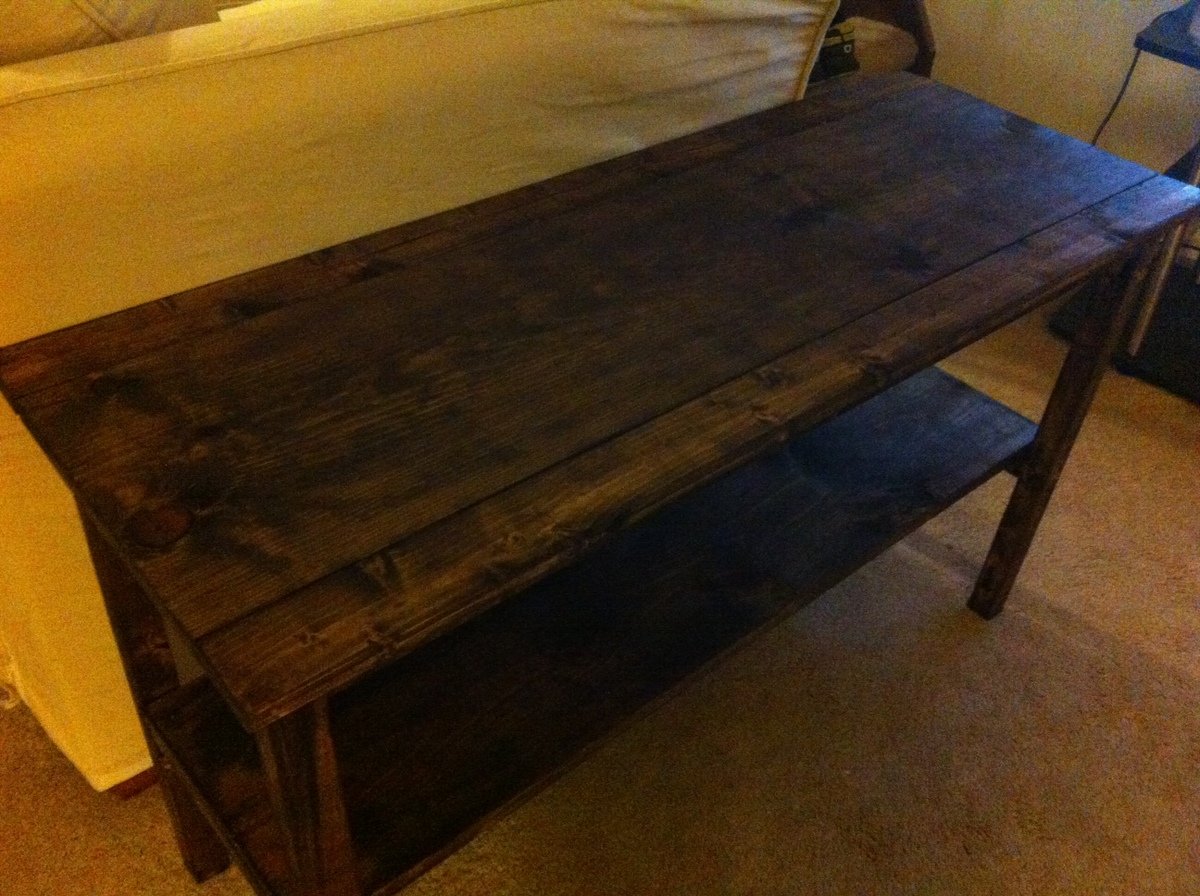
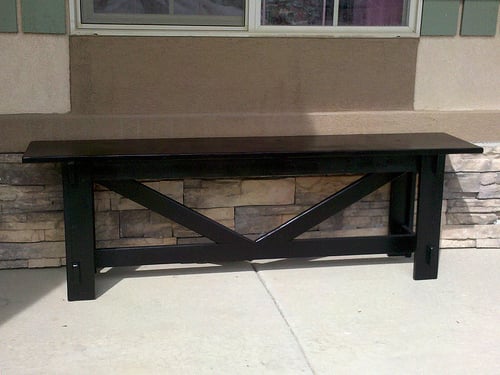
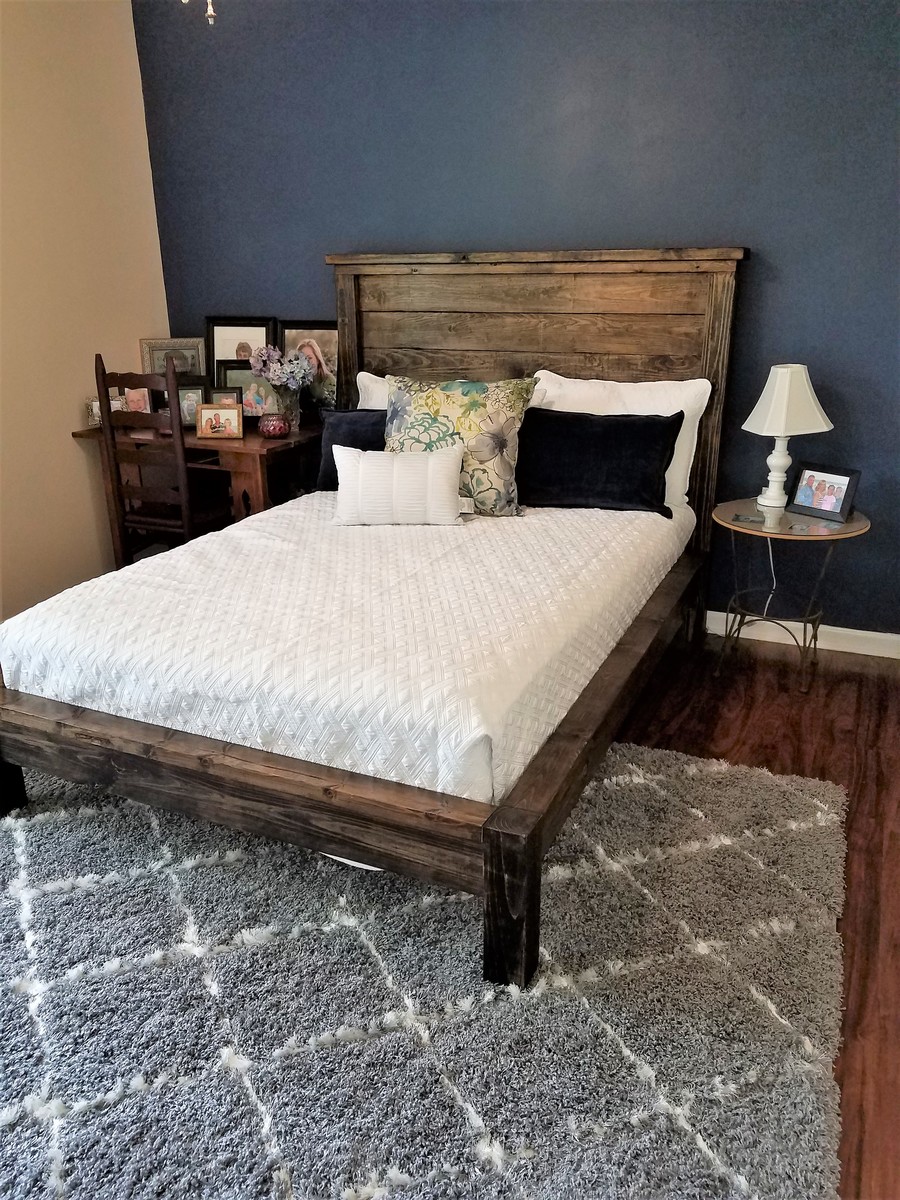
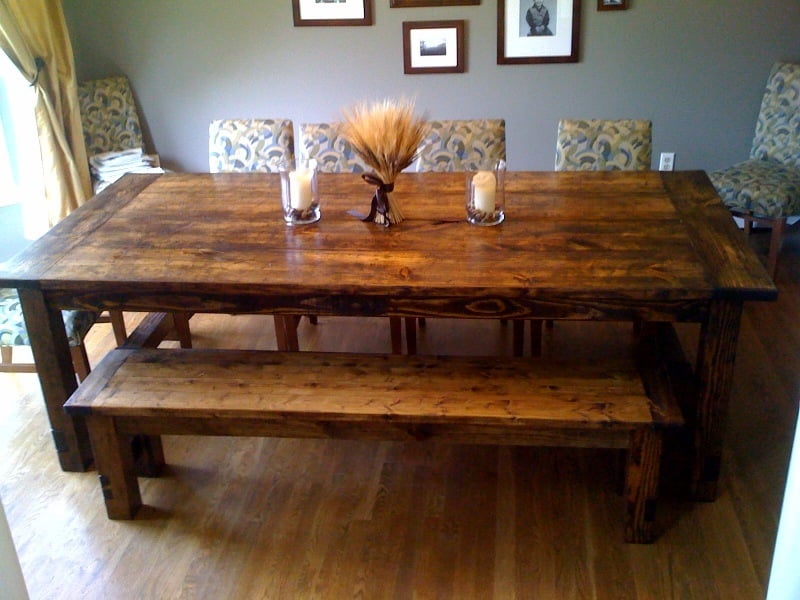
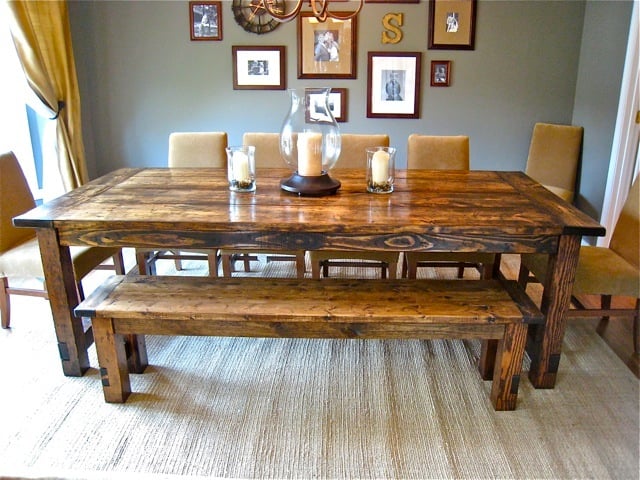
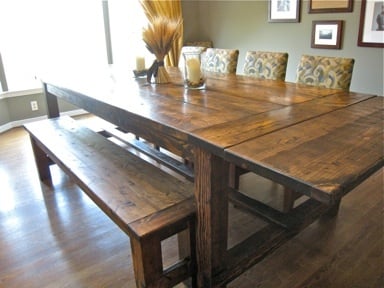
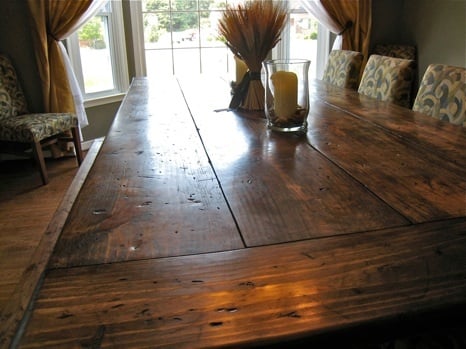
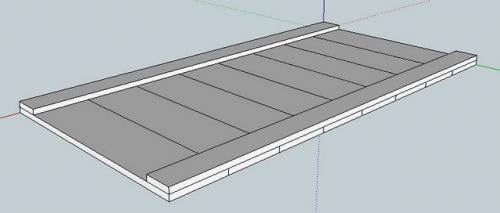
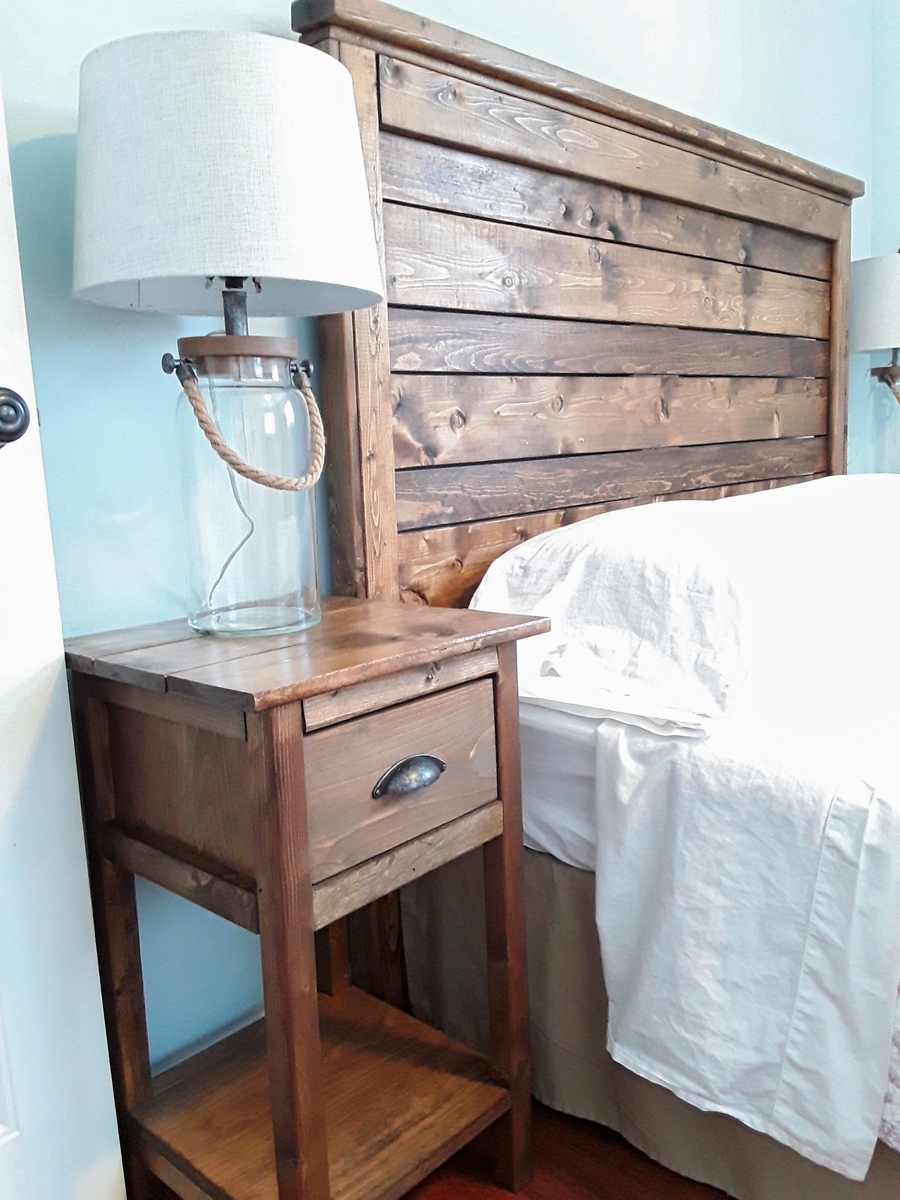
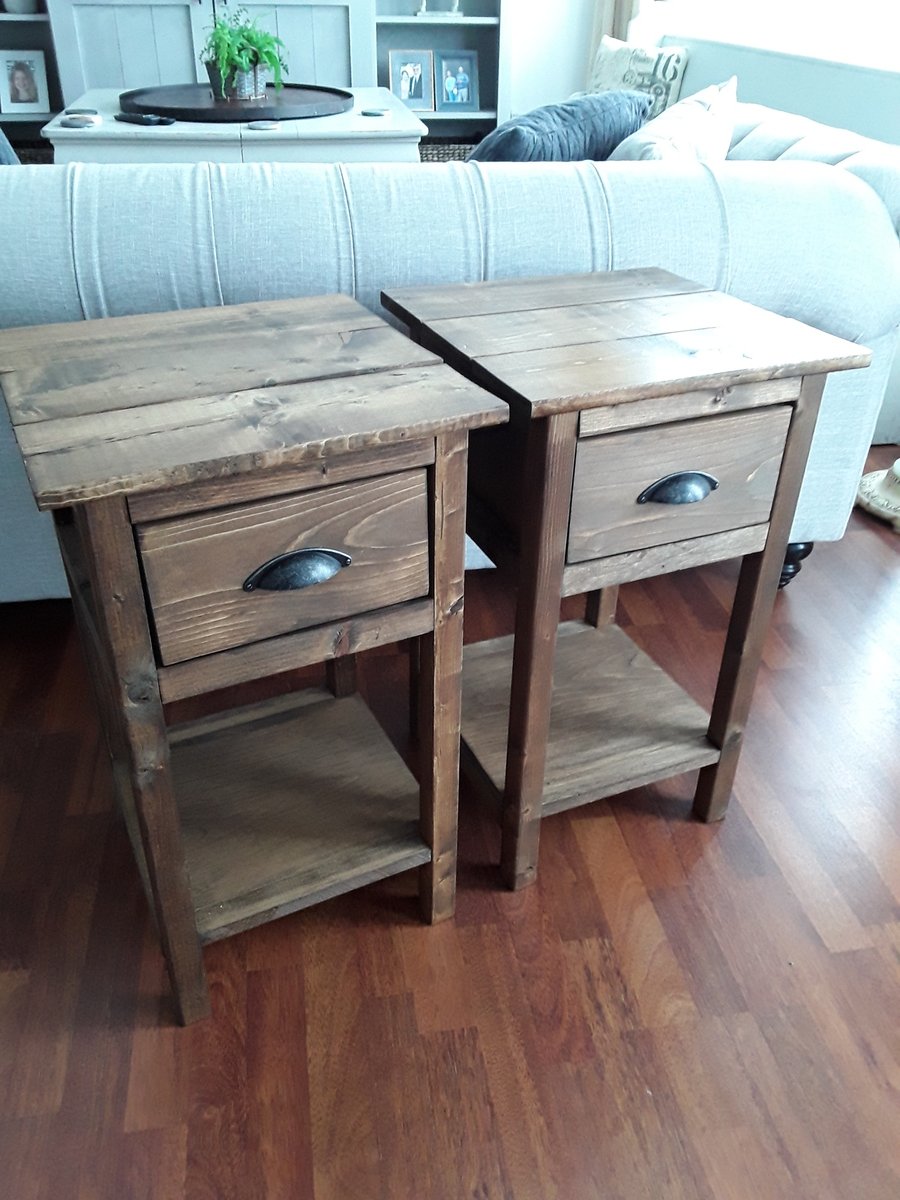
My Ana white farmhouse table
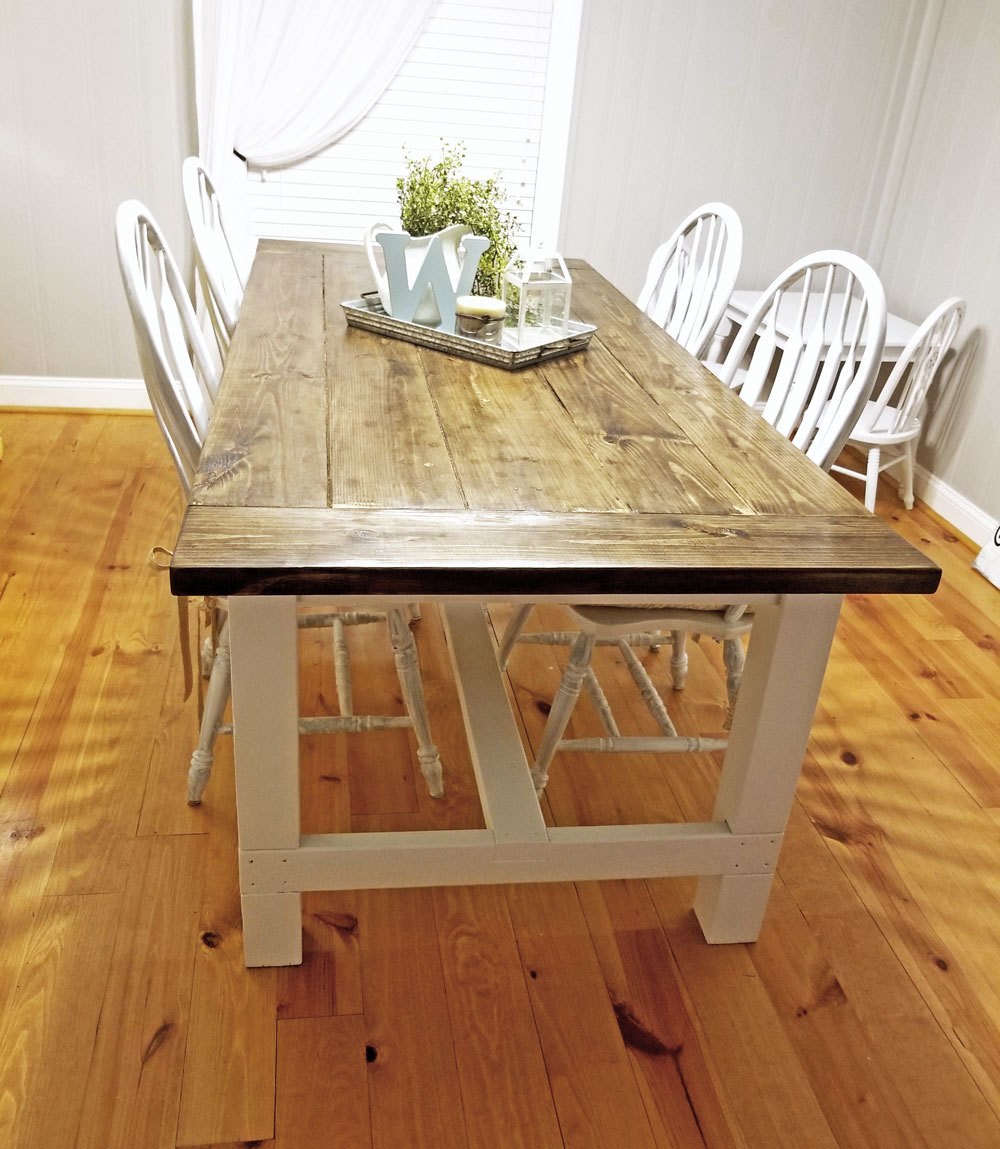
After buying our first home we decided we wanted to build our own kitchen table so we stumbled across Ana's plans and I'm so glad that we did!
Built from Plan(s)
Estimated Cost
$90 bucks give or take.
Estimated Time Investment
Day Project (6-9 Hours)
Finish Used
Minwax
Polyurethane
Sanding sealer
Dark walnut stain
Sherwin williams
Satin white
Polyurethane
Sanding sealer
Dark walnut stain
Sherwin williams
Satin white
Recommended Skill Level
Beginner


