Adjustable Height Sawhorses

Difficulty
Intermediate
| Print this plan

DIY your own adjustable height sawhorses! Free plans by ANA-WHITE.com
Hi there!

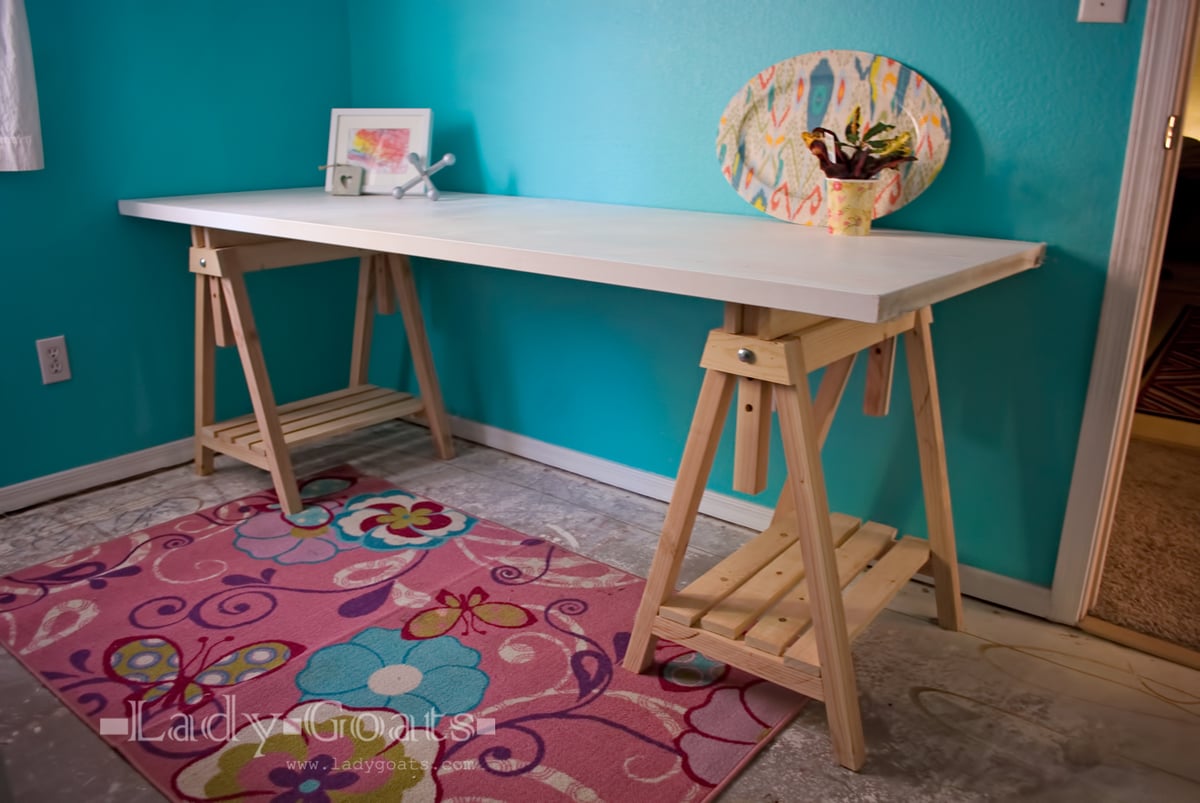
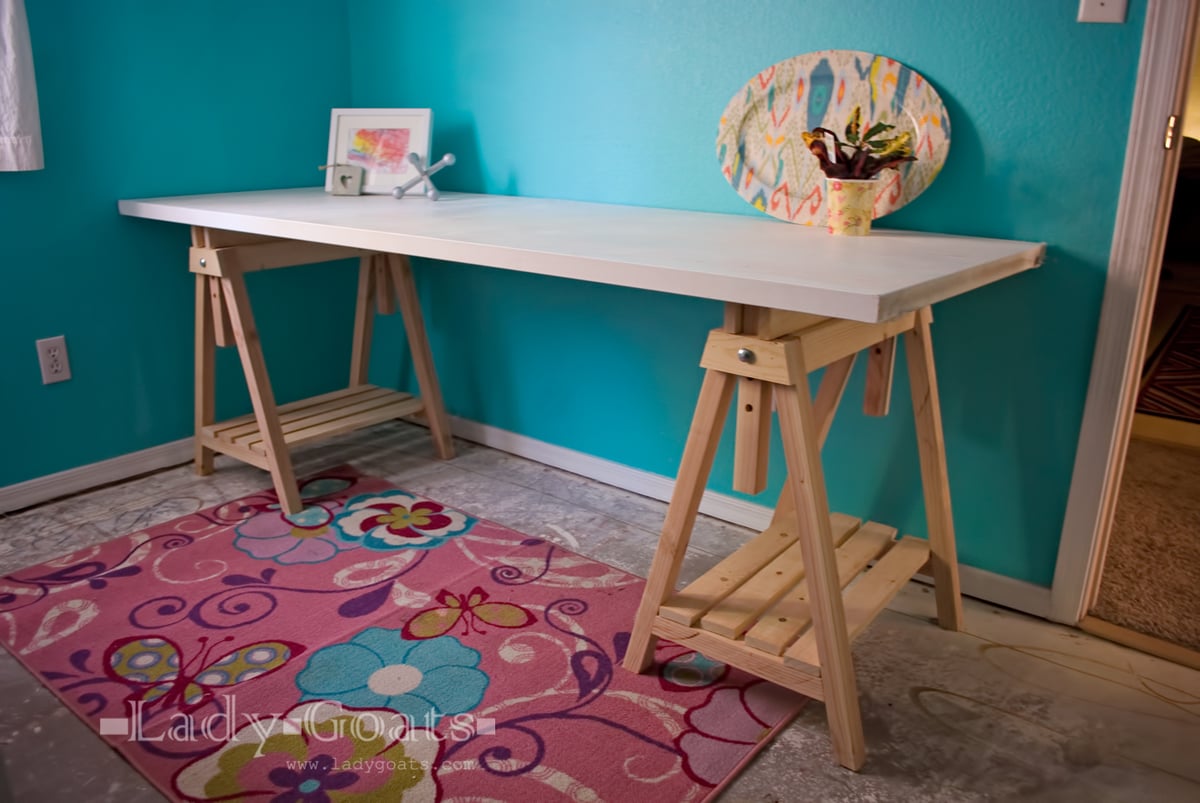
For years, I've wanted to get you all plans for adjustable table to bar height sawhorses - like these guys -

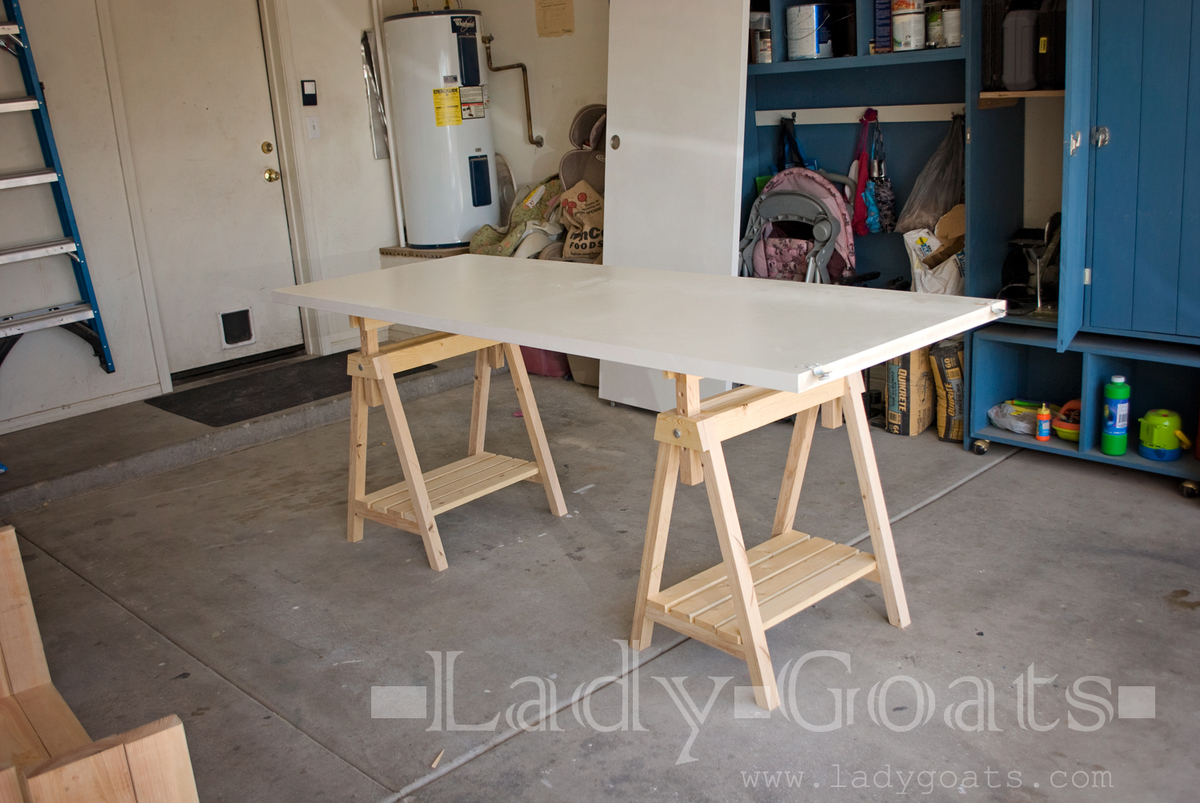
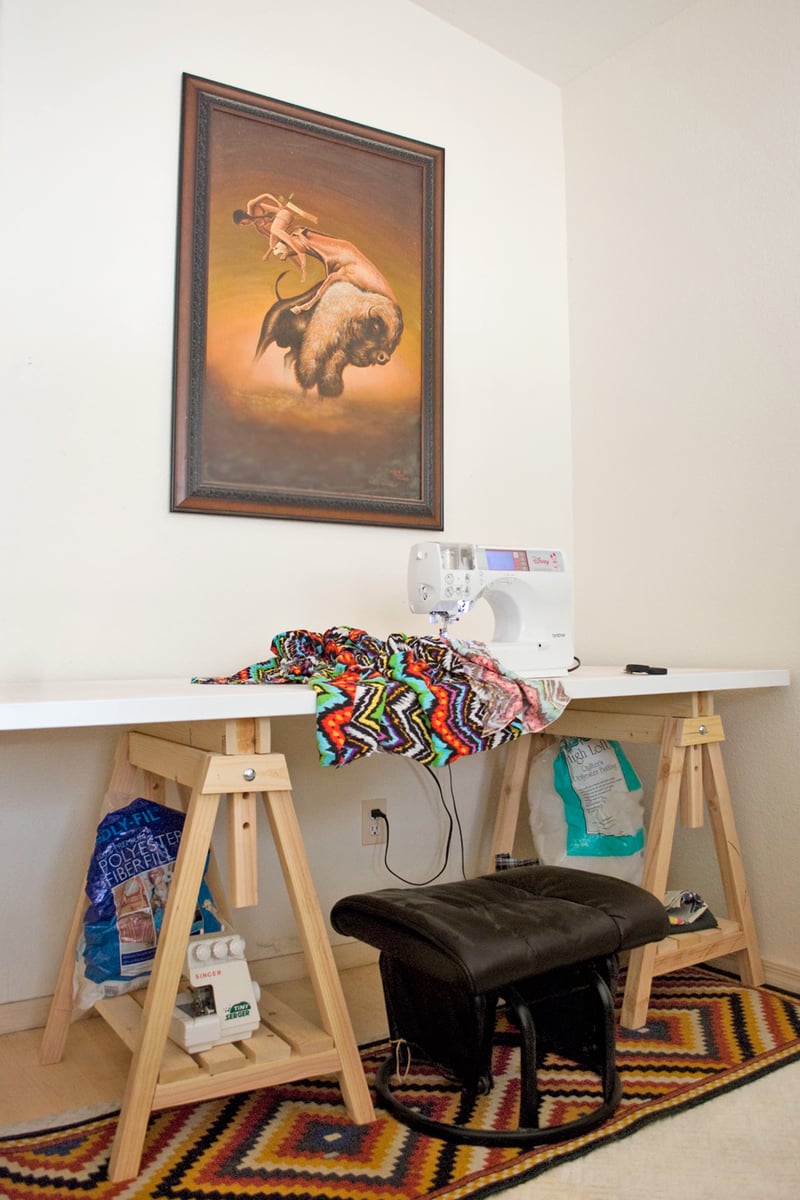
image from Lady Goats

There is a couple of reason I haven't.  One, at $35 a sawhorse - sure we can do alot better than that - but it's not like you are saving hundreds or thousands to DIY your own.  That, and this project presented some design challenges - I try really hard to create plans that don't require specialty tools, and although I know many of you do have tablesaws that bevel (myself included), many of you don't.  

But when my friend Gina from Lady Goats told me she wanted to make four sawhorses, I knew we could save about $100 on four - that, and it's way more fun to build your own, right?

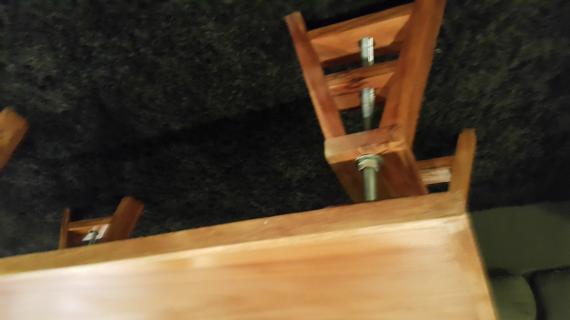
Inspired by the IKEA design, I simplified the project by placing the adjusting dowel between the legs -

Only a few angle cuts this way.

Lady Goats nailed this project - well, she actually screwed and bolted it together.

I love how it turned out!

Check out Lady Goat's building post here - she's got a really clever way of drilling those adjustment holes!  And lots more photos.

See you back here for plans (click read more below if this is the home page).

XO Ana

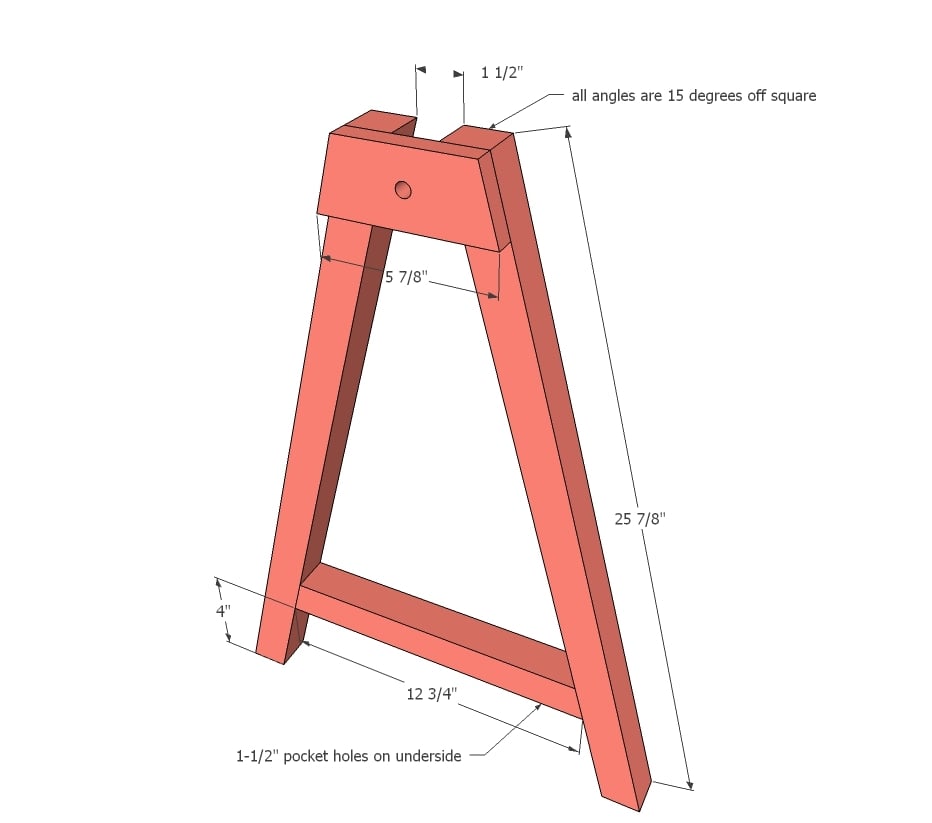
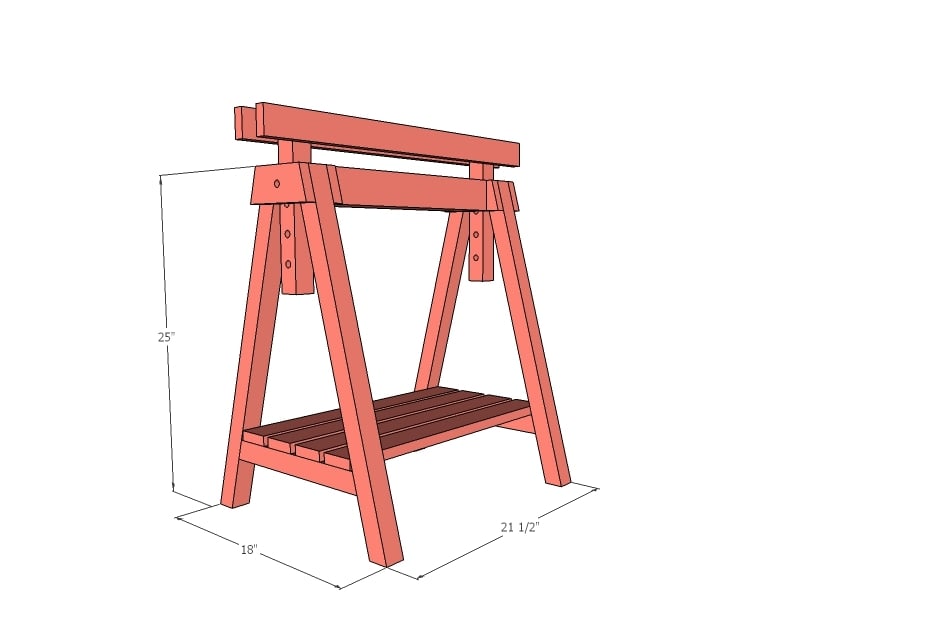
Dimensions
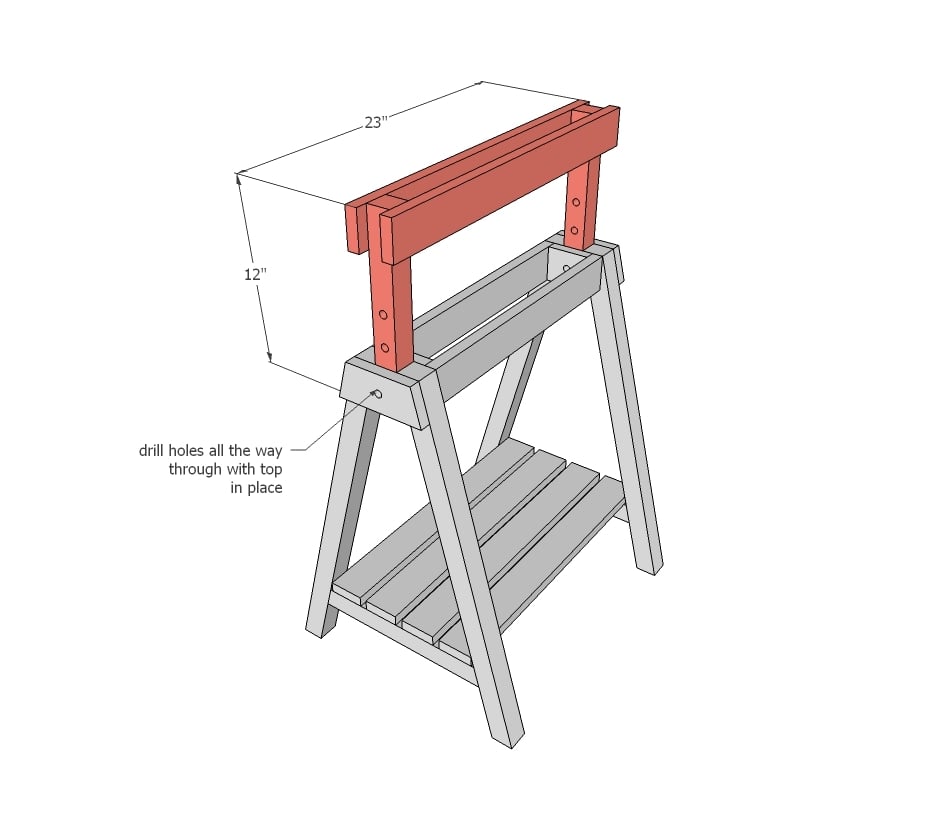
Dimensions shown above. Adjustable top height.

Preparation

Shopping List

For TWO Sawhorses
4 - 2x2s
4 - 1x3s

Common Materials
1 1/4 inch finish nails
120 grit sandpaper
Cut List

CUT LIST - 2 Sawhorses
8 - 2x2 @ 25-7/8" long, both ends cut PARALLEL at 15 degrees off square
4 - 2x2 @ 12-3/4" long, both ends cut NOT PARALLEL at 15 degrees off square, longest point measurement
4 - 1x3 @ 5 7/8" long, both ends cut NOT PARALLEL at 15 degrees off square, longest point measurement
4 - 1x3 @ 3" long
4 - 1x3 @ 18-1/2"
8 - 1x3 @ 21-1/2"
4 - 2x2 @ 12"
4 - 1x3 @ 23"

Tools
Tape Measure
Speed Square
Pencil
Safety Glasses
Hearing Protection
Kreg Jig
Drill
Miter Saw
Brad Nailer
General Instructions

Please read through the entire plan and all comments before beginning this project. It is also advisable to review the Getting Started Section. Take all necessary precautions to build safely and smartly. Work on a clean level surface, free of imperfections or debris. Always use straight boards. Check for square after each step. Always predrill holes before attaching with screws. Use glue with finish nails for a stronger hold. Wipe excess glue off bare wood for stained projects, as dried glue will not take stain. Be safe, have fun, and ask for help if you need it. Good luck!

Instructions

Step 1

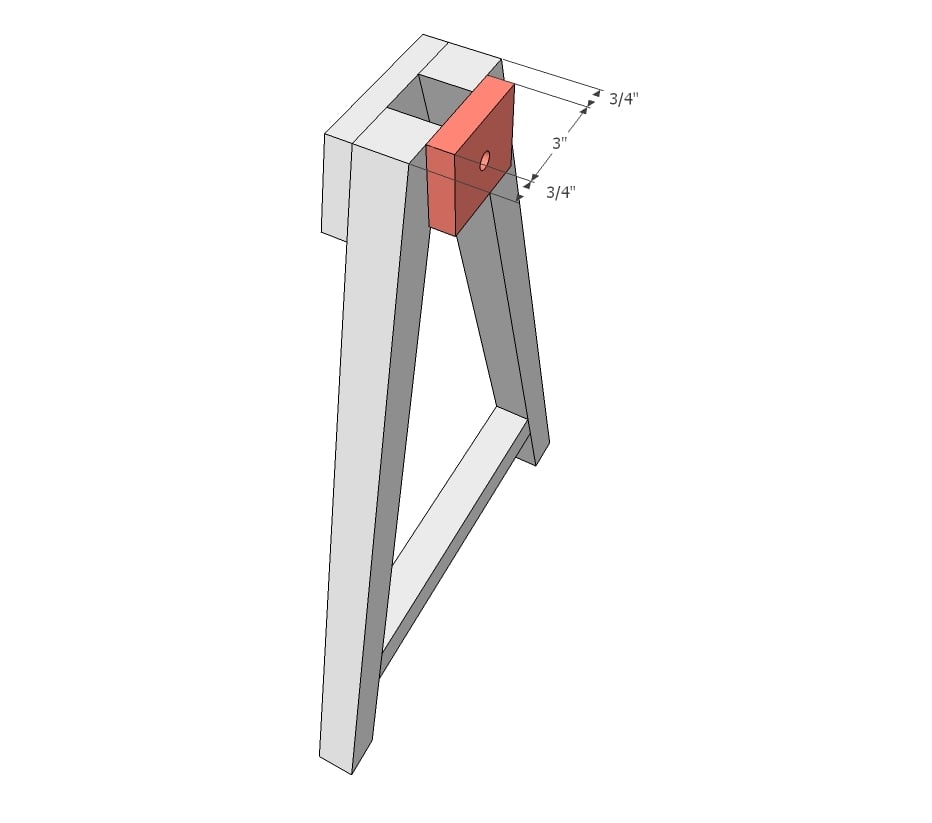
Start by building two legs per each sawhorse you want to make. I recommend using the Kreg Jig to attach the 2x2s together, but you can nail and glue the top piece on.

Step 2

Nail and glue the inside piece on.

Step 3

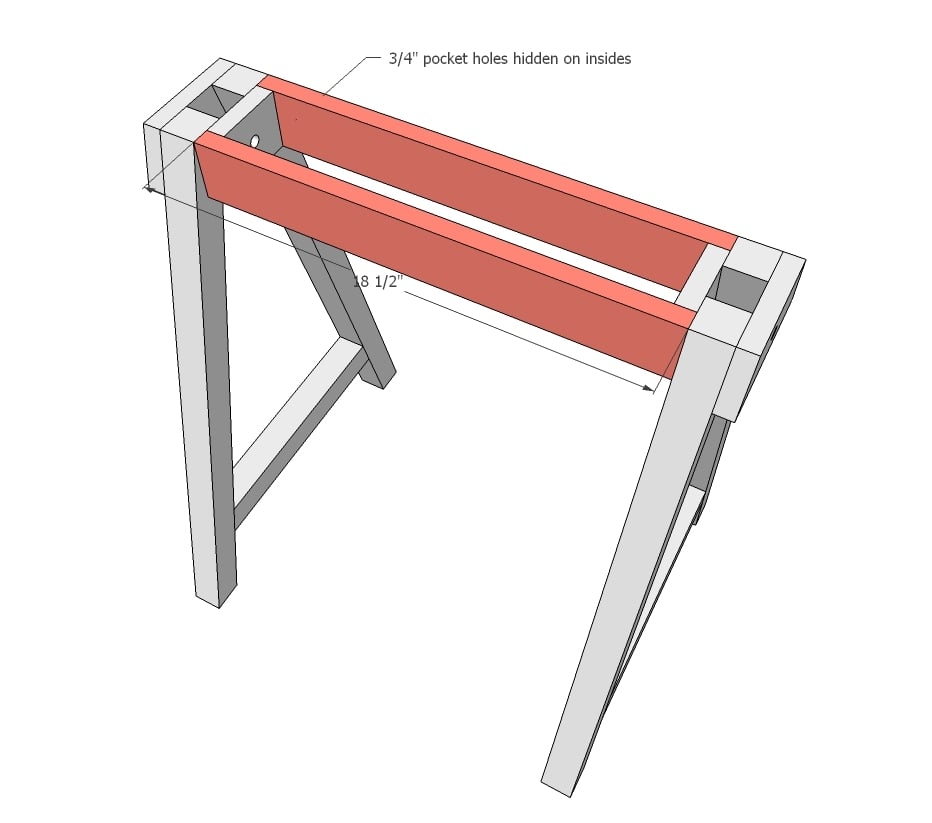
Nail and glue the horizontal supports to the two leg pieces.

Step 4

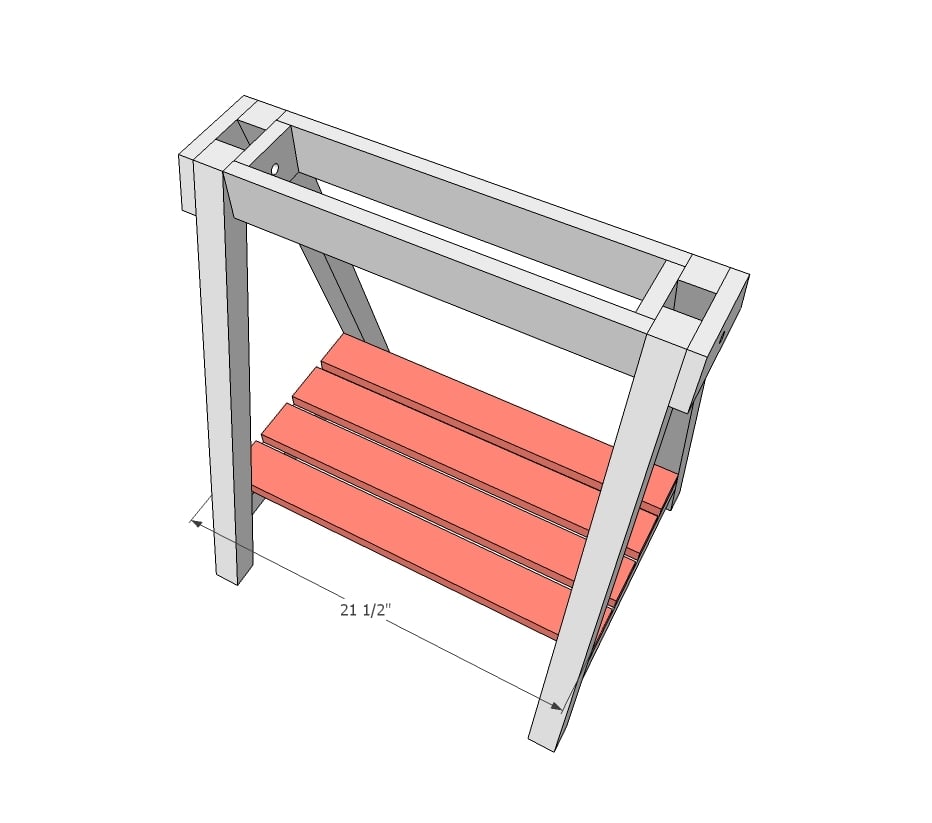
Nail and glue the shelving boards to the bottom 2x2s.

Step 5

Finishing Instructions
Preparation Instructions
Fill all holes with wood filler and let dry. Apply additional coats of wood filler as needed. When wood filler is completely dry, sand the project in the direction of the wood grain with 120 grit sandpaper. Vacuum sanded project to remove sanding residue. Remove all sanding residue on work surfaces as well. Wipe project clean with damp cloth.

It is always recommended to apply a test coat on a hidden area or scrap piece to ensure color evenness and adhesion. Use primer or wood conditioner as needed.