


Make barn style door! Free DIY plan from Ana-White.com
Thank you everyone for your positive feedback on my greenhouse! I can't tell you how excited we are to have a greenhouse!
I just had to share the plans with you a couple weeks back, knowing some of you may be needing a greenhouse as well. And today, I am circling back around to show you a few projects we added to the greenhouse, including the door.
But first, I wanted to show off my garden!!!
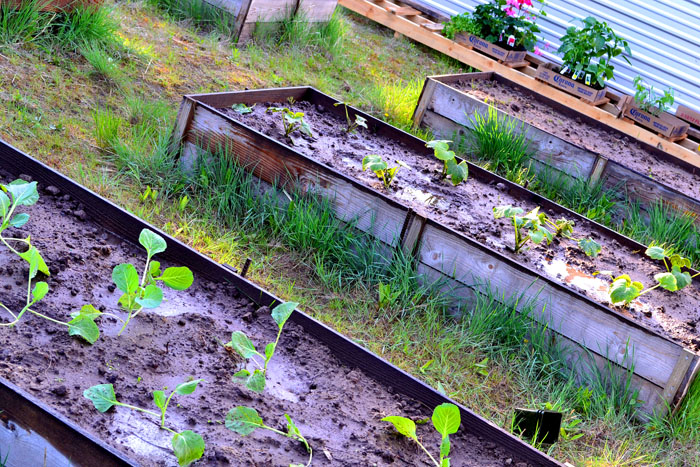
Yep, those are my $10 Cedar Raised Garden Beds!!!! This is the third year I have used them for my gardens, and they are holding up very well with no damage, rotting, or warping.
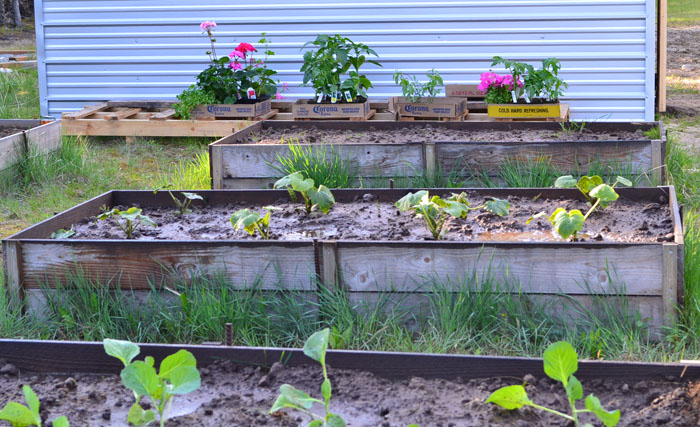
Since building these beds a few years back, we have do no work on the raised beds themselves - just tilling the soil up with a shovel every spring and putting the plants in the beds.
I had wanted raised beds for a while, but they can cost hundreds of dollars a bed - multiply that by say 10 or 20 beds .... and you are talking thousands of dollars! By using cedar fence pickets, we were able to afford a tidy raised bed garden.
I especially love that I'm not covered in dirt after working in the garden. As summer progresses, grass - though patchy and neglected - fills in between the beds giving us a clean place to work on the garden. The raised beds perform really well, raised from the cool earth and in the sun.
If you haven't already built these raised beds, the plans are here and I highly recommend you giving them a shot - with the nailgun at least!!!
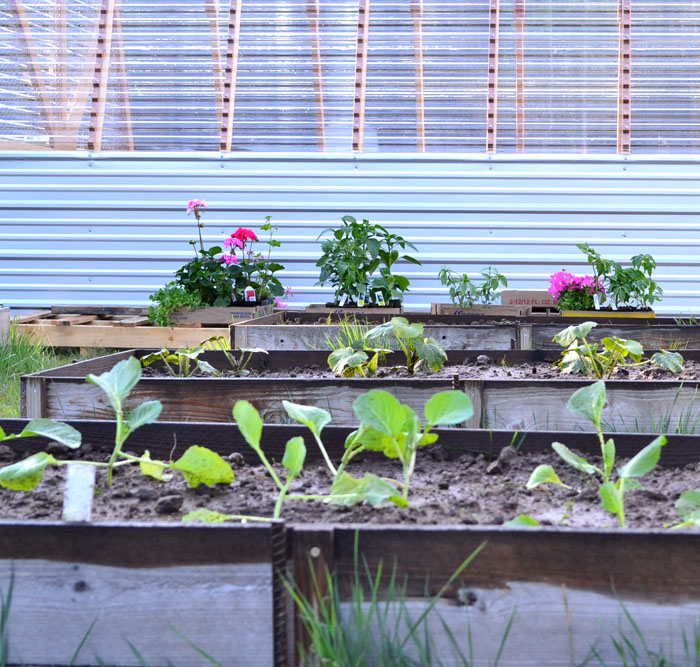
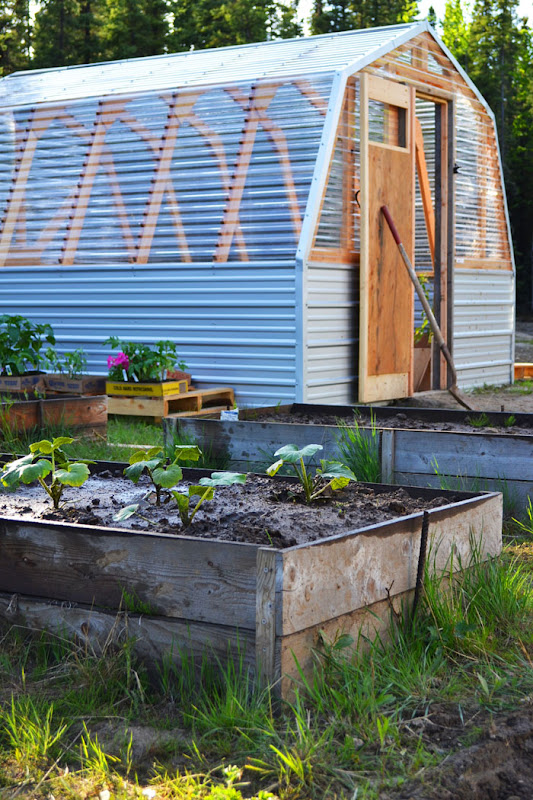
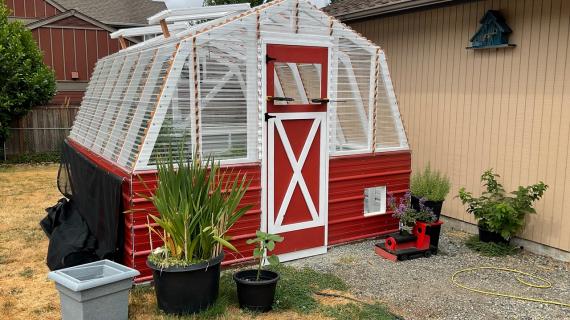
We ended up moving the greenhouse next to the raised beds, where Grace's playhouse was. We moved Grace's playhouse to the front yard (I'll be posting about that as soon as we finish up that project) away from the moose that love our gardens so much. For those of you asking, the Greenhouse can be moved - we moved it by hand with help from neighbors and also moved it by trailer with just the Ram and Grandpa Tim.
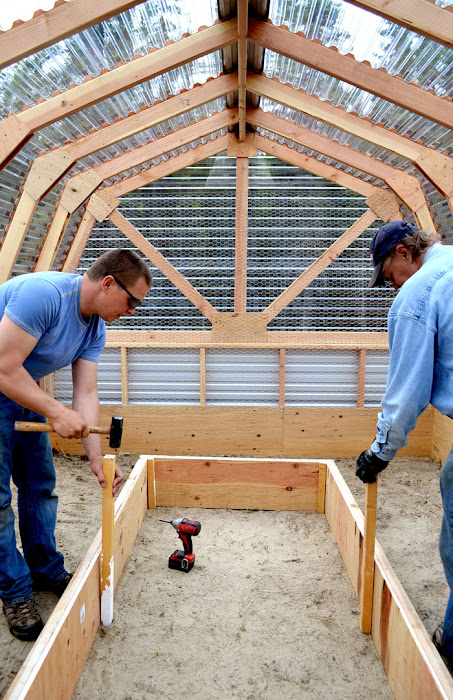
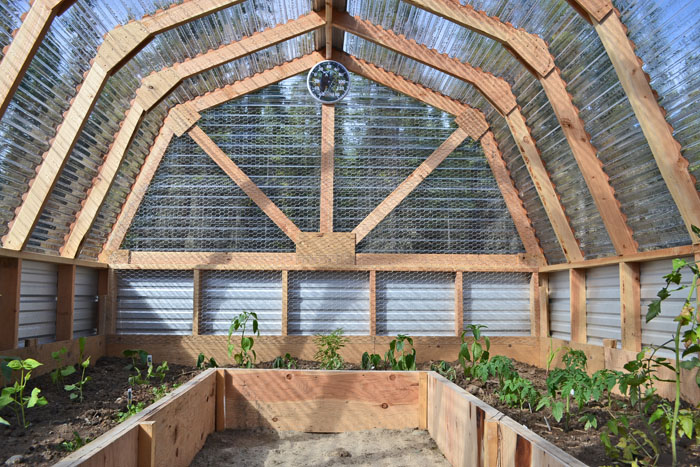
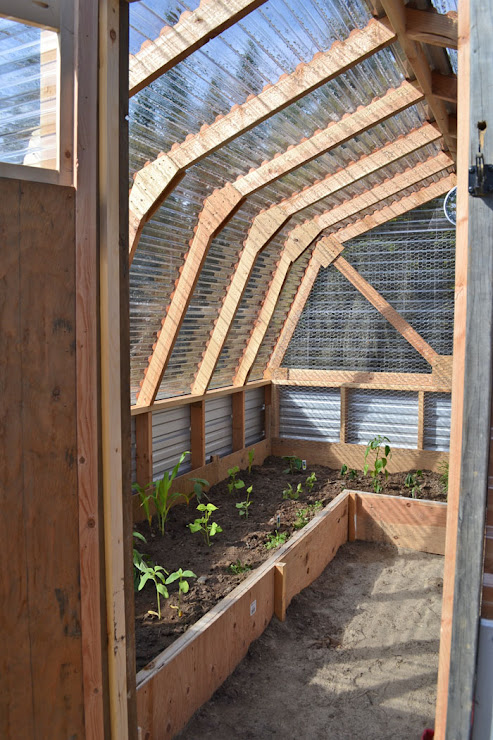
And then they were so kind to go inside the greenhouse and square off an area for planting. Because the greenhouse is not outside, we used scrap plywood leftover from the Momplex for the beds and then just staked with 2x2s.
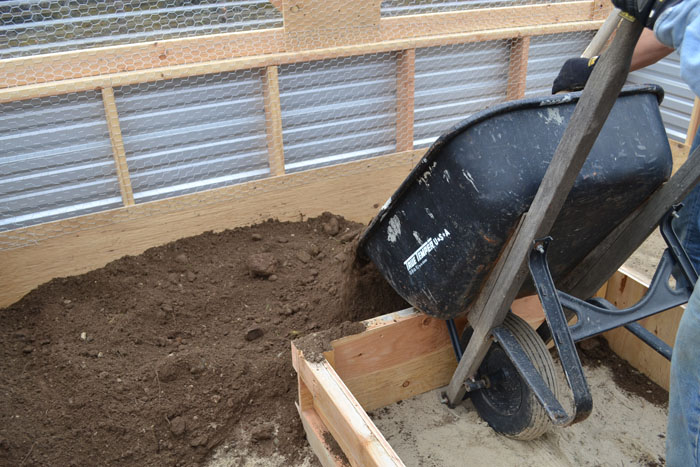
The greenhouse doorway is JUST big enough to fit a wheelbarrow through. And no bigger.
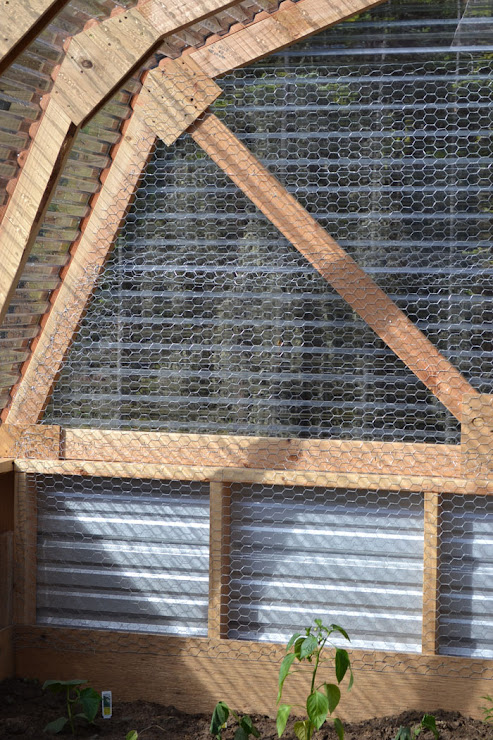
We had some leftover chicken wire from building the chicken coop that the Ram put up on the back wall for the cukes to climb.
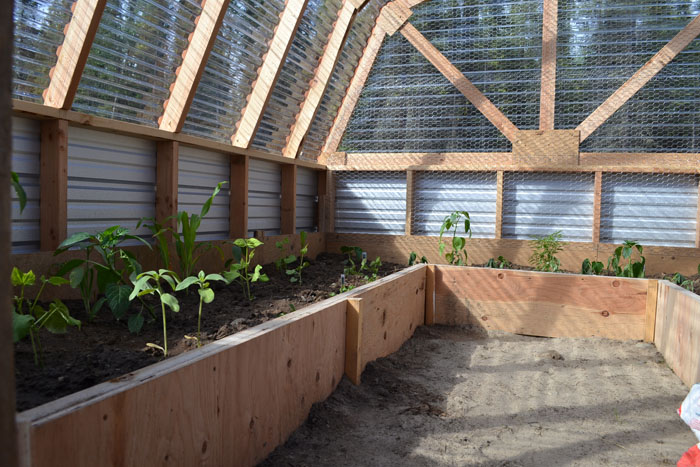
And then Grace and I planted the beds.
Can't wait for fresh vegetables!
But there is one more thing that needs to be done to finish this greenhouse.
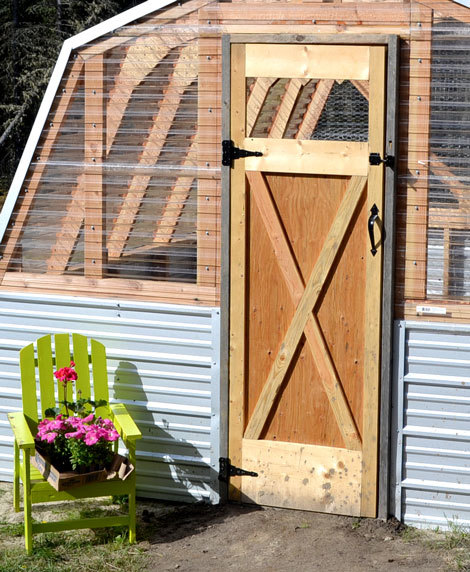
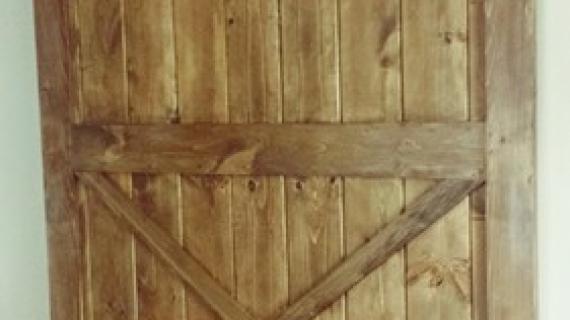
We need a door!
So I drew up a plan - see follows - and we put this door in. We actually framed the doorway itself with 2x6s just to try to keep the doorway as square as possible

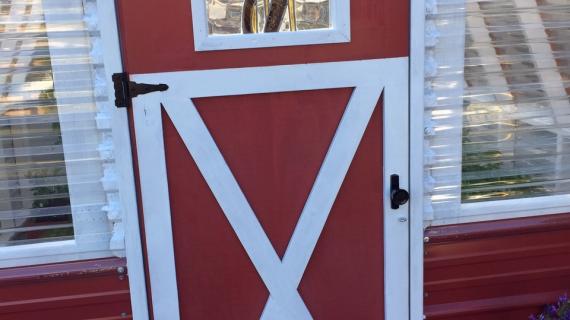
And then put a 1x2 door stop inside the 2x6. By putting a door stop in, this gives the door a clean spot to stop AND it enables you to make your door up to 1" less in width and 1/2" less in height than the opening without seeing huge daylight cracks through the door. By having the wiggle room, we hope we avoid a sticking greenhouse door, if you know what I mean.
The door is working great and opens and closes very smoothly. We are very happy with it.
And now comes the VERY hard part.
What color to paint.
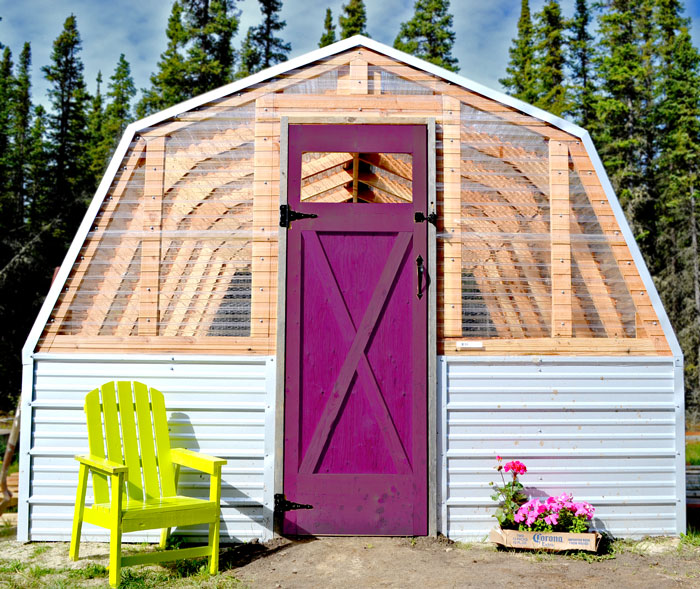
Grace and I like pink. Of course we do.
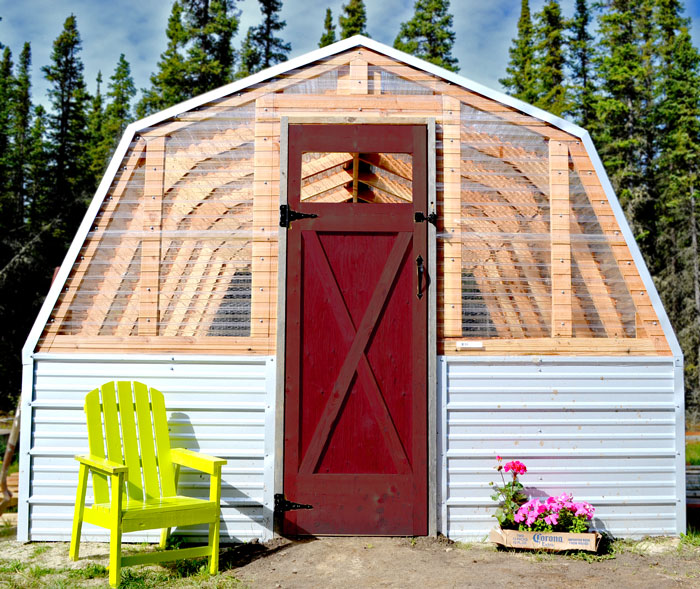
But we would possibly compromise with red.

Or turquoise.
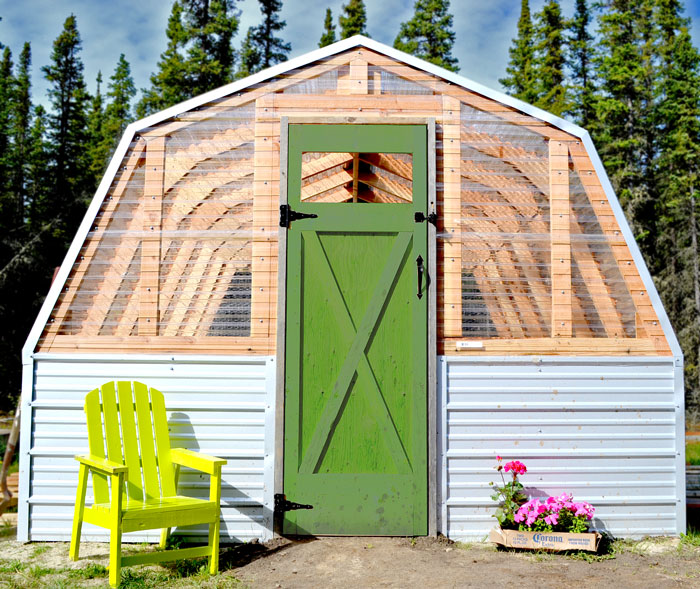
And it is, afterall, a GREENhouse ....
What color do you think I should paint that door?
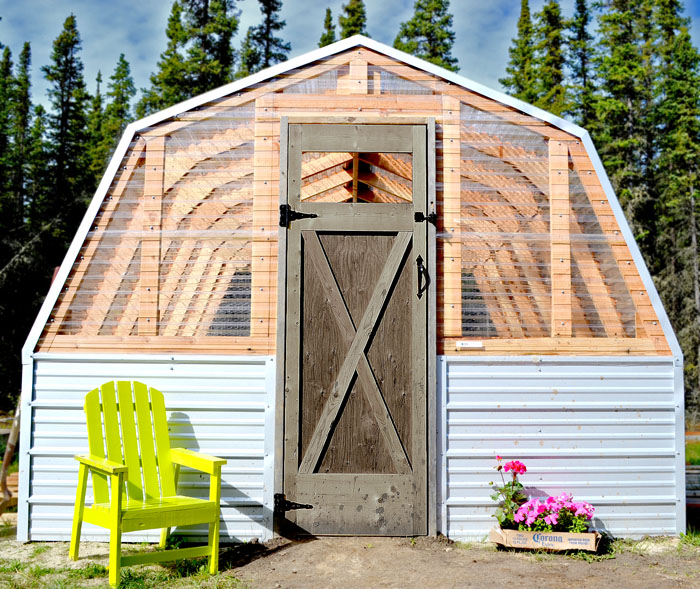
Or should I just leave it up to mother nature?
Preparation
FRAME
2 - 1x6 @ 21 1/2"
1 - 1x12 @ 21 1/2"
2 - 1x3 @ 78"
1 - 1x3 @ 44 3/8" (long point to short point, ends are parallel, both ends cut at 25 degrees off square)
2 - 1x3 @ 22 1/8" - (one end at 40 degrees off square, other end at 25 degrees off square, ends in OPPOSITE directions, longest point measurement)
BACK
2 - 1x2 @ 78"
1 - 1x3 @ 23 1/2"
1 - 1/2" exterior plywood piece @ 55" x 23 1/2"


Please read through the entire plan and all comments before beginning this project. It is also advisable to review the Getting Started Section. Take all necessary precautions to build safely and smartly. Work on a clean level surface, free of imperfections or debris. Always use straight boards. Check for square after each step. Always predrill holes before attaching with screws. Use glue with finish nails for a stronger hold. Wipe excess glue off bare wood for stained projects, as dried glue will not take stain. Be safe, have fun, and ask for help if you need it. Good luck!
Instructions
Step 1
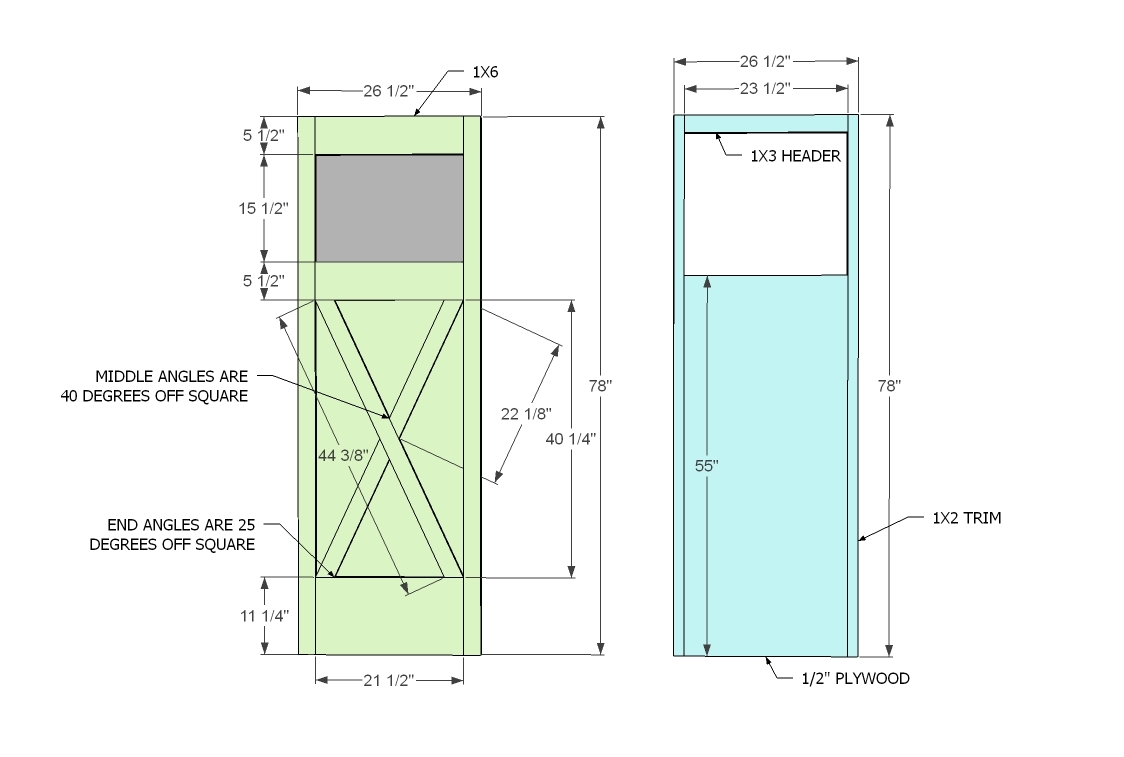
For this door, we built the frame with a Kreg Jig, and then attached plywood to the back. Measure your overall opening first and build to suit your opening.
It is always recommended to apply a test coat on a hidden area or scrap piece to ensure color evenness and adhesion. Use primer or wood conditioner as needed.

Comments
whitney_smith
Thu, 06/07/2012 - 13:06
That's a seriously cute door.
That's a seriously cute door. I vote for a pink/purple color!
Marlene S (not verified)
Thu, 06/07/2012 - 14:00
Why not the same color as the
Why not the same color as the chair? That would look sweet! OR paint the inside of the door with the pink/purpl-ish color and the frame of the door and the cross pieces the color of the chair. or vice versa....
BUT if you just seal it so it doesn't ruin in the weather, It will match all the beams on the inside of the greenhouse! See, I'm seriously no help today!
Jaime Costiglio (not verified)
Thu, 06/07/2012 - 15:27
Pretty Pink Please
Ana my vote is pink and that kid size adirondack chair looks VERY familiar!! You know I have 3 cut and ready in white, waiting for the big day (and some matching cushions too!). Go pink.
MoeWest (not verified)
Thu, 06/07/2012 - 21:01
Turquoise
I think turquoise looks great with the lime green chair. Have you seen those bags for growing plants upside down, tomatoes for example? You could hang some from the rafters in your greenhouse.
birdsandsoap
Thu, 06/07/2012 - 21:30
It's a toss up between the
It's a toss up between the dark pink or turquoise.
PedroA (not verified)
Fri, 06/08/2012 - 01:34
Matching
Since the wood is different, both on the door itself and in the stock greenhouse wood, then I'd have to say paint it, definitely (even if I am usually a natural-look fan).
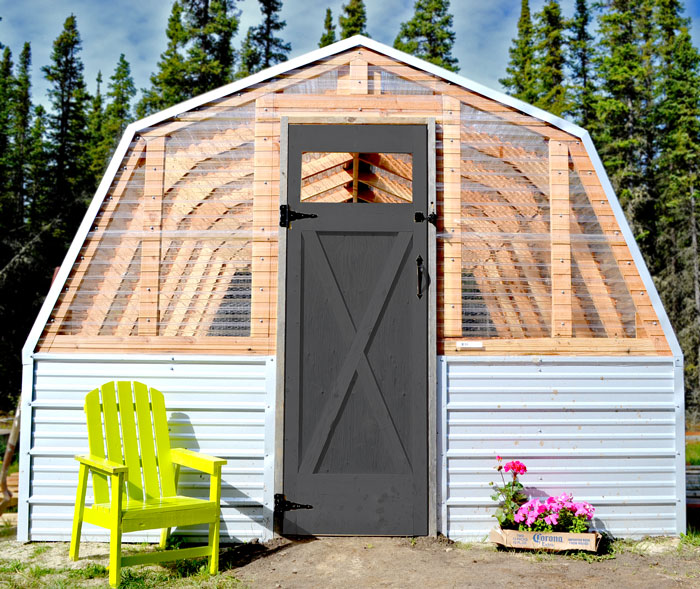
I prefer the gray, it also goes better with the metallic bottoms, but... Looking like a barn, the 'traditional' red also looks good.
These are also two colors that 'hide' dirt well, which may be a bonus in a greenhouse... ;)
Jada (not verified)
Fri, 06/08/2012 - 05:38
I think the turquoise looks
I think the turquoise looks great!
Lori H. (not verified)
Fri, 06/08/2012 - 07:07
LOVE the turquoise!
LOVE the turquoise!
Lori H. (not verified)
Fri, 06/08/2012 - 07:08
I LOVE the turquoise!
I LOVE the turquoise!
Periwinkle (not verified)
Fri, 06/08/2012 - 07:36
door color
I like the green. I see I am the only one so far. But it works nicely with the lime chair. I also thought of simply matching the chair. But I think I like your green better.
Mari M (not verified)
Fri, 06/08/2012 - 07:39
That pinkish-purple color is
That pinkish-purple color is my favorite!
shastacoke
Fri, 06/08/2012 - 09:07
Door color
I love the purple-pink or the green. I so wish I had a yard so I could grow my own herbs and veggies. This looks great!!!
acgosiger
Fri, 06/08/2012 - 15:18
door color
I say either turquoise or purple!
Jeannette (not verified)
Fri, 06/08/2012 - 15:20
Red or green! <3
Red or green!
Michelle P (not verified)
Sat, 06/09/2012 - 09:22
TURQUOISE
I love the green house! And the turquoise door looks great. It gives the bold contrast that still blends nicely with the outdoors, the greenery and your garden. Very pretty!
Mpnetadj (not verified)
Sat, 06/09/2012 - 22:24
Pink or turquoise
Love the pink or turquoise! Never knew a greenhouse could be so adorable. Leave it up to Ana to rock the greenhouse!
Cathy T (not verified)
Mon, 06/11/2012 - 09:46
Color
I vote for Red or Green....leaning toward Green. Love your garden. I really need to get to work on my raised bed planters. Our temp today is supposed to be 98 with a heat index of 105...so I'm probably past doing much planting for Summer. But I can be ready for a Fall garden (one of the percs of hot Texas weather!).
ijensen (not verified)
Thu, 06/14/2012 - 10:23
Your greenhouse is the BEST I
Your greenhouse is the BEST I have seen around. And you are so kind to share the very detailed instructions with us. I am dreaming of getting one just like it built....but we will see. I seriously love you "get'er done" attitude!!!
Carol H (not verified)
Mon, 06/18/2012 - 11:51
I vote the barn red with a
I vote the barn red with a dry brush 'antiquing' of the color to match the chair.
Jgwhiteh
Thu, 02/04/2016 - 13:45
love it. I'm building my door now. Did you ever get a roof vent
Any help with a roof vent for this project. I sure do need one