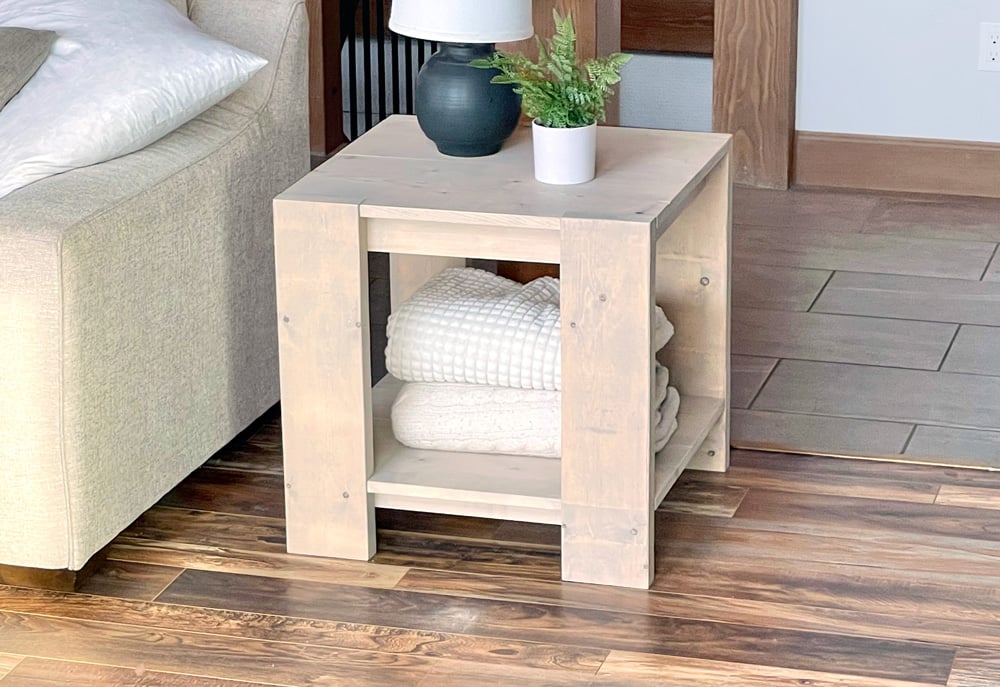

Simple to build end table or side table with a modern flair! Free DIY plans by ana-white.com
Having a good set of living room tables will create function, structure and style in your space.
I designed a new set of occasional tables that are easy to build with basic tools, perfectly sized and constructed of basic, durable materials, with a chunky leg twist. It's the essential with an edge, clean lines that aren't boring.
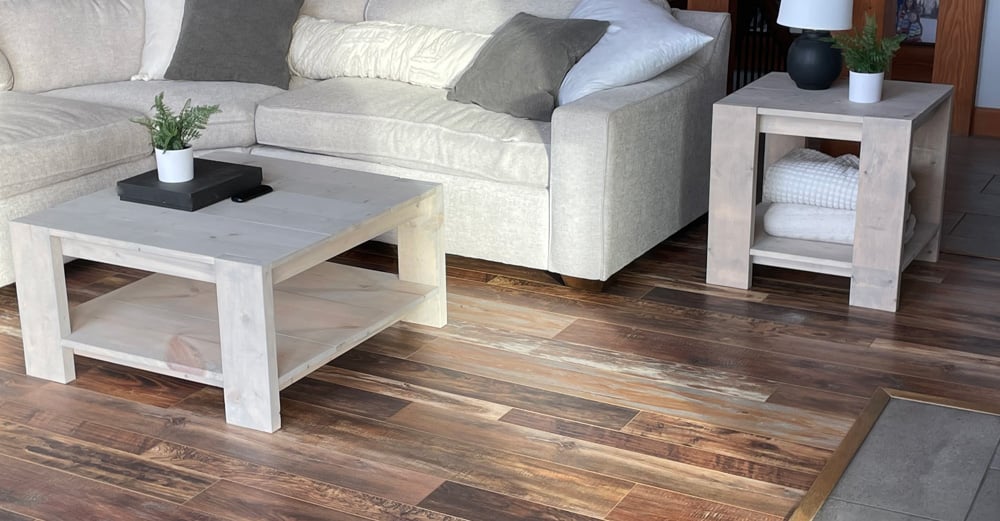
We've had this set in our living room for a few weeks now, and honestly, I'm very much smitten. They are sturdy, comfortable, useful, but still stylish. They've been holding up well. They work great with small children with no sharp outside edges. I'm thrilled to be able to share this collection with you.
Links to Other Plans in this Collection
- Chunky Leg Square Coffee Table Plans
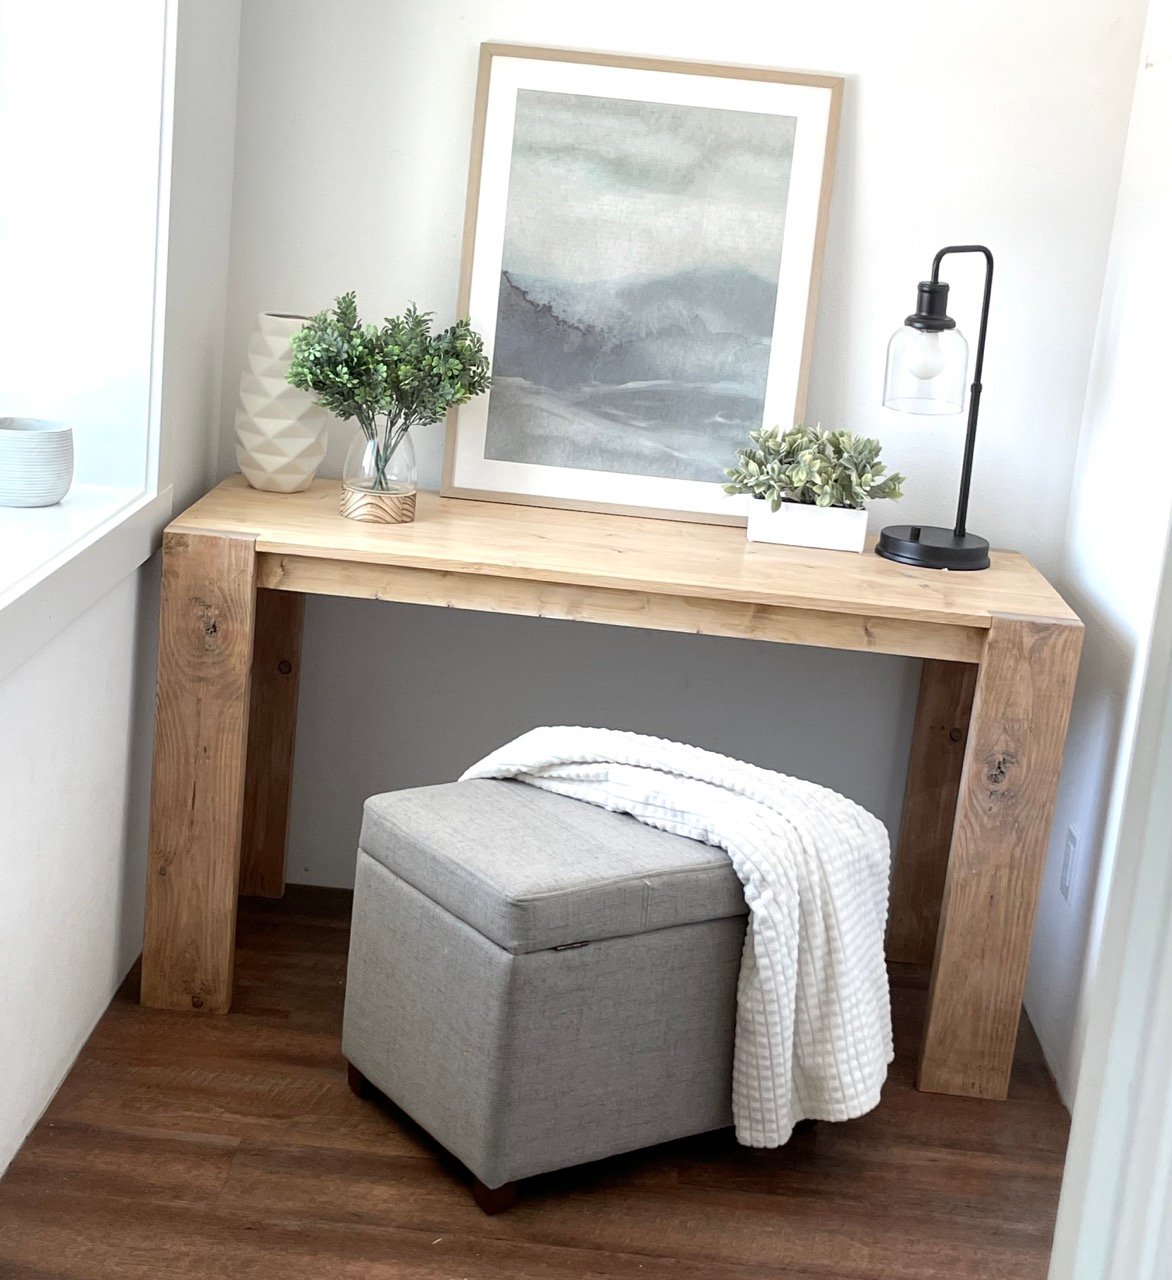
- Chunky Leg Console Table Plans
- Chunky Leg Rectangle Coffee Table Plans
- Chunky Leg Desk
- Chunky Leg Bench (coming soon)
- Chunky Leg Hall Tree (coming soon)
Build Video
This set is really a quick and easy build. All the pieces follow the same basic steps as the coffee table, so please do watch that video before building:
Pin for Later!


Preparation
- 1 - 1x12 @ 8 feet long
- 1 - 2x6 @ 8 feet long
- 1 - 1x3 @ 8 feet long
- 2 - 1x2 @ 8 feet long
- 1-1/4" brad nails
- 16 - 2" long self tapping wood screws with star bit (SPAX or similar)
- wood glue
- 120 and 150 grit sand paper
- paint or stain
- 4 - 1x12 @ 23-1/2" - shelf boards
- 4 - 2x6 @ 23" - legs
Top Shelf Frame
- 2 - 1x3 @ about 19-1/2" - measure and cut to fit
- 2 - 1x3 @ 19"
- 2 - 1x2 @ about 18" - measure and cut to fit
Bottom Shelf Frame
- 2 - 1x2 @ about 19-1/2" - measure and cut to fit
- 2 - 1x2 @ 19"
- 2 - 1x2 @ about 18" - measure and cut to fit


Instructions
Step 1
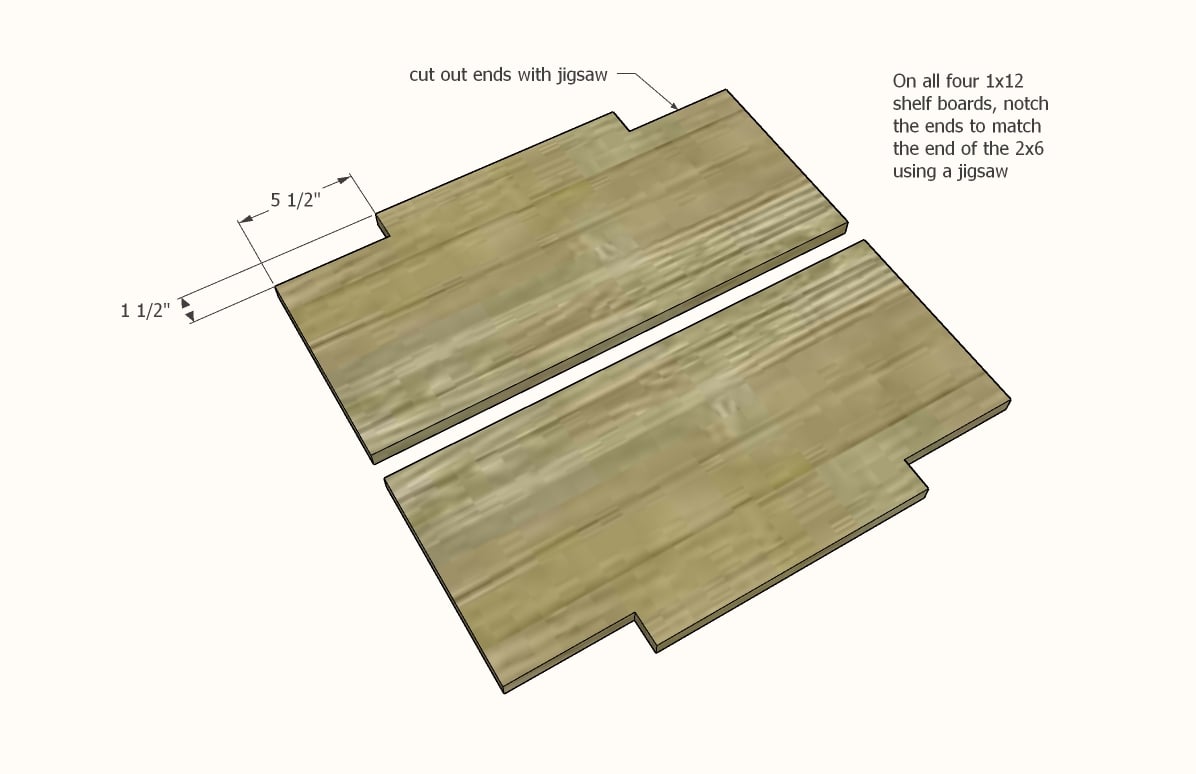
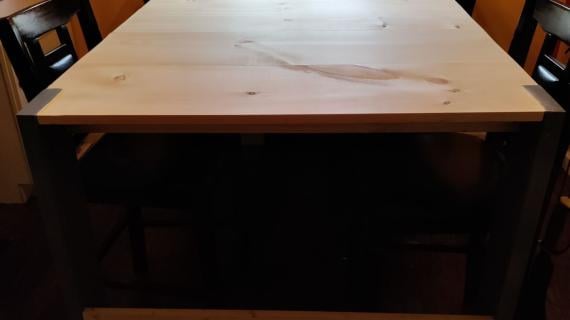
Measure the ends of your 2x6 legs - it should measure 1-1/2" x 5-1/2"
Mark out on all four 1x12 boards, and cut out with a jigsaw.
Step 2
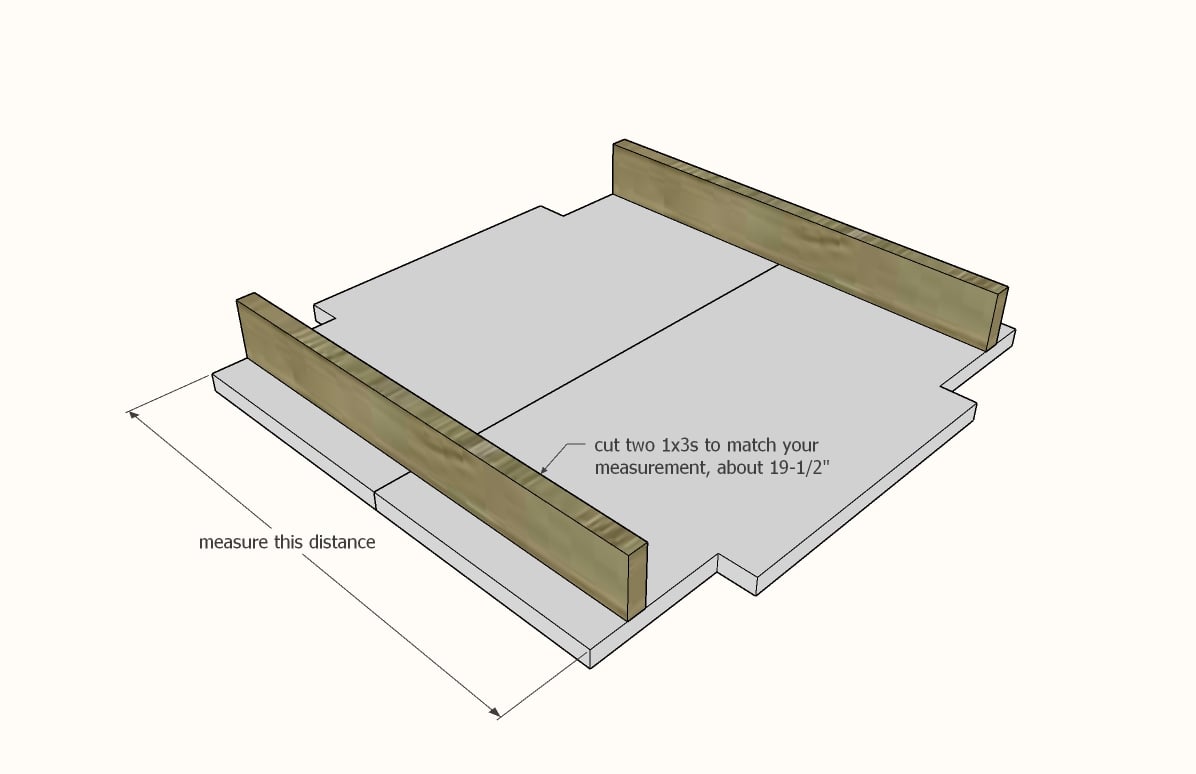
Place the cut 1x12s together and measure in between the cuts. It should be about 19-1/2".
Cut two 1x3s to this measurement.
Step 3

Using the 1x3s cut in the last step and the two 1x3 boards at 19" from the cut list, nail together the 1x3s into a frame.
Step 4

Measure the inside as shown and cut a 1x2 to fit.
Nail and glue inside the frame, flush to the bottom.
Step 5
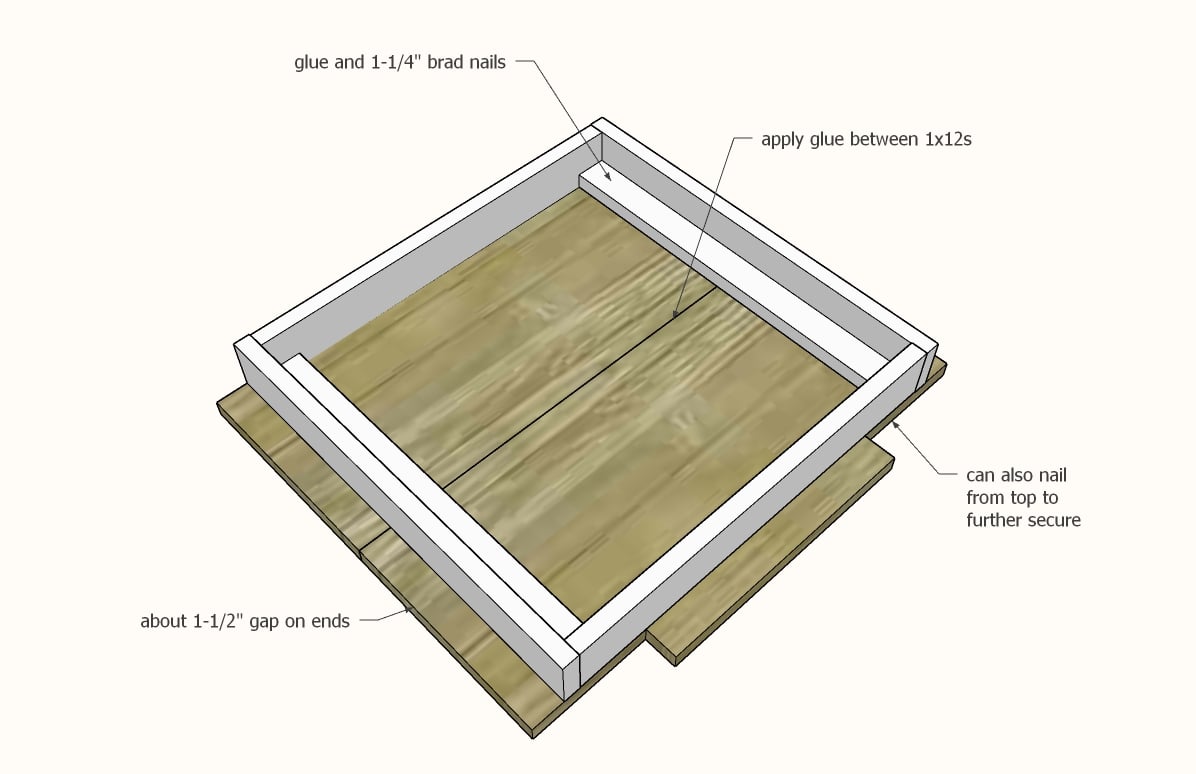
Apply glue between your 1x12 boards. If you have a Kreg Jig, attach the 1x12 boards together with 1-1/4" pocket hole screws.
Apply glue to bottom edges of the frame and position on the 1x12s.
Attach with 1-1/4" brad nails and glue. Also attach from top along edge that wasn't nailed.
Step 6
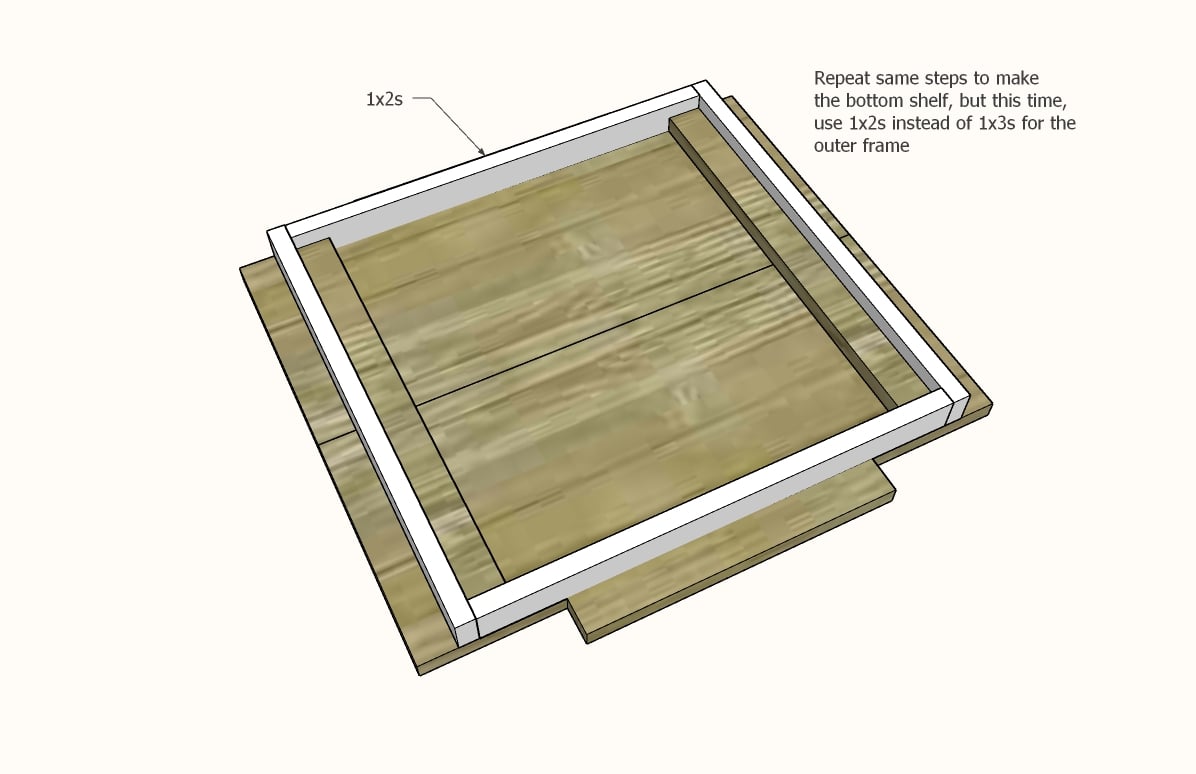
Repeat steps 1-5, but for the bottom shelf using a 1x2 frame instead of a 1x3 frame.
Step 7
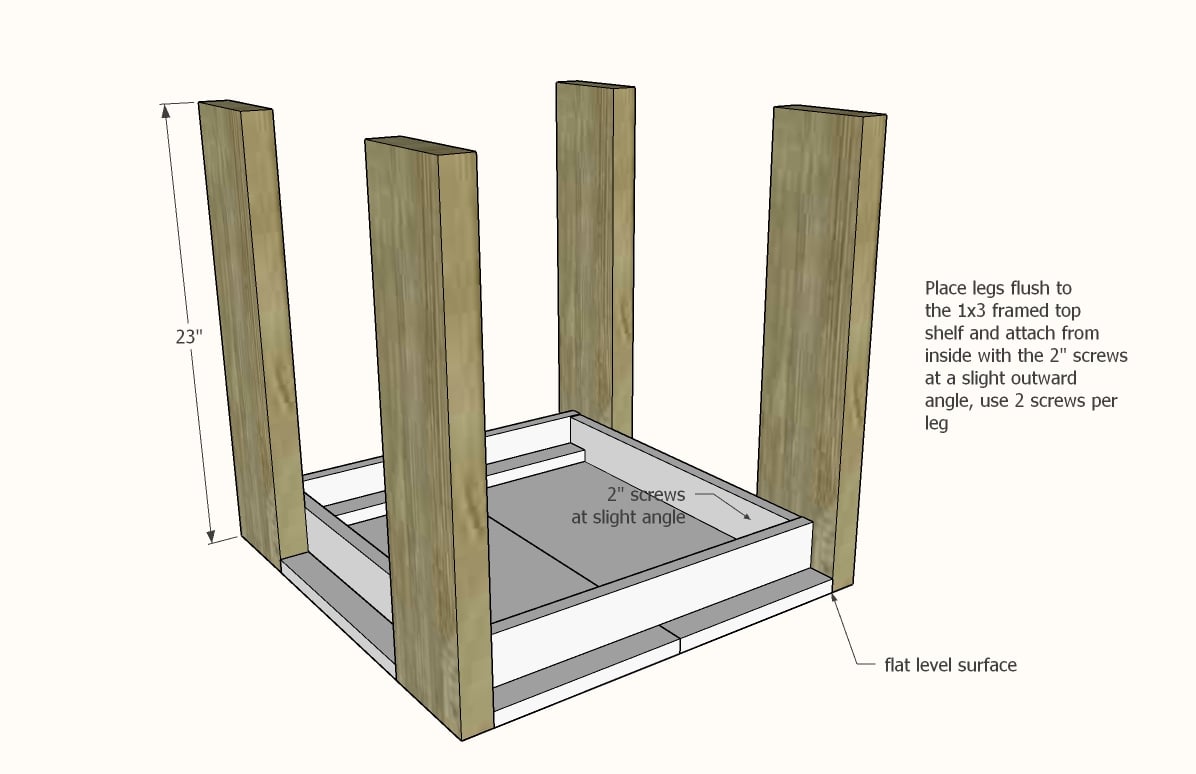
Place the top shelf (1x3 frame) face down on a flat level surface.
Attach from inside with 2" screws at a slight angle.
TIP: I only did one screw at first per leg, so that I could maneuver the legs somewhat while fitting the shelf in. After I was happy with the bottom shelf and the table sitting square, I then added the second screws.
Step 8
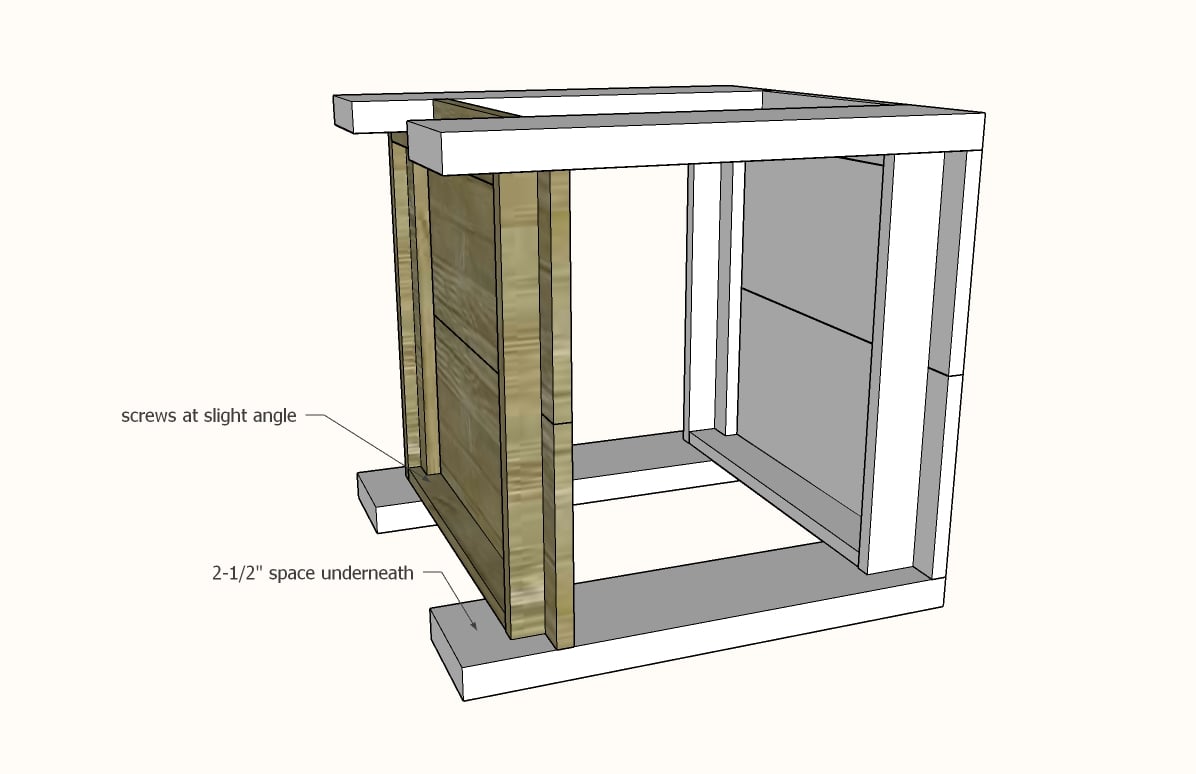
Add bottom shelf inside the legs. I used a scrap 1x3 to space the bottom shelf up 2-1/2" on the legs.
Sand with 120 grit sandpaper, working in the direction of the grain.
If staining, follow with 150 grit sandpaper.
Remove sanding residue with a vaccuum and soft bristled brush attachment.
Wipe with a damp cloth and let dry.
Apply paint or stain according to manufacturer's directions.