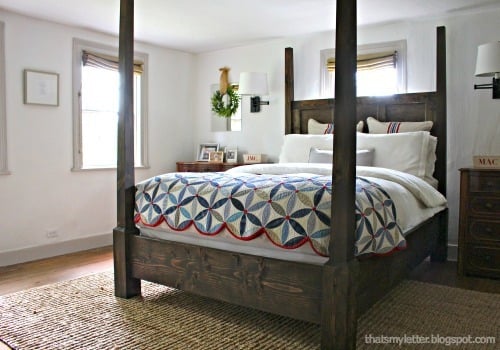
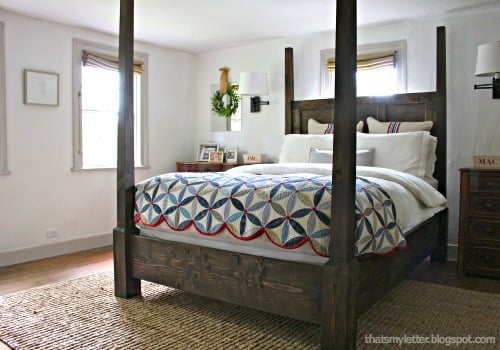
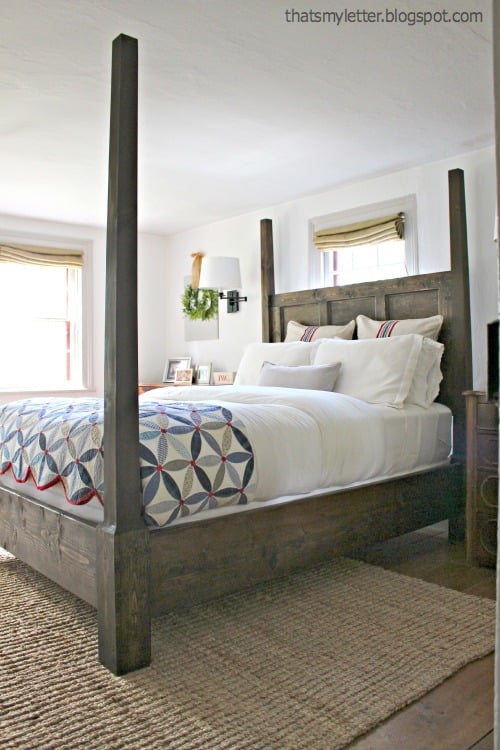
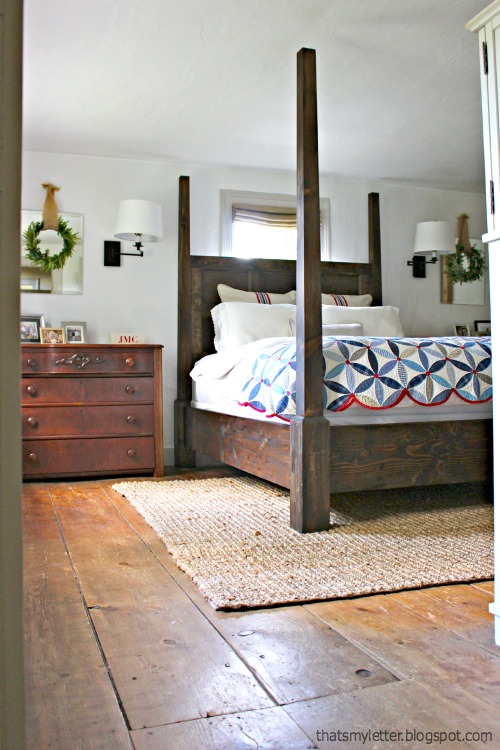
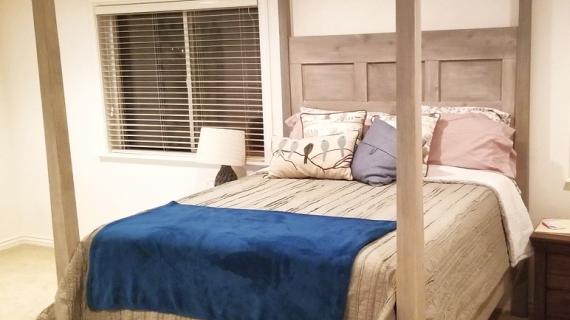
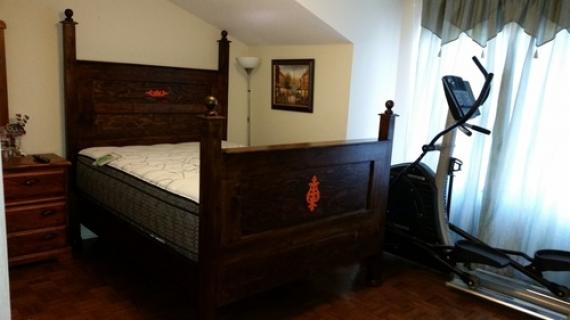
build your own colonial style poster bed or canopy bed with free plans from ana-white.com
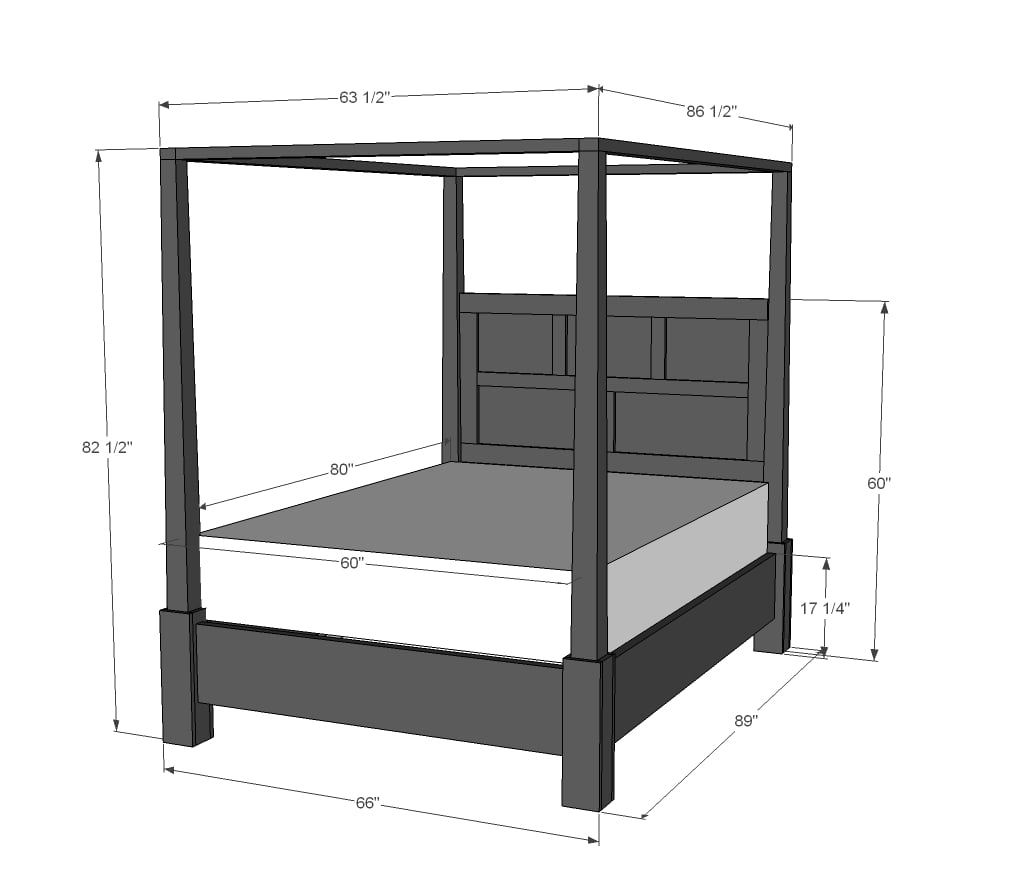
Preparation
1 - 2x12x16
1 - 2x12x12
4 - 1x4x8
3 - 1x6x8
1 - 1x3x8
4 - 2x3x8
3 - 2x4x8
1 - 1/4" plywood sheet
30' cove moulding (optional)
Pencil post legs, 3-1/2" overall at bottom (custom by Osborne Wood)
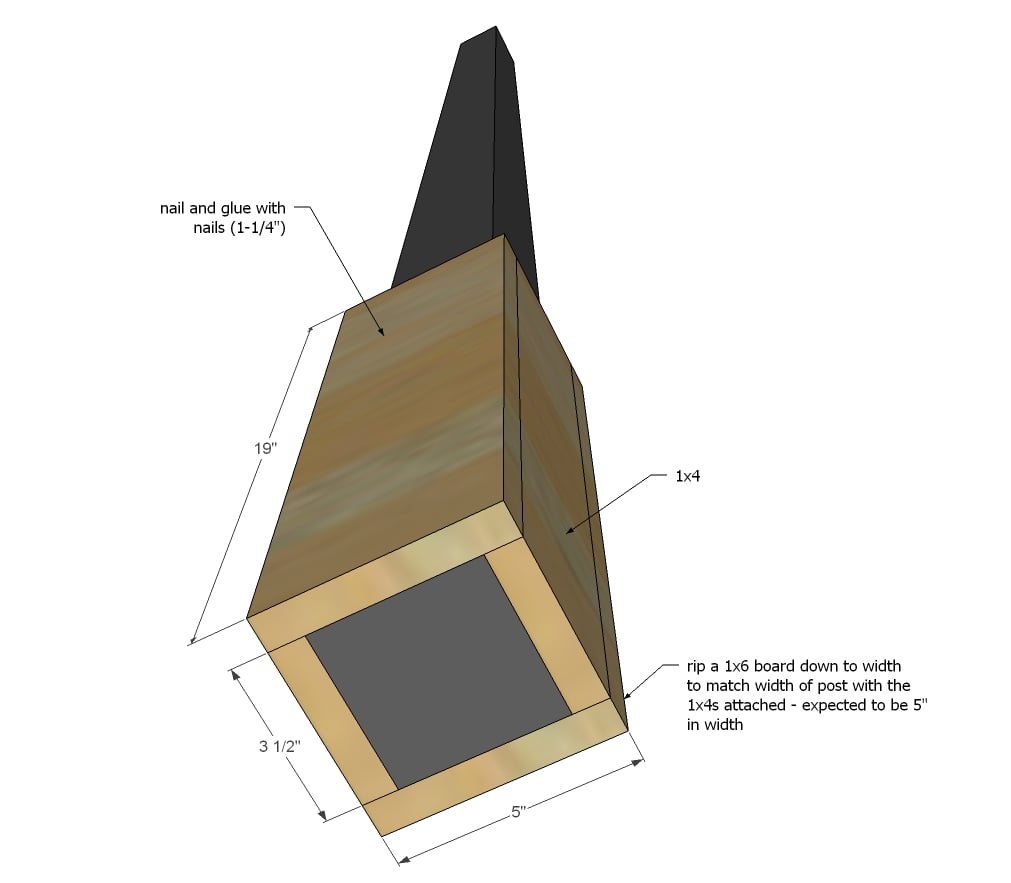
8 - 1x4 @ 19"
8 - 1x6 (ripped down to fit) @ 19"
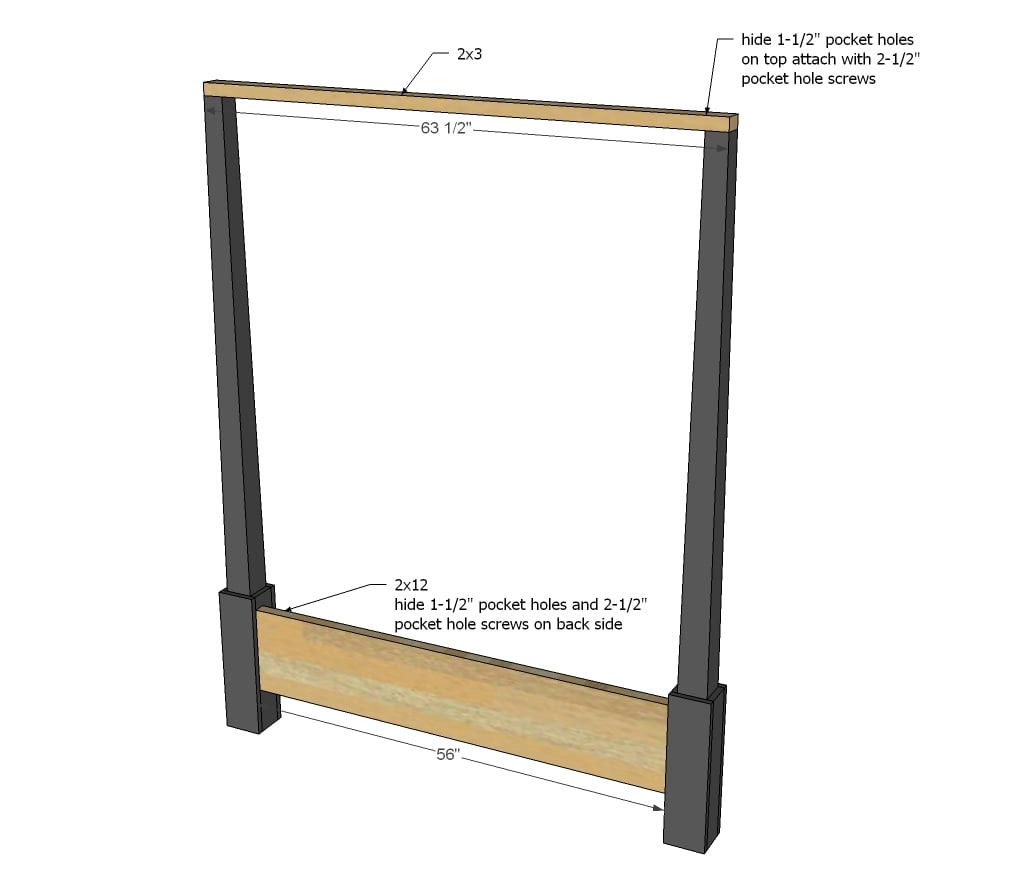
2 - 2x3 @ 63-1/2"
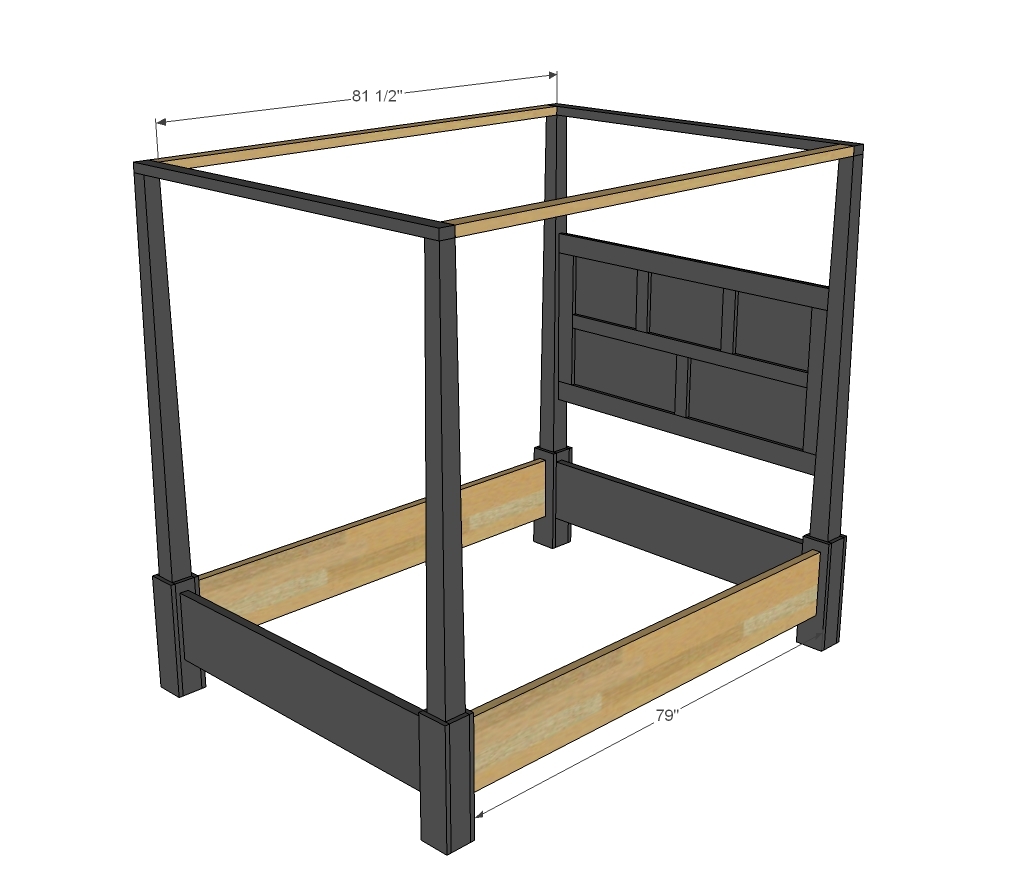
2 - 2x3 @ 81-1/2"
2 - 2x12 @ 79"
2 - 2x12 @ 56"
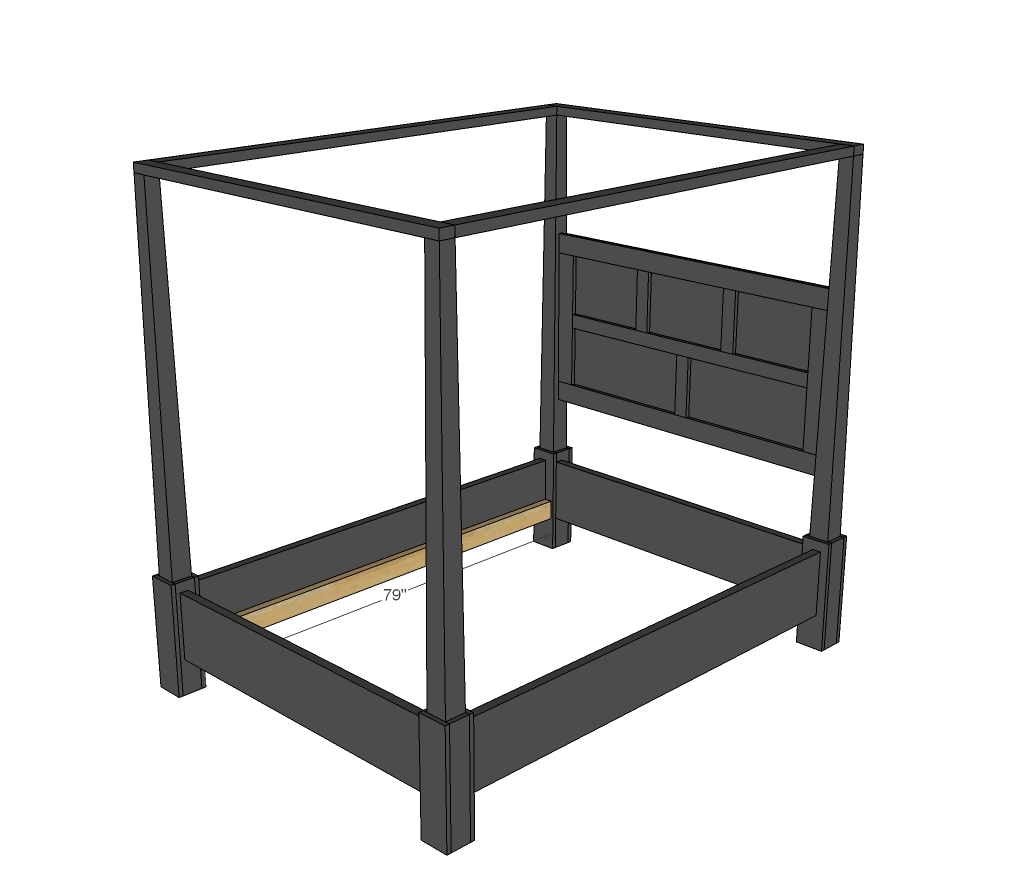
2 - 2x4 @ 79"
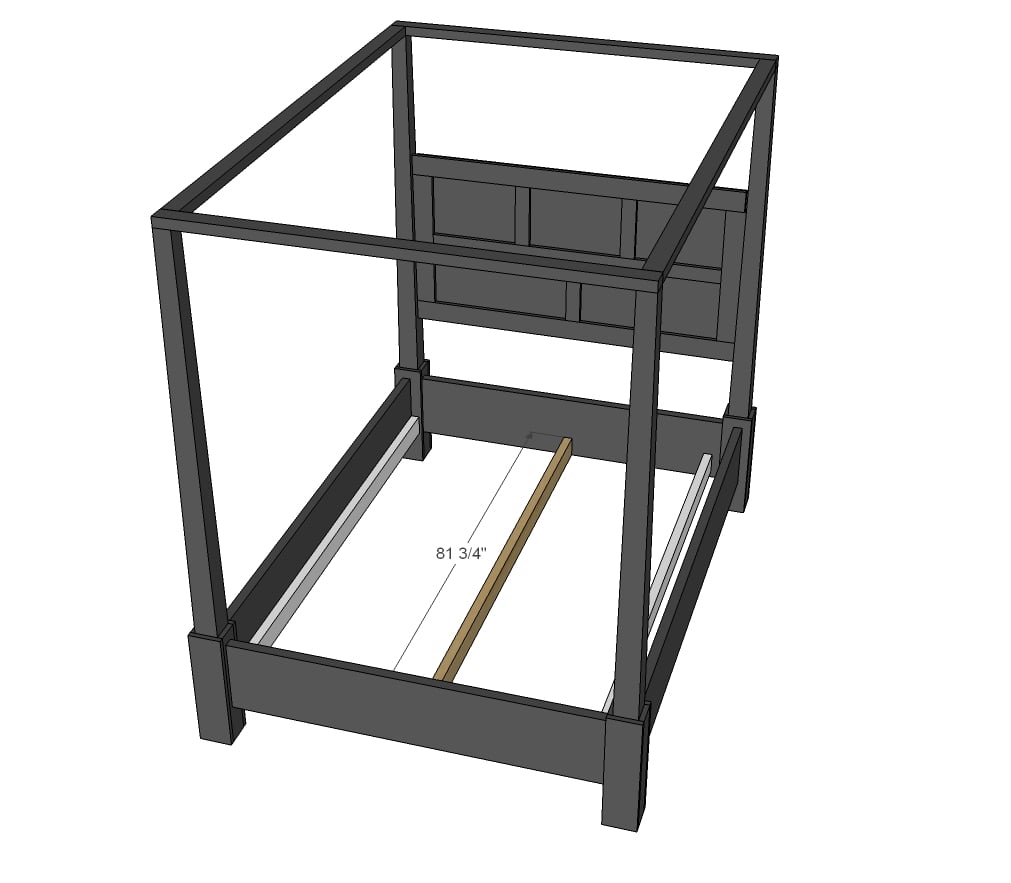
1 - 2x4 @ 81-3/4"
HEADBOARD PIECES
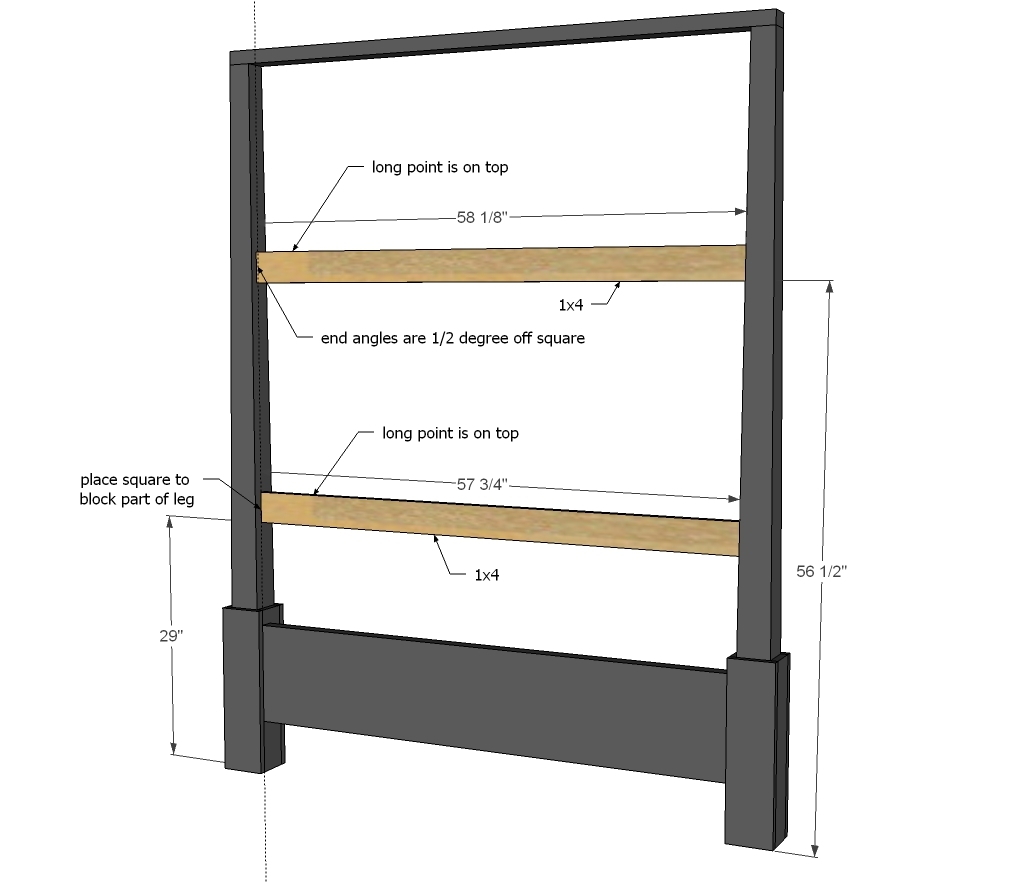
1 - 1x4 @ 58-1/8" (long point measurement, both ends cut at 1/2 degree off square, ends are NOT parallel)
1 - 1x4 @ 57-3/4" (long point measurement, both ends cut at 1/2 degree off square, ends are NOT parallel)
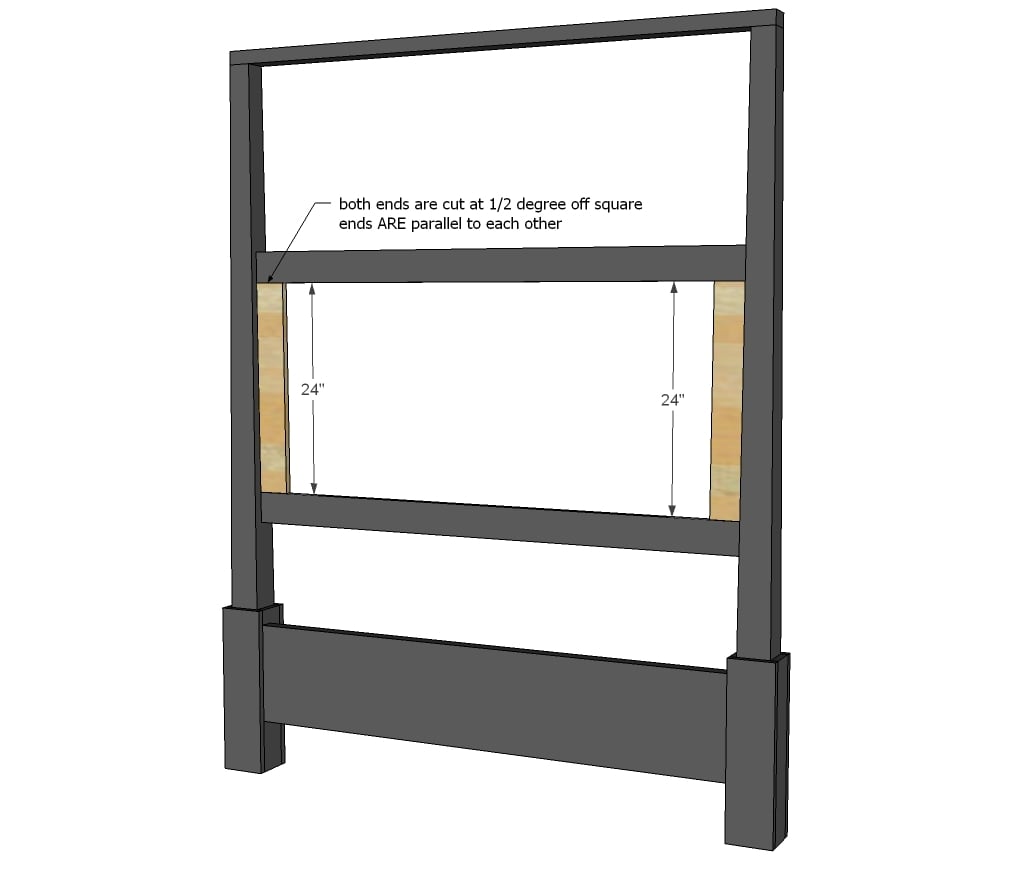
2 - 1x4 @ 24" (long point to short point measurement, both ends cut at 1/2 degree off square, ends ARE parallel)
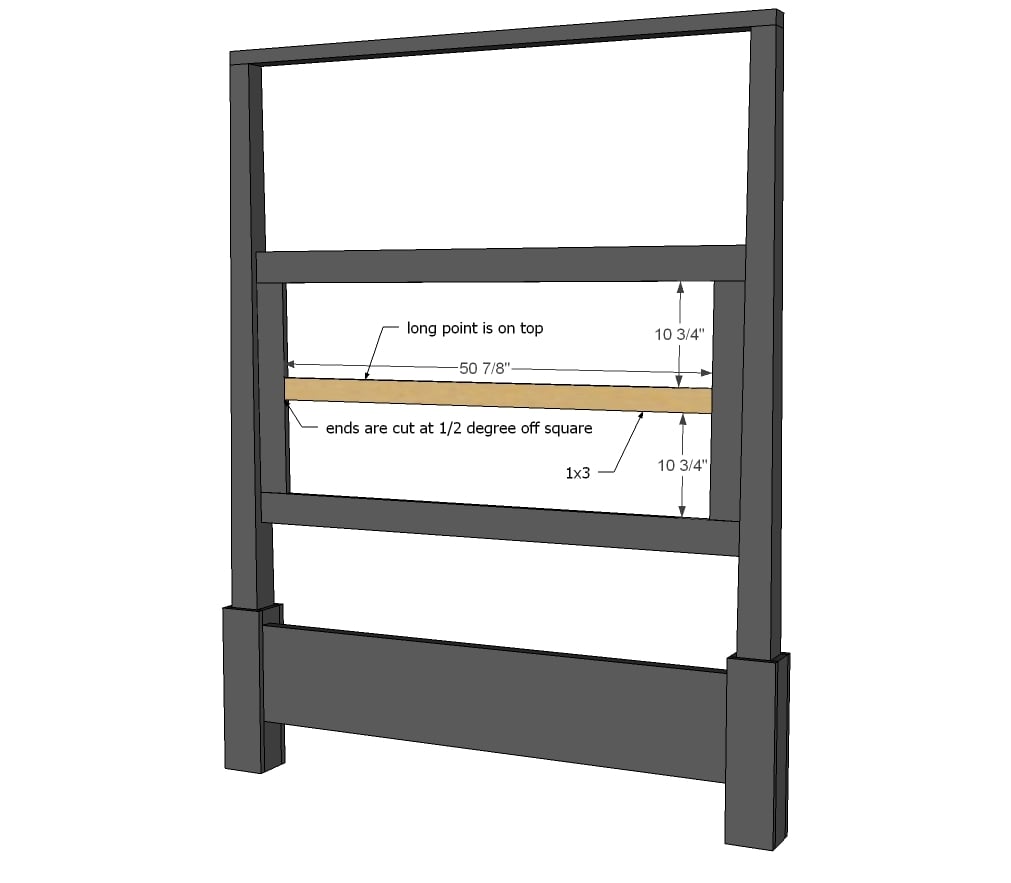
1 - 1x3 @ 50-7/8" (long point measurement, both ends cut at 1/2 degree off square, ends are NOT parallel)
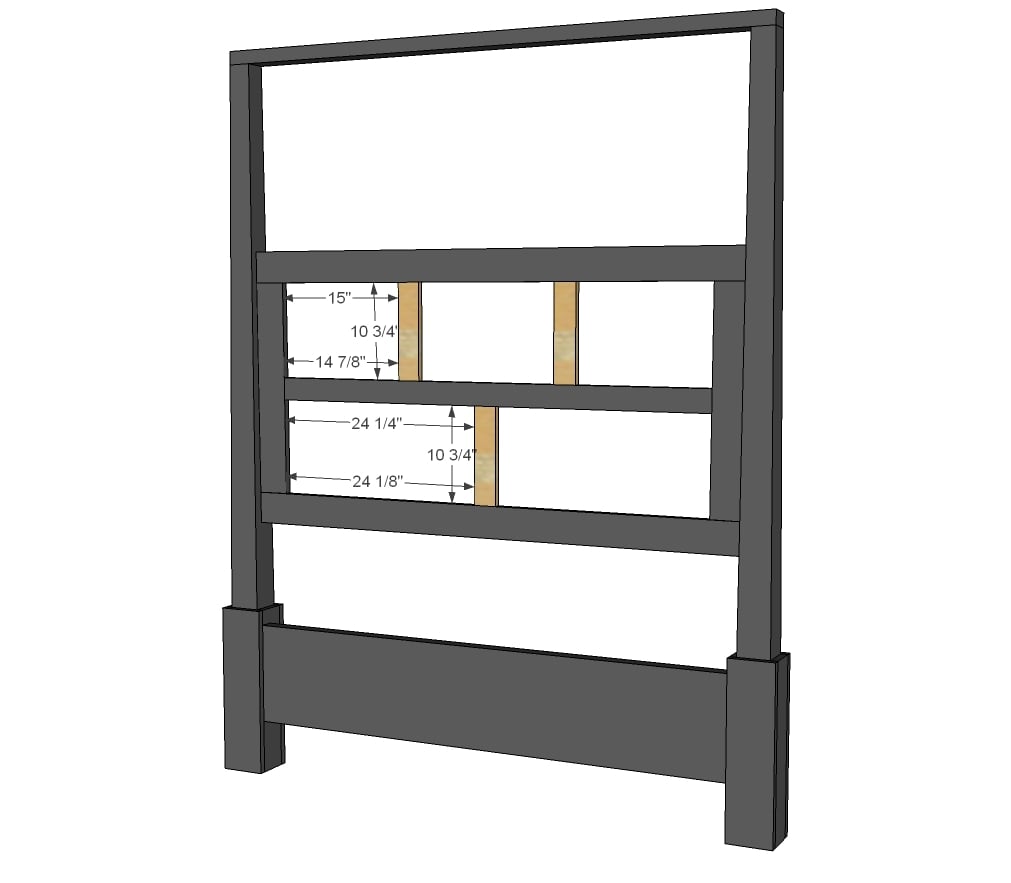
3 - 1x3 @ 10-3/4"
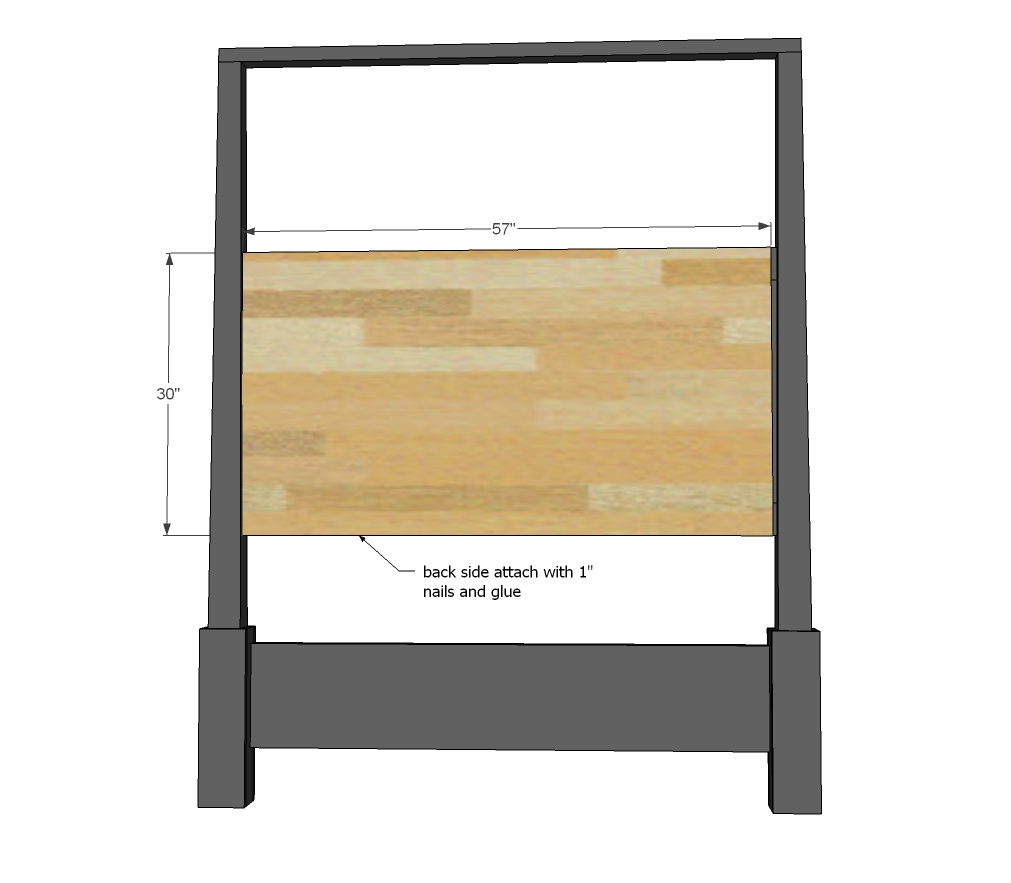
1 - 1/4" plywood @ 30" x 57"
Please read through the entire plan and all comments before beginning this project. It is also advisable to review the Getting Started Section. Take all necessary precautions to build safely and smartly. Work on a clean level surface, free of imperfections or debris. Always use straight boards. Check for square after each step. Always predrill holes before attaching with screws. Use glue with finish nails for a stronger hold. Wipe excess glue off bare wood for stained projects, as dried glue will not take stain. Be safe, have fun, and ask for help if you need it. Good luck!
Instructions
Step 1
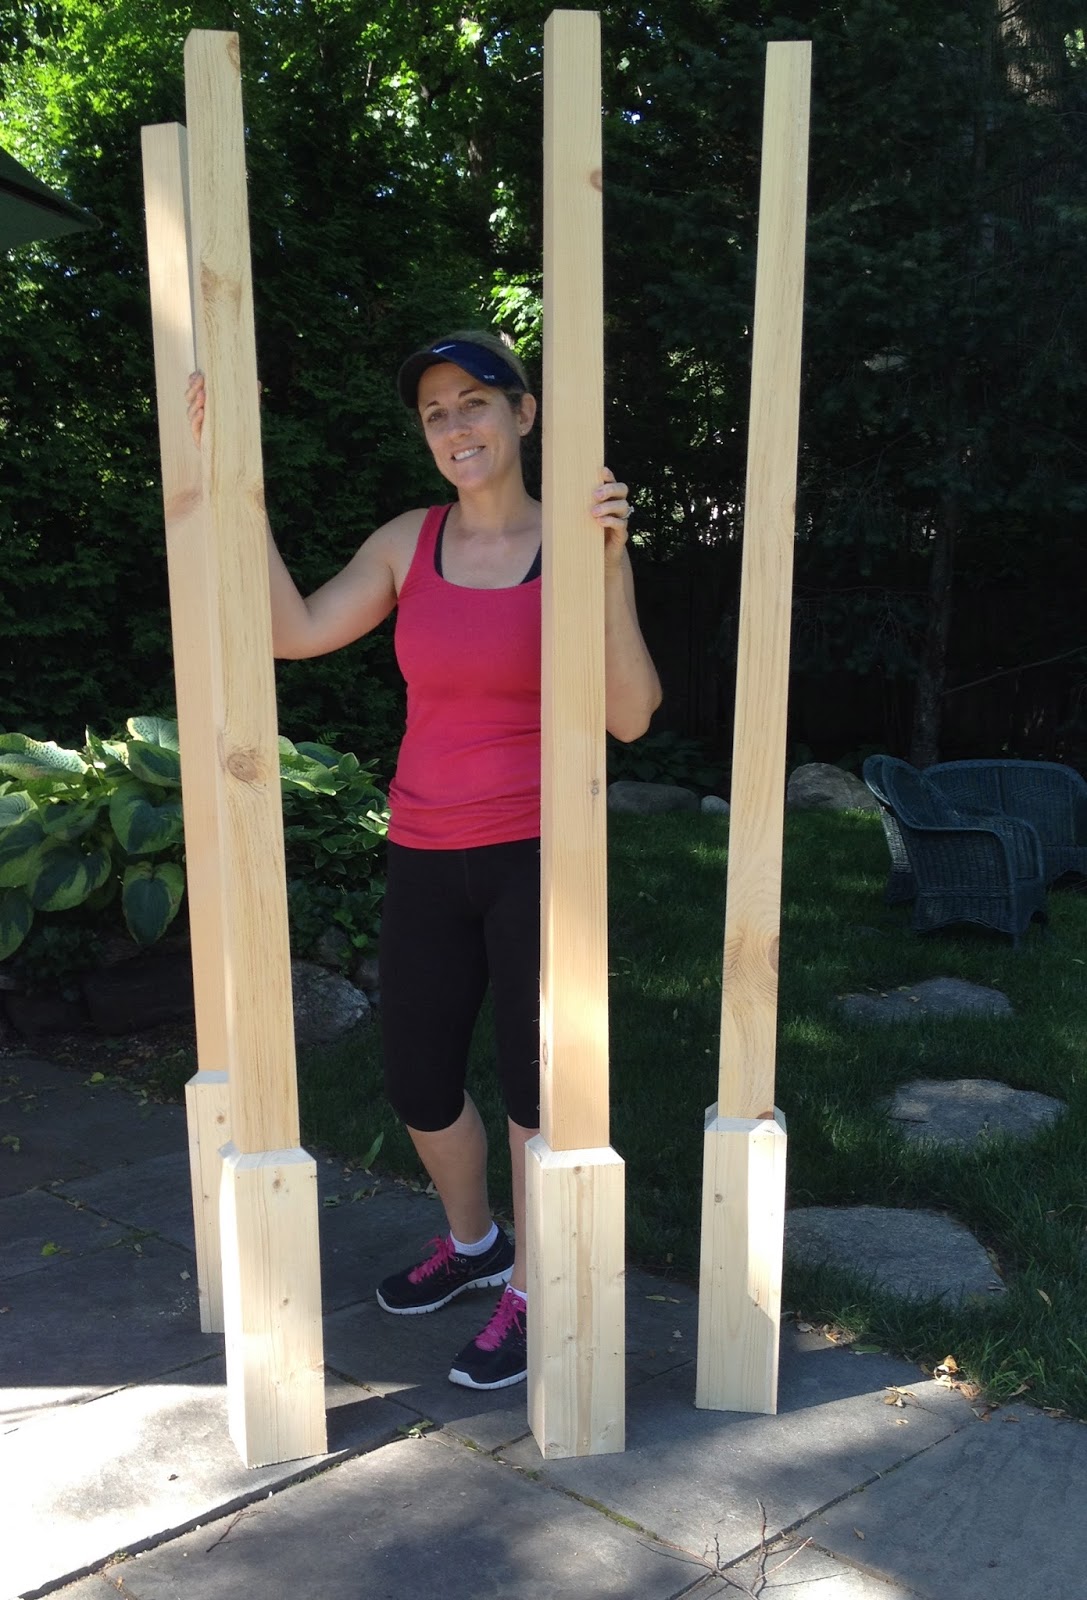
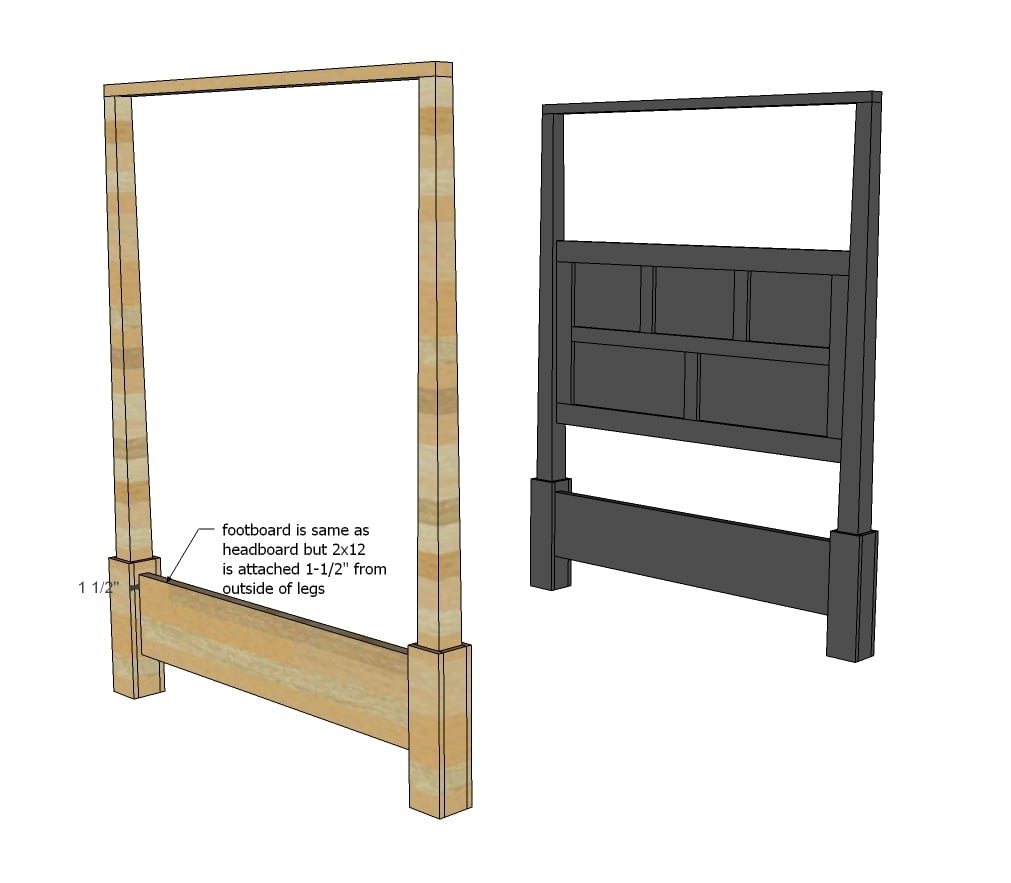
Take the premade pencil post legs (Jaime got hers from Osborne Wood) and wrap with 1xs. Jaime details how she did this with a beveled top edge here.
Step 3
Step 9
Step 10
It is always recommended to apply a test coat on a hidden area or scrap piece to ensure color evenness and adhesion. Use primer or wood conditioner as needed.





Comments
Cathrinens
Sat, 06/28/2014 - 22:01
Pencil posts
I love this bed! In an attempt to make this bed as cheap as possible I want to taper the posts myself. I watched a few youtube videos to see how to do it but they were doing table legs and only tapering two sides. Are the posts in this bed tapered on all four sides or just two sides? Can you find out what the width is at the top of the post?
Cathrinens
Sat, 06/28/2014 - 22:02
Pencil posts
I love this bed! In an attempt to make this bed as cheap as possible I want to taper the posts myself. I watched a few youtube videos to see how to do it but they were doing table legs and only tapering two sides. Are the posts in this bed tapered on all four sides or just two sides? Can you find out what the width is at the top of the post?
Cathrinens
Sat, 06/28/2014 - 22:13
Pencil post for the bed
I love this bed! In an attempt to make this bed as cheap as possible I want to taper the posts myself. I watched a few youtube videos to see how to do it but they were doing table legs and only tapering two sides. Are the posts in this bed tapered on all four sides or just two sides? Can you find out what the width is at the top of the post?
sunshinehaley
Mon, 06/30/2014 - 07:18
I would also like to make the
I would also like to make the posts myself.
Pam the Goatherd
Mon, 06/30/2014 - 08:18
That is an awesomely amazing
That is an awesomely amazing bed! I wish I had the room in my home for such a huge piece, but unfortunately I don't, so I'll just have to be satisfied with a regular farmhouse bed.
ArtificerMade
Tue, 09/16/2014 - 11:25
Making the pencil posts
Buying the legs pushes the price of this project higher than a lot of people can stomache. It's still cheaper than buying a quality bed of this design by far, but for me, the cheapest option from Osborn would set me back $350. Just for the posts.
If one is handy in the woodshop, the required jig to cut this taper on the table saw is not hard to make. This video gives a good overview of the process: http://youtu.be/ch5U1dZUx4U
kachw2
Wed, 11/19/2014 - 18:54
I absolutely love this bed.
I absolutely love this bed. Would anyone be able to post plans for a king sized version? I would love my husband to make this bed for me as my christmas gift!
alexredekopp
Wed, 01/14/2015 - 17:53
This is fabulous
Would be great to get a cut list for the king size. I have been looking for a bed to fit my set and this is it!! Any help would be great
MrCherod
Sun, 05/31/2020 - 16:59
Any luck?
Any luck?
ManofGod
Thu, 03/12/2015 - 09:50
I DID IT
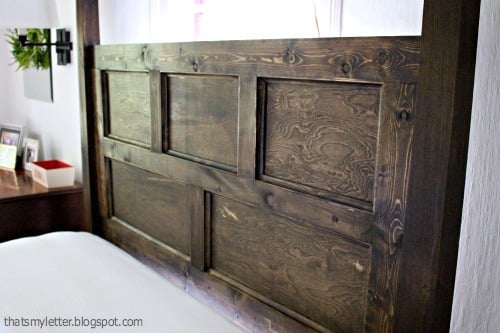
I just finished making this bed, it turned out pretty good for being the first thing I have ever made. I did change it up a bit, first, I used 4x4 posts instead of the pencil legs, I did this to keep costs with in reason, second, I changed the Headboard layout a bit, now I have 4 squares instead of the 4 thats showing. It is very solid!
Now I know I have a few errors in my wood cutting (Hey, I was learning as I went) so I still need to use some wood filler and then sand... which will probably take forever but I am pretty happy with what I have so far.
My fears... the staining. The different woods I used I am afraid will turn out different colors, but to help with this I plan on doing a primer or whatever. I also plan on staining a really dark color, almost black which I hope will cut down on the different woods showing. Fingers Crossed.
Thanks Anna for the inspiration.
Magan Carter
Tue, 07/28/2015 - 10:35
full size
I was wondering if anyone had attempted to make this in a full size bed version. I have a son who would love it