Gathering Kitchen Island

kitchen island for gathering and entertaining
Difficulty
Intermediate
| Print this plan

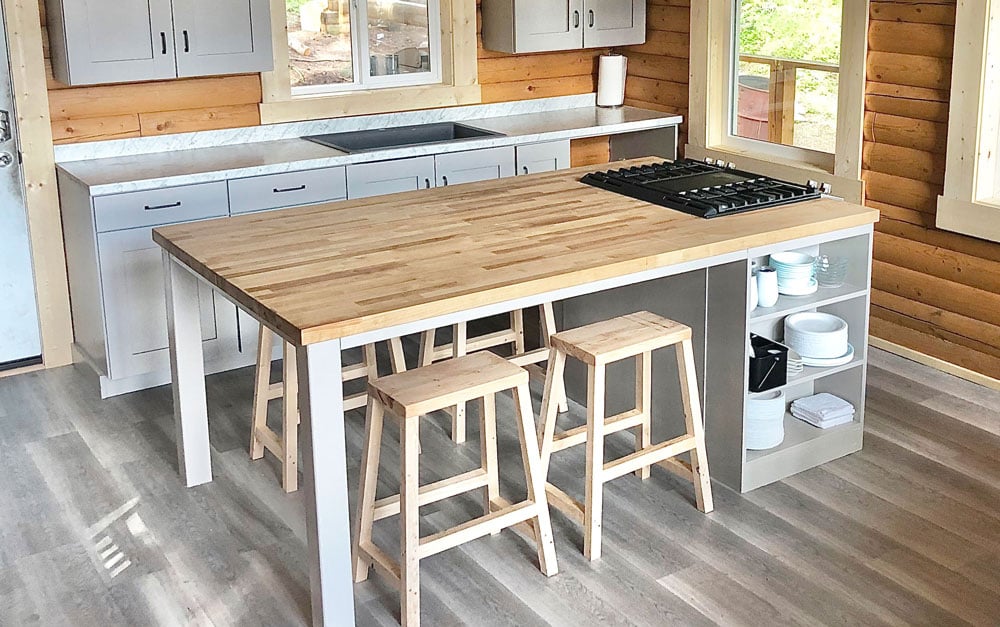
Build your own kitchen island designed for gathering.  Made with off the shelf butcher block countertops and pine boards, designed to fit around a slide in range for cooking.  Free plans from Ana-White.com
Hi friends!  We are starting on a new mini project to complete this summer.  We are finishing up a 300 square foot (plus sleeping loft) cabin in remote Alaska.  The cabin was shelled in with no flooring or trim, and an unfinished kitchen.

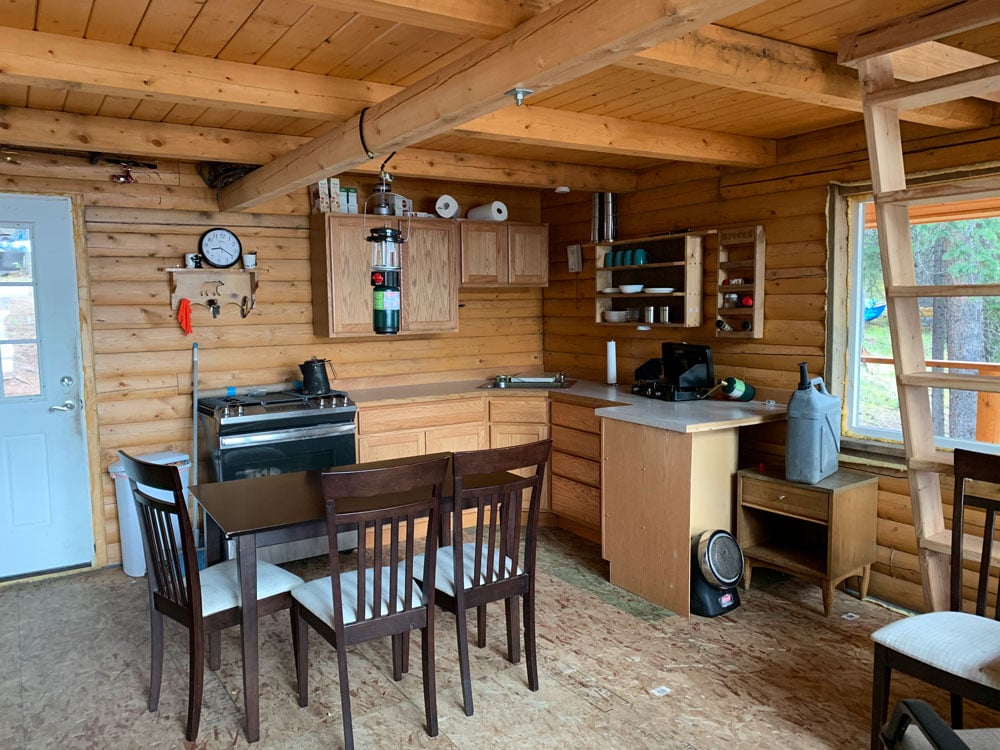
cabin before picture

Before

The kitchen takes up half of the cabin.  Half.  So even though there was alot of good things about the existing kitchen, we decided to completely redo it so it could seat more people, have more storage, and be designed for gathering.

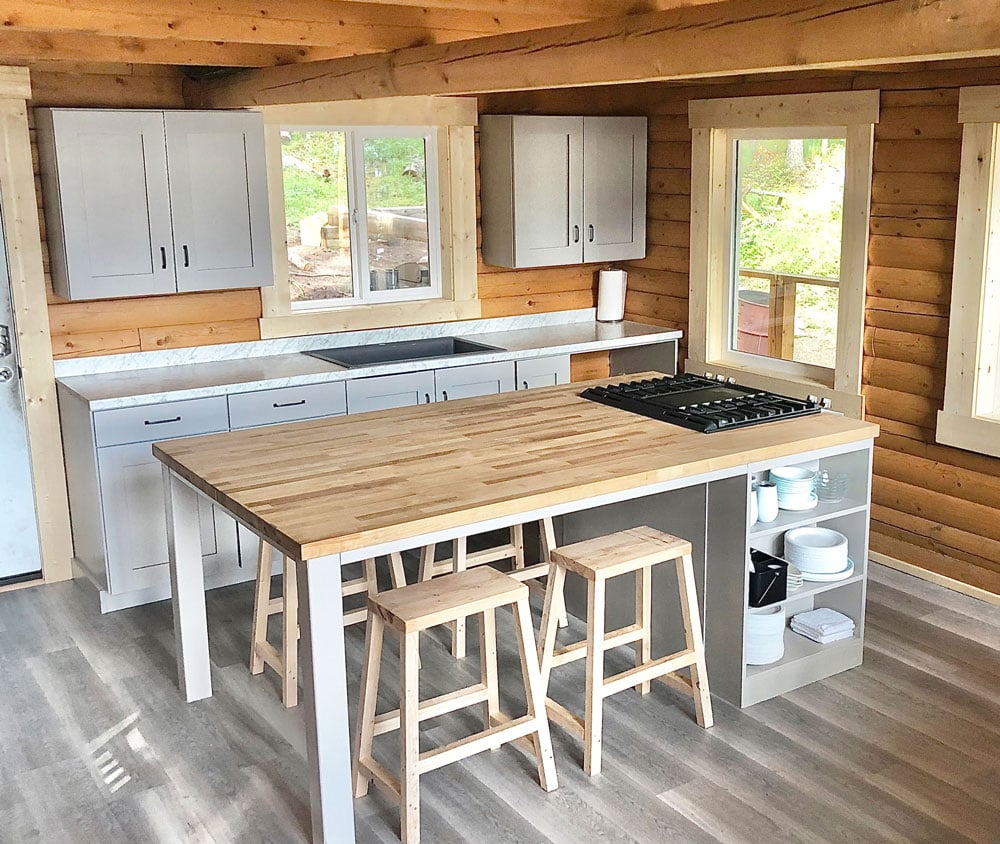
cabin kitchen

After

The new kitchen changed everything! 

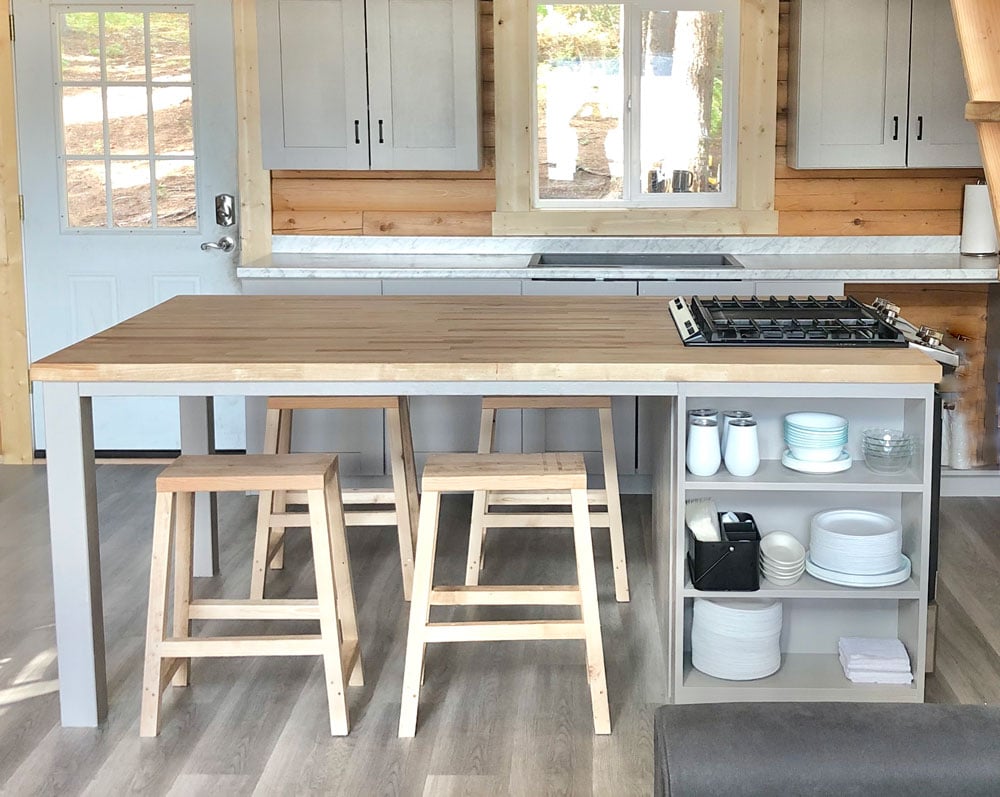
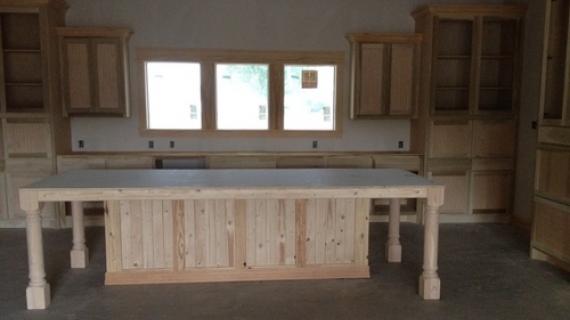
But the biggest difference maker was the kitchen island that we built.

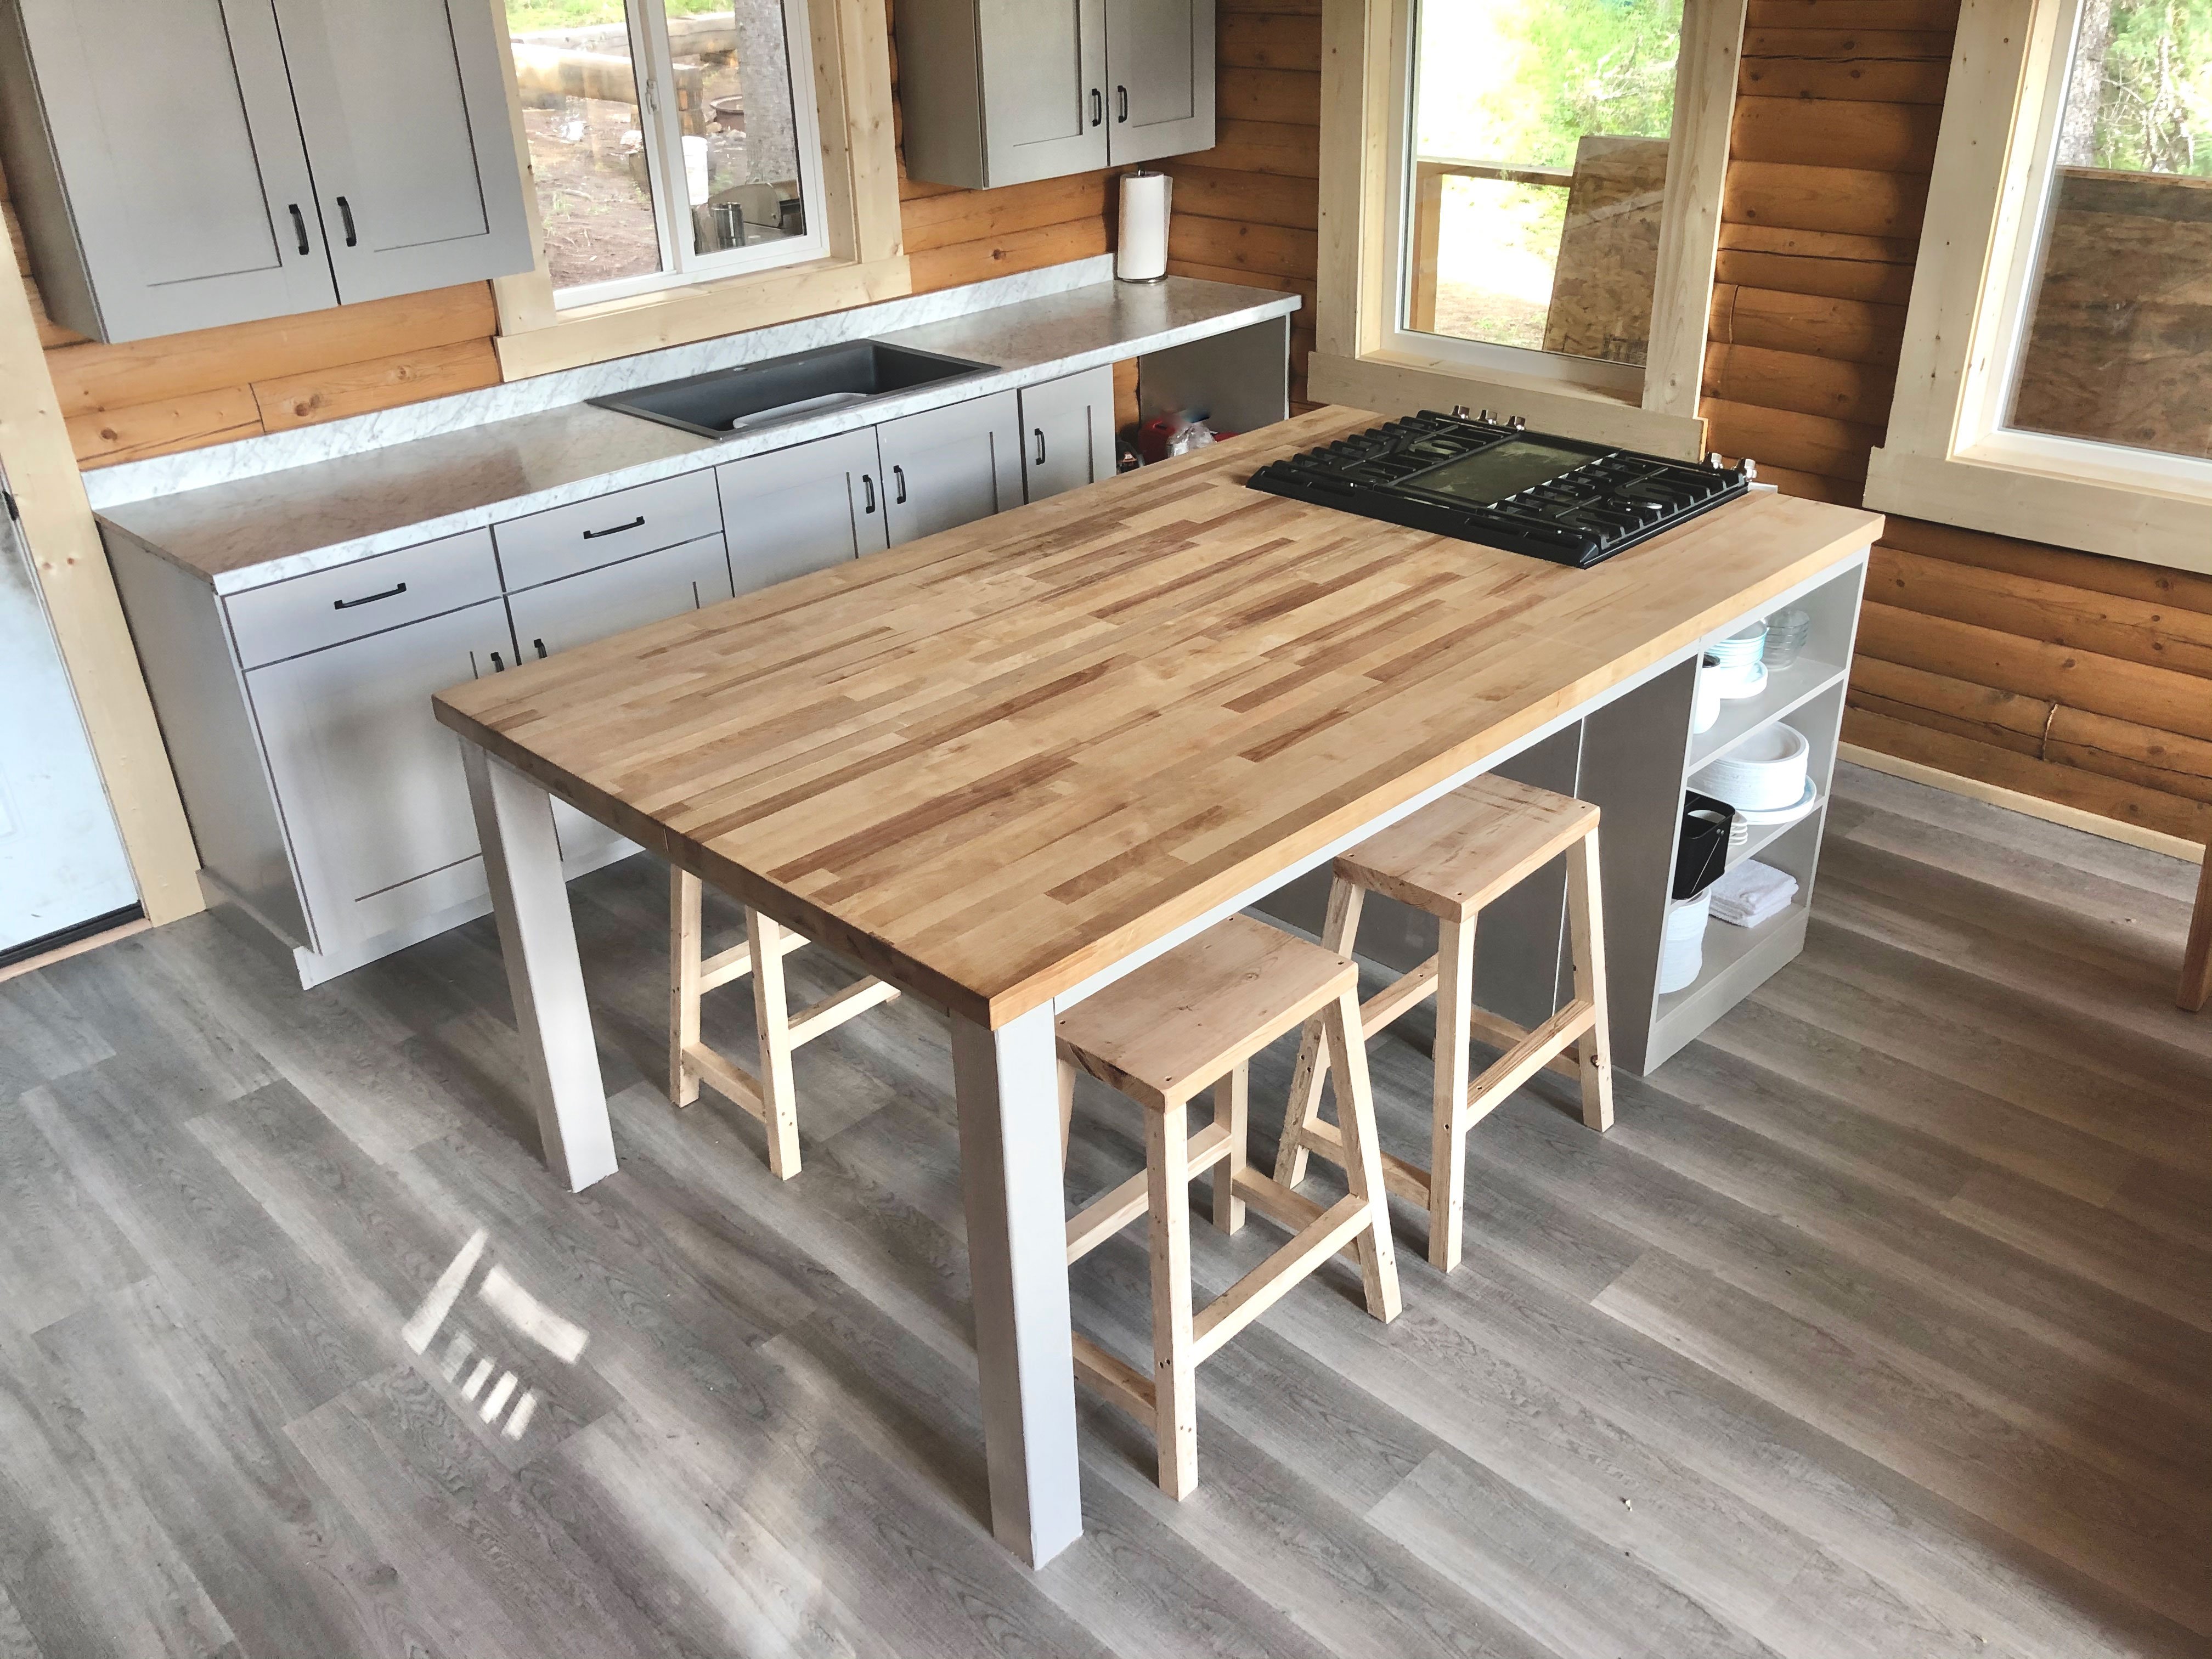
kitchen island for gathering

More Seating on Multiple Sides

This island can comfortably seat up to six.  I love seating on multiple sides - anymore, I try to avoid islands with seating on just one side.  It's lonely eating shoulder to shoulder, all in a line.

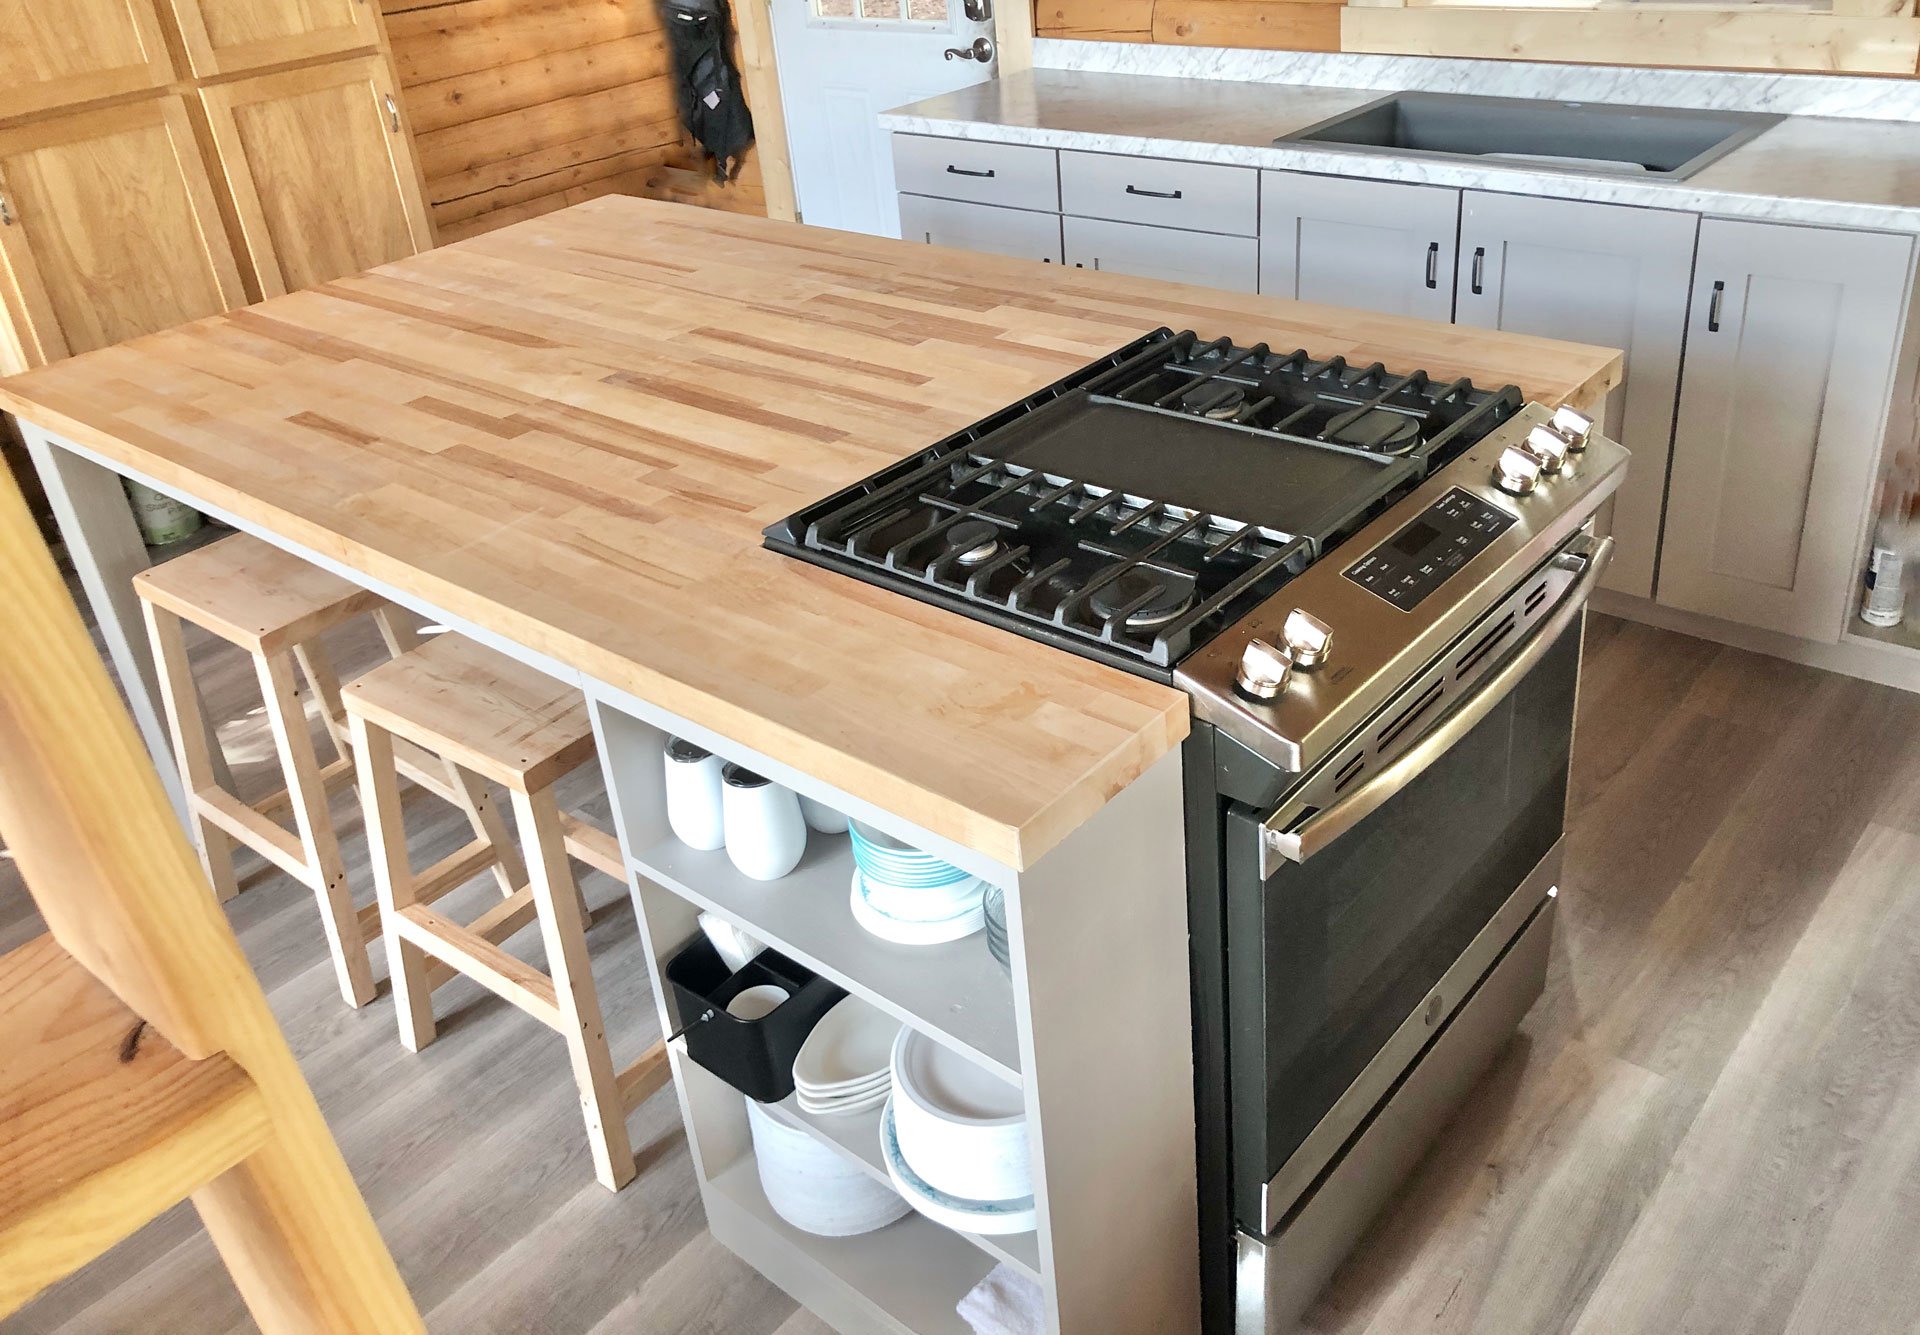
island with cooktop

Cooking Not Against the Wall

I am a big fan of cooking in the island, because cooking is such a community thing.  To talk and chop, to stir and laugh - all while enjoying the changing aromas of cooking, makes cooking about people, instead of a dreaded daily chore.

I also love that when I'm cooking, there's no traffic behind or beside me - it's a dedicated cooking center.  This also improves safety, as the cooktop burners are not in the center of the island (close to people eating and using the island table area).

kitchen island with storage

Easy Access Storage

We love that in this kitchen island we were able to add easy access storage on both sides of the range.  On the hidden side, I stored all the spices, cooking towels, cooking utensils, oils, and mixing bowls.  On the outward facing side, I stored all the dishes and napkins, so hungry guests can help themselves to plates and forks - without creating traffic inside the kitchen aisles.

We could go on and on about how much we love this kitchen island!  We've used it already on a few trips, with multiple families, and it has not disappointed!  I love that the kitchen ALWAYS looks this great - it's easy to clean and keep organized.

But this isn't just a blog post about showing and telling - I'm sharing the plans so you can build this exact kitchen island too!

How We Built This Kitchen Island

In this video, we show you the basics of building this kitchen island

And the free plans that we used are below.

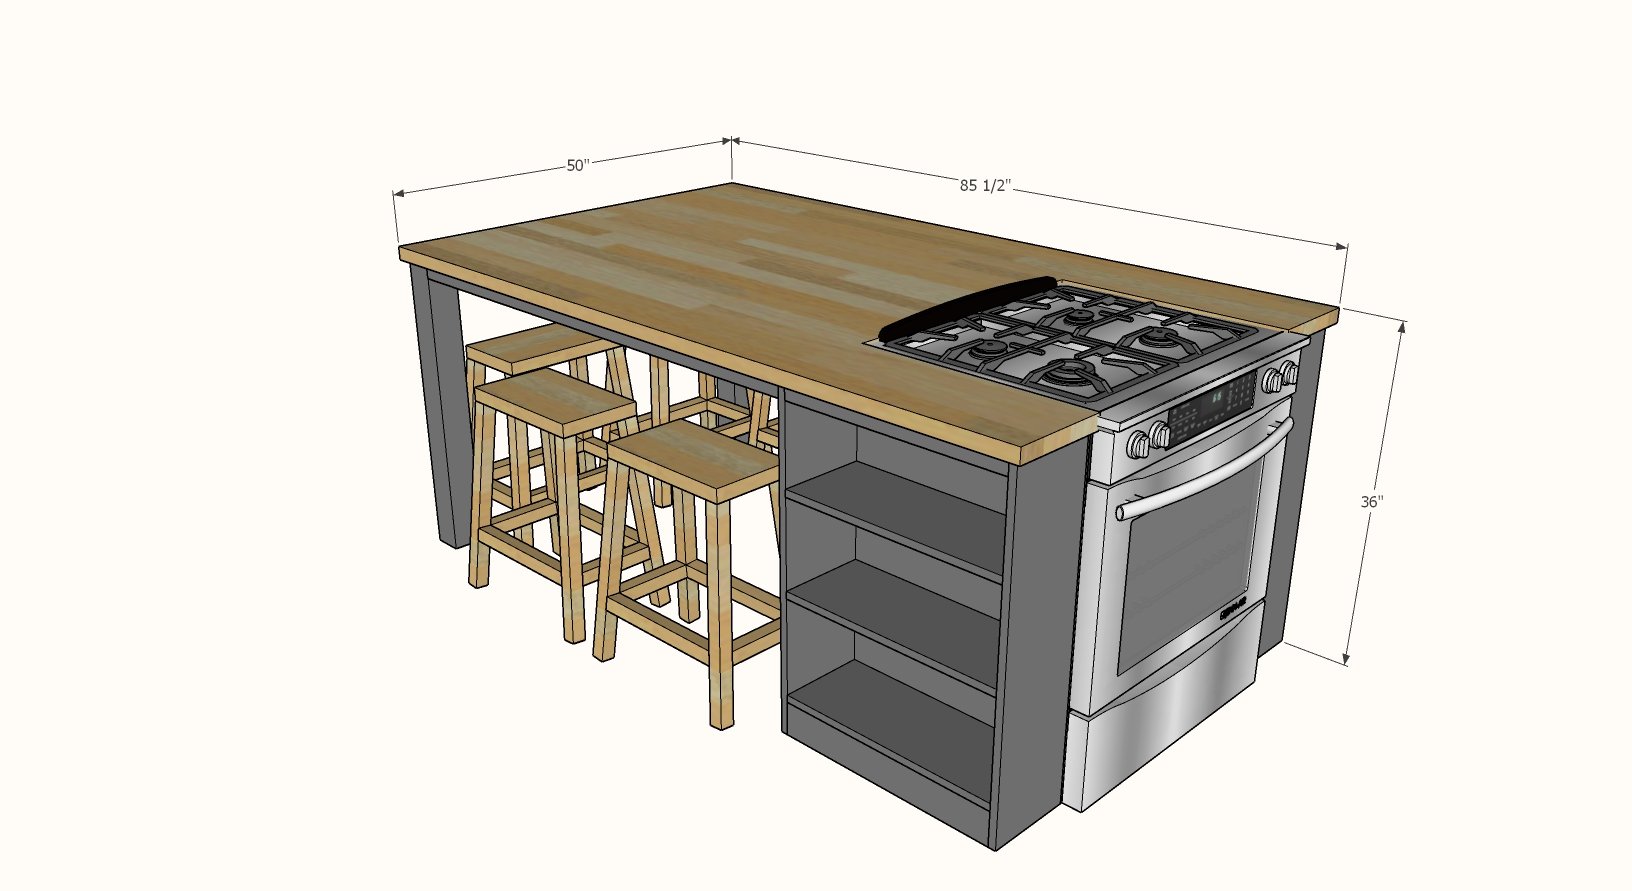
Dimensions
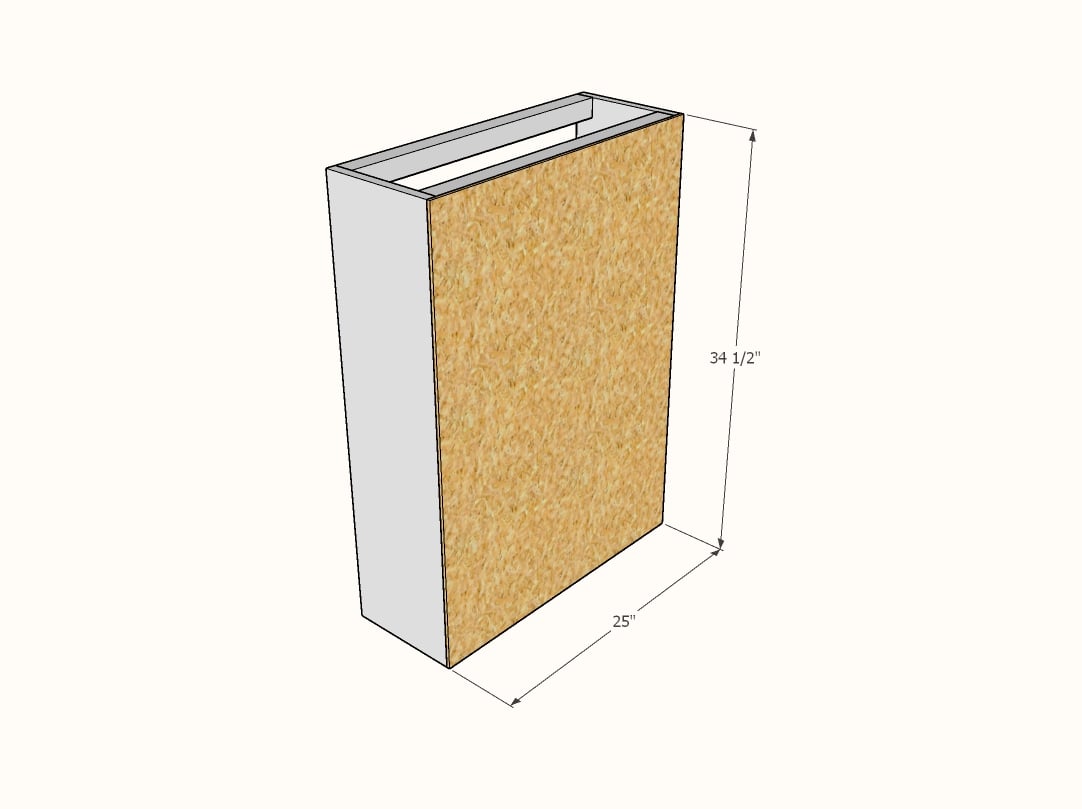
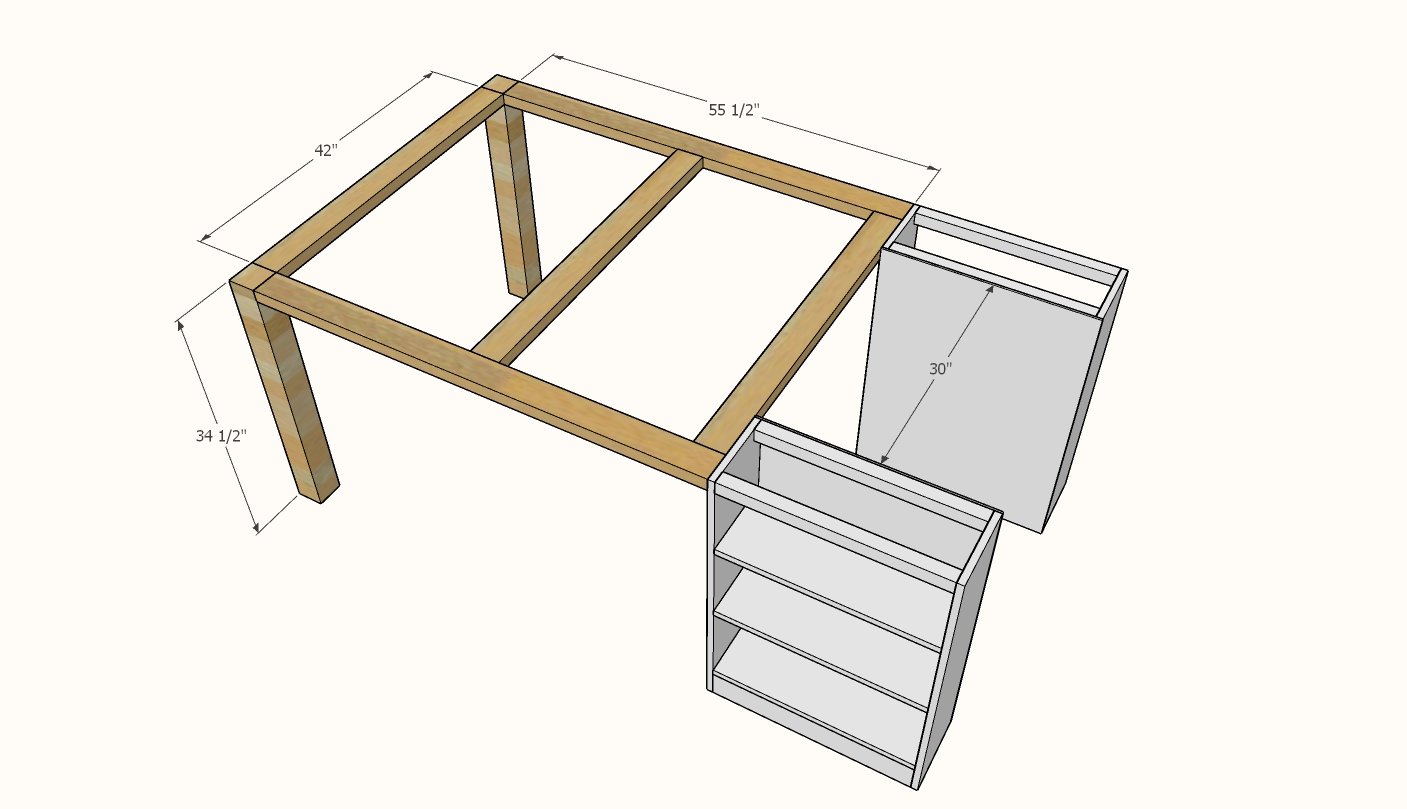
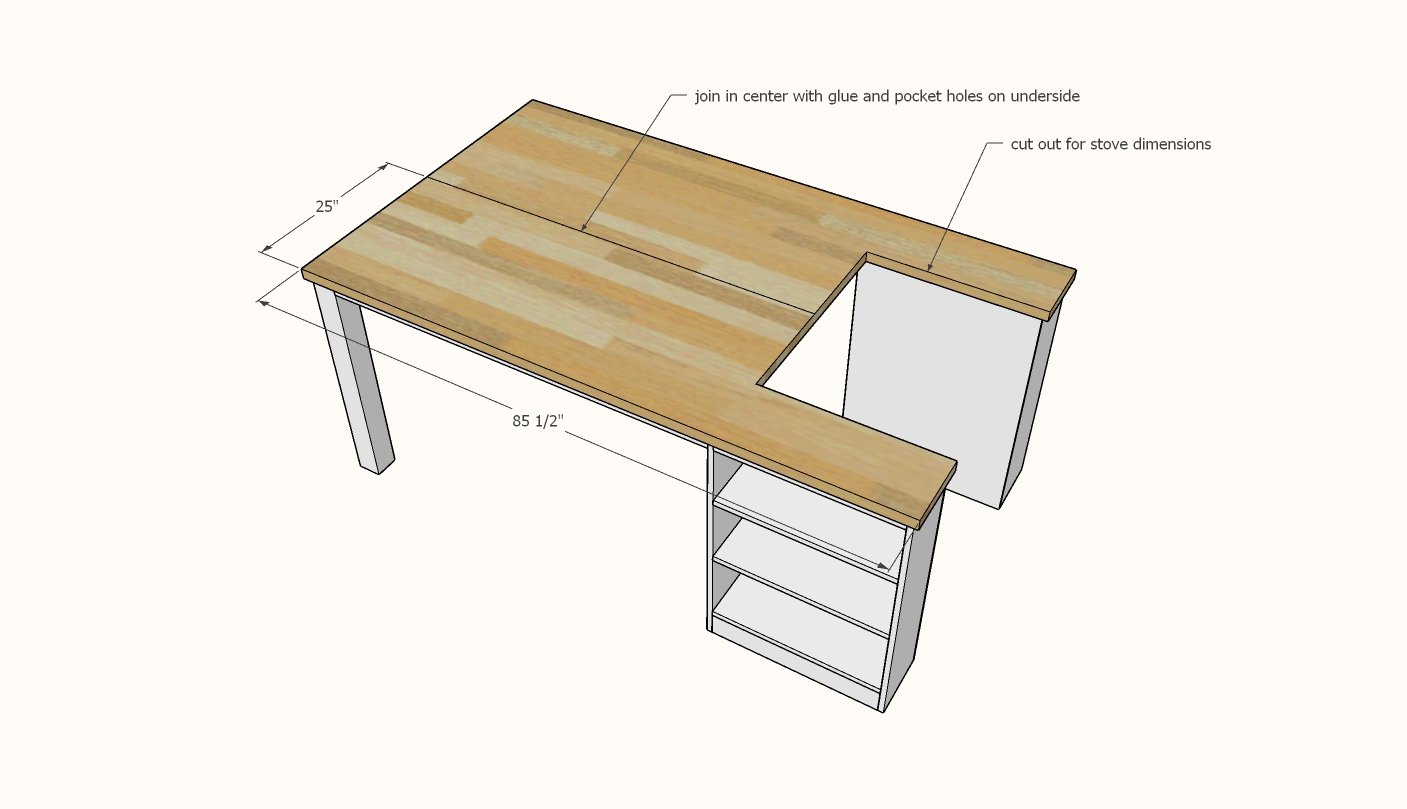
kitchen island dimensions
Dimensions shown in diagram, can be modified somewhat in length to suit your space

Preparation

Shopping List
  • 2 - 25" x 96" butcher block countertops, 1-1/2" thick
  • 1 - 4x4 @ 6 feet long
  • 4 - 1x10 @ 6 feet long
  • 1 - 1x4 @ 8 feet long
  • 1 - 2x2 @ 8 feet long
  • 4 - 2x4 @ 8 feet long
  • 1 - 1/4" plywood, 4x8 sheet

Common Materials
Cut List
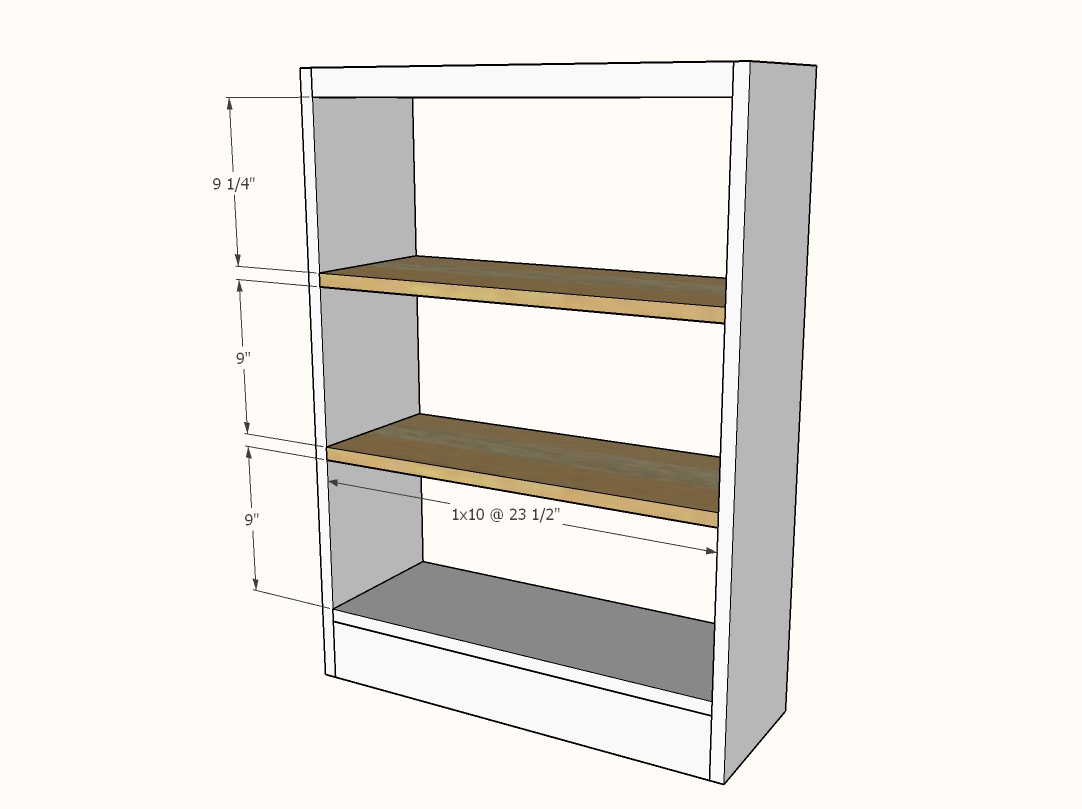
  • 6 - 1x10 @ 23-1/2" long - shelves
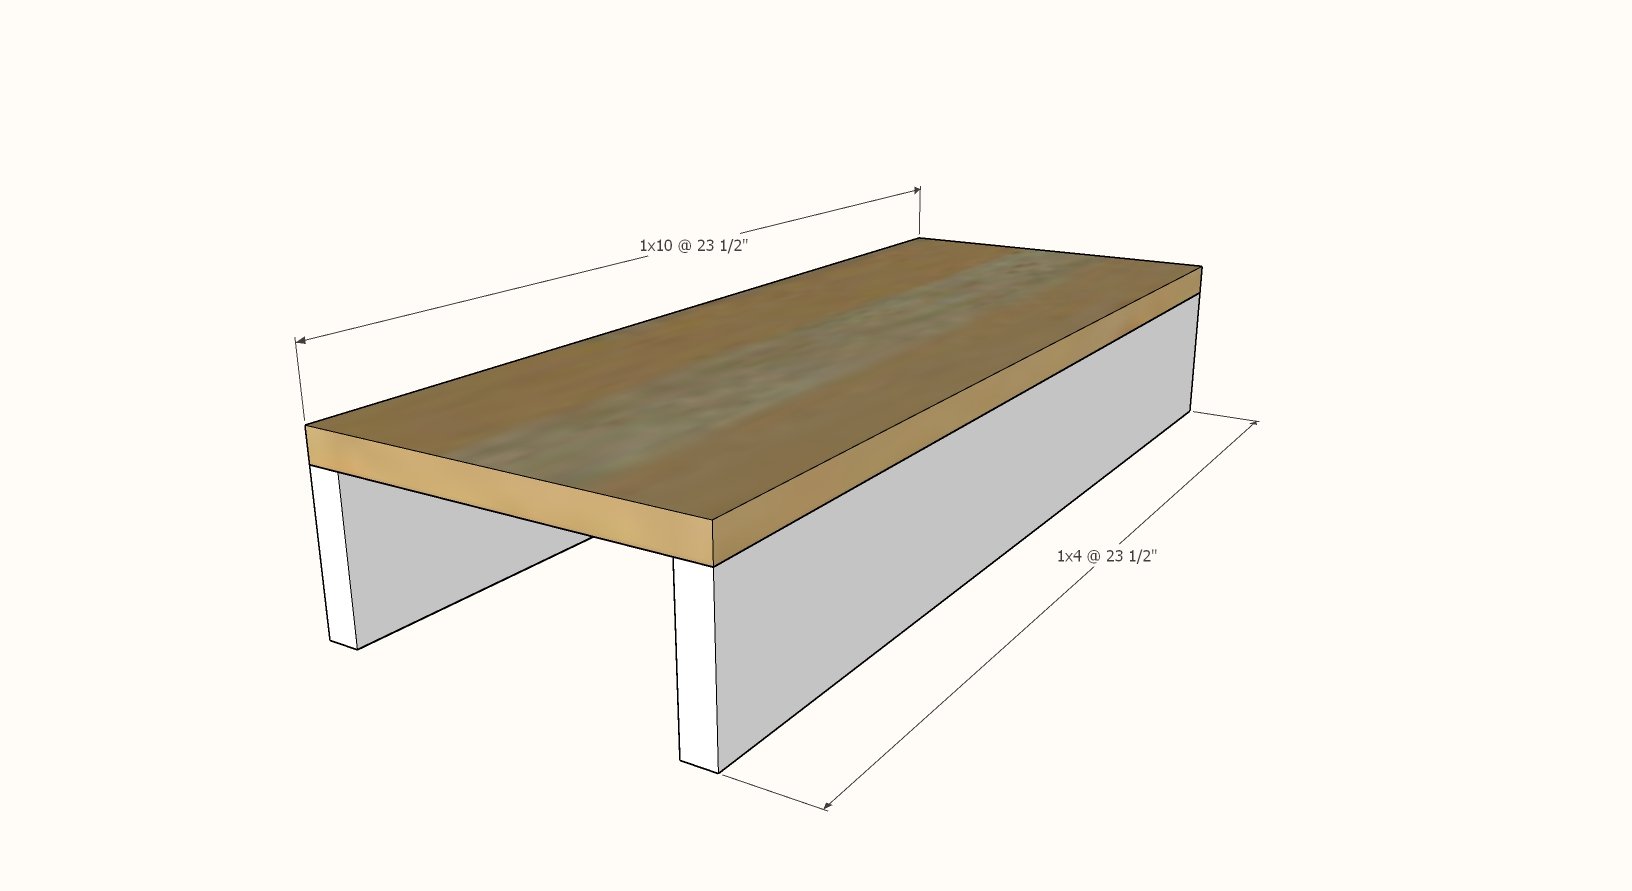
  • 4 - 1x4 @ 23-1/2" long - bottom supports
  • 4 - 1x10 @ 34-1/2" long - sides
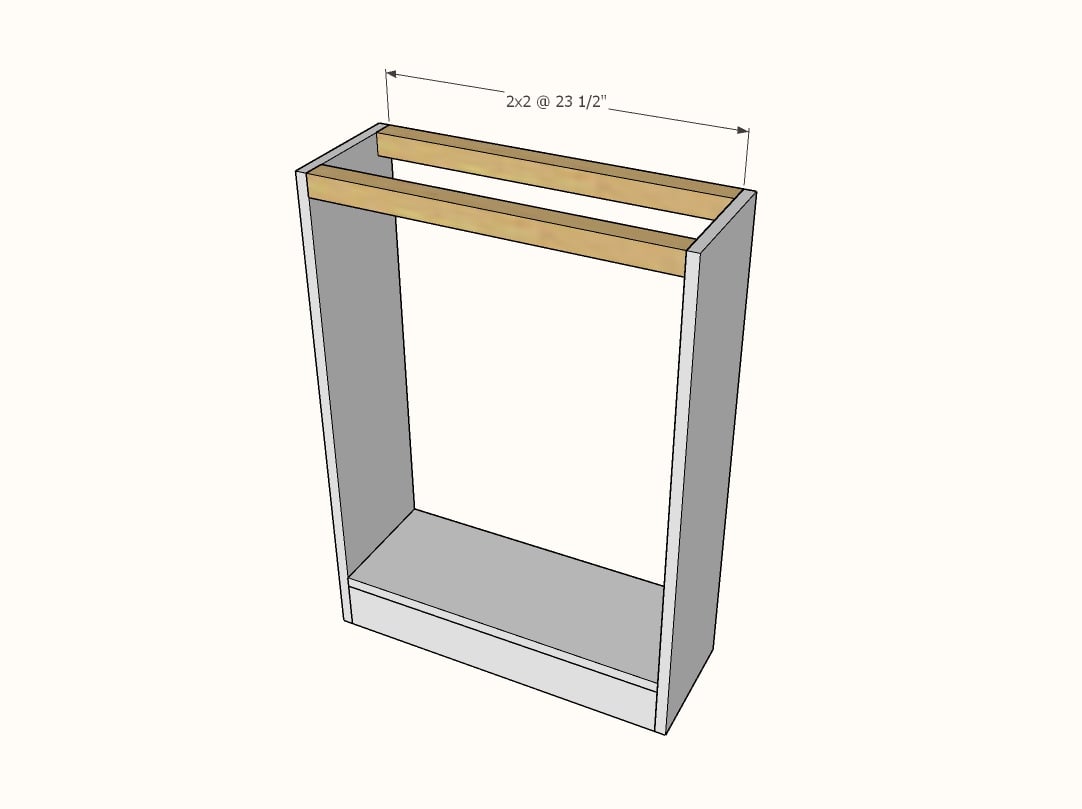
  • 4 - 2x2 @ 23-1/2" long - top supports
  • 2 - 1/4" plywood @ 25" x 34-1/2" - backs
  • 2 - 4x4 @ 34-1/2" - legs
  • 3 - 2x4 @ 42" - island framing
  • 2 - 2x4 @ 55-1/2" - island framing
  • 1 - 1/4" plywood @ 33" x 32-1/2" - back of range

Tools
Tape Measure
Speed Square
Pencil
Safety Glasses
Kreg Jig
Drill
Circular Saw
Miter Saw
Brad Nailer
Power Sander
General Instructions

If using pocket holes, go through and mark all pocket holes prior to any assembly and drill out on the 3/4" setting.  Use 1-1/4" pocket hole screws.

Instructions

Step 1

Attach 1x4s to bottom of bottom shelf with either pocket holes or 1-1/4" brad nails and glue.

Step 2

Attach bottom shelf to sides with either pocket holes or 1-1/4" nails and glue.

Step 3

Attach 2x2 tops with either pocket holes (keep 3/4" setting and still use 1-1/4" pocket holes) or 1-1/4" nails and glue.

Step 4

Add shelves inside.  Shelves can also be made adjustable with shelf pins, they are not structural.

Step 5

Attach 1/4" plywood to the back with 3/4" brad nails and glue.  Attach to all fixed shelves as well.

Step 6

Cut out the framing for the island extension.  Drill pocket holes on ends of all 2x4s, two per end, on the 1-1/2" setting.  Use 2-1/2" pocket holes to attach together.

Step 7

Attach the 1/4" plywood panel to the back of the range area with 3/4" brad nails and glue.

Step 8

Attach the two butcher block countertops together with glue and pocket holes on 1-1/2" setting and 2-1/2" long screws (use the Kreg HD if you have it). NOTE: We also squared the edges of the butcher block up before joining using a hand planer.  

Cut out for the oven range.

Attach with screws from underneath.  You can use the 2-1/2" Kreg Jig screws to attach.

Finishing Instructions
Finish Used
Paint color is Sherwin Williams Repose Gray

Comments

jlevesque71

Tue, 08/04/2020 - 12:20

Hi there, just wondering about the 4x4 corner posts - looks like i can only get PT 4x4 posts unless I go with Cedar - what are your thoughts about using PT wood inside?