


Free plans to make your own hexagon wedding arch from Ana White.com. You can make your own hexagon wedding arch for under $30 using these free plans. Plans are suitable for beginner woodworkers, and can be built using basic tools. Stain any color of your choice.
Step by step plans with diagrams, shopping and cut list - everything you need to build your own hexagon wedding arch quickly and cheaply.
A hexagon wedding arch adds a modern detail to a wedding ceremony. You can make your own quickly and easily using these free plans.
Can I make the arch with a wider width board for a thicker frame?
Yes, a 1x6 board will look great! You can directly substitute the 1x6 for the 1x4s in the cut list and shopping list.
What about making the arch narrower?
You can, but I wouldn't go any smaller than a 1x3, as there won't be much there to attach the two boards together. But prove me wrong, I'd love to see a 1x2 or 2x2 version.
Will the arch tip over?
We recommend using fishing line and tent stakes to prevent the arch from tipping over. If in an indoor setting, the arch can be tied to the walls for additional support. This is especially important with top heavy floral arrangements or potential wind.
Can I disassemble the arch and use it again?
Yes, but with the method of joinery, expect to be able to assemble and disassemble about 10 times before the screws strip out the wood. If you are looking to create a rental piece, building a second hexagon and lapping joints, with bolts at joints, would be a better long term solution.
What about a double hexagon arch?
Yep, you can do that! Just build two arches, then connect in between with 1x boards where desired.
What type of finish do you recommend?
It depends on the look you are going for. Most people want a rustic wood finish - to achieve that look, use a wood stain (small can is all you'll need) and apply with a foam applicator brush and wipe off. A aged wood accelerator will give you a gray look. White paint will give you a crisp white look.
I don't have a pocket hole jig - how do I join boards together?
The easiest method is to buy mending plates or tie plates like these from Amazon
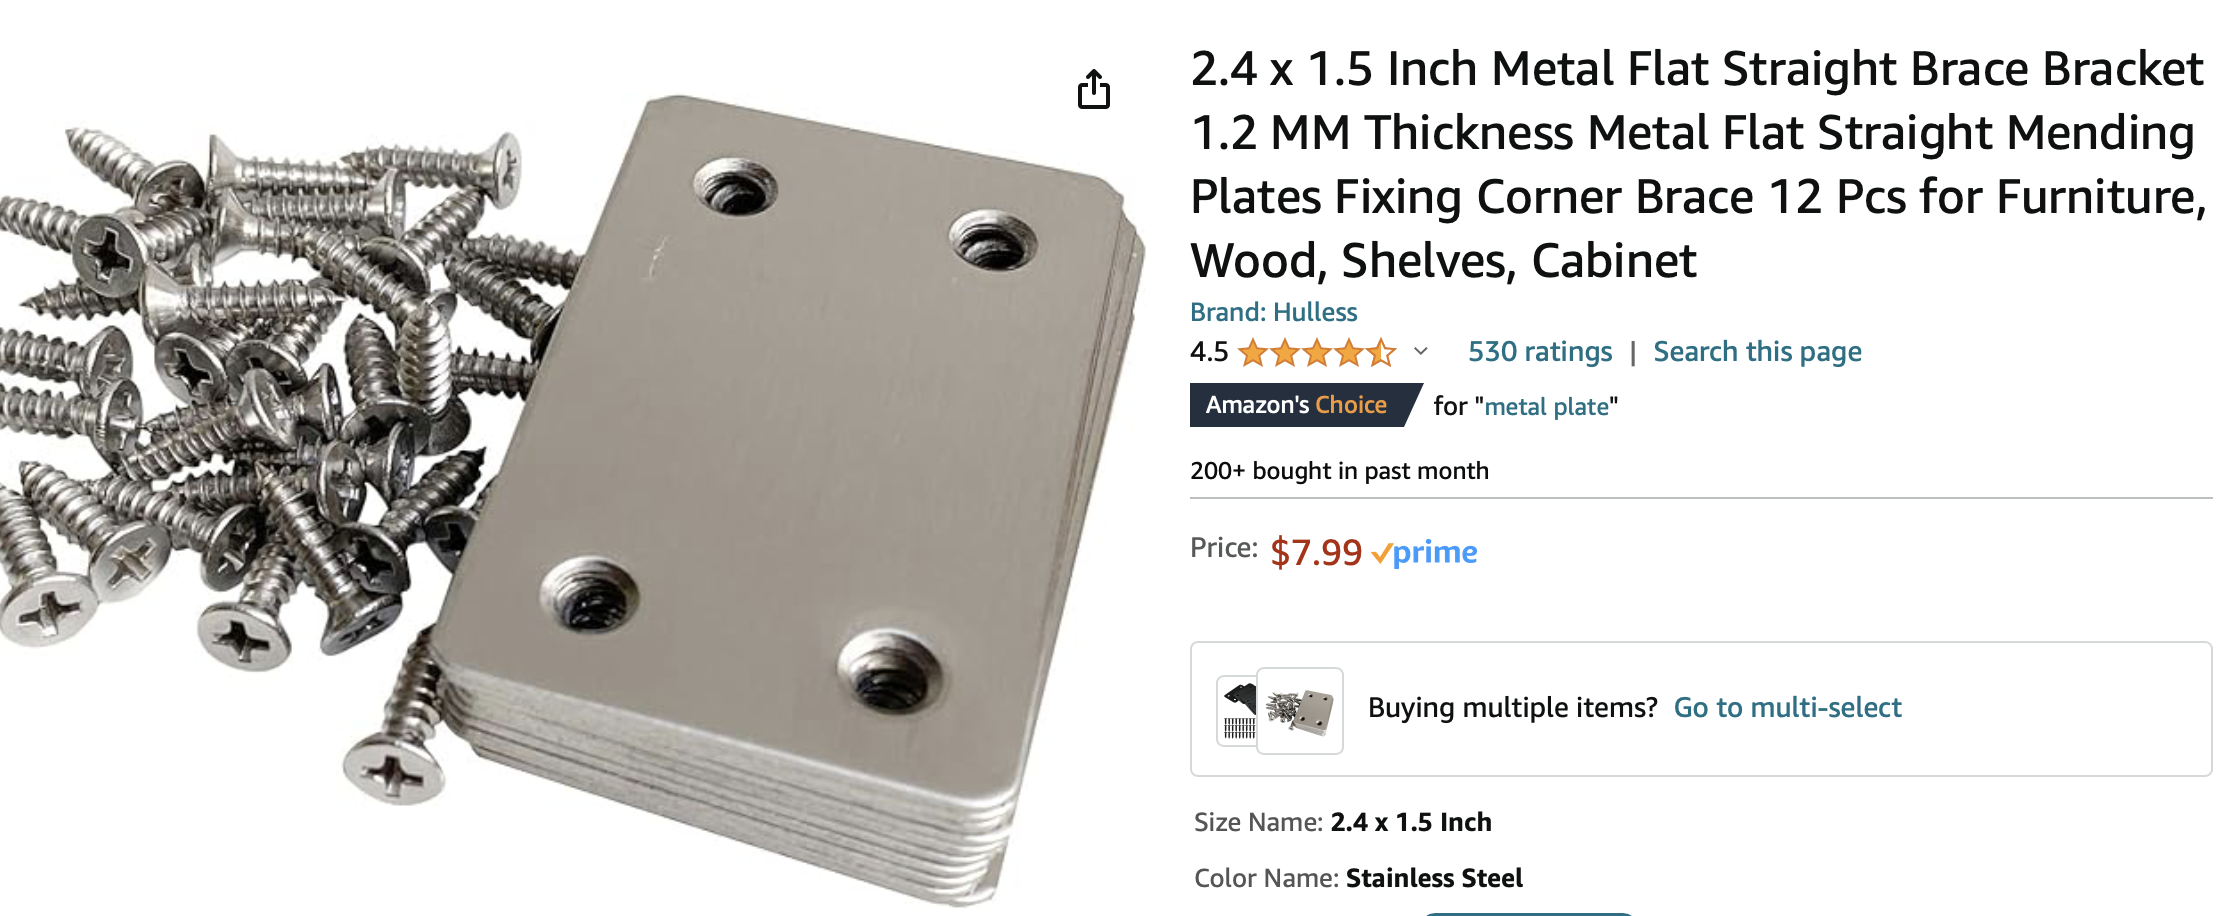
Make sure the screws are 3/4" long, so it doesn't poke through the wood, and make sure there are at least four holes in the mending plates (8 would be ideal). The mending plates should be no bigger than 2" x 5" for a 1x4 board.
Do I need a miter saw?
The miter saw is going to be the easiest, fastest and safest way to accomplish making these cuts. You can use a speed square and a circular saw (or even a jigsaw) to make the cuts, but it will definitely be more difficult.
Free Plans to Make Your Own Hexagon Wedding Arch
Here's the free plans to make your own wedding arch in a hexagon shape. Please send us a photo if you build, we can't wait to see how your arch turns out!
Pin For Later!

Preparation
- 3 - 1x4 boards, 8 feet long (can be furring strip)
- 1 - 2x4 board, 8 feet long
- 6 - small tie plates with 3/4" screws OR 12 - 1-1/4" pocket hole screws
- 8 - 2-3/4" star bit self tapping screws (spax or similar brand)
- wood stain in desired color
- 6 - 1x4 @ 48" - long point to long point measurement, both ends cut at 30 degrees off square, ends NOT parallel
- 2 - 2x4 @ 30"
- 4 - 2x4 @ 9" - one end cut at 30 degrees off square, long point measurement*
DO NOT cut short pieces, instead cut the short pieces first from the full length 2x4.


Instructions
Step 1

Cutting
Set the miter saw to 30 degree off square angle cut.
Cut the end off of a 1x4 board. Then measure and cut the first piece. Repeat for the second piece. You will be able to get two pieces per 1x4 board.
Cut the pieces for the base out of the 2x4 as directed in the cut list.
Step 2

Layout the hexagon pieces on a flat surface and attach together at the corners.
If the wood is splitting, predrill a hole to help prevent splitting.
If you use pocket holes, this is a cheaper and better method of joinery.
Step 3

Build two of the bases as shown, use a scrap piece of the 1x4 as a guide for spacing the center gap. You want this gap to be tight to hold the arch in place.
Step 4

Set the hexagon in the base. It can be additionally screwed from under the base.
It is recommended to stake out the arch so it does not tip.
