Modern Rustic X Console Table

$20 Modern Farmhouse Console Table - Inspired by Pottery Barn Grove Console Table
Difficulty
Intermediate
| Print this plan

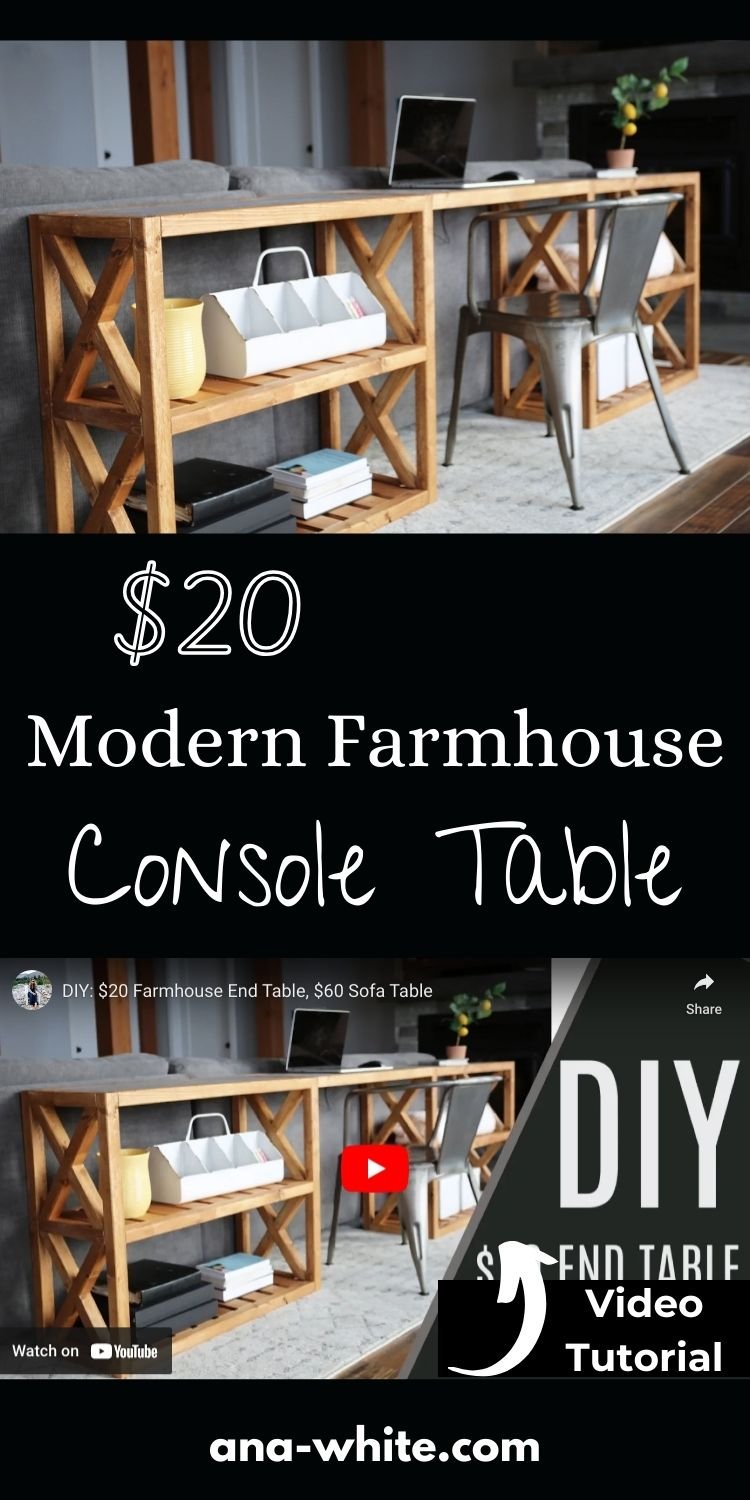
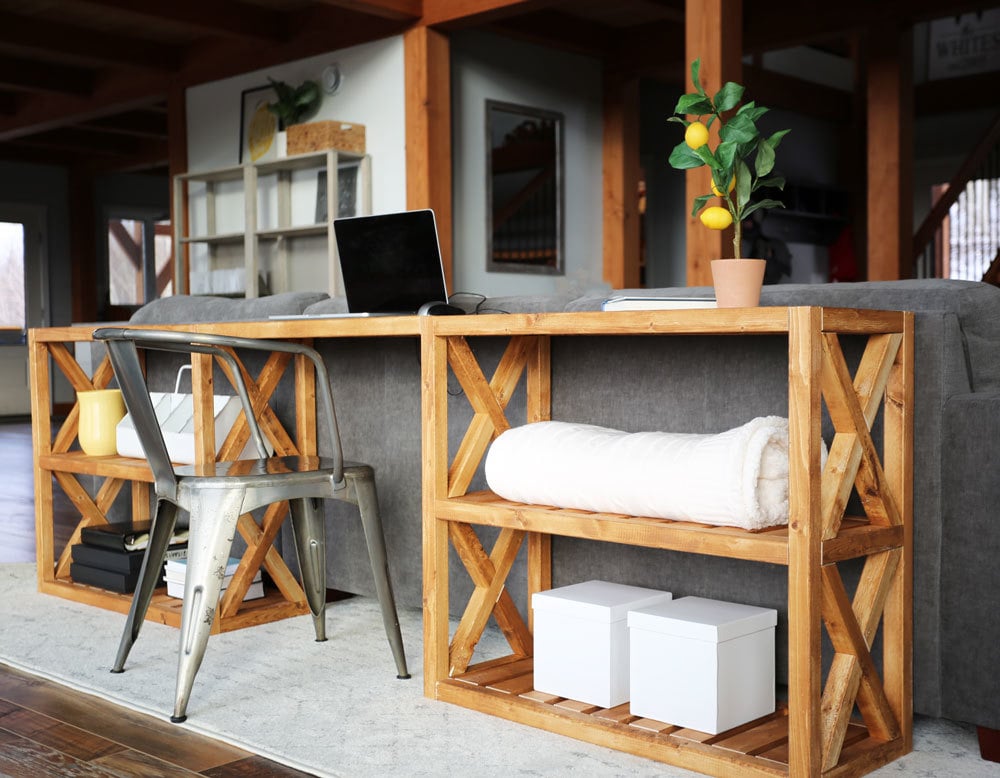
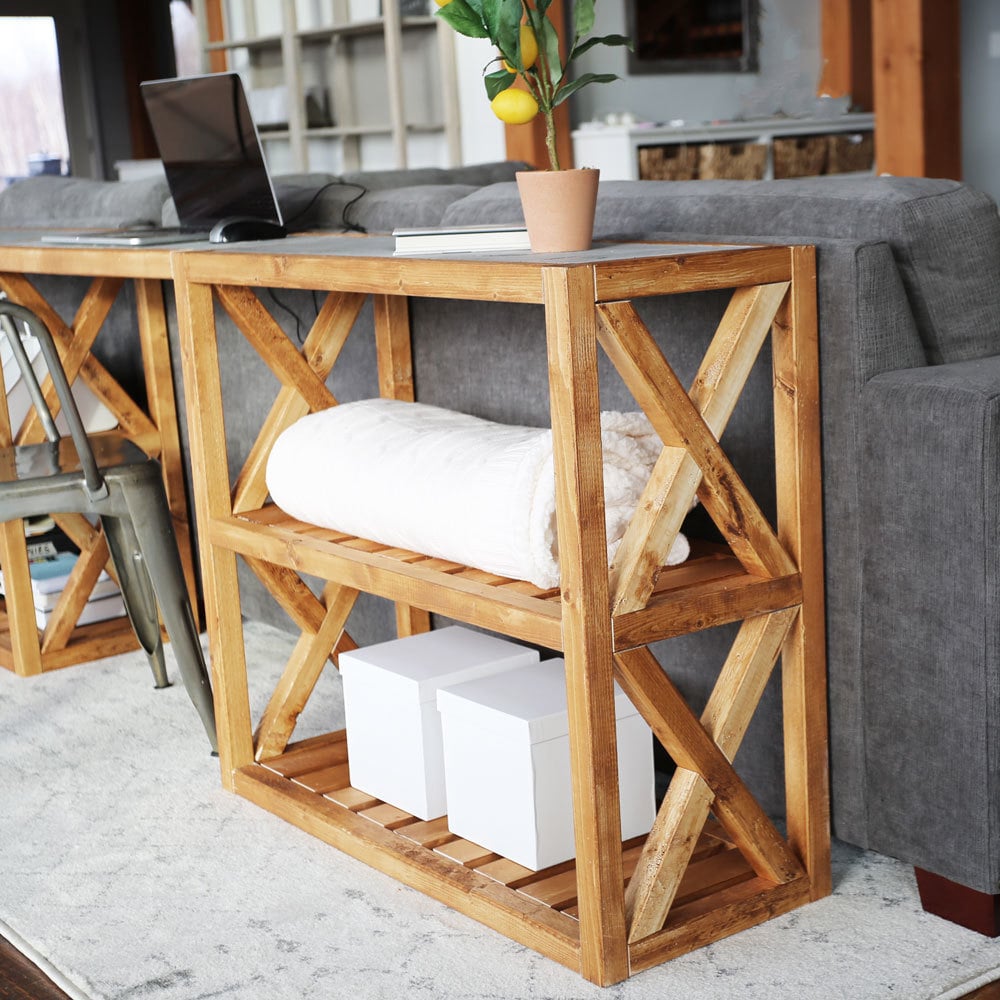
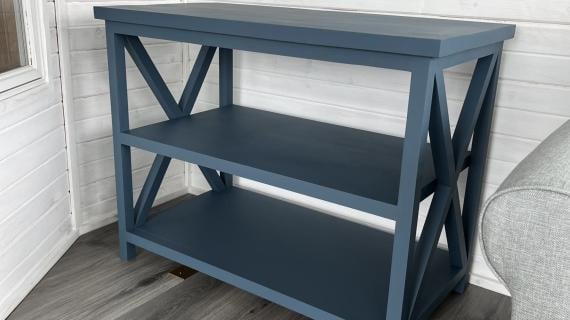
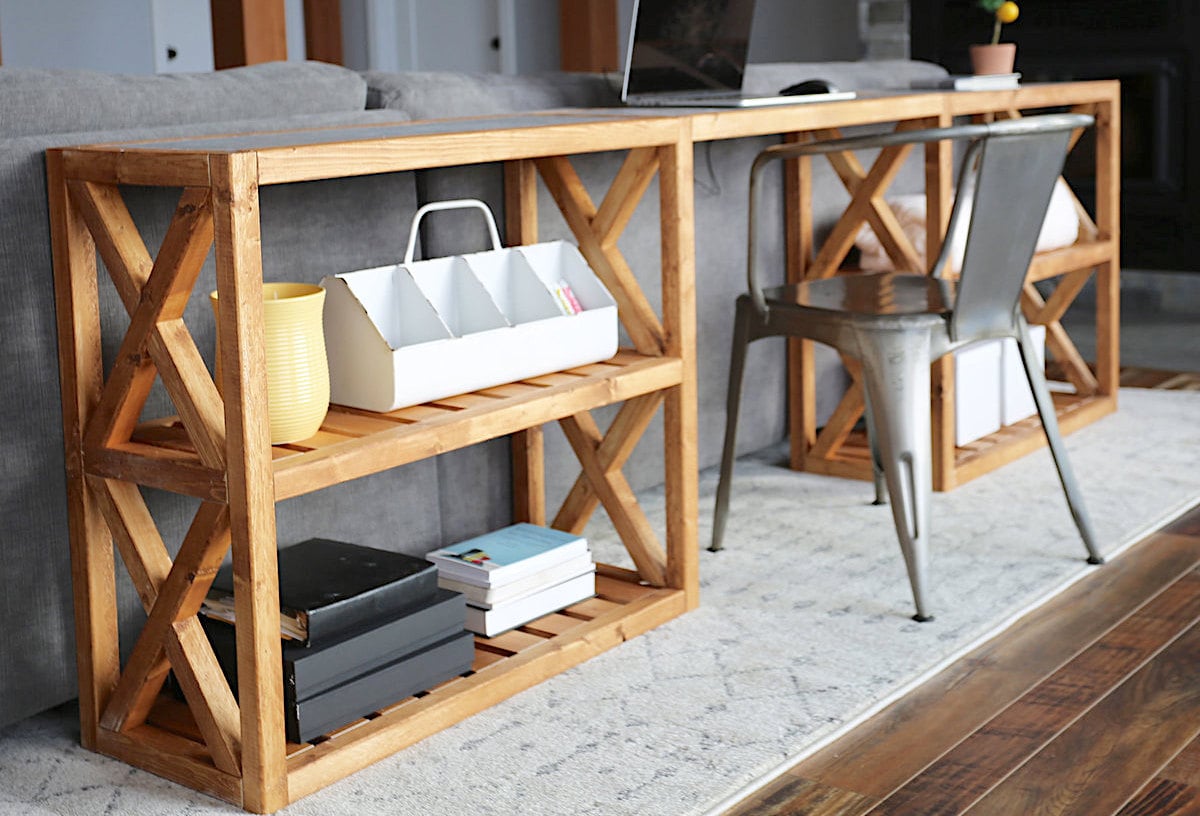
This rustic modern farmhouse style console table only cost $20 to build!  Build two and add a desk in between for the perfect behind the couch table.  Free step by step plans by ANA-WHITE.com

$20 Modern Farmhouse Console Table - Inspired by Pottery Barn Grove Console Table

Modern Rustic X Console Highlights

  • Two large slatted shelves
  • Large top surface
  • Beautiful design adds storage and functionality to your space
  • Solid wood construction perfect for staining and adding wood texture to your space
  • Inexpensive to build from 2x2s and 1x3s - no plywood or table saw required!
  • Only about $20 in materials to make each console

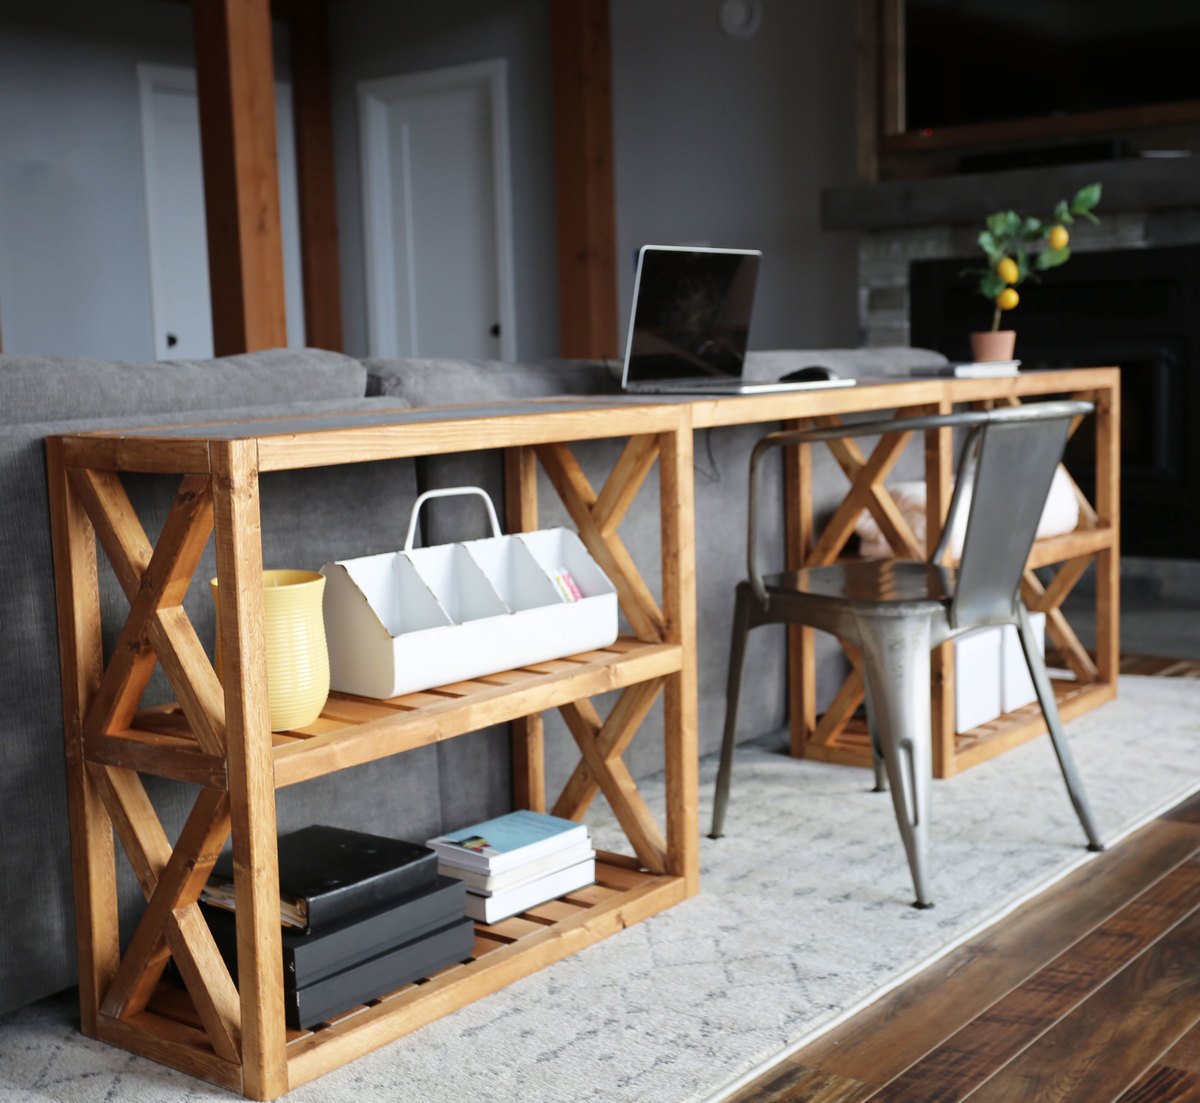
We just purchased a sectional for our great room, and knew we needed a behind the couch table for setting drinks, remotes, magazines, and other things on.  I also wanted to incorporate a desk for a laptop.  So we built this!

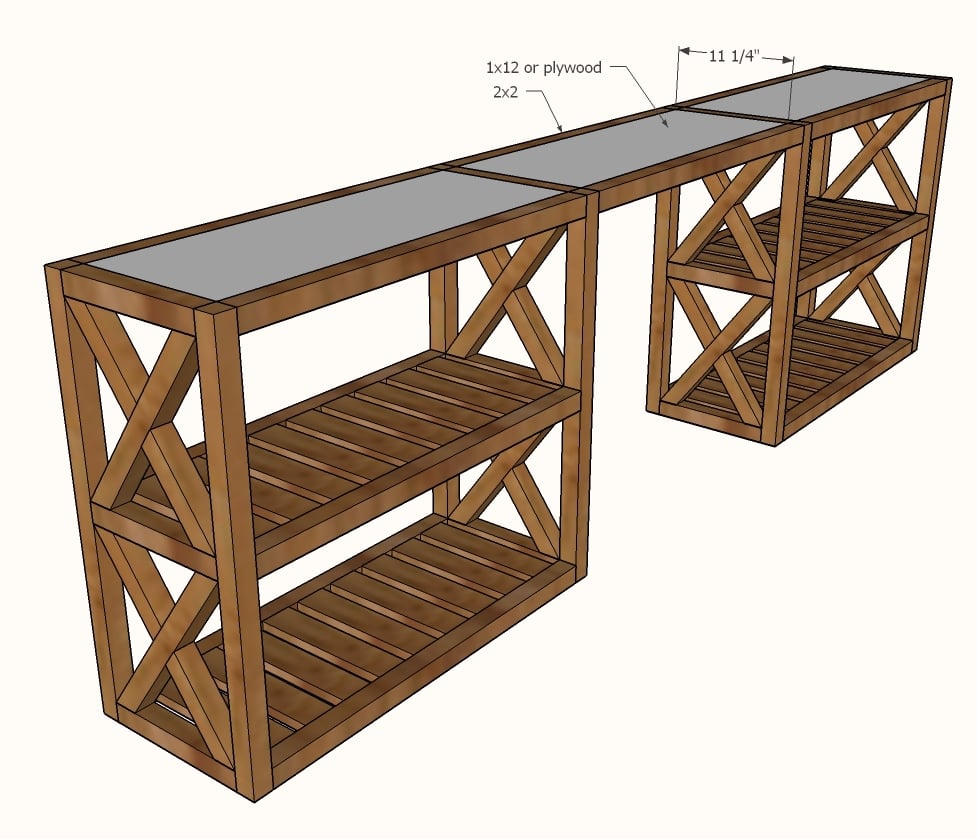
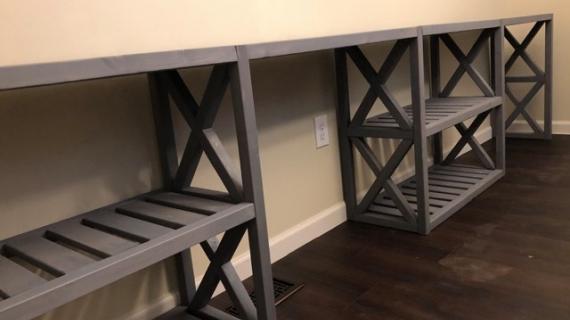
It's really two consoles -

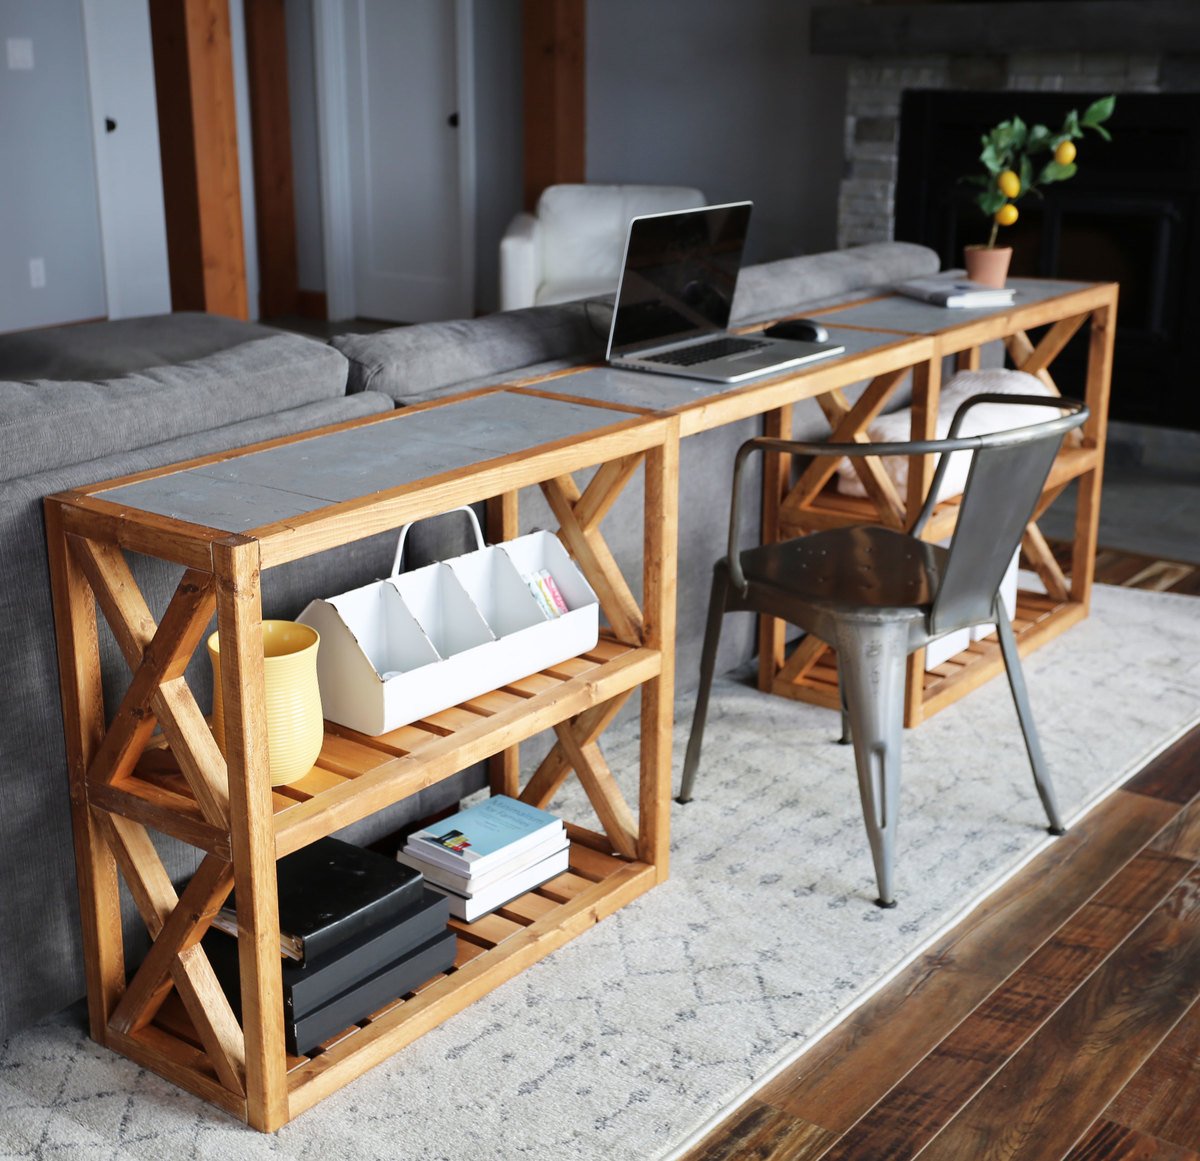
With a bridge for a desk built in between -

Since we used off the shelf pine furring strips, this project only cost about $40 total to make!  That's right - this EXTRA long console was only about FORTY BUCKS!

We videoed the build process for you -

And are sharing the plans below.

Please share if you build, we love seeing your finished projects!

XO Ana


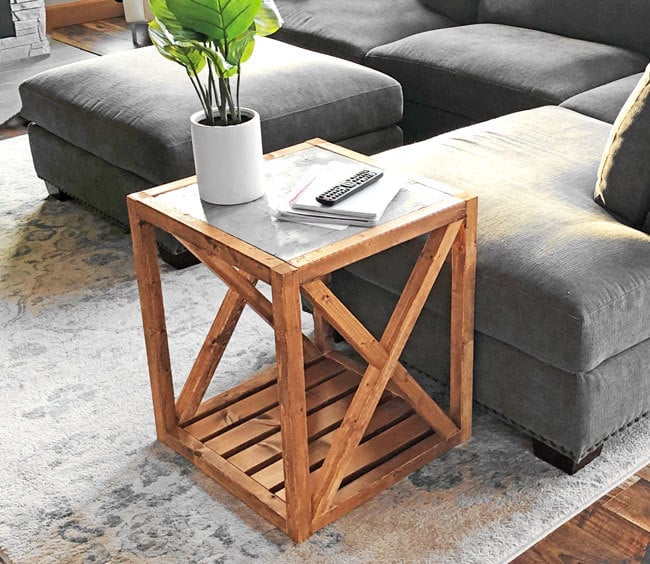
PS - Want to build a matching end table?  We have plans for this Modern Rustic X End Table here

Pin For Later! 

$20 Modern Farmhouse Console Table - Inspired by Pottery Barn Grove Console Table

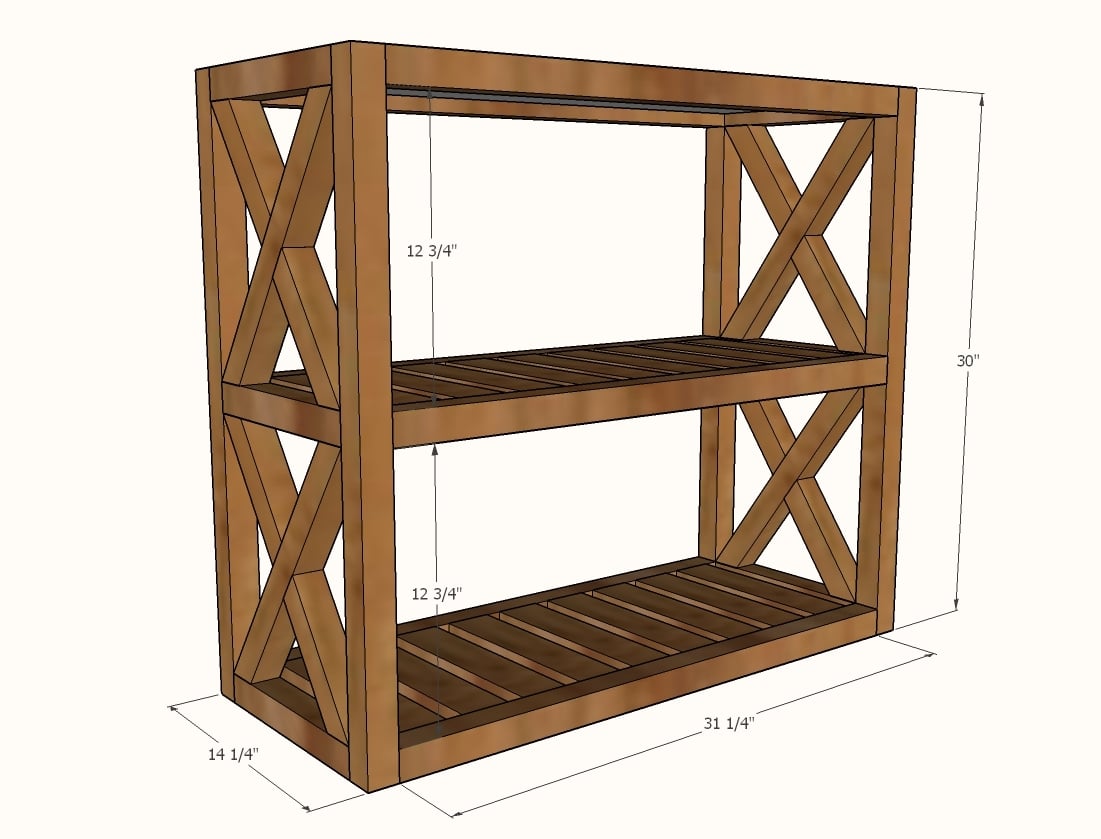
Dimensions
$20 Modern Farmhouse Console Table - Inspired by Pottery Barn Grove Console Table
Dimensions for one modern rustic X console shown above

Preparation

Shopping List

Shopping list is for ONE console - you'll need to add more materials to build two and for the bridge to build as shown in the photos

6- 2x2 @ 8 feet long

3 - 1x3 @ 8 feet long

1 - 1x12 @ 3 feet long or 3/4" plywood piece 11-1/4" x 31-1/4"

Common Materials
Cut List

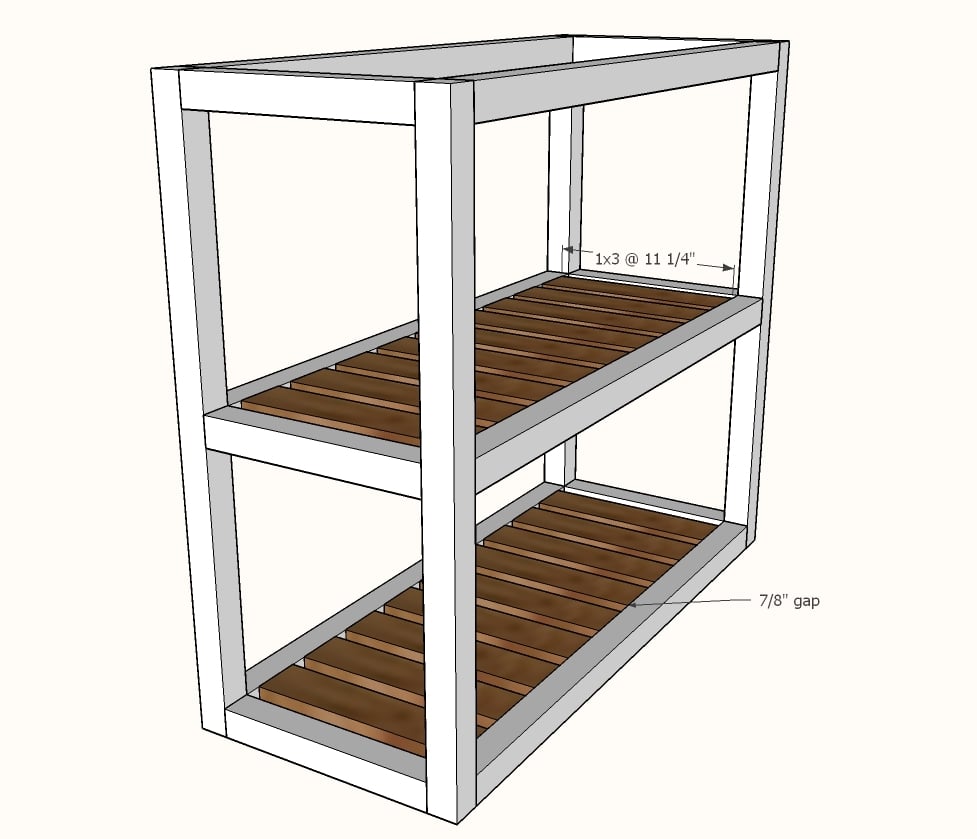
4 - 2x2 @ 30" - legs

6 - 2x2 @ 11-1/4" - ends

6 - 2x2 @ 31-1/4" - front/back shelf trim

18 - 1x3 @ 11-1/4" - shelf slats

1 - 1x12 @ 31-1/4" OR 3/4" plywood @ 11-1/4" x 31-1/4" - top

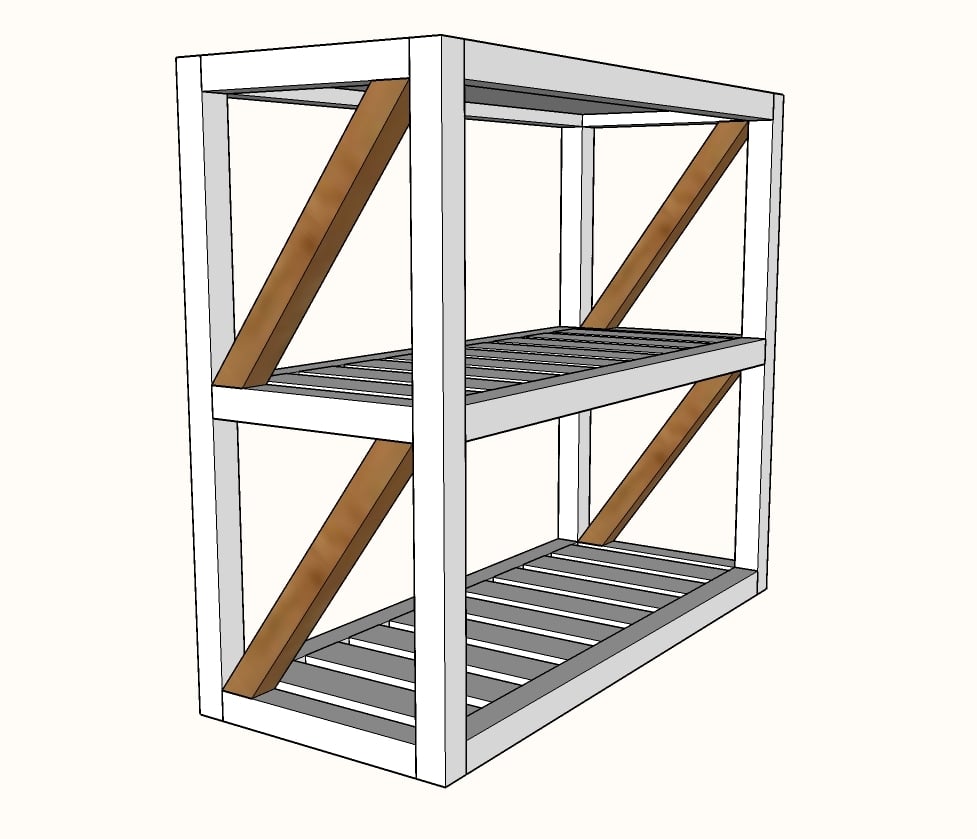
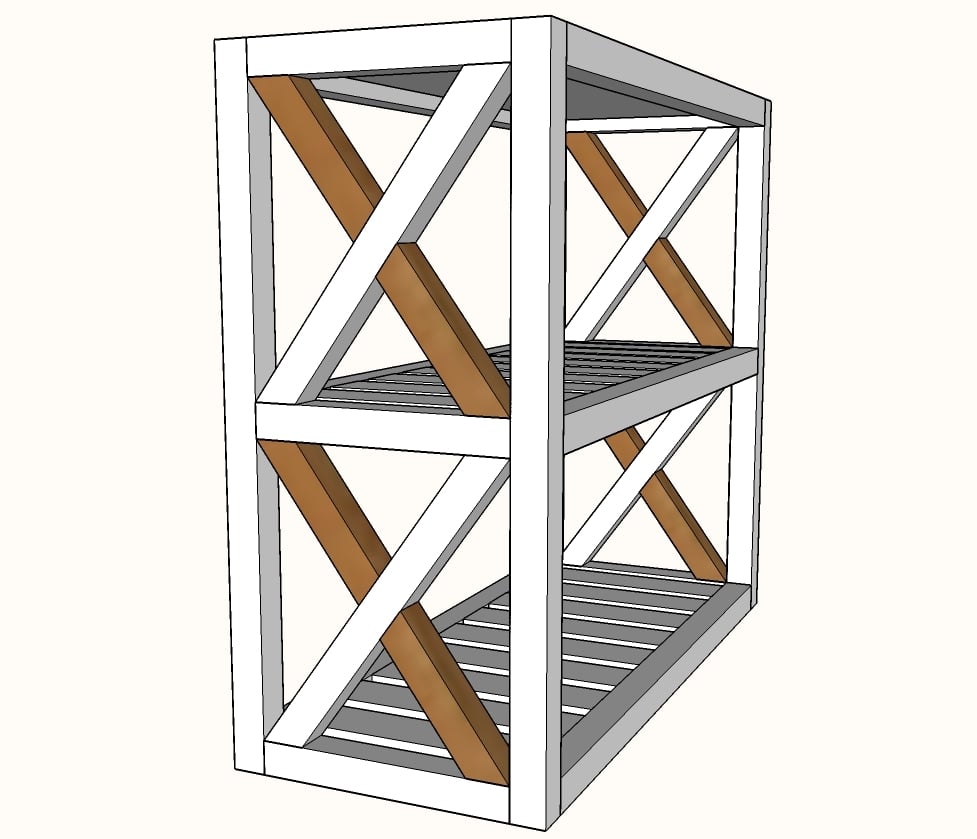
Cut X pieces to fit


Tools
Tape Measure
Pencil
Safety Glasses
Hearing Protection
Kreg Jig
Drill
Miter Saw
Brad Nailer
Power Sander
General Instructions

Sand all boards first.  You may wish to paint or stain boards before beginning.

Instructions

Step 1

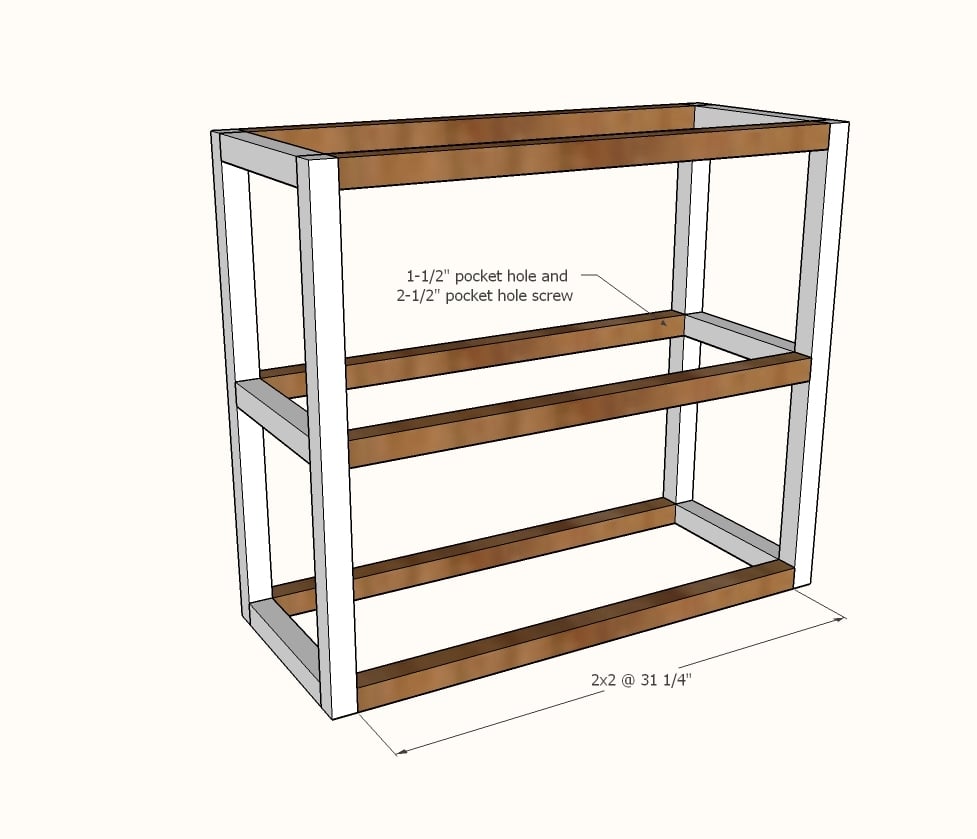
Set Kreg Jig to 1-1/2" setting

Drill a single pocket hole on each end of the 2x2 @ 11-1/4"

Attach to the legs with 2-1/2" pocket hole screw.  Center the middle 2x2 on the legs.

Step 2

Drill a single 1-1/2" pocket hole on each end of the 2x2s @ 31-1/4"

Attach to legs with 2-1/2" pocket hole screws.

Step 3

Set Kreg Jig to 3/4" setting.

Drill two pocket holes on each end of all of the 1x3 boards.

Attach one 1x3 board centered in middle of each shelf with 1-1/4" pocket hole screws.

With a 7/8" gap, work outward, attaching slats as you go.

Step 4

Drill 3/4" pocket holes every 6-8" along edges of 1x12 or plywood pieces.  Attach inside top of project.

NOTE: In the video there is an alternative method that you can do using 1-1/4" brad nails and cleats.

Step 5

Step 6

Repeat steps for the smaller X pieces (make sure you watch video for tips on how to do this)

Step 7

Bridge Option: For the bridge, we simply used pocket holes to add a 1x12 and 2x2s in between two consoles.