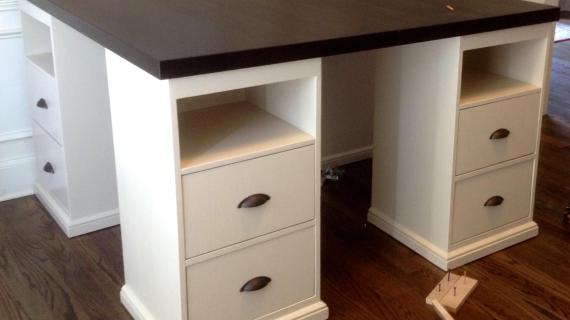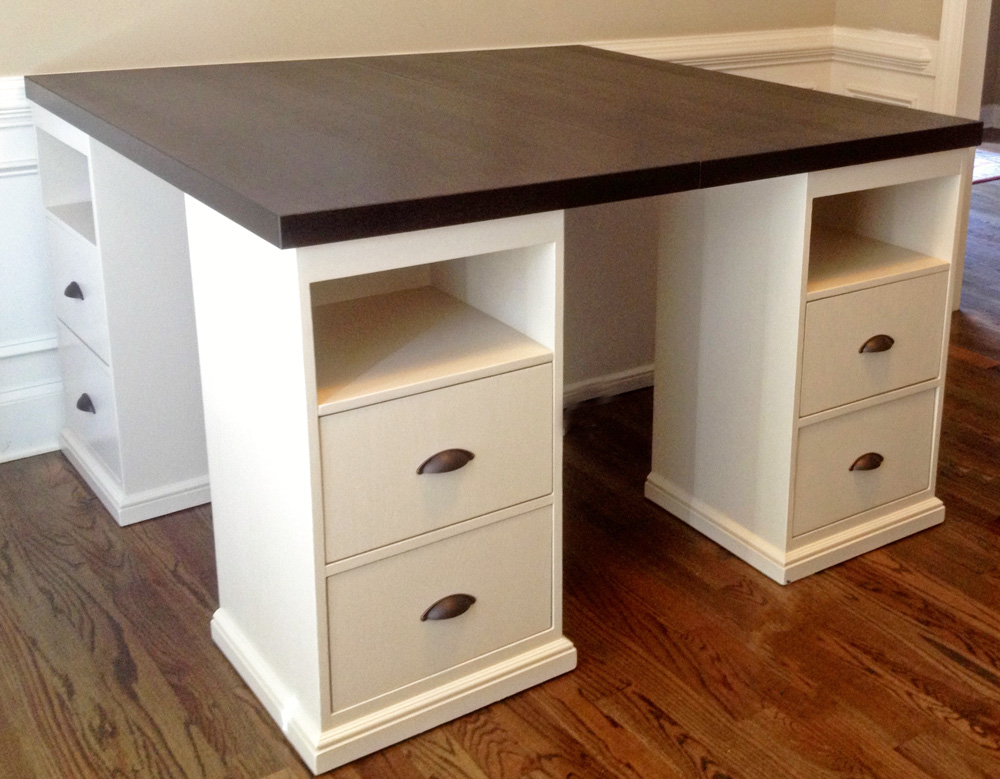
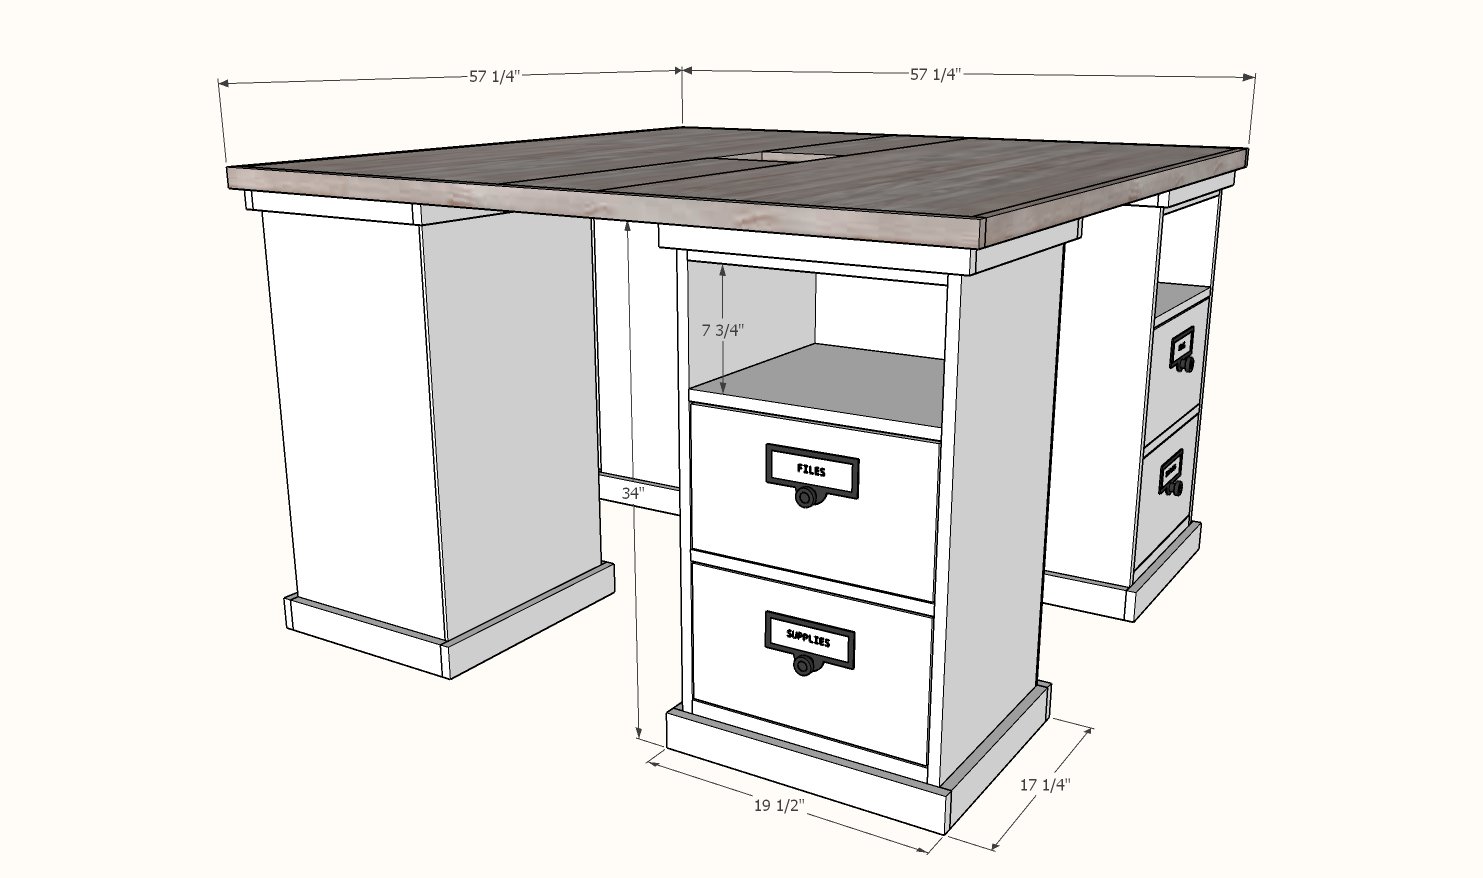
Build your own counter height desk or project table - or turn it into a mega desk for four! This easy to build plan features two large drawers and an open shelf. Pair with a straight countertop or an island top to create your ultimate workspace. Step by step plans with diagrams, shopping and cut list by Ana-White.com
Matches our Modular Office Collection of plans.
Preparation
SHOPPING LIST IS FOR ONE BASE
- 1 strip of plywood 15-1/2" x 8 feet long PLUS 1 piece 15-1/2" x 16-1/2" (for two bases, buy one 4x8 sheet and rip into strips 15-1/2" wide x 8 feet long)
- 1 - 1/4" plywood @ 48" x 48"
- 1 - 1x2 @ 12 feet total needed
- 1 - 1x3 @ 6 feet long
- 1 - 1x6 @ 10 feet long (can be cut in half for transport)
- 1 - 1x10 @ 3 feet long (for the drawer faces)
- 2 - 14" euro style bottom corner mount drawer slides (the white ones)
- 2 knobs or handles
- Either 1-1/4" pocket hole screws OR 2" self tapping wood screws OR 2" brad nails
- 1-1/4" and 3/4" brad nails
SHOPPING LIST FOR OPTIONAL DESKTOP
- 10 feet of 3/4" thick x 24" wide edge glued project panel or similar
- 4 feet of 1x8 boards
- 4 - 1x2 @ at least 5 feet long
- 4 - 1x4 @ at least 5 feet long
CUT LIST IS FOR ONE BASE
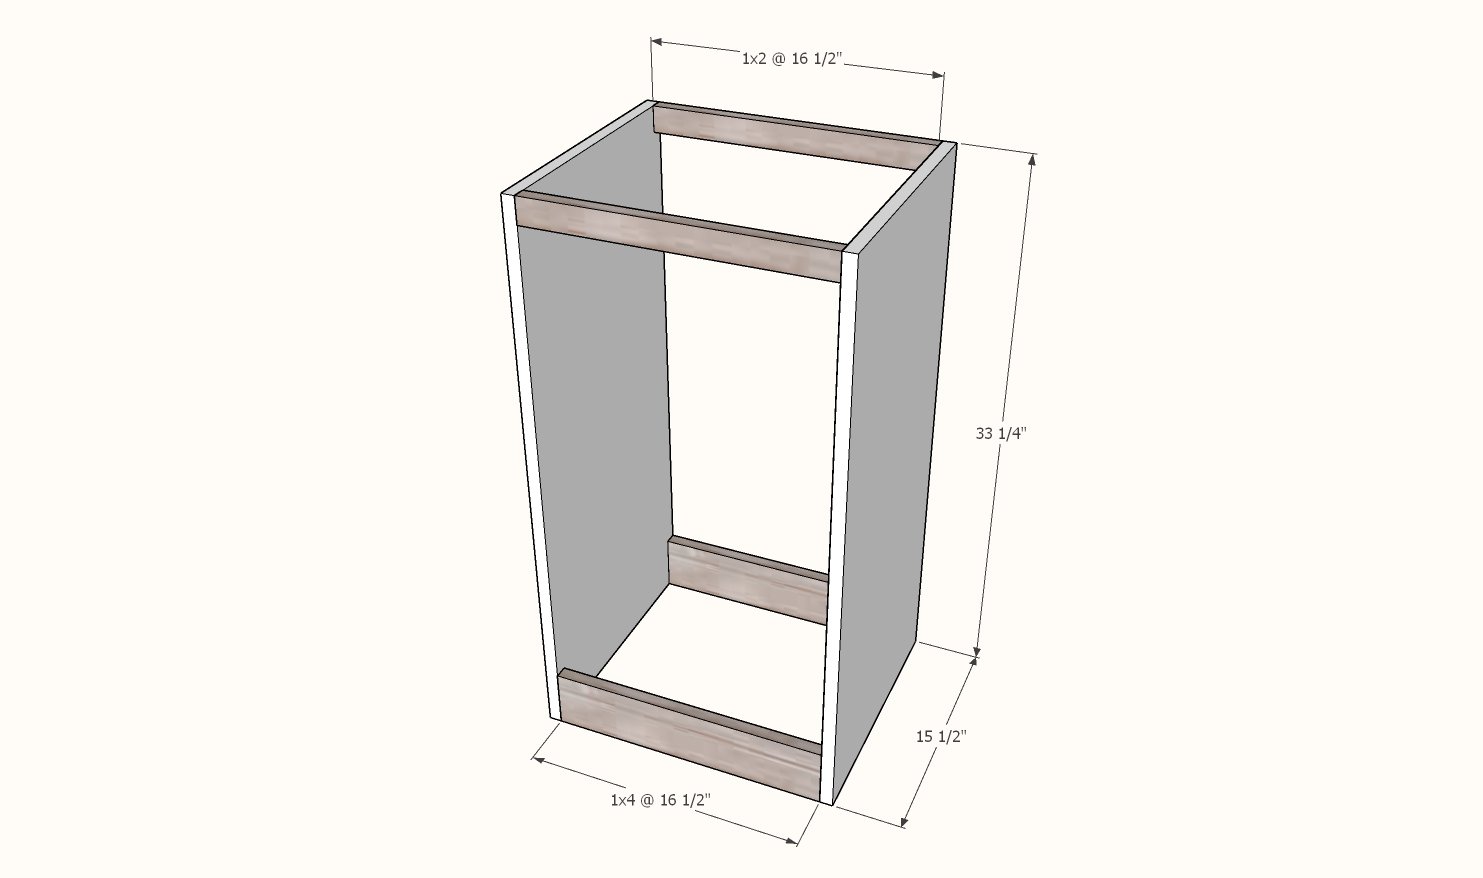
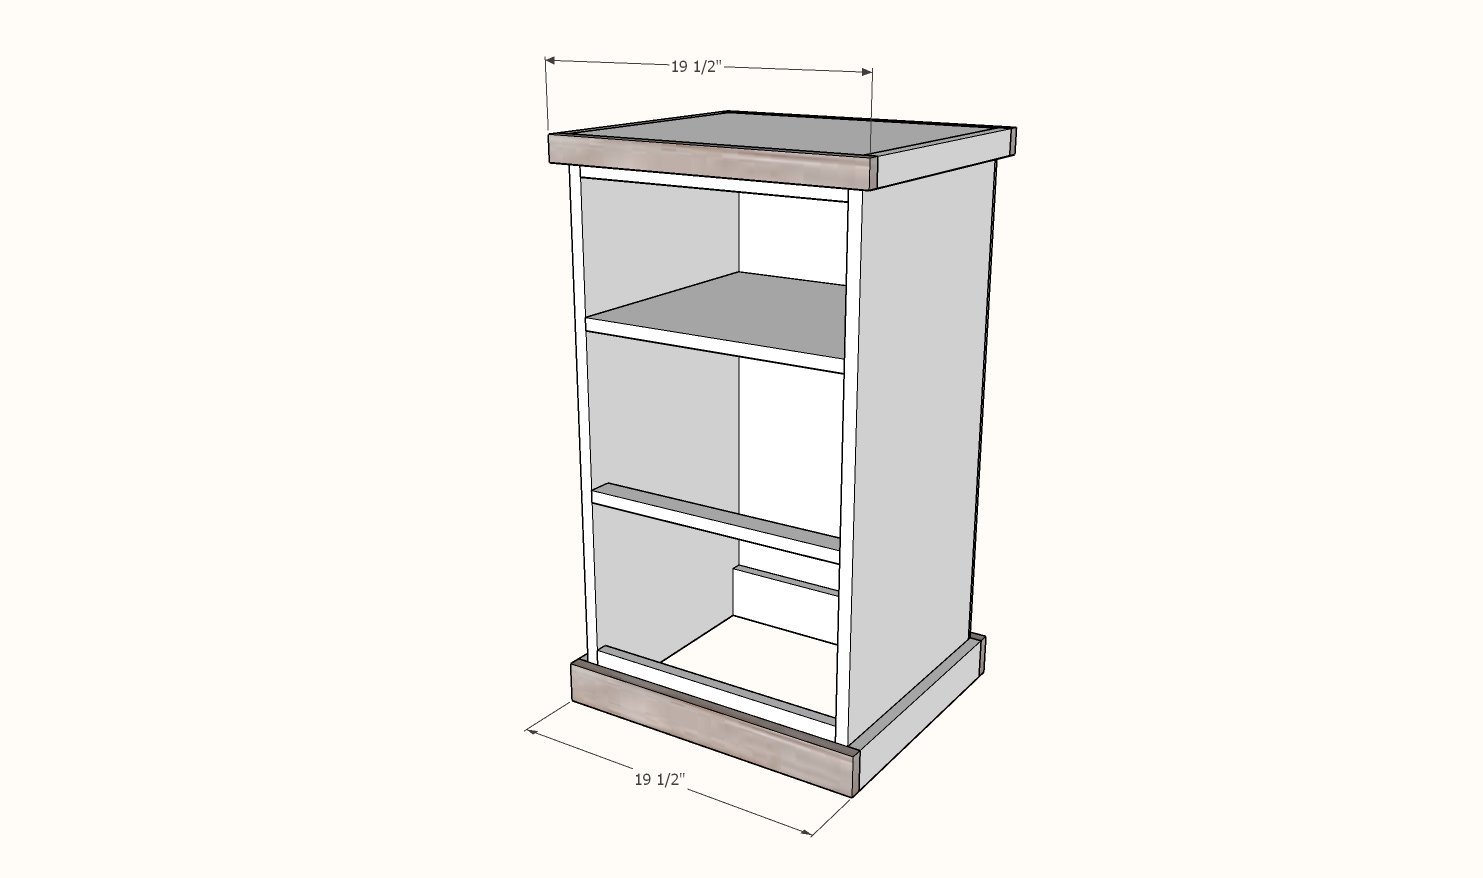
- 2 - 3/4" plywood @ 15-1/2" x 33-1/4"
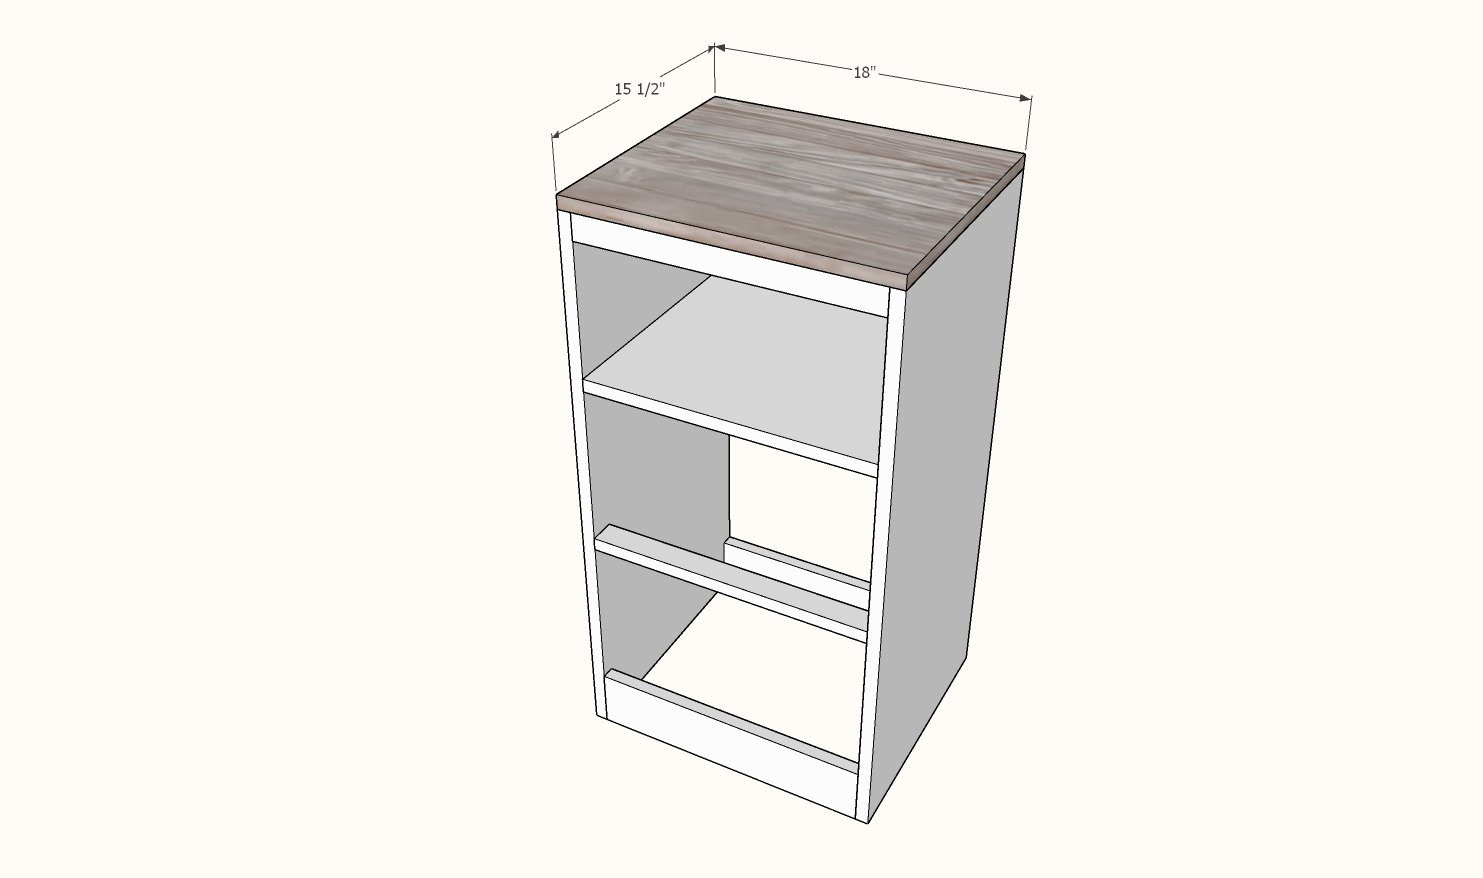
- 1 - 3/4" plywood @ 15-1/2" x 16-1/2"
- 1 - 3/4" plywood @ 15-1/2" x 18"
- 2 - 1x4 @ 16-1/2"
- 3 - 1x2 @ 16-1/2"
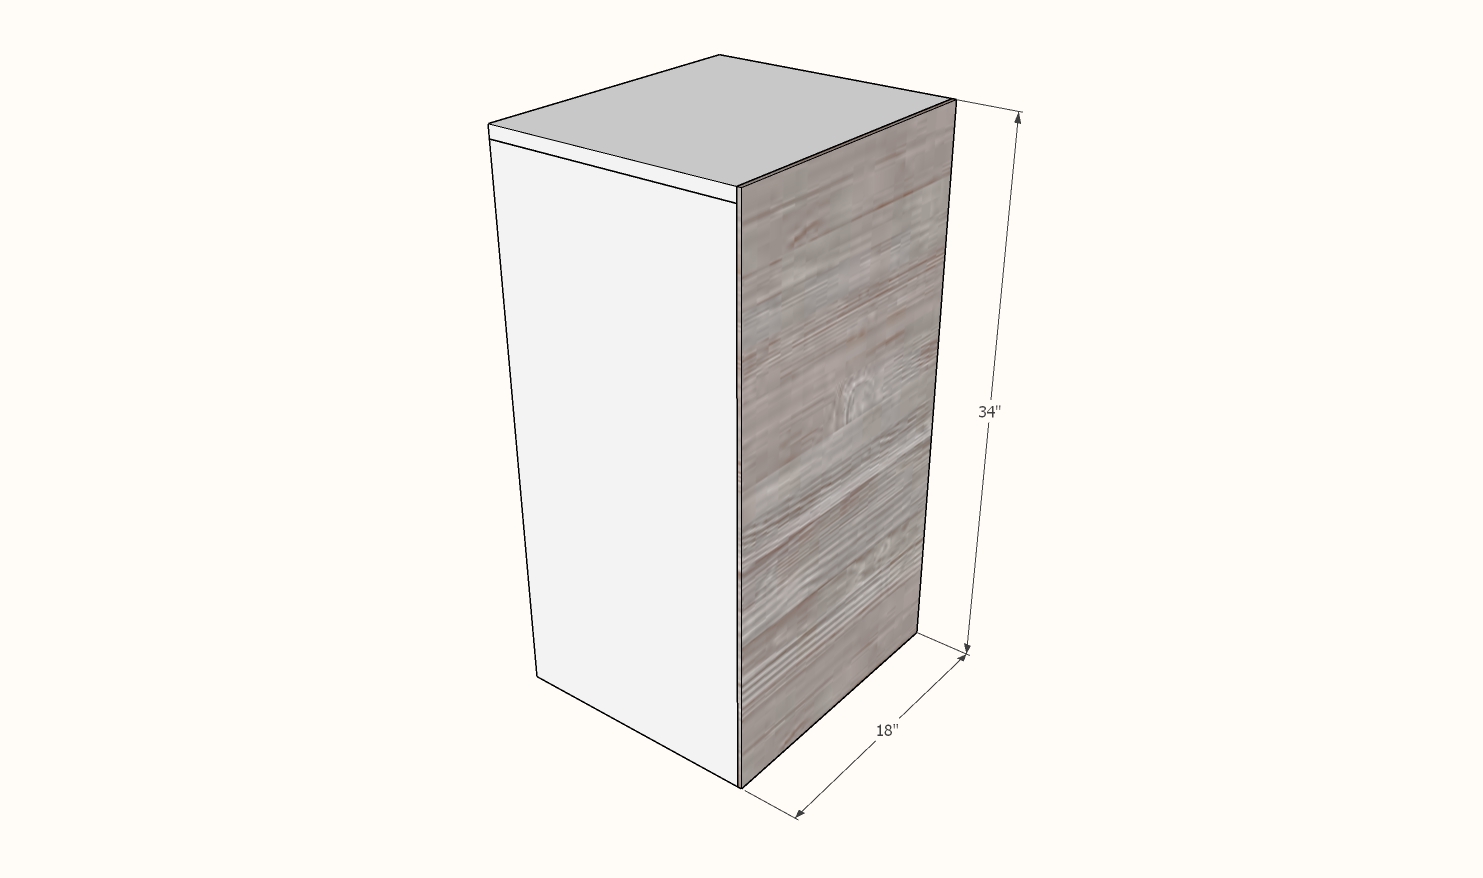
- 1 - 1/4" plywood @ 18" x 34"
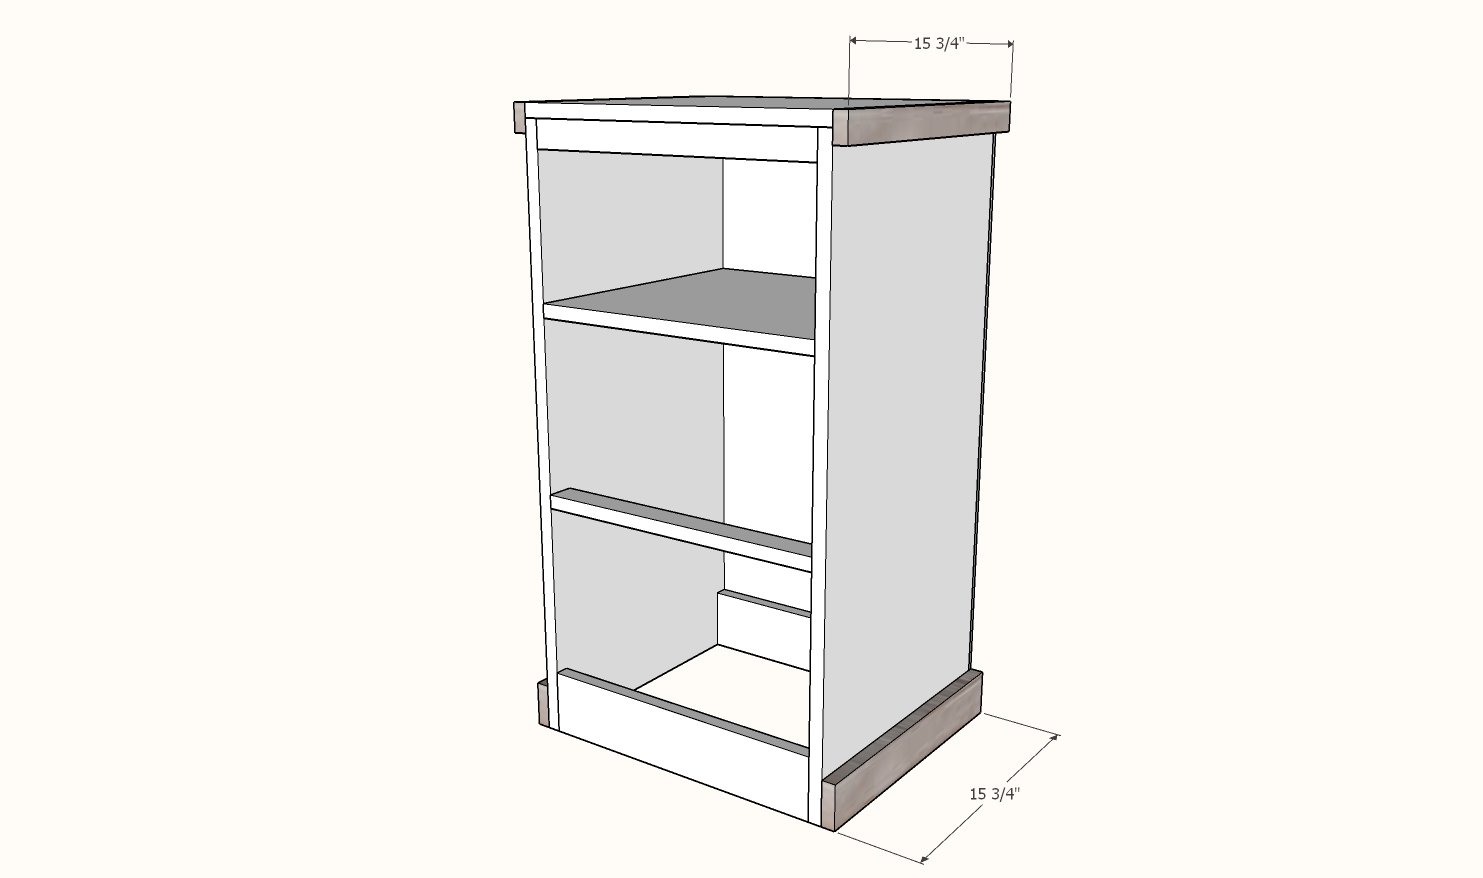
- 2 - 1x2 @ 15-3/4"
- 2 - 1x3 @ 15-3/4"
- 2 - 1x2 @ 19-1/2"
- 2 - 1x3 @ 19-1/2"
CUT LIST FOR TWO DRAWERS USED IN ONE BASE
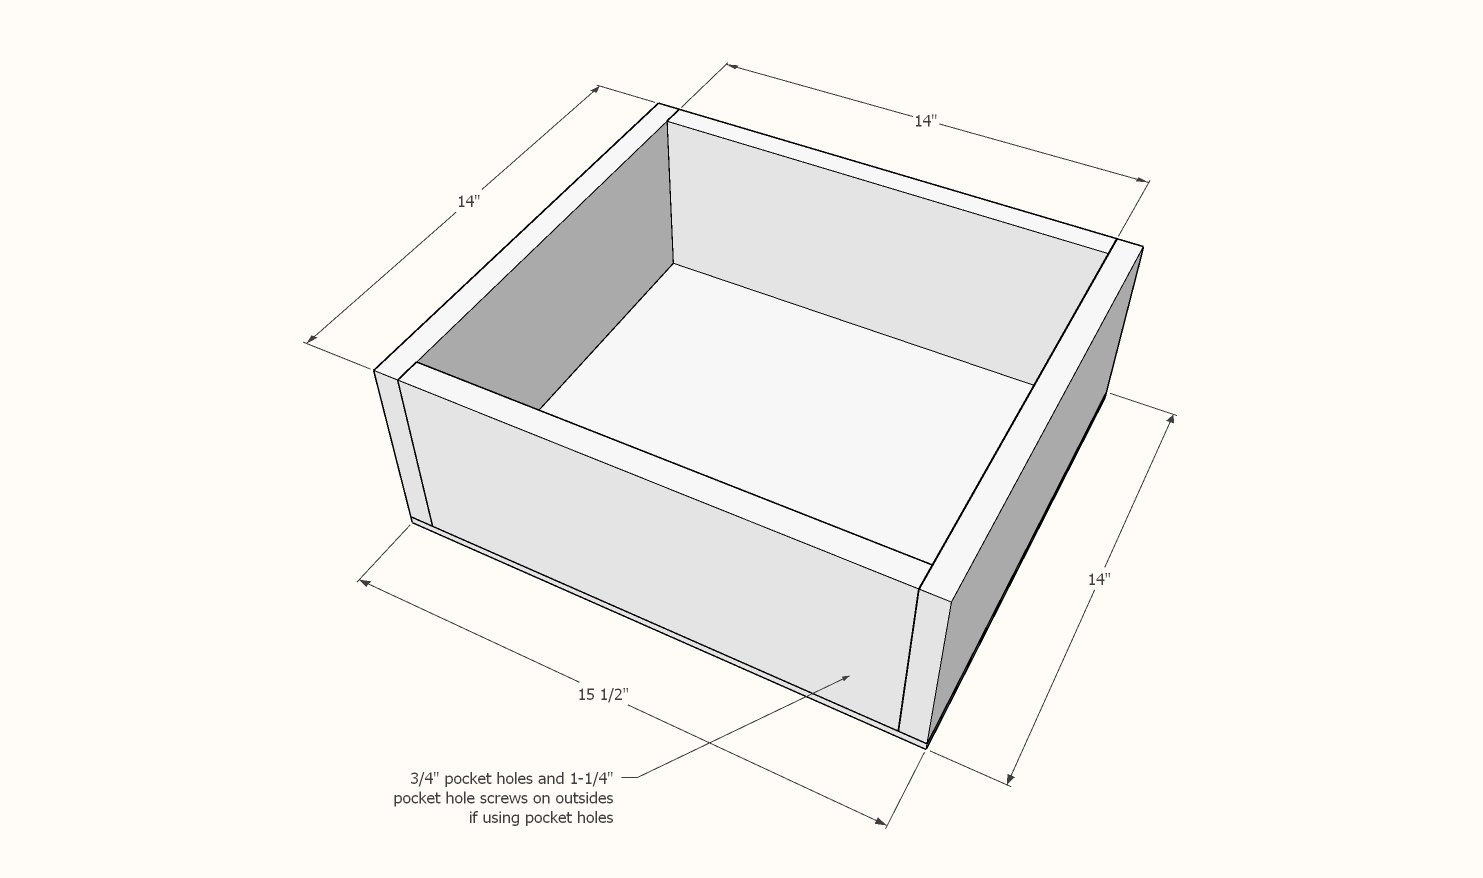
- 8 - 1x6 @ 14"
- 2 - 1/4" plywood @ 15-1/2" x 14"
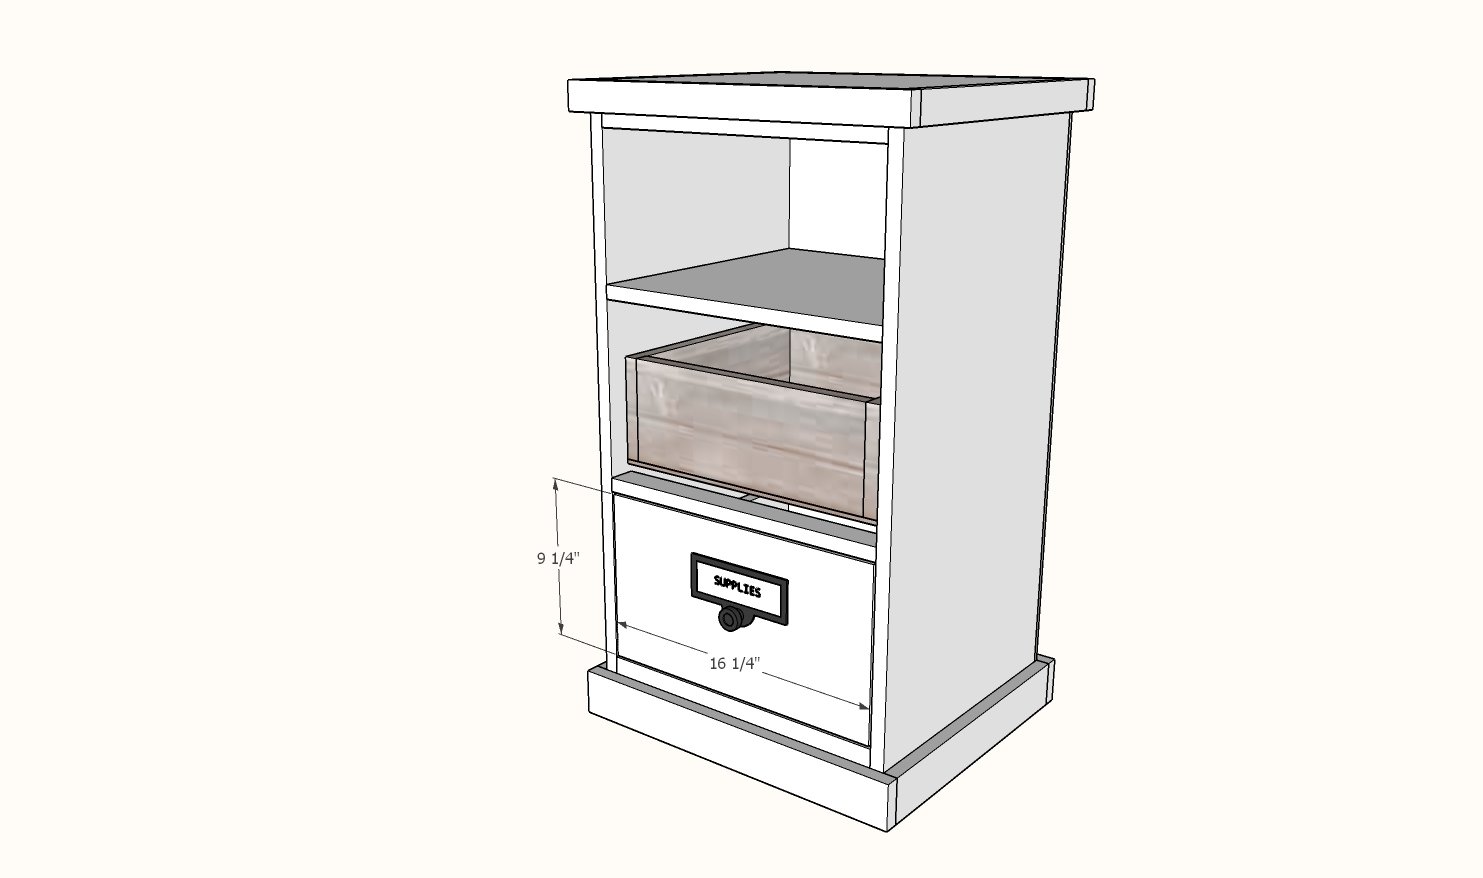
- 2 - 1x10 @ 16-1/4"
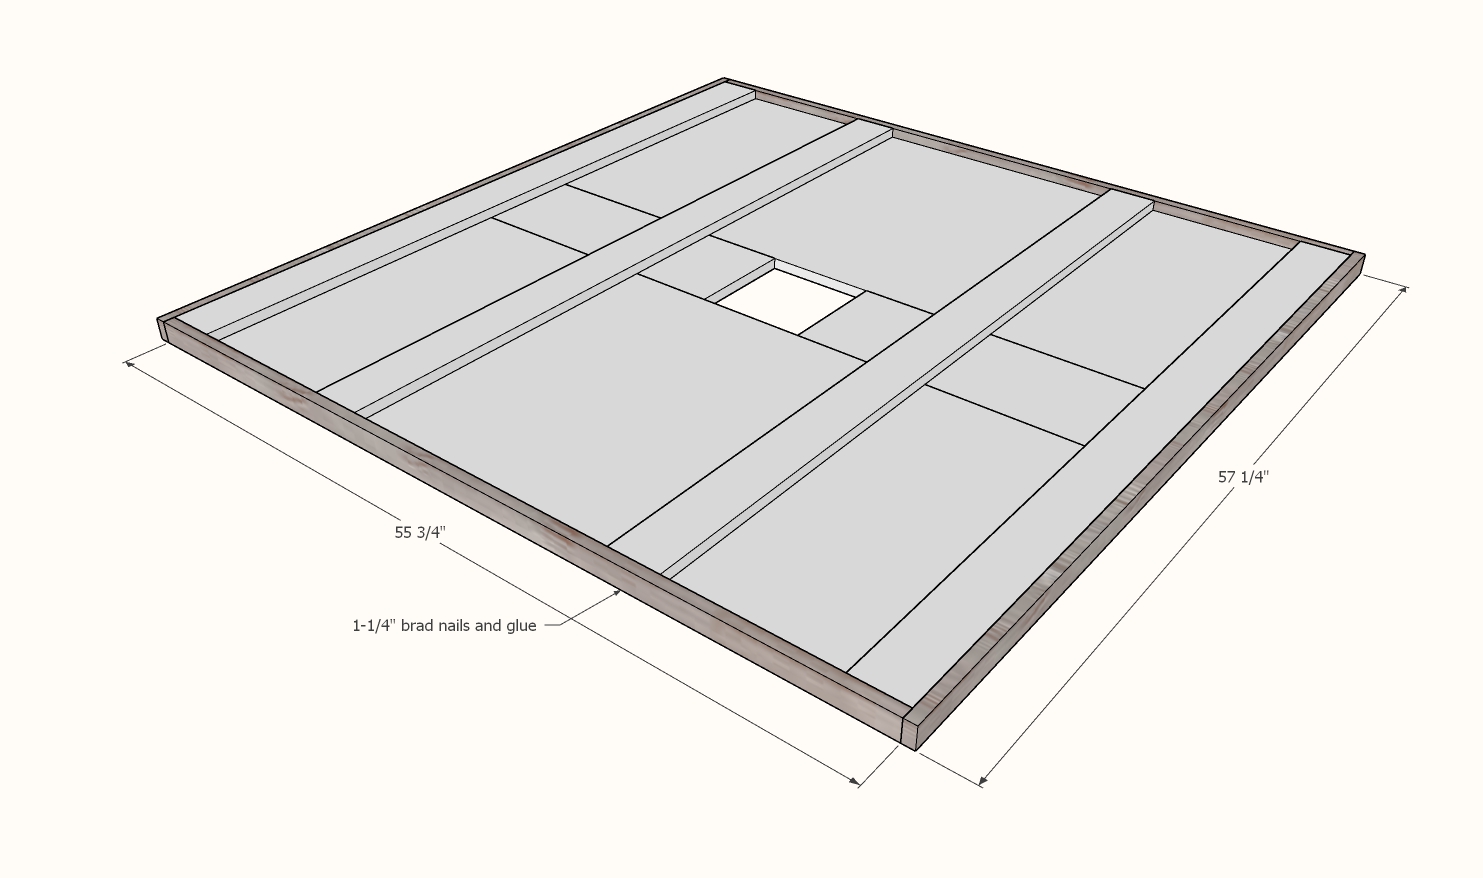
OPTIONAL MEGA DESKTOP (minimum size for adequate legroom)
- 2 - 3/4" thick x 24" wide edge glued project panels @ 55-3/4"
- 2 - 1x8 @ 24"
- 4 - 1x4 @ 55-3/4"
- 2 - 1x2 @ 55-3/4"
- 2 - 1x2 @ 57-1/4"
Instructions
Step 1
Rip plywood into strips 15-1/2" wide by 8 feet long. Preferred method is a table saw but you can also have your home improvement store make the rips for your, or use a circular saw and a guide.
It is very important that your plywood rips are exactly the same width.
Cross cut the plywood rips with a circular saw.
Attach the 1x boards with 3/4" pocket holes and 1-1/4" pocket hole screws (preferred) or you can use 2" self tapping screws or 2" brad nails and wood glue.
Step 2
Step 4
Step 7
Step 8
Install drawer box inset 3/4" (to allow for the drawer face) from the front edge of the plywood using the drawer slides.
Center the drawer face on the drawer with even gaps all the way around and attach with a couple of 1-1/4" brad nails, avoiding areas where hardware is to be added.
Remove the drawer and further secure with a couple of 1-1/4" screws from the inside.
Install hardware on the drawers.
Step 9
For the optional desktop, there are many ways to build.
This is the minimum size we would recommend for adequate legroom.
We recommend joining the 1x8 to the project panels with your Kreg Jig, but you can also just apply glue along the edge seams between the 1x8 and project panels, and then use 1-1/4" brad nails and glue to attach the 1x4s at the back.


