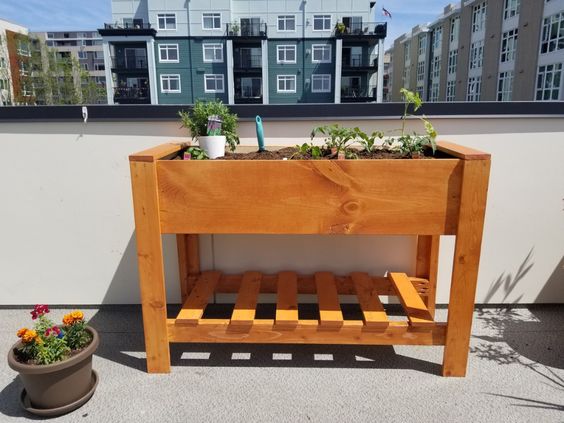
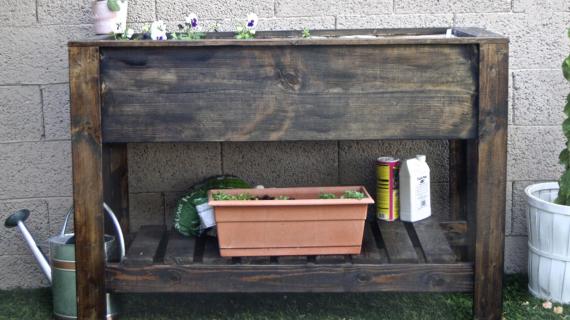
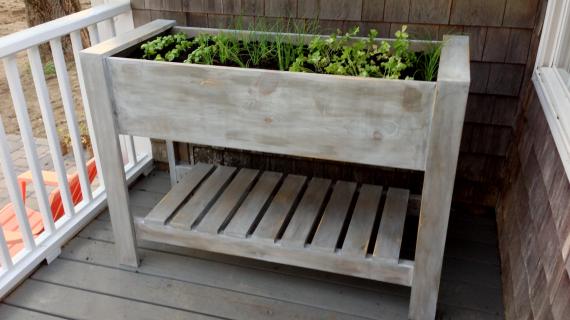
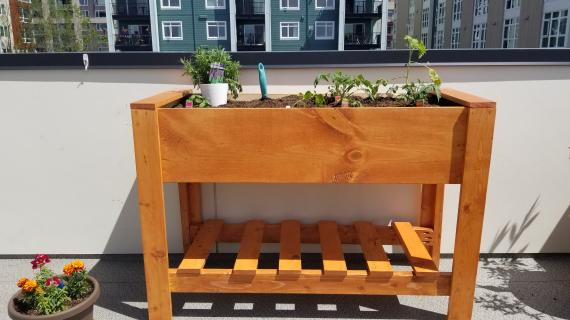
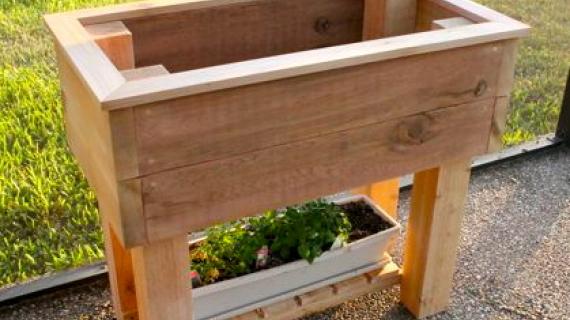
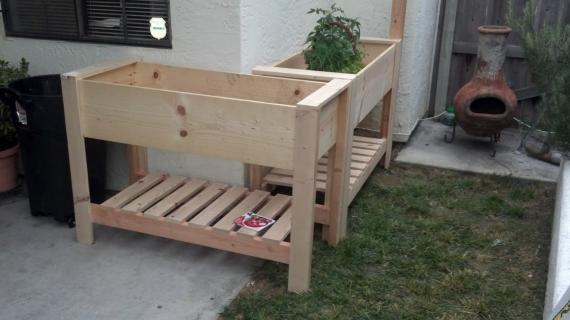
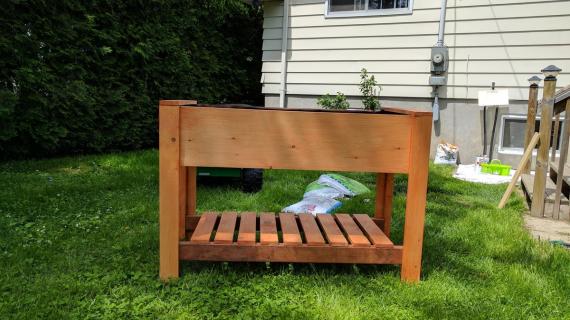
Free plans to build your own raised planter with bottom shelf. Plans created by Tracy Smith
Please, if you build this, use common sense. Always check for squareness after each step and if your planting methods require something different, the adjust these plans accordingly. Most of all, I hope you enjoy this! THIS PLAN HAS BEEN ADJUSTED AS PER COMMENTS MADE! :-) Thanks for the feedback so we can make the plans work! This is also one of the perils of not building it yourself first. Heheheh
Pin For Later!!
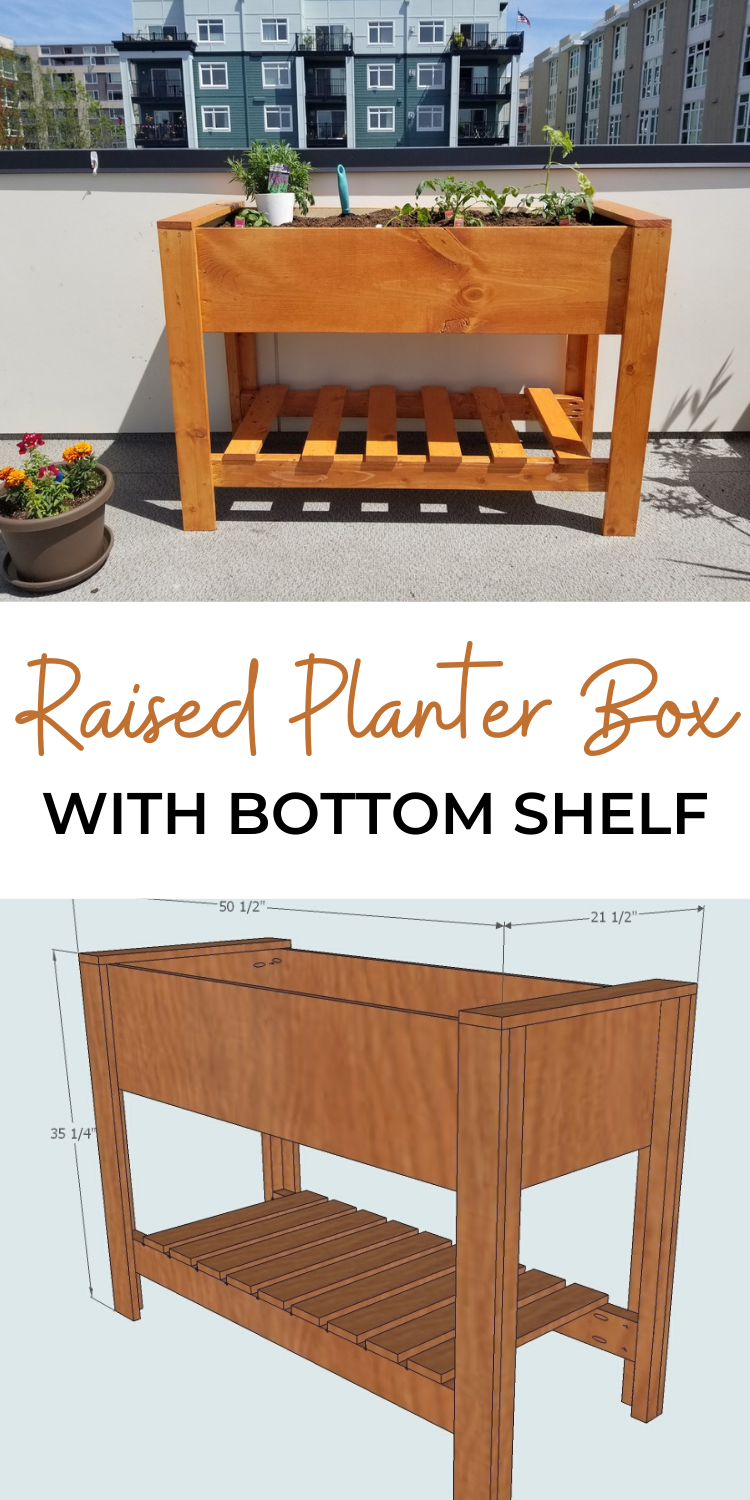
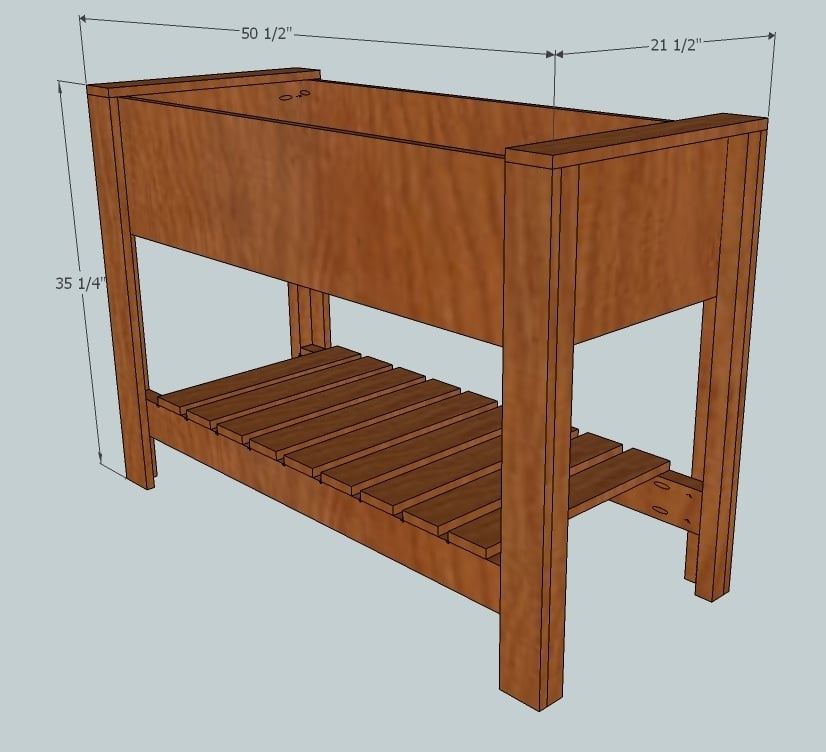
Preparation
- (4) 1 x 4 x 8' cedar boards
- (1) 2 x 2 x 8' cedar boards
- (1) 2 x 2 x 6' cedar board
- (3) 2 x 4 x 8' cedar boards
- (1) 1 x 12 x 8' cedar board
- (1) 1 x 12 x 6' cedar board
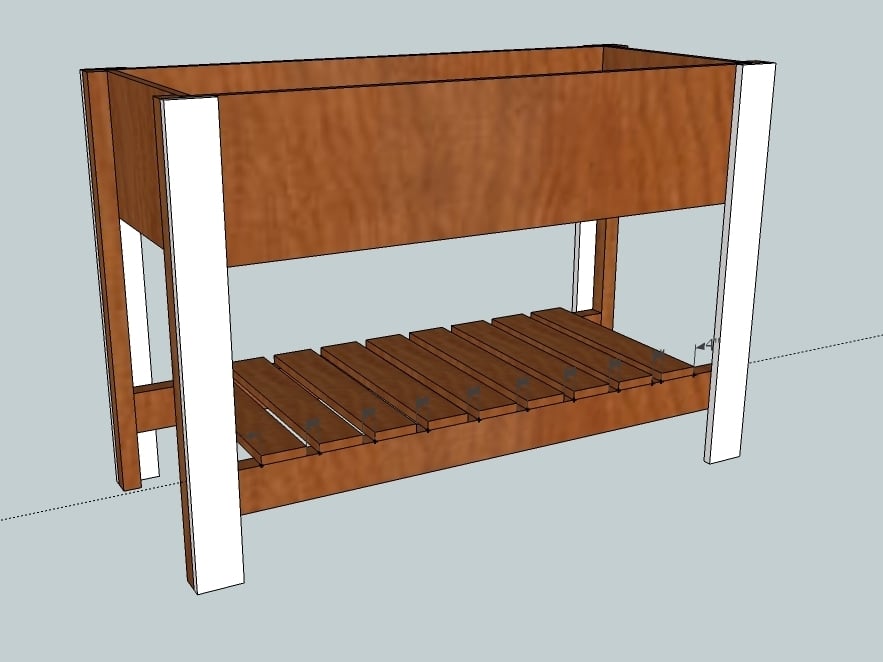
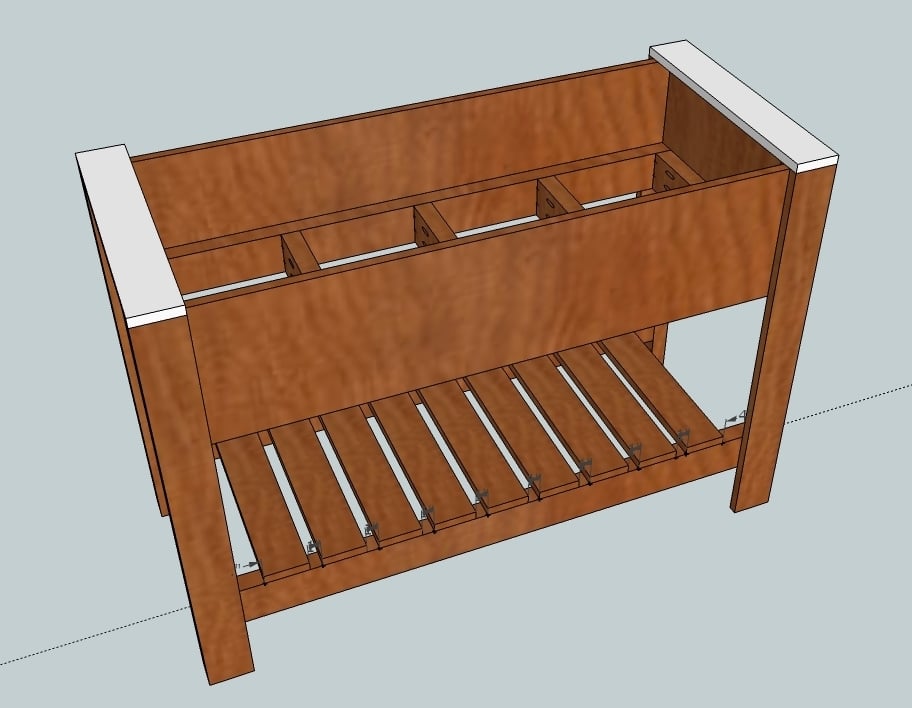
- 4) 1 x 4 @ 34 1/2" (front and back box cladding) "A"
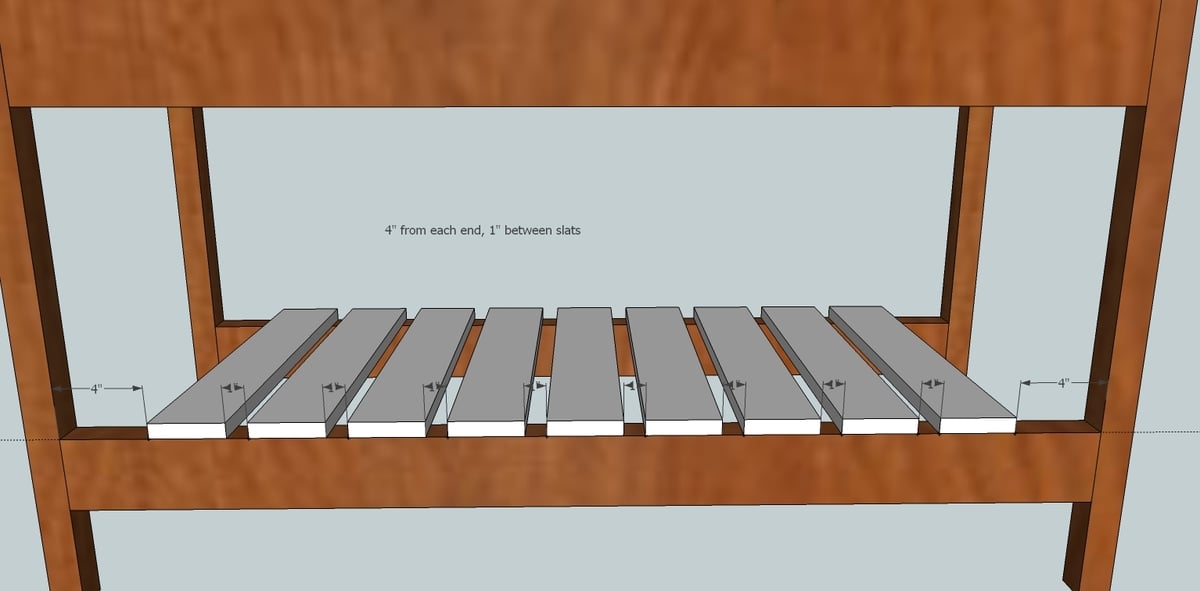
- 9) 1 x 4 @ 20" (shelf slats) "B"
- 2) 1 x 4 @ 21 1/2" (post caps) "C"
- 4) 2 x 2 @ 34 1/2" (legs) "D"
- 2) 1 x 12 @ 47 1/2" (front and back of box) "E"
- 2) 1 x 12 @ 18 1/2" (sides of box) "F"
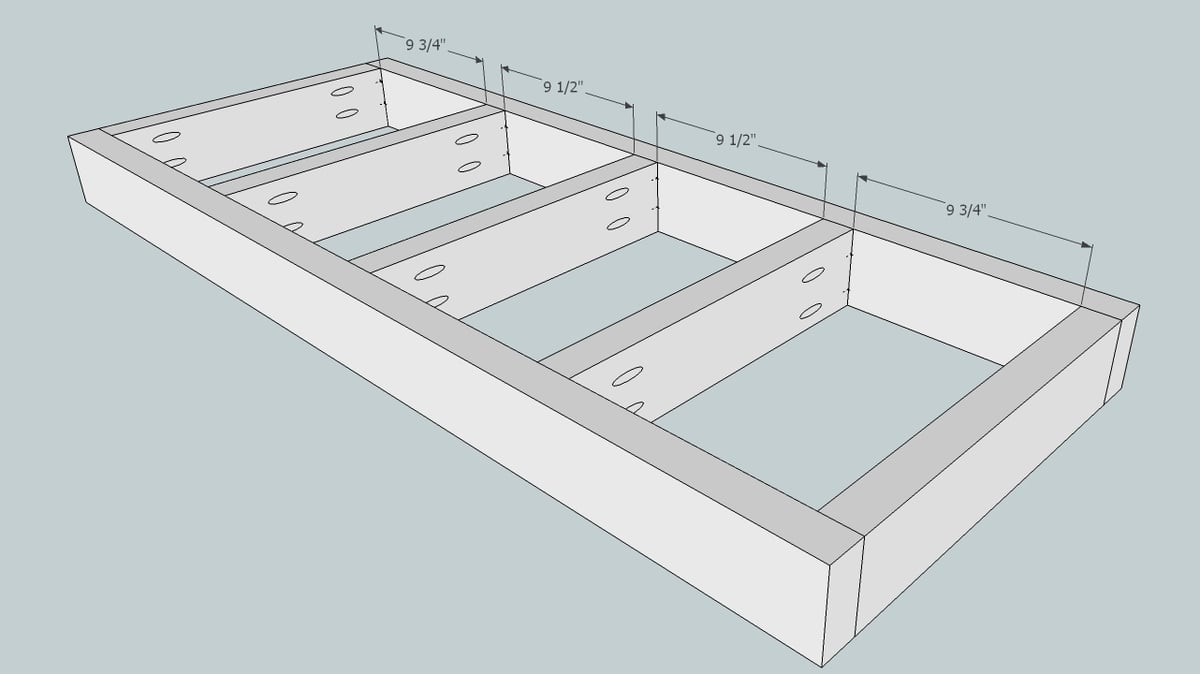
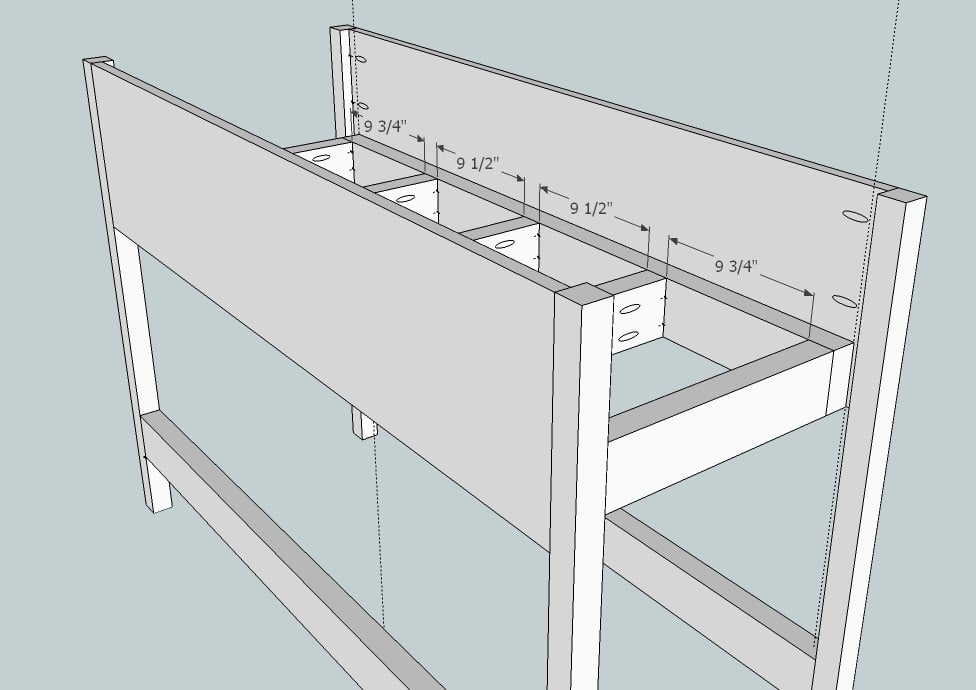
- 2) 2 x 4 @ 46" (box supports & shelf supports) "G"
- 2) 2 x 4 @ 47 1/2" (bottom shelf supports) "H"
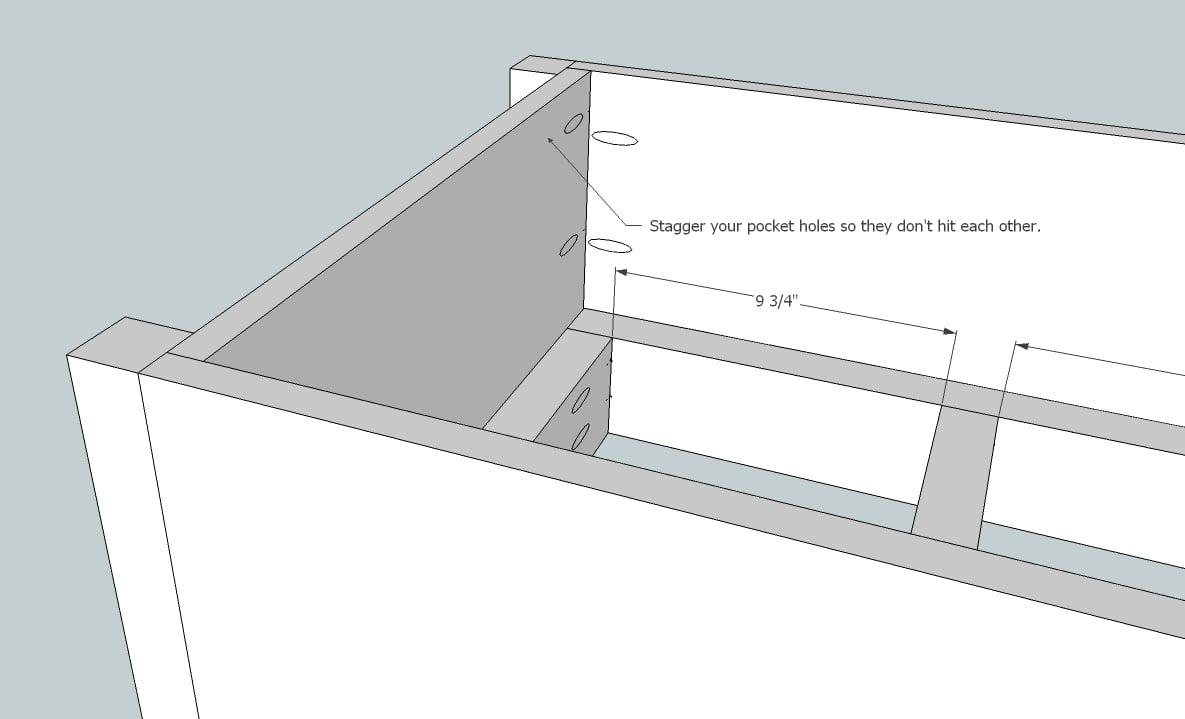
- 5) 2 x 4 @ 15 1/2" (box supports) "I"
Please read through the entire plan and all comments before beginning this project. It is also advisable to review the Getting Started Section. Take all necessary precautions to build safely and smartly. Work on a clean level surface, free of imperfections or debris. Always use straight boards. Check for square after each step. Always predrill holes before attaching with screws. Use glue with finish nails for a stronger hold. Wipe excess glue off bare wood for stained projects, as dried glue will not take stain. Be safe, have fun, and ask for help if you need it. Good luck!
Instructions
Step 1
Step 3
Step 4
Step 6
It is always recommended to apply a test coat on a hidden area or scrap piece to ensure color evenness and adhesion. Use primer or wood conditioner as needed.




Comments
dave92082
Sat, 04/28/2012 - 20:08
Measurement question
I started building two of these today, and got everything cut and drilled but I noticed a possible mistake. In Step 1, aren't the cross beams (G) supposed to be 47 1/2 to match the Side Panel? It seems odd to have the cross beams at 46" (as per the cut sheet) and to have the side panels an inch and a half larger.
I'm going to start assembling them tomorrow so I suppose I'll find out.
In reply to Measurement question by dave92082
tracysmith
Sun, 04/29/2012 - 15:35
Thanks for the Question Dave
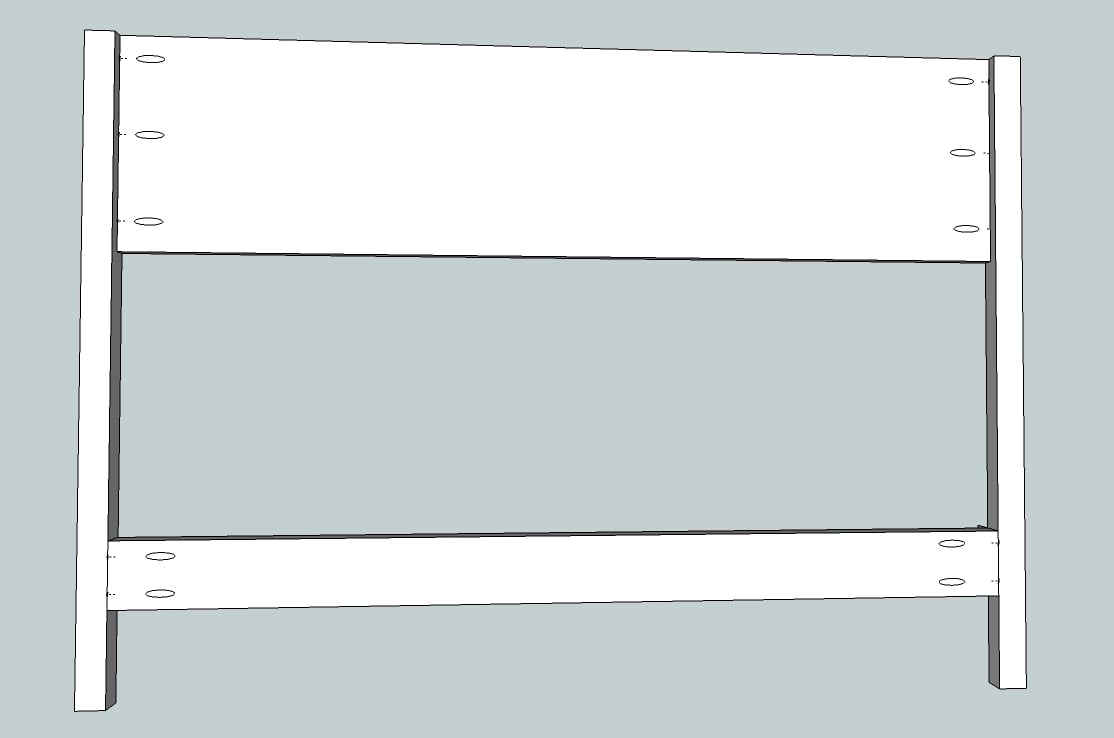
I went back and double checked my measurements and they are correct. The actual box pieces connect directly to the 2x2's so the frame work that goes on the bottom has to sit inside there. I'm going to post another picture to help illustrate what I'm talking about. Hope your build goes well! :-)
dave92082
Sun, 04/29/2012 - 18:48
Finished the build
Tracy,
I finished the build of both of them today, and the lower supports do have to be 47 1/2". Since the side panels get attached flush to the 2x2's the 2x4 supports have to be the same measurements. You can see pictures of the correct 47 1/2 with the smaller 46's on top in the brag post:
http://ana-white.com/2012/04/twin-raised-planter-boxes
All in all it was an excellent plan and my fiance and I love them! We attached an upright to one of them to hand a tops turvy (spelling)
Thanks for the plan!
In reply to Finished the build by dave92082
tracysmith
Sun, 04/29/2012 - 20:42
Hi Dave, you're welcome for
Hi Dave, you're welcome for the plans and I see what the difference is. I leave a 3/4" gap (step 3) on either side of the frame work for the side pieces which would account for the 1 1/2" difference you found. I can see now that it's better to attach them directly to the 2x2's instead of the 1x12's (hope that makes sense). I got that from the plans in the Handy Magazine but that small change will make a difference in the ease of building. Thanks for the feedback and I'll be making the changes to the plans and cut list ASAP.
dave92082
Sun, 04/29/2012 - 21:07
Cross supports
The issue wasn't with the Side Panels, attaching those to the 1x12's were fine. It was in Step 1. The plan states in step 1 to attach the 1x12 (47 1/2) and the 2x4 (46) to the 2x2's. If the 1x12 is 47 1/2, and the 2x4 is 46, there's no way it would have attached without cracking or severely bending the 2x2's.
If you look at the additional pictures in my brag post, you'll see the 46" 2x4 that is cut to short resting on top of the shelf on the bottom. Right below it (holding up the shelf) is the correct 47 1/2 2x4.
The other 2x4's being 46 inches is perfect as it left room for the end panels. To make sure I didn't mess up my measurements, I laid the box support frame built in step 2, on the side panel, and inserted the end pieces where they would go before I screwed the box support frame into the side panel. In essence I pretty much combined Step 3 to reduce my chance of getting the measurement wrong. I also felt like it made things go a little easier.
In reply to Cross supports by dave92082
tracysmith
Mon, 04/30/2012 - 05:53
HAHAHAHA - ooops, I finally
HAHAHAHA - ooops, I finally got it. I thought you were talking about the "framing" but I didn't understand. It's all corrected in the plans. Thanks so much for building this and giving your feedback. Makes it all worth while. :-)
dave92082
Mon, 04/30/2012 - 06:41
No Problem
Glad I could help... You may also want to fix the wording in Step 1. You call the cross support two different letters:
Attach "G" 5" up from the bottom of "D" - so the bottom of the cross beam ("H") should be at the 5" mark from the bottom.
Should be:
Attach "H" 5" up from the bottom of "D" - so the bottom of the cross beam ("H") should be at the 5" mark from the bottom.
rogers55
Thu, 06/14/2012 - 16:43
Completed the project with no problems.
Thank you for the great plans Tracy.
I made mine from pine with Thompson's Water Sealer as the only finish.
The bottom was covered with some old plywood and stapled a layer of gardening fabric inside the box.
It was a mother's day present for my wife. She loves it.
In reply to Completed the project with no problems. by rogers55
tracysmith
Fri, 06/15/2012 - 06:01
Wonderful!
I'm so glad that you were able to build it with no problems! Sometimes I don't catch all those little errors, even though I try :-) So very glad your Wife love it! Best feedback in the world!!!
JHardaway (not verified)
Sun, 06/24/2012 - 07:09
Instruction Question
I am new to doing this sort of thing and have a question about what your phrasing means. I can't seem to figure out where you attached the box supports to the front and back panels. You say use 2" screws through the face of the panel; does this mean I just screw them on and the screws will be visible from the front? Is there a certain spot you recommend attaching the box support? Thanks!!
In reply to Instruction Question by JHardaway (not verified)
tracysmith
Sun, 07/01/2012 - 00:53
Thank you for your question -
Thank you for your question - it's how we all learn. The "face" of the board in this situation (and any other that I can think of ;}) mean the part of the board facing you. In between the boards that make up the bottom, you'll drive 2" screws in. It really doesn't matter where you place them but I tend to make sure they look even. Make sure you have enough screws in it to handle the weight of your plantings. So, if it were me, I would put at least one screw in each section to hold all the weight, or even two. It may be over kill to some people, but I'd rather do that then find it's not enough. I hope that answered your question. If not, let me know and I'll do what I can to get it answered! :-) Happy Building!!!
Dave Voss (not verified)
Sat, 07/21/2012 - 21:00
Parts not labeled
Tracy,
Did you use Google's 3D drawing program for your diagrams. They look good!
I don't see "A", "B", etc. labels on the diagrams. Are they missing or does my computer just not show them.
If they aren't supposed to be listed, how should I figure out which part on the parts list fits it's position on the diagrams?
Dave
nick.whitaker0…
Wed, 04/09/2014 - 06:39
Which Plastic Bins Do You Use?
I'm getting ready to build this project and I was wondering if you, or anyone else, has a suggestion for plastic bins to put in this project.
Thanks
Nick
fpliu
Fri, 04/10/2015 - 16:10
thanks
Just finished this. Looks great. I made the following additions. I stapled1/4 hardware cloth and some weed block cloth to the box frame. This holds all my soil and supports draining.