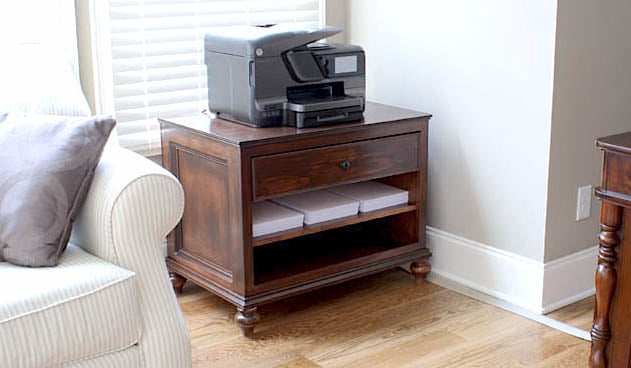
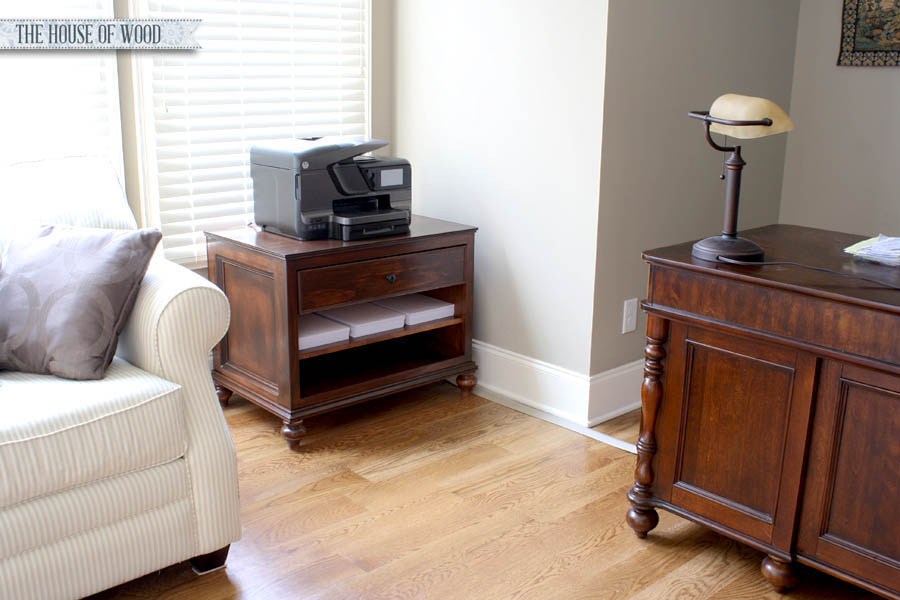
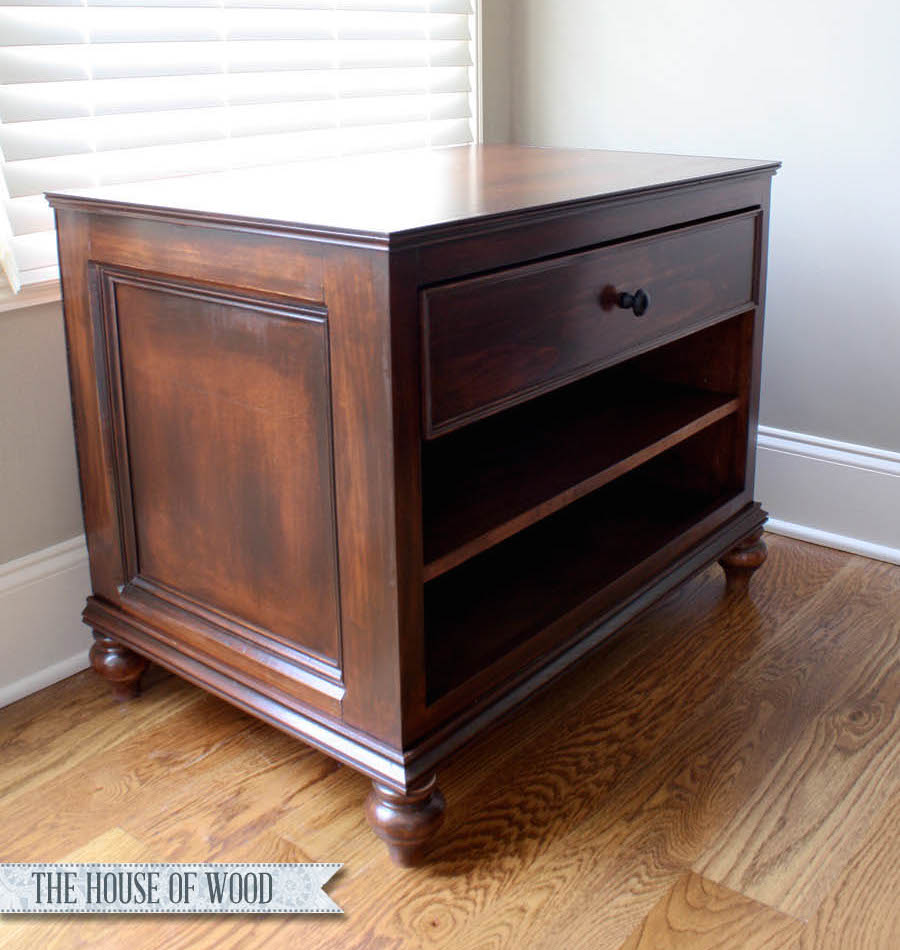
DIY printer cabinet plans
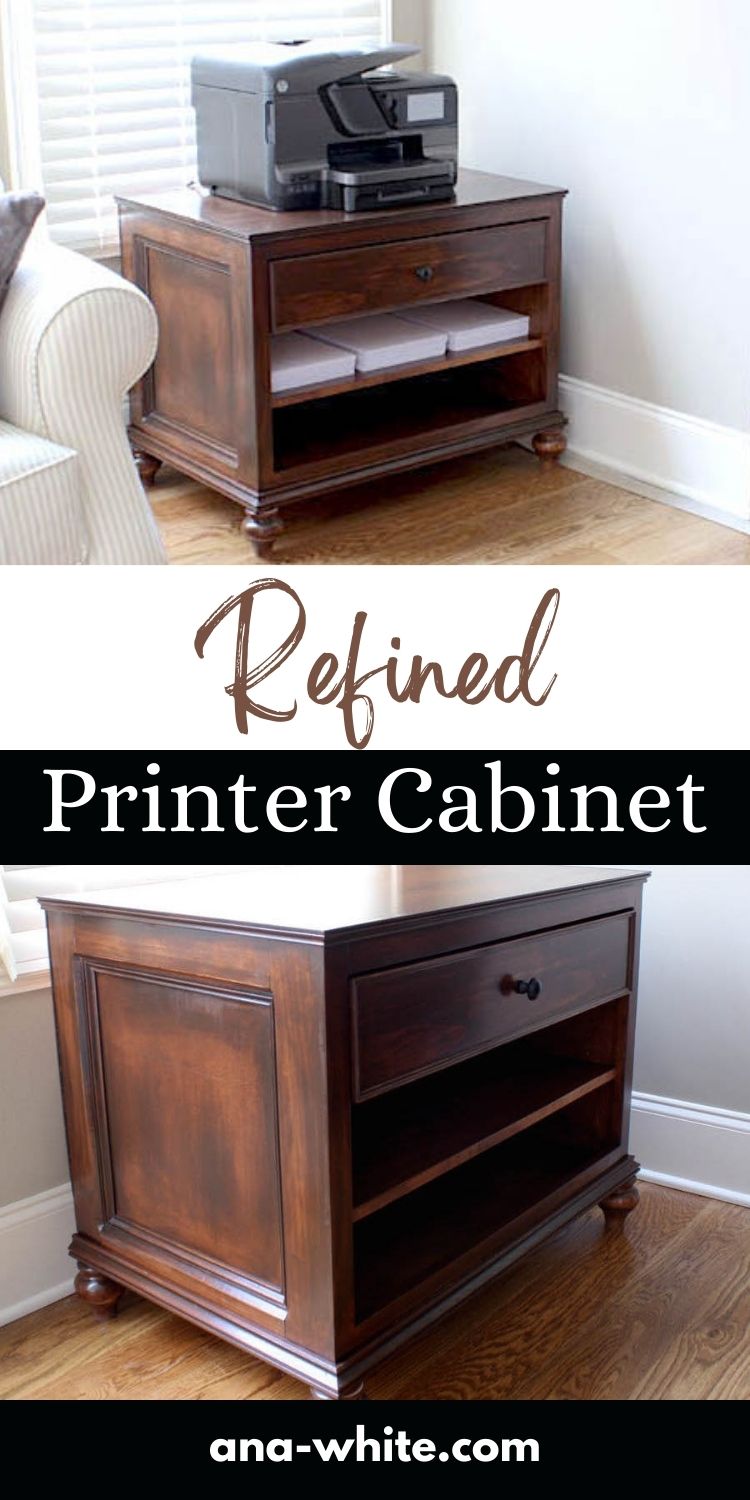
Pin For Later!
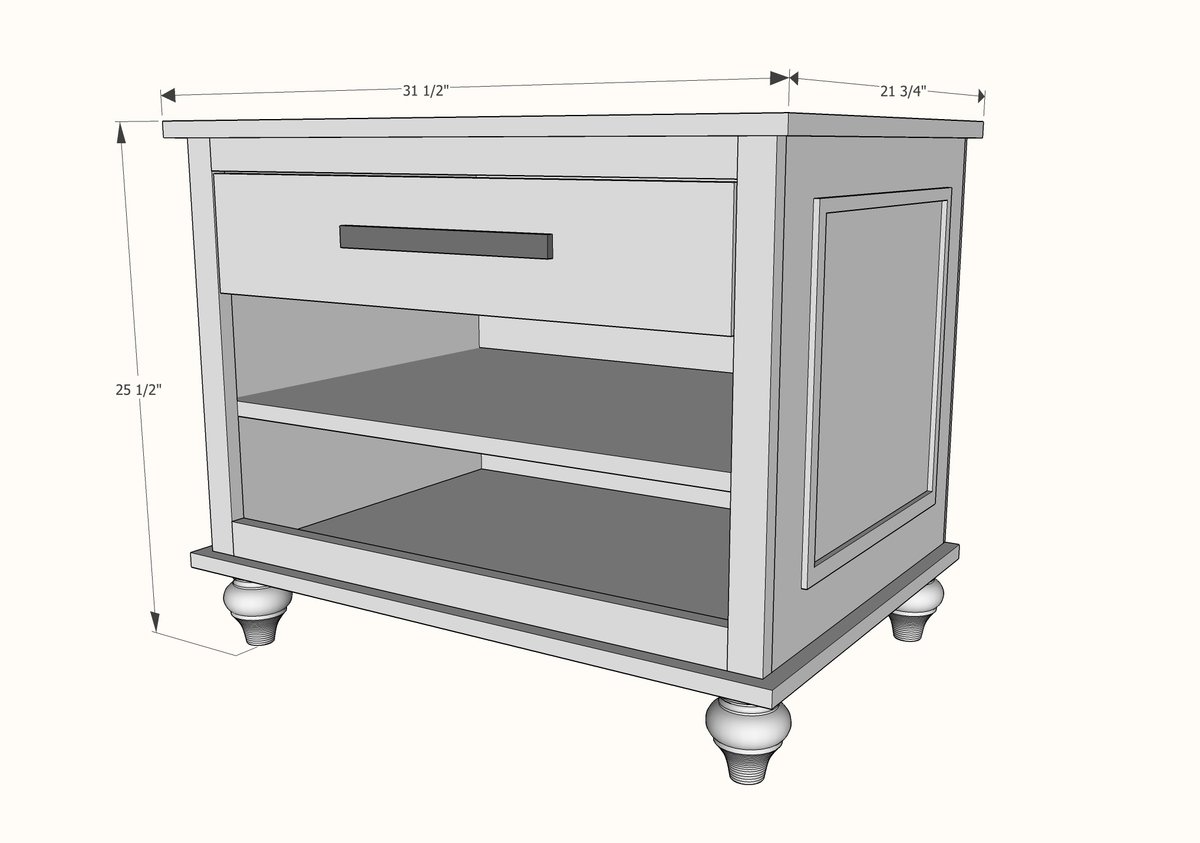
Preparation
- 1 sheet of 3/4" hardwood plywood
- 1 - 1x2 @ 10 feet long
- 1 - 1x3 @ 27"
- 1 - 1/4" plywood (24x48 inch panel will work)
- 1 - 1x4 @ 8 feet long
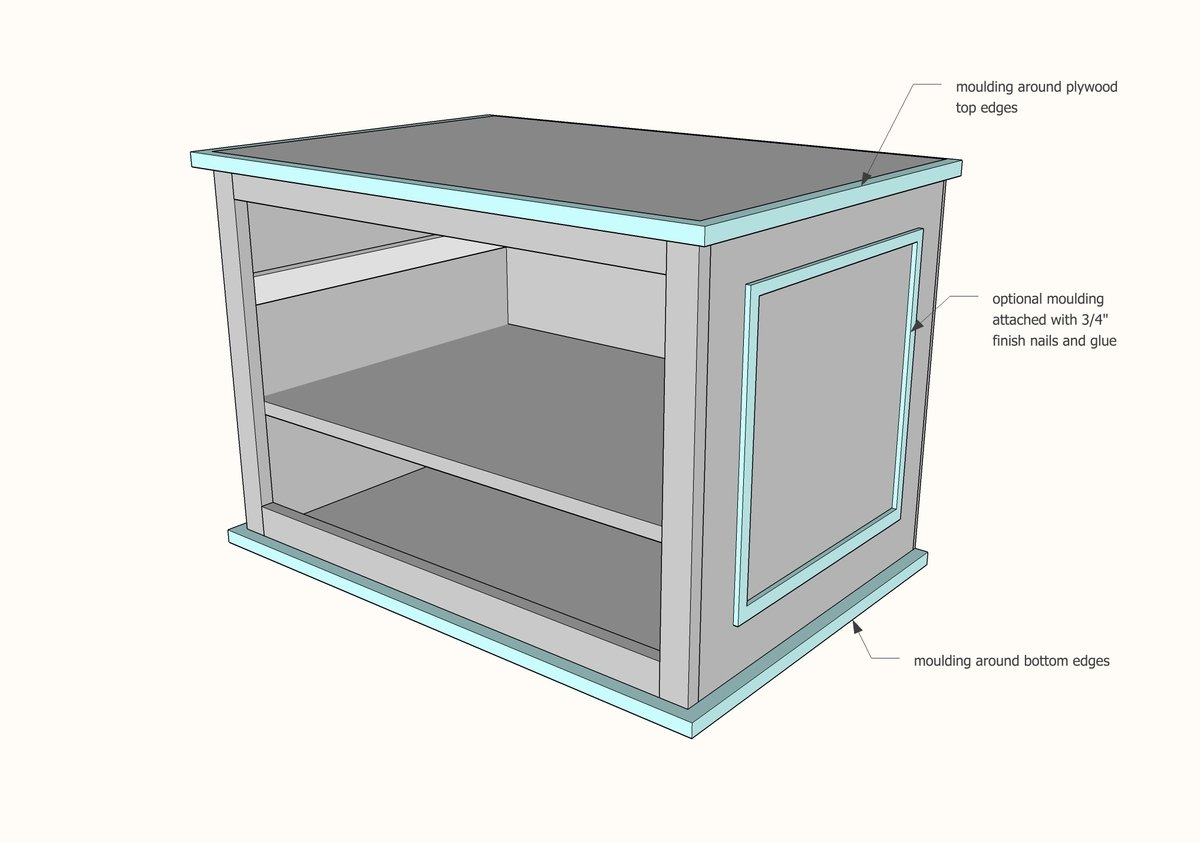
- 1 - 1x6 @ 27" (drawer face) 4 Bun Feet
CUT LIST
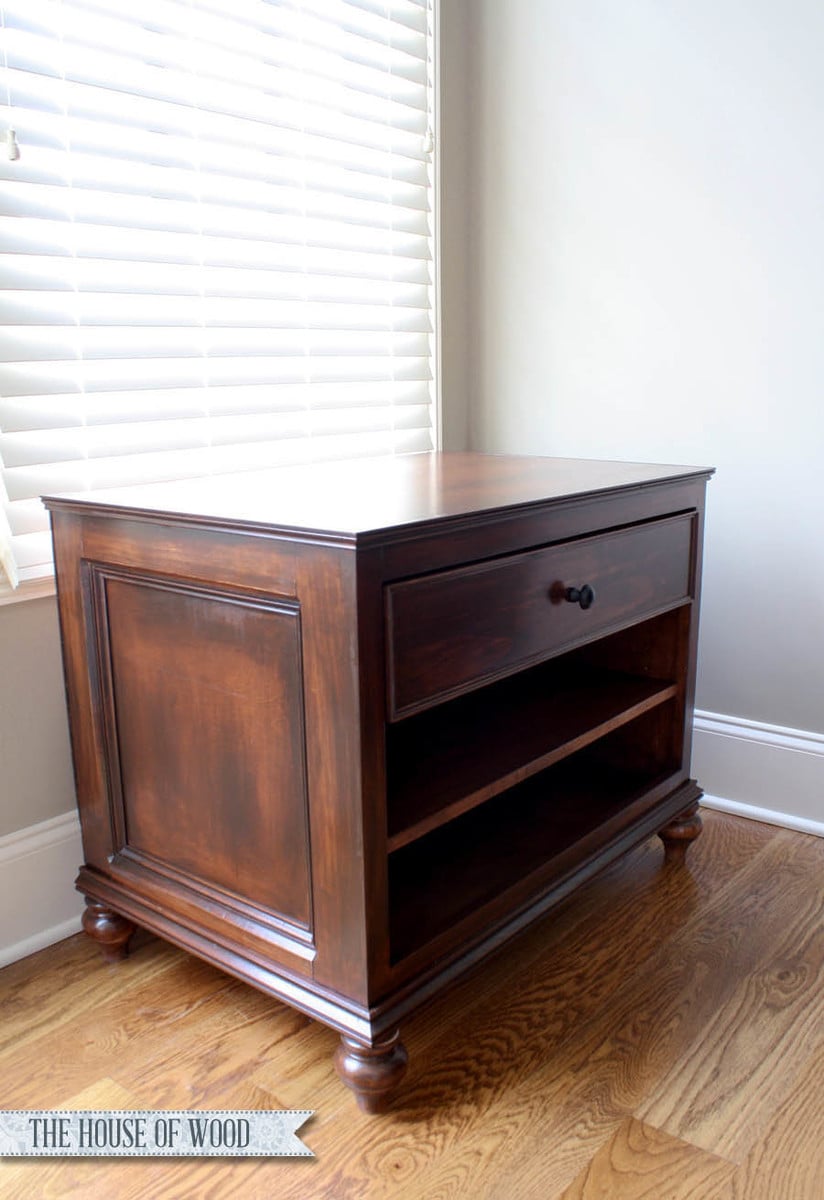
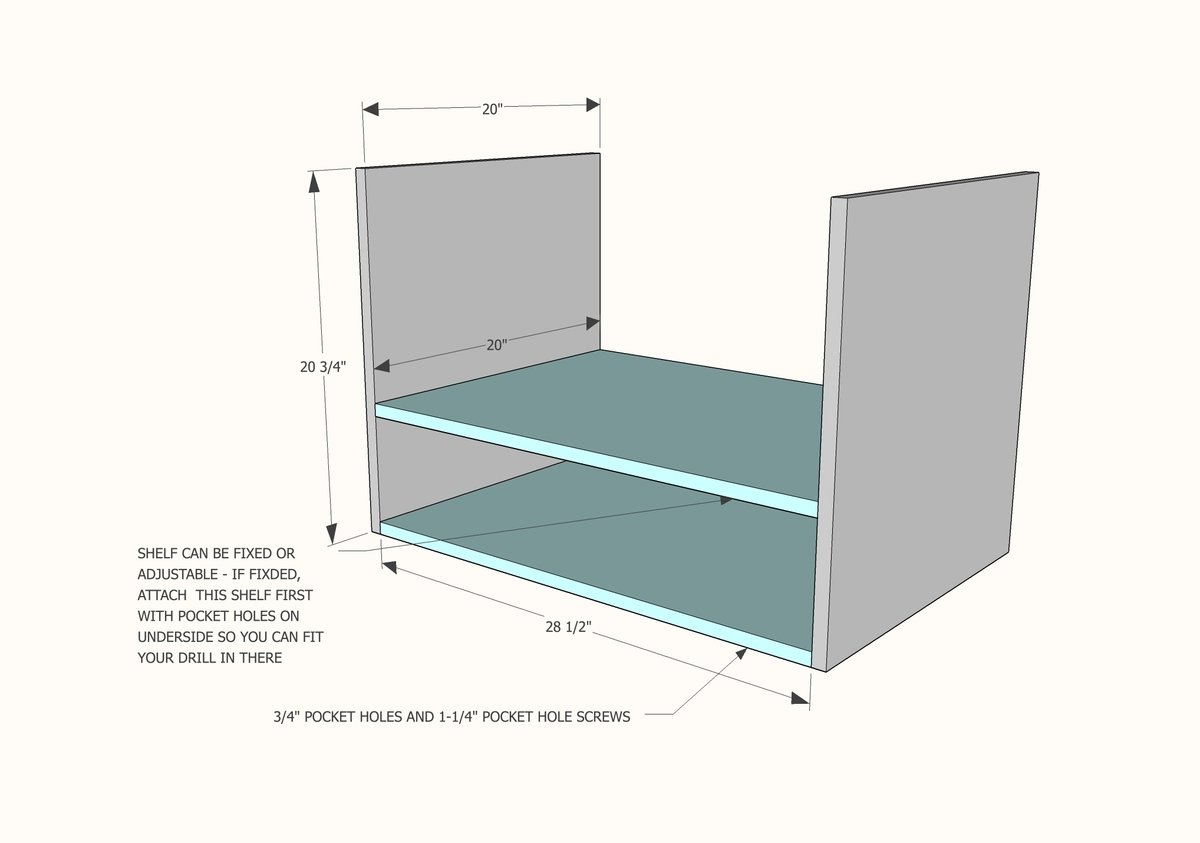
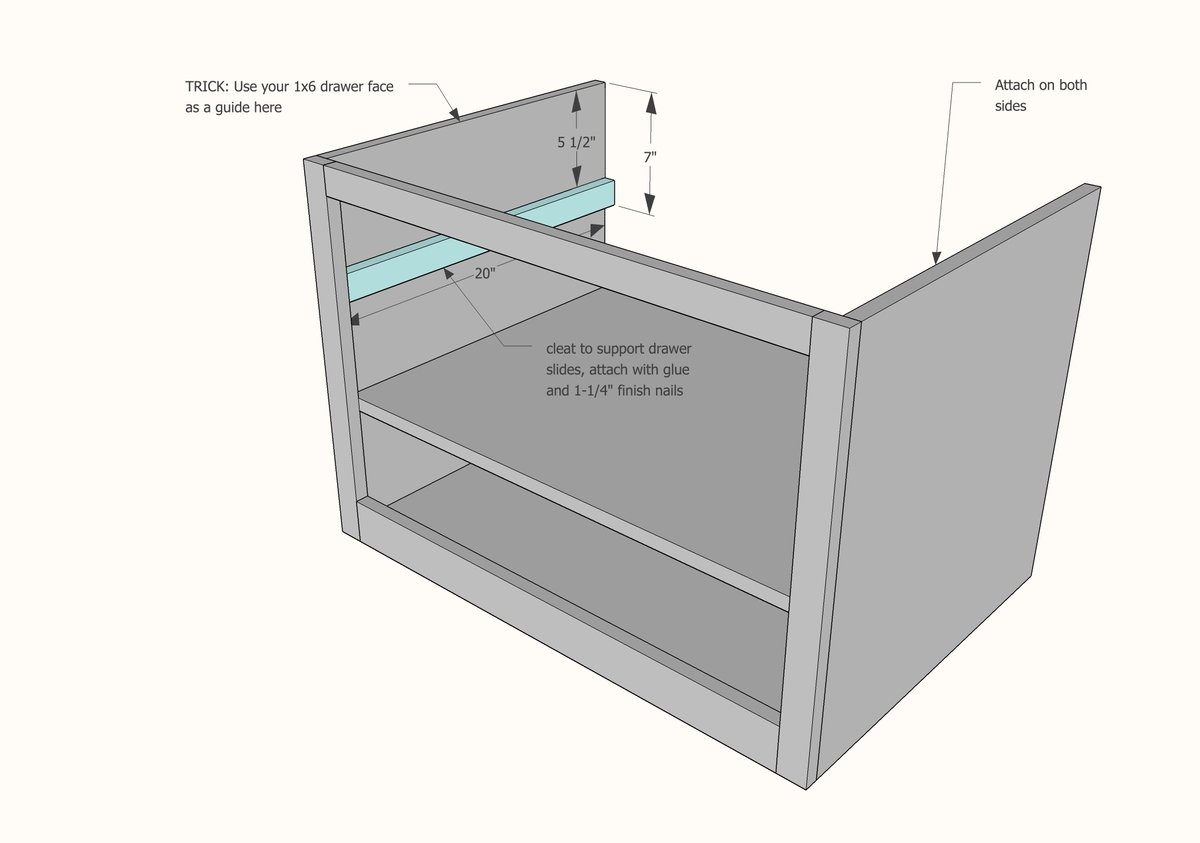
- 2 - 3/4" plywood @ 20" x 20-3/4" (sides)
- 2 - 3/4" plwyood @ 20" x 28-1/2" (shelves)
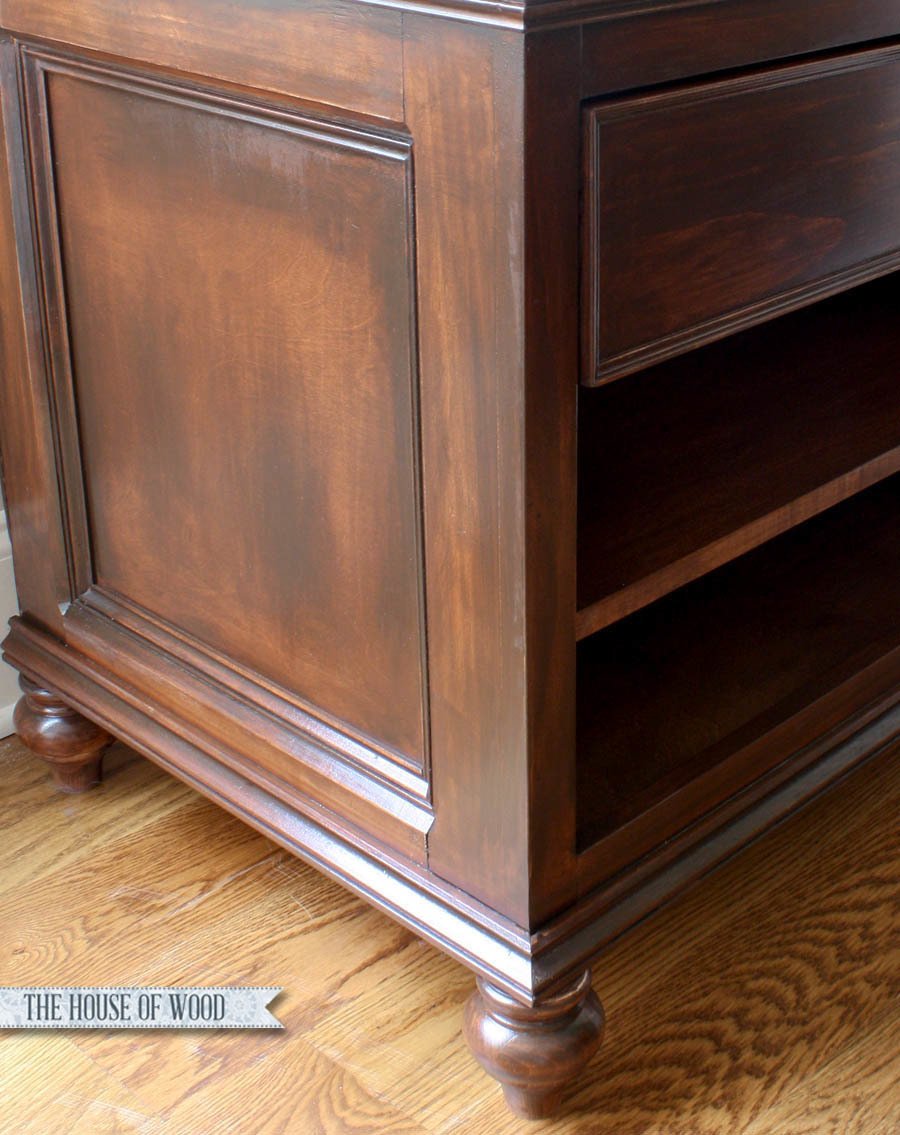
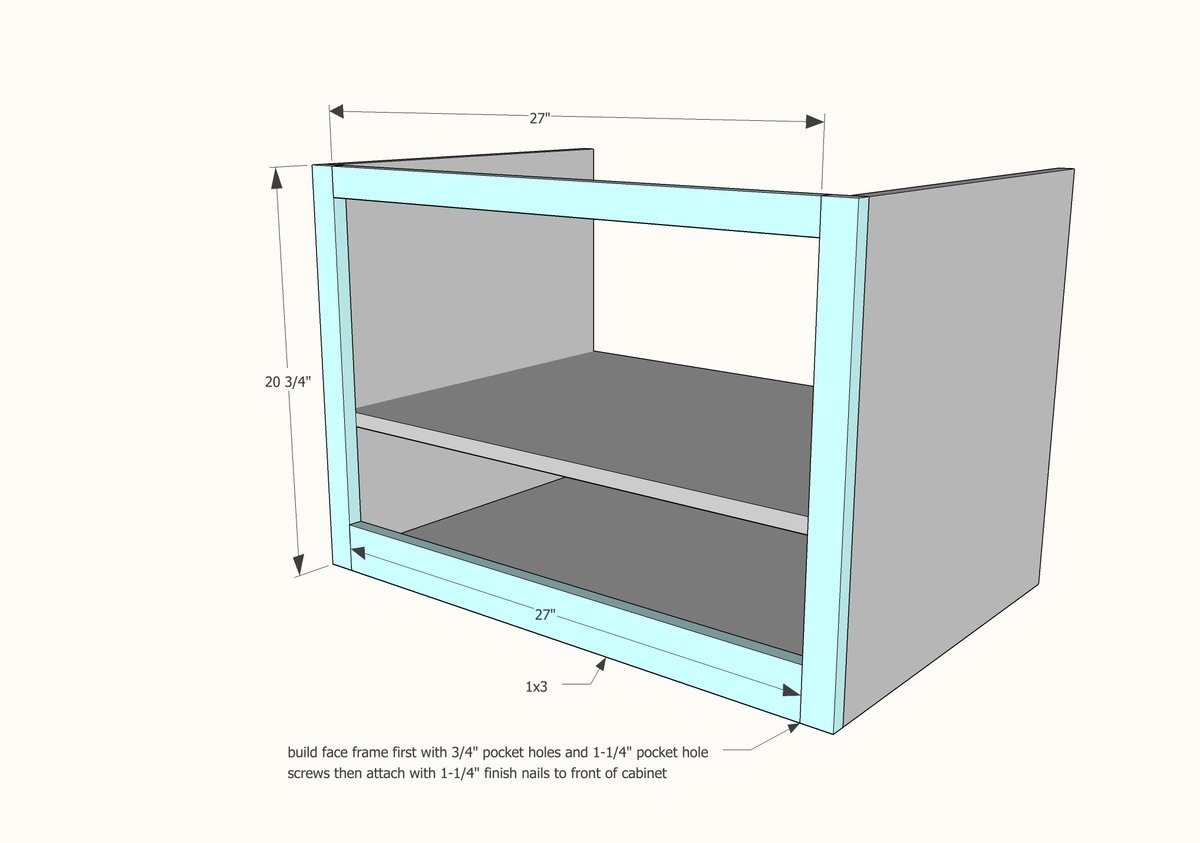
- 2 - 1x2 @ 20-3/4" (side trim for face frame)
- 1 - 1x2 @ 27" (top trim for face frame)
- 1 - 1x3 @ 27" (bottom trim for face frame)
- 2 - 1x2 @ 20" (drawer cleats)
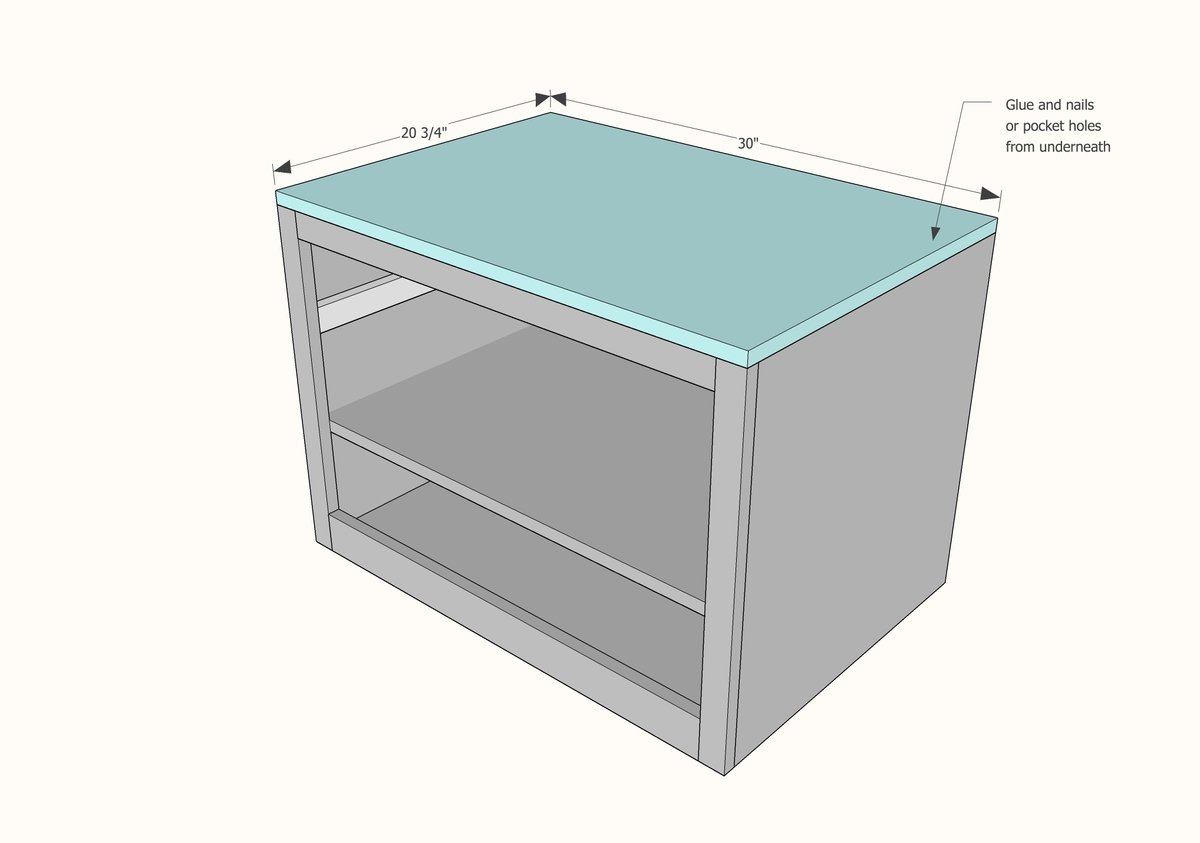
- 1 - 3/4" plywood @ 20-3/4" x 30" (top)
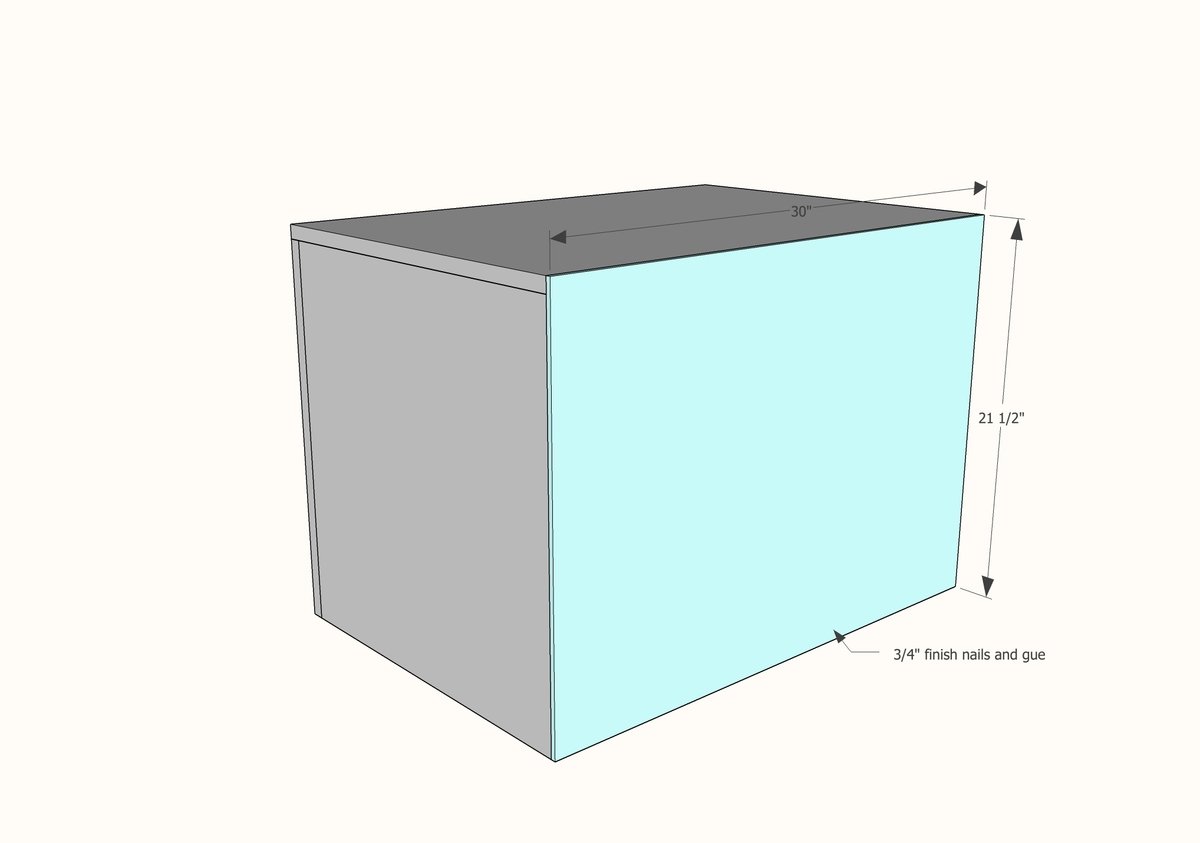
- 1- 1/4" plywood @ 30" x 21-1/2" (back)
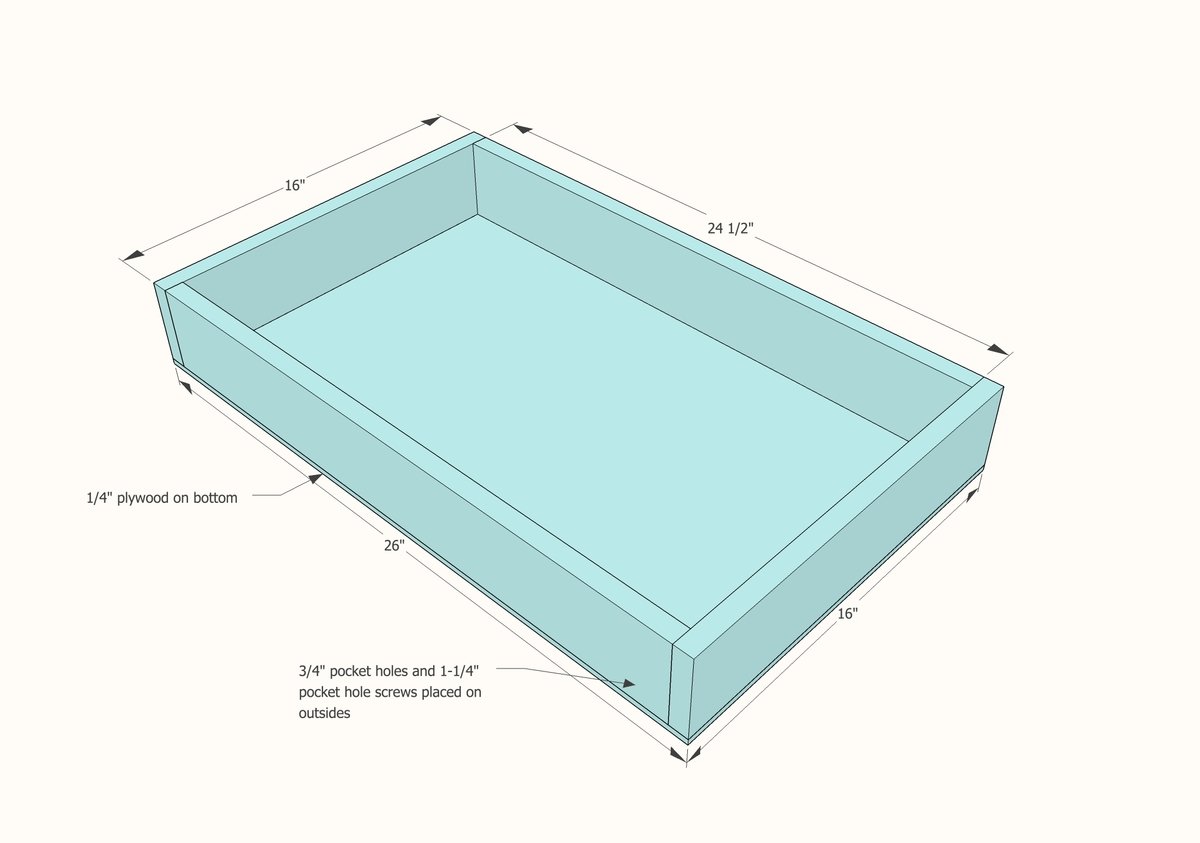
DRAWER - Cut to fit your opening and drawer slides and opening
- 2 - 1x4 @ 24-1/2" (front and back)
- 2 - 1x4 @ 16" (sides)
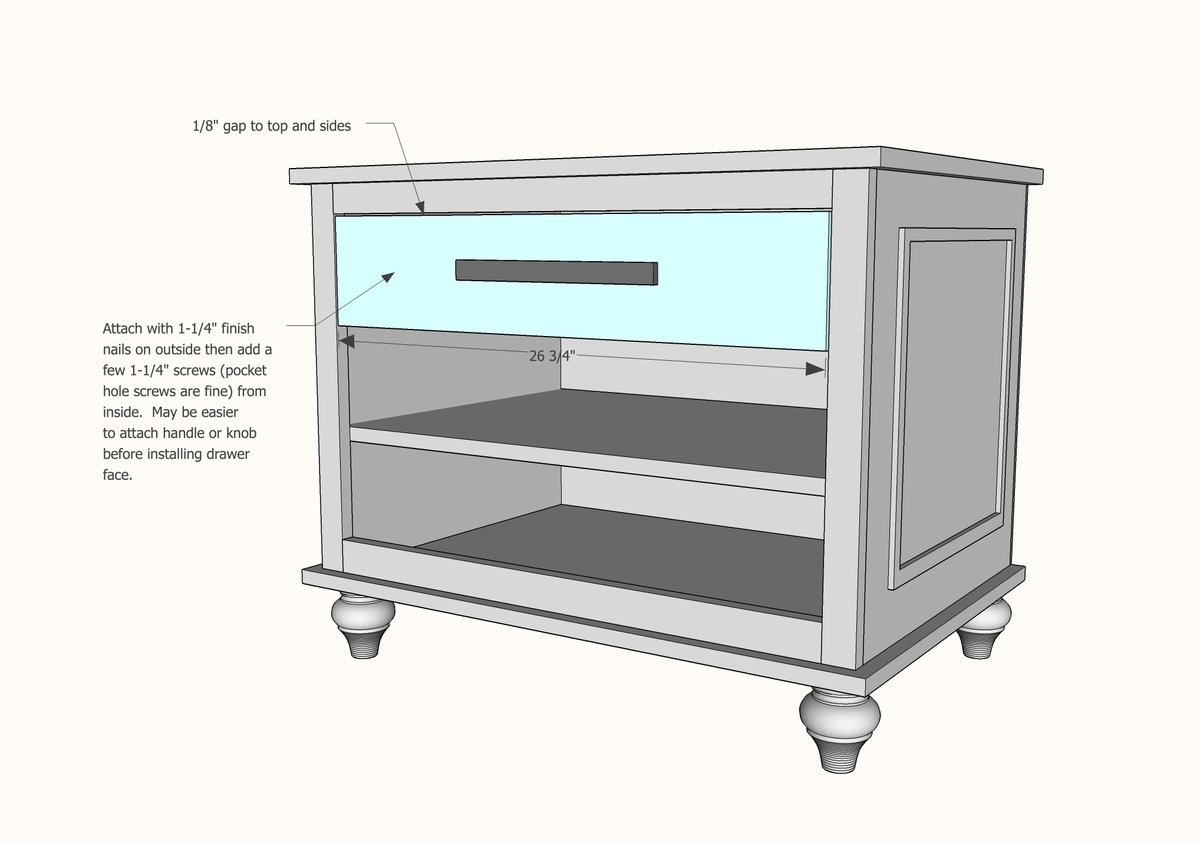
- 1 - 1x6 @ 26-3/4" (drawer face)
Please read through the entire plan and all comments before beginning this project. It is also advisable to review the Getting Started Section. Take all necessary precautions to build safely and smartly. Work on a clean level surface, free of imperfections or debris. Always use straight boards. Check for square after each step. Always predrill holes before attaching with screws. Use glue with finish nails for a stronger hold. Wipe excess glue off bare wood for stained projects, as dried glue will not take stain. Be safe, have fun, and ask for help if you need it. Good luck!
Instructions
Step 1
Drill 3/4" pocket holes facing upward on the insides of the sides for attaching the top in later steps.
Attach shelves to the sides - middle shelf can be fixed or floating (added later with shelf pins).
NOTE for perfectionists - to get the shelf just right, consider cutting off a 1/4" on the front edge and applying edge banding to the front edge of the shelf.
Step 2
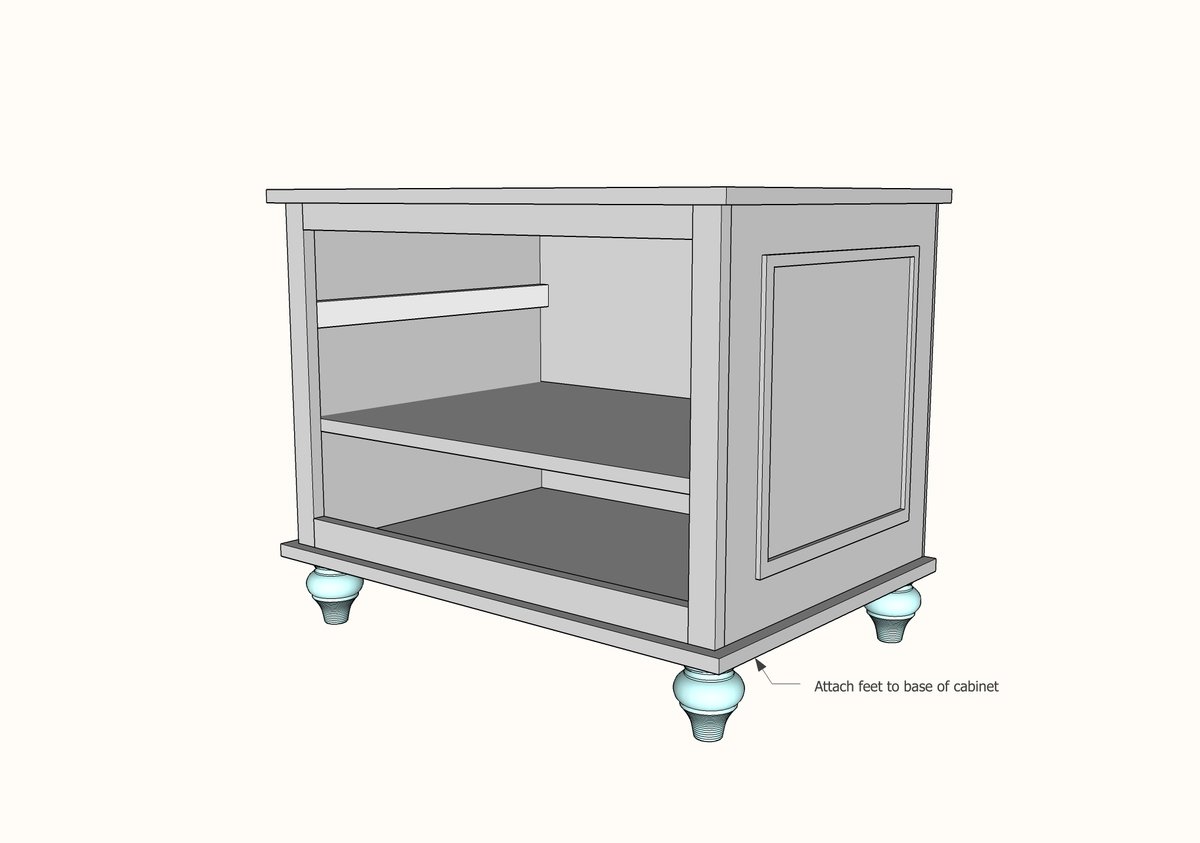
Step 3
Step 8
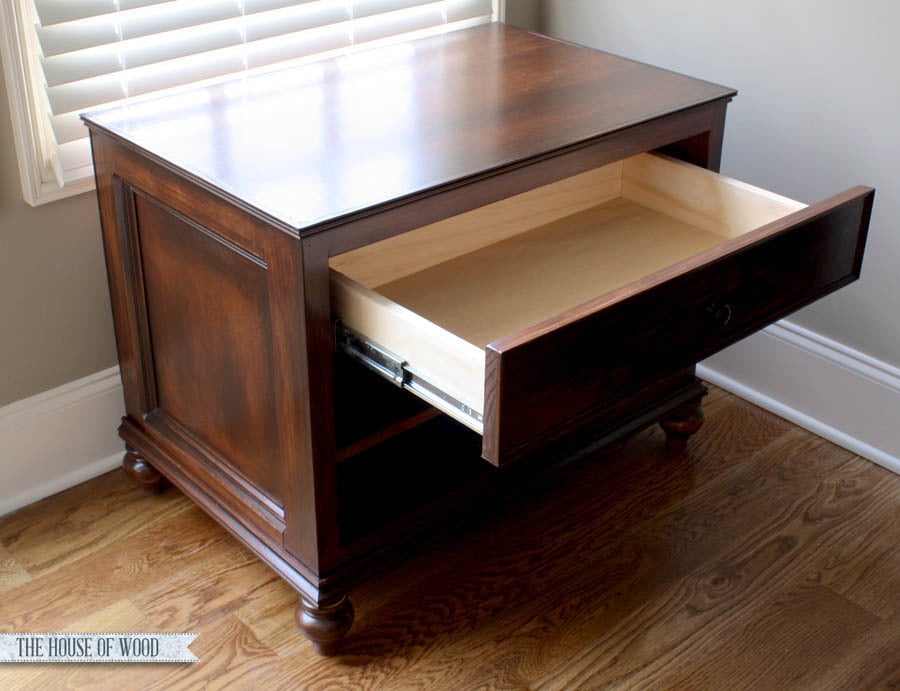
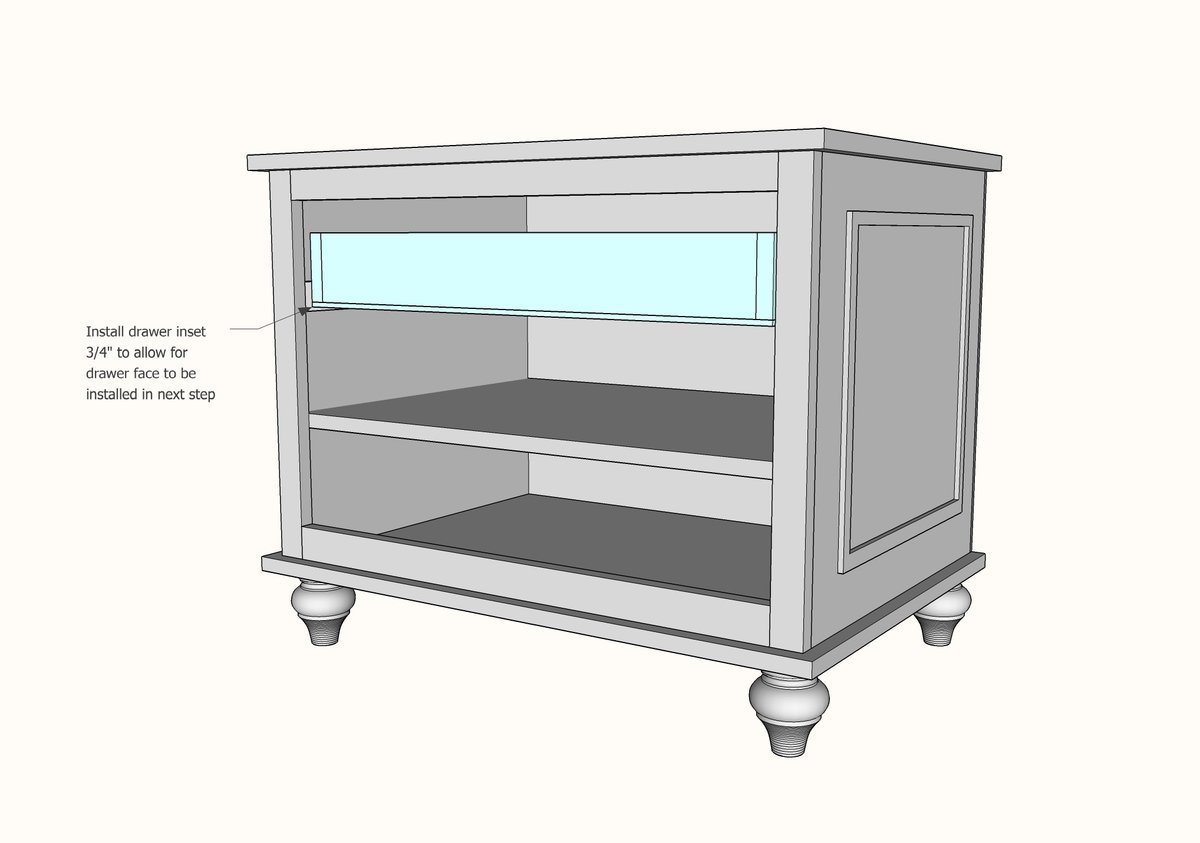
Measure the opening of your drawer area in the cabinet. Read the instructions with your drawer slides and check the clearance needed (normally 1/2" per side for a total of 1"). Build your drawer to fit with the sides cut to the length of the slides, and the front and back cut to the desired width minus 1-1/2".
It is always recommended to apply a test coat on a hidden area or scrap piece to ensure color evenness and adhesion. Use primer or wood conditioner as needed.





Comments
James1234
Sat, 07/04/2015 - 08:41
Great plans! Looking at how
Great plans! Looking at how Jen added the 1x3 trim on the 3/4" ply....doing this would change all the dimensions of your plan right? I'm trying to figure out the easiest way to follow your plan but also add the routered trim on the sides. Thanks!
In reply to Great plans! Looking at how by James1234
RMBoyle
Thu, 02/11/2016 - 15:35
Changed Dimensions to Printer Table for Modified Printer Table
James, I added the 1x3's to the sides and had to make the following changes:
- 1x2@ 281/2 (top trim for face frame)
- 1x3@28/12 (bottom trim for face frame)
- 3/4" plywood@20 3/4 x 31 1/2" (top)
- 1x6 @ 28 1/4" (drawer face)
- 1/4" plywood@ 21 1/2" x 31 1/2" (back)
Hope this helps. Great plans!
BadGolferBob
Tue, 01/26/2021 - 08:42
Staining the piece
Hi RM! Bob here, from San Antonio, TX. The toys you provided look great, and I plan on incorporating the. A quick question for you..... On my last project, the plywood and trim pieces were of different woods. Birch plywood & pine trim. I had a VERY difficult time getting a consistent look with stain due to the differing woods..... It was so bad, I ended up painting it. My question is, what steps can I take to get consistent stain? I guess the easy answer is using birch trim..... BUT..... it's not available where I shop. Thanks for your help, if you have the time.