Room Divider Closet

room divider closet wall
Difficulty
Intermediate
| Print this plan

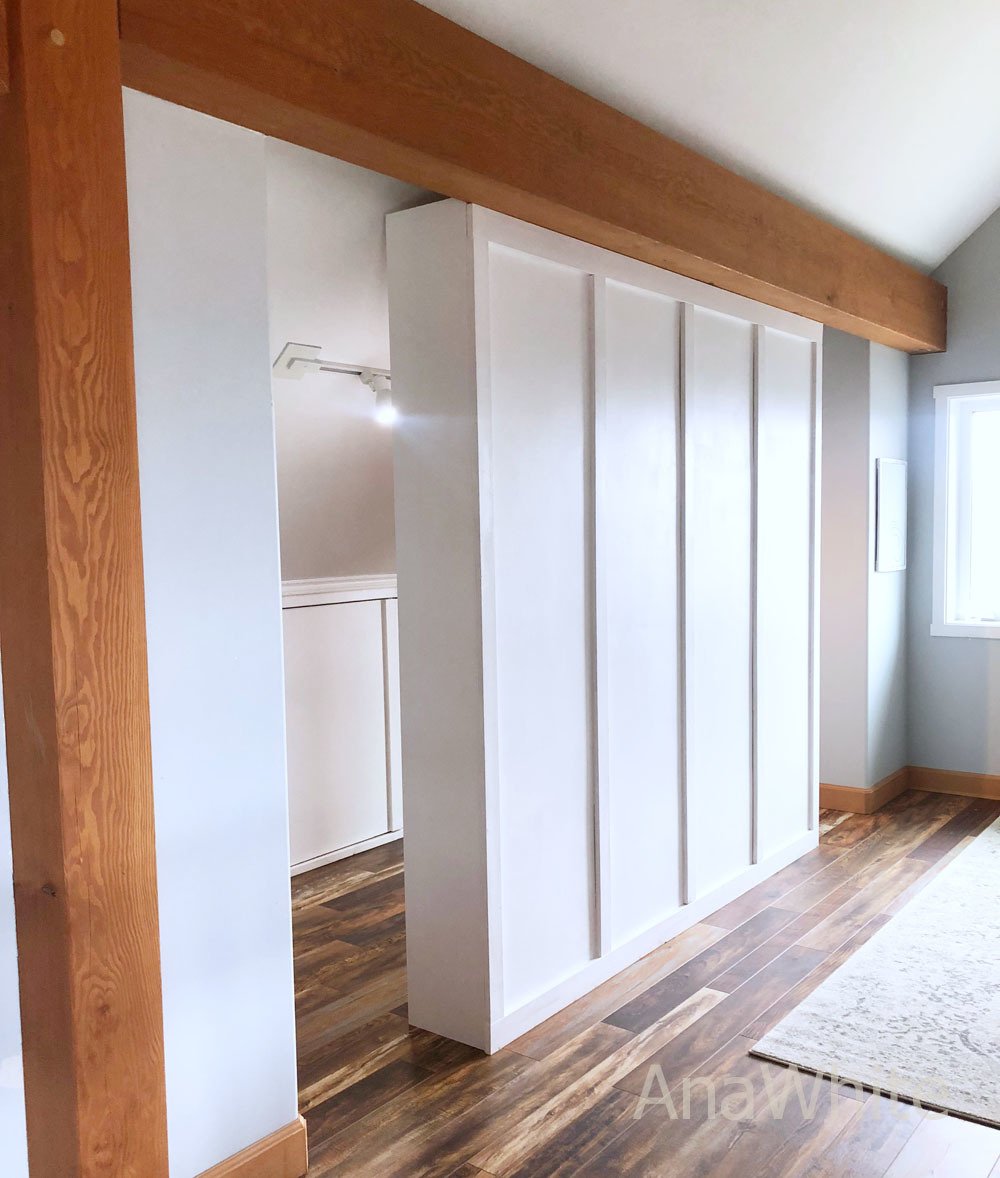
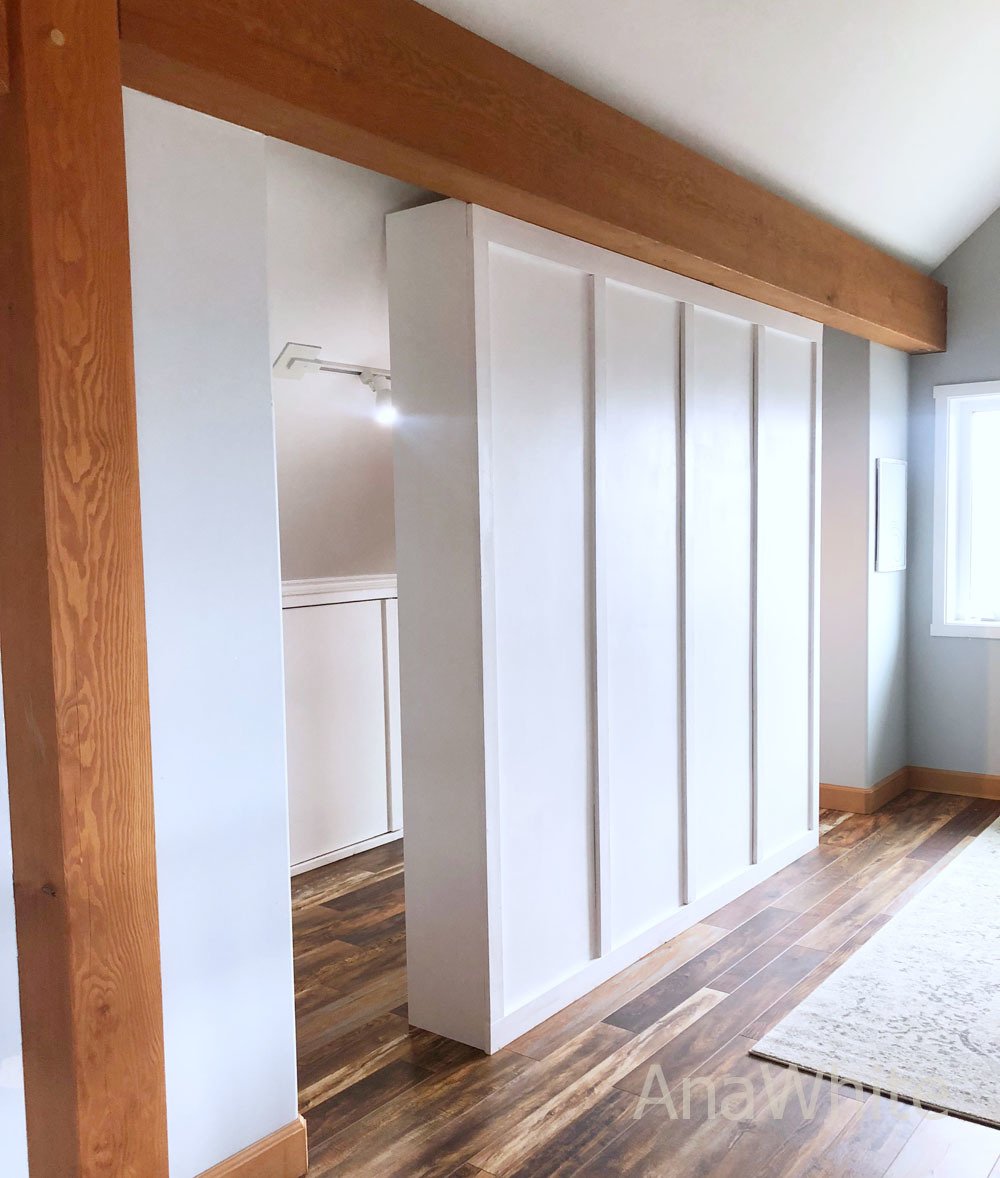
For under $200, we built an 8 foot long room divider closet.  On one side, it's a closet.  On the other, it's a board and batten panel wall!

We've been using this project for several years and it is still perfect for the space.  The room was an attic room, and it was near impossible to put a closet in it.  By adding a room divider closet, we created more useable space in the room, an amazing walk through closet, and a board and batten accent wall that can be used for furniture placement.

Other ideas for this project - 

- Convert a formal dining room between and entry and kitchen to a mudroom/pantry by adding a room divider in the middle of the formal dining room - the first room becomes the mudroom, the second becomes the pantry

- Use as a headboard in an oversized room to create additional closet space

- Divide out an awkward basement space

- Create a mudroom in a garage

This tutorial is easy to do - just build the three closet towers, and cover the back in plywood, then trim out.  Watch the video tutorial and follow the step by step diagrams for full tutorial.  You an do this!

room divider closet wall

Why We Built this Room Divider Closet

Do you have a large bedroom that needs a closet?  But don't want a permanent wall?  

Our oldest daughter recently claimed the attic bonus room for her bedroom.  But there is no closet, and the ceilings are slanted, limiting the closet options.  The room is plenty big though - and I kept thinking - there's ample space ... I just had to come up with the right solution.  After racking my brain, it finally came to me! 

We need a room divider closet, a semi permanent thing that is pretty on one side, and messy closet on the other.  

After about $150 in materials we came up with this -


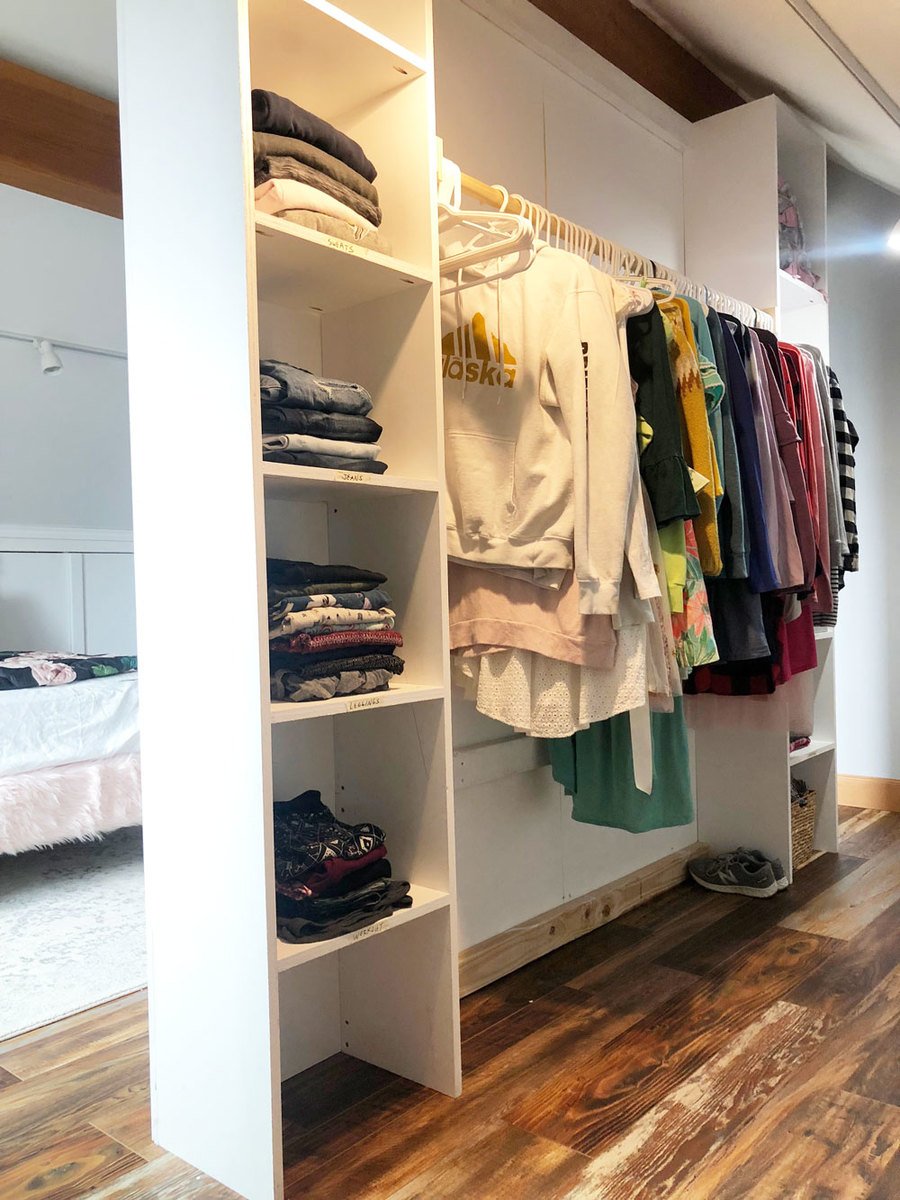
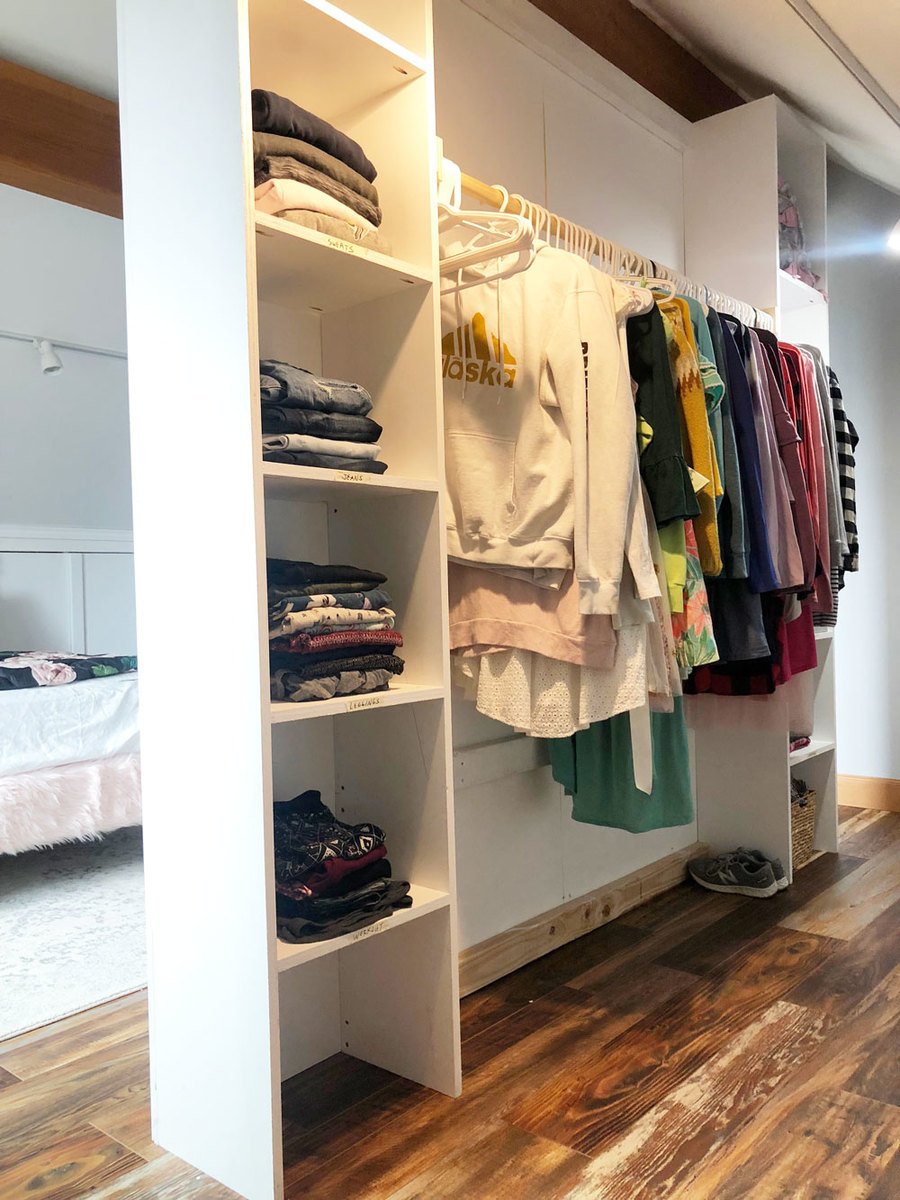
It turned out really great, and we love how accessible the closet is, but you can't see the mess.  It's such a great addition to the awkward space. 


How We Built this Room Divider Closet

We are excited to share with you how we built it.  Here's the basic steps (and the plans are below, just scroll down)

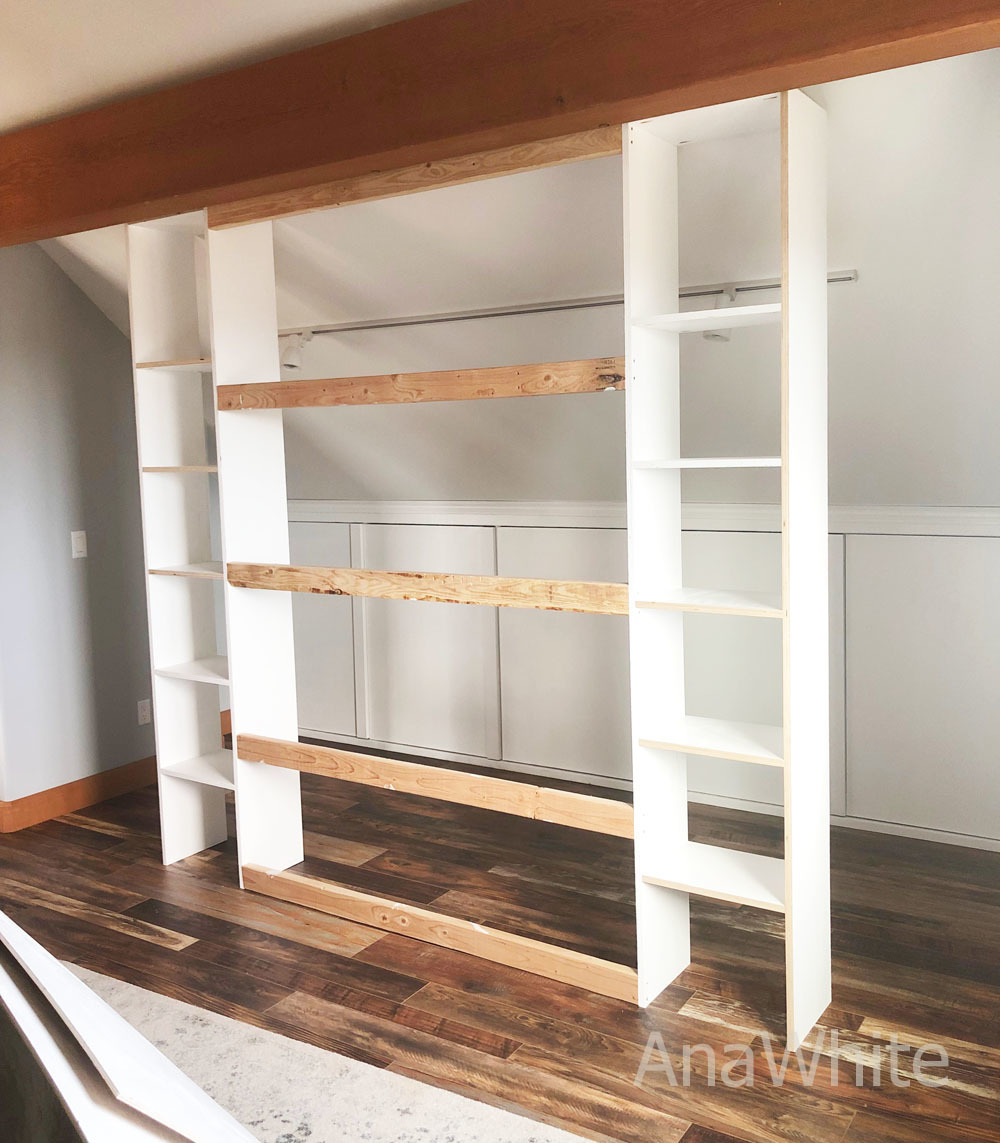
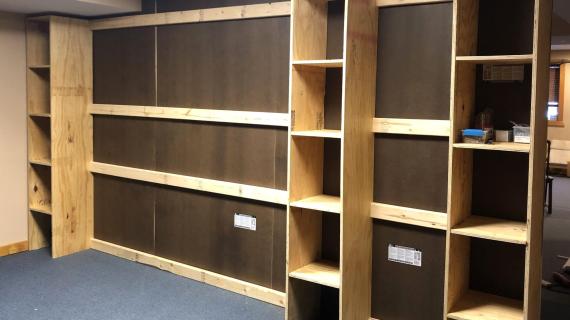
We ripped plywood into strips and built two closet towers - 

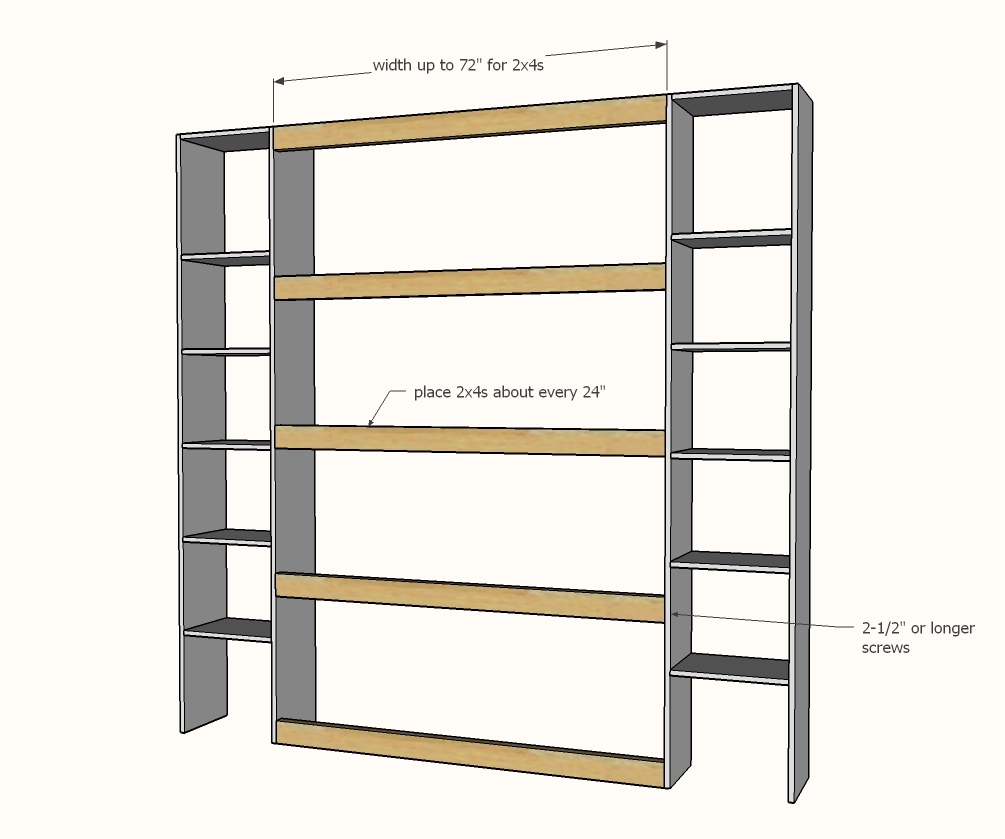
And then we screwed 2x4s between the towers -

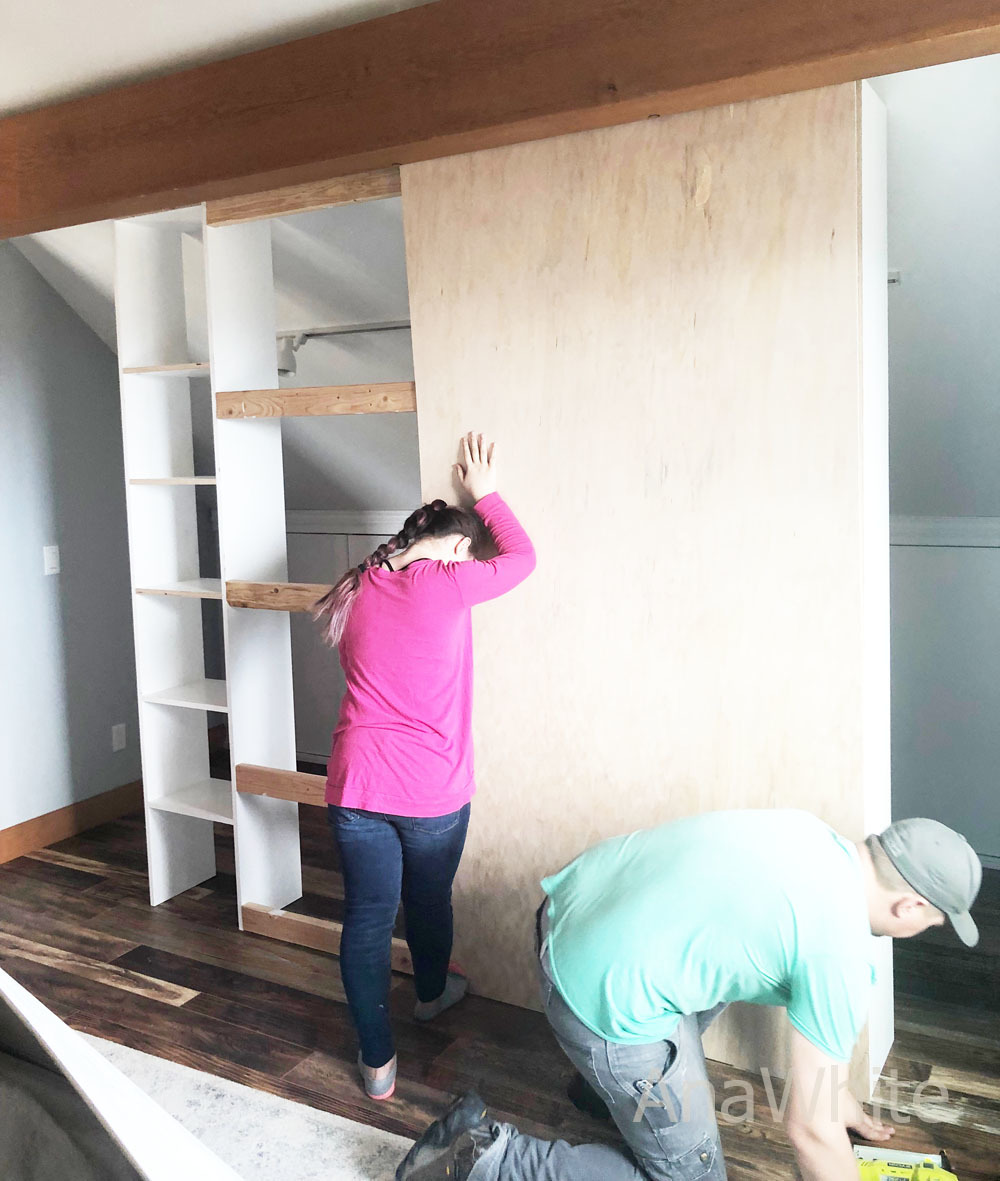
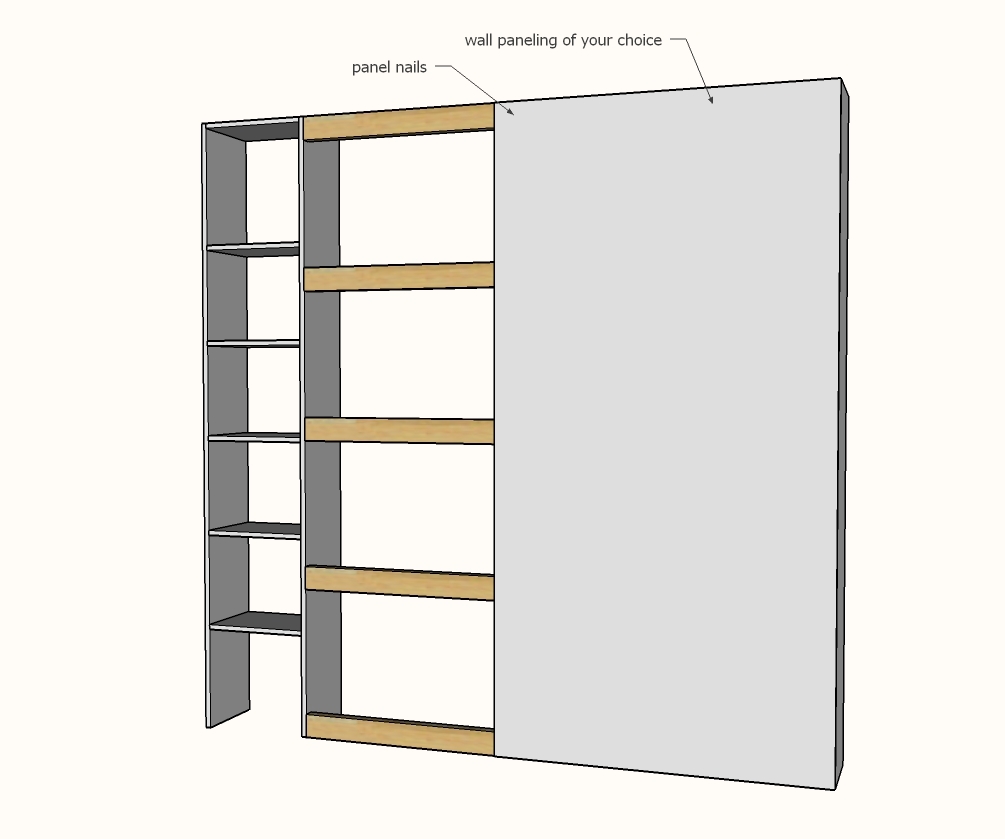
Then we nailed paneling to the back edges of the closet towers and the 2x4s -

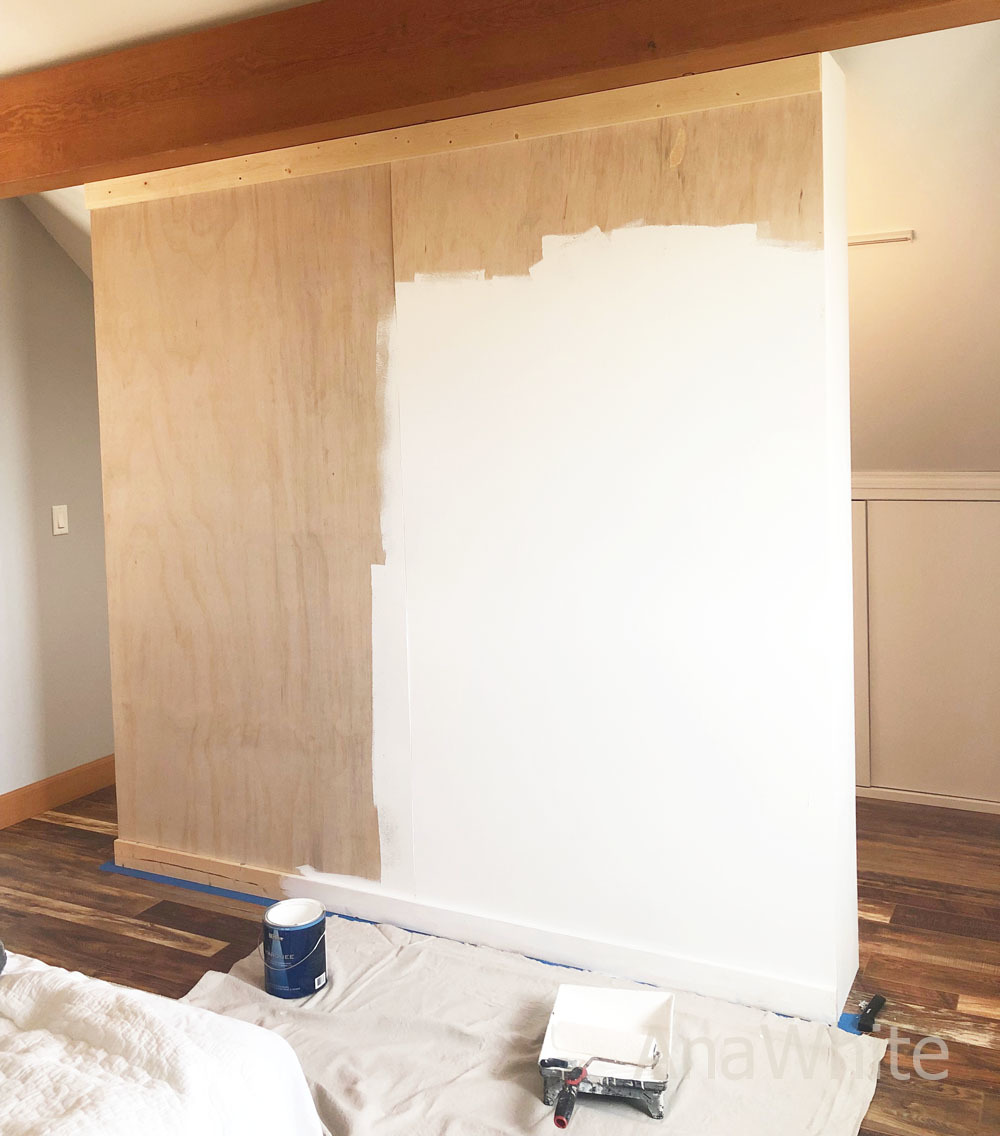
Then we painted ...

And added some trim ...

Looks pretty!  It will be a great accent wall or spot for a bookshelf or dresser or desk.

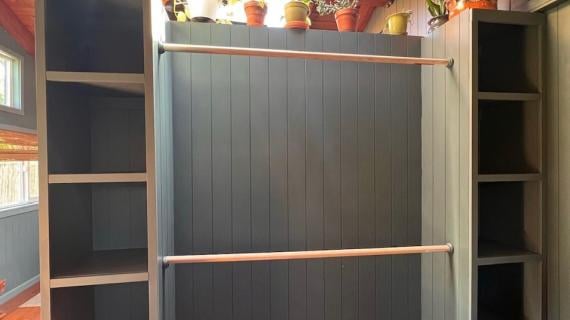
But what we love the most is the closet on the back side!  It is so easy to walk in and find clothes, but hidden so you don't have to keep your closet perfectly tidy all the time.


Video Tutorial - Building a Room Divider Closet

If you are up for building, do watch the video - there's lots more details -


Free Plans to Build Your Own Room Divider Closet

And the plans are below.  I made the plans exactly as you see in the photos, but of course, you should modify to fit your needs and space.


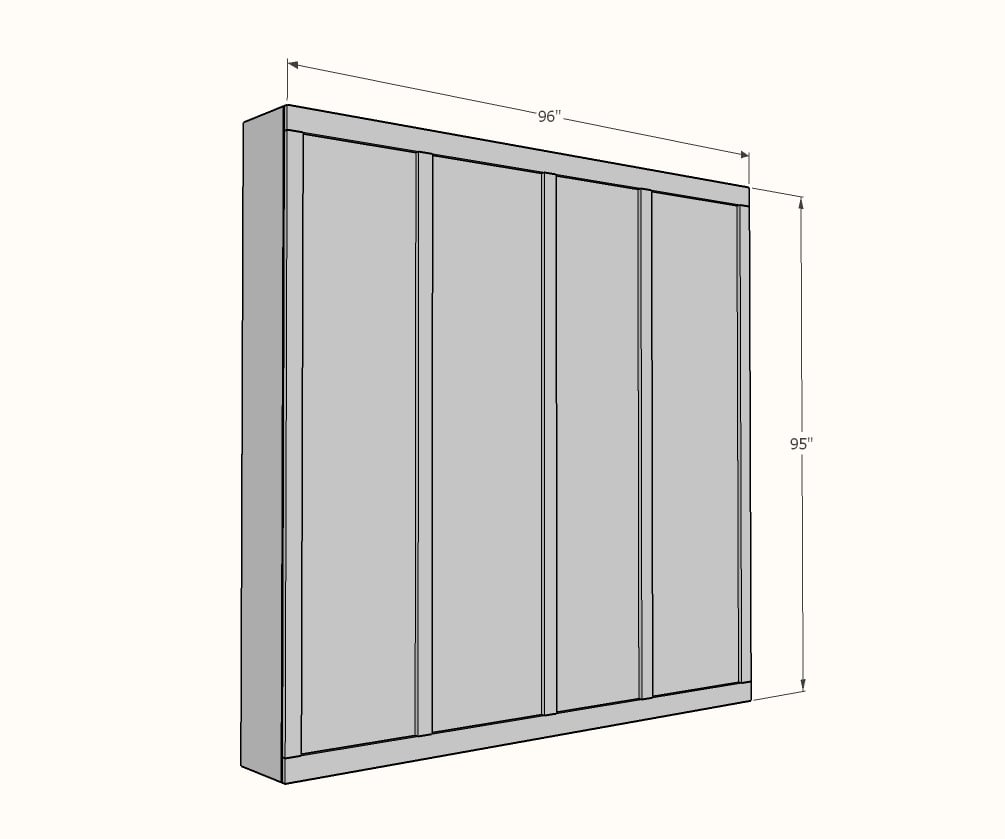
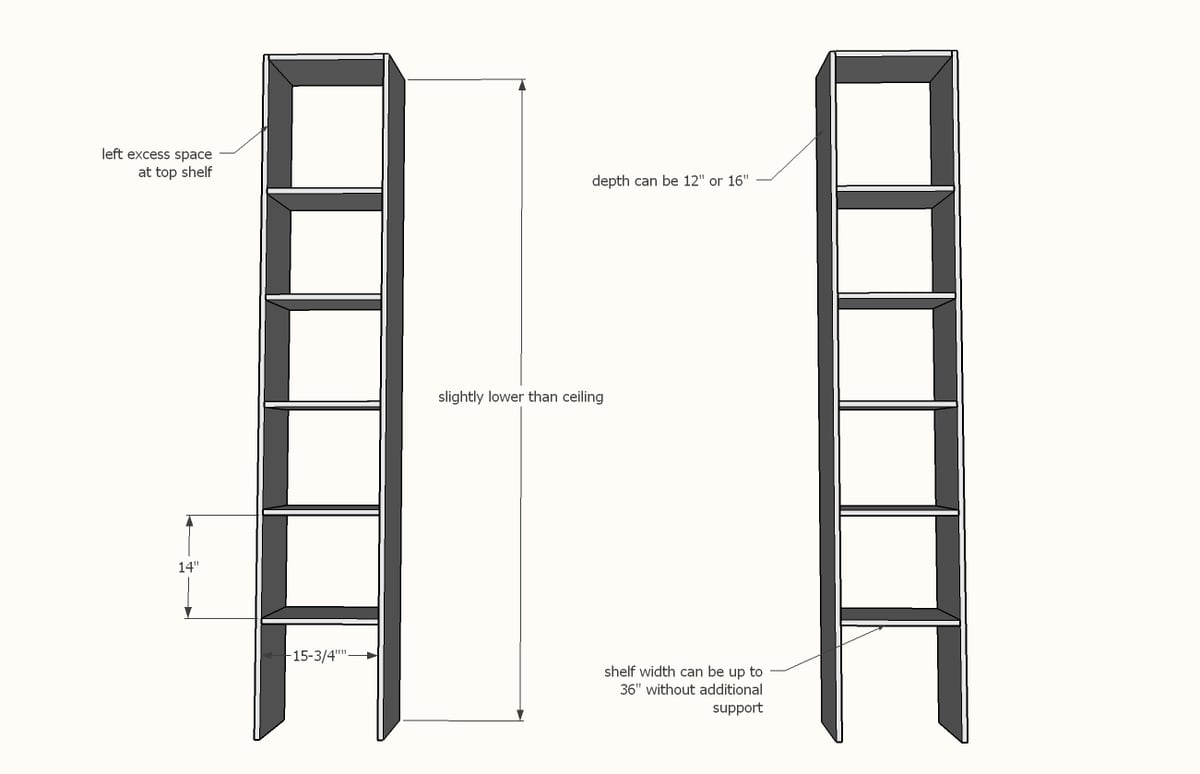
Dimensions
room divider closet plans
We built our room divider closet 8' wide by just under 8' tall (so it fits under the ceiling barely)

Preparation

Shopping List
  • 2 - 4x8 sheets of 3/4" plywood, ripped into 6 strips 11-3/4" wide x 8 feet long (You'll have half a sheet leftover, you can add shelving over the closet rod or use on another project)
  • 2 - 4x8 sheets of wall paneling - make sure the wall paneling is 48" wide or you will need to trim down to fit
  • 2 - 1x4 @ 8 feet long
  • 5 - 1x3 @ 8 feet long
  • 5 - 2x4 @ stud length or 8 foot (whatever is cheaper)
  • 61" closet rod and sockets (or make your own as we did in the video)
  • We constructed the towers with 1-1/4" pocket hole screws but you can also use 2" brad nails or 2" self tapping screws (you'll need about 50 fasteners total for the two towers as shown)
  •  You'll need about 20 2-1/2" self tapping wood screws (try SPAX or similar) for attaching the 2x4s on the back
  • Panel nails or brads for attaching the paneling
  • 1-1/4" brad nails for attaching the 1x4 and 1x3 trim pieces
Cut List

CUT LIST FOR AS SHOWN IN PHOTOS AND DIMENSIONS DIAGRAM

  • 4 - 3/4" plywood @ 11-3/4" x 95" - tower sides - cut to fit height of your ceilings minus at least 1/2" for clearance
  • 12 - 3/4" plywood @ 11-3/4" x 15-3/4" - tower shelves
  • 5 - 2x4 @ 61-1/2" 
  • 2 - 1x4 @ 96"
  • 5 - 1x3 - cut to fit in place


Tools
Tape Measure
Speed Square
Pencil
Safety Glasses
Hearing Protection
Drill
Circular Saw
Table Saw
Brad Nailer

Instructions

Step 1

Build two towers with your choice of joinery.  We used a Kreg Jig on the 3/4" setting with 1-1/4" pocket hole screws, two screws per joint.

Step 2

Attach the two towers together with 2x4s on the back, flush to the back side.

Step 3

Attach paneling with panel nails or fasteners that work with your materials to the 2x4s and back edges of the towers.

Step 4

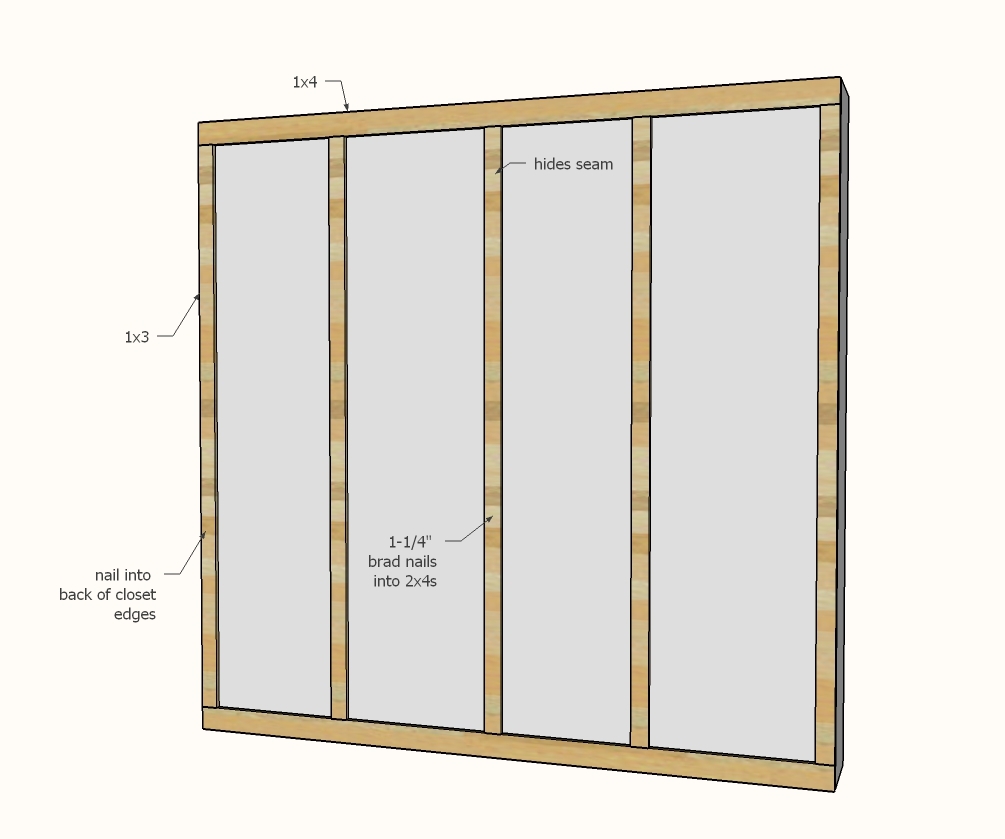
Cut the 1x4 top and bottom trim first and nail on with 1-1/4" brad nails.

Measure and cut the vertical 1x3 trim pieces and nail to the 2x4s and back edges of towers with 1-1/4" brad nails.

Hang closet rod on inside of closet.


Comments

CQinNorman

Tue, 03/30/2021 - 09:11

I am building one in my bedroom which is in sore need of a bigger closet. I'll post pics when it's complete. Thanks for the great idea!!

Seasonal And Holiday