


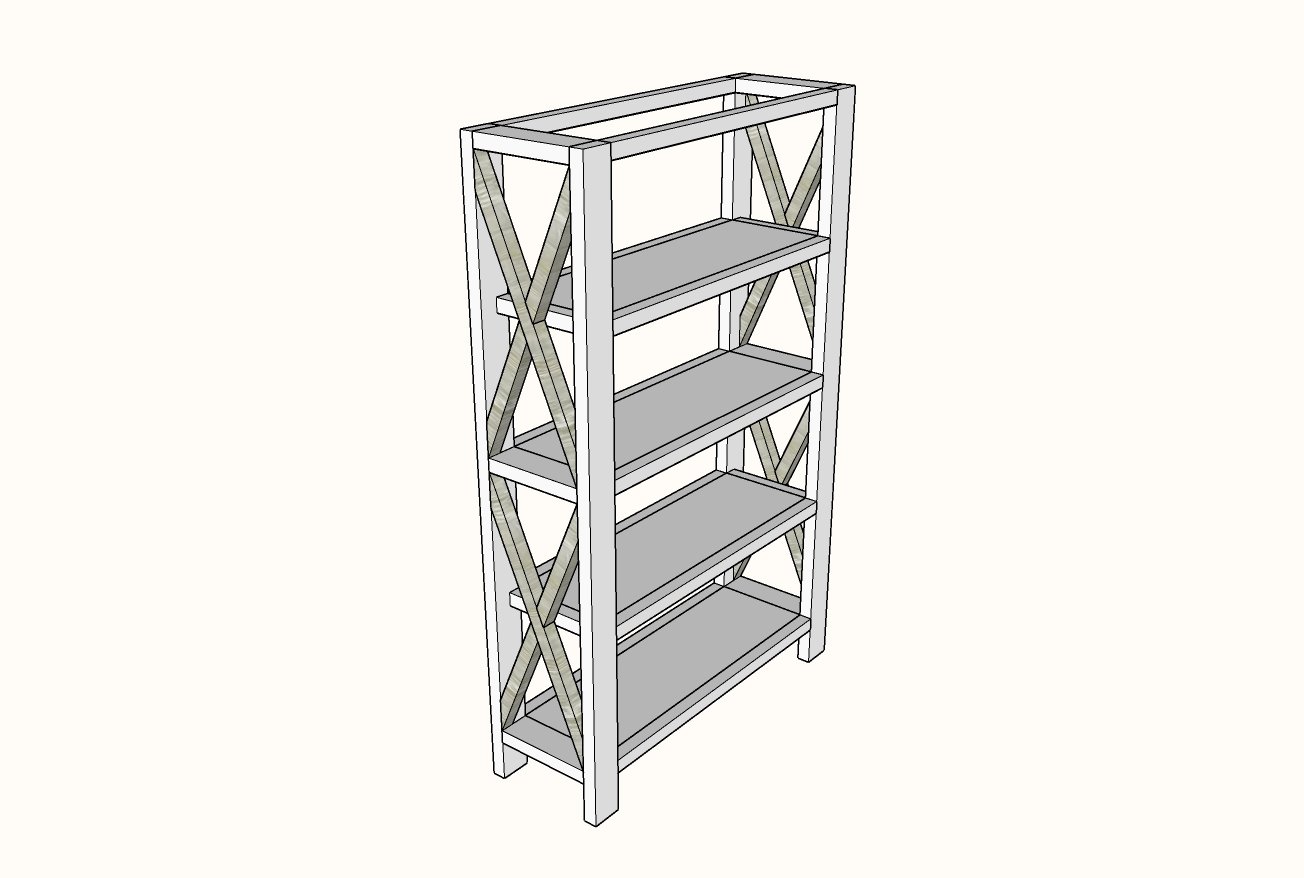
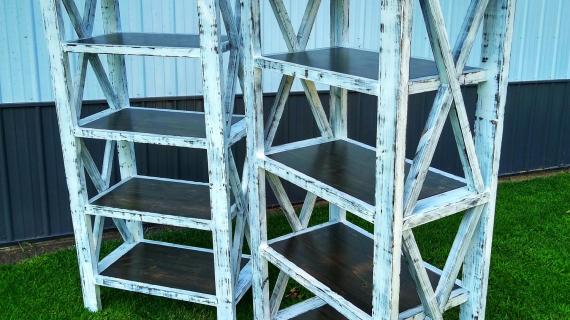
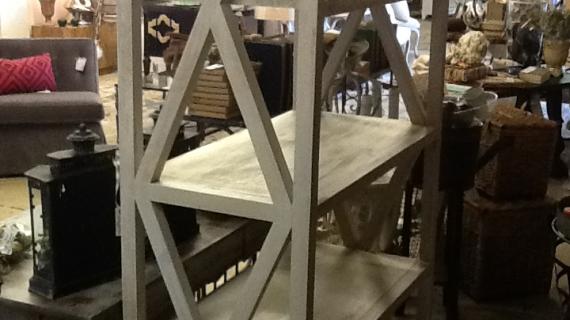
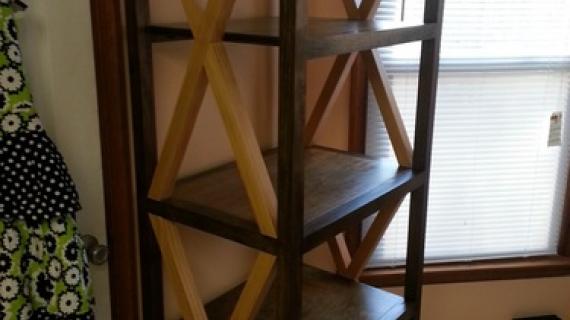
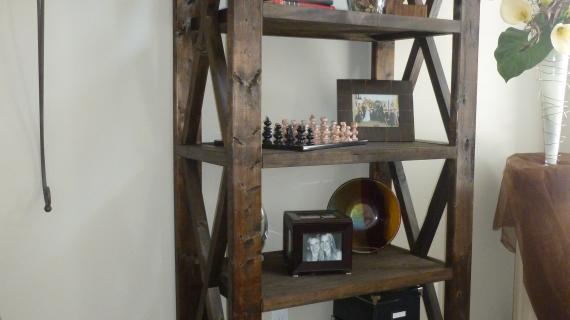
Build your own rustic bookshelf with our free plans. Features four large shelves and x detailing on the ends. Step by step plans from Ana White
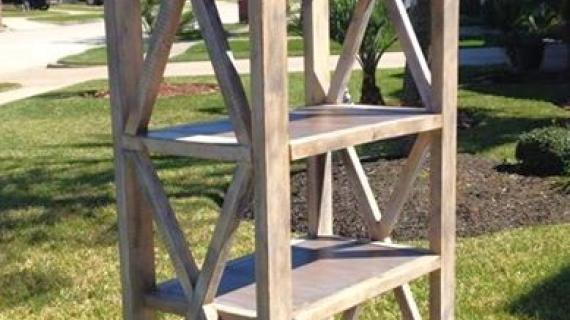
Reader submitted photo by Texjan
The Rustic X Collection is a reader favorite. After so much success with pieces from it -
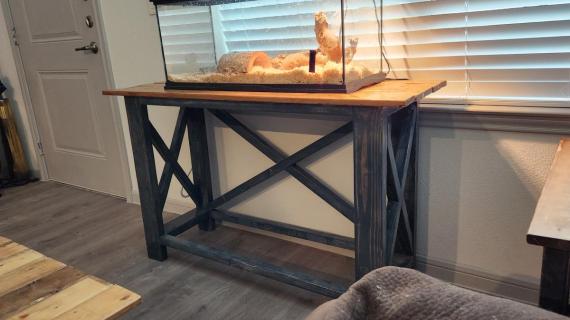
the Rustic X Console -

And then the matching Rustic X Coffee Table -

And then the Rustic X End Table.
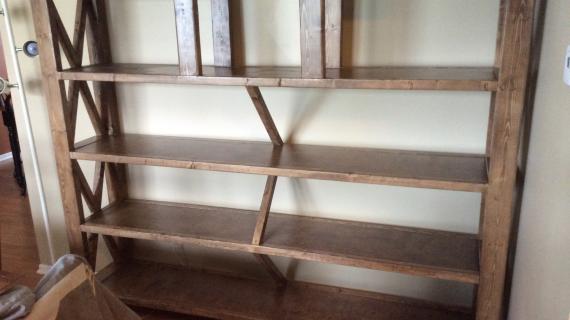
We wanted to also add a rustic bookshelf to the collection. Special thanks to my friend Gina at Lady Goats, we collaborated to make this happen for you.

But please take a second to check out Gina's building post for lots of construction photos and finishing details.
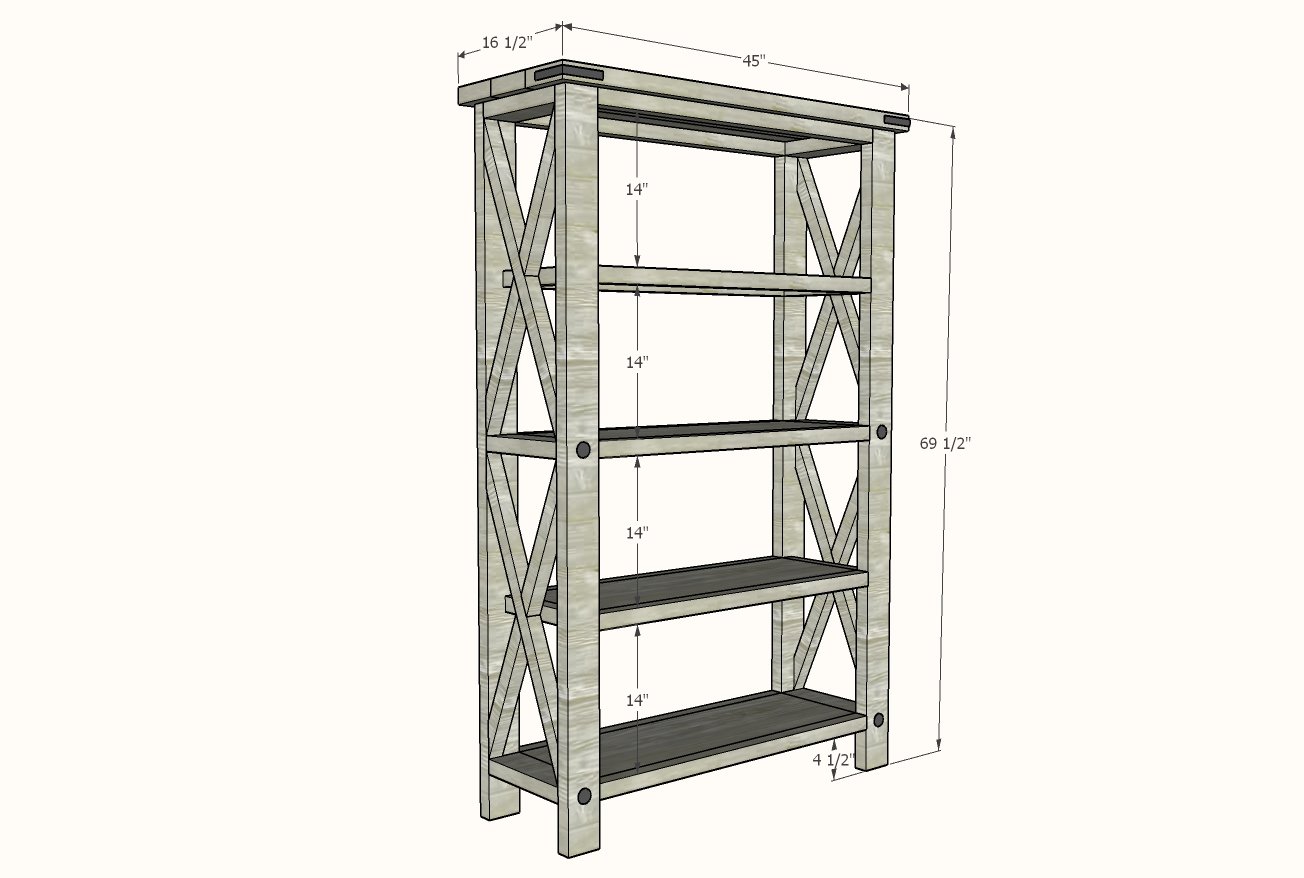
Rustic Bookshelf Plans
These plans have been updated.

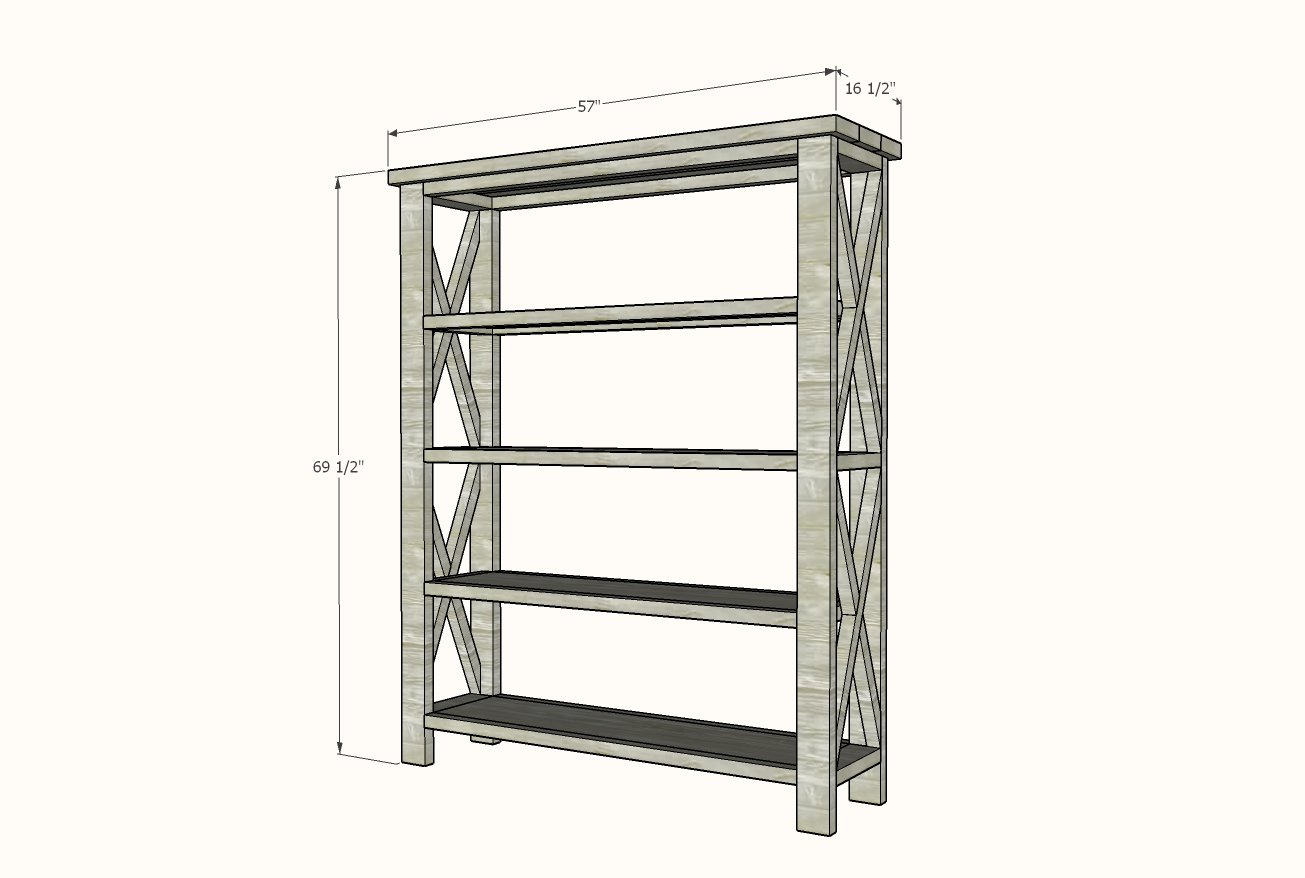
The updates include a wider overall width, narrower shelf depth (14-1/4" vs 18-1/2") and uses 1x12s instead of 3/4" plywood, and a top that matched the rest of the Rustic X Collection. If you need the original plans, you can find those here.
Modifying to Extra Wide Width
It's easy to modify this bookshelf to an extra wide width.
- Instead of 6 foot long 1x12s, purchase 8 foot long 1x12s
- Buy a couple more 2x2s
- Replace the 2x6x12 in the shopping list with a 2x6x10 and a 2x6x8 or 8 foot stud length
- Instead of cutting the 2x2 and 1x12s @ 35-1/2", cut them at 47-1/2"
- Cut the top 2x6 @ 57"
- Proceed as directed in the regular plans
Preparation
- 8 - 2x2 @ 8 feet long
- 4 - 1x12 @ 6 feet long
- 4 - 2x4 @ 8 feet long or stud length
- 1 - 2x6 @ 12 feet long (can be cut down to 8 feet for transport)
- 4 - 2x4 @ 68"
- 10 - 2x2 @ 35-1/2"
- 6 - 2x4 @ 11-1/4" - matches width of 1x12s
- 4 - 2x2 @ 11-1/4" - matches width of 1x12s
- 4 - 1x12 @ 35-1/2"
- 3 - 2x6 @ 45"
- 2x2 X detailing should be cut to fit


Please read through the entire plan and all comments before beginning this project. It is also advisable to review the Getting Started Section. Take all necessary precautions to build safely and smartly. Work on a clean level surface, free of imperfections or debris. Always use straight boards. Check for square after each step. Always predrill holes before attaching with screws. Use glue with finish nails for a stronger hold. Wipe excess glue off bare wood for stained projects, as dried glue will not take stain. Be safe, have fun, and ask for help if you need it. Good luck!
Instructions
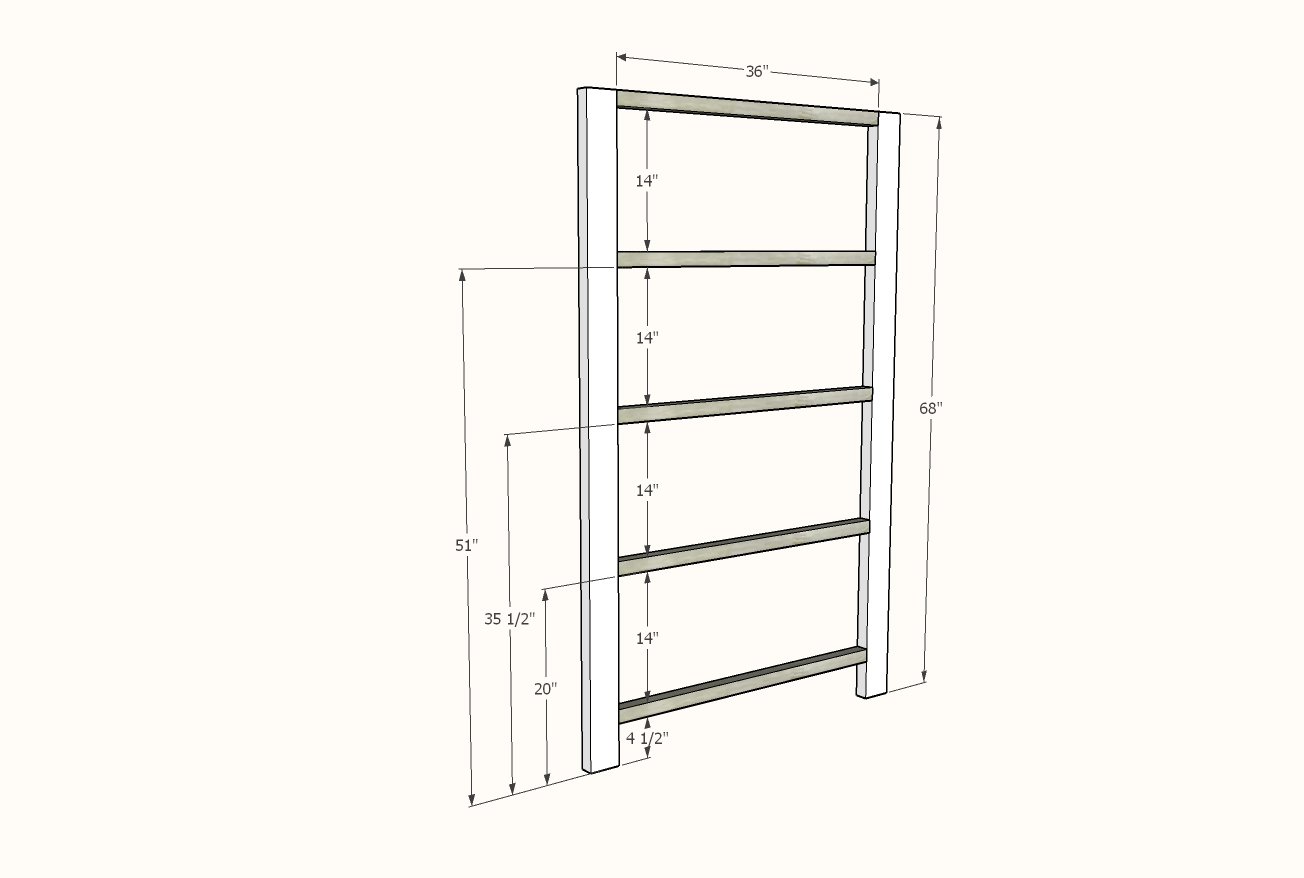
Step 1
TIP: You may wish to drill all the 3/4" pocket holes on the 1x12s in step 3 first, then set your Kreg Jig to the 1-1/2" setting for all remaining pocket holes, so you don't have to reset your Kreg Jig.
Drill a pocket hole on each end of the 2x2 @ 36" on the 1-1/2" setting.
Attach to 2x4 legs, clamping while you join, with 2-1/2" pocket hole screws and wood glue.
Build two identical frames.
Step 2

Measure the width of your 1x12s. They should be 11-1/4" wide.
Cut the 2x4s and 2x2s to match this width.
Drill two pocket holes on ends of 2x4s, one on ends of 2x2s.
Attach to the frames with 2-1/2" pocket hole screws and wood glue.
Step 3
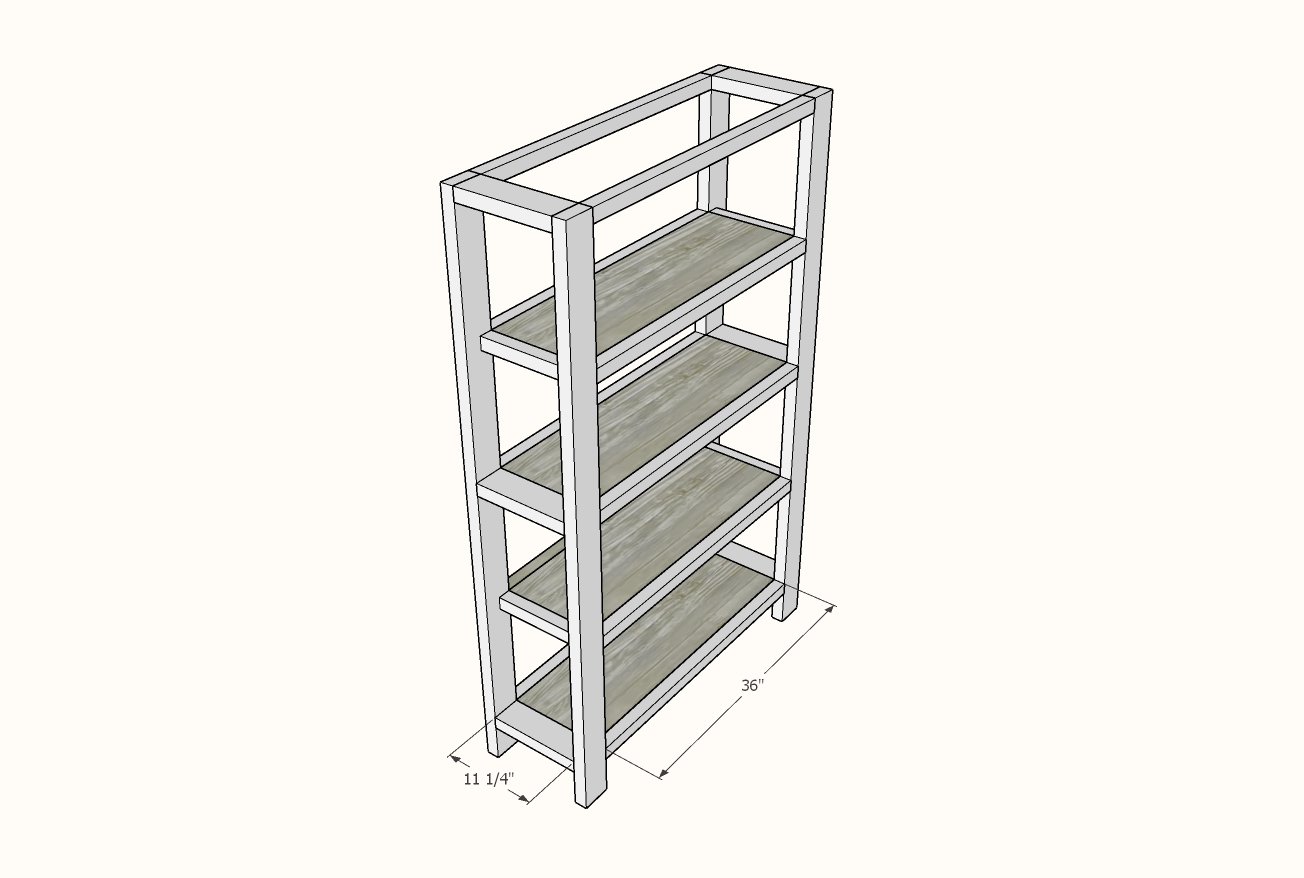
Drill 3/4" pocket holes, two per ends, and three along long edges, of the 1x12 shelves.
Attach with 1-1/4" pocket hole screws inside the bookshelf.
Step 4
The best way to do the Xs is place 2x2s alongside where you want them to go, and trace the angles, and then cut the angles with a circular saw.
I recommend attaching the shorter X pieces to the longer X piece before attaching the entire X inside the bookshelf.
To see how I do this, you can watch this video.
Step 5

Lay the 2x6s on top of the bookshelf, with even overhangs on all sides.
Mark where the 2x6s cross the top 2x4 on your shelf ends.
Remove and attach the 2x6s together, inside where you marked, so the pocket holes will be hidden. Apply glue all the way down the joint.
Attach the entire top to the top of your bookshelf with 2-1/2" screws (you can use pocket hole screws, but they are more expensive than regular self tapping wood screws)
It is always recommended to apply a test coat on a hidden area or scrap piece to ensure color evenness and adhesion. Use primer or wood conditioner as needed.


Comments
brookifer86
Wed, 08/21/2013 - 13:17
I love that you're adding to
I love that you're adding to the collection! This is such a unique bookcase. Now to find a spot in my house for it...
storchinsky
Mon, 08/26/2013 - 12:41
I love it!
I have been planning to build something like this since I first saw the sofa table. I loved the style but had no need for a piece like that in my space, but really do need a cookbook shelf in my kitchen. I have been messing around with various shelf plans trying to combine it with the X component but I haven't been completely happy with my designs and haven't had the time to work on it. Part of my problem, is that I want a narrower piece (using 1 x 12s for the shelves) and am not sure how the X sides would look. And I'm not proficient enough with Sketchup to mock it up to see. What's your opinion?
(I'd also be building it half the height to line up with my kitchen counter.)
ktjames
Wed, 11/05/2014 - 12:39
2x12s too heavy?
Oops! I already cut (41"), sanded, and stained some 2x12s to build an industrial style bookshelf and had a change of heart (I decided to make something more classic that will coordinate with the farmhouse table we built). Would this plan still work with 2x12s as the shelves or would that be too heavy to make it structurally sound? I appreciate any advice that folks have to offer!!
sullij02
Sat, 01/07/2017 - 13:47
Resize
If I change the width to 13 inches well I have to change anything for the cuts that involve the X's on the sides?
jjjbluray
Tue, 01/10/2017 - 16:48
Yes. The angles will vary
Yes. The angles will vary slightly but you can hold the 2x2s up to the openings and draw the marks where to cut from the inside.
new_to_it_all
Mon, 05/06/2019 - 13:20
I modified the plans to be…
I modified the plans to be all 2x2s and 96 high with another row of X's. It was ALOT of sanding but I couldn't be happier with my second project!
Photos!
https://photos.app.goo.gl/w7W2Vd5cZYmv8wjZ8
<p> </p>
hawkingbrandy
Thu, 06/06/2019 - 04:48
I'll try to make it today…
I'll try to make it today. Thanks for that plans Ana! :)
DC_Idaho
Tue, 09/10/2019 - 07:00
Rustic X Book Shelf
I would like to know what style of wood or stain you used in the rustic X book shelf? I love the look!
wedaphillips1
Wed, 05/20/2020 - 10:55
Need cut list for extra wide shelves, please.
Does anyone know the complete cut list for extra wide shelves? I don't see it listed. I see materials list but not cut. Thanks so much.