Shanty Hutch

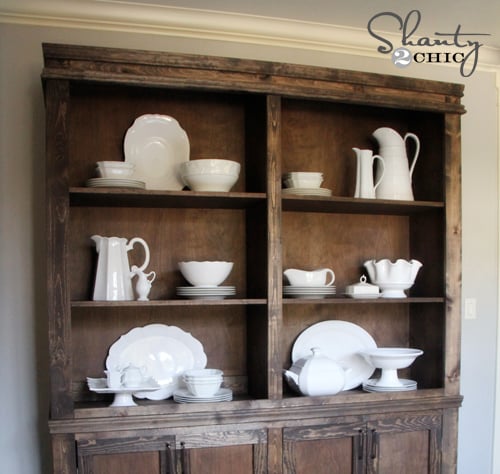
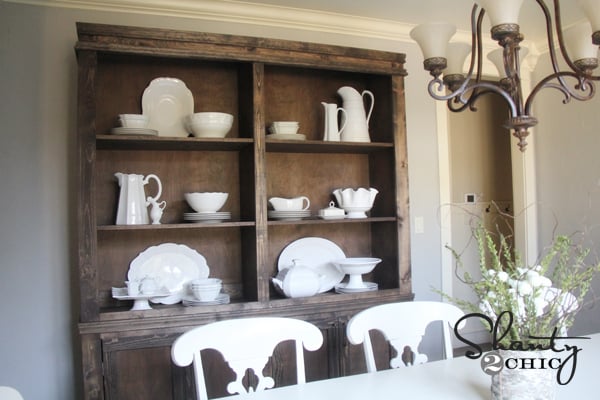
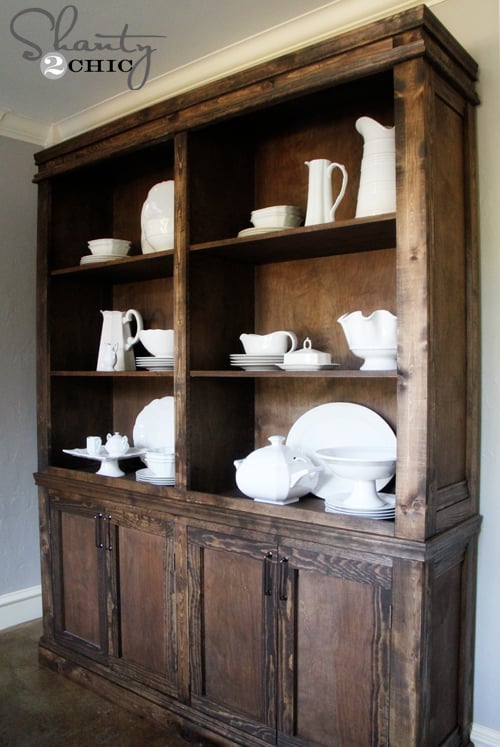
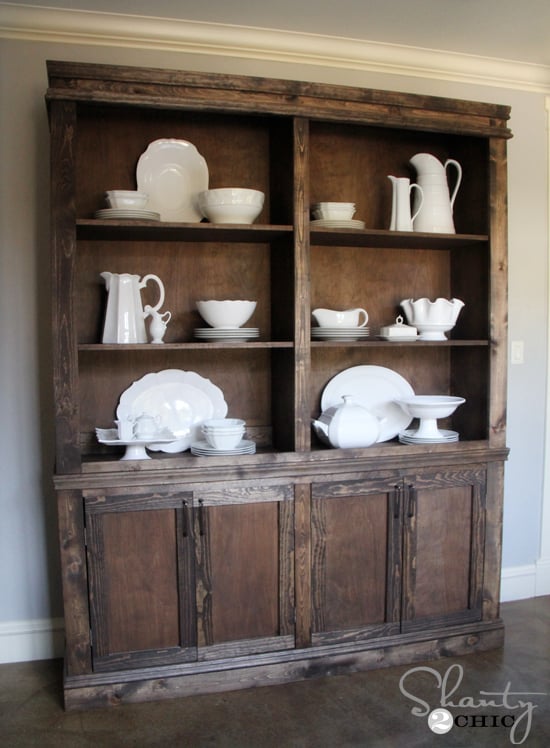
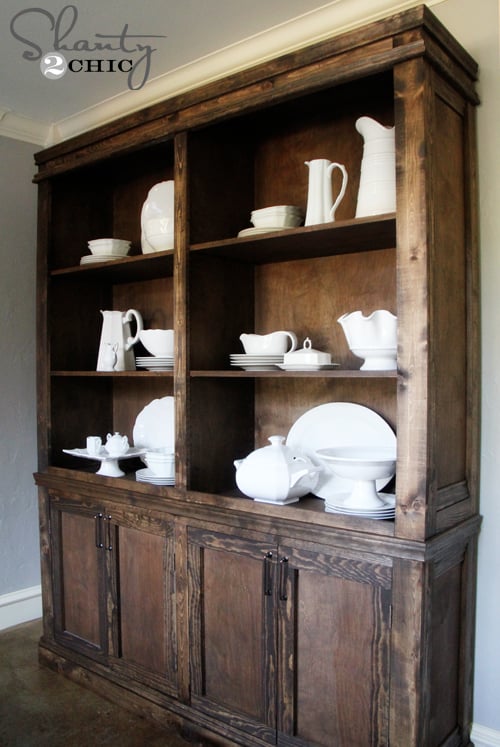
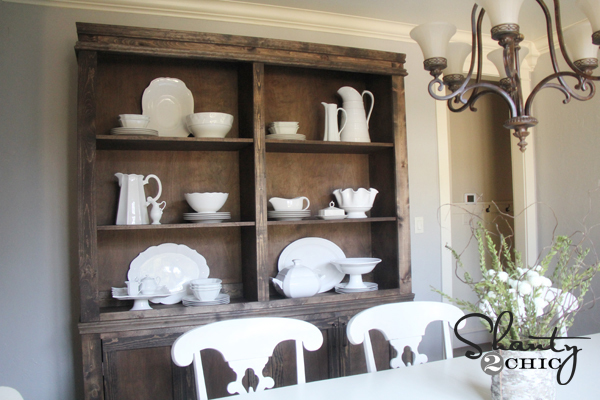
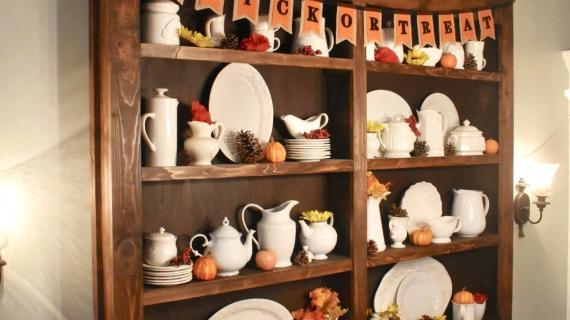
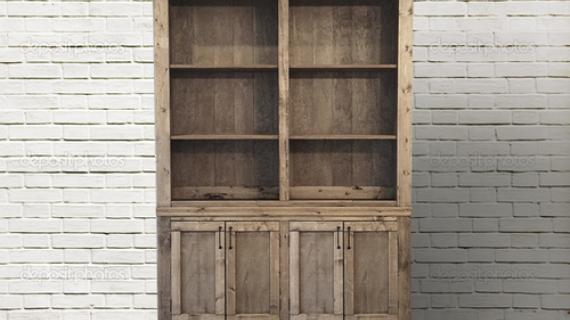
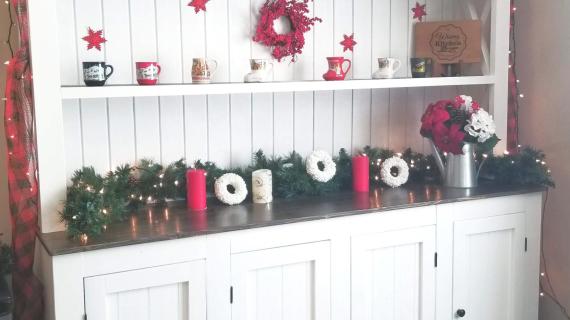
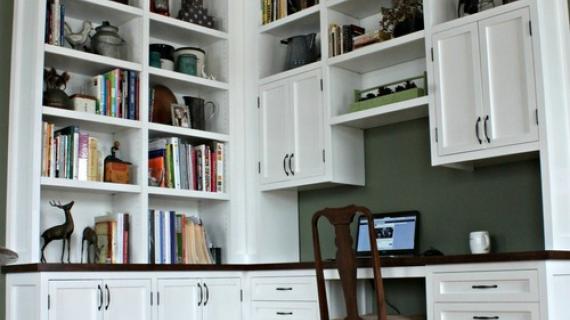
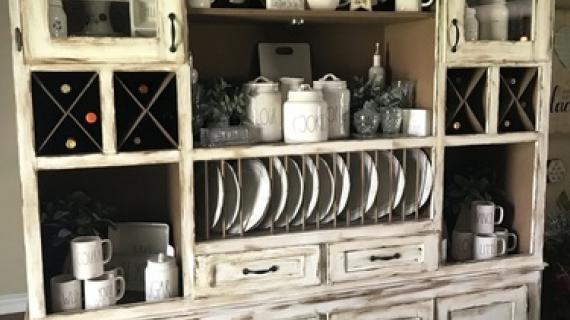
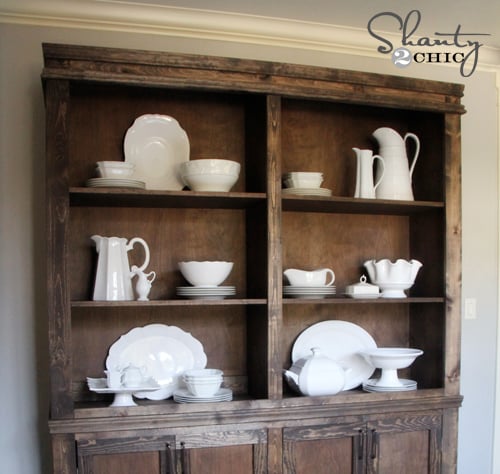
farmhouse style hutch with white dishes
Difficulty
Intermediate
| Print this plan

This gorgeous wood hutch is designed to work with our popular Shanty Sideboard plans.  It's easy to build with our free step by step plans with diagrams, shopping and cut lists.  Lots of reader submitted photos.
farmhouse style hutch with white dishes

My friend Whitney at Shanty2Chic and I teamed up to get you plans for this amazing wood sideboard

We also wanted to create a matching hutch plan for you.

Whitney saved 90% off the cost of the inspiration project from Restoration Hardware.  But if you have been building for a while, you know it starts out as a means to save money.  And then you realize, hey, not only can I save money, but I can build exactly what I want, for my space, and paint it any color I want.  And building is so fun and rewarding too!

Whitney built this hutch out of PureBond Formaldehyde free plywood made right here in America to limit off gassing in her home - that's another great thing about DIYing for yourself - you can build your furniture healthier for your home and green too, without going broke.  I love DIY because you have complete control over what goes into your home.

You can read all the details from Whitney here.  Make sure you stop over and visit Whitney - you'll be inspired by her photos and let's not forget, this Mama has five little one's to take care of in between busting out hutches and sideboards.

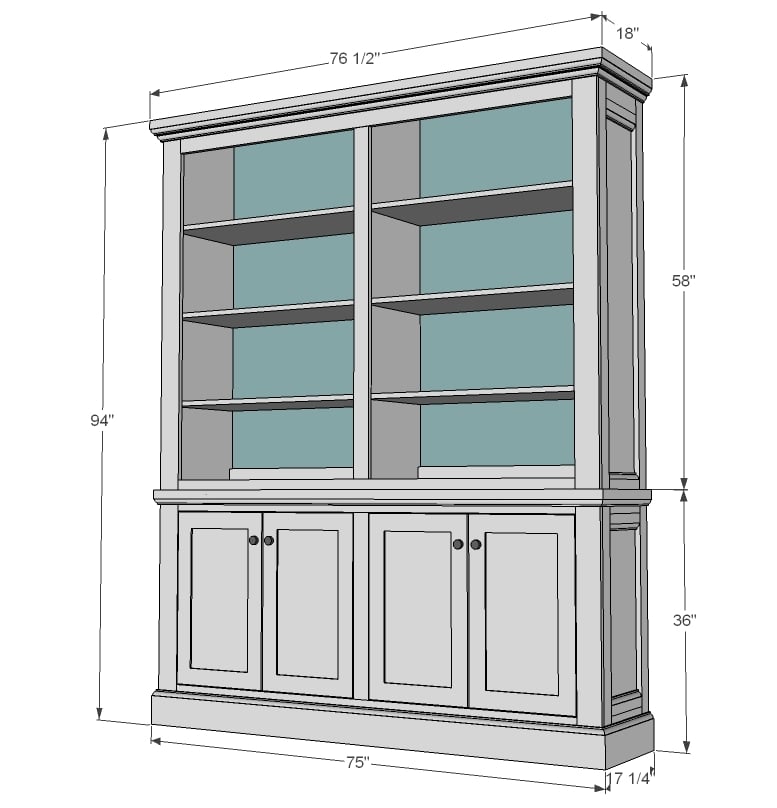
Dimensions
dimensions for dining room cabinet with hutch plans
Dimensions shown above.

Preparation

Shopping List
  • 2 sheets of ¾” plywood cut into strips 15 ¾” wide by 8 feet long (with sideboard, you may be able to get away with just 3 sheets altogether) These are referred to as 1x16 boards throughout this plan.
  • 1 – 1x6 @ 8 feet long
  • 5 – 1x3 @ 8 feet long
  • 1 – 4’ stick 2 ¼” base moulding
  • 2 – 1x4 @ 8 feet long
  • 1 – 1x2 @ 8 feet long
  • 2 sheets ¼” plywood or other materials for back
  • 10 feet of medium to large crown moulding
Common Materials
1 1/4 inch finish nails
120 grit sandpaper
Cut List
  • 2 – 1x16 @ 58”
  • 2 – 1x6 @ 10 ¾”
  • 2 – 1x3 @ 10 ¾”
  • 4 – 1x3 @ 58”
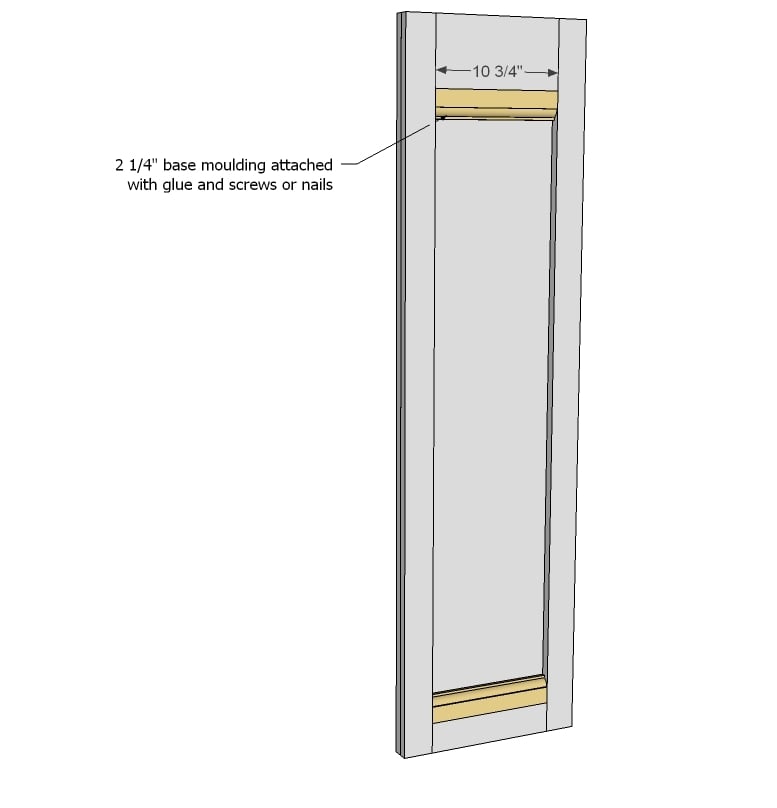
  • 4 – 2 ¼” base moulding @ 10 ¾”
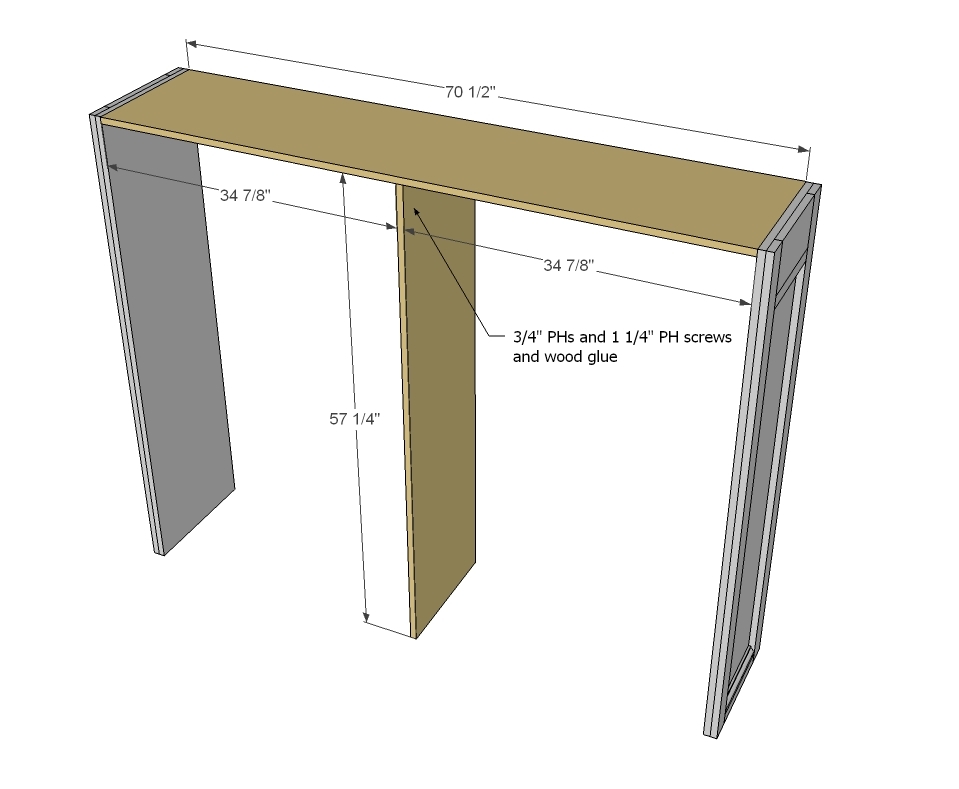
  • 1 – 1x16 @ 70 ½”
  • 1 – 1x16 @ 57 ¼”
  • 2 – 1x4 @ 34 7/8”
  • 1 – 1x6 @ 66 ½”
  • 2 – 1x4 @ 58”
  • 1 – 1x3 @ 51”
  • 1 – 1x2 @ 66 ½”
  • 6 – 1x16 @ 34 7/8”
  • ¼” plywood or planks for back
Tools
Tape Measure
Speed Square
Pencil
Safety Glasses
Hearing Protection
Kreg Jig
Drill
Circular Saw
Miter Saw
Brad Nailer
Power Sander
Drill Bit Set
General Instructions

Please read through the entire plan and all comments before beginning this project. It is also advisable to review the Getting Started Section. Take all necessary precautions to build safely and smartly. Work on a clean level surface, free of imperfections or debris. Always use straight boards. Check for square after each step. Always predrill holes before attaching with screws. Use glue with finish nails for a stronger hold. Wipe excess glue off bare wood for stained projects, as dried glue will not take stain. Be safe, have fun, and ask for help if you need it. Good luck!

Instructions

Step 1

Let's start by making the ends pretty. These will be at eye height. If you want, you can build the frame first, then attach to plywood second.

Step 2

Now add the moulding in. You may have to use shorter nails depending on your moulding thickness. Glue will also hold the moulding in place, as it's just decorative.

Step 3

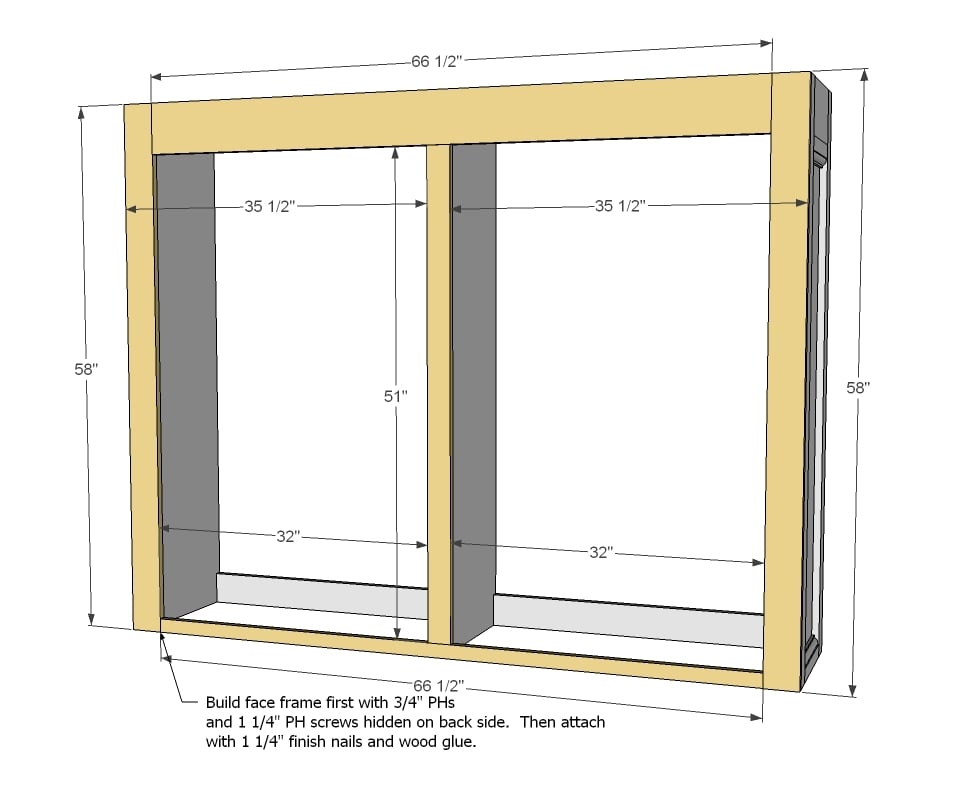
Now we are starting the hutch itself. Attach top and center. I recommend attaching with pocket holes, but it's totally up to you.

Step 4

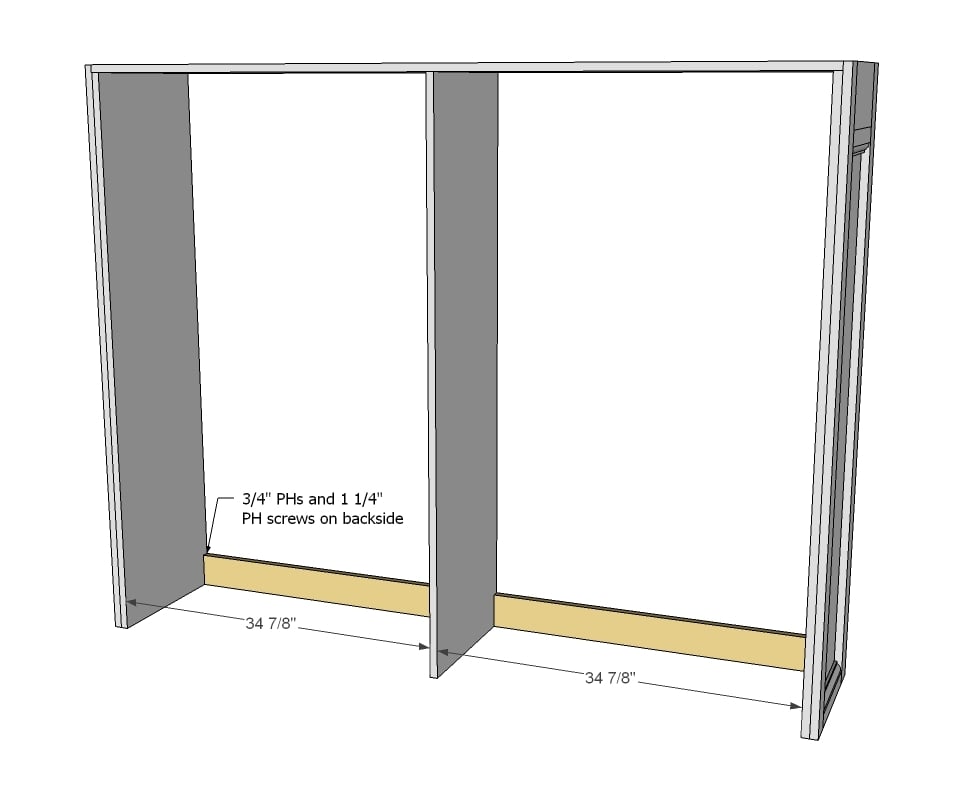
These boards will keep the back square and give you something to attach the back to. I recommend pocket holes on the back side.

Step 5

Step 6

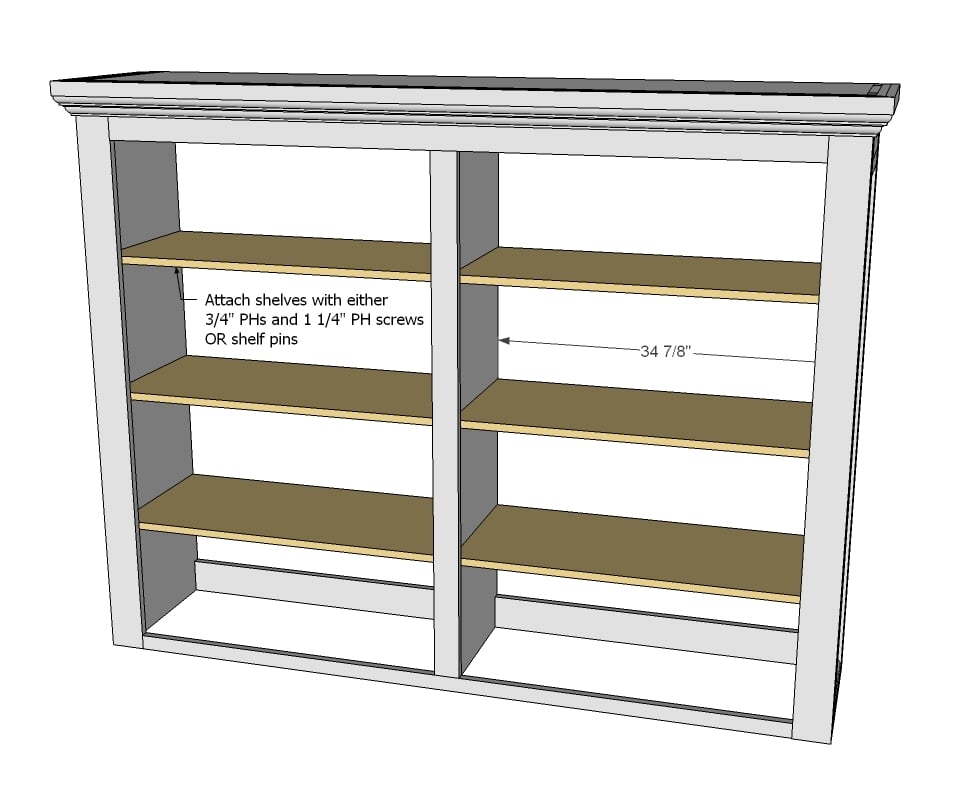
And add the crown moulding to top. You'll want to miter the corners for a finished look.

Step 7

Shelves can be added fixed with pocket holes underneath or shelf pins.

Step 8

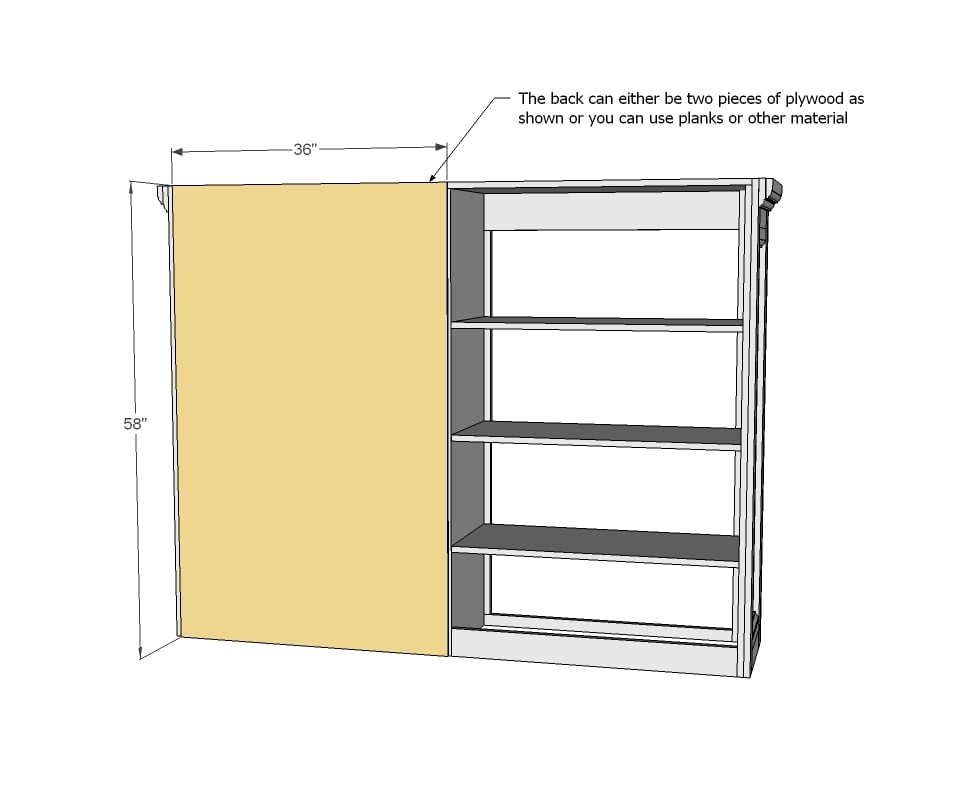
Because of the size of this project, you will need to add two back panels as shown here. Carefully glue and nail to back of project.

When you attach to your sideboard, be sure to securely screw to wall behind to prevent tipping forward, and also it is recommended that you attach to sideboard as well.

Finishing Instructions
Preparation Instructions
Fill all holes with wood filler and let dry. Apply additional coats of wood filler as needed. When wood filler is completely dry, sand the project in the direction of the wood grain with 120 grit sandpaper. Vacuum sanded project to remove sanding residue. Remove all sanding residue on work surfaces as well. Wipe project clean with damp cloth.

It is always recommended to apply a test coat on a hidden area or scrap piece to ensure color evenness and adhesion. Use primer or wood conditioner as needed.

Comments

Juanita_r

Mon, 10/08/2012 - 03:42

Wow, Ana, Ashley & Whitney! You three girls are quite a force to be reckoned with aren't you! I love it... It is still a bit beyond my skill set, but maybe one day!!!

bethanysmom

Mon, 10/08/2012 - 16:40

any chance we could see an upcoming corner curio unit? I am all geared up for the new year to sell my dining set and replace it with something we built :)

vero

Thu, 10/23/2014 - 09:50

How do you attach the Hutch to the sideboard?