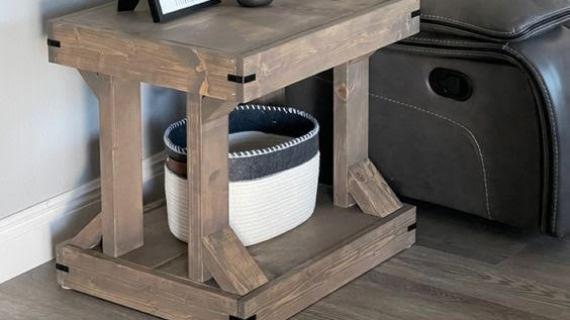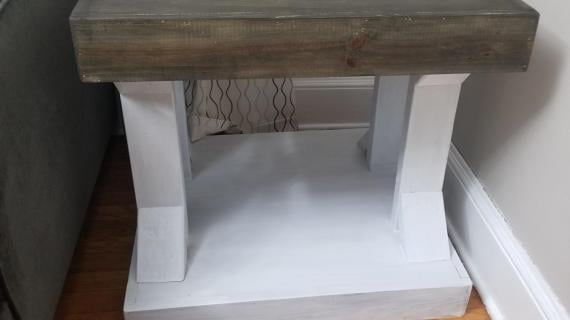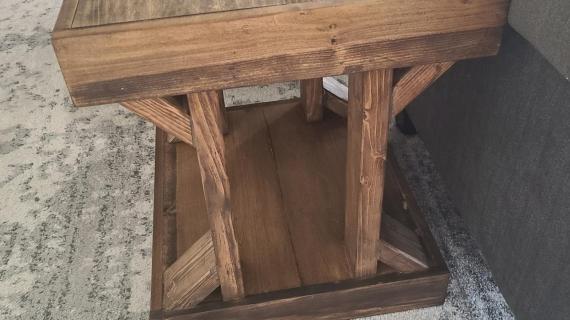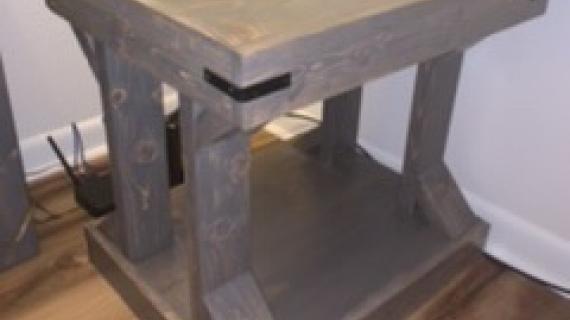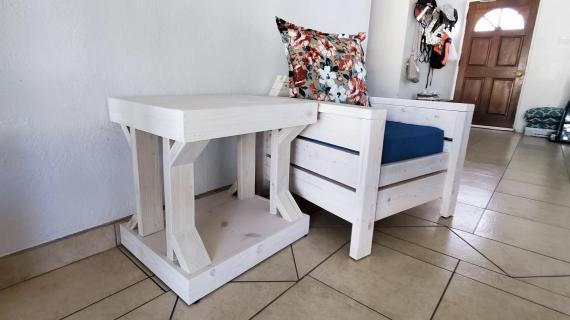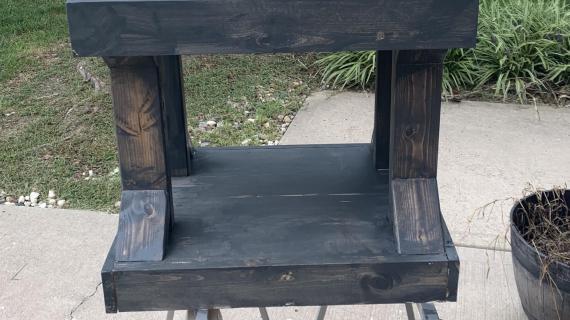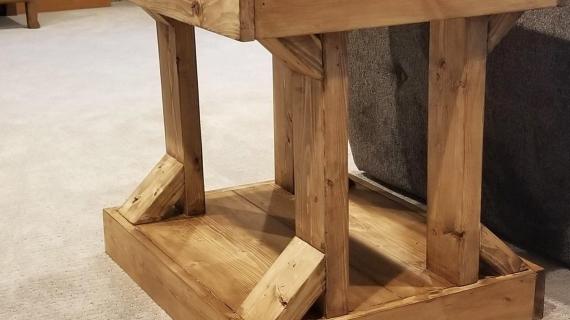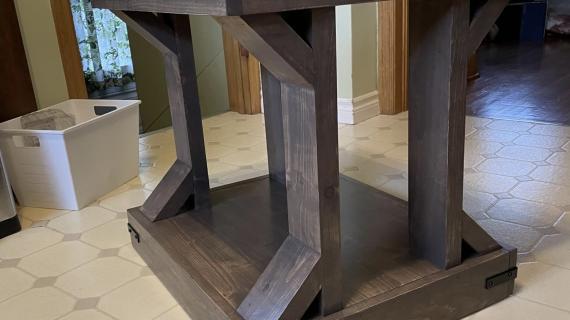
Side Table [Modern Farmhouse Collection]

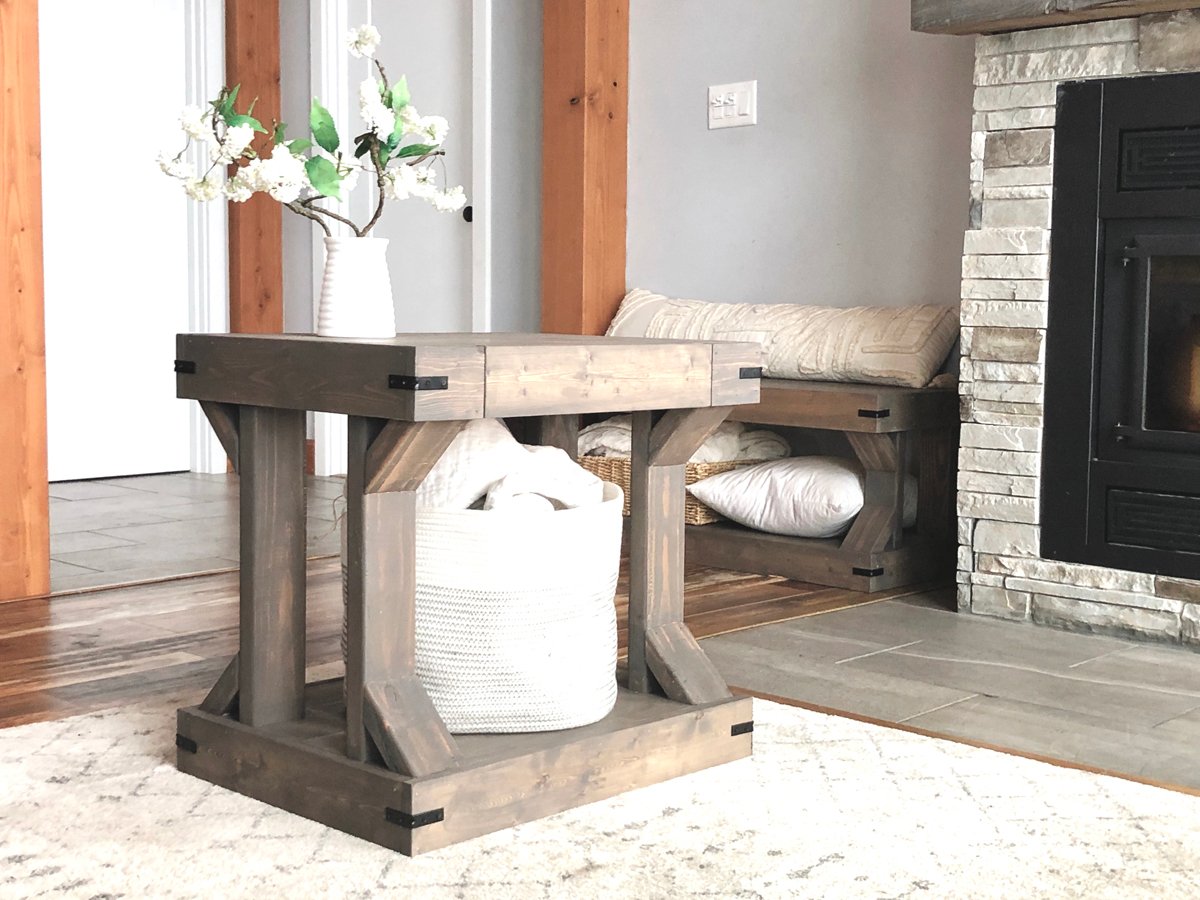
Modern Farmhouse Side table
Difficulty
Beginner Projects
| Print this plan

Build your own Modern Farmhouse Side table with off the shelf lumber and basic power tools.  Our step by step plans make it easy.

Can also be used as a nightstand or bedside table.

Check out the matching coffee table, console table and other plans in this collection.

Modern Farmhouse Side table

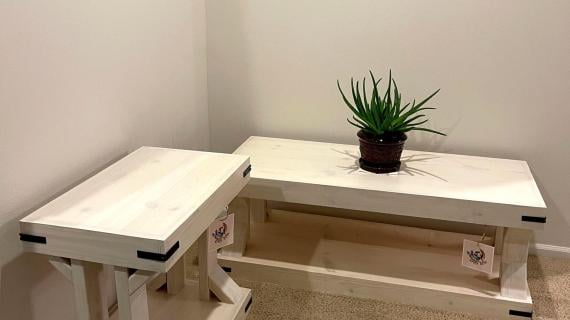
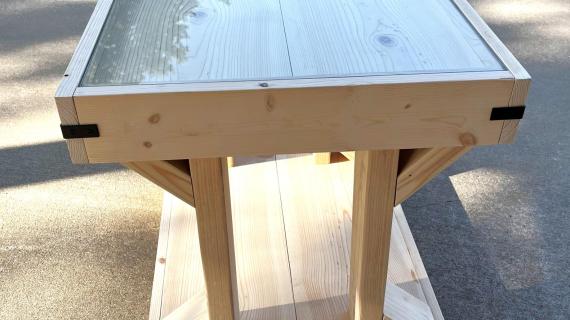
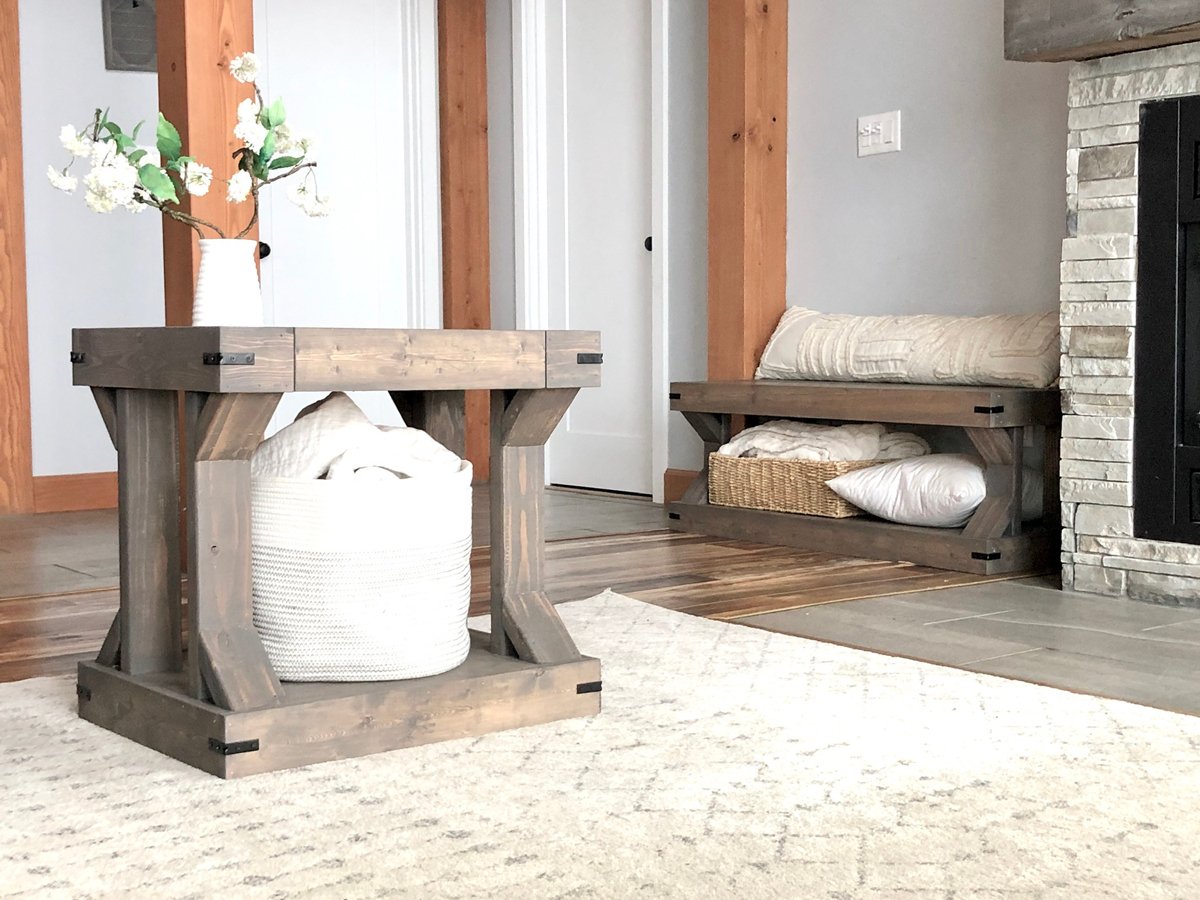
This easy to build Modern Farmhouse end table or side table compliments the matching coffee table and console table.

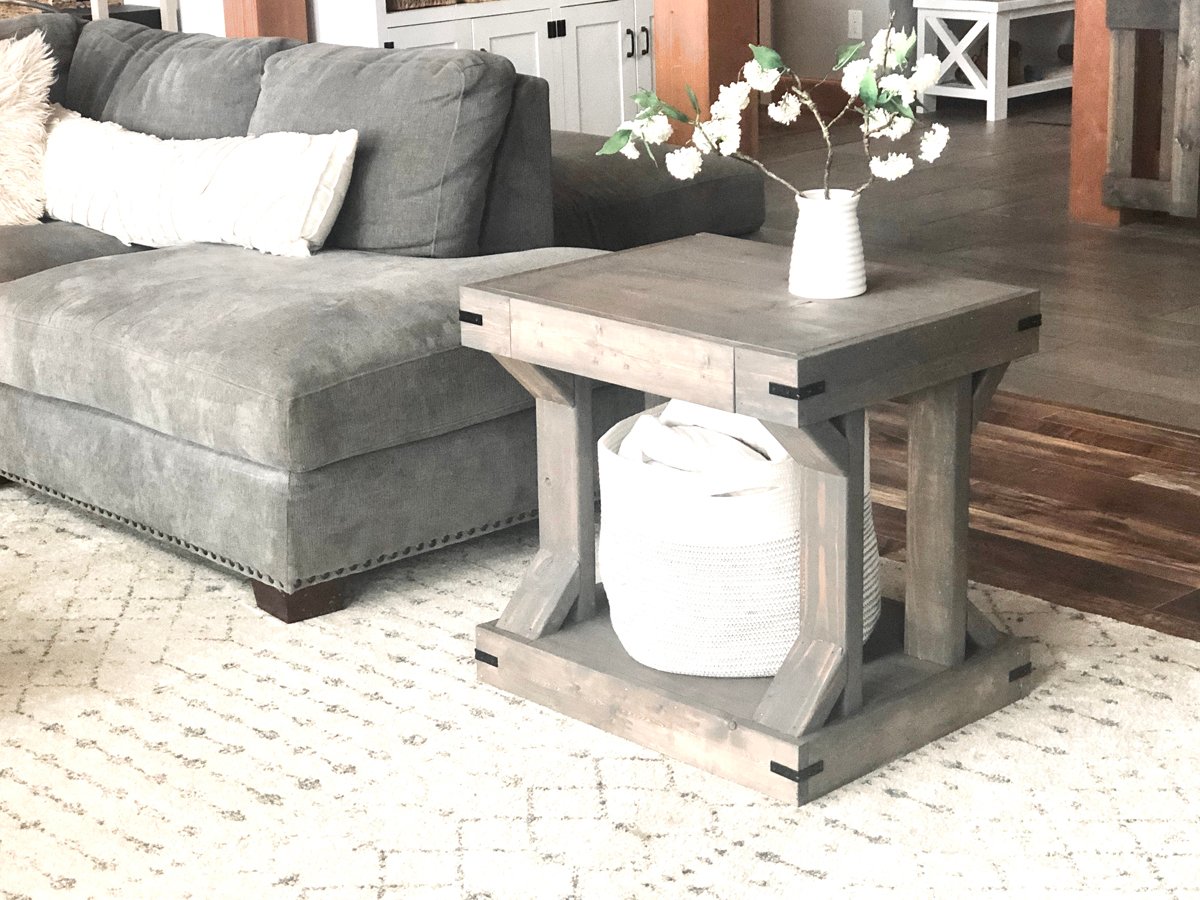
We love how upgraded these living room tables made our living room!

  • This end table cost less than $50 to build
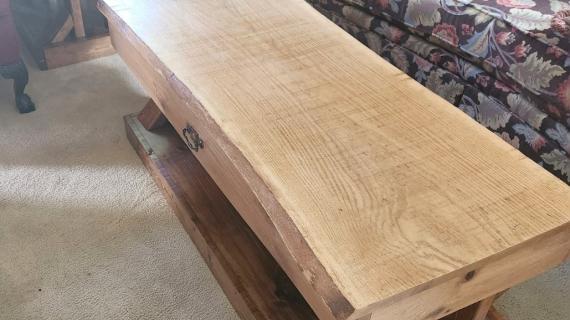
  • It's really beautiful in person - we get tons of compliments on it
  • I built it using "common pine" right off the shelf at Home Depot (or Lowes)
  • Build with a miter saw and brad nailer
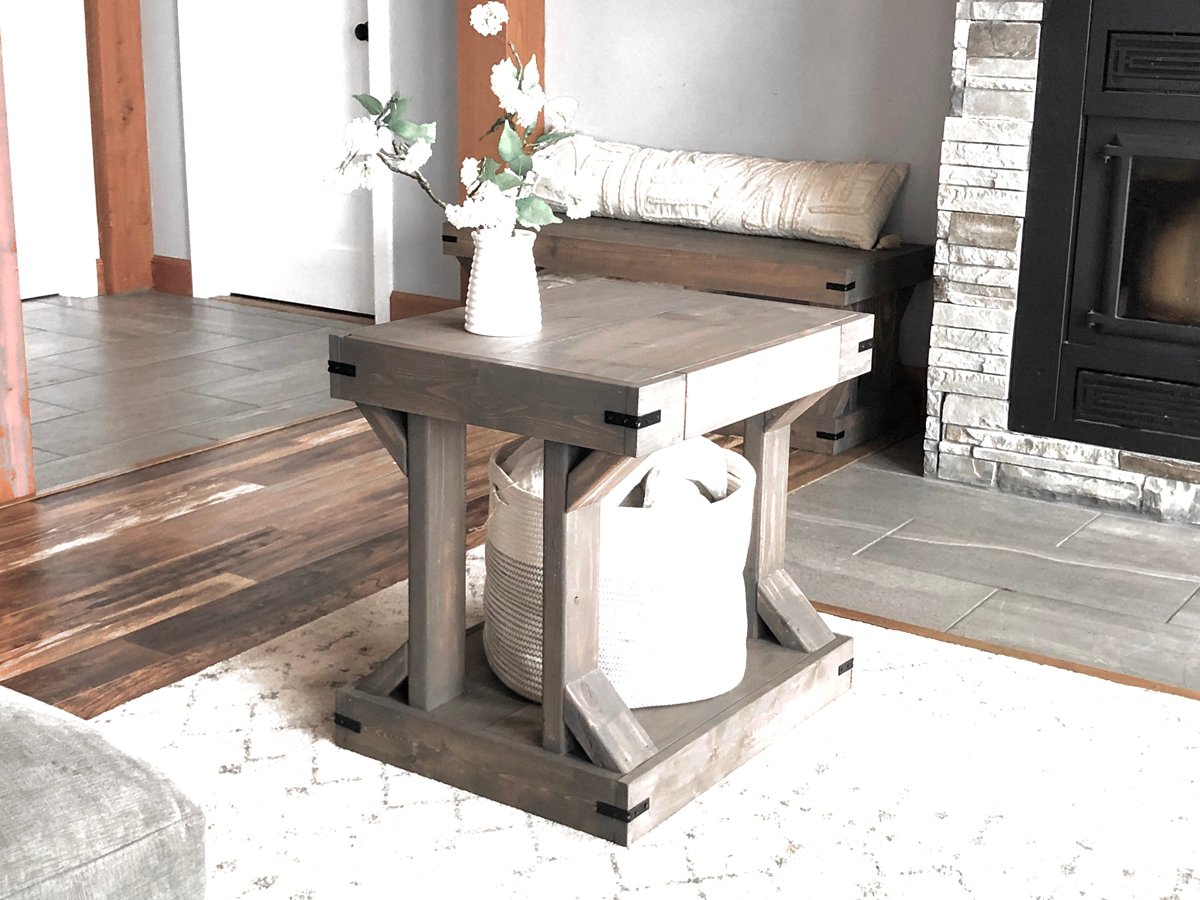
  • It's a good size, fits perfectly in the corner between sofas and occasional chairs
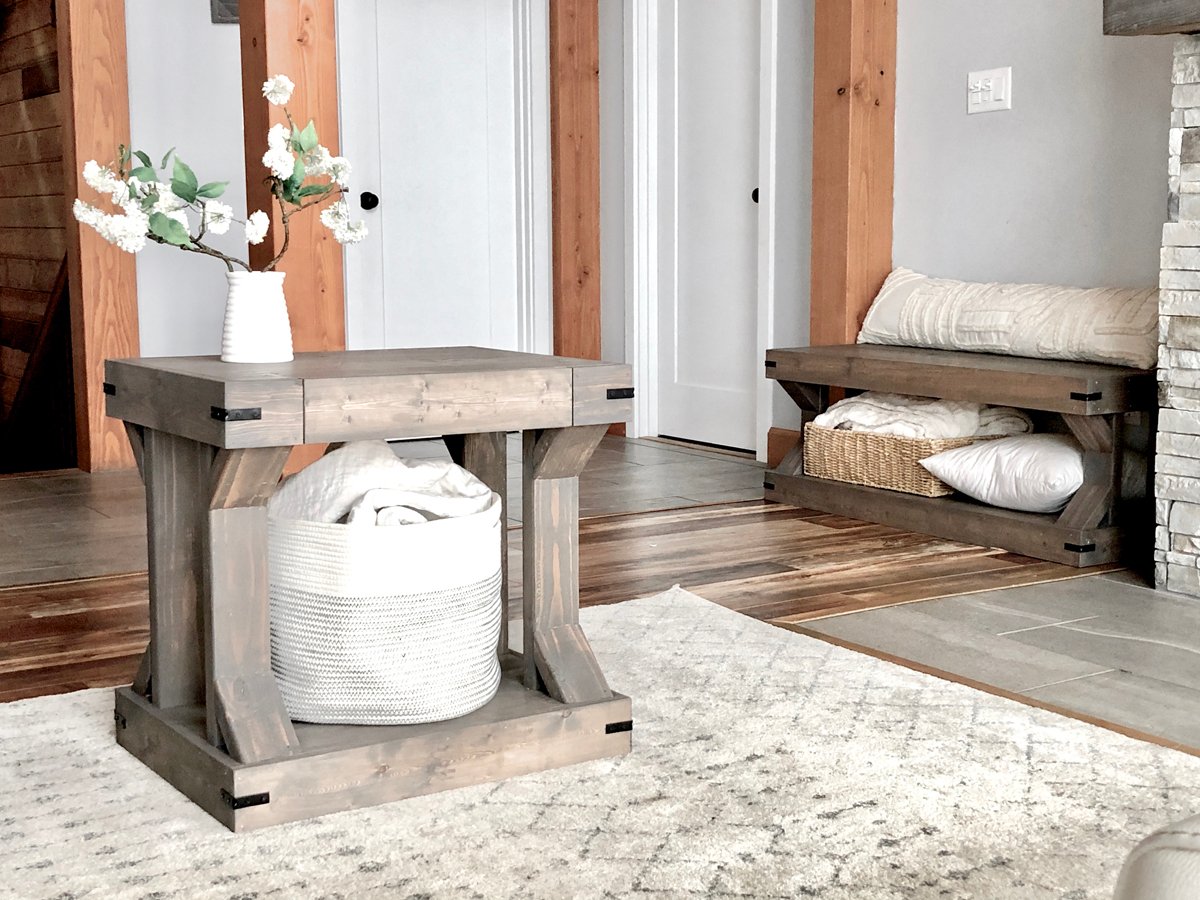
  • The lower shelf is perfect for baskets of blankets, pillows or toys

Build the Entire Set

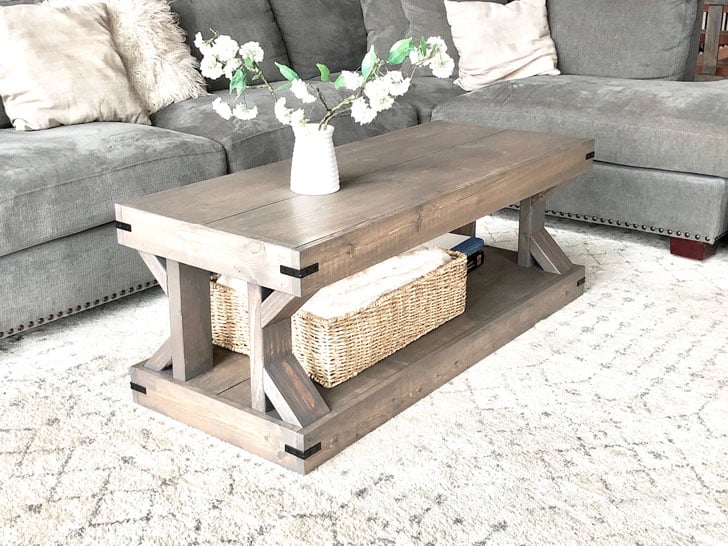
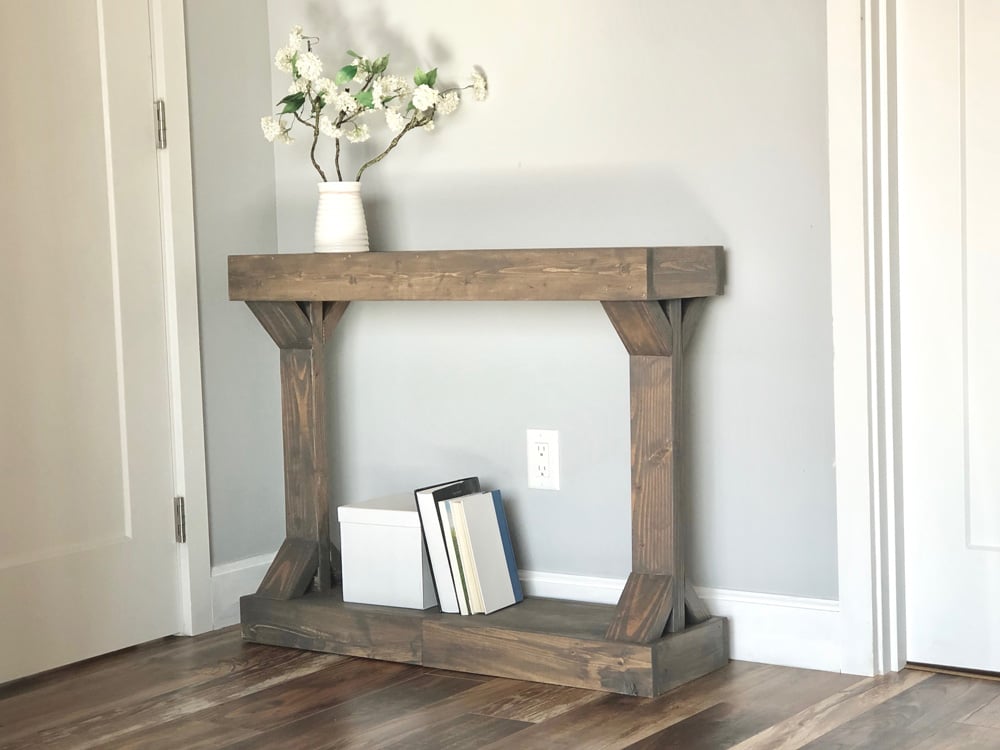
This end table is designed to match our Modern Farmhouse Coffee Table and Modern Farmhouse Narrow Console Table.

modern farmhouse coffee table   narrow console table

Video Tutorial

This is a pretty simple build!  I did make it more complicated by adding a drawer (that I don't recommend).  You can see all the steps for building this side table in my video tutorial.

Step By Step Plans

The step by step plans for this modern farmhouse side table follow.  

Please share a photo if you build, we love seeing how your projects turn out!

Dimensions
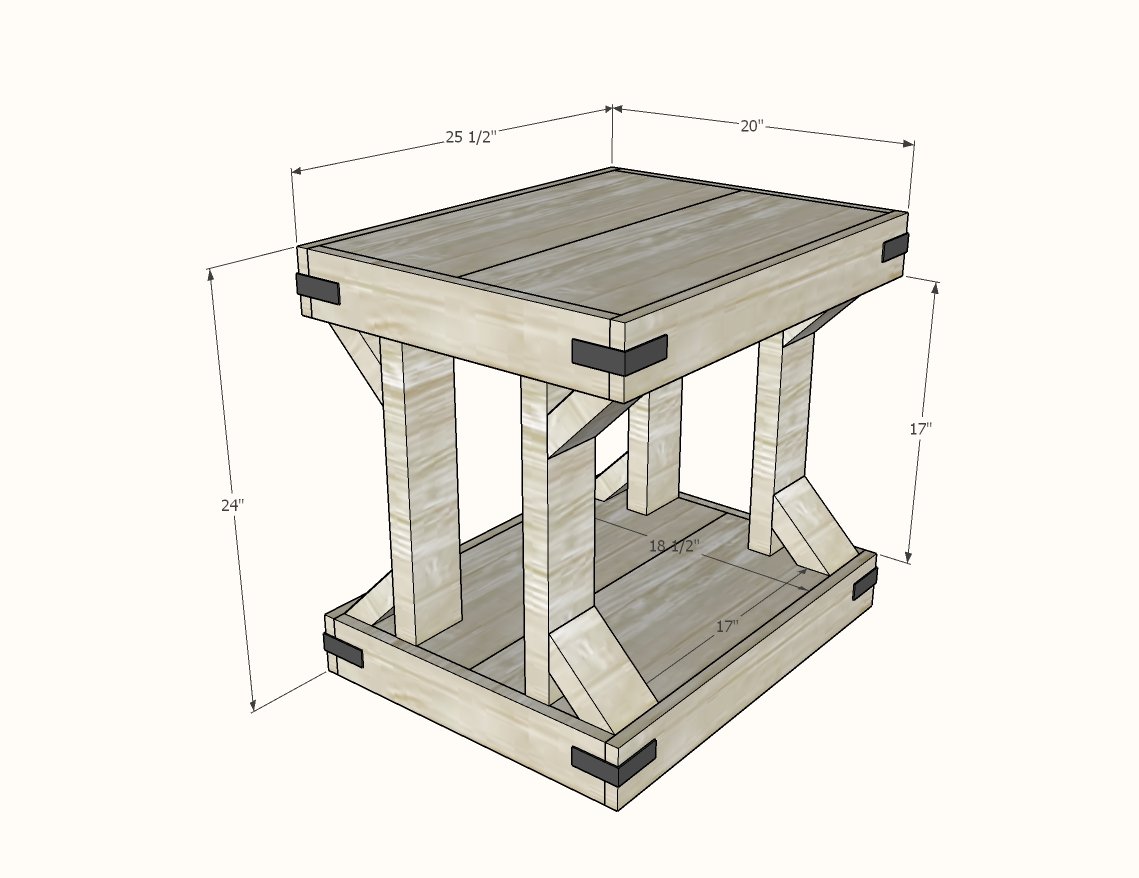
end table dimensions
End Table dimensions shown in diagram

Preparation

Shopping List
  • 1 - 1x10 @ 8 feet long
  • 2 - 1x4 @ 8 feet long
  • 2 - 2x4 @ 8 feet long
Common Materials
1 1/4 inch finish nails
2 inch finish nails
Cut List
  • 4 - 1x10 @ 23-3/4"
  • 4 - 1x4 @ ~18-1/2"
  • 4 - 1x4 @ ~25-1/4"
  • 2 - 2x4 @ ~18-1/2"
  • 4 - 2x4 @ 17"
  • 8 - 2x4 @ 5-1/2" - long point to long point measurement, both ends cut at 45 degrees off square, ends NOT parallel

Tools
Tape Measure
Speed Square
Pencil
Safety Glasses
Hearing Protection
Kreg Jig
Drill
Miter Saw
Brad Nailer
Power Sander

Instructions

Step 1

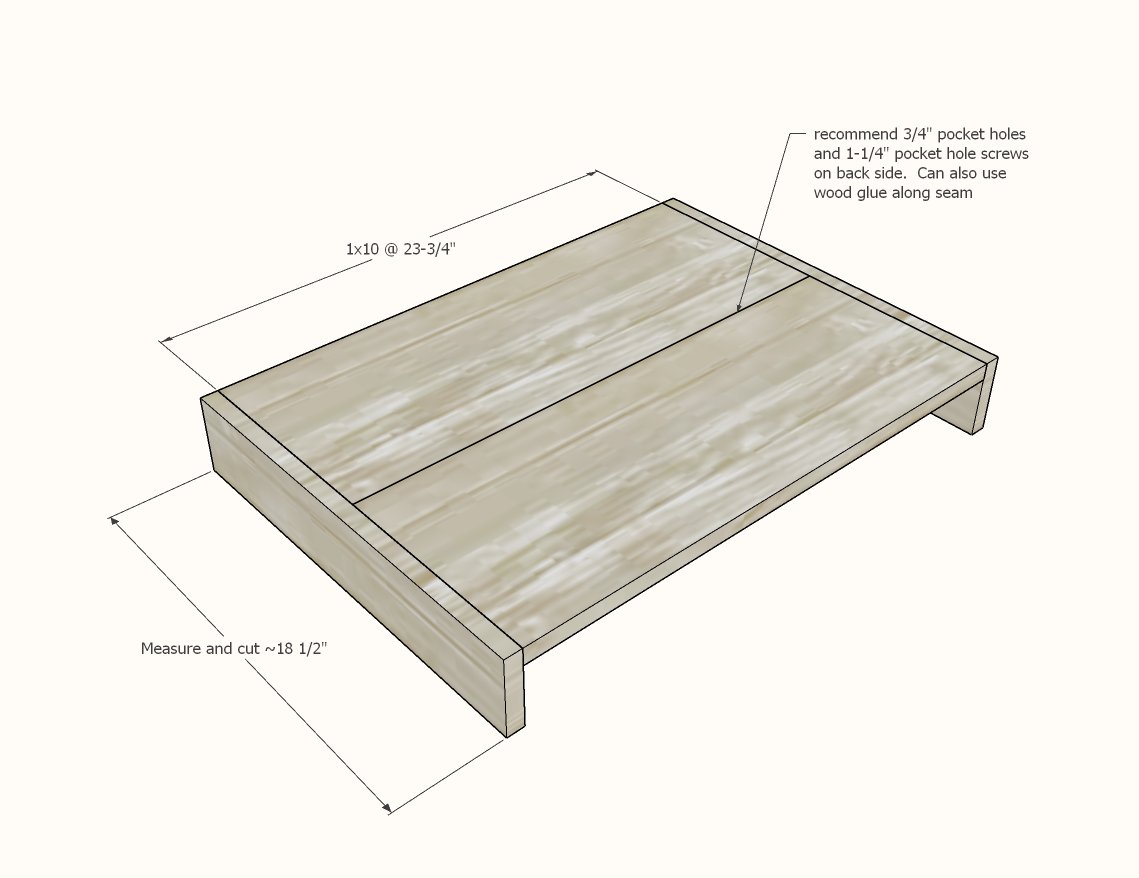
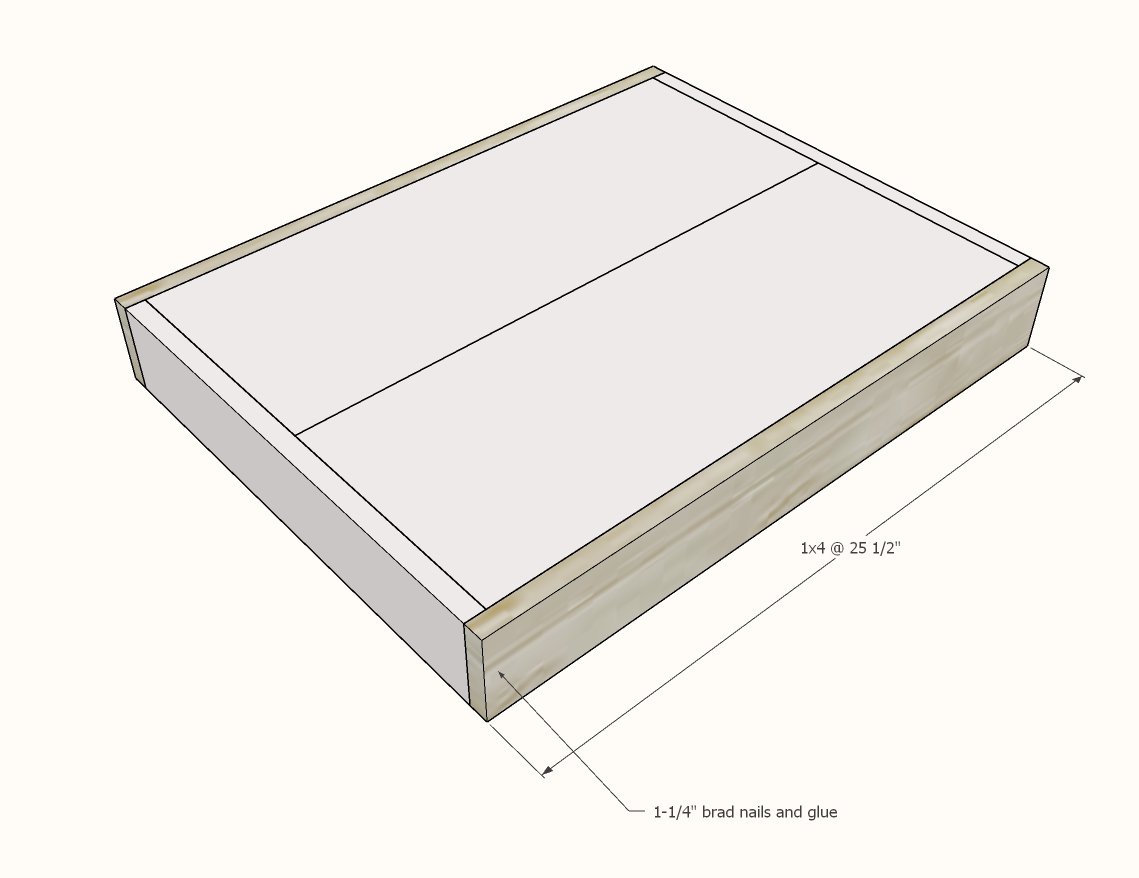
Cut the 1x10 into four pieces, each 23-3/4" long.

Either glue and let dry or use 3/4" pocket holes and 1-1/4" pocket hole screws to attach two together on long edge.

Measure the depth and cut 1x4 to match - should be about 18-1/2".

Attach with 1-1/4" brad nails and wood glue.

Step 2

Measure and cut the 1x4 sides to fit the open sides.

Attach with 1-1/4" brad nails and glue.

Step 3

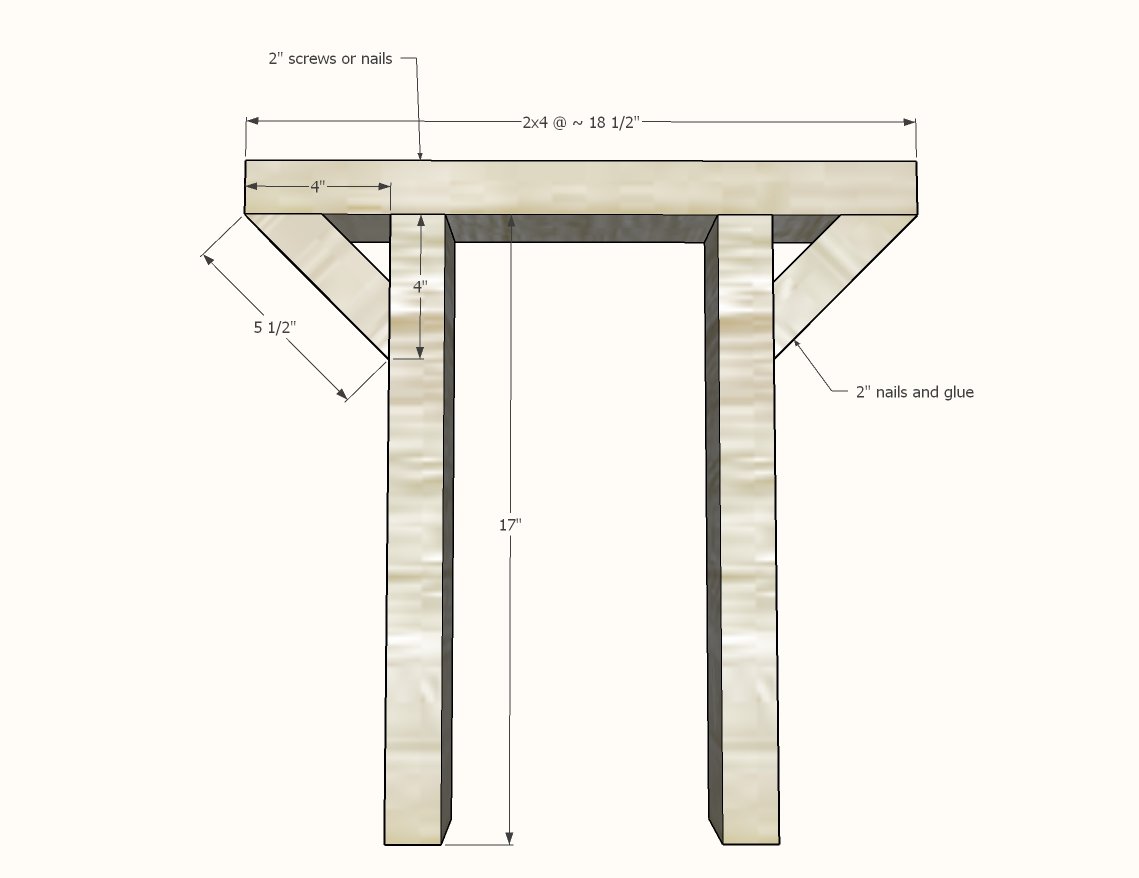
Build the 2x4 leg sets with 2" brad nails and glue.

Step 4

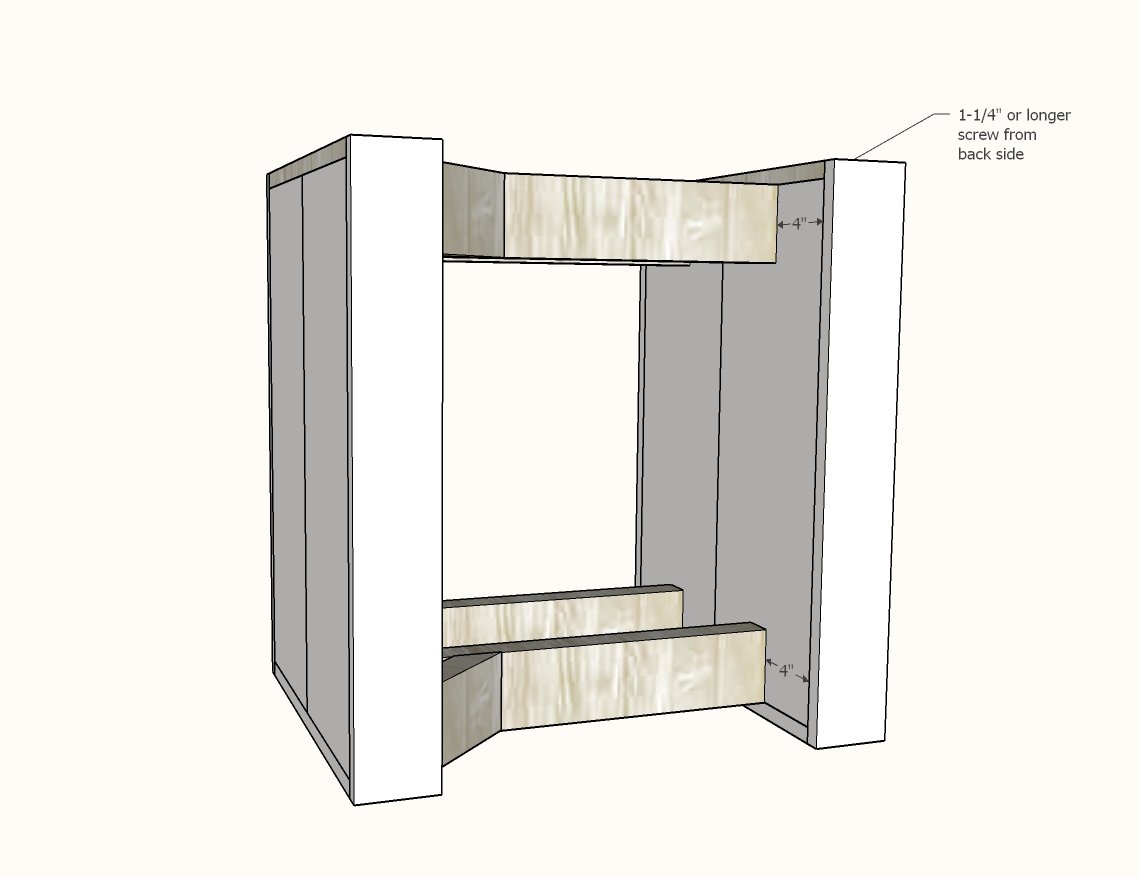
Attach inside the upper shelf.

Step 5

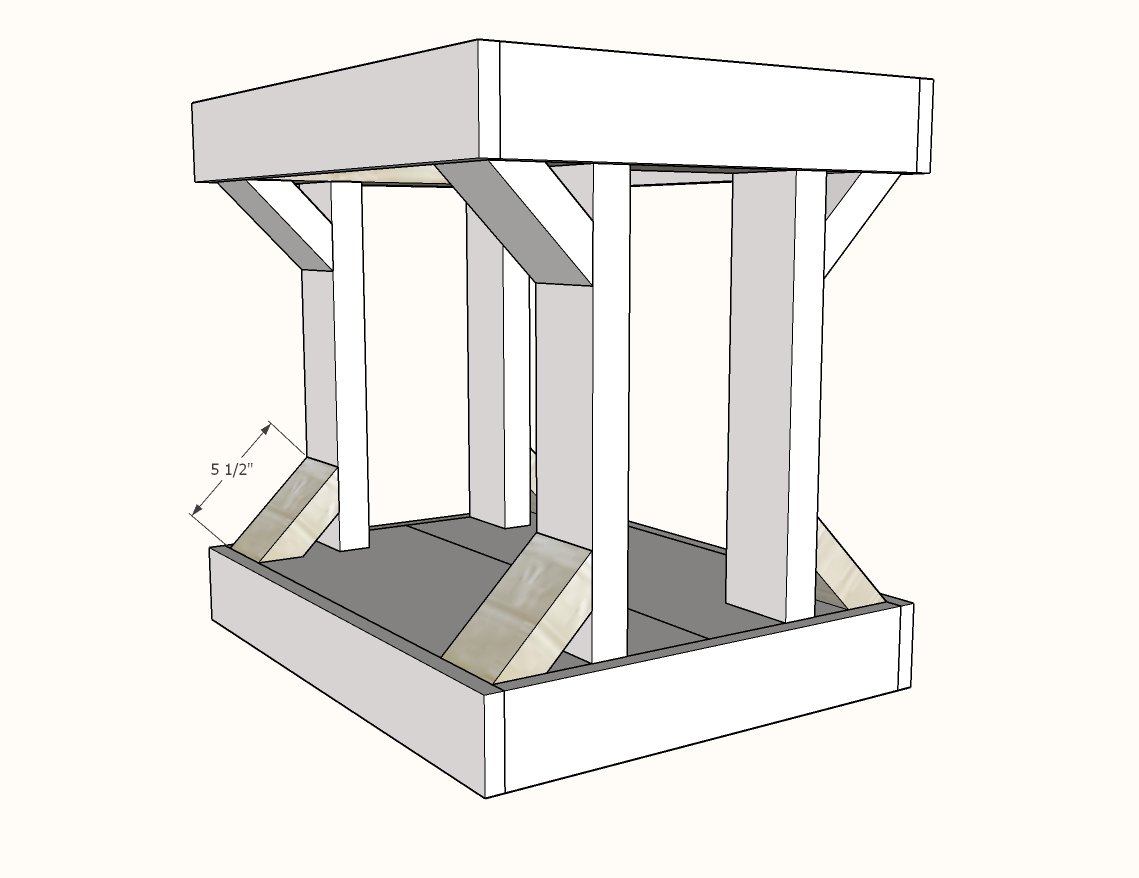
Attach open ends of the 2x4 legs to the bottom shelf with screws (preferably) or nails.

Step 6

Make sure the legs are attached level, then attach the cross braces at 45 degrees.

Finishing Instructions
Preparation Instructions
I lightly sanded with 120 grit sandpaper using a power sander.
Finish Used
I applied one coat of Briarsmoke by Varathane with a lint free cloth

Comments

brianmcmahon23…

Mon, 01/13/2020 - 09:30

Did anyone else use Briarsmoke and it came out like a dark grey? I only did 1 coat and tested a brush and a lint free rag with the same results. Not sure why it’s so dark!