

How to build a wood crate. Tutorial by Ana-White.com
Wood crates are so versatile, beautiful and useful! You may have the scrap wood lying around already to build your own in minutes for free. And let's not forget if you build your own wood crates, you can make them any size you wish!
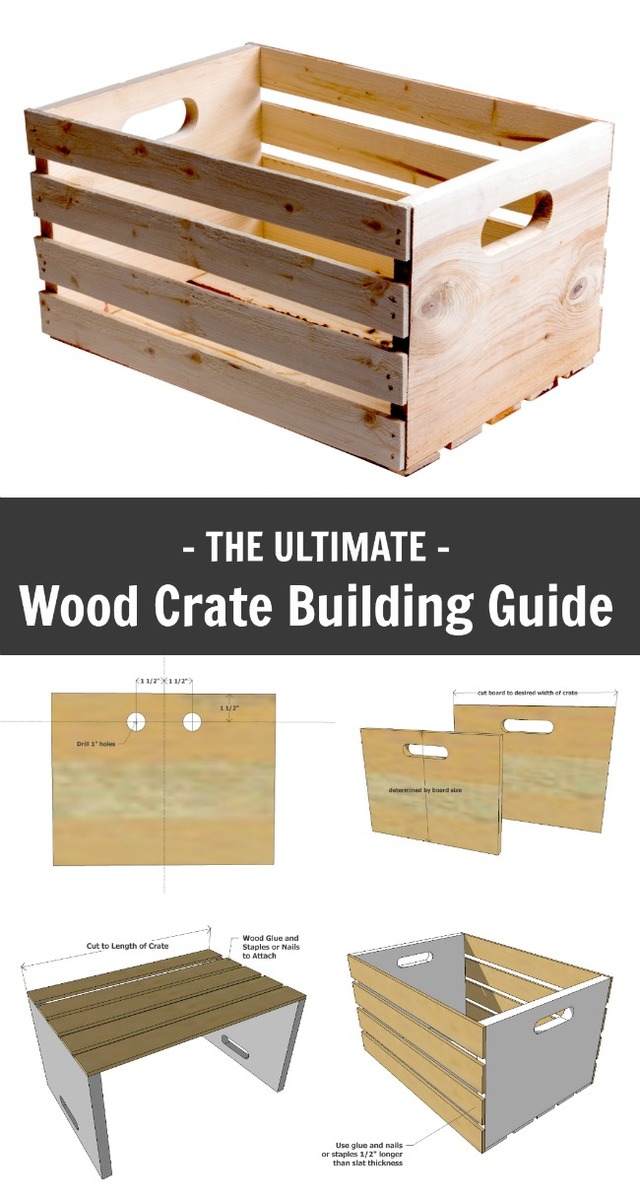
So I thought I'd put together my Ultimate Guide to Wood Crate Building for you.
The Ultimate Guide to Wood Crate Building

Wood Crate Parts
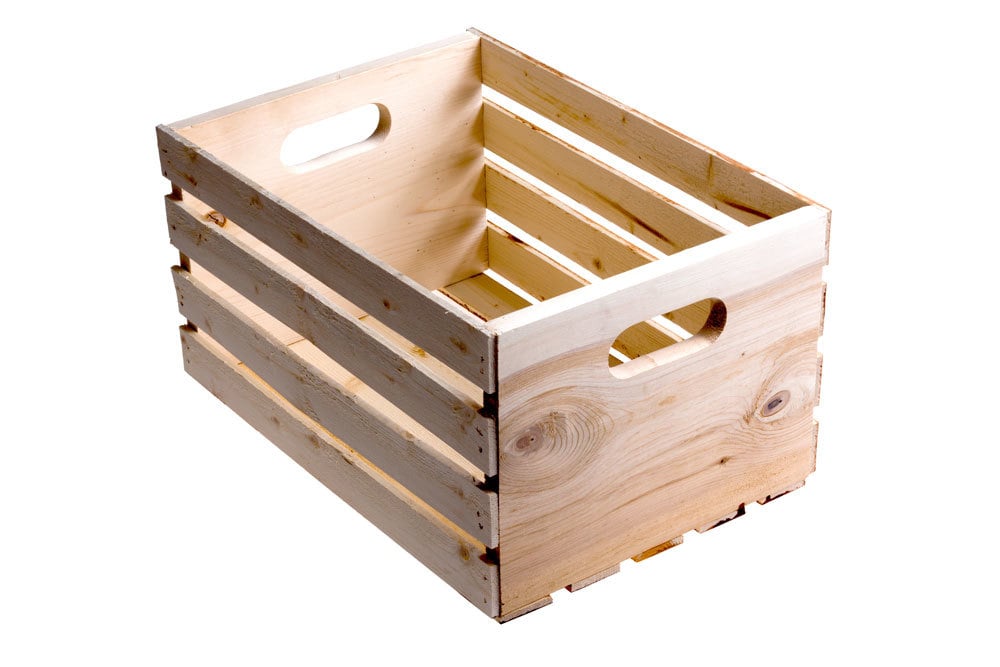
Most wood crates are made up of two parts, the Ends and the Slats.
The ends are structural, and are made of a 3/4" thick piece of wood. This provides enough width to attach slats to the edges of the end pieces.

End Boards Determine Height of Wood Crate
Economical pine or whitewood is readily availabe off the shelf in standard sizes. Choosing a wider width board will result in a taller crate.
- 1x12 will result in about a 12" tall crate
- 1x10 will result in about a 10" tall crate
- 1x8 will result in about a 8" tall crate
- 1x6 will result in about a 6" tall crate
- 1x4 will result in about a 4" tall crate
*Crate finished height will be determined by the material used on the bottom, so may vary up to 3/4" from above.
Other material like 3/4" plywood can be used for ends, but will require more cutting and an exposed plywood edge will be visible.
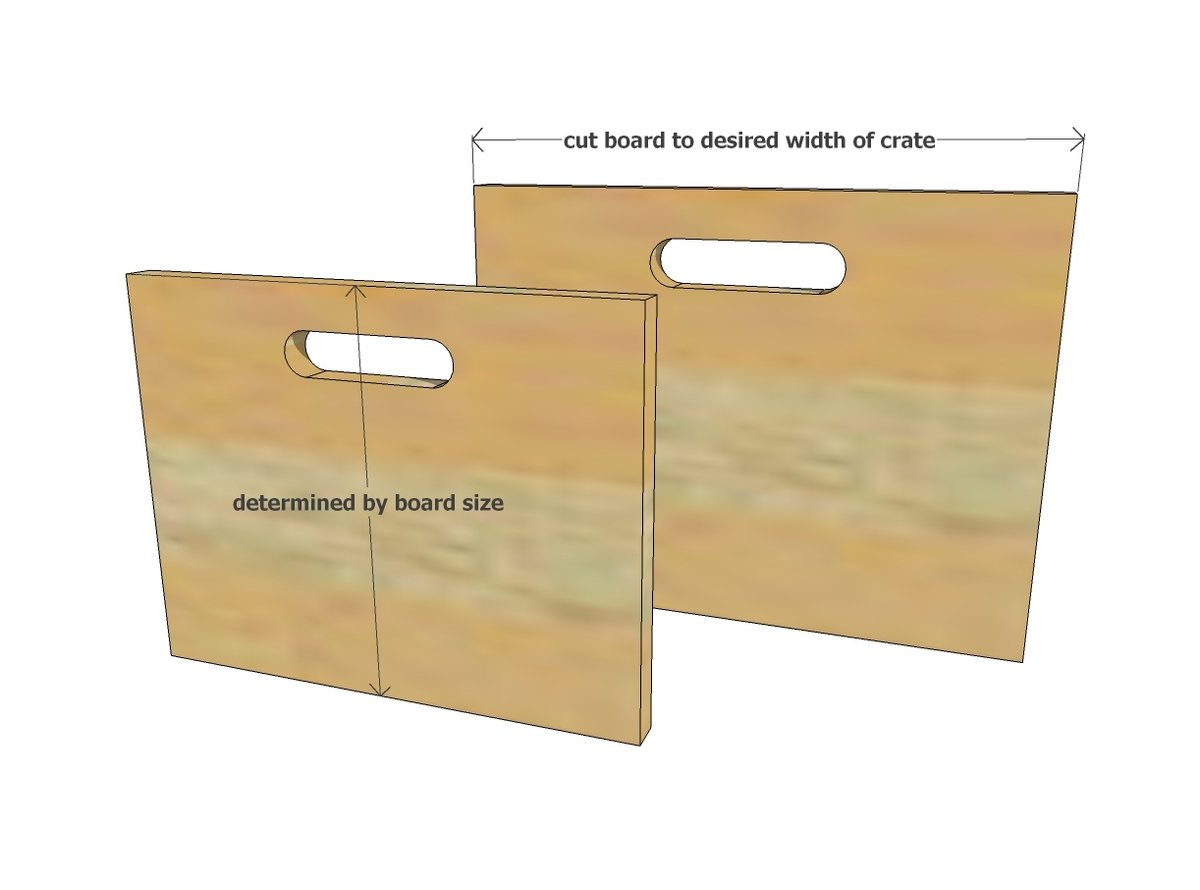
Cut End Boards to Desired Width of Wood Crate
Once you have selected the board to use for the ends, simply cut to how wide you want the wood crate to be.
Cuts can be made using a jigsaw, circular saw, or any mitersaw or chop saw.
Slats
The slats for the wood crate can be a variety of different materials. The width of the slats can vary, from 1-1/2" wide slats to a complete covered bottom and sides.
- Basswood or Balsa Wood, sometimes referred to as "hobby wood" is available in most hobby stores. It is in standard widths perfect for slats, and is lightweight and strong enough for a crate bottom. You may even find hobby wood in precut lengths perfect for wood crates.
- Plywood scrap pieces can be ripped on a tablesaw down to the desired slat width and used as slats. 1/4" up to 1/2" is most desireable.
- For heavy duty wood crates, simply use 1x3 wood boards as the slats. The crates will be bulkier and heavier, but also stronger and more durable.
Cut the slats to the desired length of the crate.
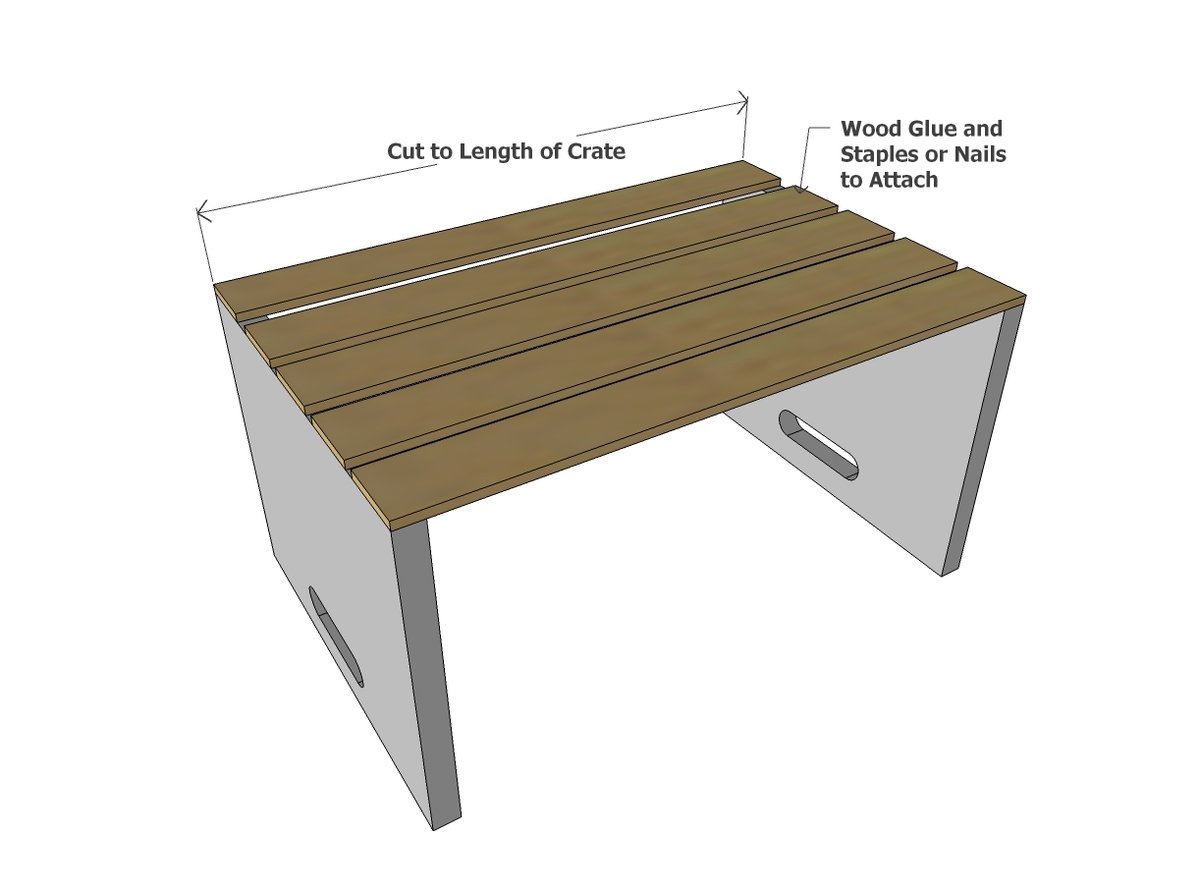
Begin on the bottom of the wood crate, and attach slats to bottoms of end pieces with glue and nails at least 1/2" longer than your slat thickness. For example, 1/4" plywood would require a 3/4" nail or staple, but a longer nail or staple would be fine too. NOTE: Avoid exessively long nails as they are more expensive and may overshoot on the sides.
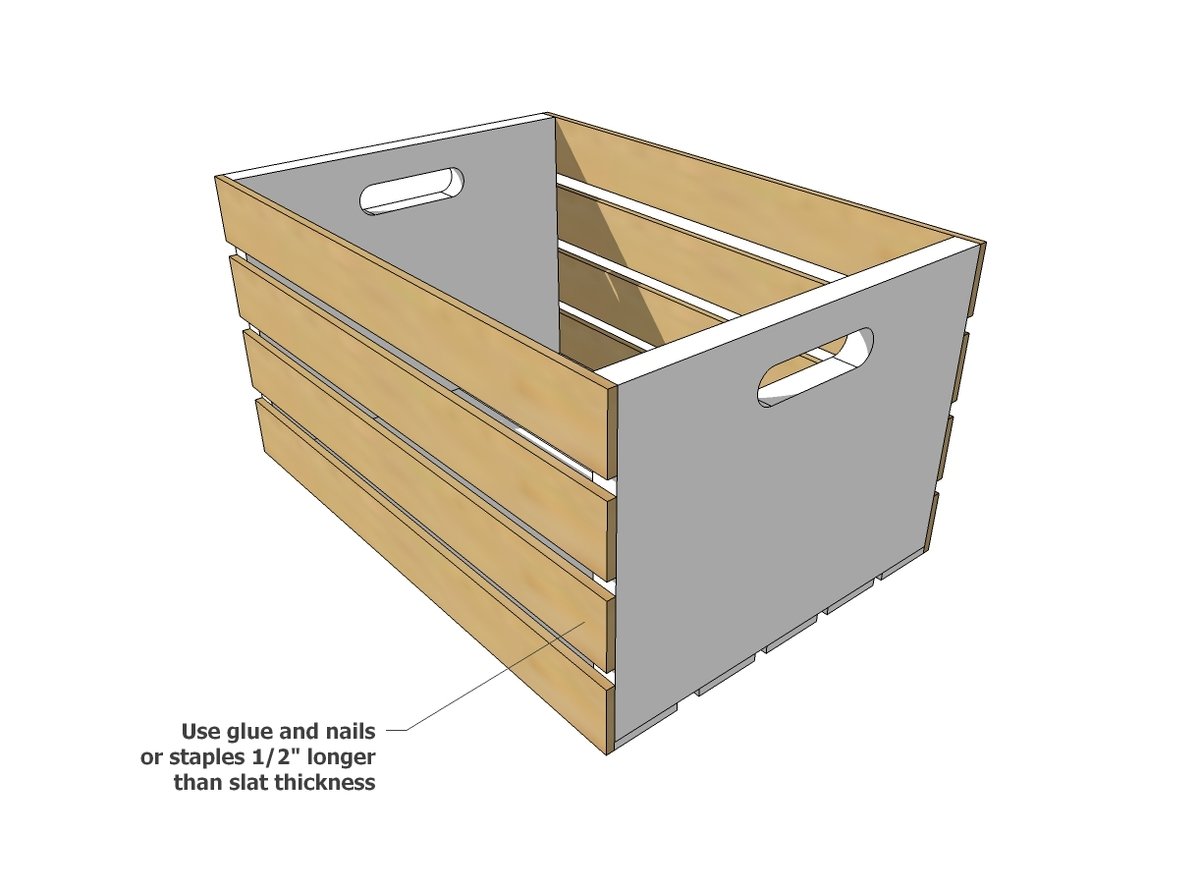
After the bottom is attached, repeat steps to attach side slats to sides. I like to attach the top and bottom first, and then fill in the center slats, eyeballing the gaps in between.
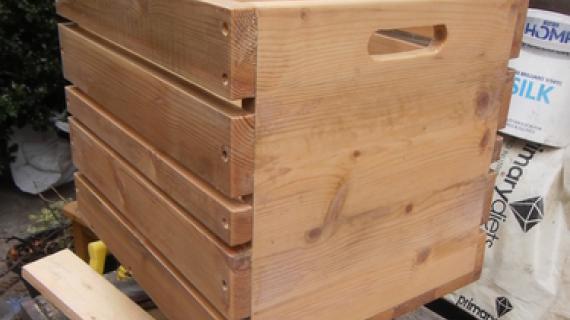
Handles
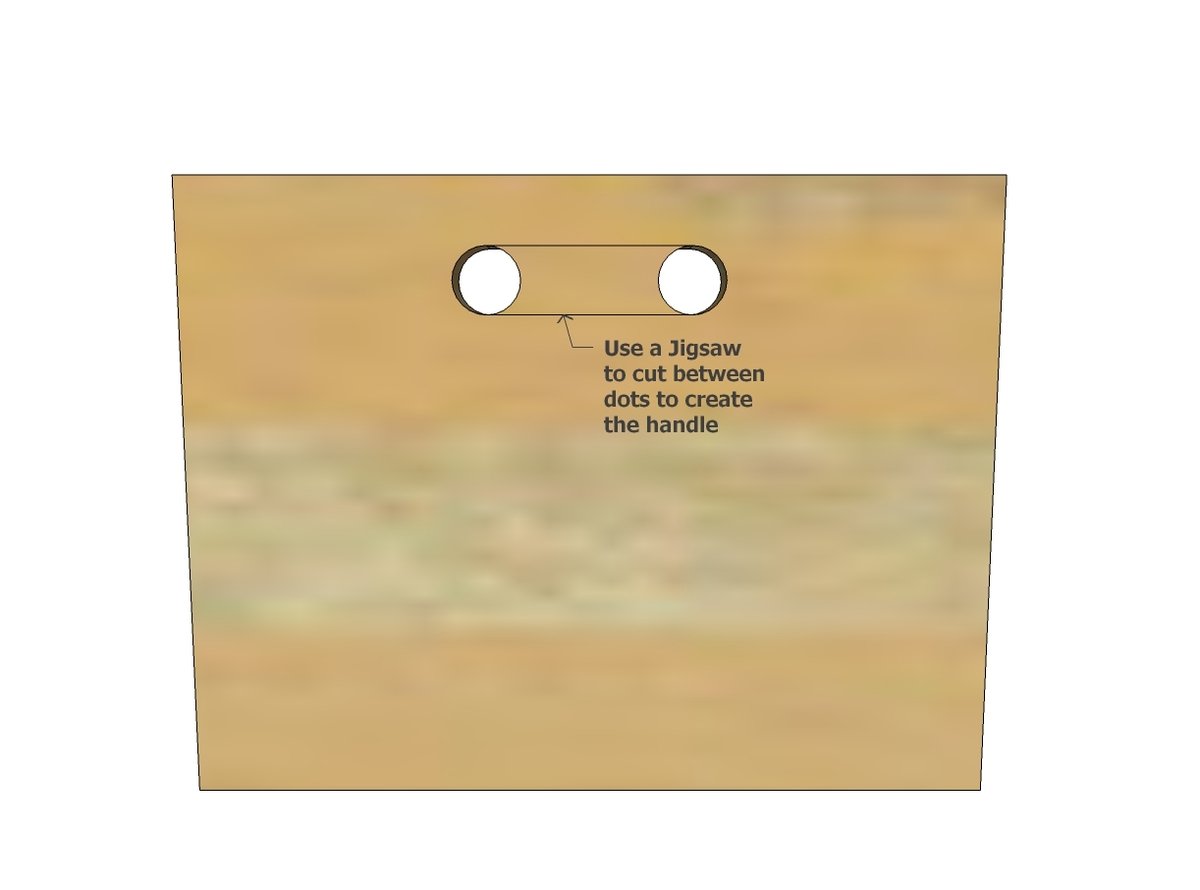
Optional handles can be added to the ends. The most economical and easiest way to do this is by drilling two 1" holes on the ends, about 1-1/2" down from top of ends.
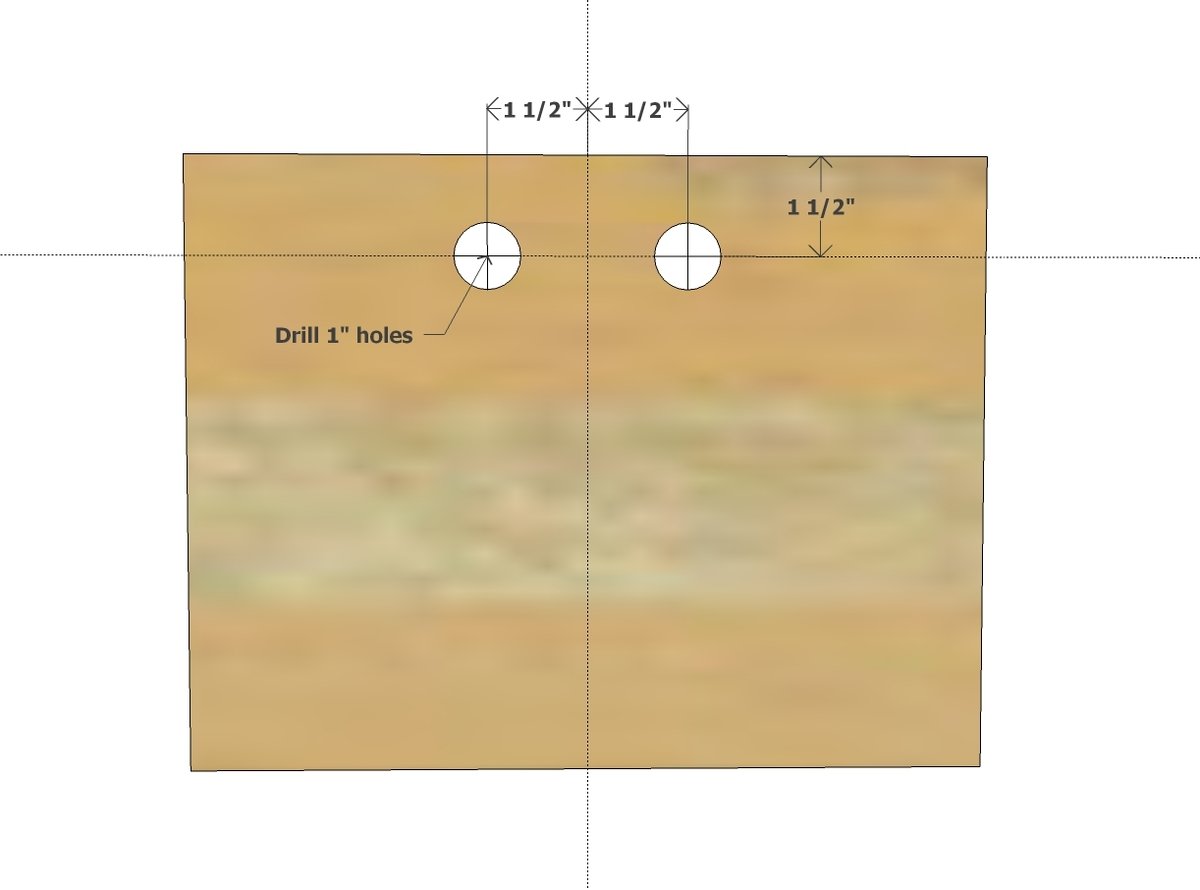
Simply mark the center of the end vertically, and draw a second line down 1-1/2" from the top. Measure off the center 1-1/2" and drill holes with a 1" drill bit.
Dividers
Dividers can add funtion to a wood crate and structure and strength.
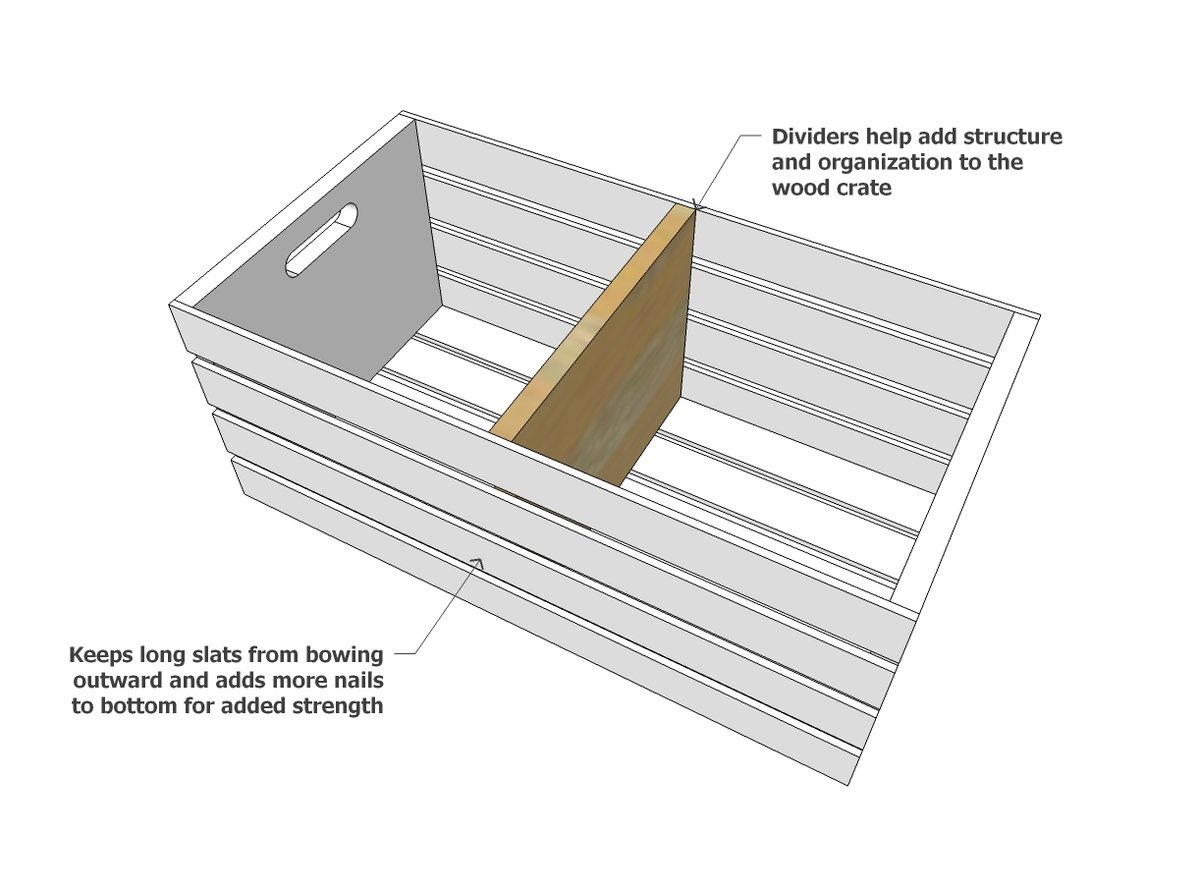
For especially long slat runs, consider dividers. It will help organize the contents of the wood crate, and benefit the structure of the wood crate.
Take a second to pin this tutorial if you aren't ready to build right now.
If you do build, please brag and share - it's a big deal seeing your projects.
#BuildShareRepeat
XO Ana

Comments
boettg33
Thu, 03/11/2021 - 17:34
Ana Comes through Again.
Ana - These plans are nice. I like how you made them to be adaptive to multiple sizes. It would have been nice to have sizes of the slats to for the different end boards. Yet I figured it out. I was looking for a heavier duty crate and ended up using a dado on the end boards rather than attaching the bottom boards to the bottom of the end boards. The should give them crates more carrying weight. Of all the plans I looked through I was not surprised to find yours to be the set I worked from. Thank you
Tolko Vaira
Sat, 05/15/2021 - 05:34
Cool
Nice and Easy :) Cool crate Ana!