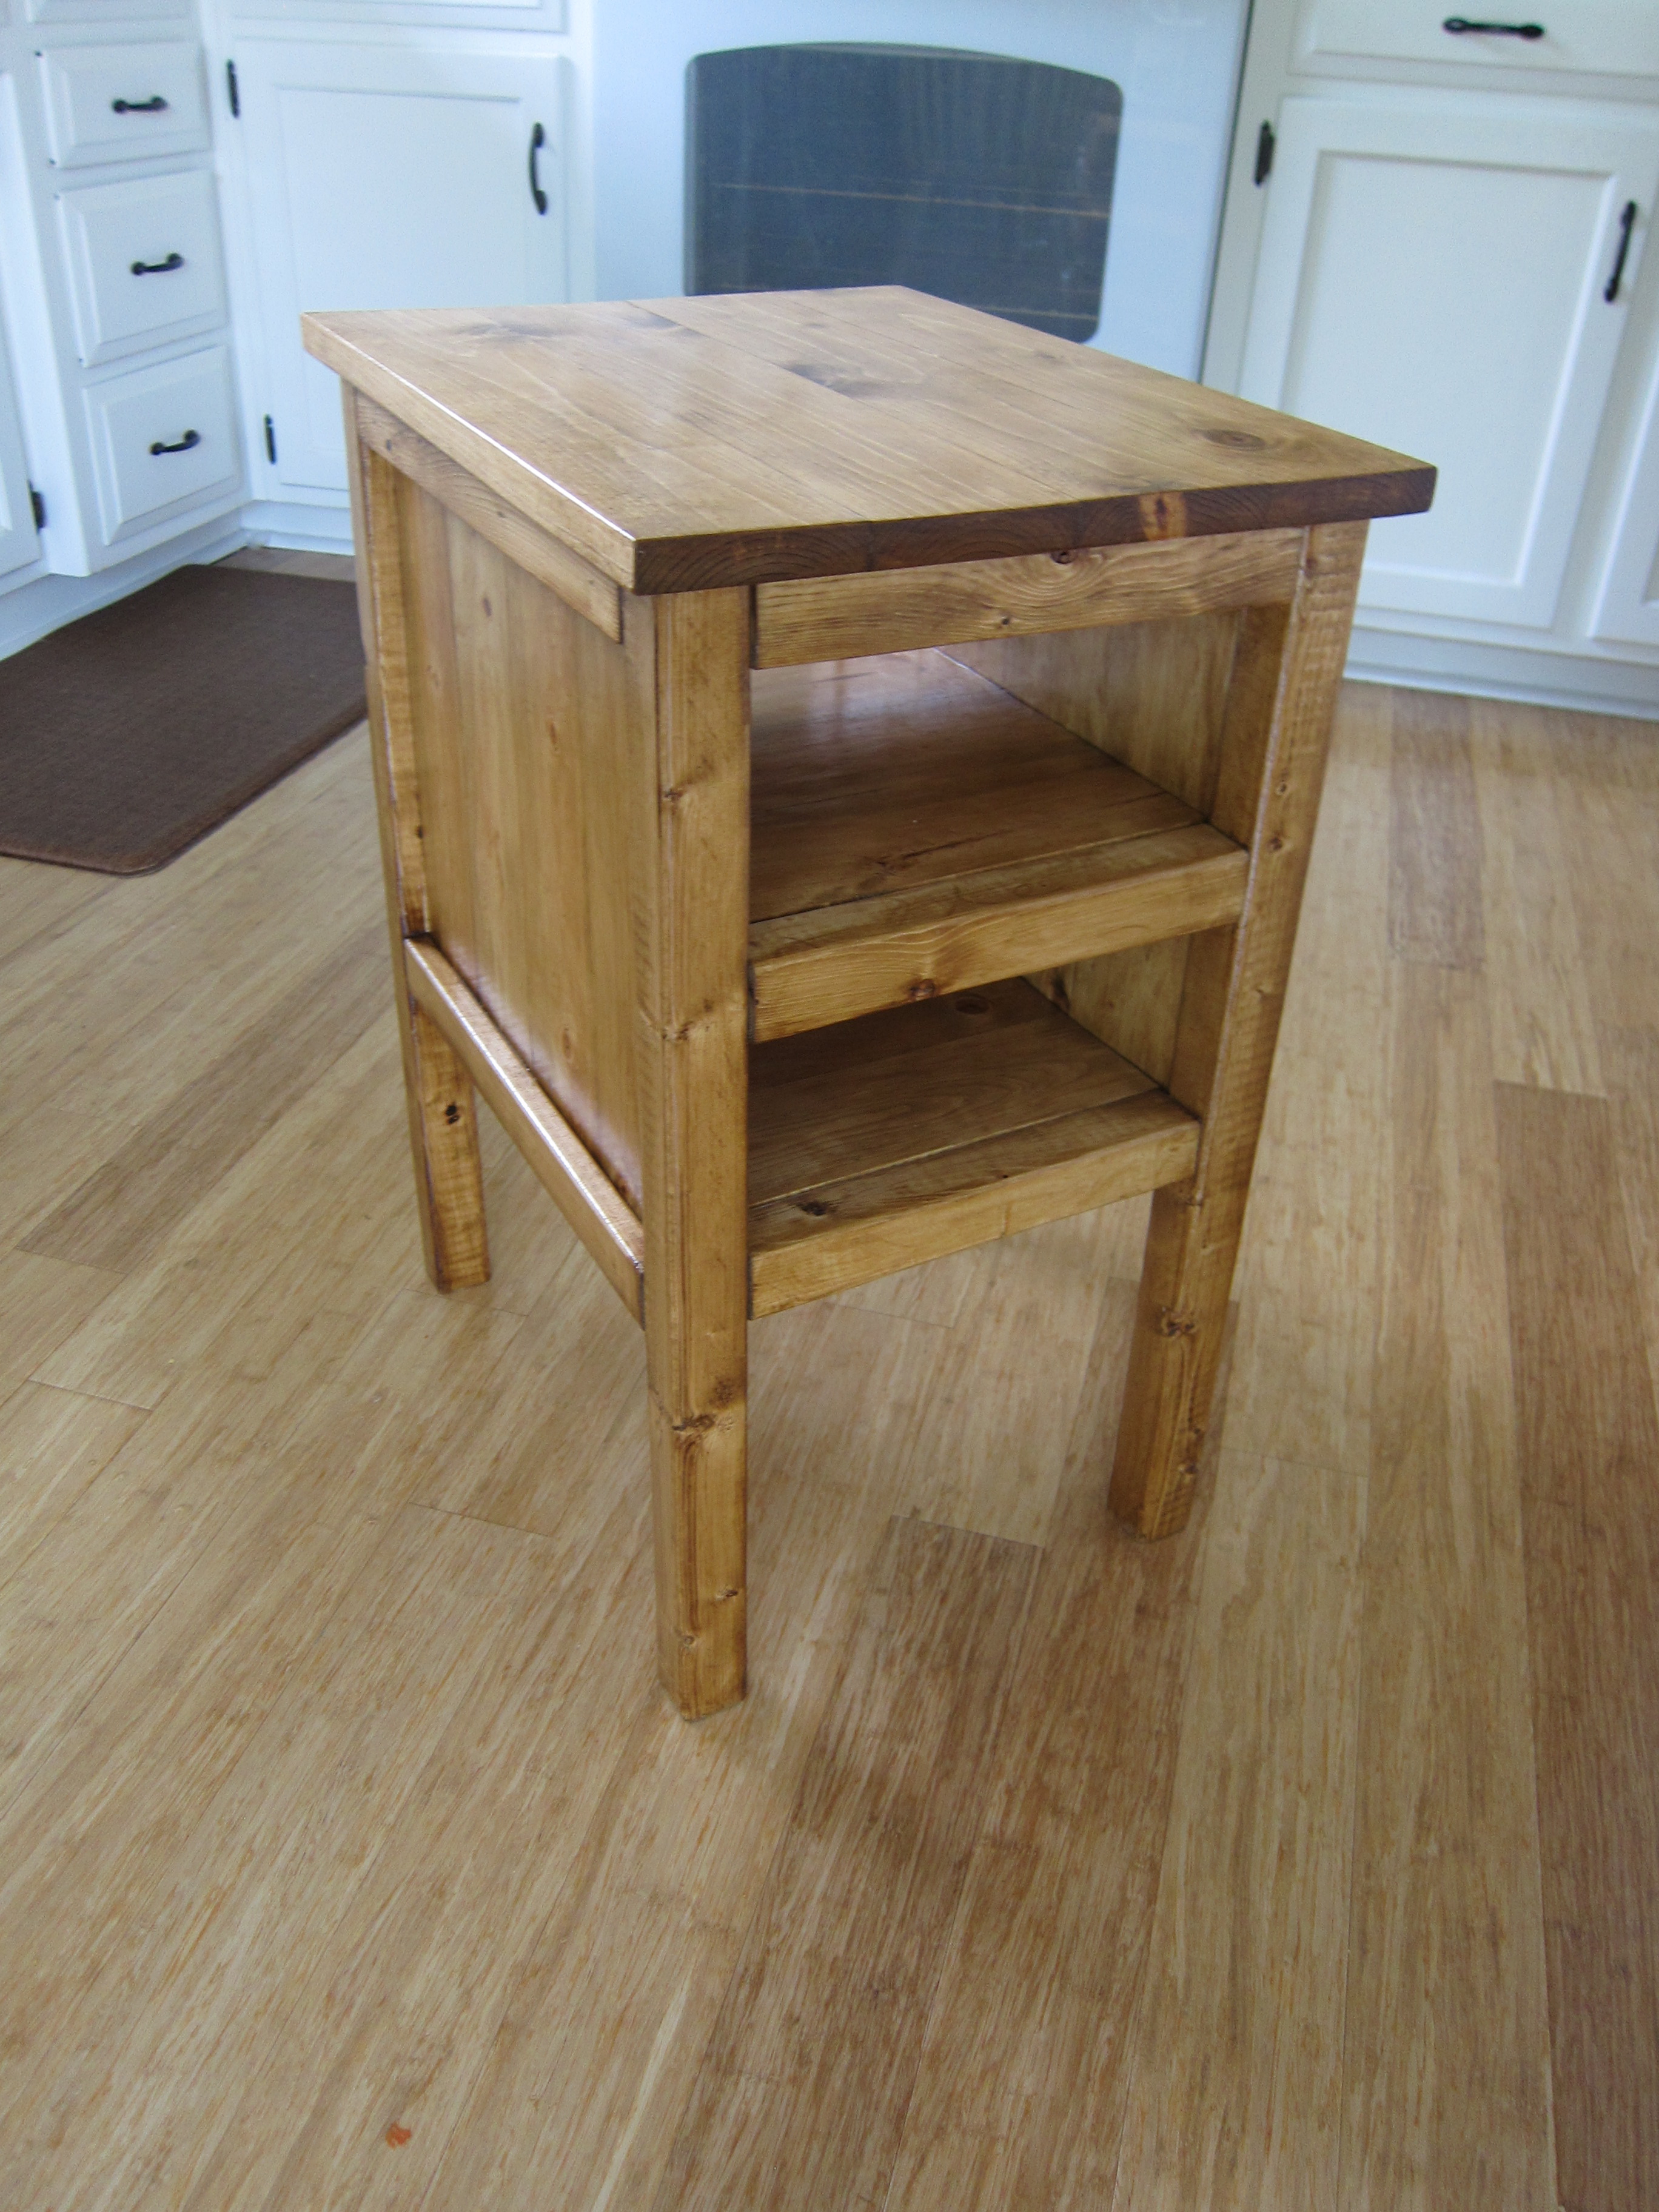
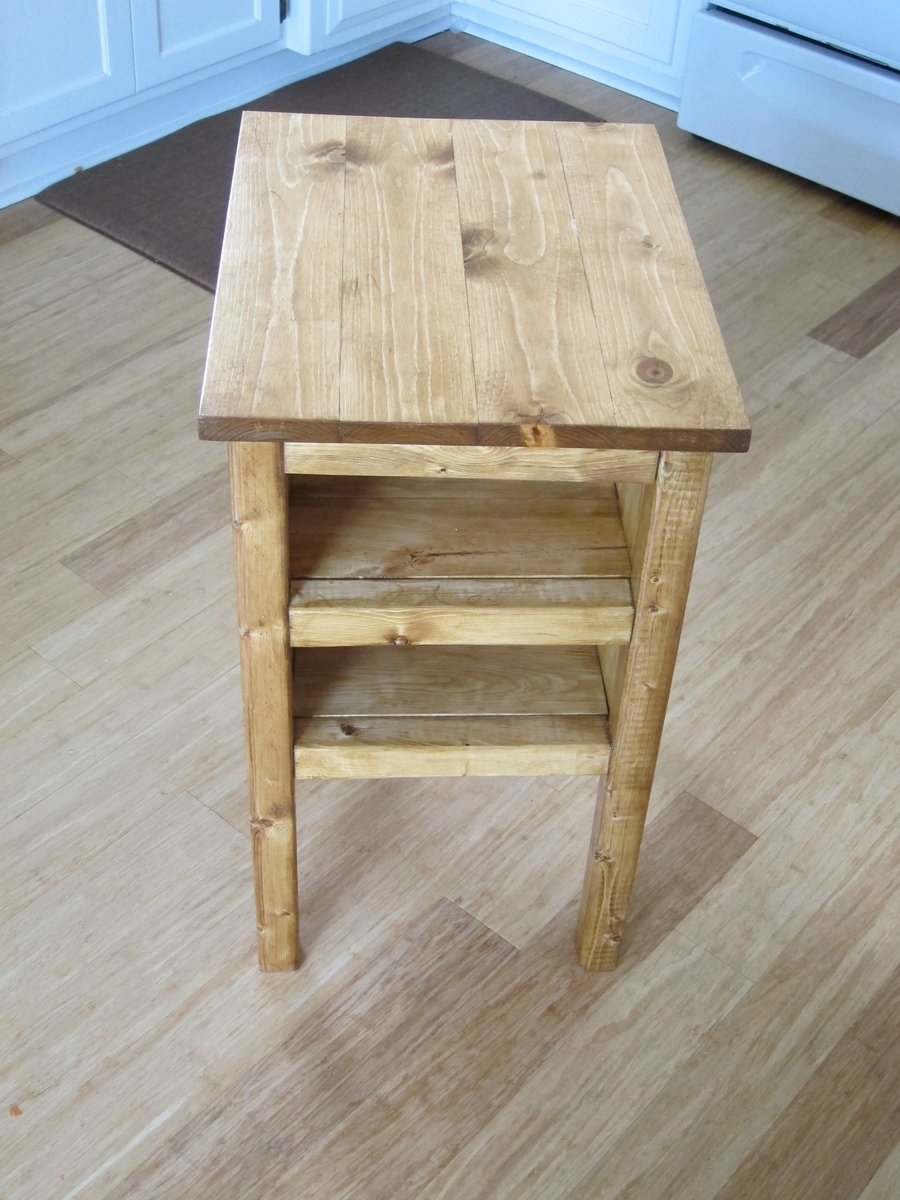
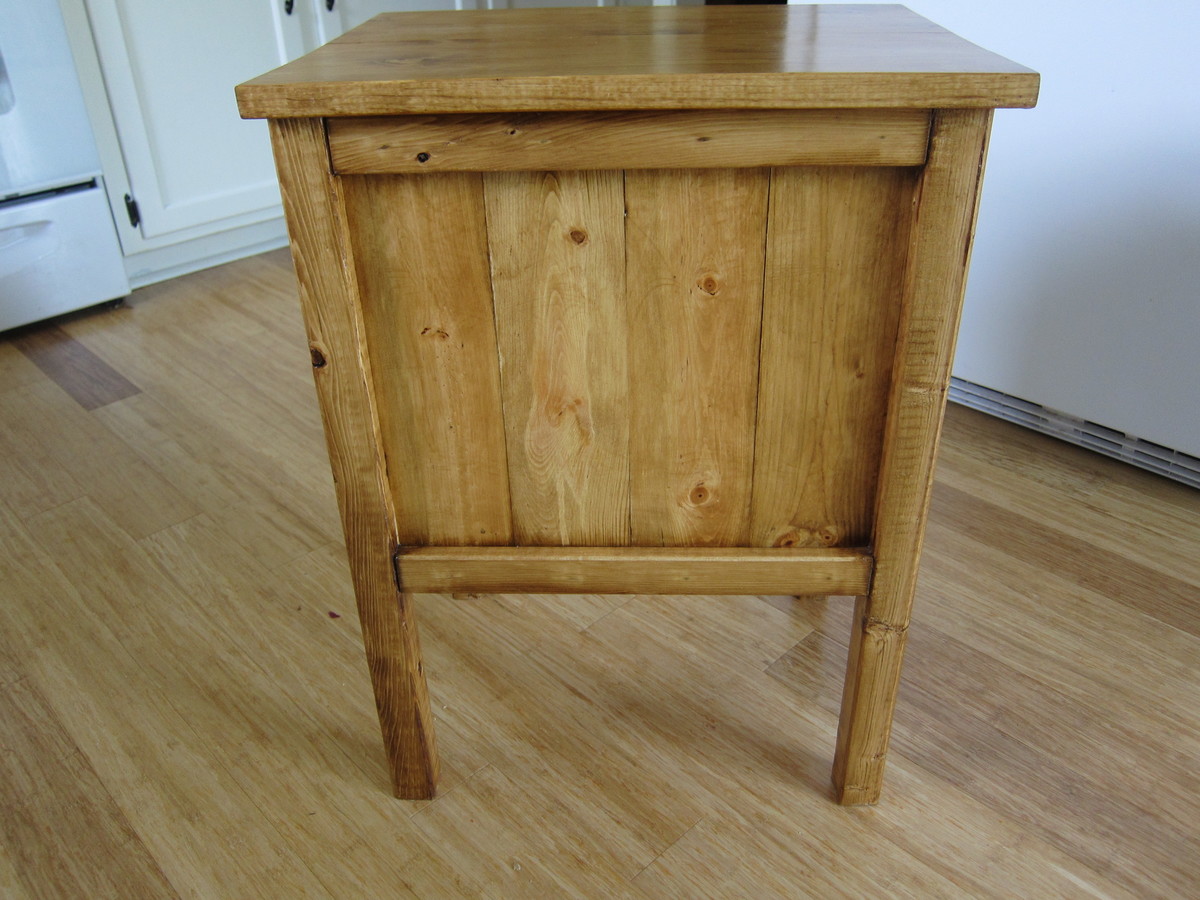
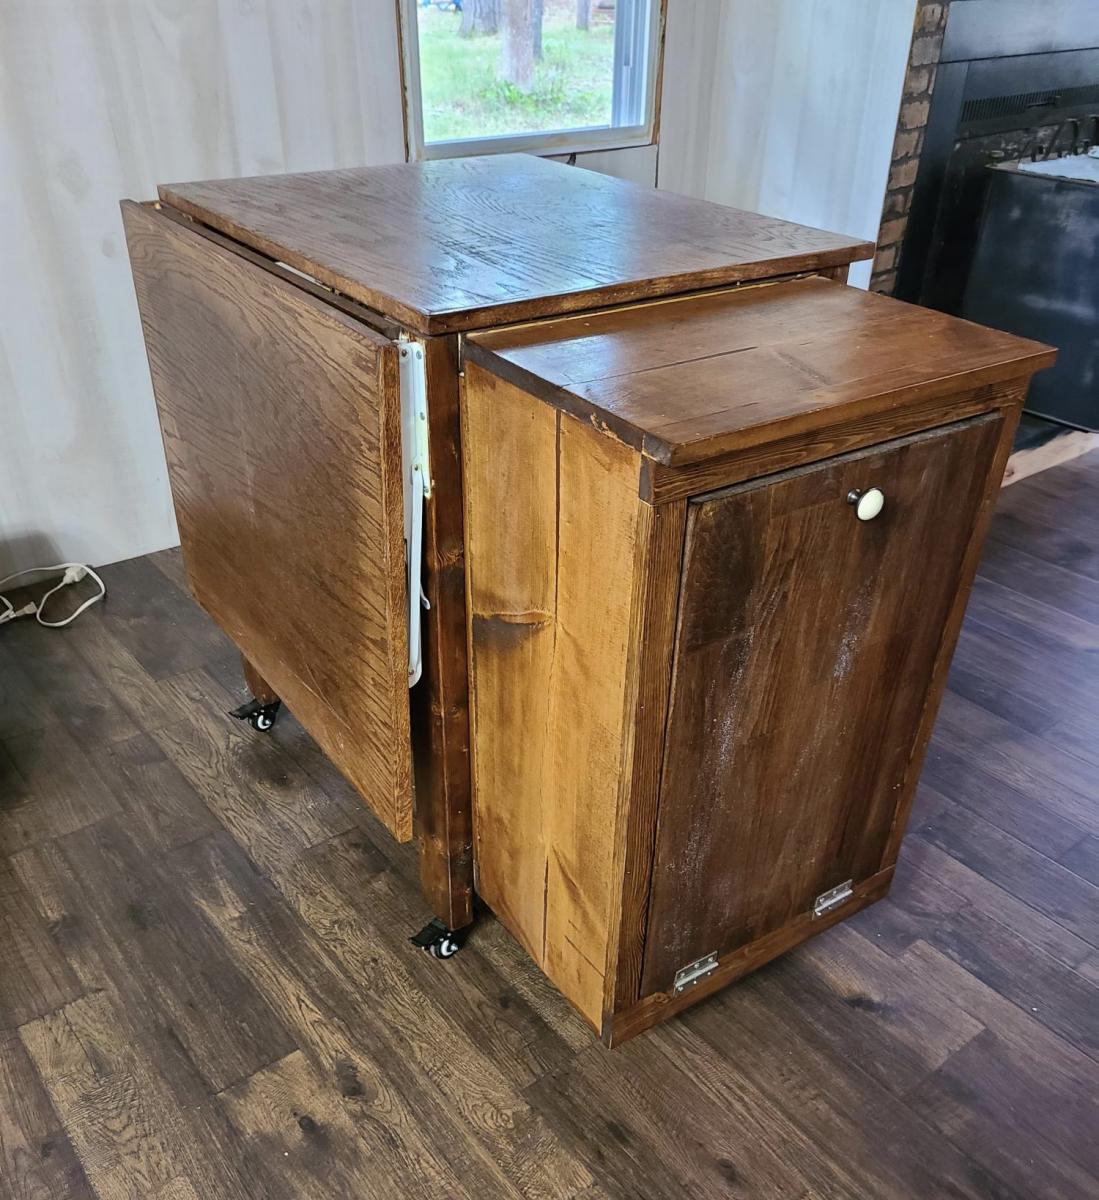
2 dish pet feeder
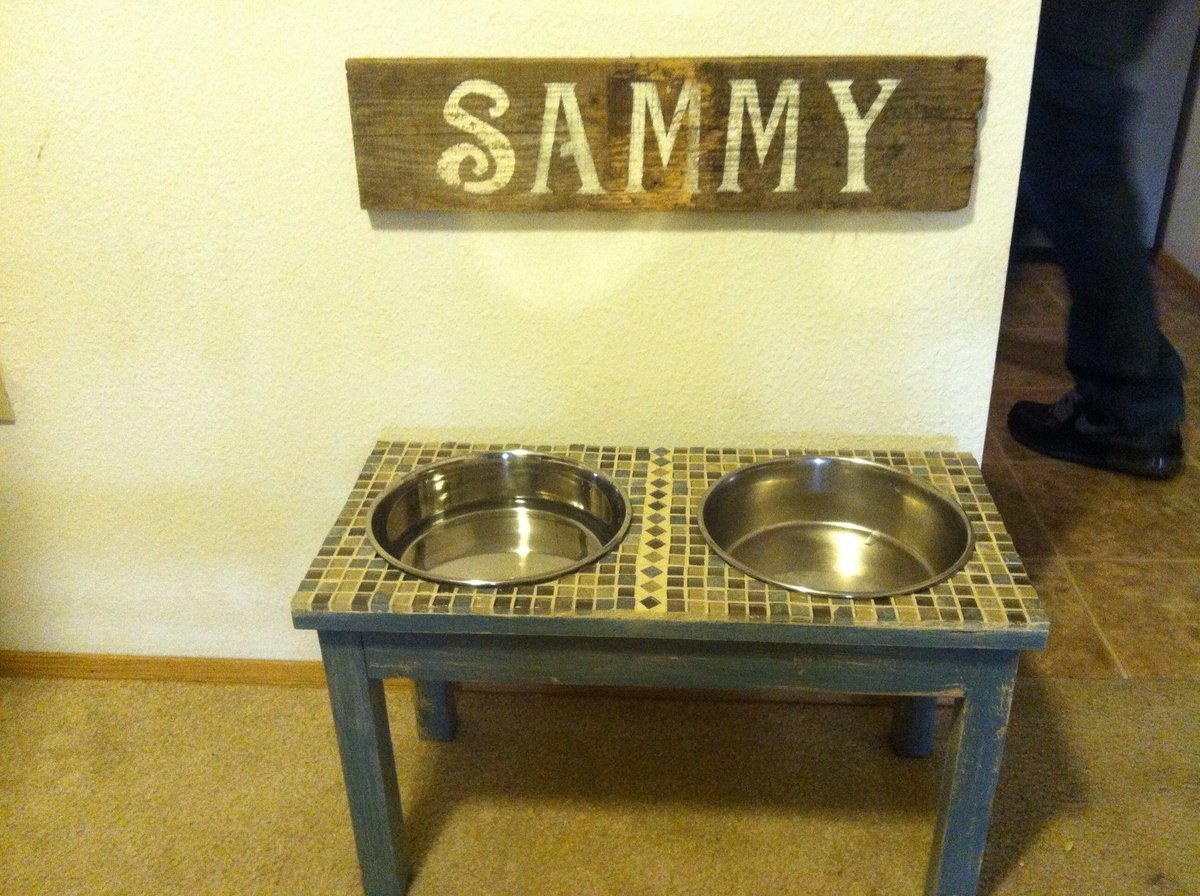
This feeder worked out great for Sammy, who is about 95#. He seems a lot more comfortable now (and has started using his water dish instead of the toilet! ;) I wanted a more rustic look but wanted the easy clean up of tile on top.
Went together fairly easy. Although instead of kreg jigging the top together I decided to use a plywood base and use thin re-sawed maple, Cedar, white oak, and tigerwood as to not experience movement issues.
The bookshelf, of which I made last year, was made from crates. I used Ana's Clubhouse Bed idea as the basis for mine but I deviated from it quite a bit. Instead of a front entrance I made a side entrance and added two windows. Additionally I attached it to the wall instead of making it two sided.
Very easy and quick to build. It is amazingly comfortable. There are no cushions needed. My wife loves it. I took parts of Ana’s Simple Outdoor Lounge Chair and Modern Outdoor Chair with a twist patterns and modified them to be a double seat instead of a single seat.
This is the first project my husband and I tried from Ana's site. We did add a foam on top and around the edges since we have two little kids running around. I then tufted it and absolutely love the way it turned out.
I took the plans for the large dog crate and adjusted them to fit my needs.
I made the "light entry" sections taller so that the inside would not be so dark, I used plywood with a routed edge for the top and stained it a red mahogany color and used polyurethane to seal it.
So, after seeing a project my brother in law made I got the inspiration to try my hand at woodworking. Low and behold I stumbled upon Ana's WONDERFUL site! After spending the winter, rigorously studying plans and picking different projects I could use, I was able to afford gathering up some basic woodworking tools and get to work. First project was the 2x4 workbench off of kregtool.com (on a side note I <3 my new kreg jig). That went together easypeasy and came out great. Now i wanted to try my hand at something that took finish work and went inside my house, not out in the garage. We had just purchased a new TV and needed something other than the 2 side tables from our living room that where serving as it's temporary home atm. Needless to say that is how this project was decided on. I didn't make it from any specific plans from the site, but without this site I wouldn't have even known where to begin. I took some measurements and drew up a rough (and I mean ROUGH) plans. Then started chopping away at wood and drilling pocket holes. This is the end result.
Yay! Here are my raised beds, motivated by Ana White's post. :) I decided to use 2x lumber rather than 1x lumber because I plan to add benches on the ends of each bed. I just love how these turned out! I used Hemlock rather than cedar because it was a THIRD less expensive. Orange told me hemlock would last roughly 5-6 years whereas cedar would last 7-9 year. I staggered the sizes too - first bed (with the strawberries) is 4' x 10', second is 4' x 8' and the third (with the stakes) is 4' x 6'. Hubby hauled in a bunch of pea gravel to surround the beds while the girls and I added rocks from around our yard to the perimeter. :)
This is one of two chairs we made for our two kids. They love it!
These were our second project. Again, chosen out of necessity for new bedside tables. These took a while to complete due to the finish work needed for the paint and our leaning curve. BTW, building jig templates will help ensure consistency between the two tables (drawer fronts, strechers, drawer stops, etc). Also, look through the wood on the shelf at the store for the best (and straightest) 2X2's to make the process easier. Finally, while spraying was easiest for the paint application, brushing on the poly finish coats worked best for us.
These tables are 3" wider than the plans and fit our room better, but the rest is the same.
Using the plans from this website for the 2x4 tables and 2x4 loveseat, we modified the sizes to fit the couches that we bought at Target. Used cedar wood and painted black when we were done to match out deck. Less than $300 in cedar wood.
This is a variation on the tidy up end table. The dimensions for the tidy up end table were too big for my space, so I made it a little smaller and added an extra shelf to store our laptop computers. This makes it easier to charge our laptops and keep them out of the way. It took me a little longer than it should have because I had a 3 year old and a 5 year old "helping" me.
Thu, 11/14/2013 - 21:33
What a good idea, adding an extra shelf to tuck the laptops away for charging! Looks great!
Val
artsybuildinglady.blogspot.ca
Took a lot more wood than I thought and time, but was a nice distraction from Law School.
Mon, 04/20/2015 - 18:19
The table top is very impressive! Must have taken a very long time to cut / glue.
I made this for extra storage in the small Sunday school classroom for games and craft supplies for the kids.
I decided to combine Ana's wastebasket project with her island project and then added a retractable tabletop so I can use it to prep food and even use it as a counter height table for two.
With my 3 young kids and all of their winter gear, I needed a coat rack that they can use. Since I don't have a miter saw, I asked my Father-in-law to make the cuts for me so I can't claim to have done that (although I am asking for a miter saw for my birthday!). Assembly was pretty easy with 2 pocket holes each on the roots and one for each of the limbs. With the small pieces of wood, it was tricky to get the holes centered using my Kreg Jig Jr. so I added some small finishing nails to some of the limbs for more support. (Think young kids tugging to get their coats down!) Some things I learned: Sand all pieces to the way you want them BEFORE assembling as it's nearly impossible to do later. Stagger the bottom roots because screwing in 8 screws to the same center point does not work. I ended up using shorter screws than the 2 1/2" recommended and had to add felt pads to stabilize the legs that were moved up to allow for me to fit the screws in. I am pleased with this project and while it's not perfect, it will get a lot of use around here!
We are selling our house and needed a small table for the corner of our kitchen. Since we had leftover butcher block after replacing the countertops, I modified the Farmhouse Table and bench plans. The piece worked perfectly in the space and the house sold immediately after our open house.