Community Brag Posts

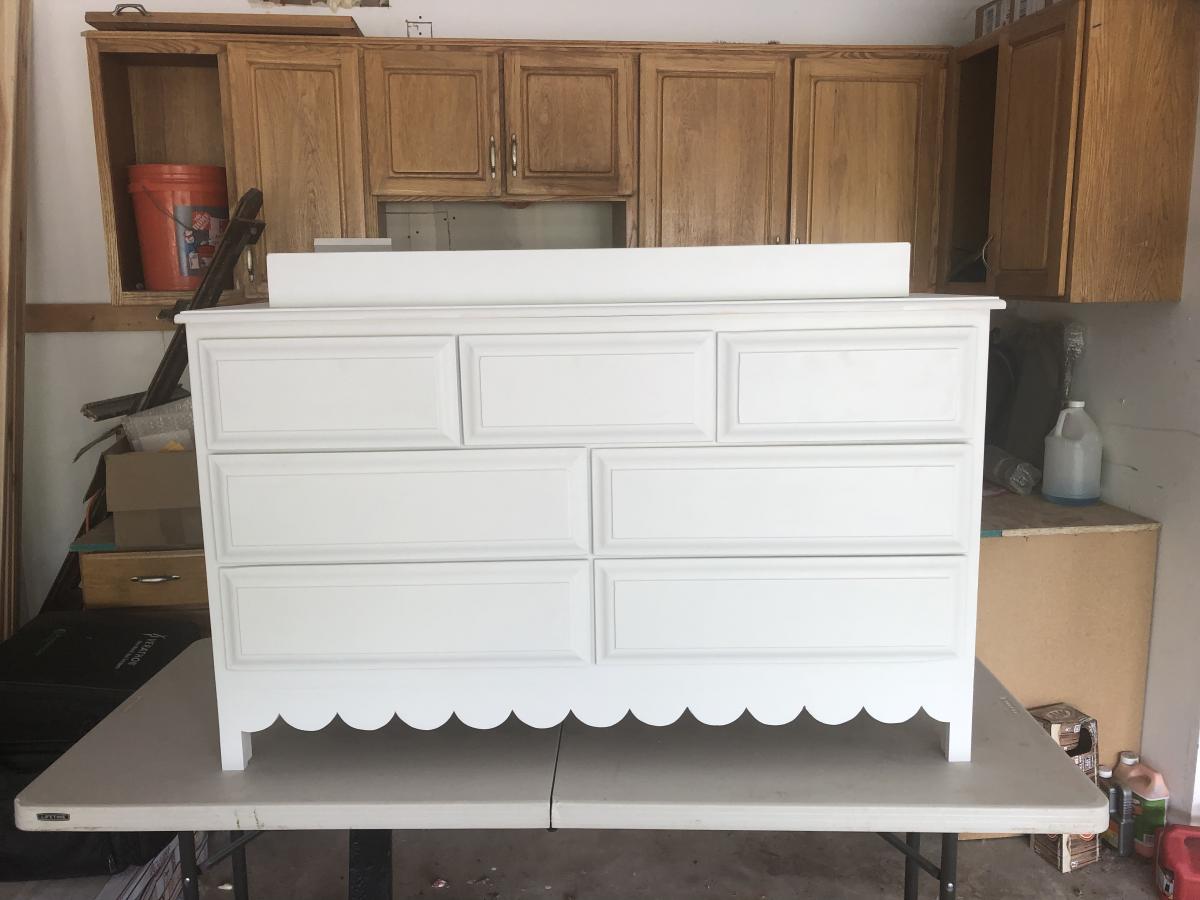
Dresser with changing table top for nursery

Submitted by mjolgren on Thu, 06/13/2019 - 06:44

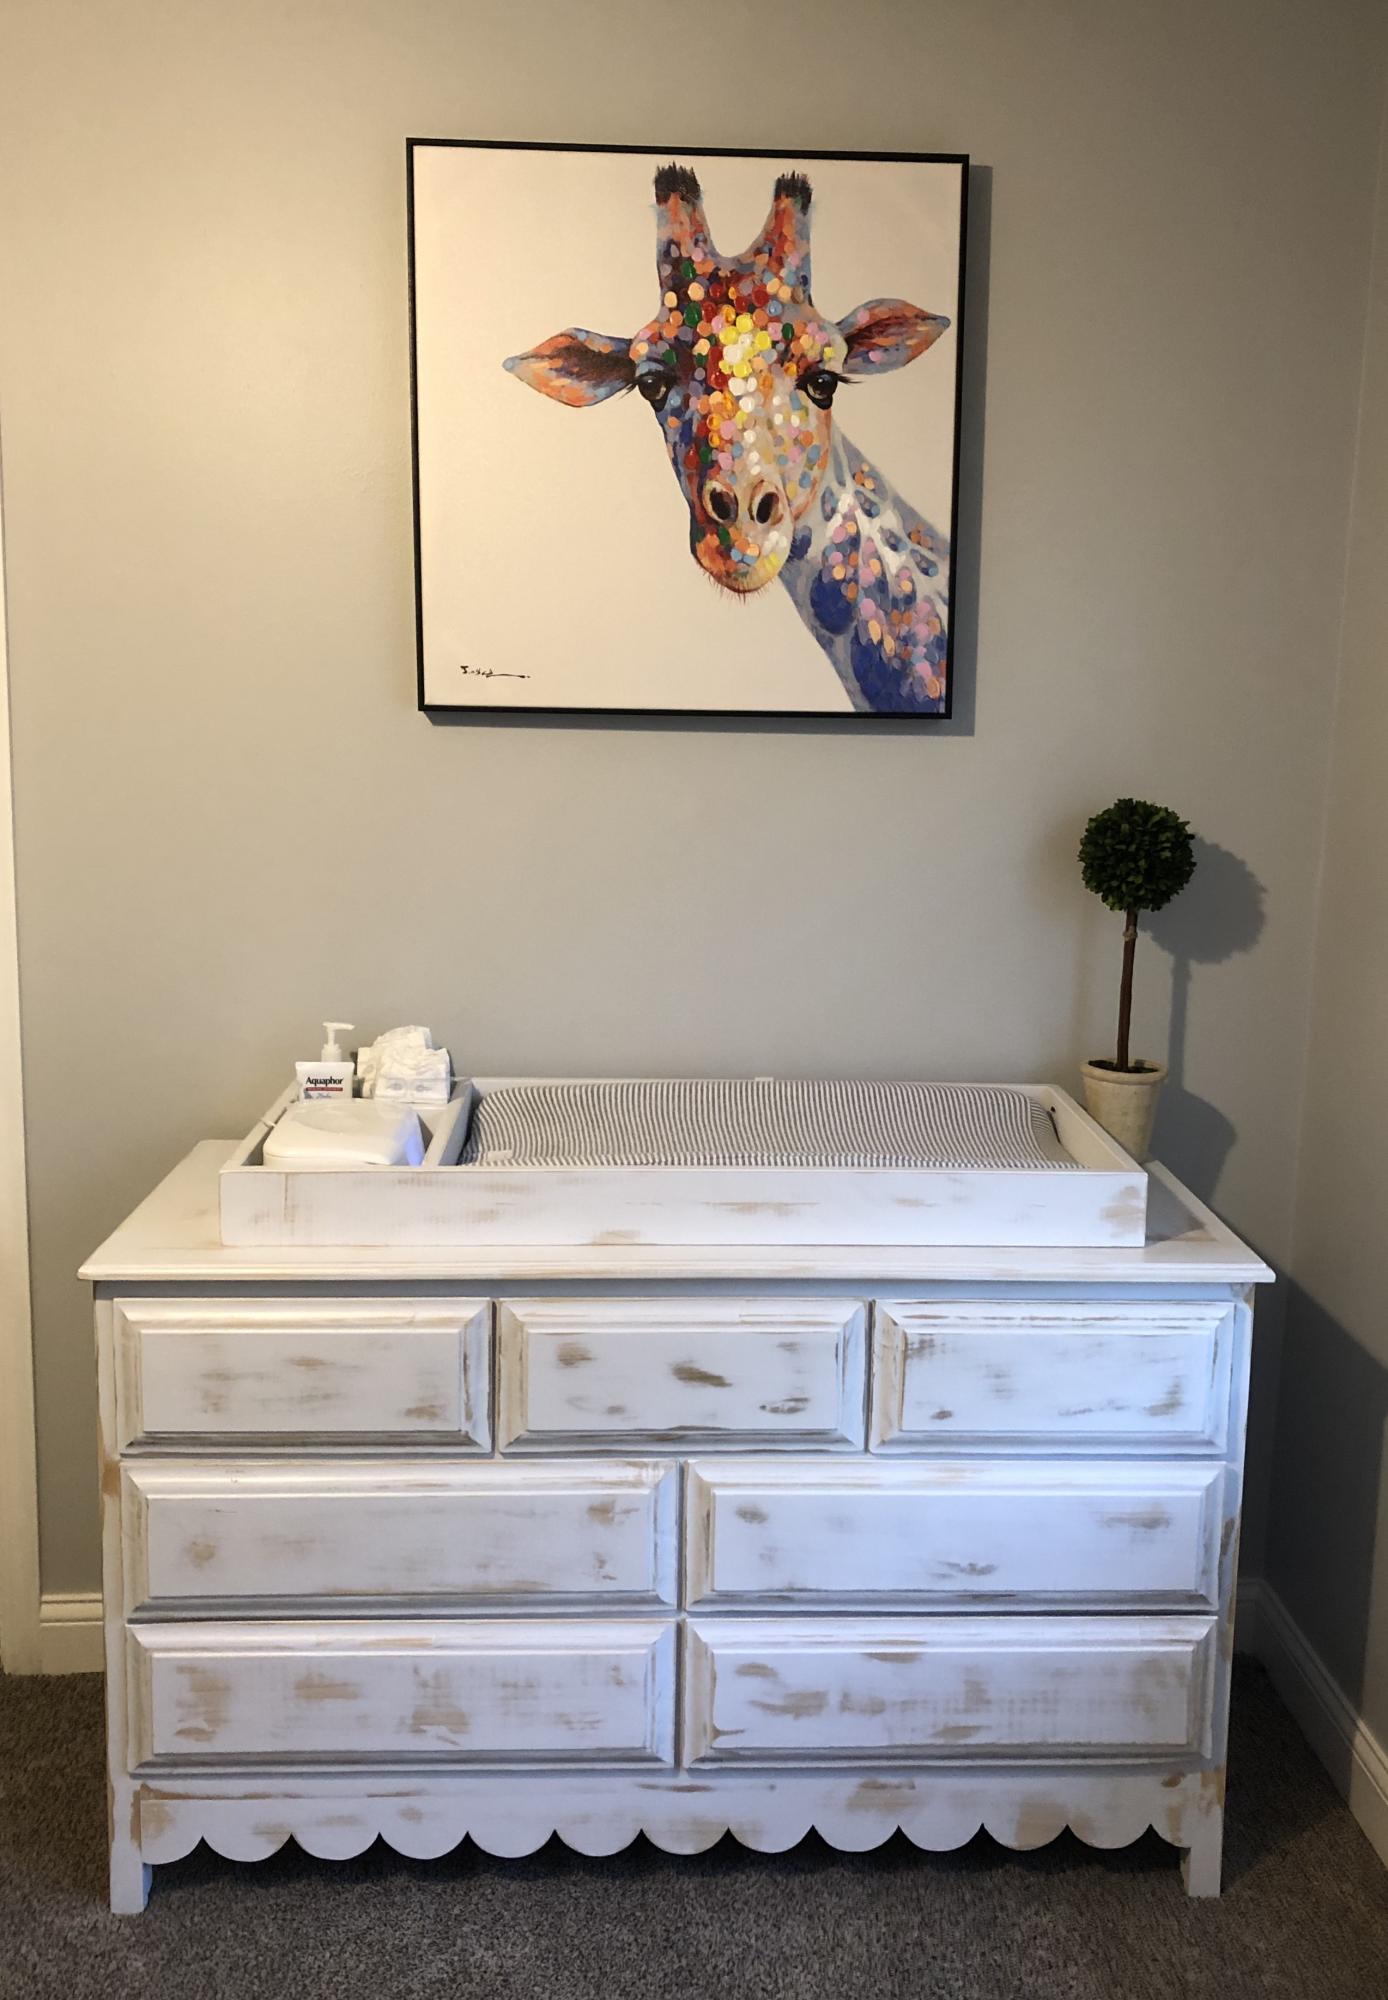
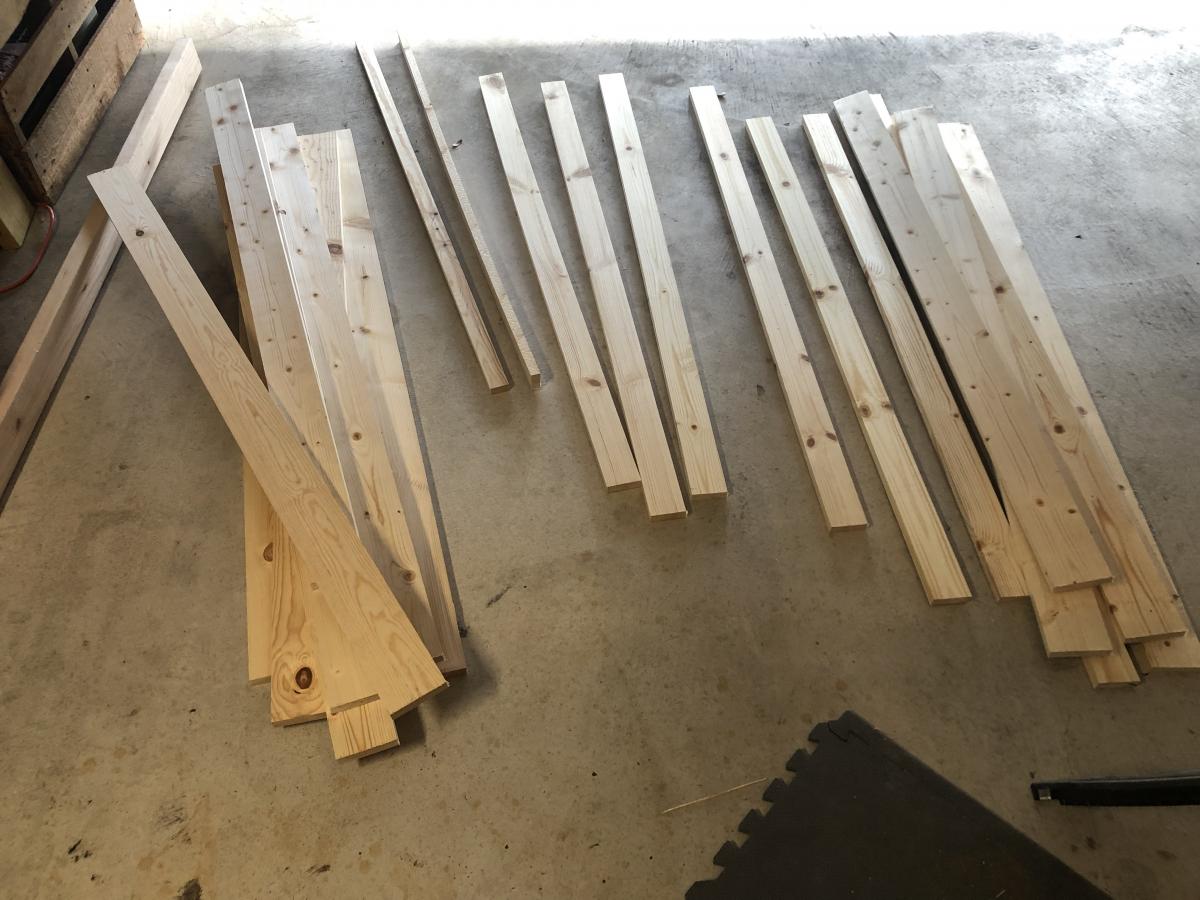
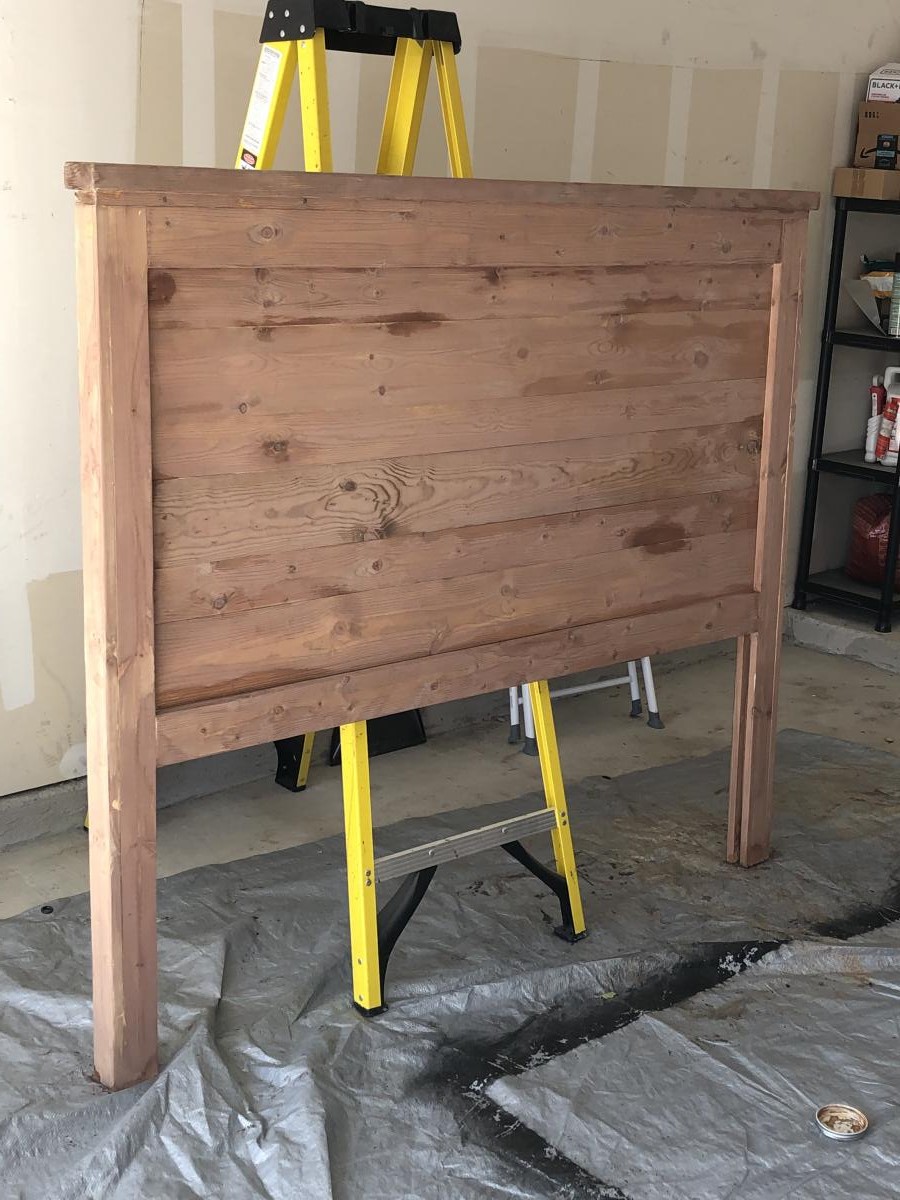
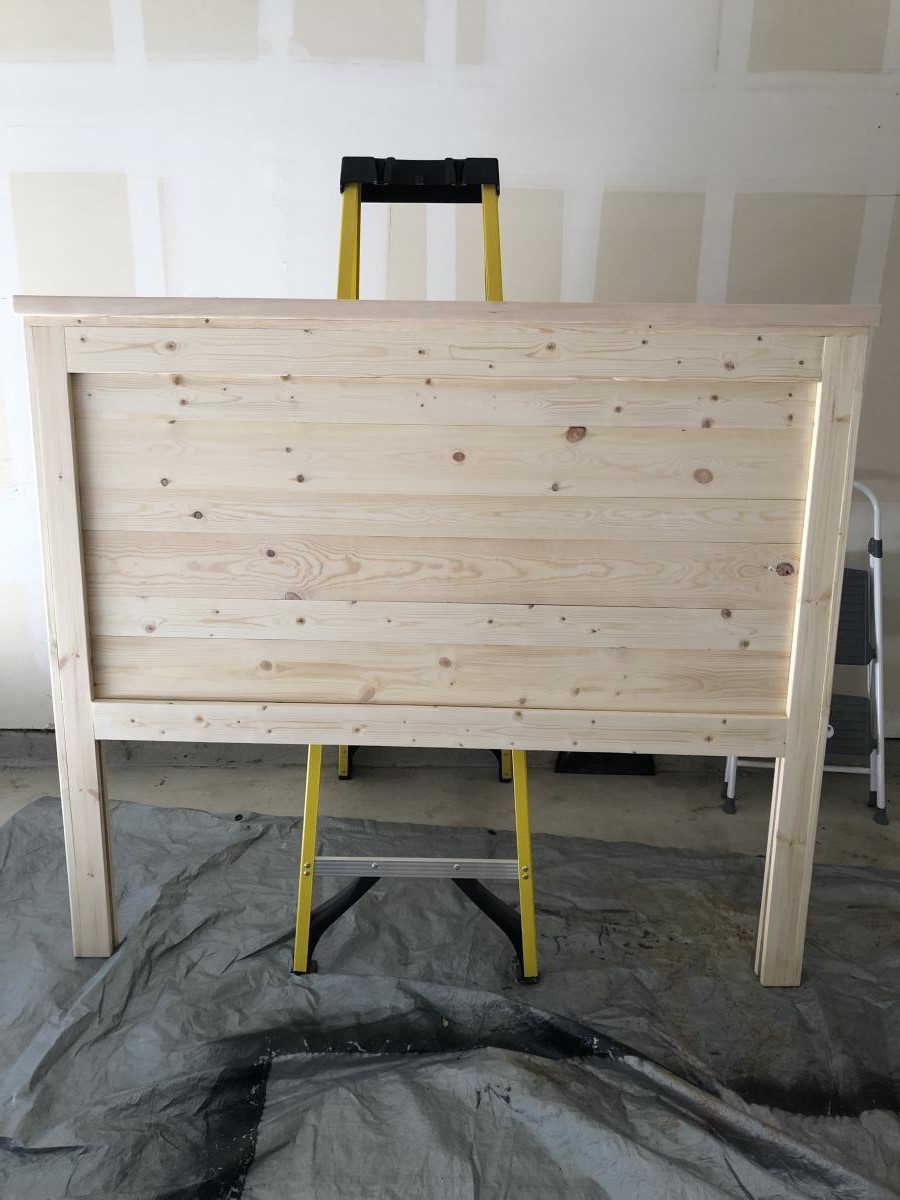
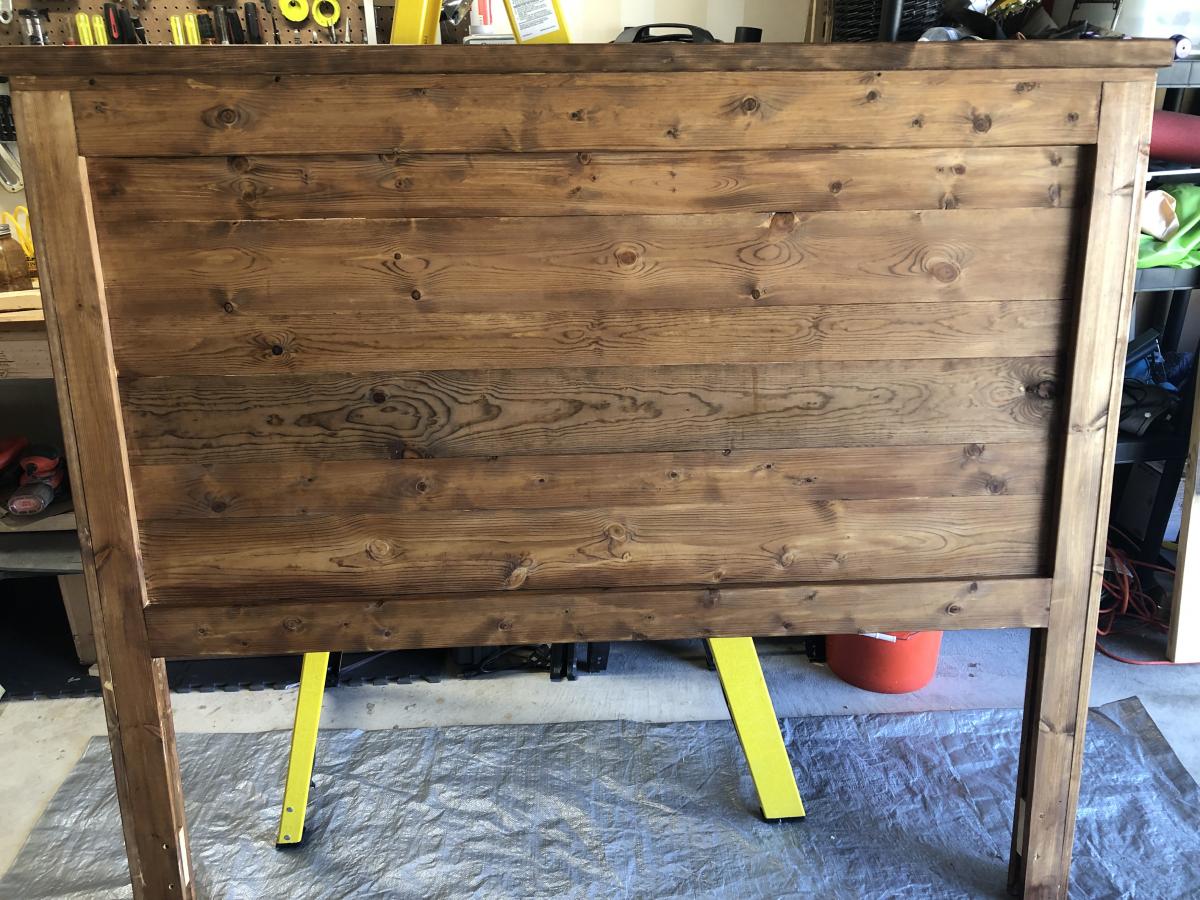
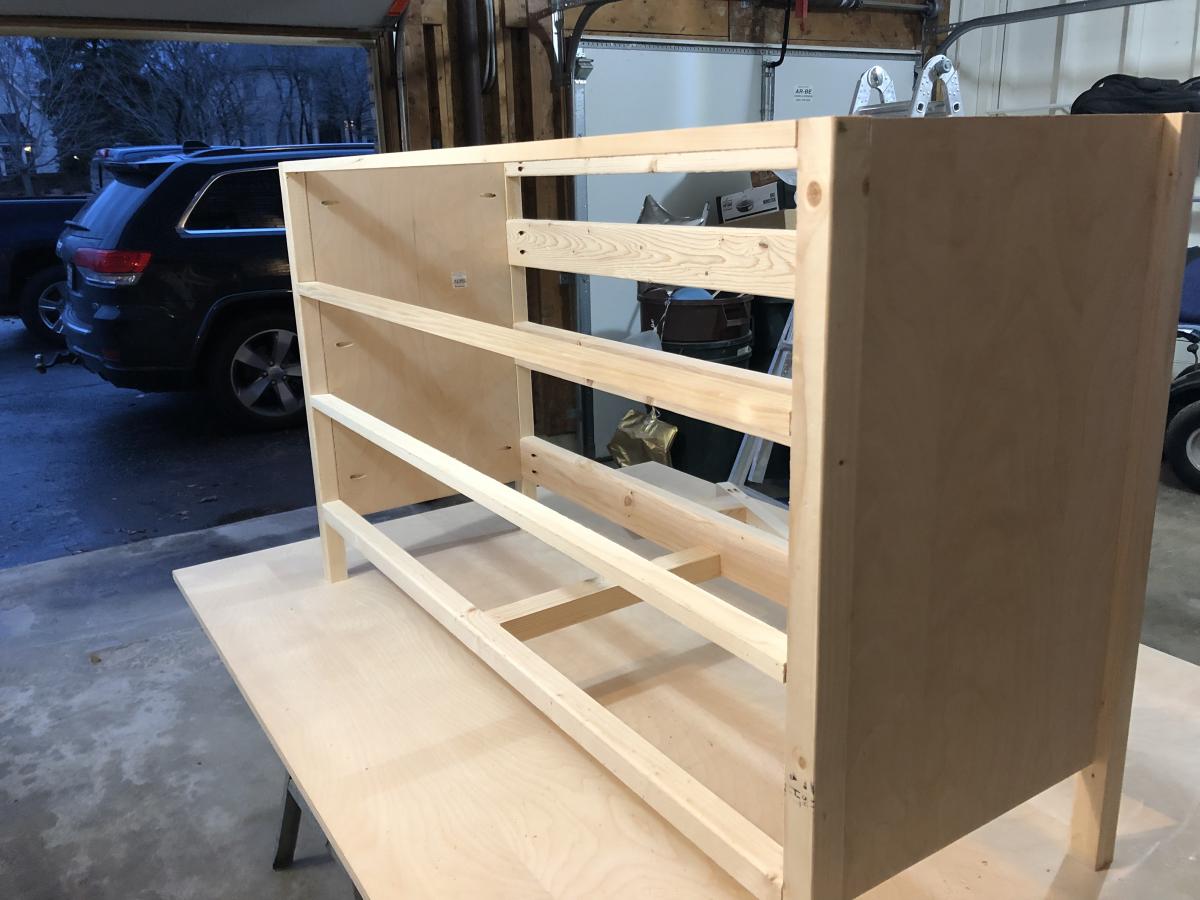
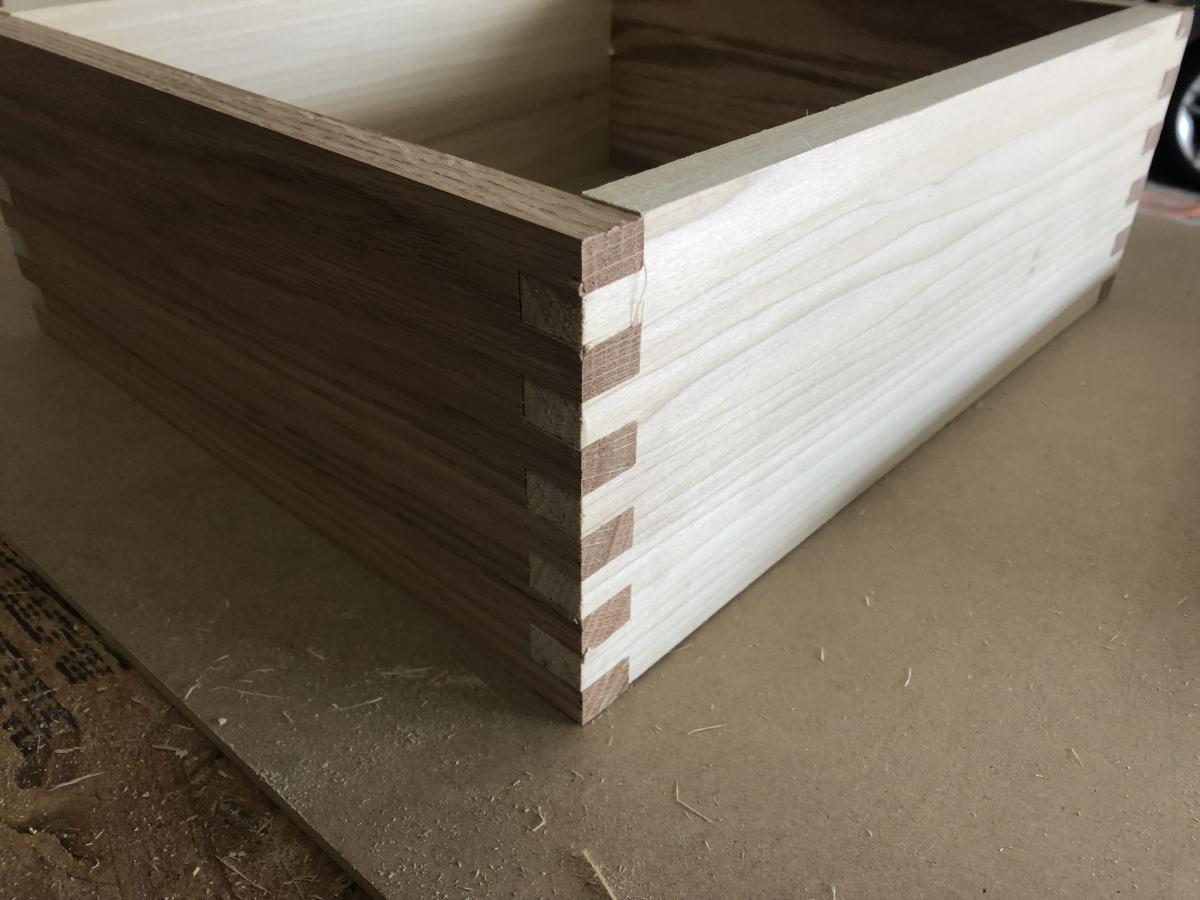
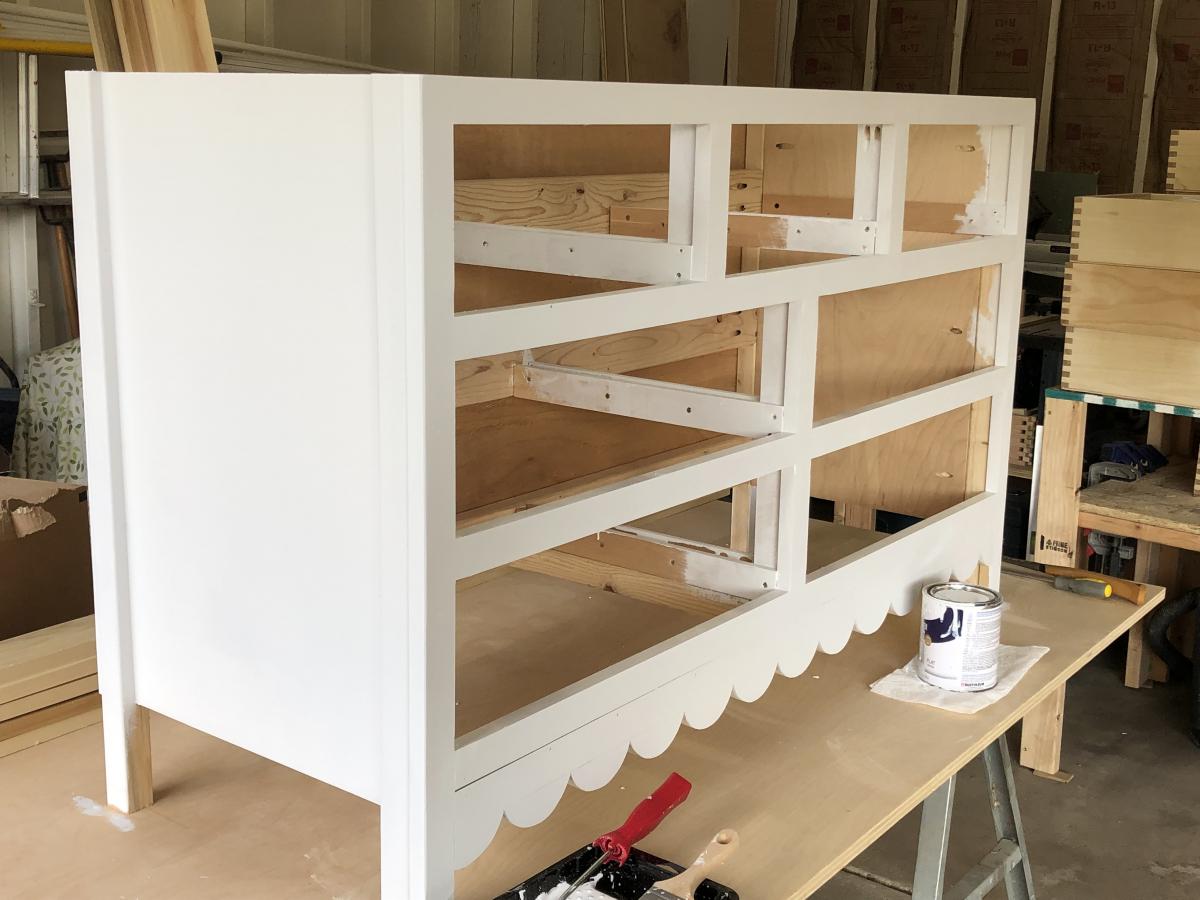
I used the Kendal extra wide dresser plans which were super easy to follow for this project. I wanted to add some of my own touches so I made the drawers with box joints, my first attempt at this. I also changed the drawer fronts and added my own scalloping at the bottom. The changing table frame on the top of the dresser was also added which is removable once we are out of diaper changing! I am using half moon aged brass pulls for the drawers once delivered. Overall I am happy with the way this turned out.

Built from Plan(s)
Estimated Cost
$400-500
Estimated Time Investment
Week Long Project (20 Hours or More)
Finish Used
Flat white furniture paint, sanded and coated with water based poly.
Recommended Skill Level
Intermediate

Easiest Chalkboard Shelf from Scraps

Submitted by carbogast on Tue, 12/13/2011 - 18:20

Chalkboard

Estimated Time Investment
An Hour or Two (0-2 Hours)
Finish Used
Chalkboard paint
Recommended Skill Level
Starter Project

Comments

Mail bin

Submitted by Brad Wills on Tue, 11/05/2013 - 19:47

I liked the pb mail bin, but wanted to build the entire piece. Learning experience, measure twice. File folders will not fit, as the inside measurement is to small. Still turned out cool.

Estimated Cost
25.00
Estimated Time Investment
Afternoon Project (3-6 Hours)
Finish Used
Varathane ash stain and light blue flat behr paint. Varathane poly to finish 2 coats
Recommended Skill Level
Beginner

Comments

A Work in progress

Submitted by 914934 on Thu, 01/21/2016 - 10:10

We haven't had a chance to hang the first bed but had to make it functional asap. So, we gave it temporary legs on the front and attached it to the wall in the back. We are thinking of replacing the desk and making a smaller toddler sized version there for one of our little guys as well.

Estimated Time Investment
Afternoon Project (3-6 Hours)
Finish Used
Primed with kilz, painted with Wet Sand (leftover paint from walls)
We've got a lot of little ones with crayons around here. We've got to have something washable!
Recommended Skill Level
Beginner

Farmhouse potting bench

Submitted by Anonymous (not verified) on Thu, 04/06/2023 - 23:12

Had so much fun building this project for my moms birthday present.

Built from Plan(s)

Comments

Scrap wood shelves

Submitted by chelseawa on Sat, 12/17/2011 - 17:16

The kids and I worked together to make these shelves from wood I dug up in the scrap pile. I had to be creative to come up with enough wood of the right dimensions, some of the 1x4's started life as 1x6's and the front pieces are baseboard moulding. I didn't use a back piece because it seemed sturdy enough as is. I used removable velcro type hanging strips to attach them to the wall.

Built from Plan(s)
Estimated Cost
Free
Estimated Time Investment
Afternoon Project (3-6 Hours)
Finish Used
Latex paint.
Recommended Skill Level
Starter Project

Rustic Benchright Table and Bench

modified plans a bit from on the website. Went with 4 x 4 legs, matching bench. hardware I found the turnbuckles at home depot 3/8 - 16, and picked up the left handed and right handed rods and nuts at grainger.

Estimated Cost
450
Estimated Time Investment
Week Long Project (20 Hours or More)
Finish Used
Dark Walnut and Minwax paste wax
Recommended Skill Level
Intermediate

Simple bench for outdoor patio or deck

Submitted by ScottG on Sat, 01/23/2016 - 23:44

Built two simple deck benches from plans found on this site.

Estimated Cost
About $40 for each bench. That includes the price of the wood and stains used.
Estimated Time Investment
Weekend Project (10-20 Hours)
Finish Used
Used Minwax water-based stain for the gray color and Minwax oil-based stains for the other colors. Will add a couple of coats of outdoor urathane once benches are moved outdoors. Base for the bench was built first using the 2x3 studs. Once that was complete, I built a frame using the 1x4 pine and then cut the pieces for inside of the frame to correct length. Then stained all of the pieces. The pieces are joined to the frame using pocket holes and the frame with pieces attached is joined to the base also using pocket holes. In this way, no screw holes are showing on top surface.
Recommended Skill Level
Beginner

Moses Basket Stand

Submitted by Tbacks on Sun, 07/07/2019 - 19:34

Thank you Anna!!  We have friends who are adopting and they were given a beautiful mosses basket.  Your pattern allowed me to make this gift for them.  

The rockers were a bit complicated but I pulled it off.  

Built from Plan(s)
Estimated Cost
$85
Estimated Time Investment
Day Project (6-9 Hours)
Finish Used
Natural with semigloss clear coat.
Recommended Skill Level
Intermediate

Comments

Rustic open vanity

I decided to take on the third bathroom renovation all by myself. No help from the husband. I knew that I wanted a rustic open faced vanity - so I modified some plans that I found here on Ana's site. I used the basic design of the Farmhouse Vanity and added in the spa splatting for the bottom shelf so I could add baskets to hold extra tp and towels, etc.

This was one of the easiest projects I've done and I'm so happy with how it turned out! Total time was an afternoon - and that included the staining and poly!

Estimated Time Investment
Afternoon Project (3-6 Hours)
Finish Used
Minwax Jacobean stain
Recommended Skill Level
Beginner

Picnic Table Set with the built in coolers..

Submitted by unclebones on Tue, 01/26/2016 - 20:01

My variation of the multiple plans / pictures I have seen.
I will be making another one this season, with an additional variation in mind to make the time it takes to make the whole thing less.

Estimated Time Investment
Week Long Project (20 Hours or More)
Finish Used
Outdoor Stain/seal
Recommended Skill Level
Intermediate

Comments

Fancy X Farmhouse Table

Submitted by Anonymous (not verified) on Mon, 04/17/2023 - 07:56

We love this table and made some small adjustments to fit our terraces
Regards
Dan Brissman
Sweden

Built from Plan(s)

Comments

A Shelf for the Boys

This shelf was such fun to build. My two pugs, Lesterann (3 mos.) and Calvin (13 yrs.) needed a place to hang their stockings at Nana's house. As for the naughty and nice, Lesterann is a little monster right now so he basically is responsible for the naughty. Calvin, on the other hand, is a prince of a old man.

Santa filled those stockings and hung the boys' new sock monkey sweaters on the hooks and it held up quite nicely with no chance of falling.

After the holidays, I'll move the shelf to the kitchen to put my reminders on. Thanks, Ana, for this great plan!

Merry Christmas everyone!

Recommended Skill Level
Beginner

Mudroom Area

Submitted by bhammond on Tue, 11/12/2013 - 12:31

Mudroom area by my front door. Perfect for removing shoes, hanging jackets, etc. For the top I used two old cabinets that were on their way to the trash. It was easy to build shelves between them. For the back I used beadboard from Home Depot. It was 1/4" thick and 4x8. The bench pulls out easily, because there is an outlet behind it, and an air register beneath it. (That's why I left the front toe-kick open.) The rail with hooks came pre-assembled from Home Deopt, but I had to paint it black.

Estimated Time Investment
Weekend Project (10-20 Hours)
Finish Used
I used black chalk paint and minwax paste finishing wax.
After one coat of finishing wax I sanded edges to get the antiqued look. Then I applied a second coat of finishing wax.

For the finishing wax: simply rub on with a rag, wait 10 minutes, then use a clean rag to rub in the direction of wood grain to get a nice polish.
Recommended Skill Level
Beginner

Comments

Farmhouse bedside table inspired nightstand

Submitted by Anonymous (not verified) on Sat, 01/30/2016 - 19:54

This nightstand was insprired by the Farmhouse Bedside Table.  I was looking for ideas for a simple nightstand with a drawer and the Farmhouse Bedside Table was almost exactly the style I was looking for. I used solid walnut which accounts for a majority of the cost. Typically I would use motise and tennon joints for something like this but decided to try pocket hole joinery in an effort to save some time.  Overall, it worked well with the exception of the top rails. When I attempted to screw the top rail to the leg, the screw split the leg likey because of the screw going in so close to the edge. Instead, I just glued and clamped the top rails.

One unique feature is a power strip mounted in the back.  The drawer depth is reduced to make room for a 3 outlet power strip with 2 USB charging ports so that phone/tablets can be charged.

Built from Plan(s)
Estimated Cost
$150
Estimated Time Investment
Week Long Project (20 Hours or More)
Finish Used
Clear satin polyurethane
Recommended Skill Level
Intermediate

Reclaimed Wood Queen Size Headboard

The plans for this headboard are great. Very easy to follow and the cut list is spot on. I used some choice pine from Lowe’s ($63) and then used the vinegar with steel wool mixture to age the wood.  That’s where this piece is at right now. Trying to decide if I want to leave it or put a light satin clear coat. 

Thank you for the plans!!

OK.....I added 2 more pics.  I added 1 coat of Satin Clear Poly witch gave it a richer look. 

Estimated Cost
$75
Estimated Time Investment
Day Project (6-9 Hours)
Finish Used
1 Sheet of 0000 Steel Wool torn apart and left in a mason jar of vinegar over night
Recommended Skill Level
Beginner

Comments

Handmade gifts for Mom

Submitted by JoanneS on Tue, 12/27/2011 - 17:39

My favorite thing this Christmas was making handmade gifts. Mom's were the most fun. :) The first is the Cube dresser, using the plan from 2x4 console cubby shelf (turned upright), with wheels. Next are 2 recliner side tables, made from the 5 board bench plan, with added shelf at the bottom for books and magazines. The last is the 'trinket box' - which isn't really from a plan, just made up with 1x4 and 1x6 boards. We finished these to match her existing furniture, which we built for her earlier this year. Mom loved her gifts! Thanks Ana!

Built from Plan(s)
Estimated Cost
Total $217: ($120 lumber, $45 paint/stain/poly, $52 cube drawers)
Estimated Time Investment
Weekend Project (10-20 Hours)
Finish Used
Paint is Benjamin Moore Aura satin in Sea Urchin, tops are Minwax Color Express in Walnut, plus 2 coats of clear satin poly.
Recommended Skill Level
Beginner

Comments

"reclaimed wood" bed.

Submitted by bskovlin on Sat, 11/16/2013 - 14:15

I wanted to make a sturdy bed that was rustic and old looking but still kind of modern... I looked at google images and a photo of Ana's bed popped up. I started with new fir from Home Depot but wanted a good weathered look, so I spent extra time and effort on the distressing. It turned out just like I was hoping!

Estimated Cost
$125
Estimated Time Investment
Day Project (6-9 Hours)
Finish Used
I made stain with vinegar and steel wool, hit it with that then sanded. Light paint strokes with white and maroon, sanding in between, then ebony stain, sand, then a chestnut stain and wiped off. Clear finish.
Recommended Skill Level
Beginner

Comments

Val Manchuk

Sat, 11/16/2013 - 22:54

The light and dark variations in your finish make your project very unique! Nice work!

Val
artsybuildinglady.blogspot.ca

Farmhouse table

This was my first "big" project. I built it for Thanksgiving. I recently bought a home, and everyone wanted to have Thanksgiving at my new home I had no table, so I built one. Can't wait to start my next project. Love the site!

Built from Plan(s)
Estimated Cost
$50-$75
Estimated Time Investment
Afternoon Project (3-6 Hours)
Finish Used
Minwax polyshades in Bombay Mahogany, I just sanded the entire table, and applied with a stain brush. Nothing fancy, just applied two coats.
Recommended Skill Level
Beginner

Farmhouse King Bed

Submitted by aehutton33 on Wed, 07/24/2019 - 09:17

We used 2x6s on the sides so we wouldn't have a ledge on the side of the bed. Everything still lined up really well! We also used brackets to put the sides onto the headboard and footboard. It made it easier to put together and seems sturdier. 

Built from Plan(s)
Estimated Cost
$120
Estimated Time Investment
Weekend Project (10-20 Hours)
Finish Used
Minwax Weathered Oak
Recommended Skill Level
Intermediate

Comments

okstout4

Mon, 10/19/2020 - 19:53

I thought about doing brackets too, but not sure how that would work w/the cleets on each side for the slats.