


We have 2 cats, Secret and Noah. Secret is about 13 years old, while Noah is just a year. Secret has always had a kitty tree, and for the last 10 years, has been fed on the top of her tree, since she needed to lose weight. In the last year, I realized that she's been having problems getting up her tree because of her joints. We had already gotten Noah a tree of his own (that kitty needs to climb!).
So enter me with the kreg jig! Rather than try to locate a tree with ramps, I decided to build one. I sketched out plans, but while building it, I made adjustments on the fly.
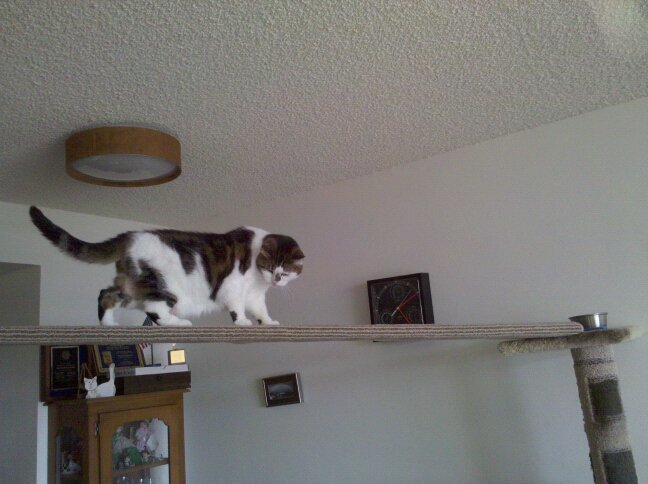
The additional photo is of Secret walking across the upper ramp to her old kitty tree to her food bowl. At the time, she was looking down at Noah who was only a month or two old at the time.
The upper ramp is a 12 foot board (10" wide) that we lugged up the stairwell in our condo. It wouldn't fit in the elevator, so my husband and I had to teeter-totter it up the stairwell. Boy was that a workout! There is a 4"x4" post about halfway between the stairs and the kitty condo for support.
Preparation
1/2" thick plywood
7 - 2 x 2 x 8 (I think)

Please read through the entire plan and all comments before beginning this project. It is also advisable to review the Getting Started Section. Take all necessary precautions to build safely and smartly. Work on a clean level surface, free of imperfections or debris. Always use straight boards. Check for square after each step. Always predrill holes before attaching with screws. Use glue with finish nails for a stronger hold. Wipe excess glue off bare wood for stained projects, as dried glue will not take stain. Be safe, have fun, and ask for help if you need it. Good luck!
Instructions
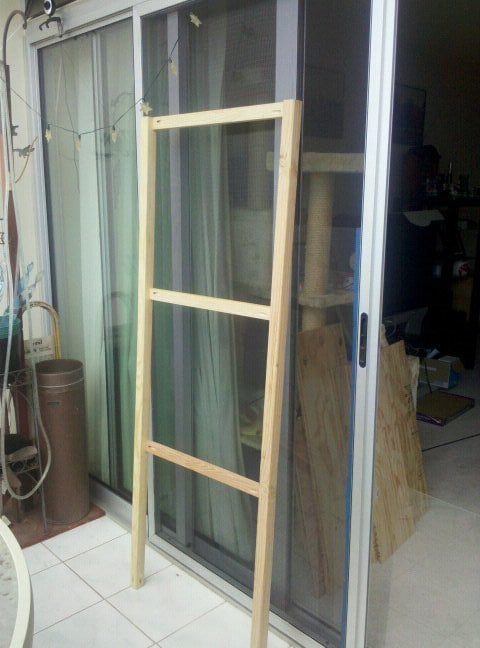
Step 1
Cut the shelf supports. Since I wanted a 2'x2' area, and was using 2"x2" corner pieces, these would have been about 21" long.
Step 2

I put a pocket hole at each end of the supports. Since they would be even around the structure, I put each hole right of center, to avoid any screws hitting each other.
Step 3
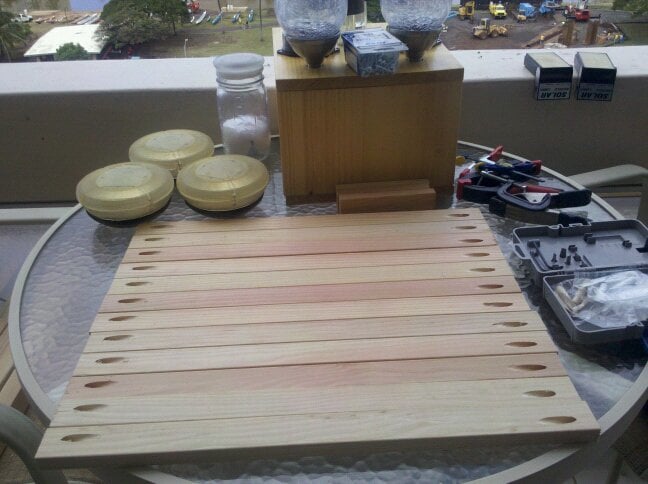
All side supports cut and drilled.
Step 4
I wasn't too worried about the height. We have another piece of wood that extends from the stairs over to the kitty condo, so I knew it needed to be about 5 1/2 feet tall.
Drilled pocket holes on what would be the "bottom" of each.
Step 5
Step 6
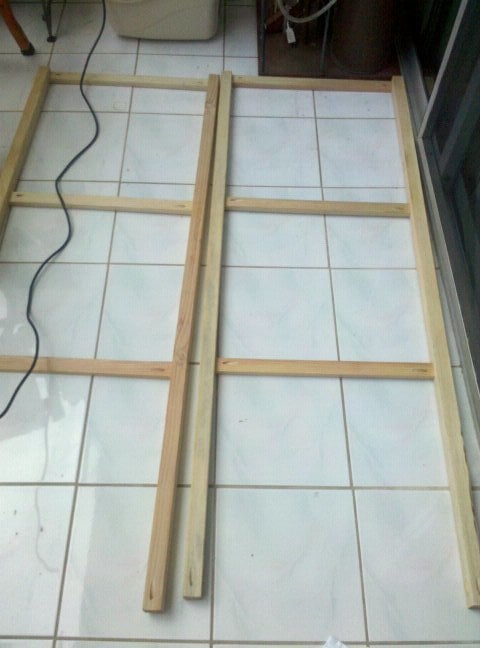
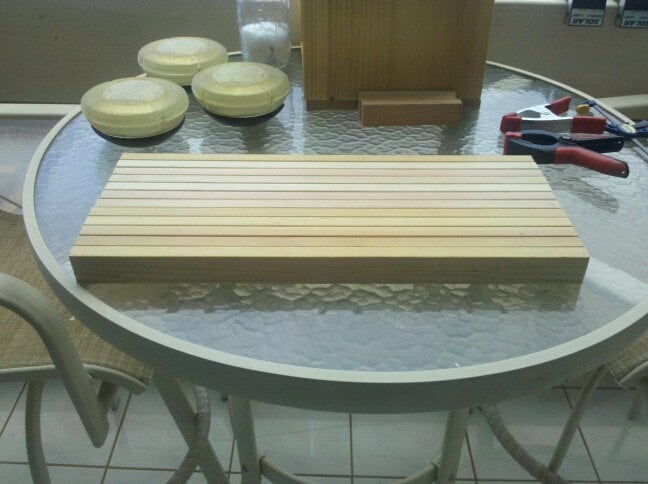
Repeat. I laid them on the lanai to make sure I got the shelf supports at the same place. That proved a little difficult with my limited space - I had to move a few things are around.
Step 7
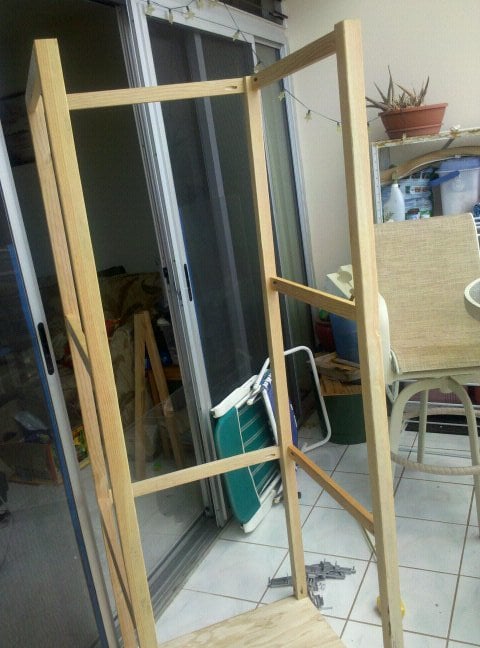
Tricky part commences - attaching it to the "floor" and adding the other parts in. Did I mention I do this work by myself?
Step 8
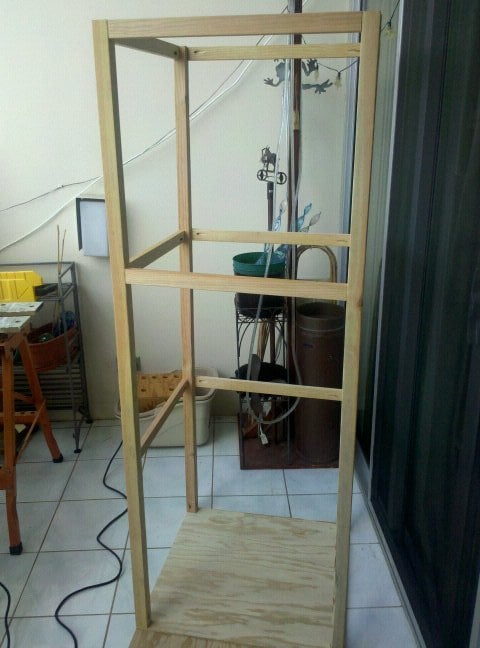
Almost there - just have a few more supports to put into place.
Step 9
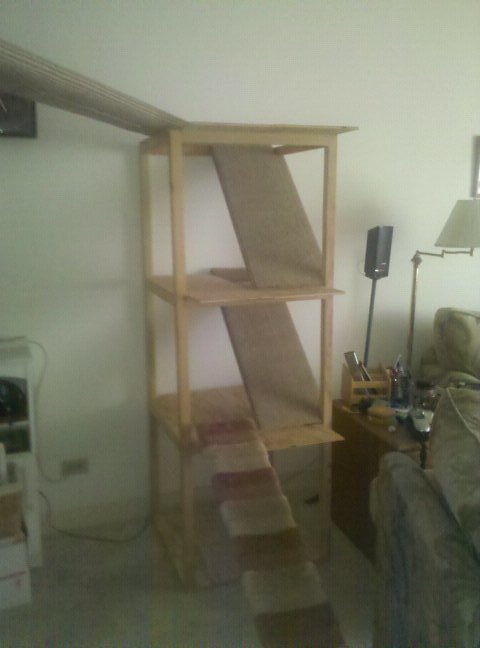
I then used plywood pieces to put in the ramps and the levels. I was going to have the ramps alternate, but realized I wouldn't be able to put the tree right up to the wall, so instead they all go the same way. I also realized that each level was going to have to stick out, so that Secret would have room to go up and down the ramps, and turn around (think of a landing on a set of stairs).
The "ground" floor is used more for storage, and she enters the "1st" floor by another older ramp we have. You can see part of the upper ramp that leads from the stairs in the upper left of the picture. This gives Secret an exit, no matter which way Noah comes towards her.
The other thing I added later on was some "speed bumps" on the 2 ramps. The ramps are just a little steep for her, and the speed bumps (some 1x2 scraps) give her something to brace against. The "1st" and "2nd" floors have since been carpeted.
Step 10
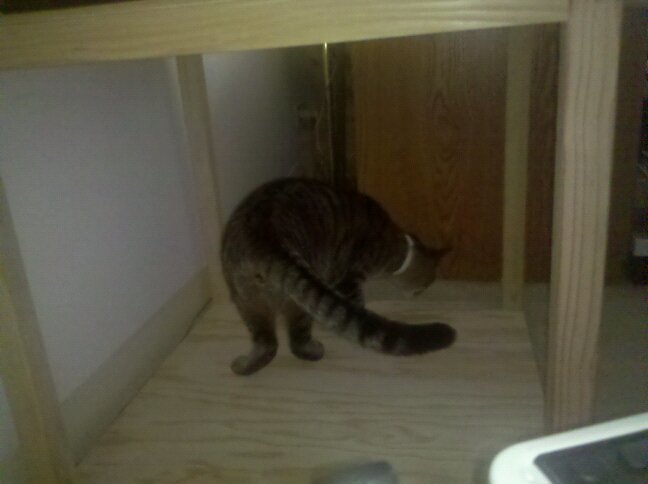
Noah checking out the ground floor.

Comments
nancy sandoval (not verified)
Mon, 08/15/2011 - 09:12
Great cat tree...
but, I live in a one bedroom condo so its kind of big for my place . So I am going to scale it down and see how that works. Thank you for the great idea...
Keli Mcclour (not verified)
Sat, 08/20/2011 - 15:49
Great idea with the ramps!
Its so good seeing another person who completely spoils her "fur babies" as I do! I need to build one of these for my 3 cats. Thanks for sharing! Btw, has it helped Secret lose weight? I have a 7 year old cat who could lose a few pounds.
moemoore
Sun, 08/21/2011 - 13:01
weight
Since we have been feeding Secret at the top of some sort of kitty tree for at least 6 years, it definitely has helped. The problem now is that kitten Noah gets into her food! We'll know next month when she goes for her 6 month appointment if she's put on weight because she was getting into his food in retaliation!
randisegatore
Mon, 04/27/2020 - 00:50
Love this! Will be hopefully…
Love this! Will be hopefully tackling this next week, will let you know how it goes.