


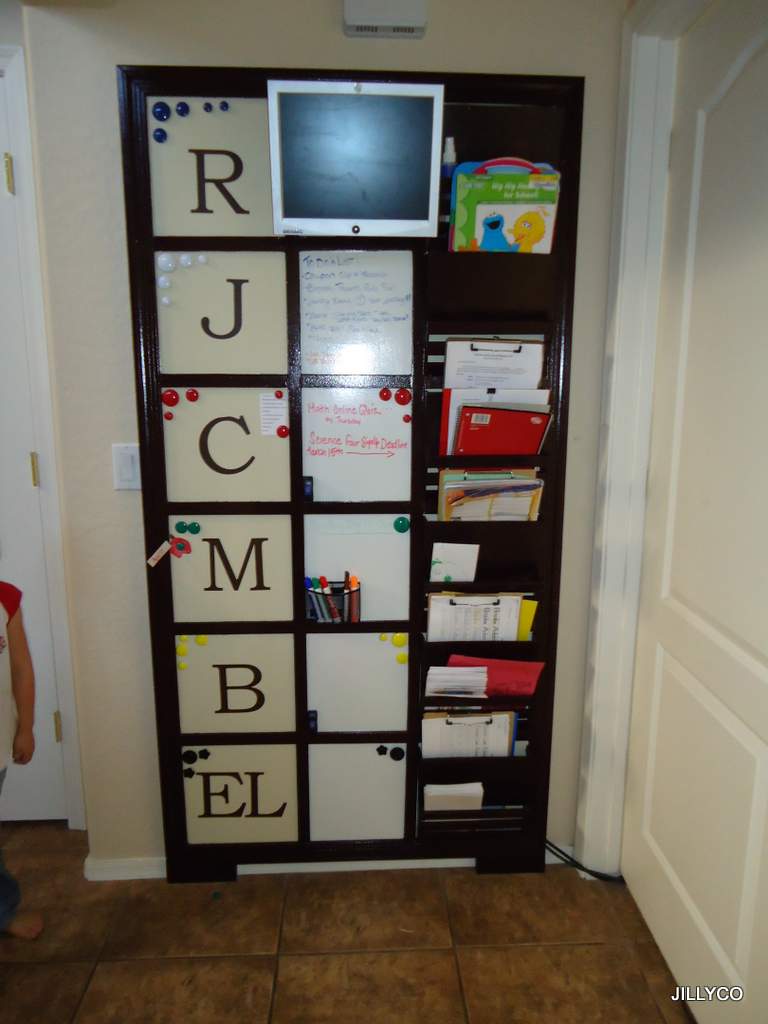
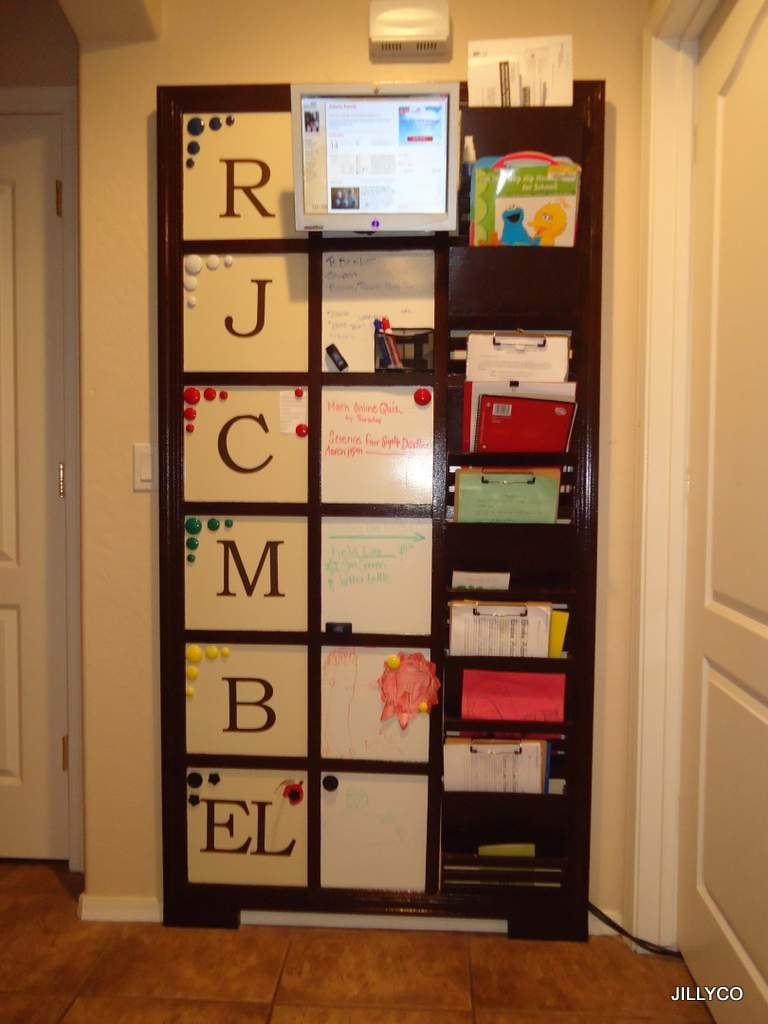
As a mother of a ADD child I was at my limit of lost homework, permission slips, library books for this family of 6. I was tired! So in order to better manage my multiple children's stuff from school, activities and everything scribbled on one of many calendars I came up with this idea. In the TOP Center Square I took a SMALL monitor (Flat Screen) Mounted it so that the family could see our up to date COZI Calendar that syncs with all of our calendars.
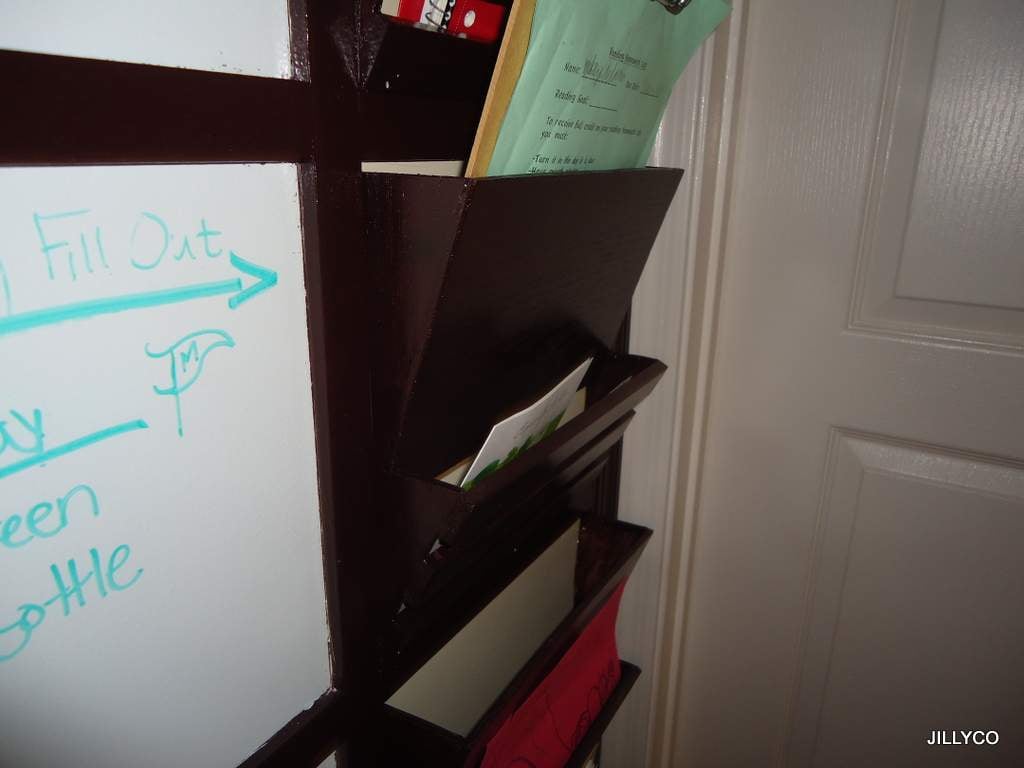
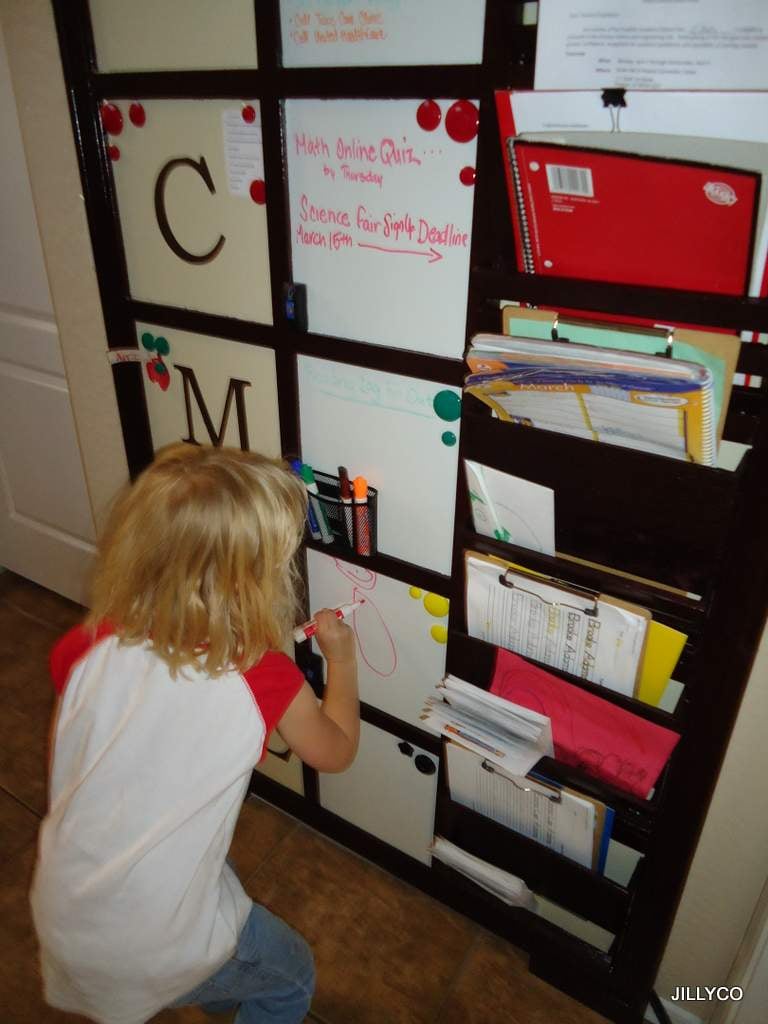
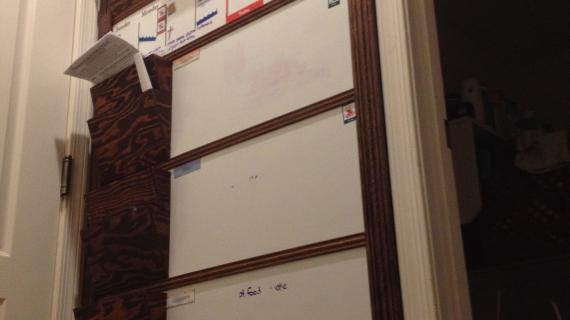
I have a Family Daily Organization Board that has a section for each family member that consists of a magnet center with LETTER, Dry Erase Middle (Magnetic As Well) and a Letter Bin system to hold all there papers, books, etc.
Please take into consideration that this was made for a family of six. Please adjust accordingly and good luck!
Preparation
1- sheet 1/2" PureBond Birch Plywood
1- sheet 1/4" PureBond Birch Plywood
1- sheet 3'x4' Sheet Metal (Galvanized)
3- 2 1/4"x 8' Pine Door Molding
4- 1 1/2"x 8' Pine Molding
1- 1x4x8 Pine board
1 PKG Rustoleum Dry Erase Paint
9/16" 18 gauge nails for Nail Gun/Stapler
40"X 78" sheet 1/2" PureBond Birch Plywood
2- 2'x 3' sheet Sheet Metal (Galvanized)
Beware: SHARP EDGES
2- 75 1/2" x 2 1/4" Pine Door Molding Beveled 45 degrees
2- 40" x 2 1/4" Pine Door Molding Beveled 45 degrees
2- 71 1/2" x 1 1/2" Pine Molding
5- 10 1/4" x 1 1/2" Pine Molding
10-11 1/2" x 1 1/2" Pine Molding
2- 7 1/4" x 1x4 Pine board
Please see Lady Goats Letter Bin instructions for directions on cuts list and templates.


Please read through the entire plan and all comments before beginning this project. It is also advisable to review the Getting Started Section. Take all necessary precautions to build safely and smartly. Work on a clean level surface, free of imperfections or debris. Always use straight boards. Check for square after each step. Always predrill holes before attaching with screws. Use glue with finish nails for a stronger hold. Wipe excess glue off bare wood for stained projects, as dried glue will not take stain. Be safe, have fun, and ask for help if you need it. Good luck!
Instructions
Step 1
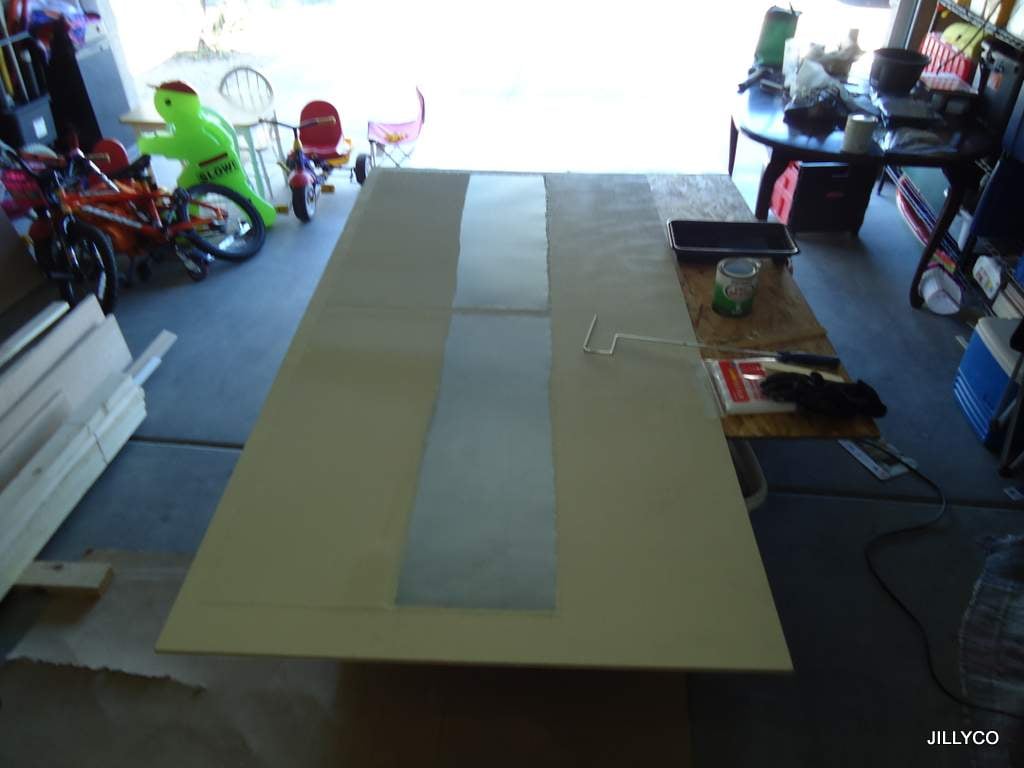
Take your 2- 2'x 3' sheet Sheet Metal (Galvanized) and attach it to your 40"X 78" sheet 1/2" PureBond Birch Plywood using the 9/16" 18 Gauge nail gun. If you do not have a finishing nail gun, pre-punch the metal before tapping your securing nails down in all corners and middle of metal. Paint exposed board and outer metal with desired color choice for base.
Beware: SHARP EDGES
Step 2

Apply Dry Erase Paint to the center Strip. Remember read the instructions on this special paint. LET completely dry before continuing on.
Step 3
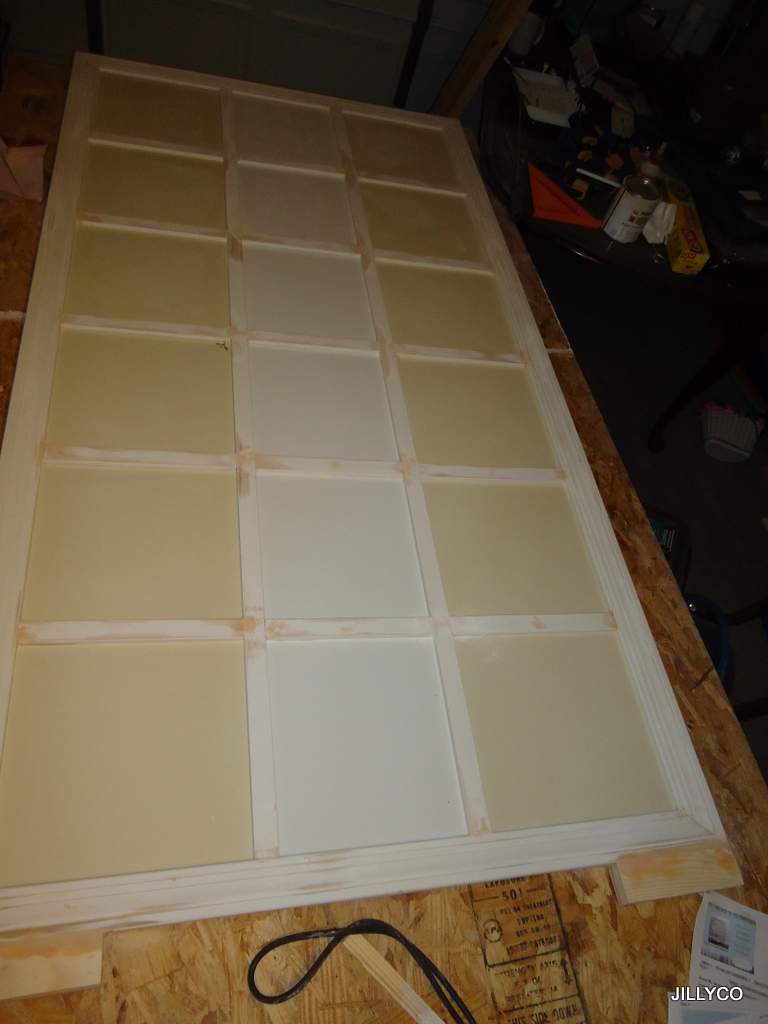
Take the two leg pieces "2- 7 1/4" x 1x4 Pine board" glue and staple to the bottom of the wall unit. Use the jig saw the cut out the notch between the two legs. Then Attach the outward "FRAME" 2- 75 1/2" x 2 1/4" Pine Door Molding Beveled 45 degrees and 2- 40" x 2 1/4" Pine Door Molding Beveled 45 degrees.
Step 4
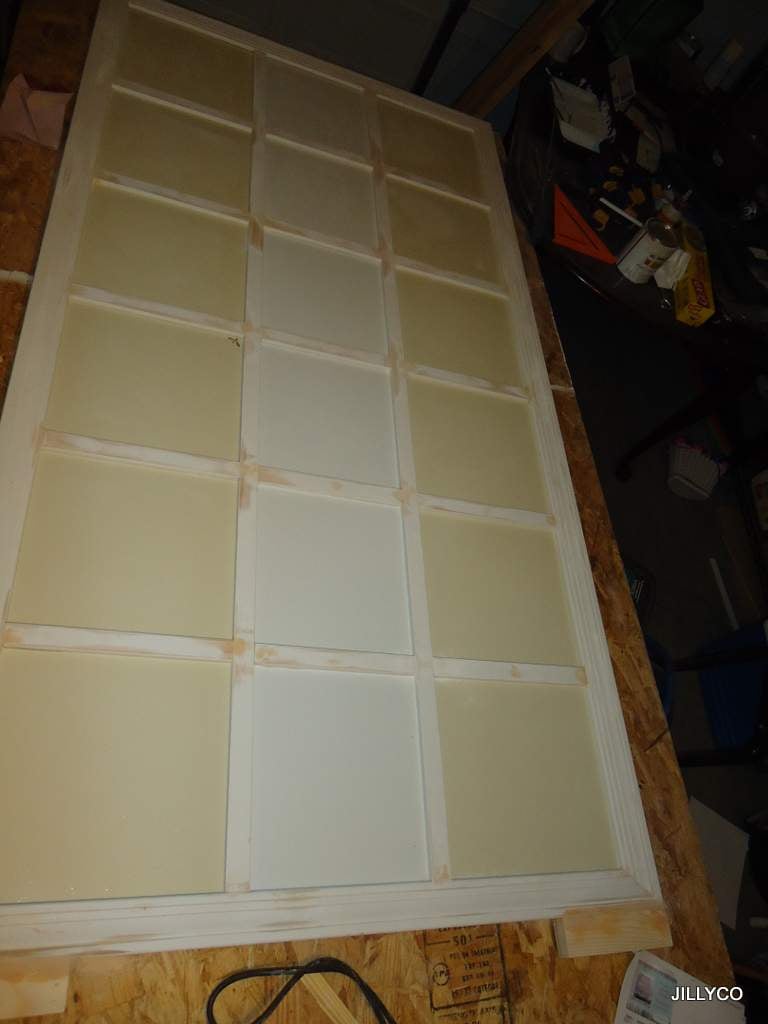
Glue and nail the two main vertical dividing 71 1/2" x 1 1/2" Pine Molding according to the measurements. Attach the horizontal center pieces (10 1/4" x 1 1/2") Pine Molding to desired height of squares. Mirror remaining dividers 11 1/2" x 1 1/2" Pine Molding. Remember the dividers are covering the metal edges of the steel. So keep it in mind when working on your project.
Step 5
Step 6

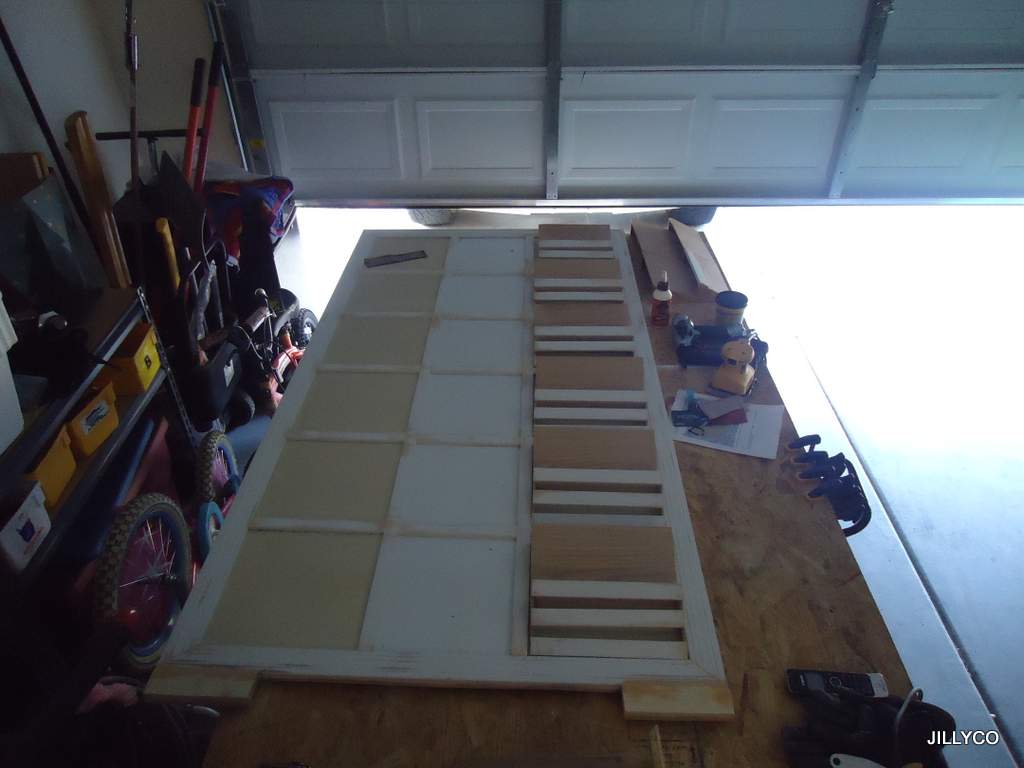
Fill all holes with wood filler and Sand down with 120 grit sand paper. Use Blue painters tape to protect the dry erase boards and base paint job.
Step 7

Paint trim to desired color. If attaching Monitor make sure you have a access hole big enough for the cords to enter and always follow the instructions on the mounting hardware.
Step 8
Secure unit to wall. I did this in the monitor square for extra strength and lagged it to a stud.
Step 9
Step 10

Step 11
Step 12
Decorate with letters and enjoy!!! I hope this plan helps! Good LUCK!
It is always recommended to apply a test coat on a hidden area or scrap piece to ensure color evenness and adhesion. Use primer or wood conditioner as needed.

Comments
Mickeyblueeyes (not verified)
Thu, 03/15/2012 - 05:47
HOLY MOLY!! You did an
HOLY MOLY!! You did an amazing job! wow
spiceylg
Thu, 03/15/2012 - 07:54
NICE!
This is really impressive. Awesome idea and great job bringing it to fruition!
tracysmith
Thu, 03/15/2012 - 08:21
This is awesome!
I love adding a bit of technology to everything so I LOVE the monitor up there, great idea! This would have been wonderful (and still just might) for my ADD son as well. He's in his last year of middle school and next year is High School! I'm worried about his lost papers and last minute permission slips, etc. Great Job!!!!!
Legomamaof4
Thu, 03/15/2012 - 08:58
Thank you all for the encouraging comments! ;')
My son (A.D.Der) is an 8th grader as well. And If he would only hand in his assignments on time he might pass. Ugh! This is my main reason to find an organization system to help my floaty son. Thank you all for the encouraging comments. Hopefully this helps everyone out with organization issues.
Murray (not verified)
Thu, 03/15/2012 - 09:18
What the What?! This is
What the What?! This is awesome possum lady :)
Guest (not verified)
Thu, 03/15/2012 - 09:54
What a great IDEA!
Kudos to a job well done on the organization. I love it... I might just have to copy it when I get strength to do it one day =).
Awsome!
Guest (not verified)
Thu, 03/15/2012 - 11:04
It doesn't end with middle school!
What an amazing organizer! @Legomamaof4 - as the ADHD mother of an ADHD child (plus 2 others), I want to let you know it's not too late for this project. The issues usually don't go away in high school, and there is so much going on in their lives, not only in the classroom, but with outside-the-classroom projects (often group projects), extra-curricular activities, social life, and so on. My ADHDer is almost finished with college now, but I could have used this for him (and still could for me) when he was in high school. I think any family could use this!
Guest (not verified)
Thu, 03/15/2012 - 13:28
WOW! I am going to tackle
WOW! I am going to tackle this for my family this summer while I am off from school. I have 5 children (newborn-10yrs) and we go through the lost papers,etc... I think I will combine this with a chore chart-maybe creating magnets with chores printed on them and put the assigned chore under each child's name. I would however love some instructions on how to incorporate that whole monitor idea. I'm pretty good with technology but need instructions sometimes :)
In reply to WOW! I am going to tackle by Guest (not verified)
Legomamaof4
Thu, 03/29/2012 - 07:19
Mounting hardware is simple and Easy
Mounting this hardware was simple. It is a simple light monitor. I will try to upload pics of the screen taken down to give you a better idea.
CorinnaHRN (not verified)
Sun, 10/07/2012 - 08:37
How do you display the calendar?
Thank you for bringing my dream to fruition. This is what I have always imagined as my perfect solution, but never could produce it.
However, I am having a mental block on how to make the calendar display on the monitor. Is the monitor hooked up to a computer, or is there a wi-fi technology that syncs directly to this cozi app???
Guest (not verified)
Thu, 03/15/2012 - 22:55
Wish I had this when my kids were in school.
This would have really been a big help.
Gary (not verified)
Fri, 03/16/2012 - 10:40
Question about the letters
First off tremendous job. I'm a Dad that has never built anything. We're going to attempt this in 2 weeks. My wife and I were wondering where did you get the letters? Were they painted on or adhesive? Again great job. I'm immensely impressed.
Gary
In reply to Question about the letters by Gary (not verified)
Legomamaof4
Sat, 03/17/2012 - 00:07
I love My Cricut!
I used a sheet of adhesive-backed vinyl and cut the letters out on my Cricut. It was an expensive investment but well worth it for the potential different applications.
6lilmonkies
Sat, 03/17/2012 - 11:34
<3
LOVE, LOVE, LOVE this!!!!!!
I am sooooo glad you posted this :) with my six (7mths to holy moly almost 11!) this will be a big help. we have a ton of charts in the hallway but I love how this is more of an all in one. I home school one with a learning disorder and my three year old has so many specialists and therapies that without my smart phone i would be lost!
In reply to <3 by 6lilmonkies
Legomamaof4
Mon, 03/19/2012 - 00:38
I love helping out my fellow D.I.Y.ers.
Just remember you can adjust this project to fit your space. It is really easy.
I stumbled up this Free Computer software that brought all the calendars together was Cozi.com. It allows for better organization of ALL my calendars. It even allows me to import school, Smart Phone and Outlook calendars all in one place. This is why I chose to mount the flat screen monitor to the project.
I am so glad that I am able to help out! ;')
You are a SUPER MOM in my book!
Ana White
Mon, 03/19/2012 - 00:53
Thank you so much for sharing
Thank you so much for sharing this plan! I am still just amazed at how amazing the whole project turned out!
PS Love your profile pic! It is precious!
Guest (not verified)
Mon, 03/26/2012 - 19:17
Cost
This is really great! Can you please tell me what the total cost for this project is?
Thank you!
In reply to Cost by Guest (not verified)
Legomamaof4
Thu, 03/29/2012 - 07:15
The Cost is....
The total price for this project is about $200. This includes lumber, paint, steel, nails, glue, and mounting hardware for the flatscreen. It does not take into account the price of the flatscreen ( I had that from a old computer years ago). I hope this helps!
KietAZ (not verified)
Wed, 04/25/2012 - 10:21
I am so impressed by this
I am so impressed by this organizer. Looks too daunting for me, but you're one creative and talented lady! Kudos for an incredible job! Have you considered productizing it? I came up with a line of no tie aprons just to meet the needs of my kids too...check it out... www.tiefreeapron.com
Juliluvsherboys (not verified)
Fri, 05/04/2012 - 19:18
Beautiful job and what a lucky son you have!
Hello,
I love this project you did a beautiful job!! I may have to also do this myself. I also am an ADHD mother of an ADD son, who is 8 years old, with a one year old baby brother. I have to commend you with your hard work and effort to help your son :") I, like all of us parents of children with any challenges am constantly looking into the best possible way to help my son as I also know how frustrating it is for the person with ADD or ADHD. I think what you did was awesome and best of luck with everything! :)
Julianna
MissNomer
Sun, 12/02/2012 - 19:51
Paint and finishing technique
I would LOVE to know the paint color and finishing technique you used on this project! It is EXACTLY the look I am going for! I have an Ana White inspired bookcase that has been sitting unpainted for 2 months now. Thanks for your inspiration and response :)
PirateMom (not verified)
Fri, 12/14/2012 - 06:16
Flat Screen Monitor
I'm a very tech driven mom, most things I do are planned/organized online. So how did you install the computer monitor? Is it wireless? If not how it connected to the computer? How do you manage to keep the Cozi screen up all the time? Would love to add this to our family organization center!!
Chet-and-natalie
Fri, 01/04/2013 - 19:33
logistics question
Legomamaof4, I am a mom of 4 too! This is amazing! I see that several people have asked, so I hate to be a broken record, but can you please explain how you have the computer itself set up so that the cozi calendar is showing on the screen all the time? Do you have just a computer dedicated just for this purpose and just have the cords running to it, or do you use the computer for other things and have some way to keep it up all the time, or what? And I am assuming you need to leave the computer on at all times wherever it is, but not sure. We would love to build this to get our lives a little more organized. Thanks for sharing!!!