


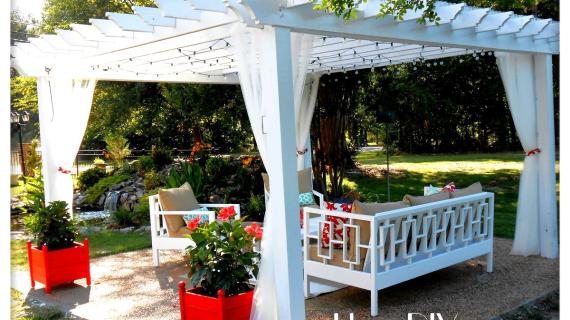
Make cute planter boxes from wood for just $15 each!
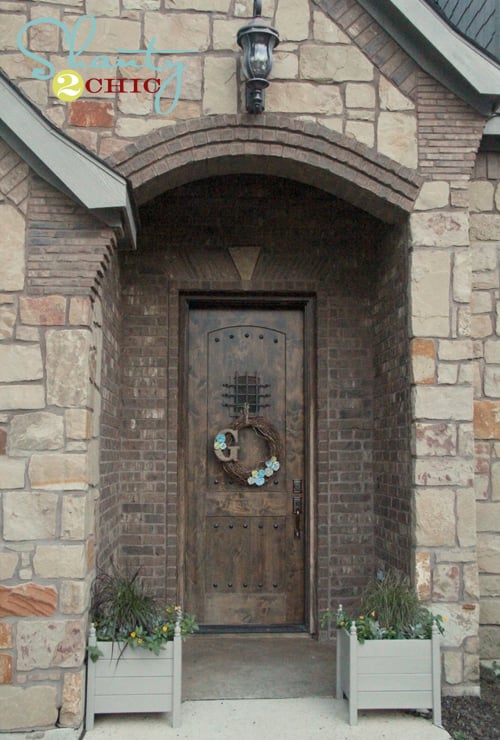
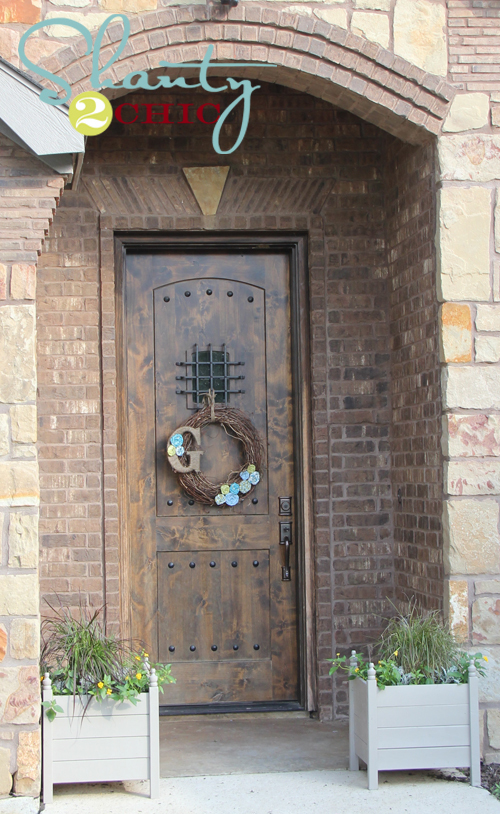
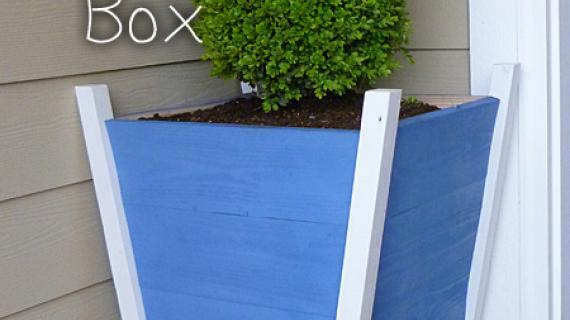
A few weeks back, my friend Whitney from Shanty2Chic sent me a link to these amazing planters.

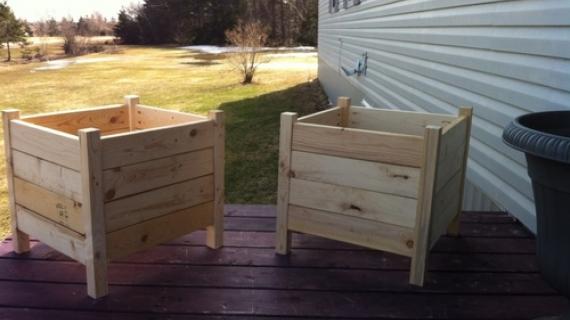
I thought they looked familiar. Do you recognize them?
Turns out, these planters are DIY, built and bragged by the super talented Liz H!
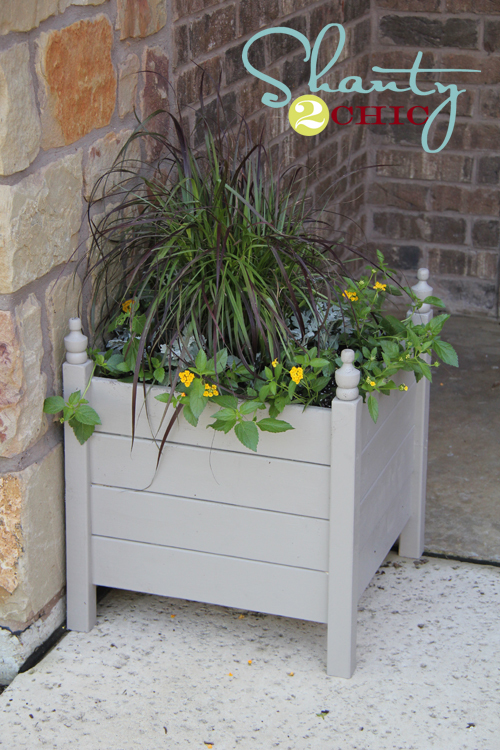
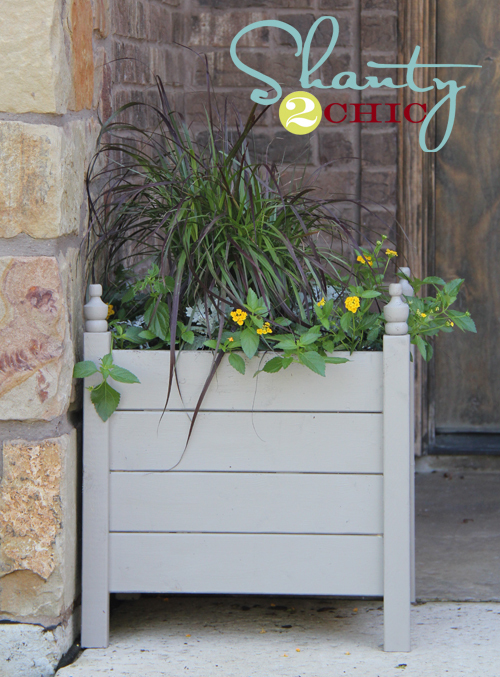
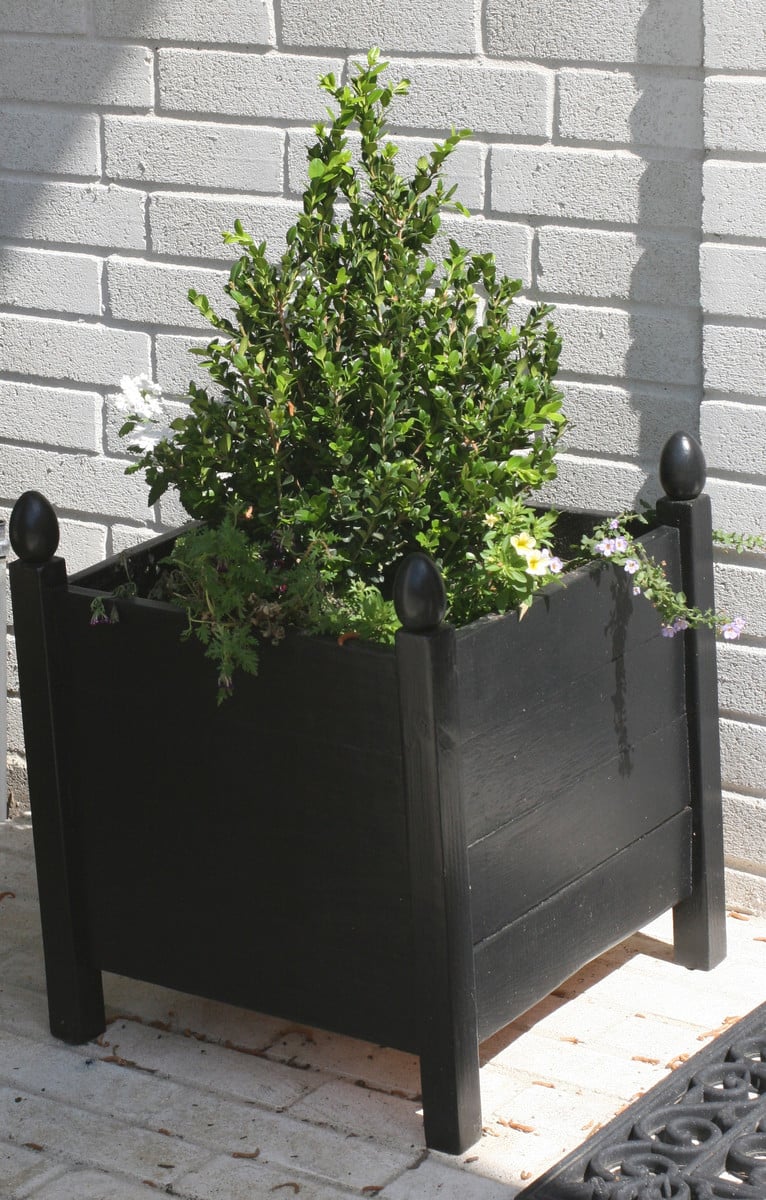
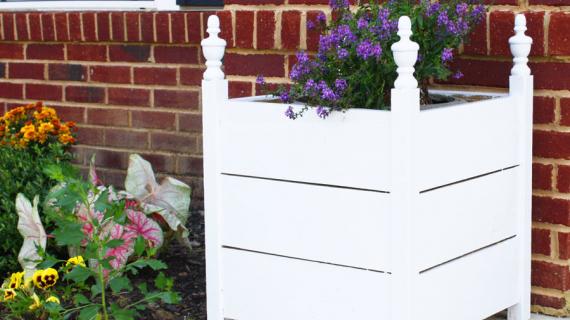
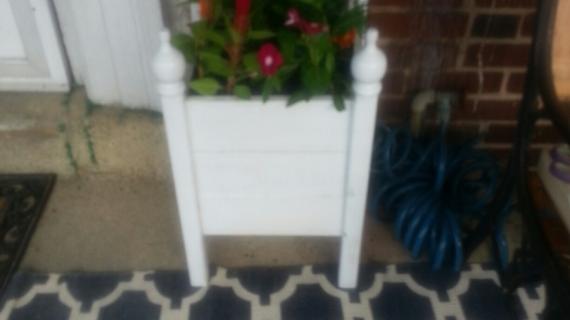
I couldn't wait to draw up plans inspired by Liz H's planters for Whitney. For just $15 each, a few days later, Whitney built these.

So cute!!!
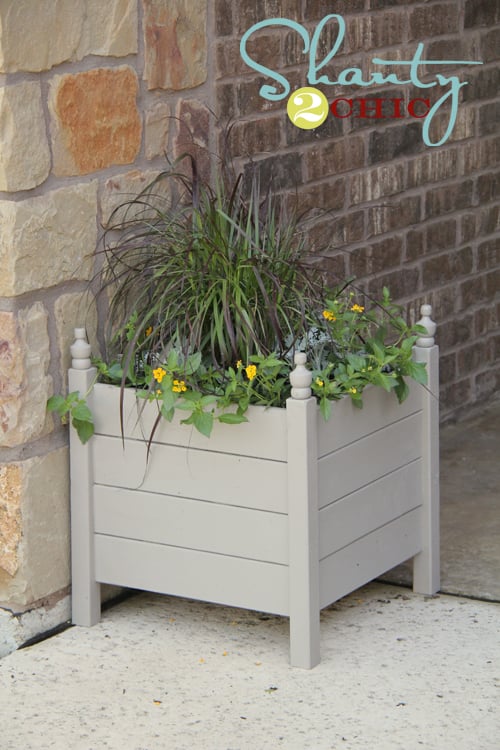
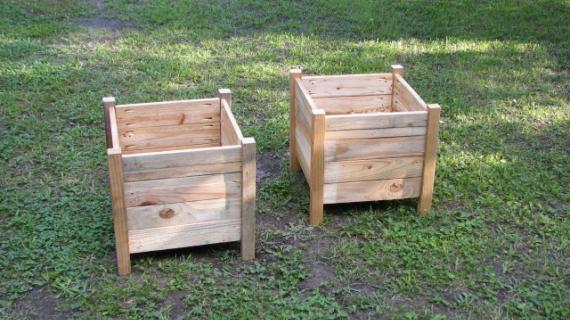
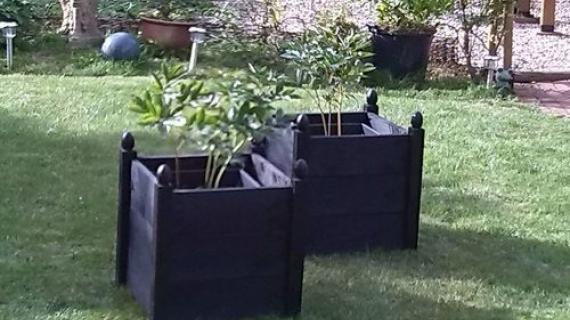
And now, I'm posting plans so you can also build these planters! Check it out!
And if you want to see more details, Whitney has put together a detailed post on building these planters. Thanks Whitney!!!
Preparation
Either 2 – 1x6 @ 8 feet long OR 3 – 1x4 @ 8 feet long
2 – 1x2 furring strips @ 8 feet long
1 – 2x2 @ 8 feet long
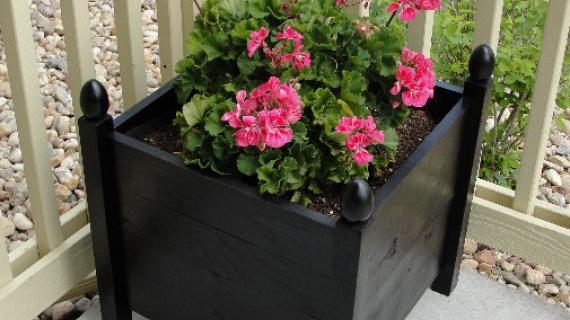
4 craft finials
1 ¼” PH screws
NOTE: If 2 – 1x6 x8’ boards are cheaper than 3 – 1x4 x 8’ boards, use three rows of 1x6s instead of four rows of 1x4 for the sides. I’d also make the legs 20” long instead of 18”.
1 ¼” finish nails
Wood glue
Hardware cloth, tar paper or other material or plastic planter for containing soil on slats
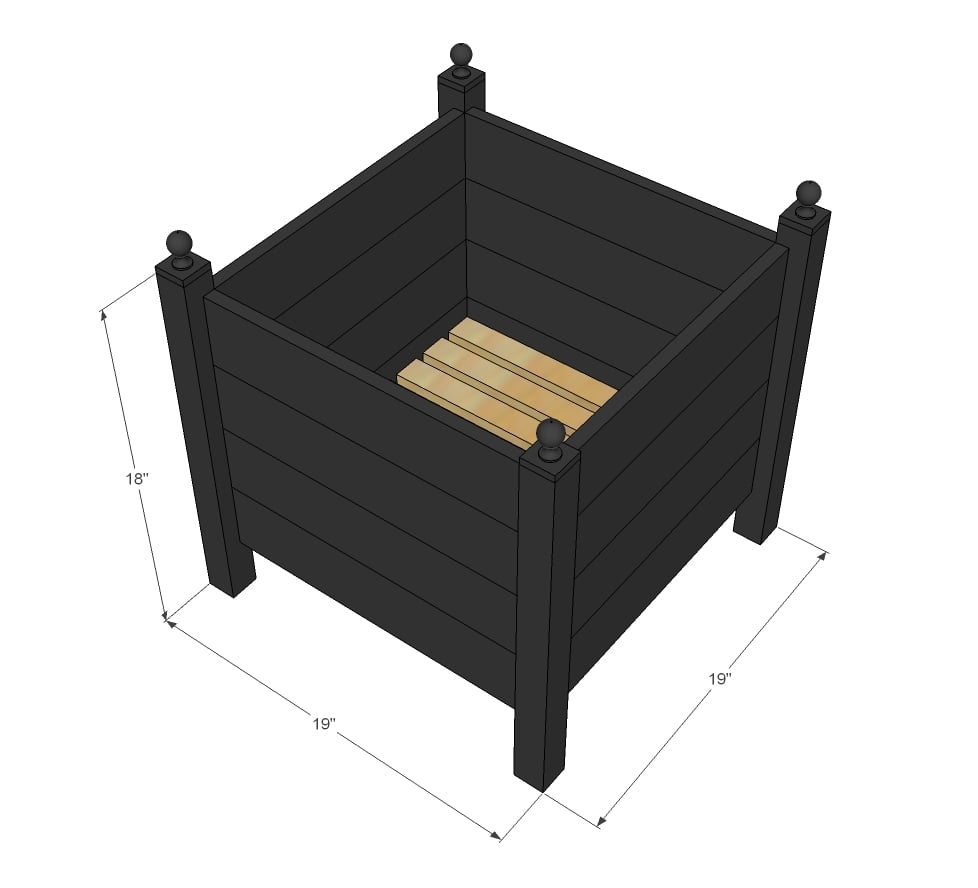
4 – 2x2 @ 18” long (legs)
16 – 1x4 @ 15 ¾” OR 12 – 1x6 @ 15 ¾” (sides)
10 – 1x2 @ 15 ¾” (bottom slat system)


Please read through the entire plan and all comments before beginning this project. It is also advisable to review the Getting Started Section. Take all necessary precautions to build safely and smartly. Work on a clean level surface, free of imperfections or debris. Always use straight boards. Check for square after each step. Always predrill holes before attaching with screws. Use glue with finish nails for a stronger hold. Wipe excess glue off bare wood for stained projects, as dried glue will not take stain. Be safe, have fun, and ask for help if you need it. Good luck!
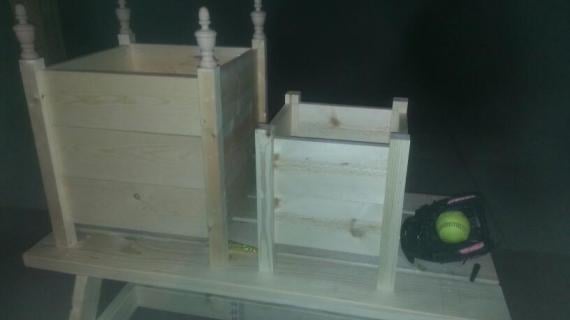
Instructions
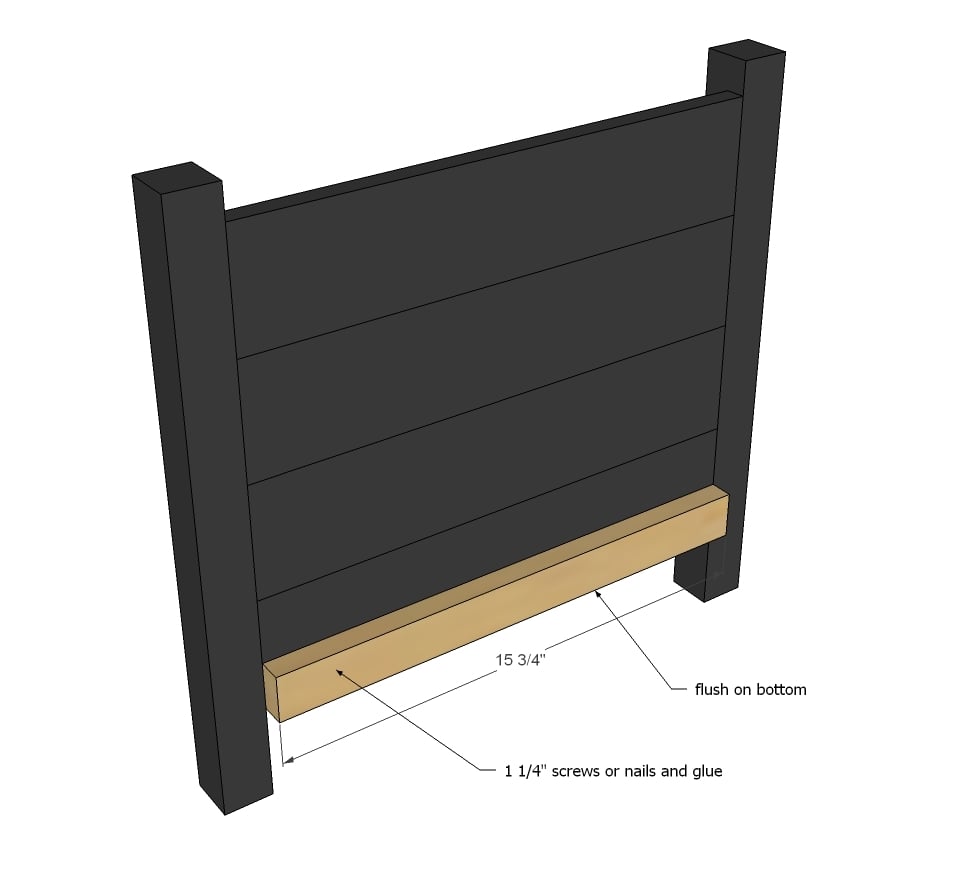
Step 1
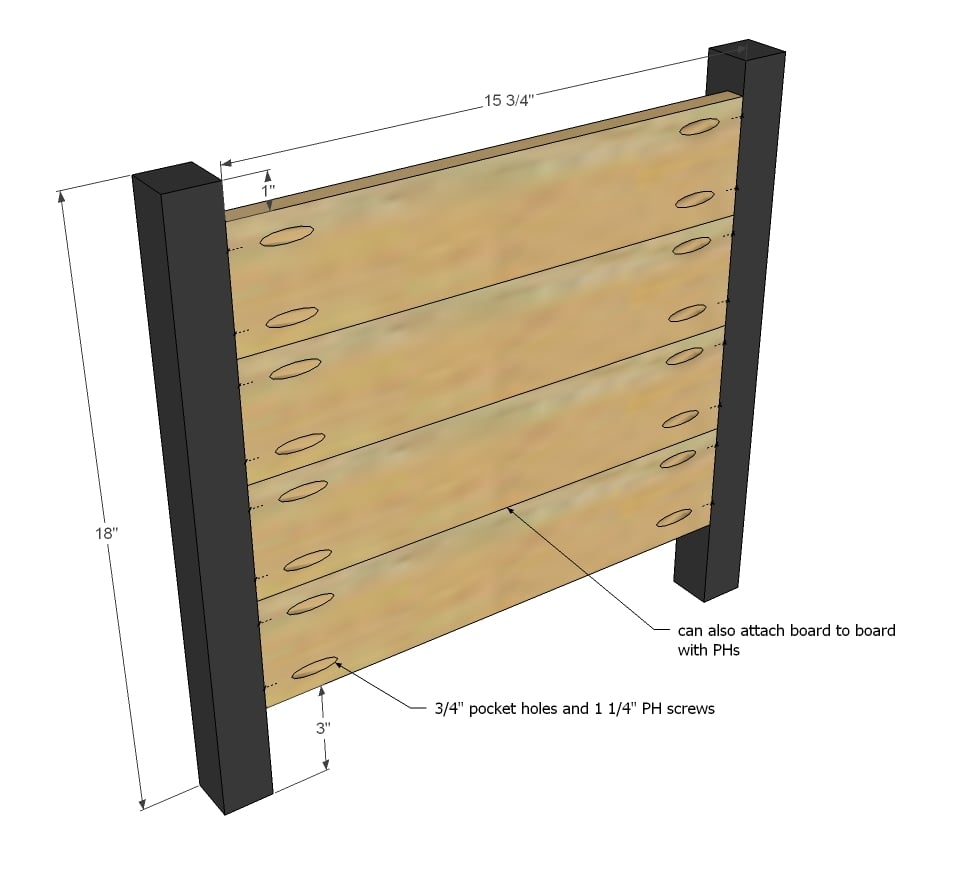
First build two ends as shown above. Note that you can build shorter or longer sides - it's all the same basic construction.
Step 2
To the two ends that you built, add the cleats. It's easier to do this now then later.
Step 3
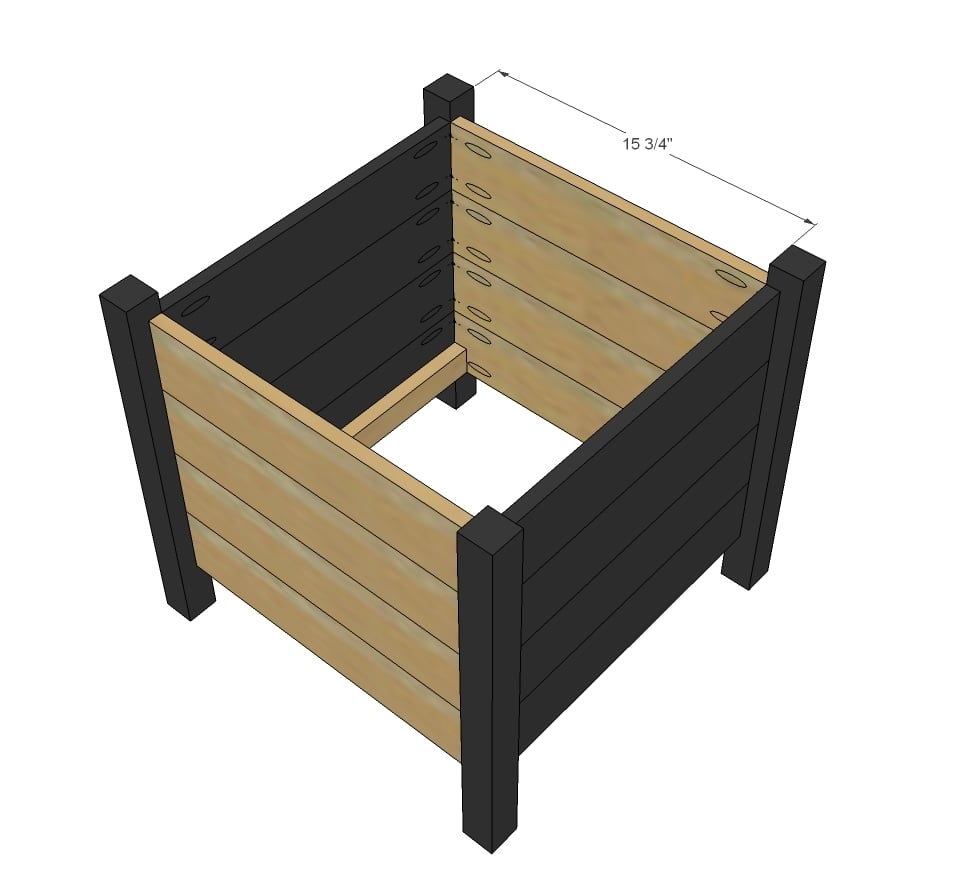
Now add the sides - easy peasy!!!
Step 4
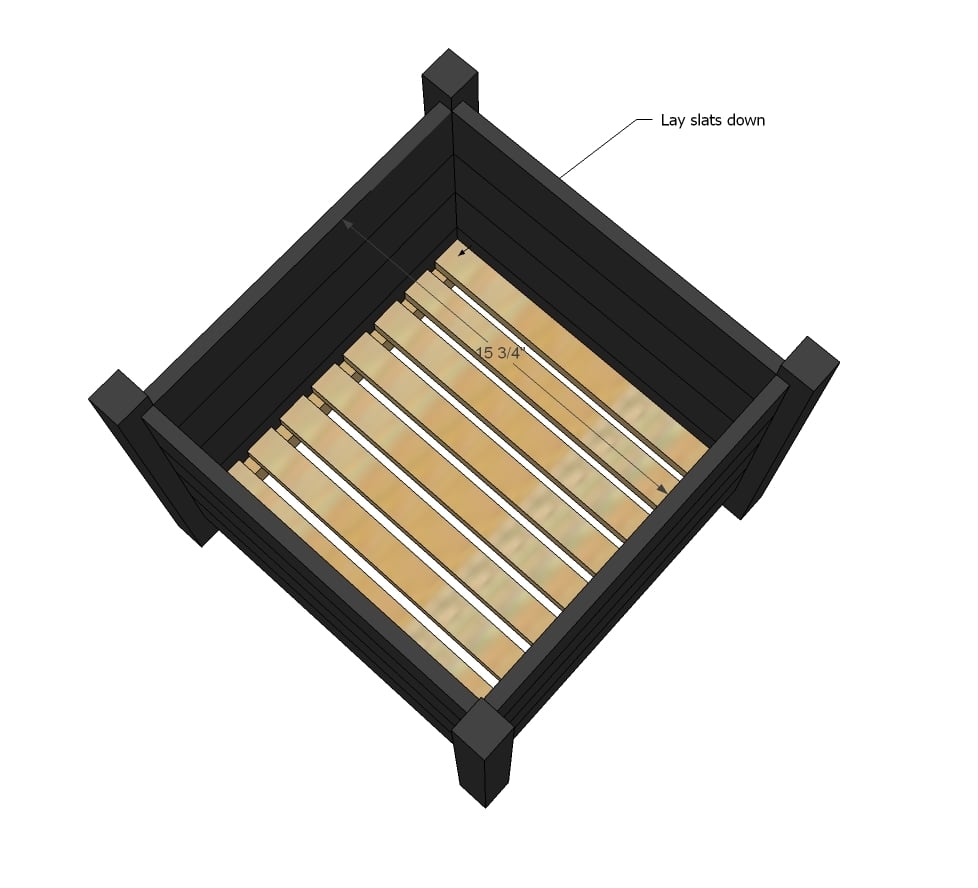
And finally, lay slats down. You may wish to add gardener's cloth to the bottom to protect the wood.
It is always recommended to apply a test coat on a hidden area or scrap piece to ensure color evenness and adhesion. Use primer or wood conditioner as needed.


Comments
wyntersun
Thu, 04/12/2012 - 16:52
Fantastic!
How do you always seem to know what I NEED the moment I need them? I was just at Lowes today trying to figure out if I could make these myself.
Guest (not verified)
Thu, 04/12/2012 - 21:01
I want this NOW
I have been wanting these for my front porch. Thanks for the plans. I'm thinking about using ceder fencing.
t
PA PA B
Fri, 04/13/2012 - 09:38
Outside Planters
What type of wood was used?
In reply to Outside Planters by PA PA B
tracysmith
Sat, 04/14/2012 - 15:50
From my experience, the
From my experience, the "furring strips" usually refers to a lower grade pine or white wood. :-)
wyntersun
Sun, 04/15/2012 - 19:03
I see these on my porch in the very near future...
I was trying to figure out if I had enough scraps to make one of these this week. Lucky for me, I saw that our neighbor was throwing out a perfectly good new pallet and had my son run across the street and rescue it for me. Score!
stcurry
Wed, 05/16/2012 - 10:33
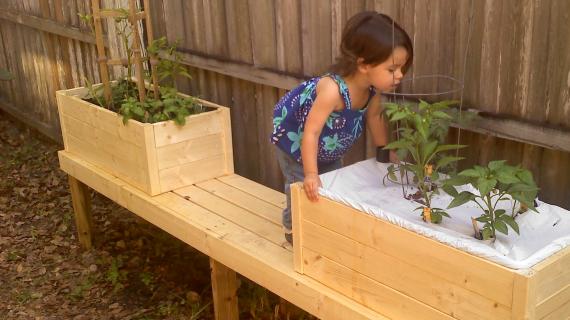
These are perfect but I was wondering
I love this plan and I think that I have enough scrap wood to build one. But I was looking for a plan that would hve a planter on the end and a bench in between them. I saw one at the store today and thought that would be really easy to build and I think I could even do it better then they did for $200. I a a little scared to do it with out a plan. Worried about hw tall everything should be.
JHansen (not verified)
Fri, 05/18/2012 - 11:57
You could build two of these
You could build two of these to use as the ends, and just put the bench slats across the top. Go with the 20 inch height, and I think you would be fine.
Plant Stands (not verified)
Sun, 05/27/2012 - 13:48
What Goes Inside?
Sounds like a silly question, but do you fill these guys with dirt or just put plants already in pots in there?
SavySamantha (not verified)
Sun, 06/10/2012 - 15:44
I love these!
I love these!I have been to TJ Maxx like a dozen times looking for some of these. I finally gave up and decided to try and make me some, (at a fraction of the cost.) Thank You Thank YOu for posting ! =)
JenWoodhouse (not verified)
Sun, 07/08/2012 - 19:19
Just built these!
I just built these and am totally loving them! Thank you for the plans!
I'm pregnant and nesting and your carpentry projects are giving me such a creative outlet! THANK YOU!
http://jenwoodhouse.com/blog/2012/06/08/box-planters/
Aafke (not verified)
Tue, 07/17/2012 - 02:52
pocket holes
I had some trouble with the pocket holes. It took me quite some time to get the sides up! Any tips on making them with an ordinary drill?
The keen carpenter
Fri, 05/02/2014 - 07:06
This will be my first Project.
The more I look at this site the more excited I get. I have found a place here in Victoria, Australia that is happy to give anyone wooden pallets. You can usually get some great wood from them, especially if they are the heavier ones - sometimes they are made of hardwood!
Wendy S
Thu, 06/19/2014 - 14:05
Aafke -- if you don't have a
Aafke -- if you don't have a Kreg jig to make the pocket holes, I'd probably just put the legs on the inside of the box and attach the side pieces from the outside into the legs. Then maybe tack on a trim piece to hide the nails/screws.