
Hi DIY Peeps.
This is a pretty simple project.
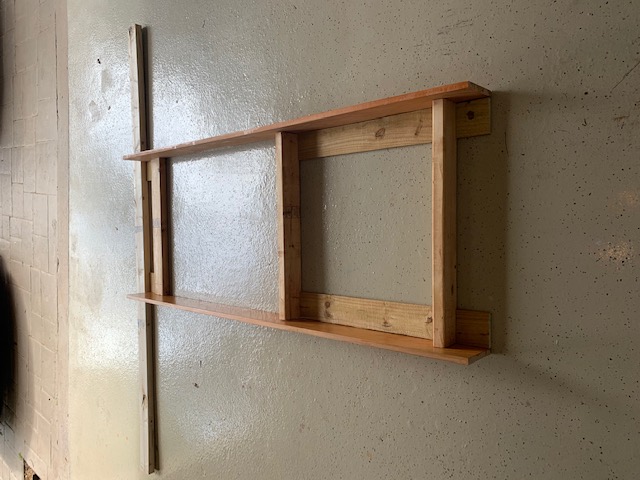
The main point is to keep everything level across the 4 boxes.
I used simple jig's which were exact copies so I knew where to attach the shelves properly and level.
Note this on the pictures.
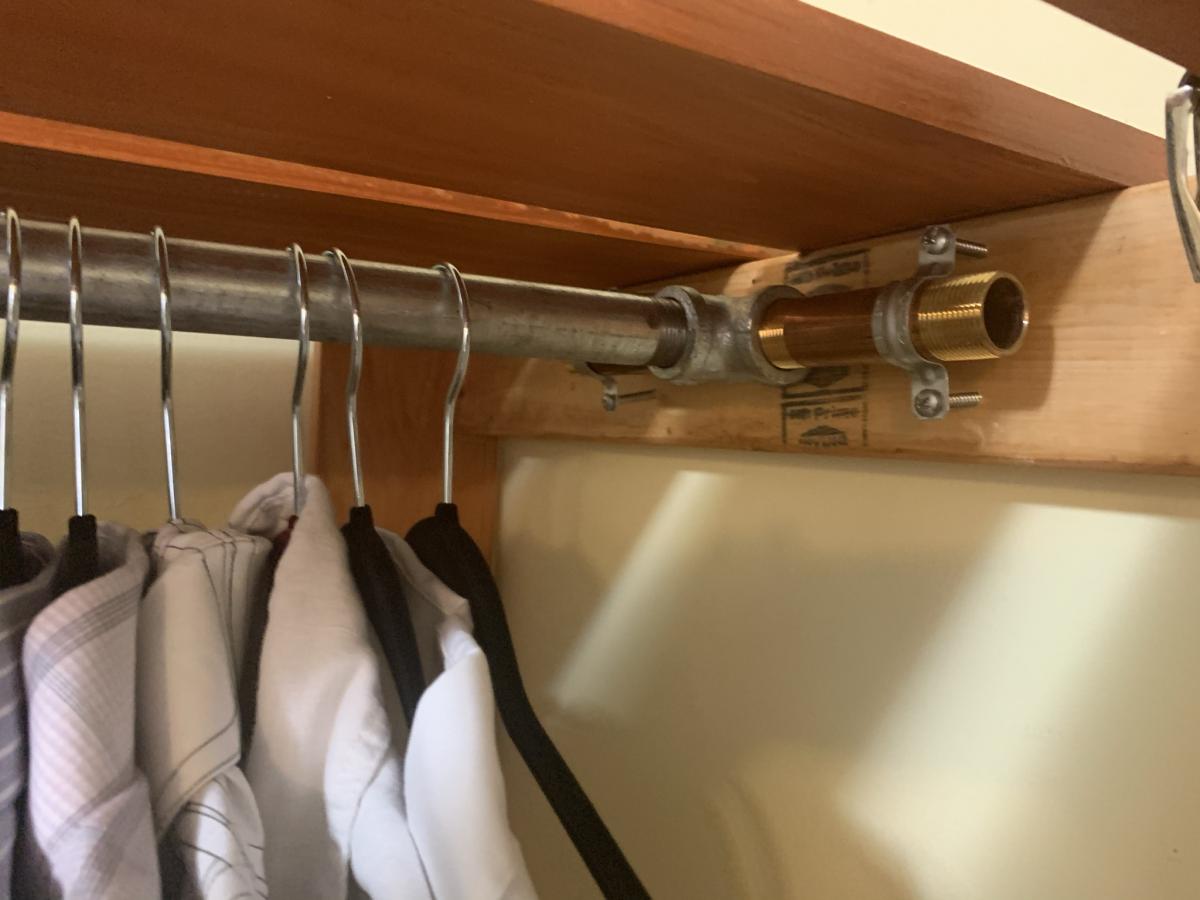
I wanted to use all Galvanized Pipe but sadly no matching parts.
Here I would suggest as Did Ana to keep your shelve parts no more then 3 feet or so.
Why, you can get off the shelf 36" precut galvanized pipes easy. Most closets are 8' or less so anything over that is a problem.
My measurements were
H=78"
W=8' 3"
Depth 28"
The Center Part is 2' as that was the natural distance as I went wall to wall 3 + 3 + 2 = 8
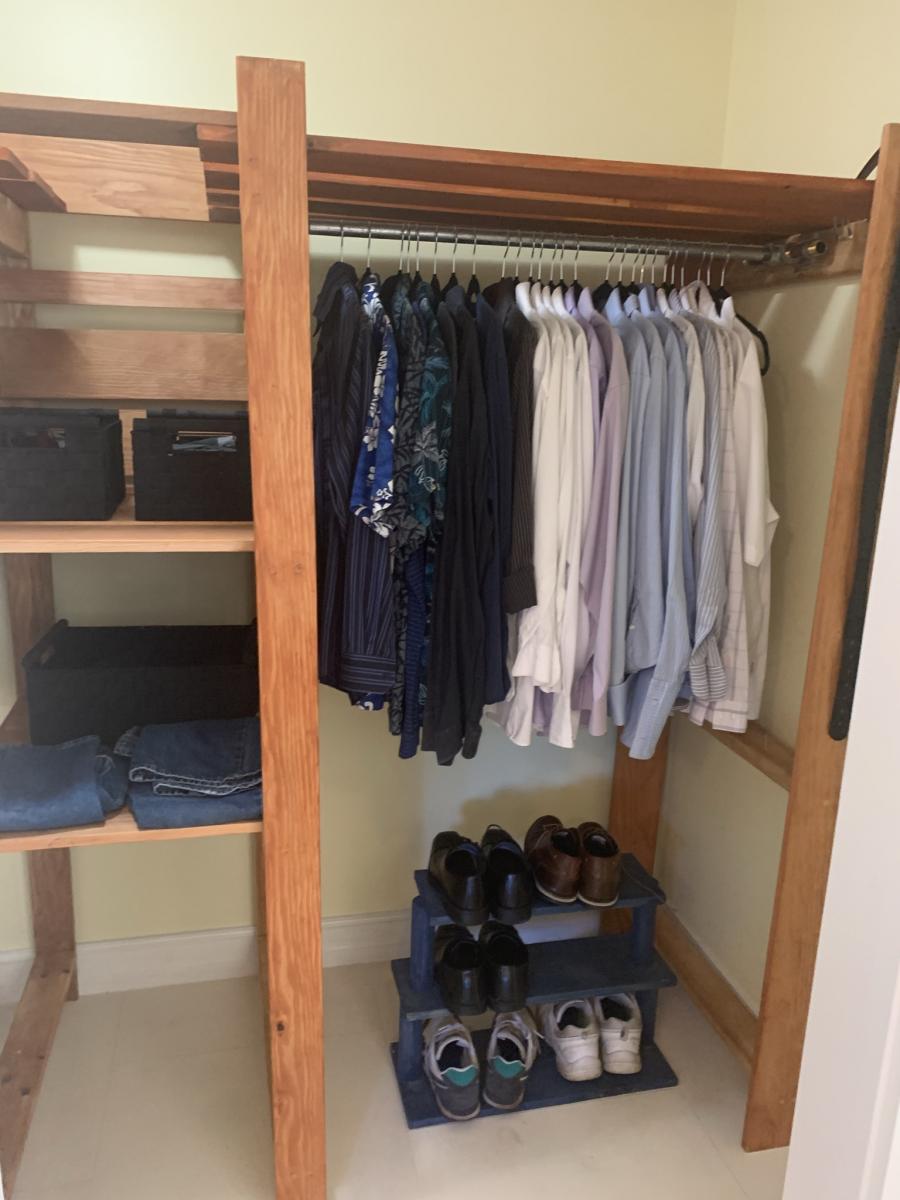
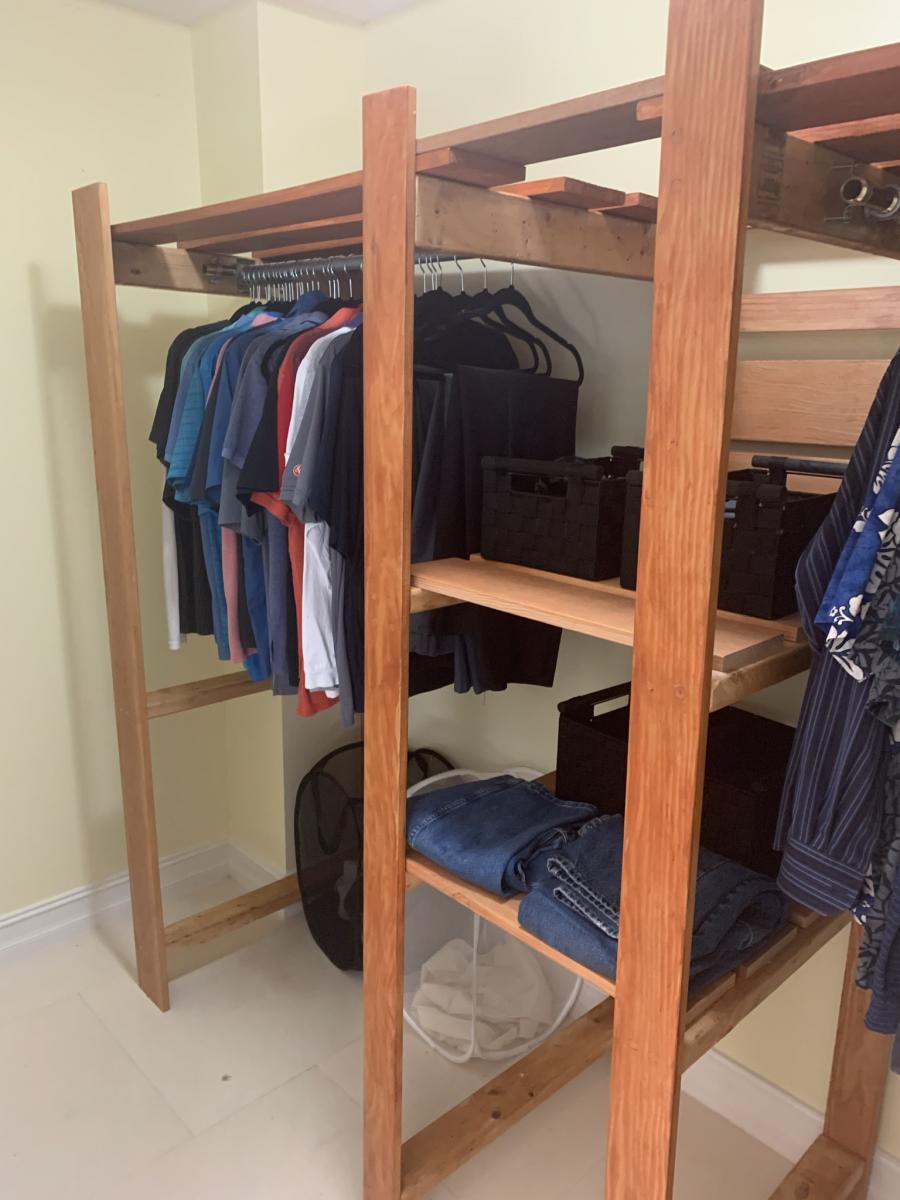
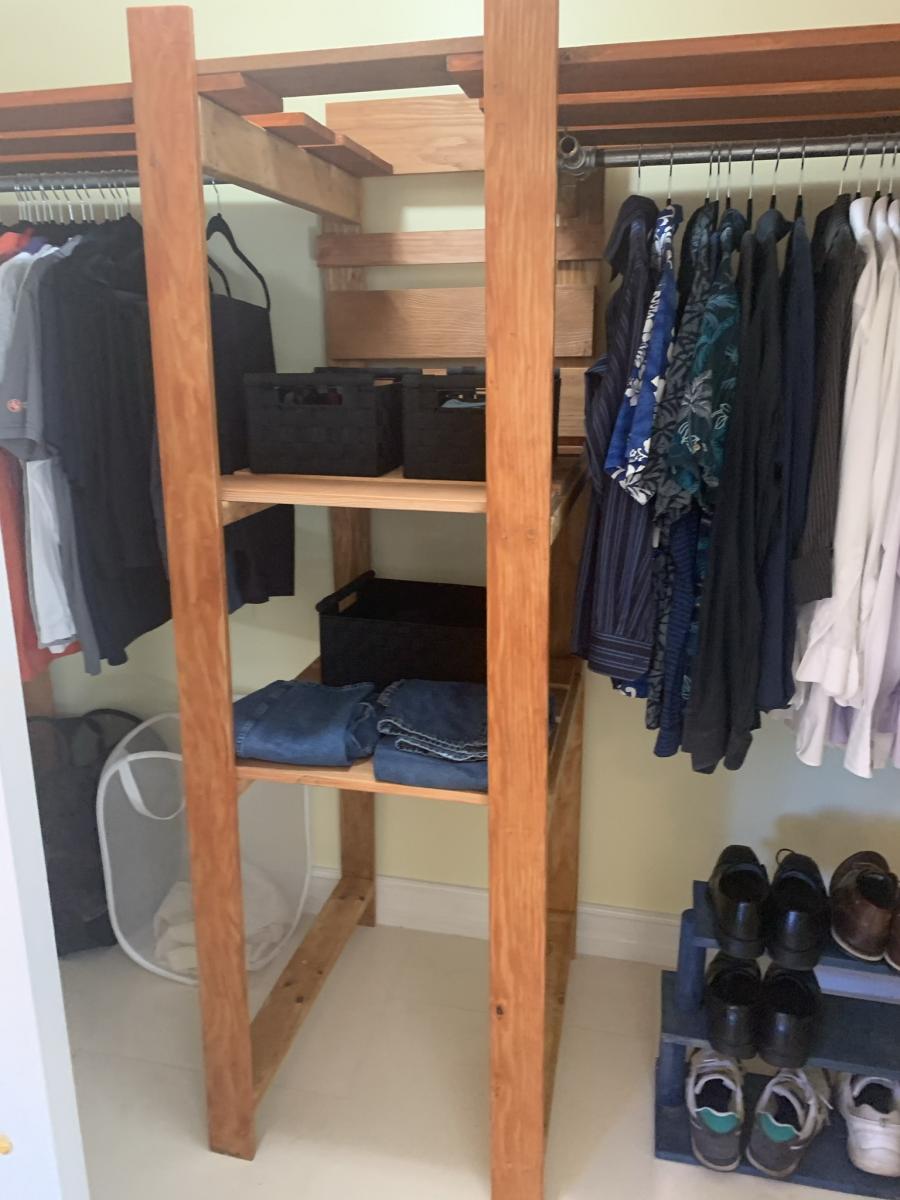
I modified the build to allow more storage on the top for bigger boxes and use as a Linen Closet of sorts.
My closet is out of Fir , and 2x4's I didn't want a all 2x4 closet. The thin wood at 3/4's get a lighter look to the closet. Also don't forget to screw the frame to the wall for safety, this is a pretty heavy closet !
Pine would work as would poplar or oak. But the 3x4 thick and 5" and 3" wood really made it look great.
Notice have the 5" is the middle and the 3" wide is at each end. This gave the closet a more fun look.
Notice the hanger for the 3' galvanized rod. I used Copper and pipe clamps to give it a unique look.
This really makes the closet Pop.
Overall it was a fun project, it took 3 weekends as I stained it with Carmel Oak color and that took 3 coats on the Fir.
The shelves are the longest part of the work, but use the jigs like I did and it will come out all level.
I am very happy with it in the End, Sadly i can't open the doors all the way to show how big this actually is!
Comments
Ana White Admin
Tue, 11/03/2020 - 11:13
Awesome job!
Thanks for sharing, it looks great!