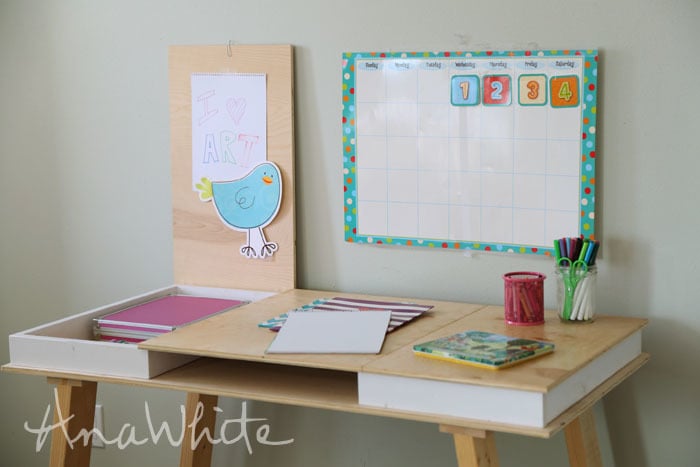
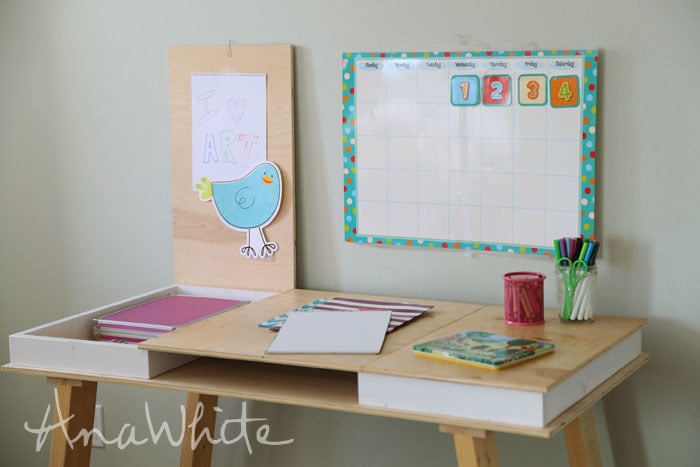
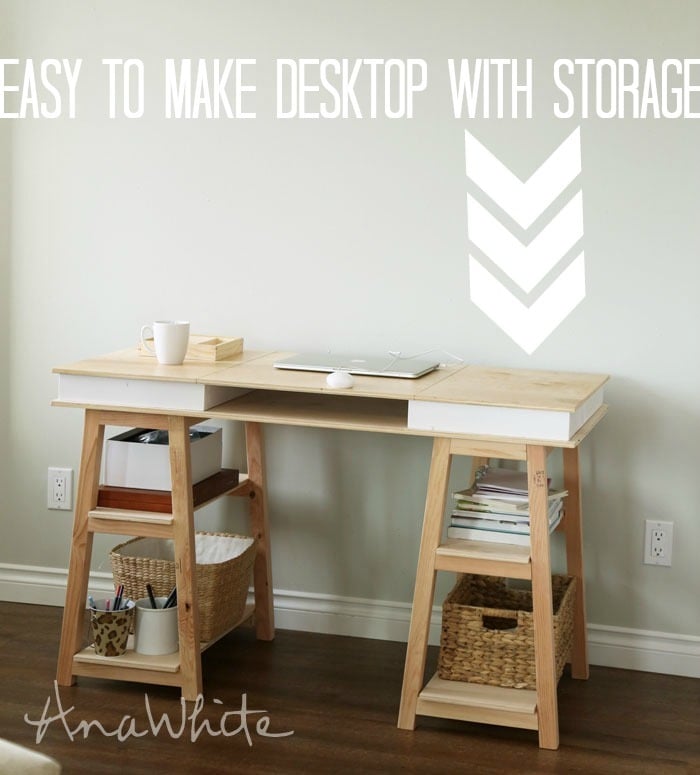
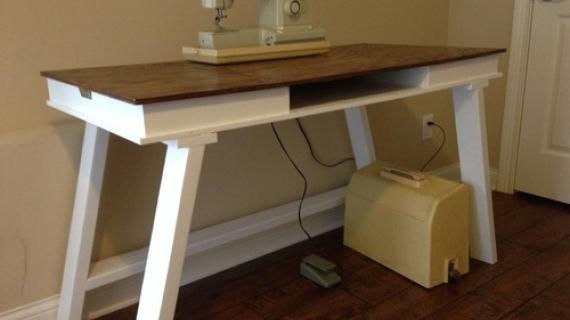
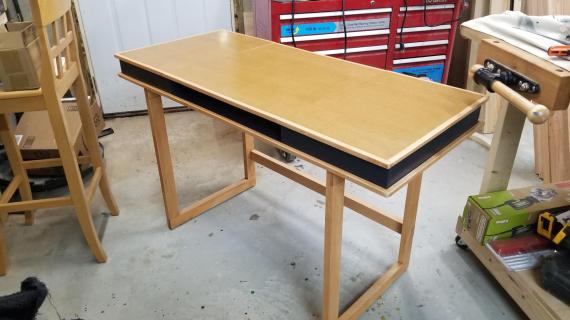
This desktop is easy to make and works great! Add different bases to get the perfect desk! DIY plans by ANA-WHITE.com
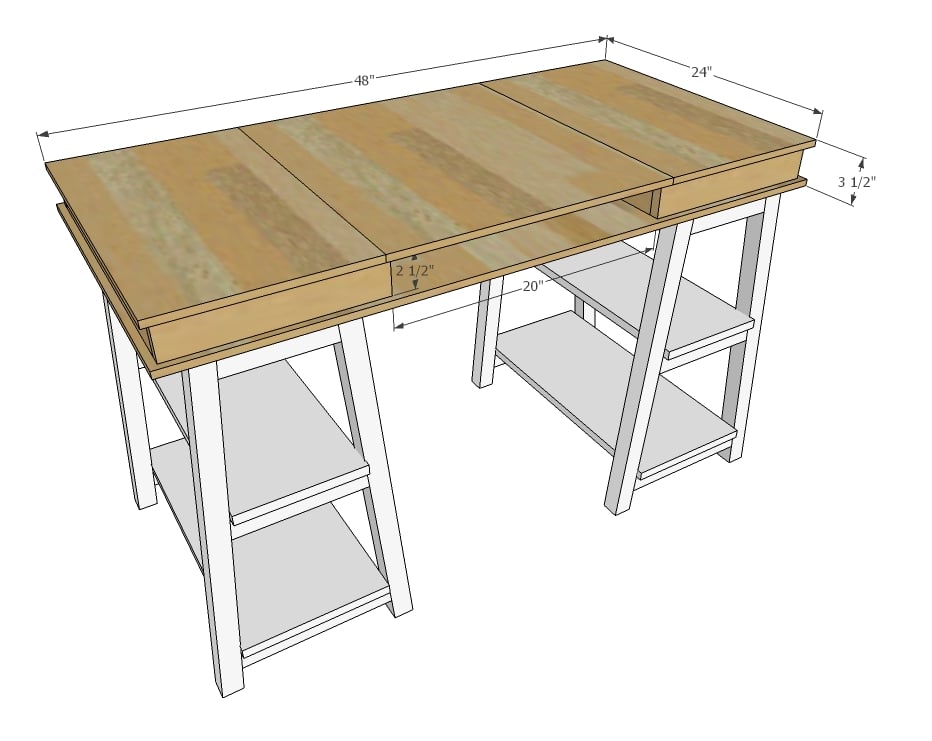
Preparation
2 - 24" x 48" project panels (available off the shelf) - I used 1/2" thick but 3/4" would be fine too (will make your desktop 1/2" thicker though)
2 - 1x3 @ 8 feet long
2 sets of simple butt hinges
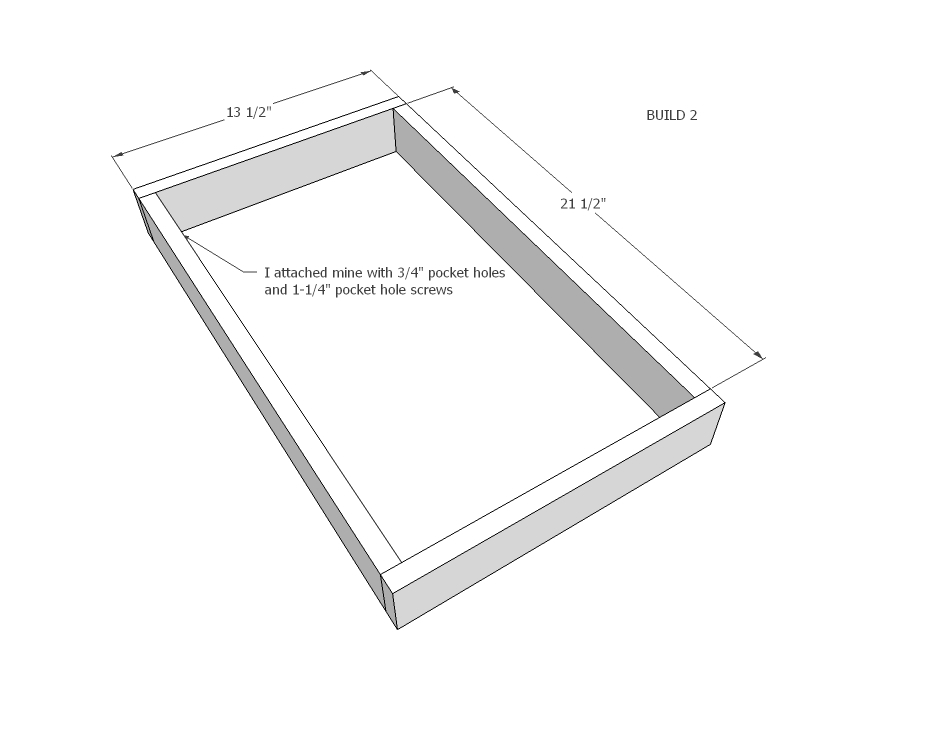
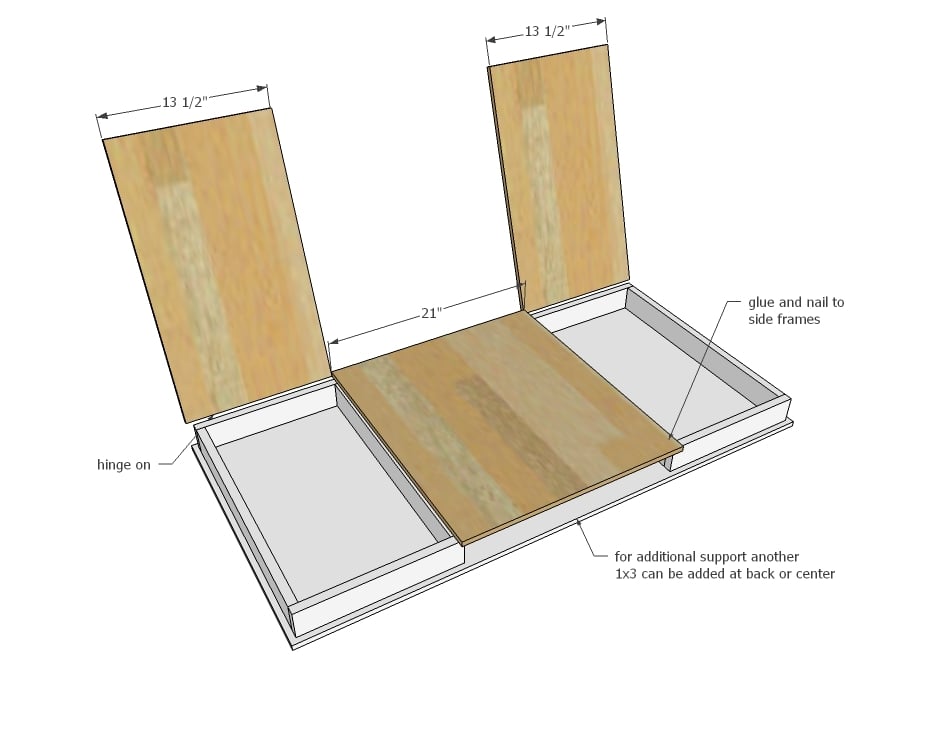
4 - 1x3 @ 13-1/2"
4 - 1x3 @ 21-1/2"
1 - 1/2" thick plywood panel @ 24" x48"
1 - 1/2" thick plywood panel @ 24" x 21"
2 - 1/2" thick plywood panels @ 24" x 13-1/2"
Please read through the entire plan and all comments before beginning this project. It is also advisable to review the Getting Started Section. Take all necessary precautions to build safely and smartly. Work on a clean level surface, free of imperfections or debris. Always use straight boards. Check for square after each step. Always predrill holes before attaching with screws. Use glue with finish nails for a stronger hold. Wipe excess glue off bare wood for stained projects, as dried glue will not take stain. Be safe, have fun, and ask for help if you need it. Good luck!
Instructions
Step 2
Step 3
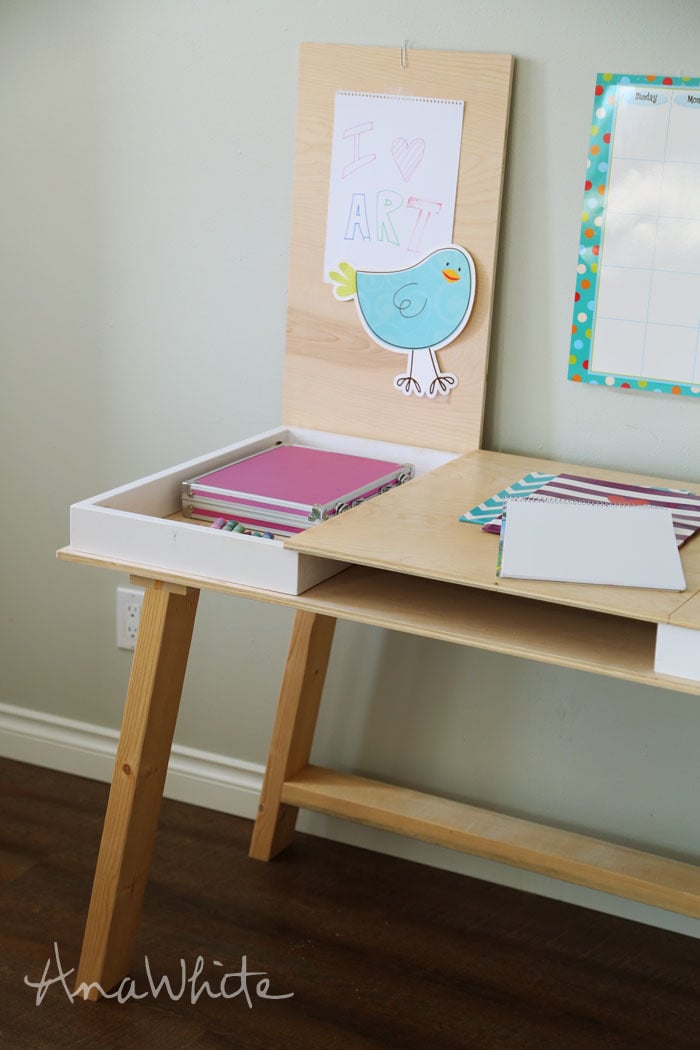
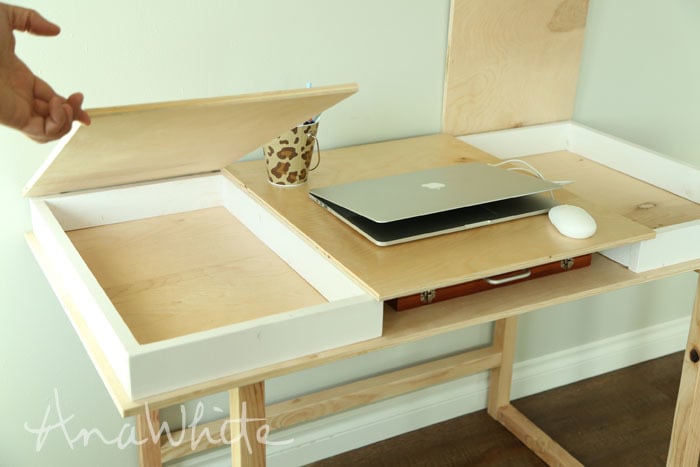
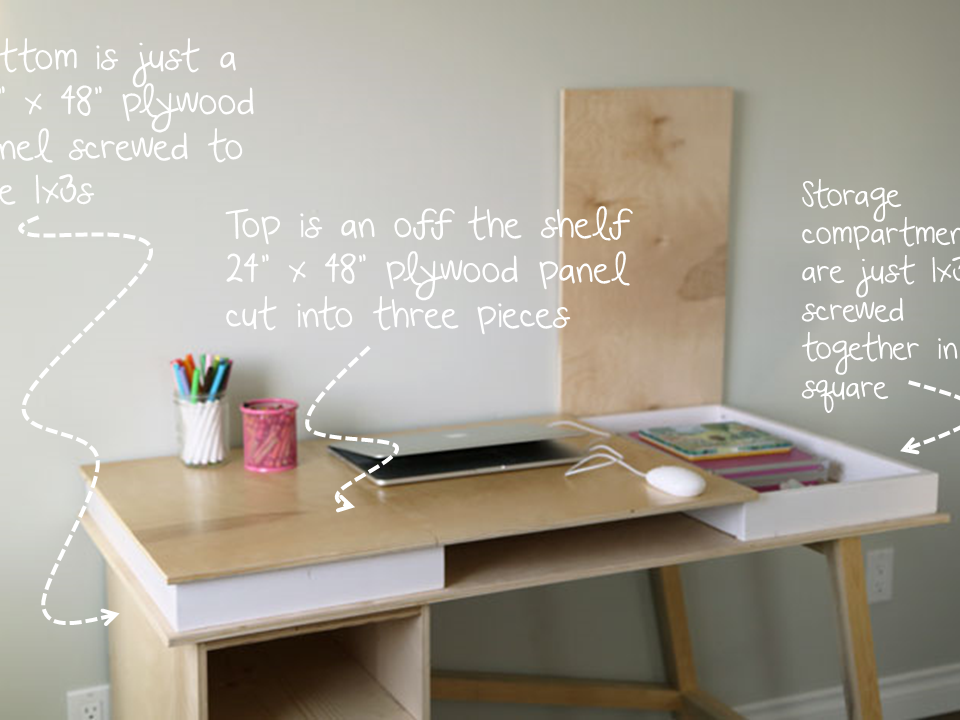
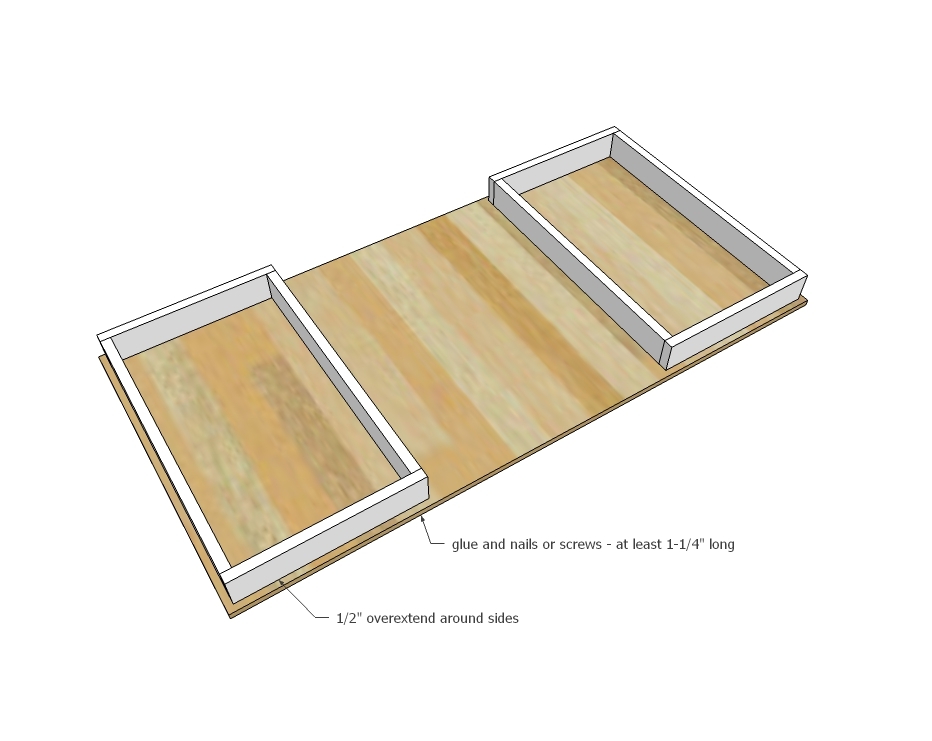
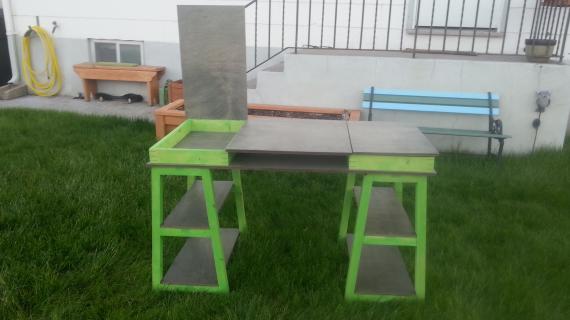
Cut the top panel into three pieces and attach center piece on top of the two 1x3 frames. You can also add additional 1x3s underneath to put a "back" or middle divider under the center panel (IDEA - place a power strip in the back and a 1x3 to divide with holes to create a charging area). Hinge the two side panels on with simple hinges so the hinge pin sticks out the back when closed.
It is always recommended to apply a test coat on a hidden area or scrap piece to ensure color evenness and adhesion. Use primer or wood conditioner as needed.








Comments
Lady Goats
Mon, 01/19/2015 - 13:38
This is adorable
And may be the best way to get storage without drawers that are never closed (at least, that's how it is at my house, anyway!)
bicarb
Thu, 01/22/2015 - 18:58
Love this!
Any chance one (or some!) of the bases will be for a standing desk?
Rainbow
Sun, 02/01/2015 - 16:59
Paint
Hi everyone! Does someone know how to prevent the "bleeding" nodes of the pine from appearing through water-based paint (other than using oil-based paint)? I live in France, and used something which is supposed to be an alternative to what is called shellac in North America, but it doesn't work evenly... :(
Rainbow
Tue, 02/03/2015 - 04:32
I meant "knots" (not "nodes")
I meant "knots" (not "nodes") :s
I may have found what I need to seal the knots (the forum here is very useful -- I should have looked there first).
Greggyweggy
Wed, 11/09/2016 - 19:32
hinges for top panels
having trouble finding hinges that fit. Maybe I'm not putting in correct place. Any illustration to show size and placement would sure be appreciated.
Greggyweggy
Wed, 11/09/2016 - 19:32
hinges for top panels
having trouble finding hinges that fit. Maybe I'm not putting in correct place. Any illustration to show size and placement would sure be appreciated.
rwildgoose
Sat, 04/11/2020 - 21:28
Hinges
What size hinges work best with this desktop?
atomikjaye
Mon, 07/27/2020 - 20:40
Slightly smaller piece
Has anyone had problems cutting the measurements in the 24” x 48” plywood? Because of the blade depth I was only able to get a a 13.5in, 13.25in, and 21in piece, and not two 13.5in pieces as the plan called for. Was I supposed to buy 3 plywood pieces instead of just two? I feel like I’ve missed something haha 😅. Either way I’ll use what I have, but wanted to confirm.
Velisus
Fri, 07/31/2020 - 16:57
the blade will always "eat"…
the blade will always "eat" part of the wood. it's normal, what i did was to cut the 21 piece and then measure the lenght of the left over minus the blade then that by half to get 2 identical pieces, but yes they were not 13.5 as intended either way they work just fine.
MzAnderson
Wed, 08/12/2020 - 08:30
Legs?
Has anyone found the plans for the sawhorse legs?
MoniqueThomas
Sun, 03/20/2022 - 16:36
Did you find the legs? I can…
Did you find the legs? I can't find them.
MoniqueThomas
Sun, 03/20/2022 - 16:41
I just found them here. The…
I just found them here. The link didn't work so I searched the site.
http://ana-white.com/woodworking-projects/sawhorse-storage-leg-desk
COASTIE41391
Wed, 09/02/2020 - 06:37
What are the best and size…
What are the best and size hinges used for the compartments that will leave the 1/2" inset around the top?
MoniqueThomas
Sun, 03/20/2022 - 16:35
Legs for desk
This is cute and we would like to try this but where are the plans for the sawhorse legs? This is only the top. I'm confused. Thanks.