Little Kids Picnic Table

toddler picnic table plans
Difficulty
Intermediate
| Print this plan

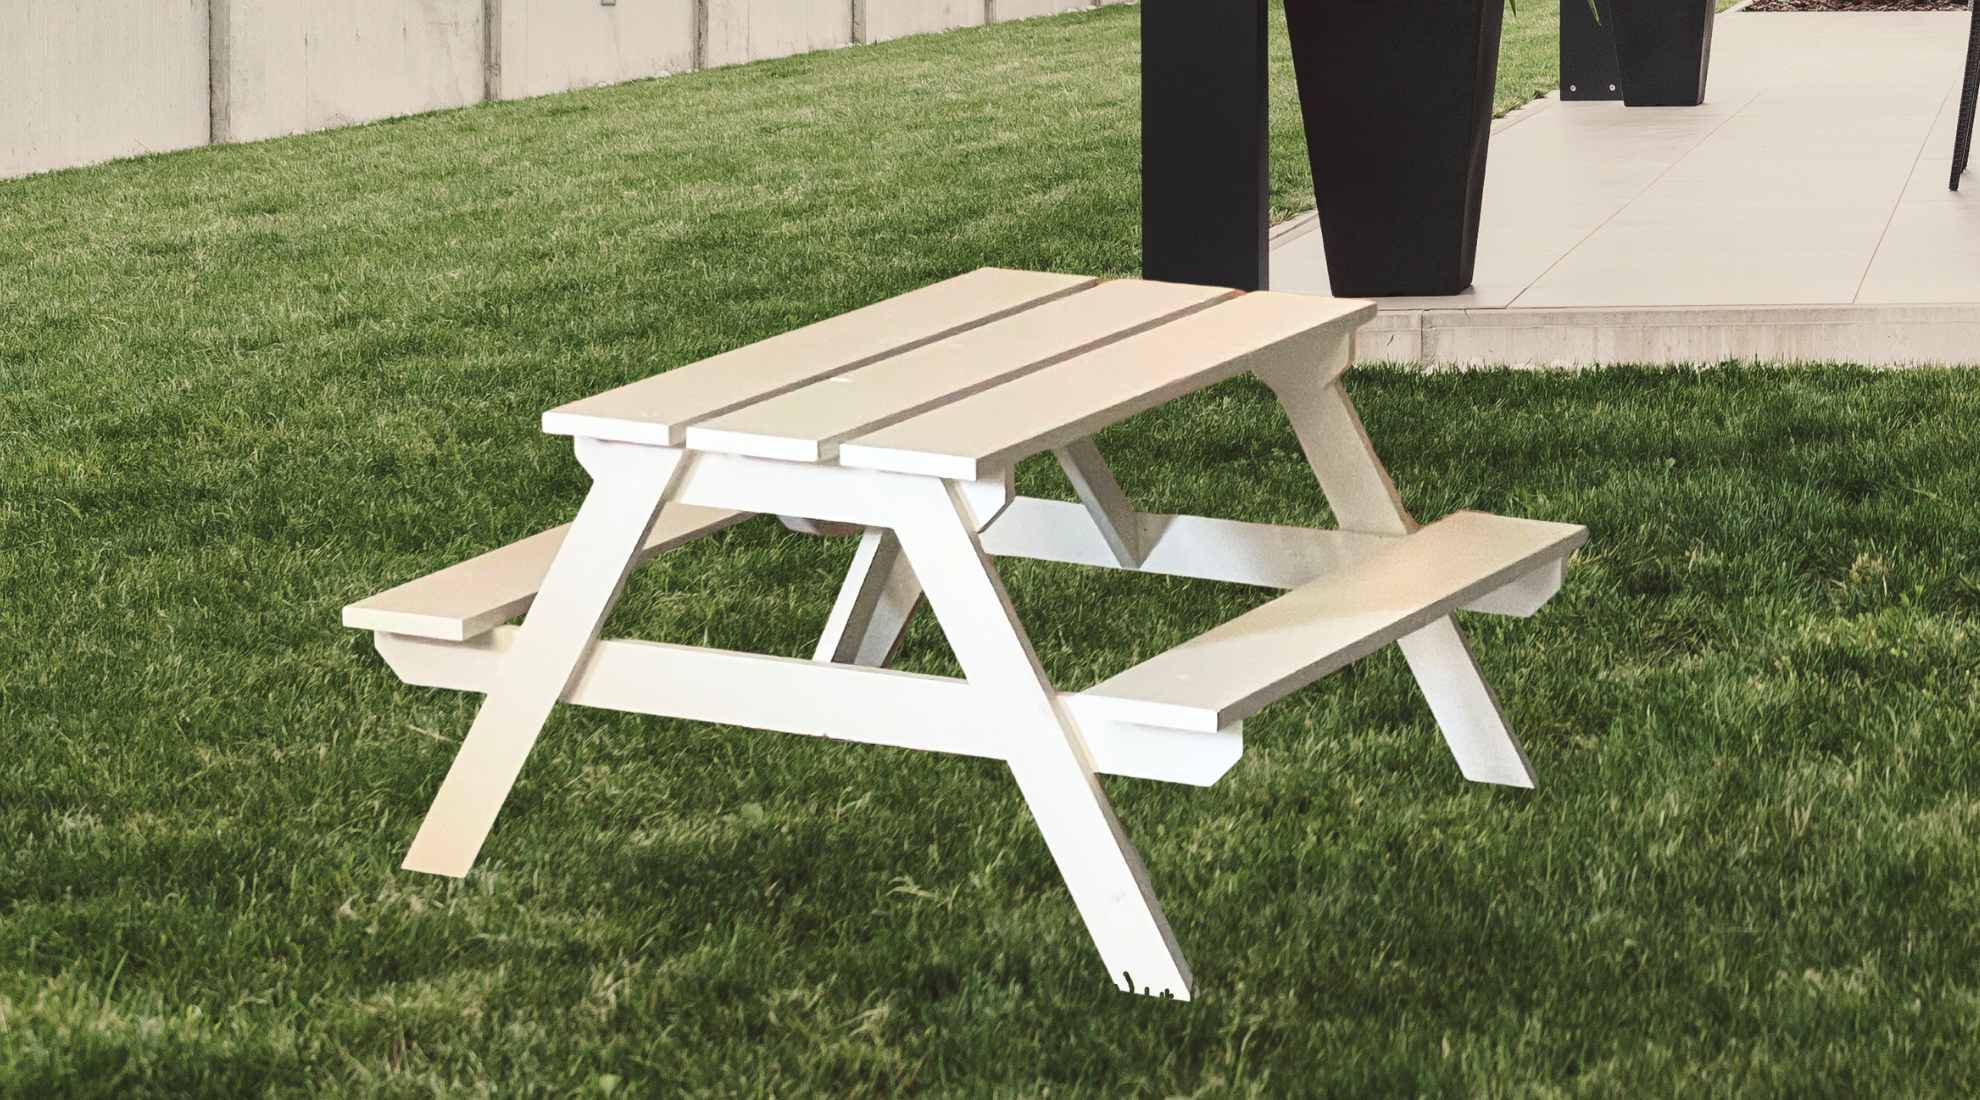
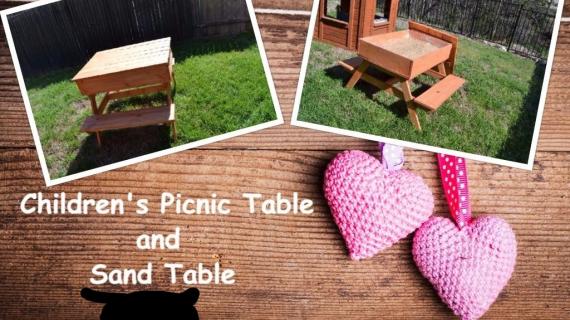
Build your own mini sized picnic table with our free plans.  This toddler or preschool sized picnic table is one of the most popular plans. Due to the simple design, easy building instructions, and perfect sizing for littles, thousands of these tables have been built! We love this table as a gift too!

RELATED: We also have a big kids picnic table plan, and an adult sized one too!  


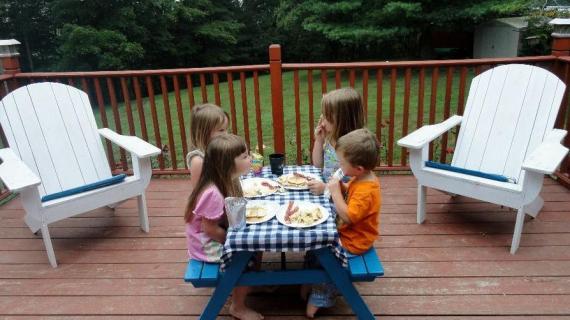
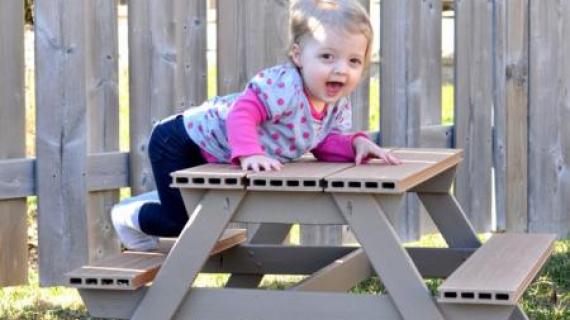
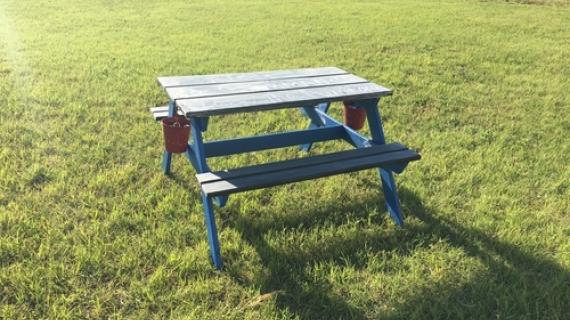
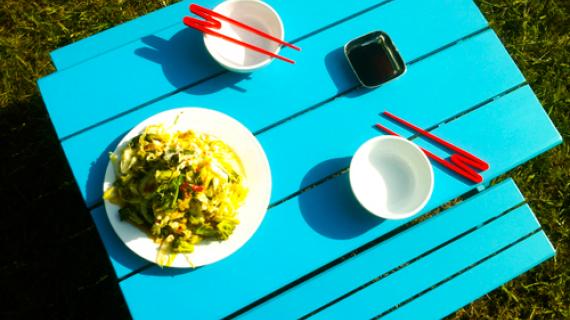
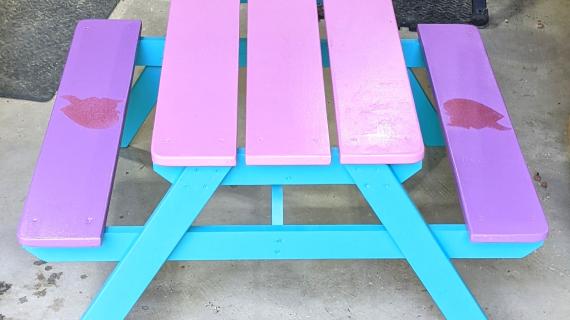
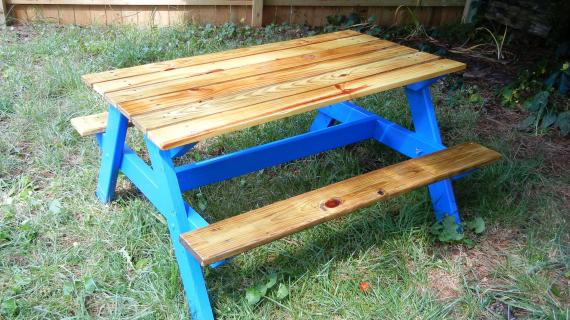
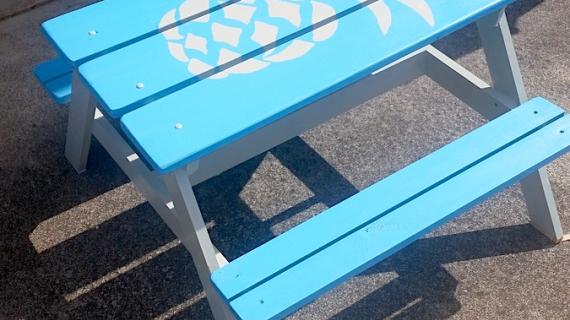
This adorable picnic table is sized perfectly for two-six year olds.  It is lightweights and easy to carry indoors and outdoors.  You can paint or stain it fun colors.  For indoor use, you can add a solid top (it makes a great indoor play table too!)

First version of this picnic table built 13 years ago


We love this picnic table and have made it many times - it's the perfect birthday gift!  

For older kids, we recommend the bigger kids picnic table plans, as this plan is more rugged and built using 2x lumber.


How to Build It - Ana White Picnic Table Video Tutorial


Watch this super quick video tutorial to help you visualize how to build this picnic table.


Dimensions
kids picnic table plans
Small size, can fit in doorways and lightweight. Suitable for about 4-6 toddlers

Preparation

Shopping List
  • 1 - 1x6 @ 8 feet long
  • 1 - 1x6 @ 6 feet long
  • 3 - 1x3 @ 8 feet long
  • 1 - 1x2 @ 3 feet long 
  • 1 1/4″ self tapping star bit screws  (about 50)
  • interior/exterior wood filler
  • 120 grit sandpaper
  • exterior appropriate wood stain
Cut List
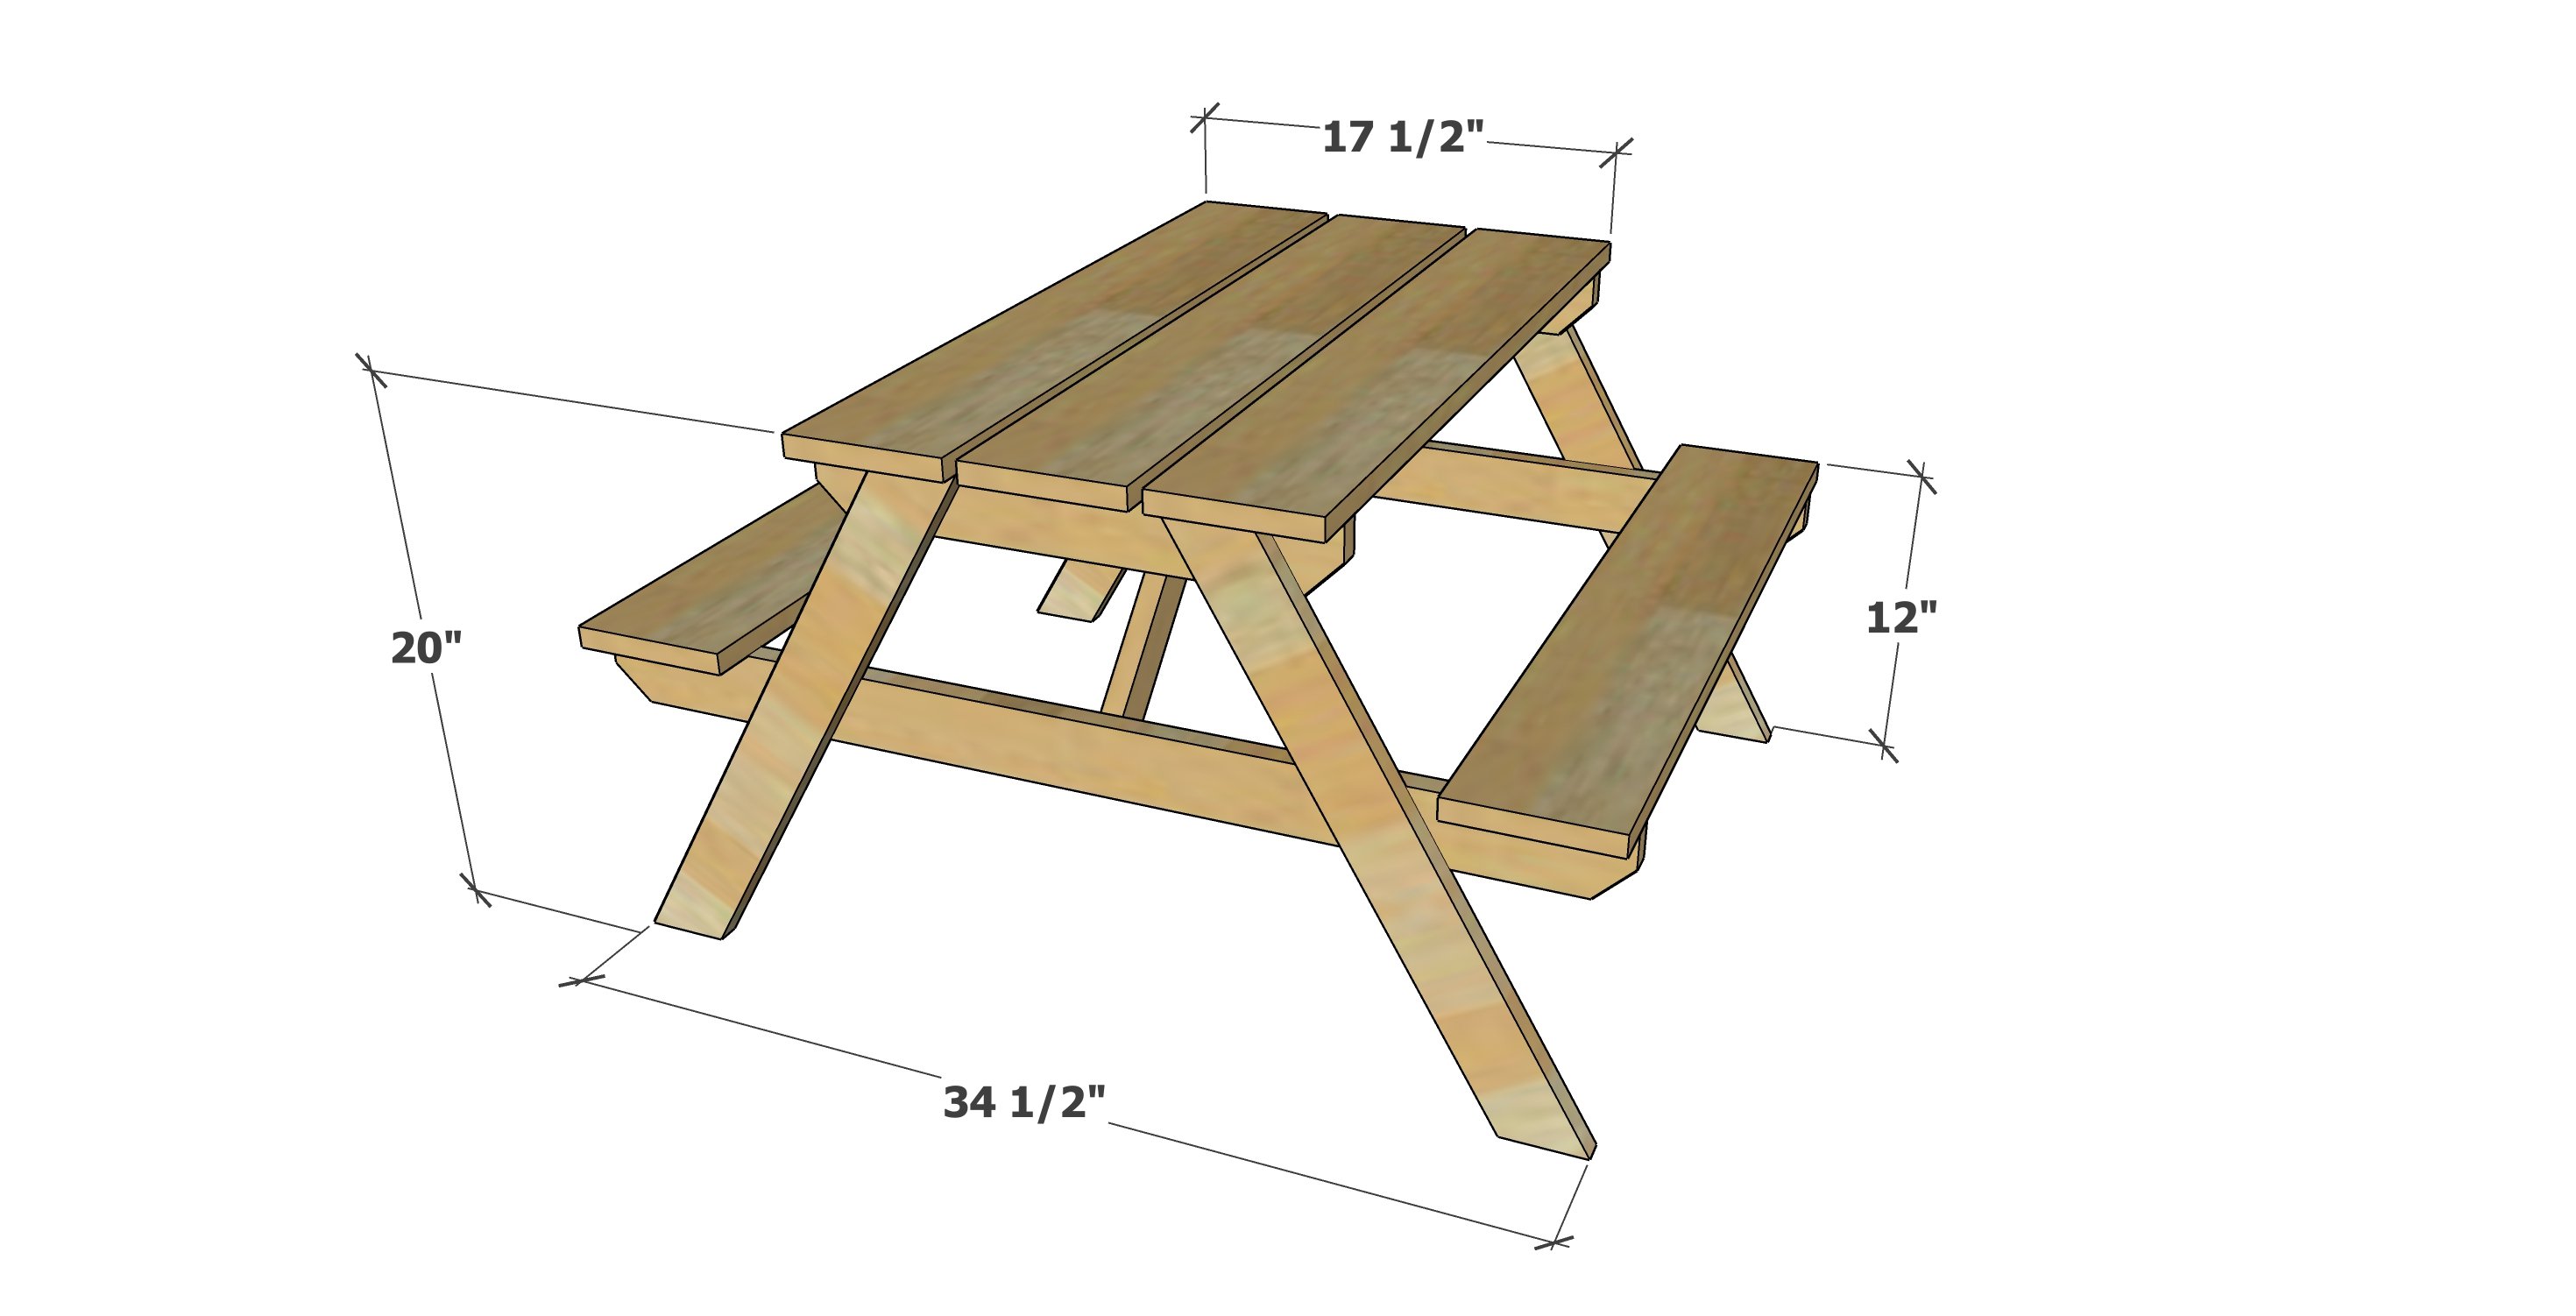
  • 5 – 1×6 @ 31″ (Tabletop and Seat Pieces) 
  • 2 – 1×3 @ 17 1/2″ (Under Table Supports) *
  • 1 – 1×3 @ 26 1/2″ (Center Support) 
  • 4 – 1×3 @ 22″, both ends cut at 30 degrees off square, long point to short point measurement, ends ARE parallel (Legs) 
  • 2 – 1×3 @ 35-1/2″ (Seat Stringer) *
  • 2 - 1x2 @ 14-12", both ends cut at 45 degrees off square, long point to long point measurements, ends are NOT parallel (Cross Supports)

*Ends are clipped at 45 degrees to soften edges, see in diagrams

Tools
Tape Measure
Speed Square
Pencil
Safety Glasses
Drill
Miter Saw
Power Sander
General Instructions

General Instructions. Work on a clean level surface and use proper safety precautions. Check for square after each step. Predrill and countersink all screws.

Instructions

Step 1

Cut the ends of the tabletop supports back at 45 degrees as shown to soften edges.

Attach the center tabletop support to the two ends to make an I shaped support system.

Adjust for square, meaning the outside corner diagonal measurements match - this is to ensure your project is a rectangle and NOT a parallelogram.

Step 2

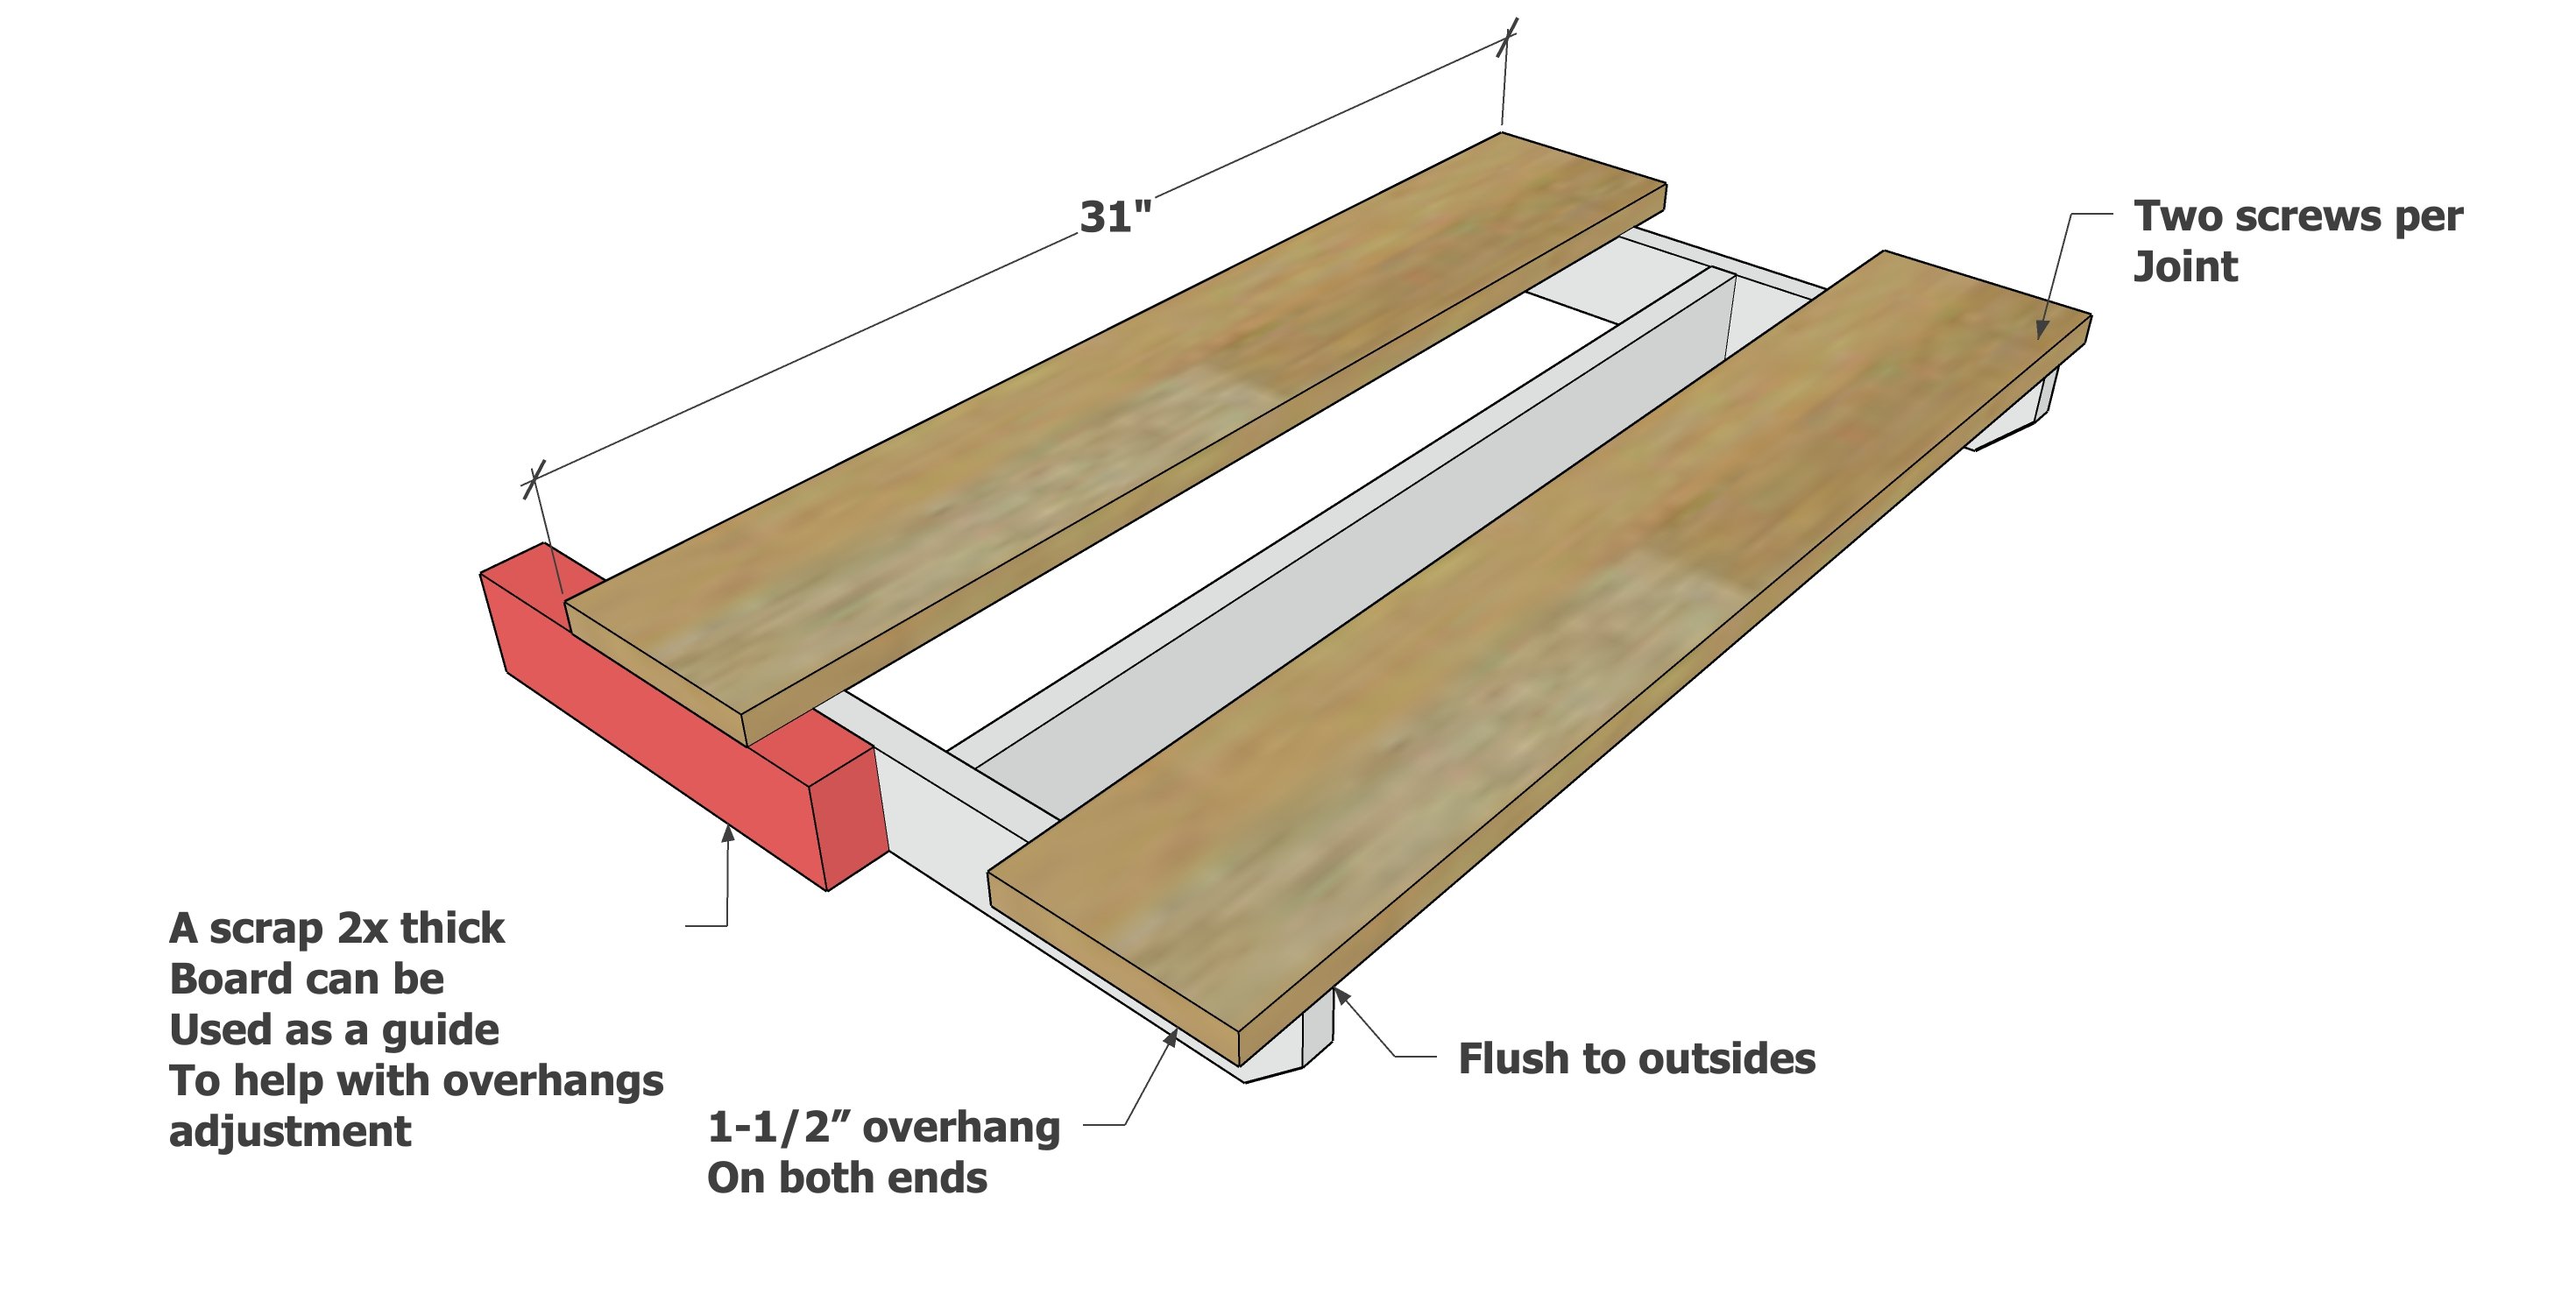
Lay two of the 1x6 boards on top, with even 1-1/2" overhangs on ends and flush to outsides.

Screw down with two screws per joint.

Center the third tabletop board and screw down, also add a couple screws to the center support.

Step 3

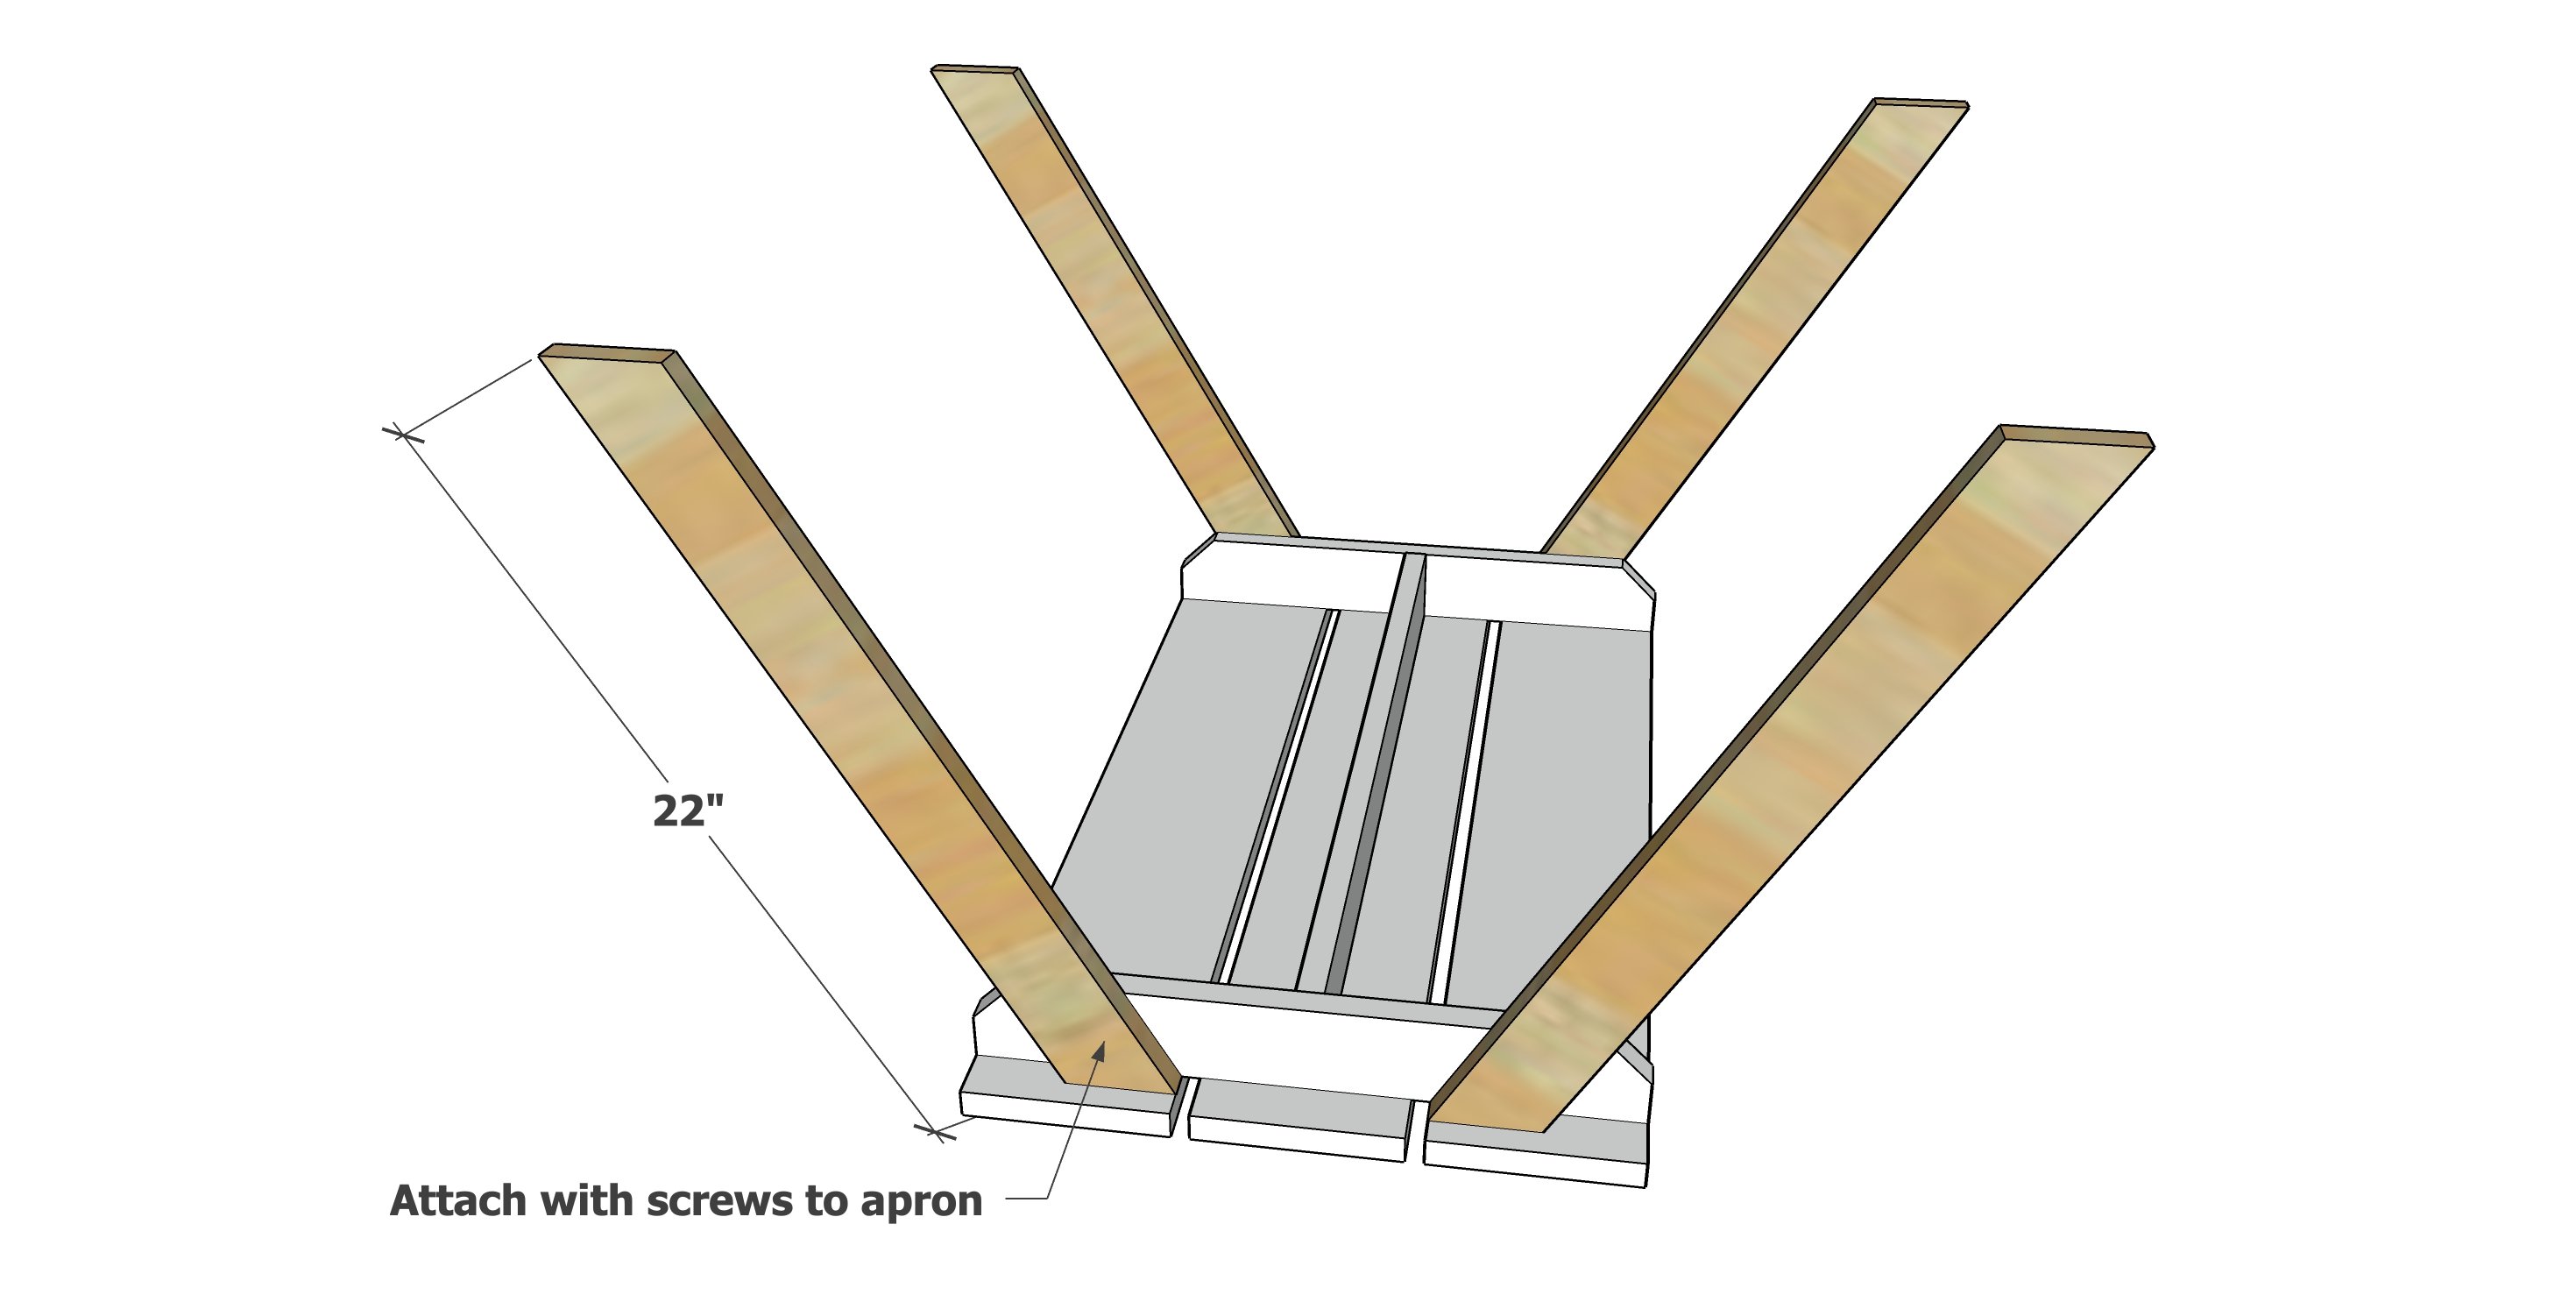
Flip over and attach the legs to the outsides of the aprons with two screws per joint.

Step 4

Flip over.  If your table is wobbly, make sure the surface it is setting on is level.  If still wobbly, unscrew one of the legs and rotate slightly, until the wobble is out.

Use blocks to set the seat stringer and attach to the insides of the legs.

Step 5

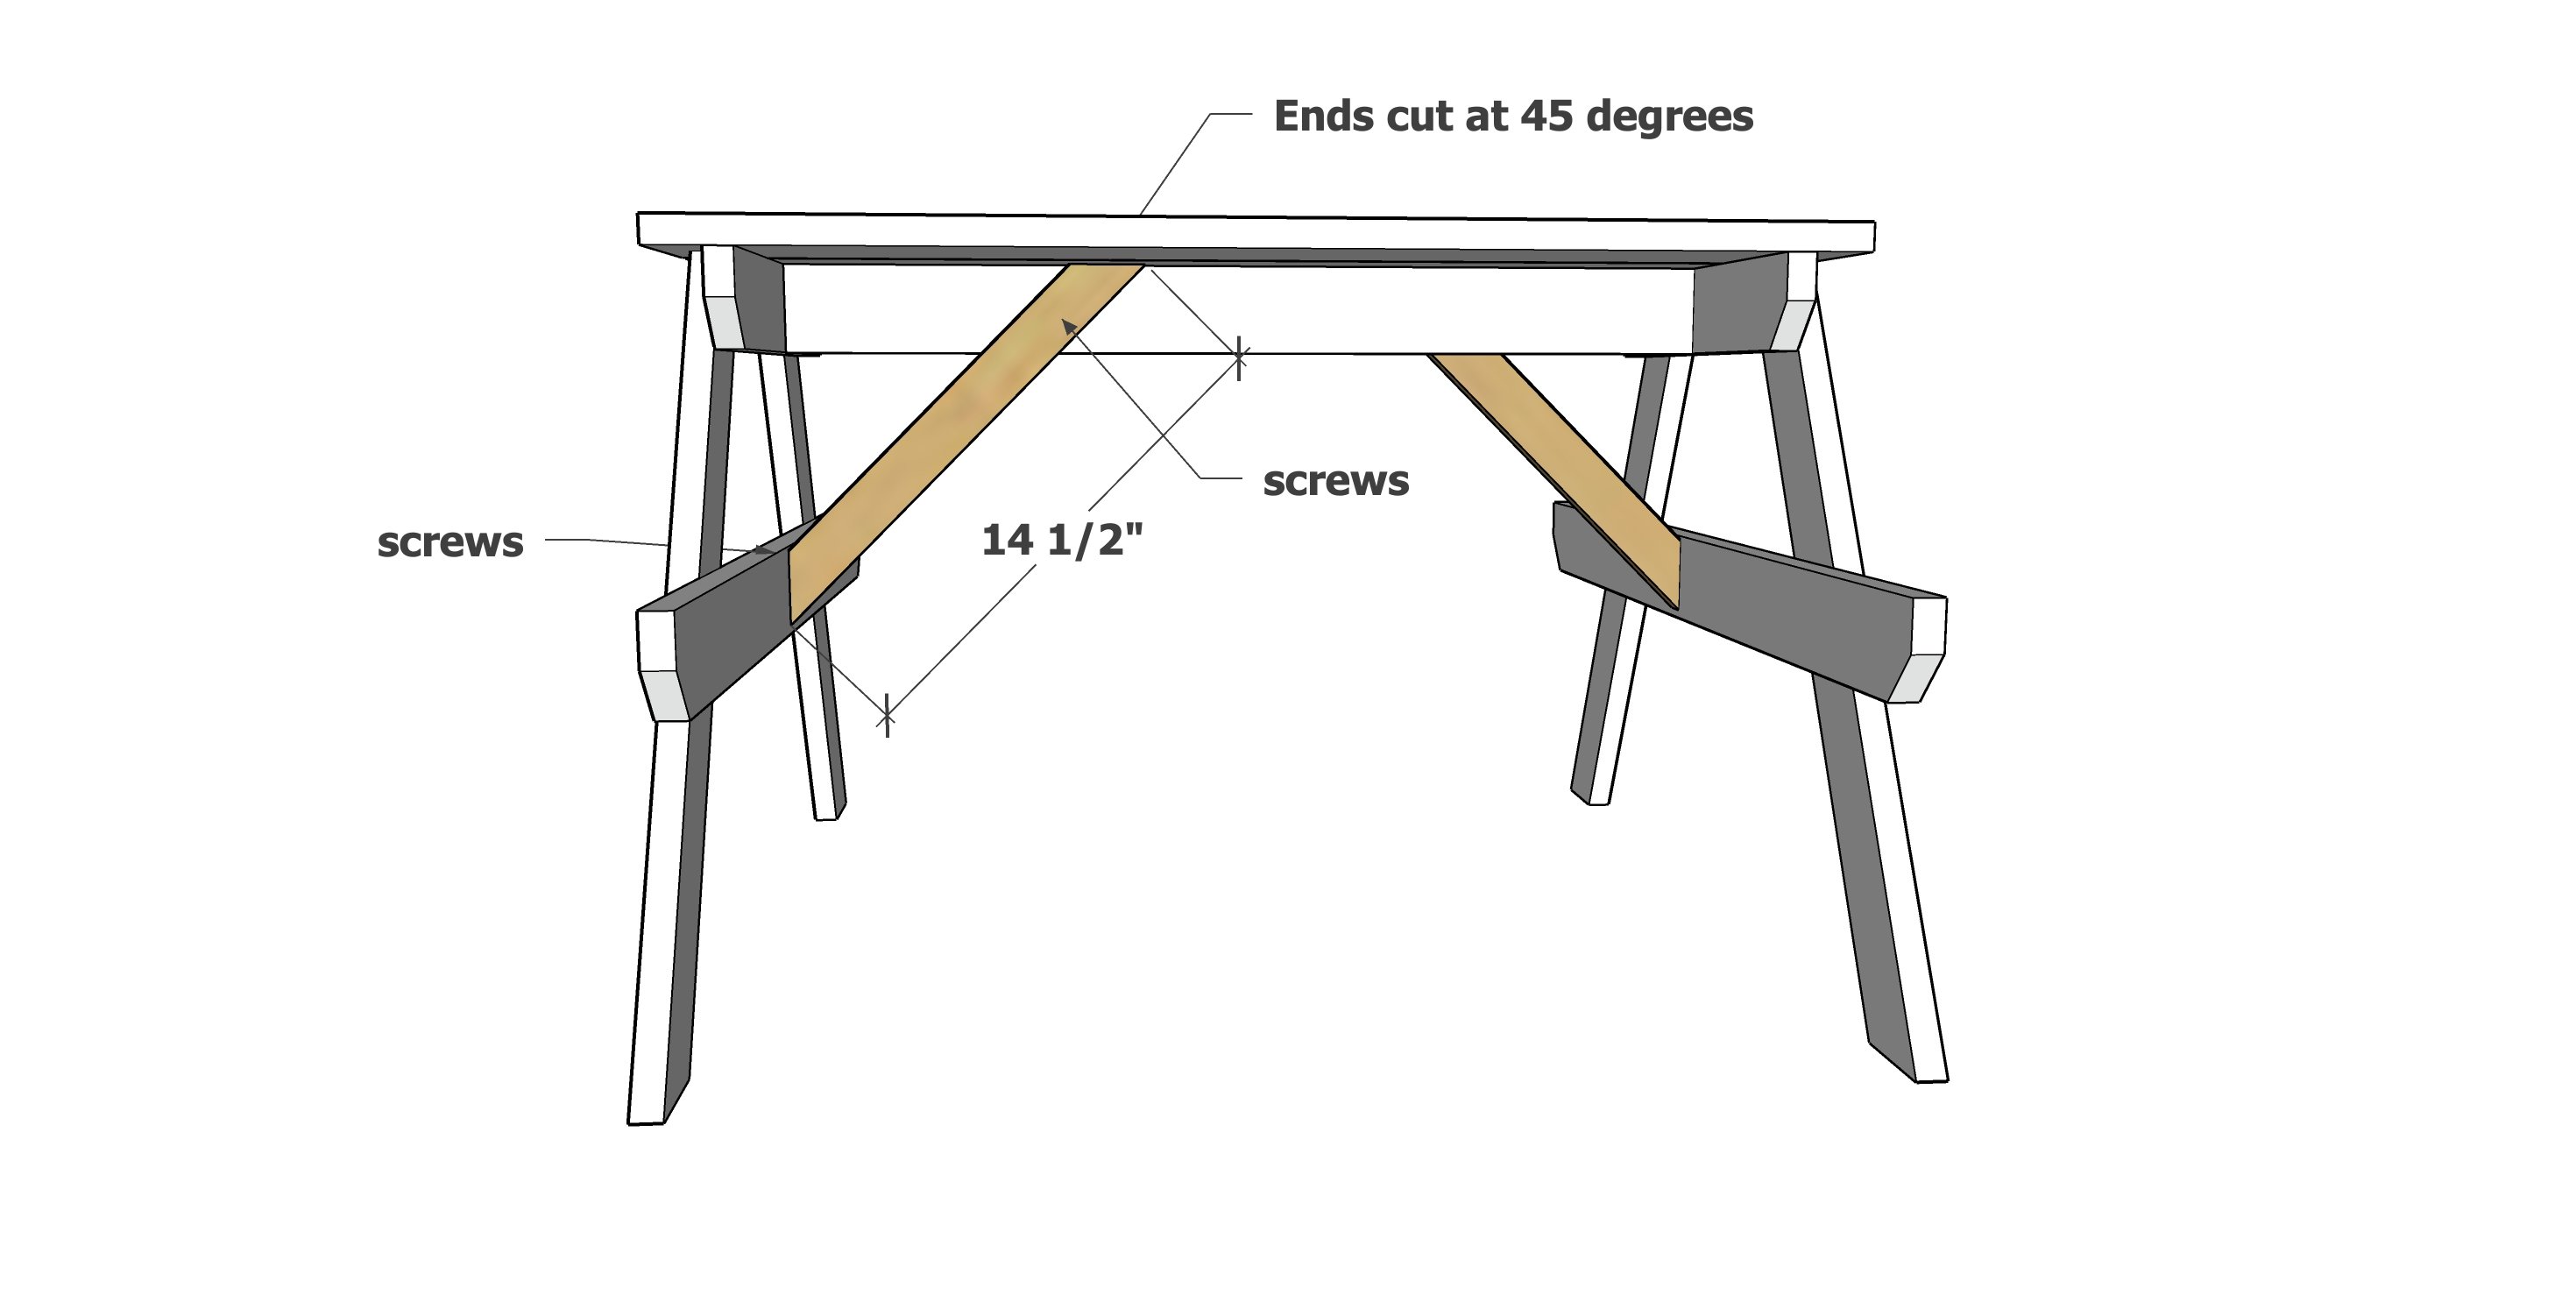
With the table setting flat and no wobble, attach the cross supports inside as shown.

Alternative - add a second 1x3 @ 26-1/2" centered on the seat stringers (as shown in some photos)

Step 6

Attach the seat boards to the tops of the seat stringers with two screws per joint.

Step 7

Finishing. Fill screw holes with wood filler, sand and finish as desired.

For more help with outdoor wood finishing, go here.

Comments

josh.ruppert

Thu, 07/04/2013 - 08:26

I was curious as to which type of paint you use for the picnic table. My thoughts were to use an oil base since its so durable. The downside is the clean up. Your thoughts?

SoybeanDad

Tue, 05/27/2014 - 19:55

A few nights back, I had plans in hand for a DIY water blob, which involved melting painter's plastic sheeting between parchment paper with a hot iron and promised only 30 minutes of work. After multiple hours, multiple beers, all of X-Men, half of Gladiator, and several iron burns, I completed a water blob that held most of the water inside it. Needless to say, I and was somewhat leery of this plan because of how simple it appeared to be on its face.

That said, I can't stress enough how simple this one was. I started it after the kid went to bed (8ish) and was finished before 10. It would have been done a bit earlier if I'd had an extra pair of hands, but a set of small Vise-Grip clamps more than compensated. Excellent for a free timeslot of only a few hours. I'll still need to sand and stain it, but I was very, very pleased with the simplicity of the project. The one major tweak I made was to use 1x4s instead of 1x3s, only because they were easier to get at Home Depot. This enabled me to make a table that was more vertical and can hold a little more weight. The tradeoff was that the benches don't have the half-inch gap they're supposed to, so they don't match the tabletop exactly. Not a big deal for me, but the way to compensate using 1x4s would be to make the bench supports about 3 to 4 inches longer.

Again, awesome project. I'll DEFINITELY be doing more from Ana.

Thanks,

Patrick

Hokulani1

Thu, 06/12/2014 - 07:52

Hi! I see the plans say 1 1/4" pocket hole screws but it doesn't show where to put the holes like many of your other plans. Did you use pocket holes or just counter sink? Also, are the 2" screws done from the top of the table with a counter sink bit? Thank you!

stannius

Sat, 07/16/2016 - 14:44

I'm going to buy some paint for this. How much will I need? A quart? A gallon? An amphora?

TK58

Sun, 04/11/2021 - 09:36

I notice that you include the Kreg's pocket hole jig in the "tools needed" section, but I don't see any specific instructions regarding the location and number of holes and screws to be used in the project. Can you provide detailed information on this?

nyyankeegrl38

Tue, 08/03/2021 - 08:49

Last minute project for our grandson, after my husband and I built the Modern Farmhouse bed (for son and daughter-in-law- which they loved). Grandson loves this table so much, daddy had to take it inside for him.

Frequently Asked Questions

Wood Questions

What kind of wood should I use?
Most of our plans use standard construction lumber like pine or fir. It's affordable, easy to work with, and easy to find. It's also rapidly renewing and biodegradable, so a great eco friendly choice!

Can I use hardwoods instead?
Yes—just keep in mind they're heavier, cost more, and can be tougher on tools and harder to join together and finish. I recommend not tackling a hardwood project until after you have built several softwood projects.

What if my boards are warped?
Choose the straightest boards at the store. You can often work around slight warps by cutting them into shorter pieces.

What wood should I use for outdoor furniture?
Use red-toned or pressure-treated 2x lumber for framing, and cedar or cedar fence pickets for the decking. Outdoor furniture should be built like a deck—your local home center can help recommend the right wood for your climate.

Will my wood move or warp after I build?
Potentially, especially in humid climates. Let your wood acclimate indoors before building. Once acclimated and kept in a stable environment, movement should be minimal. Remember, most houses are built using framing lumber - it's all about keeping moisture down indoors.

Cutting Questions

Do I need a miter saw?
A miter saw is great, creating fast, safe, and precise cuts, even for beginners. But most plans can be built with a circular saw and a straight edge. If using a circular saw to cut, take time to practice, and get good at making cuts, before cutting your project boards.

How do I get clean cuts with a circular saw?
Clamp your board, measure twice, cut slow, and use a sharp blade. This takes practice, so spend some time making cuts. I go through becoming proficient at freehand cutting in my course, it is worth taking if you want to master this skill.

Will the store cut my wood?
Yes—most stores will do rough cuts to help you transport your materials home. But from store to store, the quality of cuts could greatly vary.

Joinery Questions

What screws should I use?
We recommend star-head self tapping screws for framing, most common sizes are 2-1/2", 1-3/4". Pre-drill if close to the edge or you find your wood is splitting.

Do I have to use pocket holes?
Pocket holes are the cheapest, easiest and fastest way to do some joints - like edge to edge or a hidden fastener joint. There are other methods, but these can be time consuming and expensive. We recommend using pocket holes as indicated in plans for best results.

How do I keep things square?
Use a speed square and measure diagonals after each step. Always clamp joints before screwing to keep them tight and flush.

Finishing Questions

Stain or paint before or after building?
A quick sand before and a full finish after gives the best results. Pre-finish if you're doing two-tone or detailed finishes.

What type of finish?
Use oil-based or water-based stain. For paint, cabinet-grade latex or enamel works great. High use surfaces on indoor projects should get a coat of polyurethane, I recommend a Helsman or Spar or other flexible poly that won't crack or peel with wood movement. For exterior projects, use a finish suitable for exterior fences.

How to get a smooth finish?
Start with a well sanded project. Sand between coats (220 grit), wipe clean, and apply light coats with a foam brush or roller.

Plan Questions

Can I change the size?
Many people do, and that's the great thing about building your own furniture! But do keep in mind going bigger might mean more supports are required, and often plans are optimized for minimal material waste.

Are these beginner-friendly?
Yes—plans are written with simple tools and clear steps in mind, with every effort to make plans as simple as possible.

Can I sell what I build?
Absolutely! Just don’t resell or repost the plans themselves.

General Questions

What tools do I really need?
A drill, circular saw, tape measure, square, and a few clamps will get you through most projects.

Do I need a workshop?
Nope! A driveway or small patio is plenty to get started, just make sure you have a level place to work. If you find you are building several projects a year, creating a small workbench is a great way to store tools and have a dedicated workspace.

What if I mess up?
Wood filler, sanding, or flipping boards goes a long way. Mistakes are part of the process!

What can I do to make my projects look more professional?
Start with straight boards, make accurate cuts, clamp all joints, and line up everything neatly. Sand thoroughly, use a neutral finish, and apply it in light coats for a clean look.

I've never built anything before. Where should I start?
Start with a few smaller softwood projects to get hands-on experience. Or if you're tackling a big project, buy a little extra lumber and practice your cuts and joints first. If possible, work with someone who has a bit of experience.

Care & Maintenance

How long will my furniture last?
With good joinery and regular care, your DIY furniture can last for decades. I have pieces in my own home that are over 20 years old and still going strong! One of the best parts about DIY furniture is that it’s easy to repaint, refinish, or repair—so your projects can grow and adapt with you.

How should I care for outdoor furniture?
Lightly pressure wash or hose it down once or twice a year. Tighten screws and reapply finish as needed to protect it—just like a deck or fence. A little upkeep goes a long way in extending the life of your furniture.

How about indoor furniture?
Regularly dust or wipe with a damp cloth. If it starts to look worn, a light sanding and touch-up paint or stain can refresh it in no time. DIY pieces are meant to be durable and fixable—so don’t be afraid to give them some love now and then.

Want to Build with Confidence?

Check out my ebook: 12 Skills to Build Your Own Furniture
It walks you through the core skills every builder needs—measuring, cutting, joinery, and finishing—so you can build beautiful furniture that lasts.

Still Have Questions?

Email us anytime at [email protected] and we’ll be happy to help!