

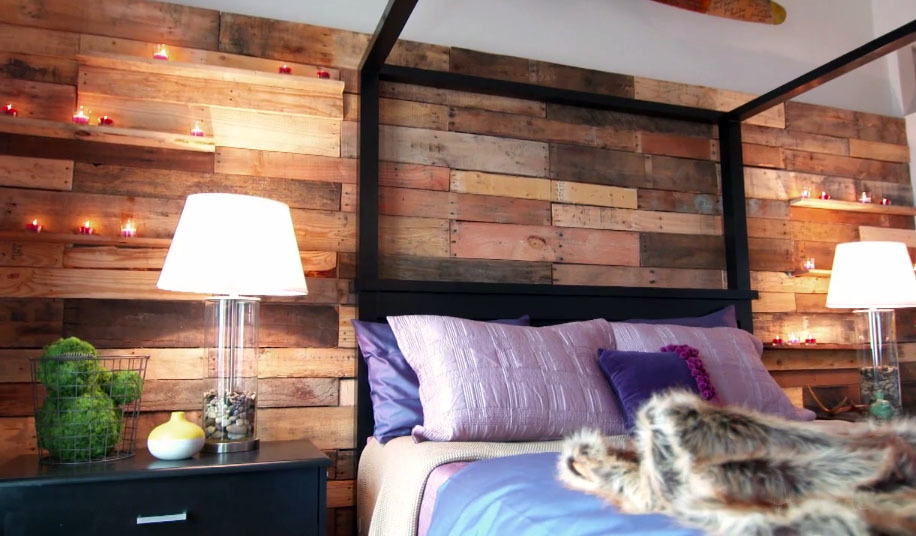
The easy way to make a beautiful pallet wall. Did you notice the little shelves too?
Happy Friday folks!!!
Well, we may finally have some news for you soon on our HGTV pilots .... BUT I still can't tell you just quite yet. Very soon!!!
There's one final project for me to share from the two episodes I filmed last year for HGTV, and it's the one you all are most interested in! The pallet wall!

There's only one thing cuter on this show than that pallet wall -

Okay, two things. The kid's almost as cute as his Daddy.
Can you believe he was that small when we filmed these episodes? We are thankful that we've been able to keep a pretty quiet and calm home for him over the past year as Hayes has gone from tinest newborn to rowdiest toddler, so while it's taken much longer than we had anticpated to get you more details on our possible future on television, it's been a hidden blessing for our very young family.
But going through this episode to pull the pictures for this tutorial has made me excited to hopefully get another opportunity at television! Cross your fingers for me please!
So enough about all that, give me that pallet wall already, right?
Here goes!

I took a trip to the Alaska Pallet Services Company. They take damaged pallets and rehab them using scraps from other damaged pallets, and then sell the refurbished pallets to the seafood industry so we can send our Alaska seafood around the world.
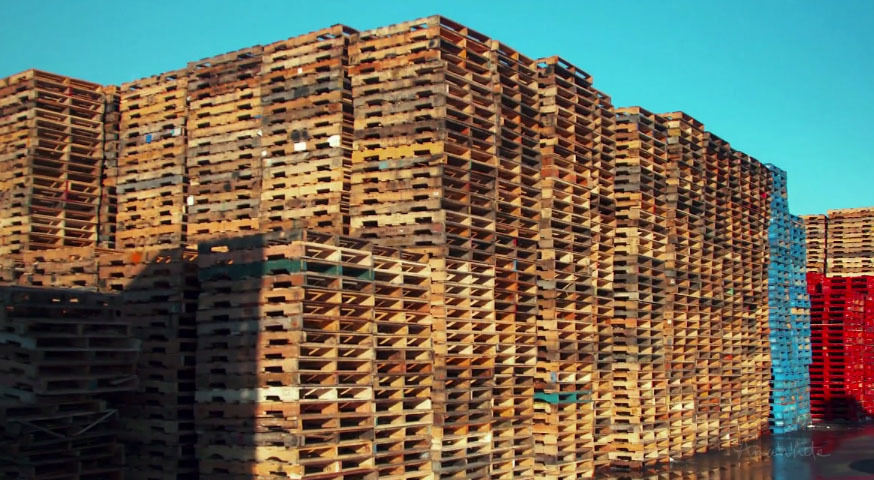
This mountain of pallets is almost as awesome as Denali. Seriously.
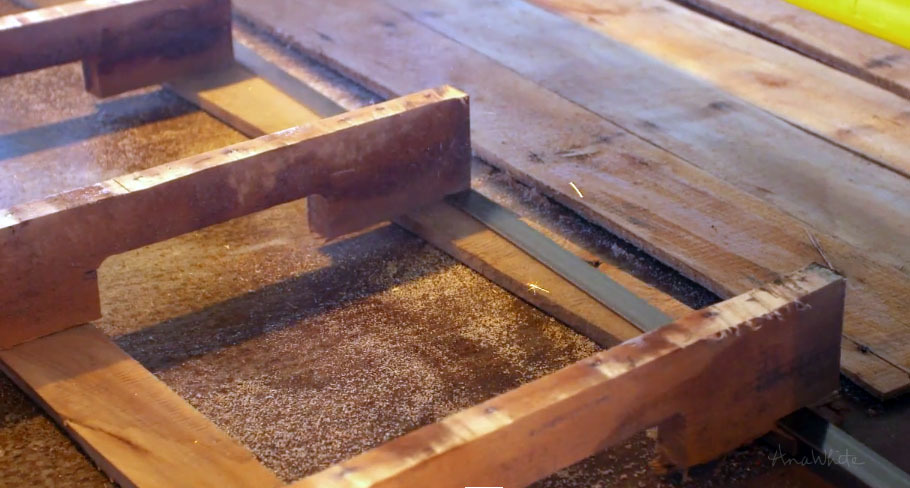
But every once in a while, a pallet is not rehab-able. So they have a flat bandsaw machine that cuts the pallet nails to disassemble the pallet. The boards are not cut at all, so all pallet boards end up being 32" long (this is important later on).
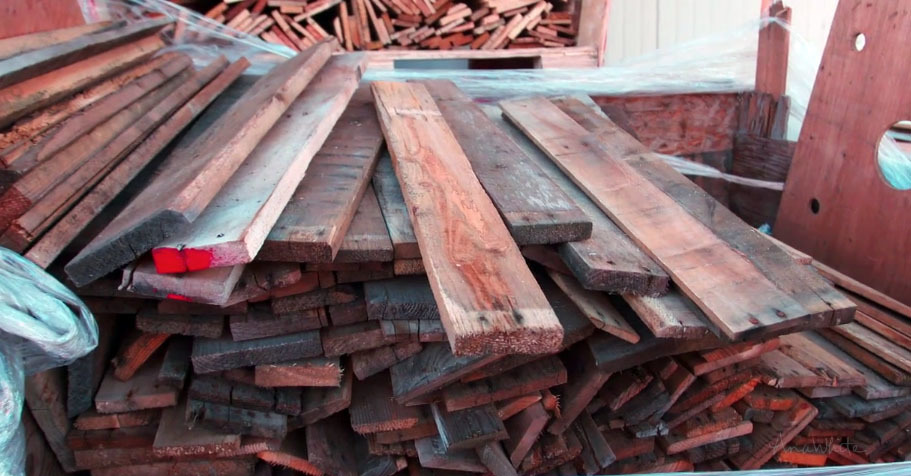
And sell them for forty cents a board. Forty cents. Nail heads included.
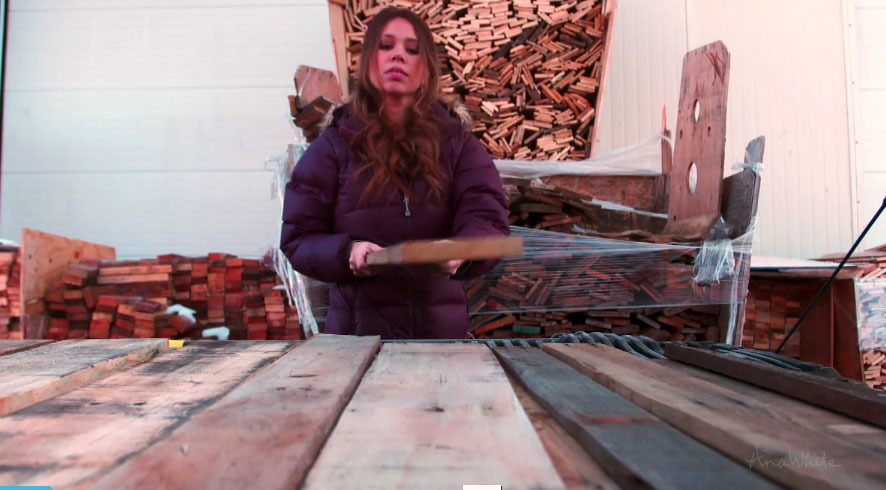
You know I loaded up on these boards, right?
And then off to the project!
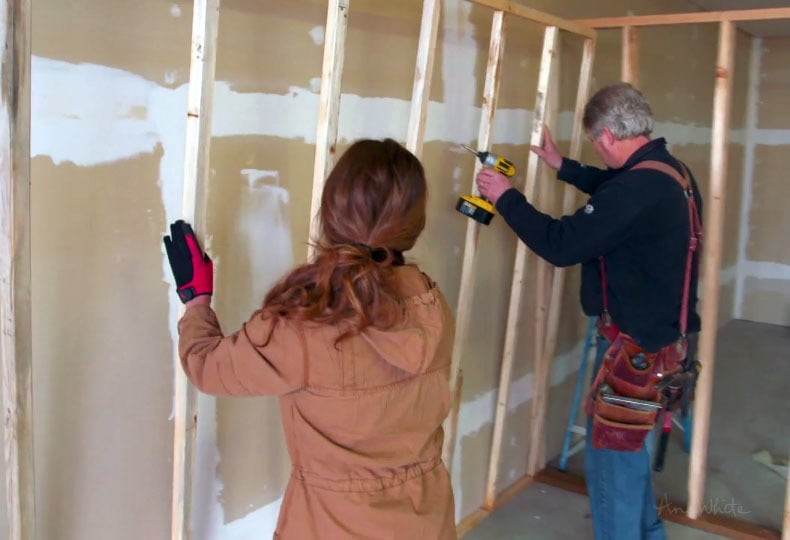
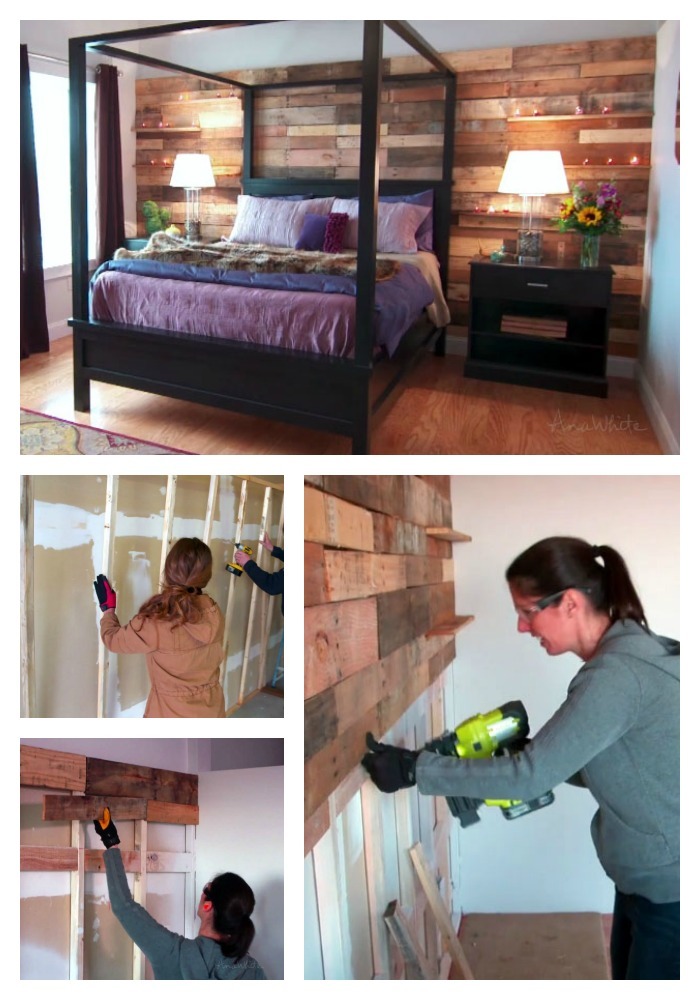
We were working with basement walls that had no studs behind them. So we had to fur out the wall with 2x2 boards. But even if you aren't working with a basement wall, you might want to frame a 2x2 wall out too so that you could minimize the damage to your drywall, and also it will be much easier to secure your pallet boards to the raw studs. The other reason we choose to fur the wal out is there was no electrical in the basement wall, so we just ran electrical in the new furred out wall.
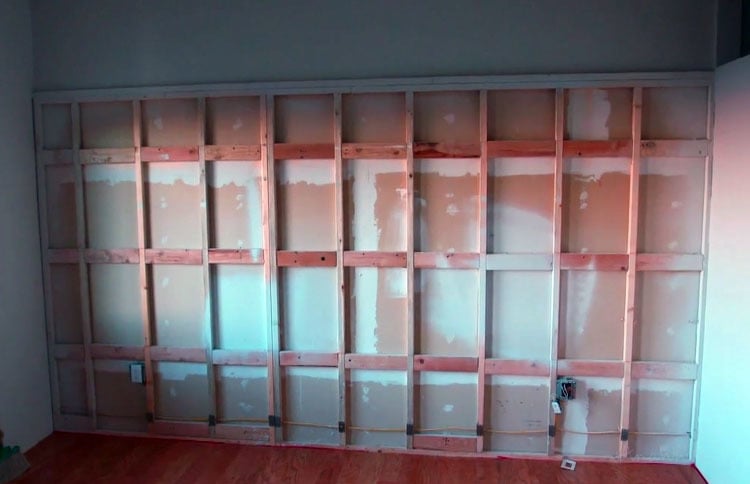
One thing that really saved us alot of time was placing our new studs on 16" centers.
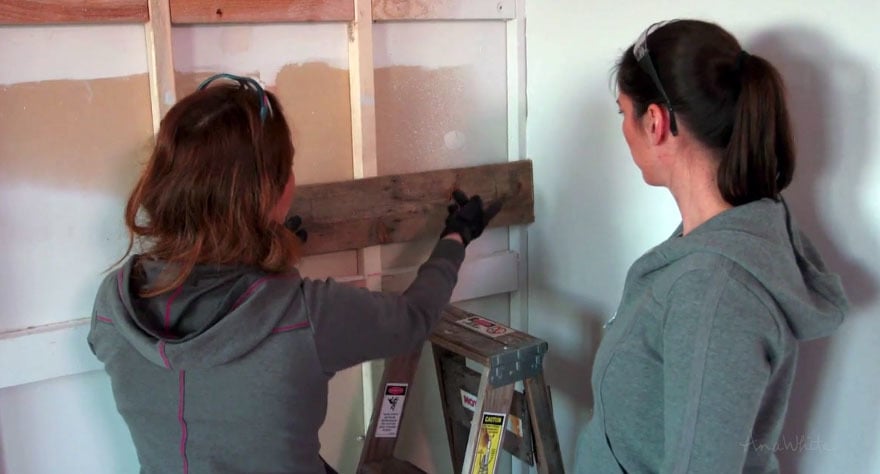
The pallet boards we worked with are 32" long, so they fit perfectly on the 16" stud layout. We only had to cut the end pallet boards.
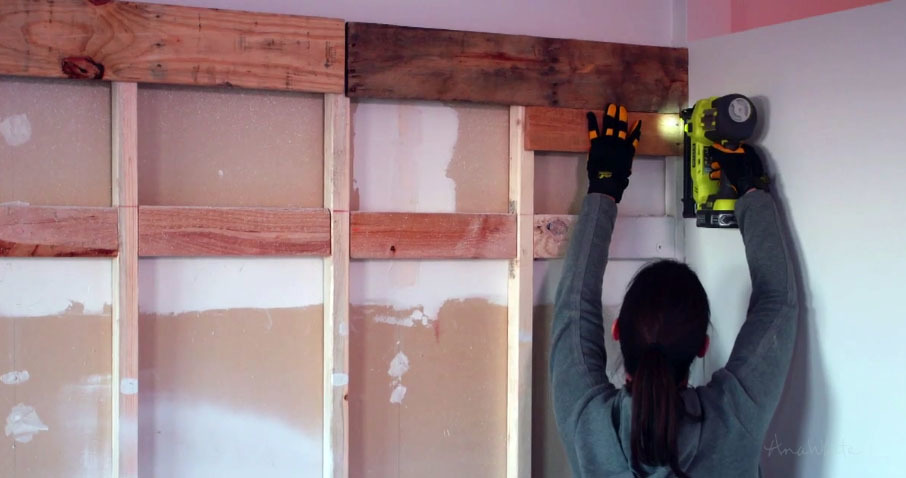
Shelley, the home owner, did most of this project. She nailed the pallet boards to the wall, overlapping the ends.
Not having to cut boards saved a ton of time. Just grab a pallet board, nail it up, and move on!
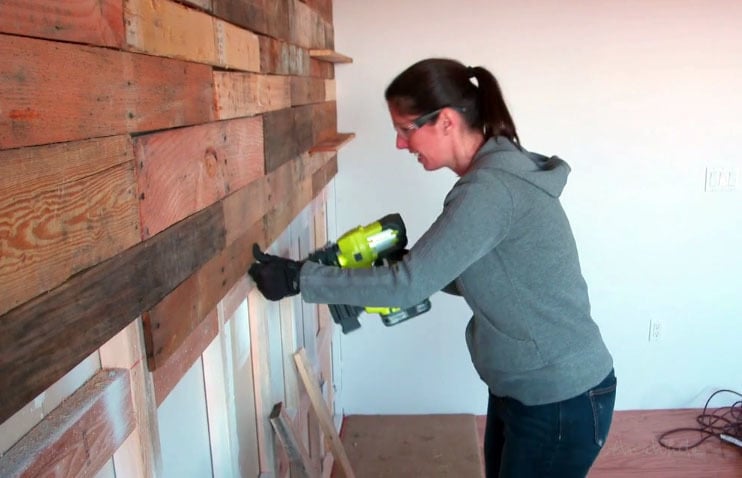
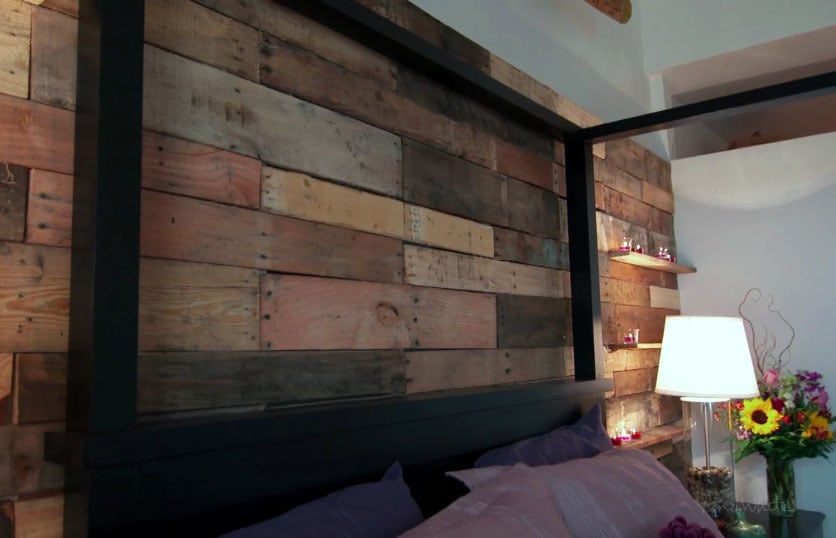
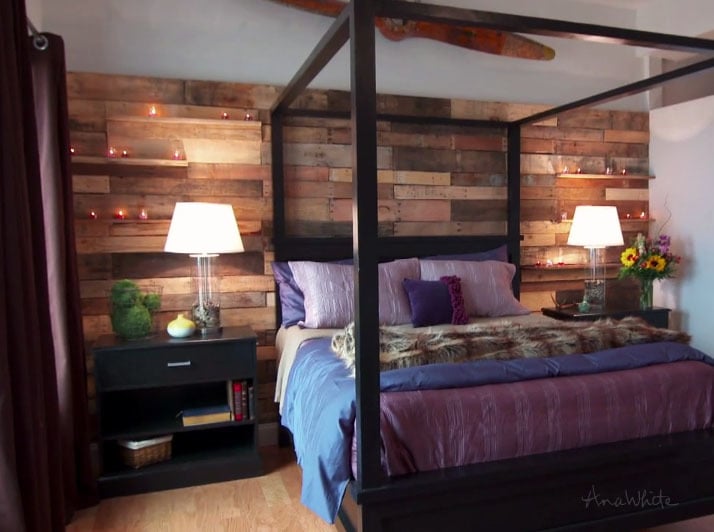
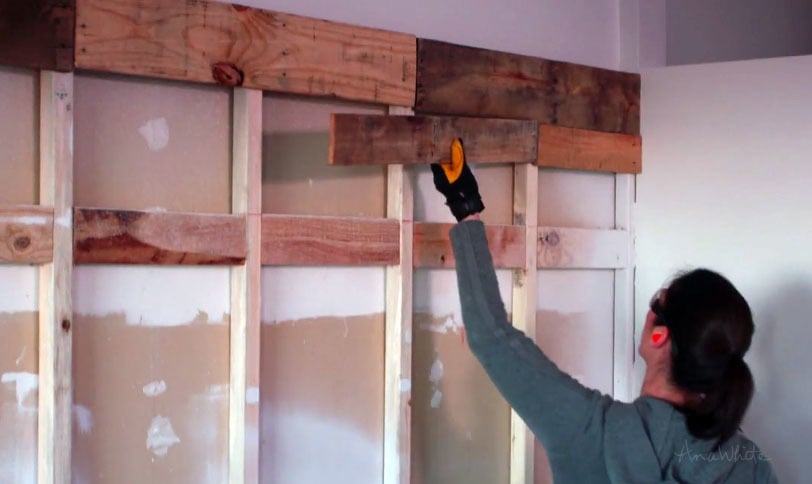
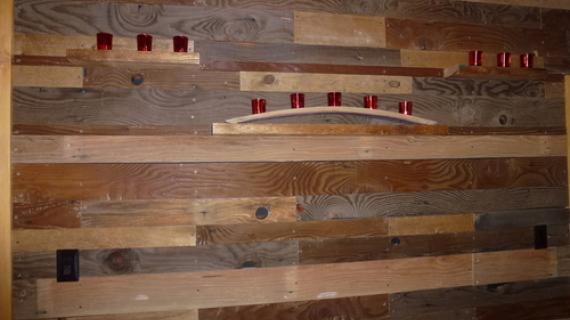
We started at the top and worked downward so that any uneven ends would be hidden by the baseboard at the very end. Also notice the little shelves we integrated into some of the rows. I wanted to add a little dimensions to the pallet wall, and some usefulness too.
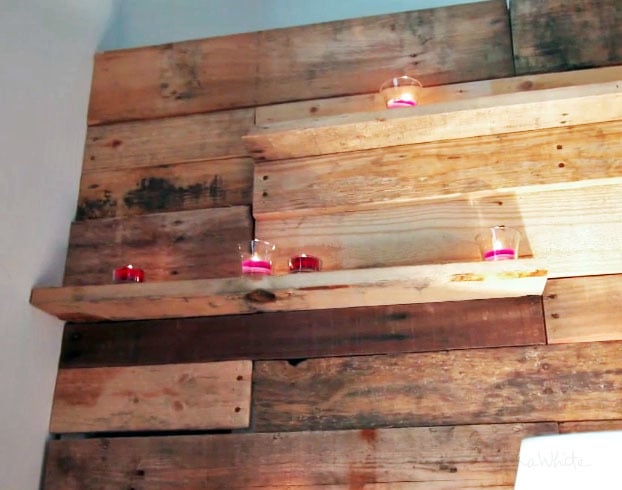
A perfect spot for little tealights!

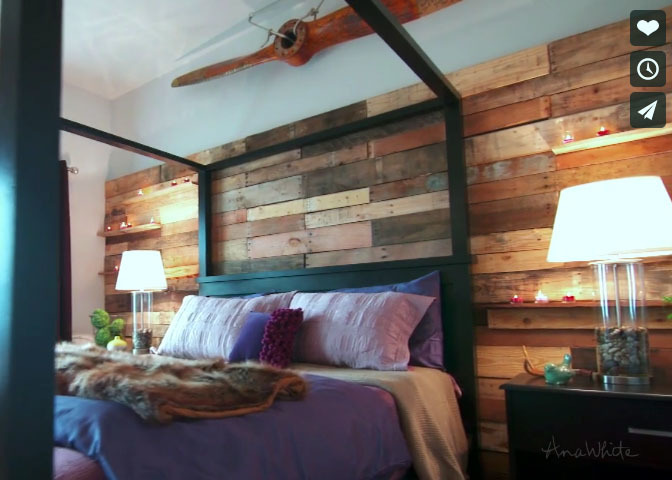
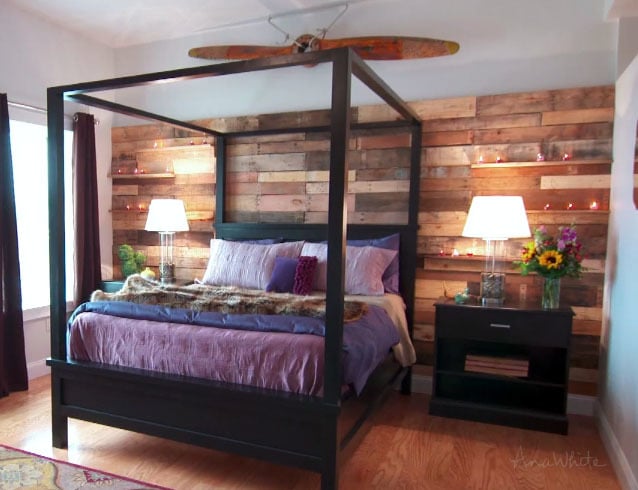
It was all of our favorite projects in this room!

What do you think?
Of course this entire room is DIY - you can get the bed plans here and the nightstand plans here.
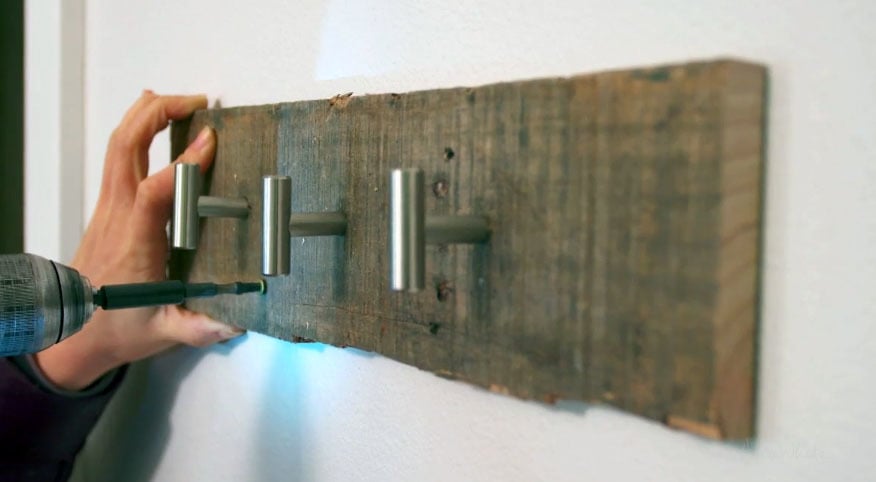
You may have noticed a few other pallet pieces in the room too - we used up some scrap boards to make these cute little coat hooks. Those are just cabinet knobs.
Thank you everyone for your tremendous support of our HGTV pilots. Can't wait to share the big news with you soon!
Have a great weekend!
XO Ana and Family
Please read through the entire plan and all comments before beginning this project. It is also advisable to review the Getting Started Section. Take all necessary precautions to build safely and smartly. Work on a clean level surface, free of imperfections or debris. Always use straight boards. Check for square after each step. Always predrill holes before attaching with screws. Use glue with finish nails for a stronger hold. Wipe excess glue off bare wood for stained projects, as dried glue will not take stain. Be safe, have fun, and ask for help if you need it. Good luck!
It is always recommended to apply a test coat on a hidden area or scrap piece to ensure color evenness and adhesion. Use primer or wood conditioner as needed.

Comments
carongirls
Fri, 02/27/2015 - 12:11
Loved it
I loved the pallet wall and that machine that guy had to cut the nails. Thats the hardest part of taking apart a pallet. I was just thinking about your HGTV show....if it was picked up for more episodes. I sure hope so!