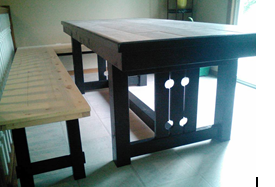
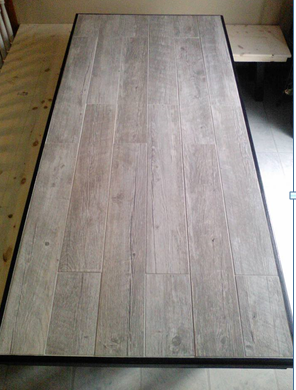
Tryde Counter-height Kitchen Table
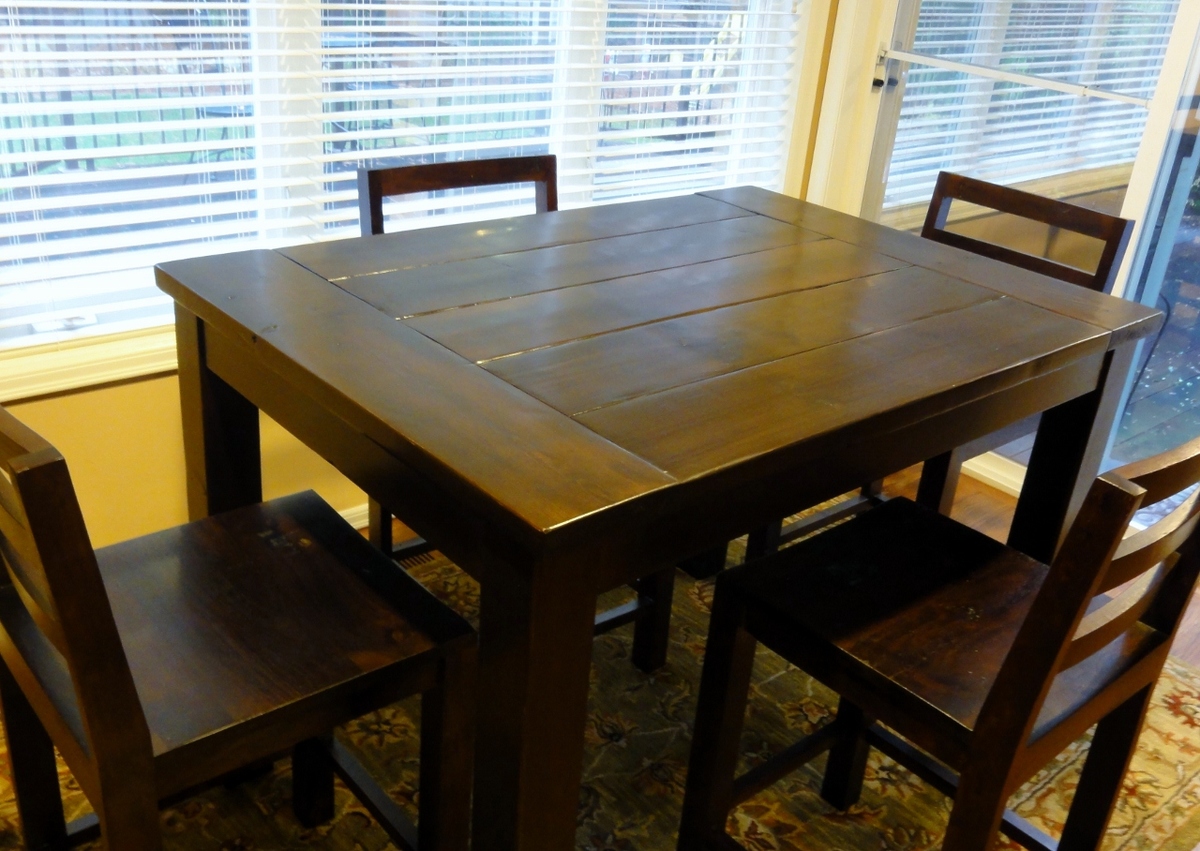
We badly needed a new kitchen table since ours has been completely destroyed over the years. Not a bad table, but too "smooth and perfect" for our lifestyle. I wanted something darker a lot more rustic that would not HIGHLIGHT nicks and scratches so badly.
I fell in love with a table at World Market, but it was the wrong size. It's called the Napa Gathering Collection. It comes in either a counter-height 3' x 3' table or a standard height 3' x 5' table. Shorter table is too long for the kitchen and the counter-height one was too small. *sigh* Here's a photo of the set. LOVE this!!!! So upset it's so small. World Market photo below makes it appear a lot more red than it is.

Anyway, it's made out of Acacia wood, so it was massively heavy and strong. I loved it so much that I bought the four gathering chairs and spent over a month trying to get Acacia wood without spending a fortune. No luck. So I decided the most similar table here on Ana's site was the Tryde coffee table.
I researched different hardwoods, but was so nervous to spend that much money that I decided my first kitchen table would be a rough draft with super cheap wood. LOL If I love it then I didn't spend a lot. If I don't love it, I will learn from it and can build it again someday with more expensive hardwood like maple.
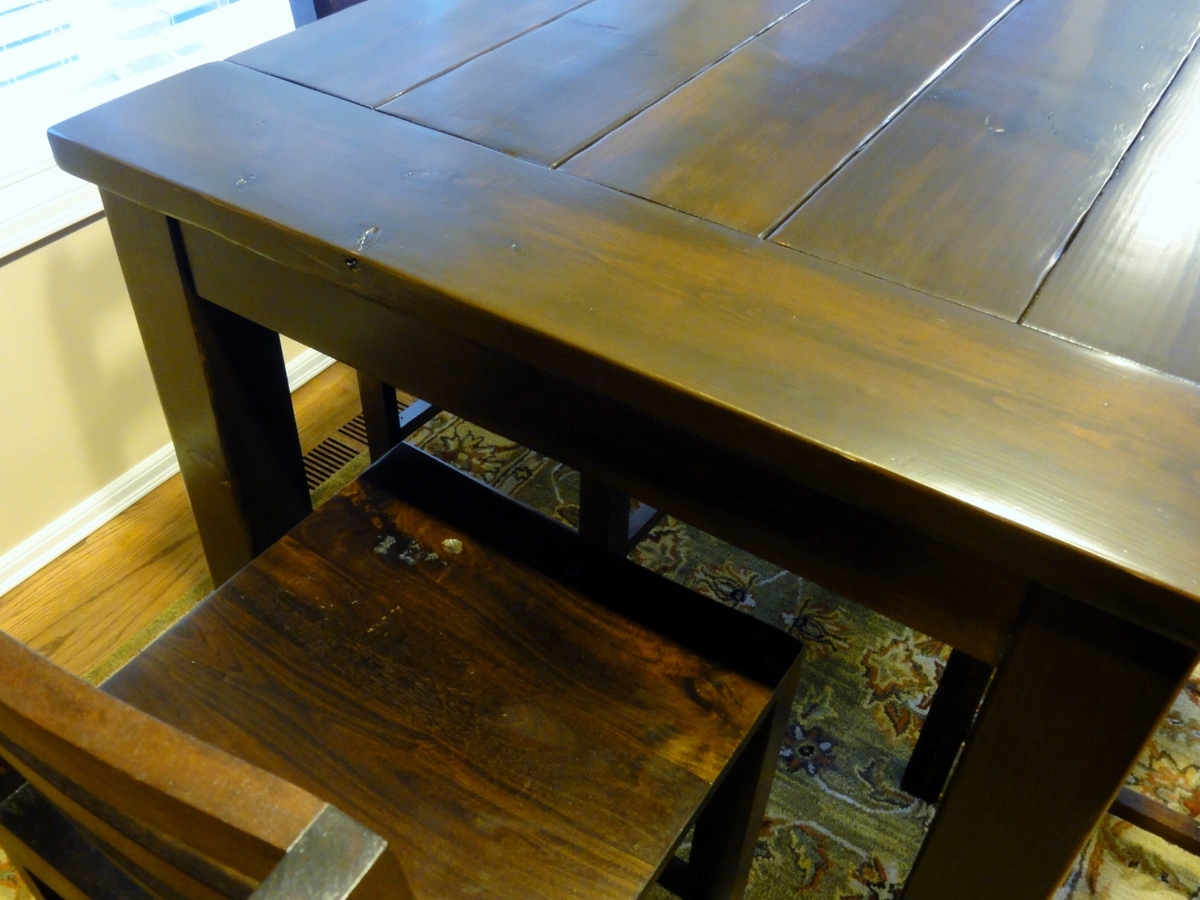
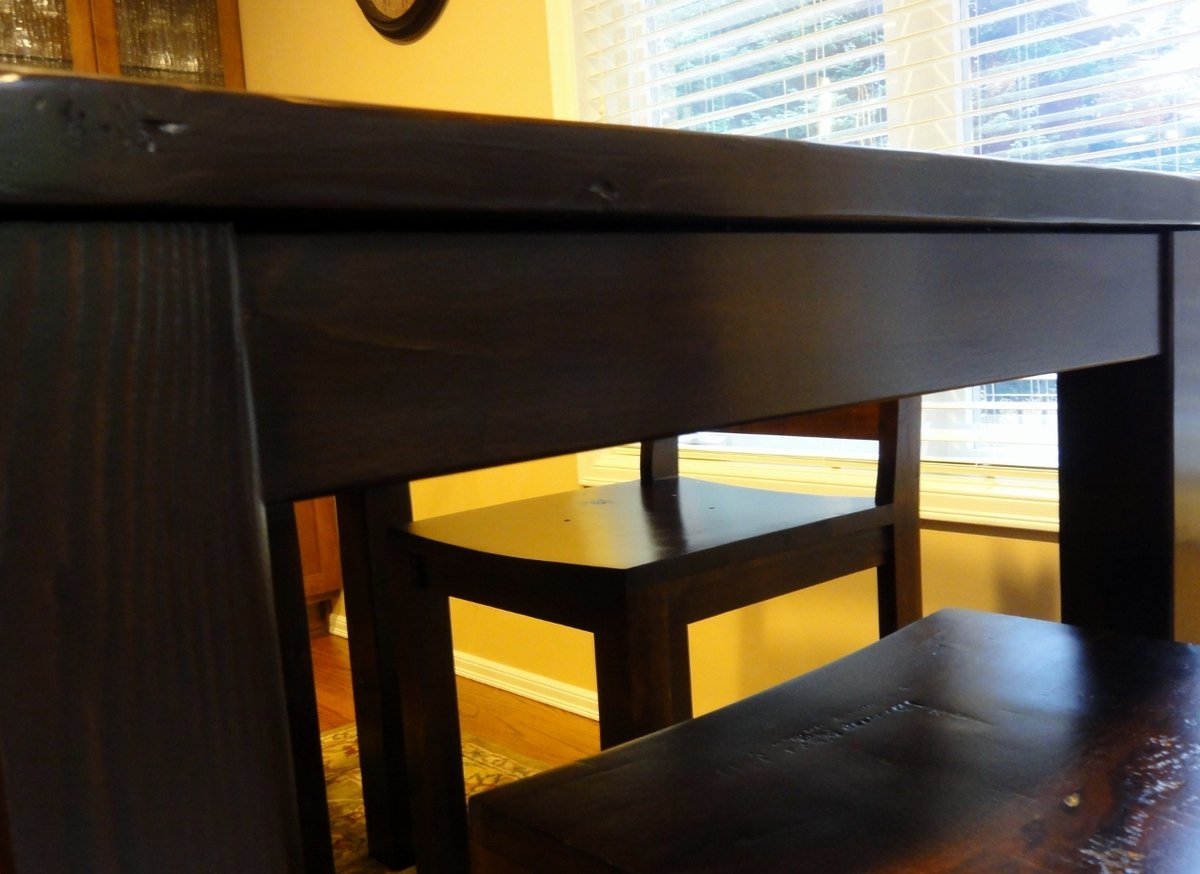
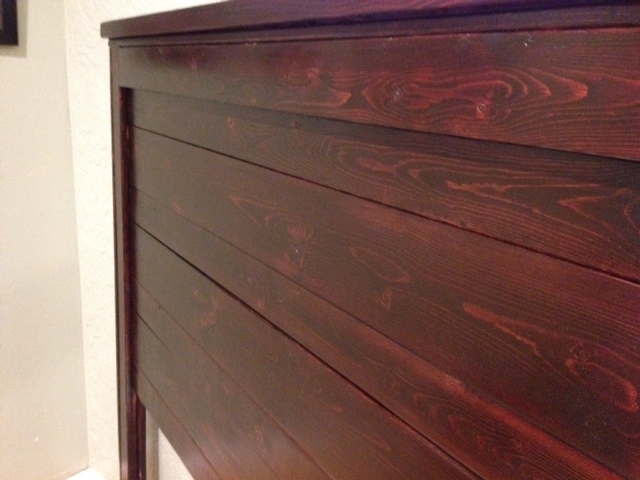
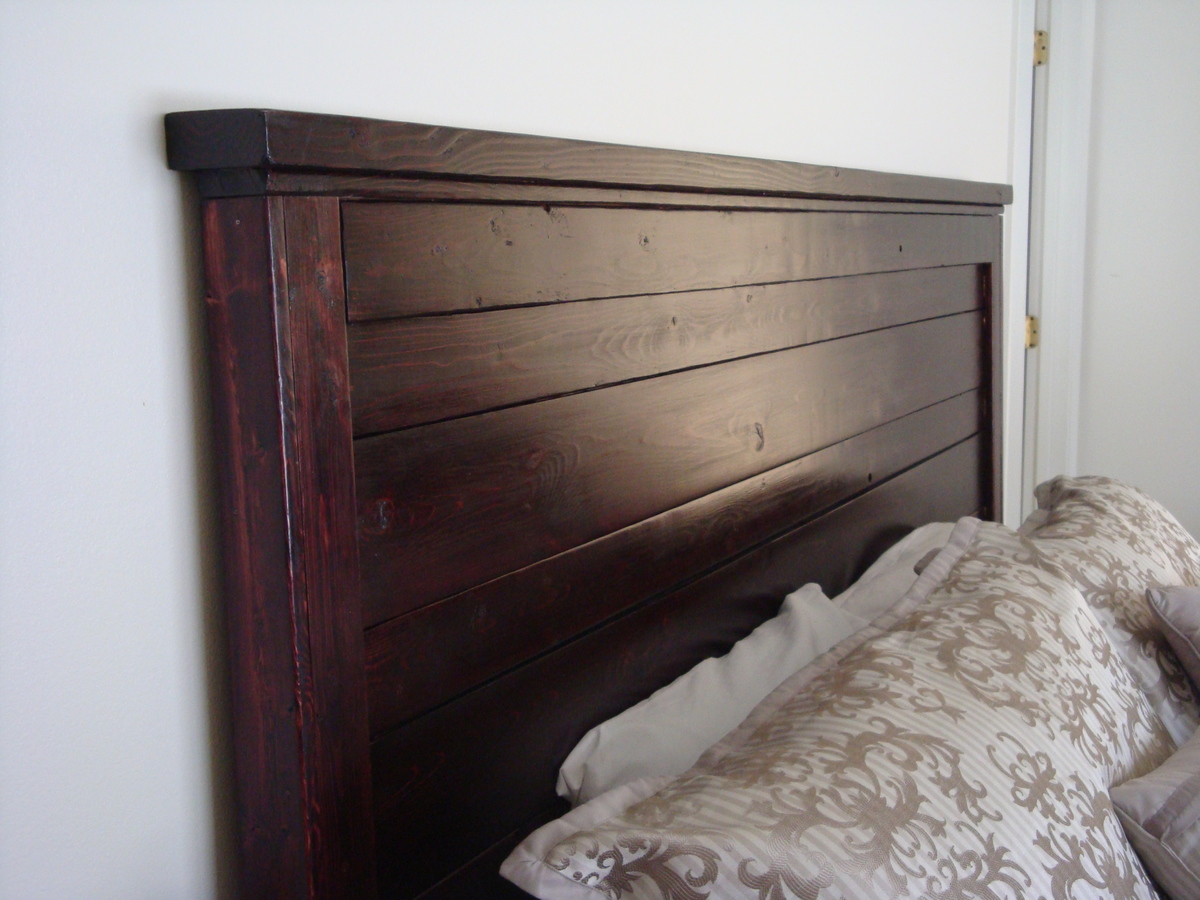
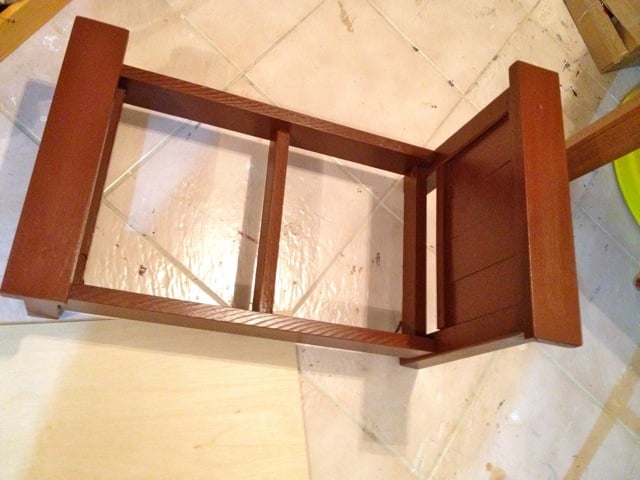
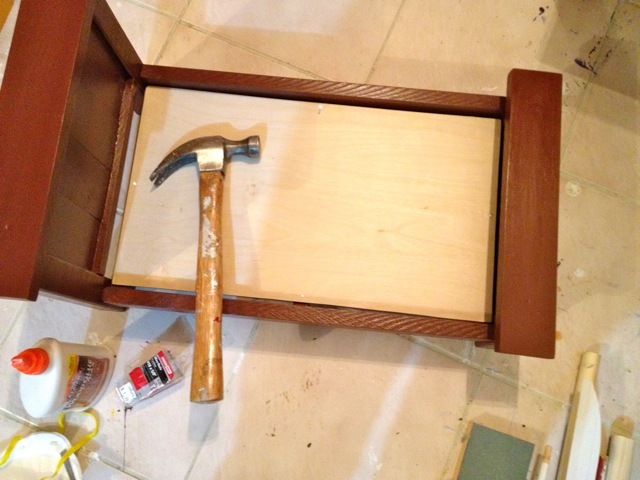
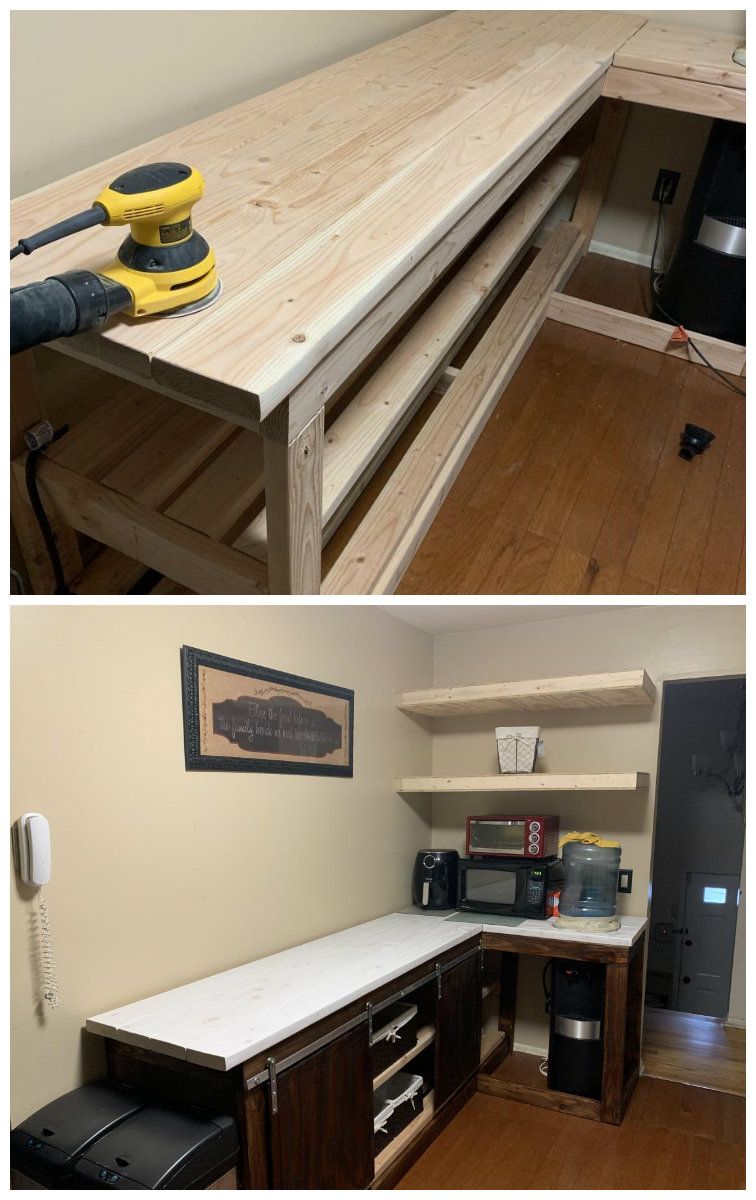
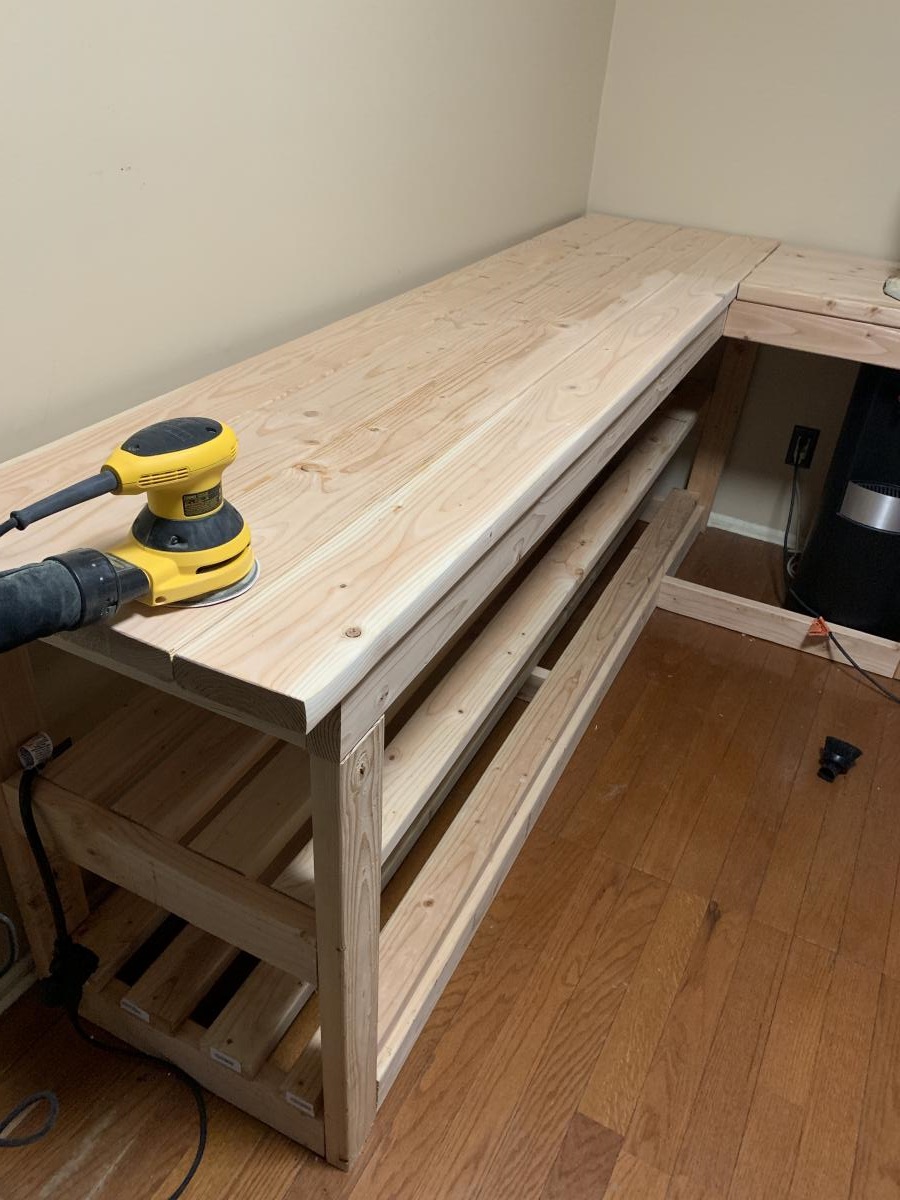
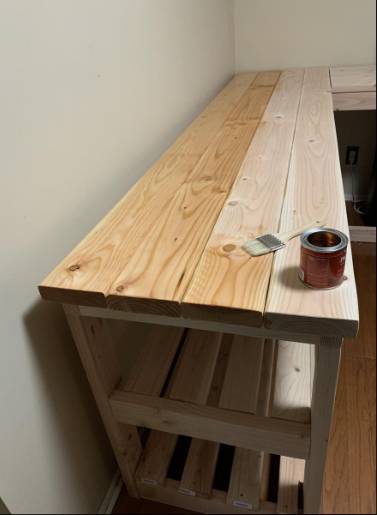
I used the 2x8 hemlock for the tabletop, hemlock 4x4 legs and finished hemlock 1x4's everywhere else. I used cheap 2x2 studs for the support structure underneath. This table was almost exclusively built using Kreg joins, with only a few exceptions where necessary. No visible screw holes to fill ANYWHERE! Yay! LOVE my Kreg Jig!
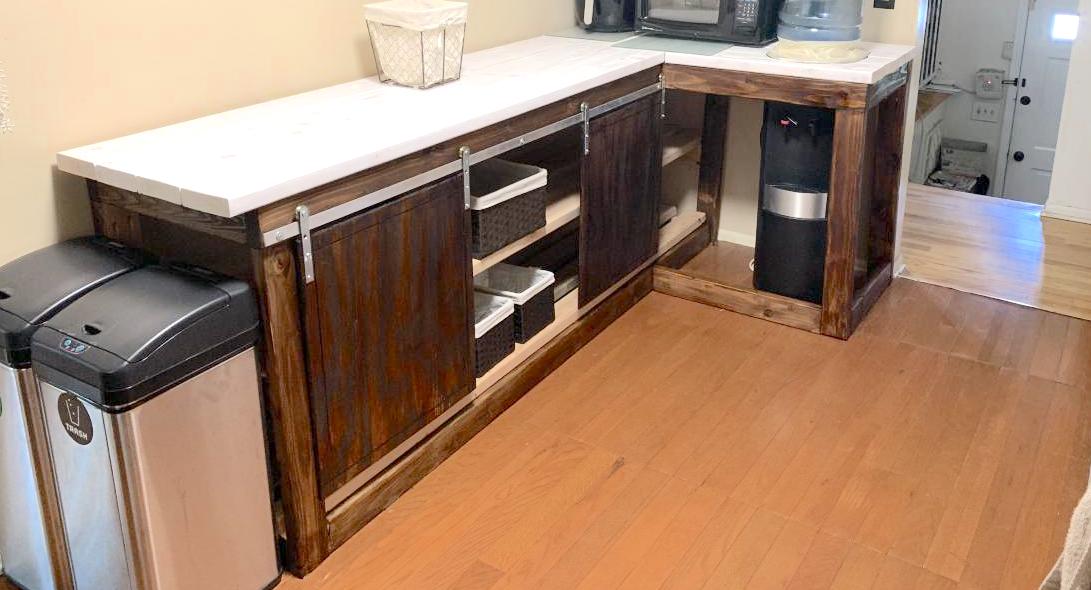
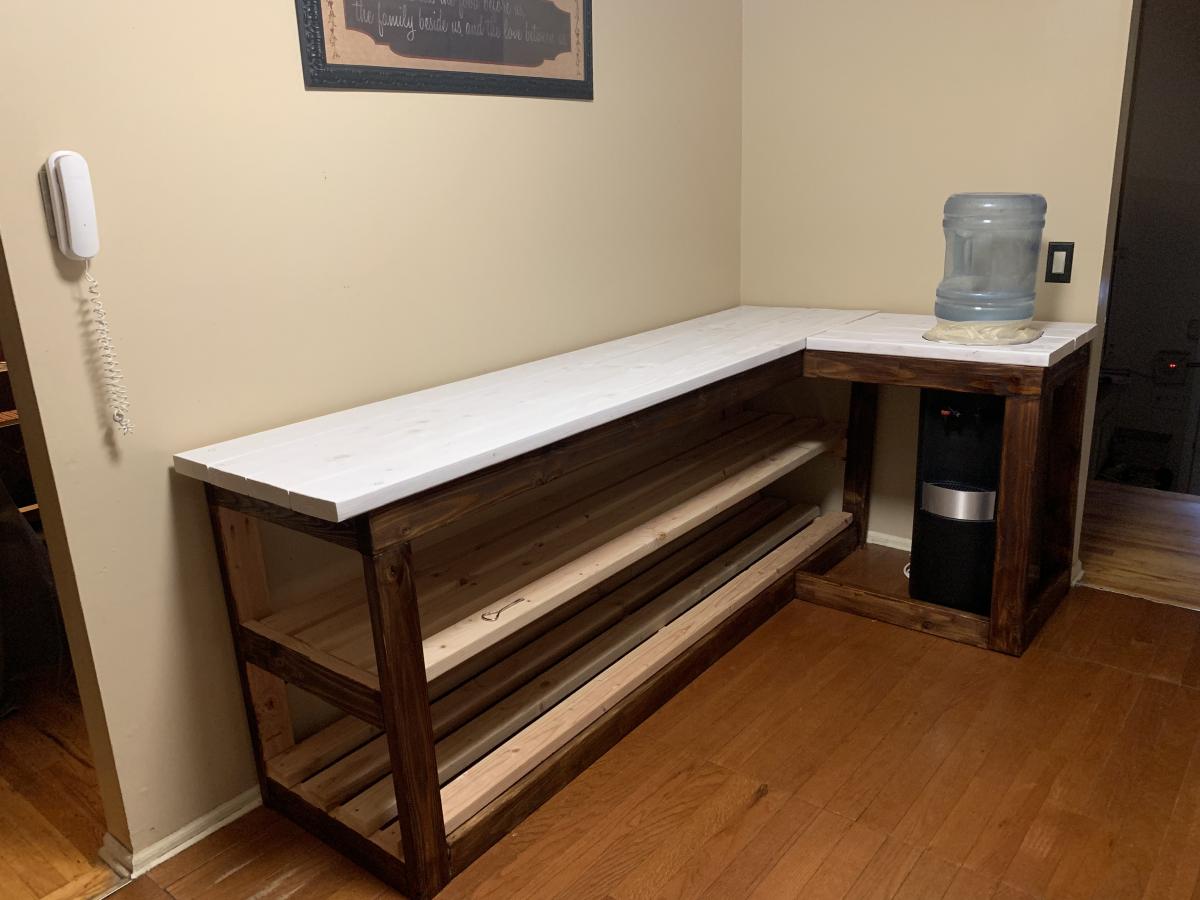
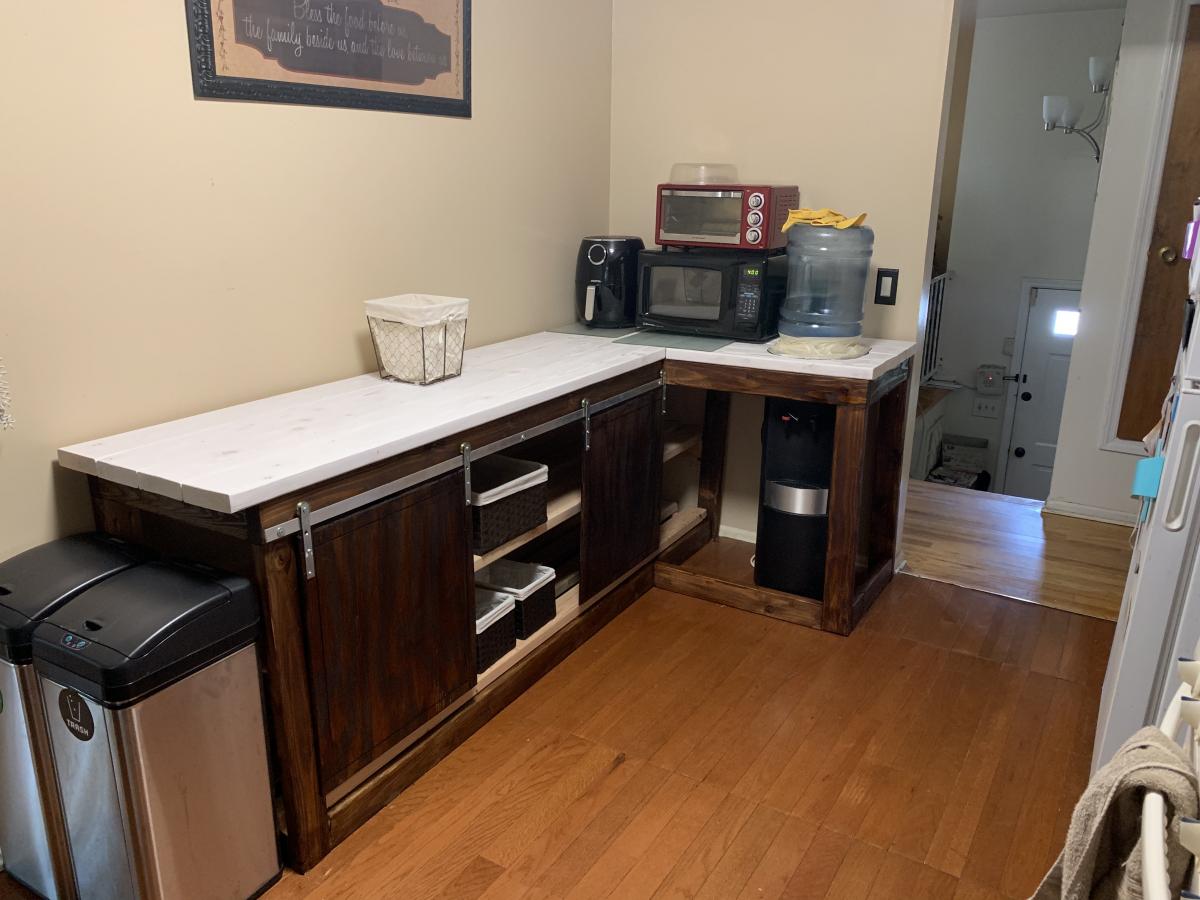
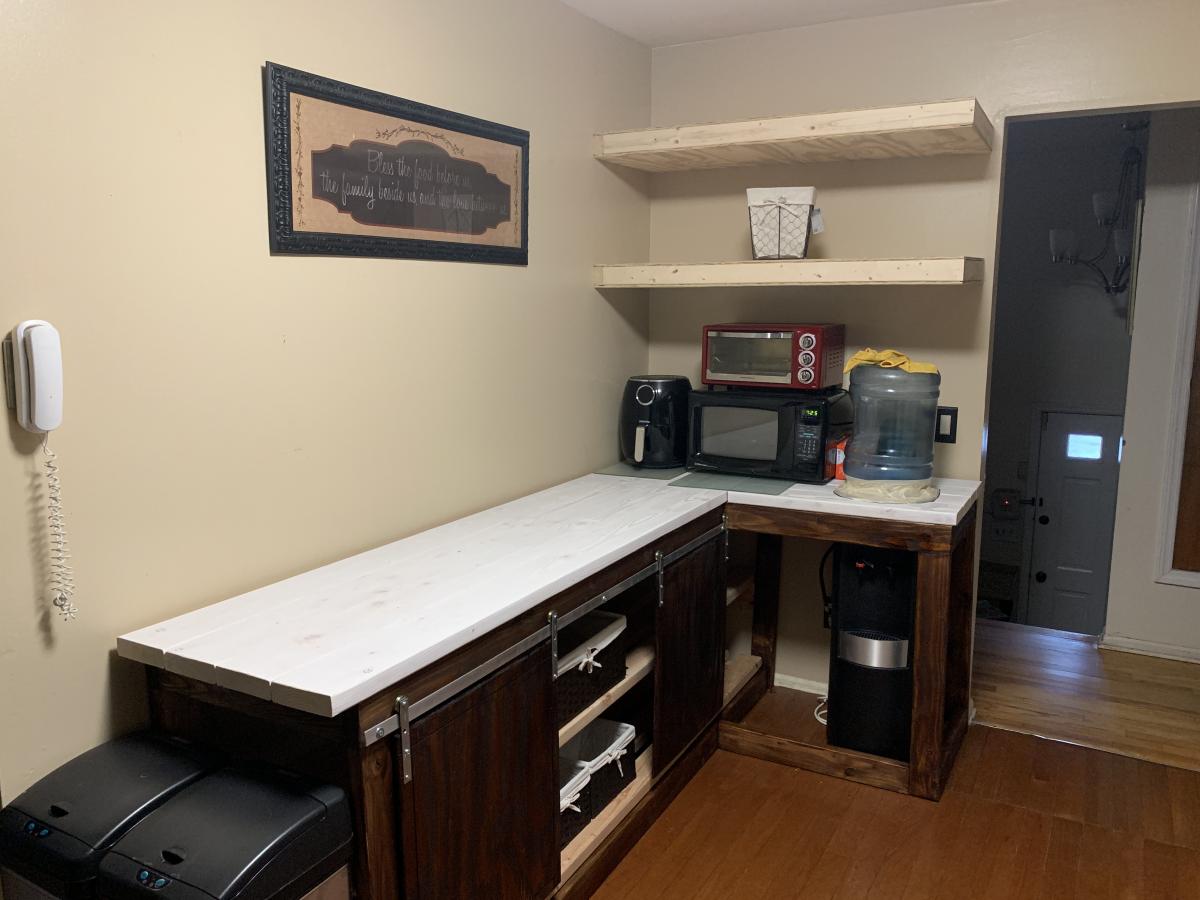
Lots of sanding, Benite wood conditioner, red-ish dye, dark chestnut stain and three coats of poly later... and I moved it into my kitchen this morning! So excited!!! I love how it turned out!


Comments
spiceylg
Wed, 12/07/2011 - 12:19
Impressive!
That came out beautiful!
hiddenhalo360
Wed, 12/07/2011 - 18:24
Looks Great!
I am in the exact same boat as you. We badly need a new kitchen table, but I have not been able to find what I want in my price range. Therefore I am prepping to build a new kitchen table this weekend!
snickersmom
Sun, 12/11/2011 - 18:25
love it
What are your demensions on the table? I'm looking for something on the smaller side. Thanks
Guest (not verified)
Tue, 01/10/2012 - 06:48
ATTA-Girl!
Wow, I love the table! I very impressed. You captured that robust rustic look that I have always liked. Its one of those tables that makes you wonder what stories have played out on and around it. You did awesome and thanks so much for sharing it. I am certain that I am not the only one truly inspired by your creative and can do spirit. You go girl! Can't wait to copy this and whatever you do next. Please don't stop and please keep sharing. You are just awesome. Wonder what might happen if someone gave you a welder too? Take care and thanks again!
Guest 713 (not verified)
Wed, 06/13/2012 - 16:32
AWESOME!
I love it! Could you add your dimensions for the table also?
TiffanyNic (not verified)
Wed, 10/31/2012 - 10:52
EXACTLY WHAT I'M LOOKING FOR-
Tryde Counter-height Kitchen Table is exactly what I need - want - gotta have it - can anyone help me out with the how to plans? diminsions?! Something?!
diy girl
Sun, 01/19/2014 - 20:08
love this table
can I have the plans for this table also.. love it!
Sb1212
Thu, 10/27/2016 - 12:11
Love this
I love this!! Did you build your chairs also? If so did you use plans. I would love to build those exact chairs.