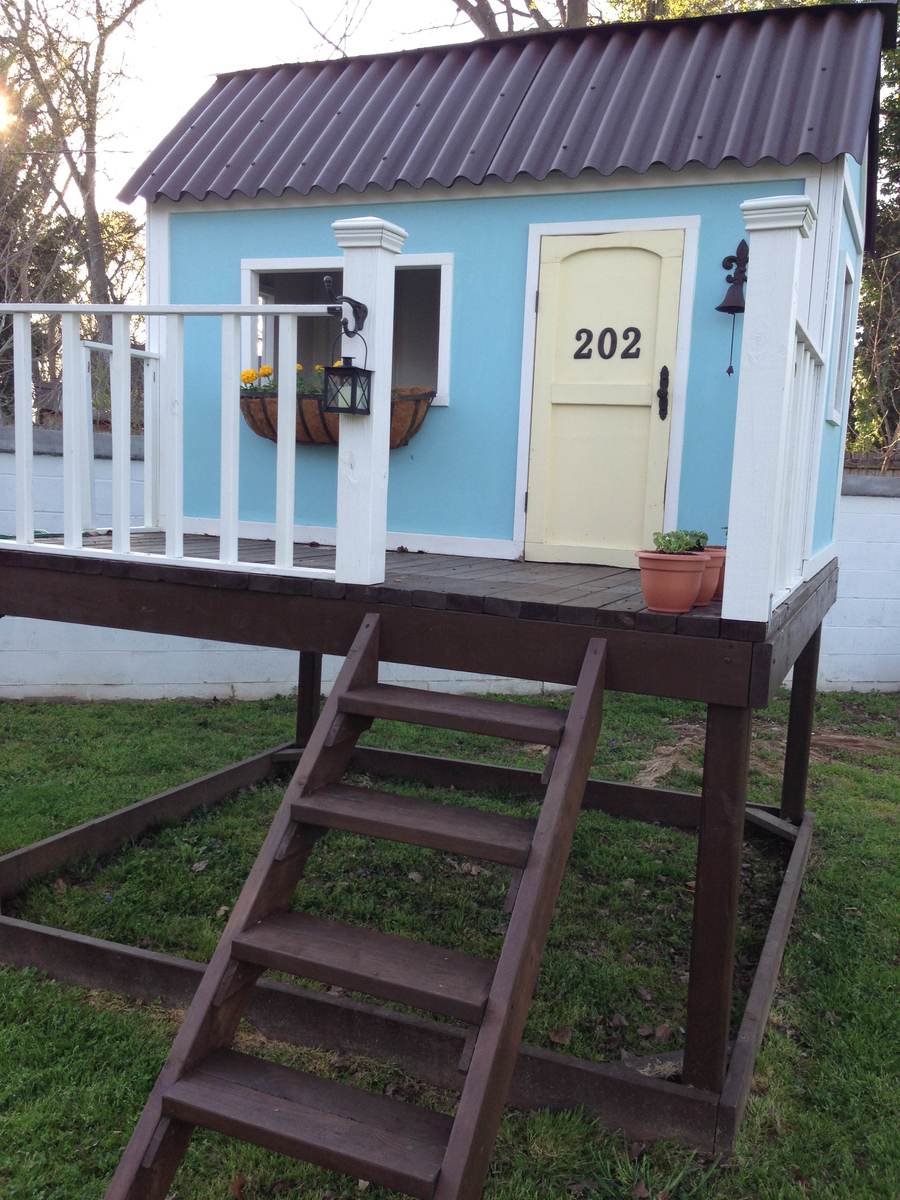
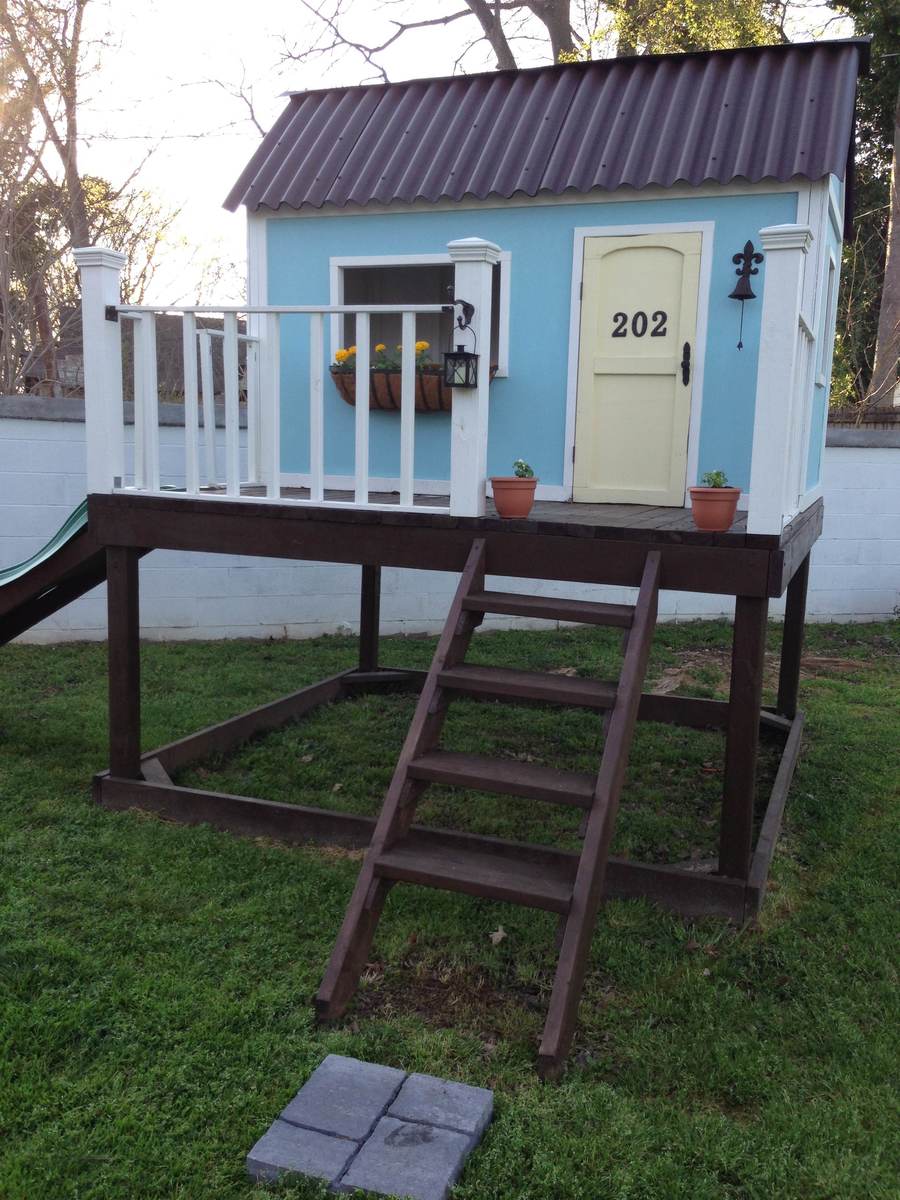
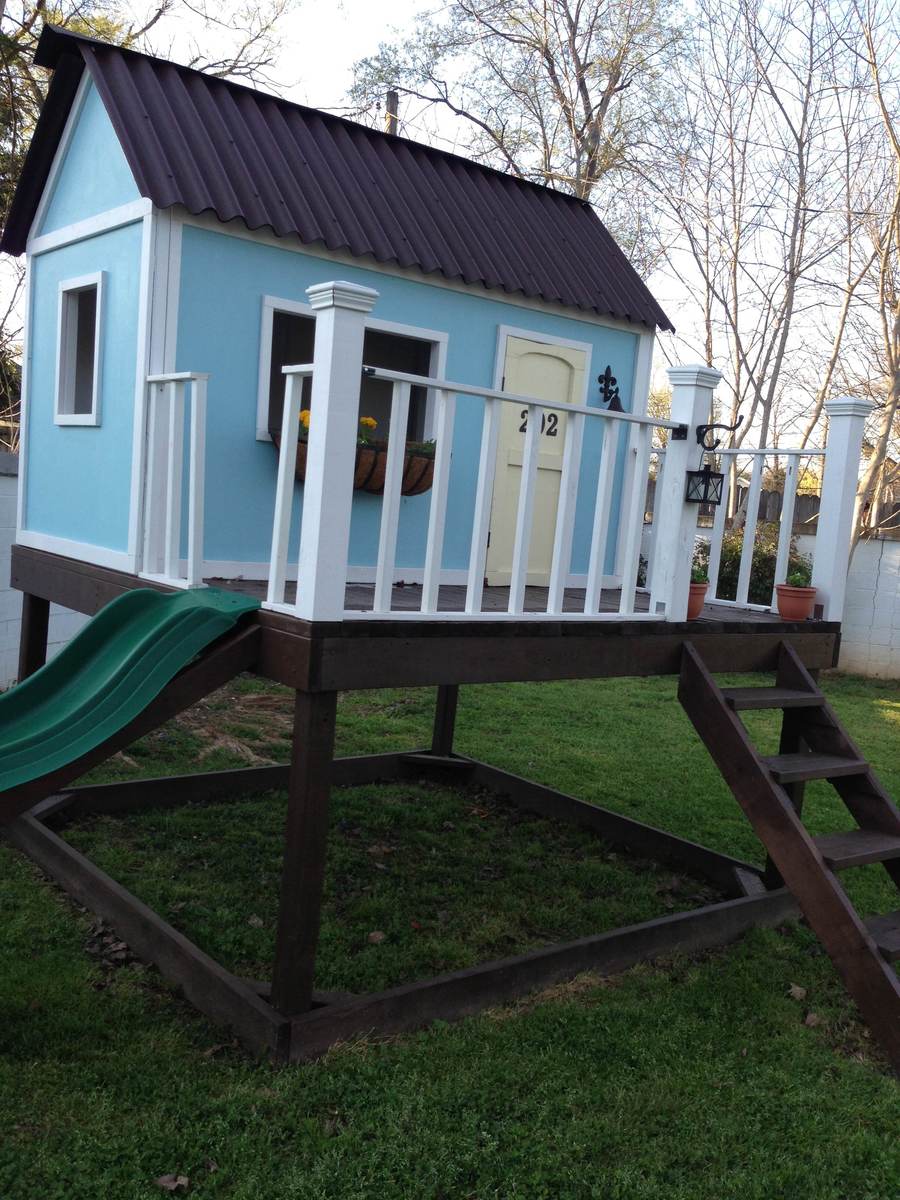
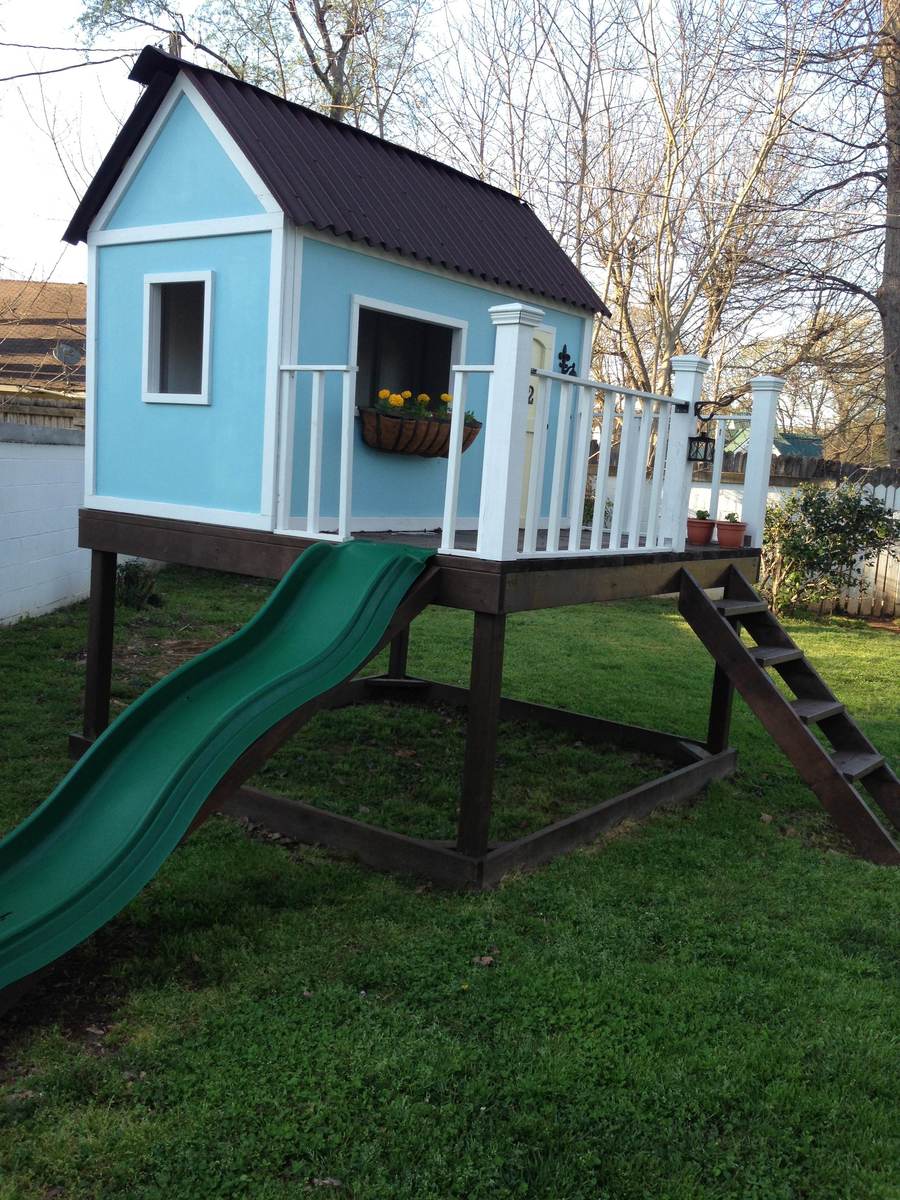
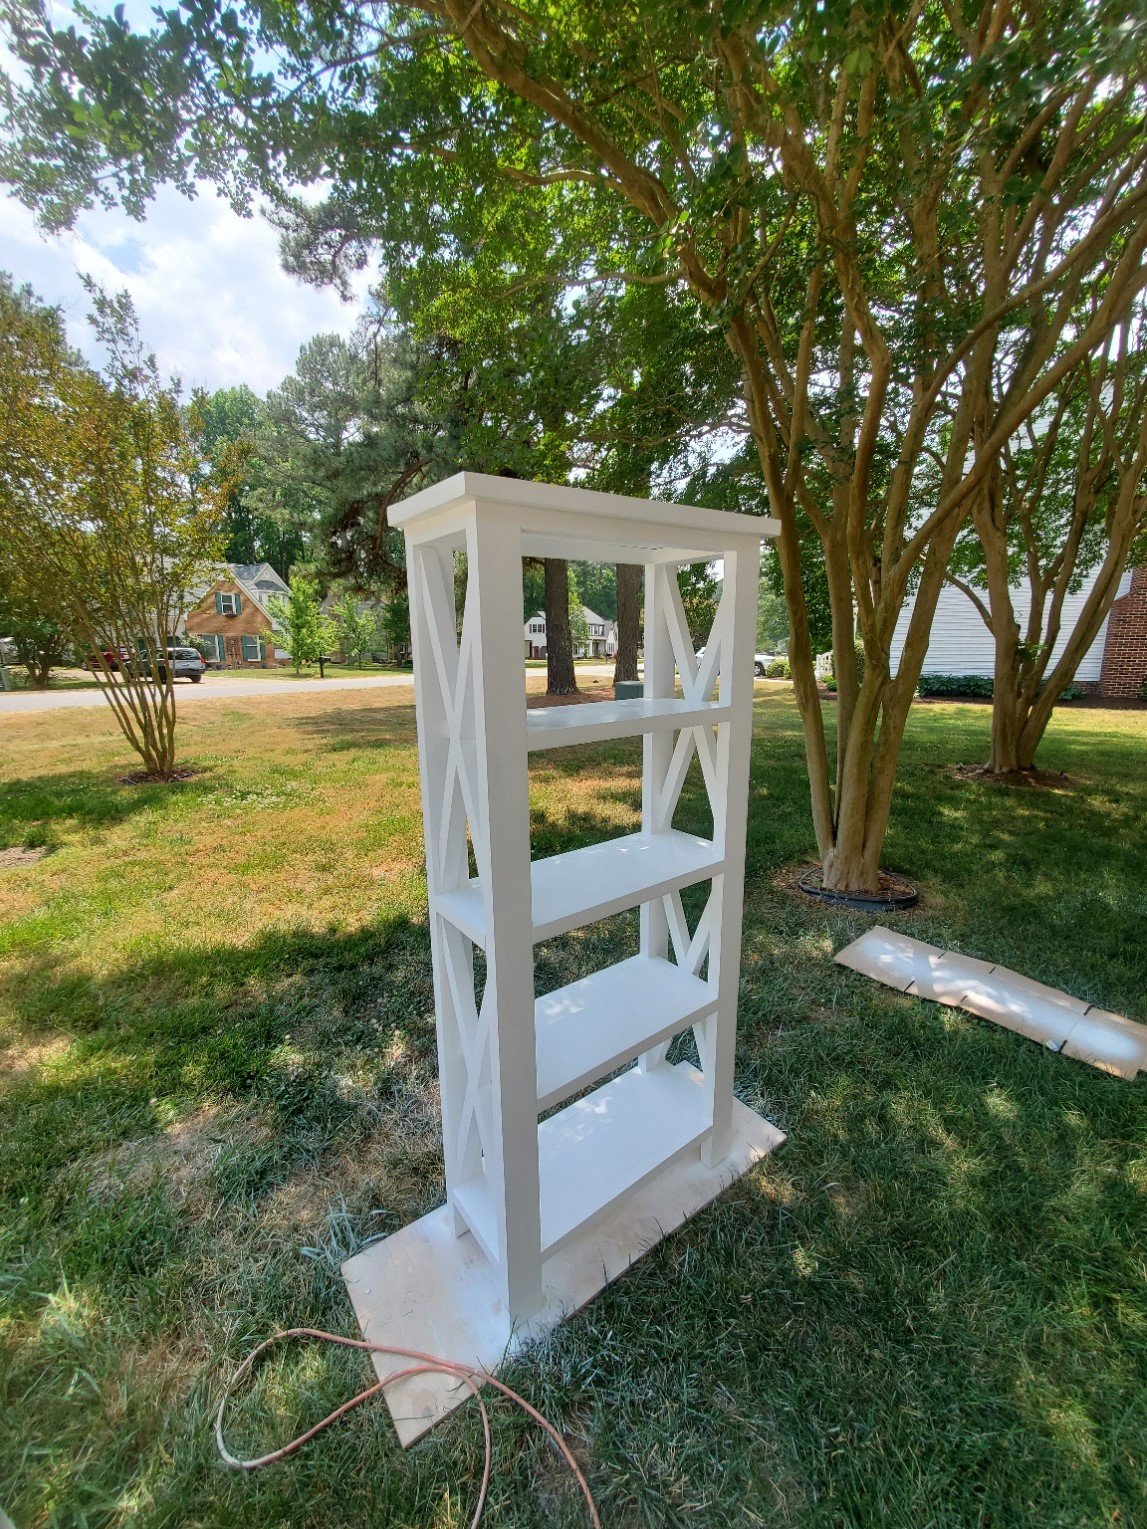
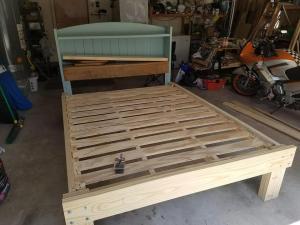
Little girl hideout
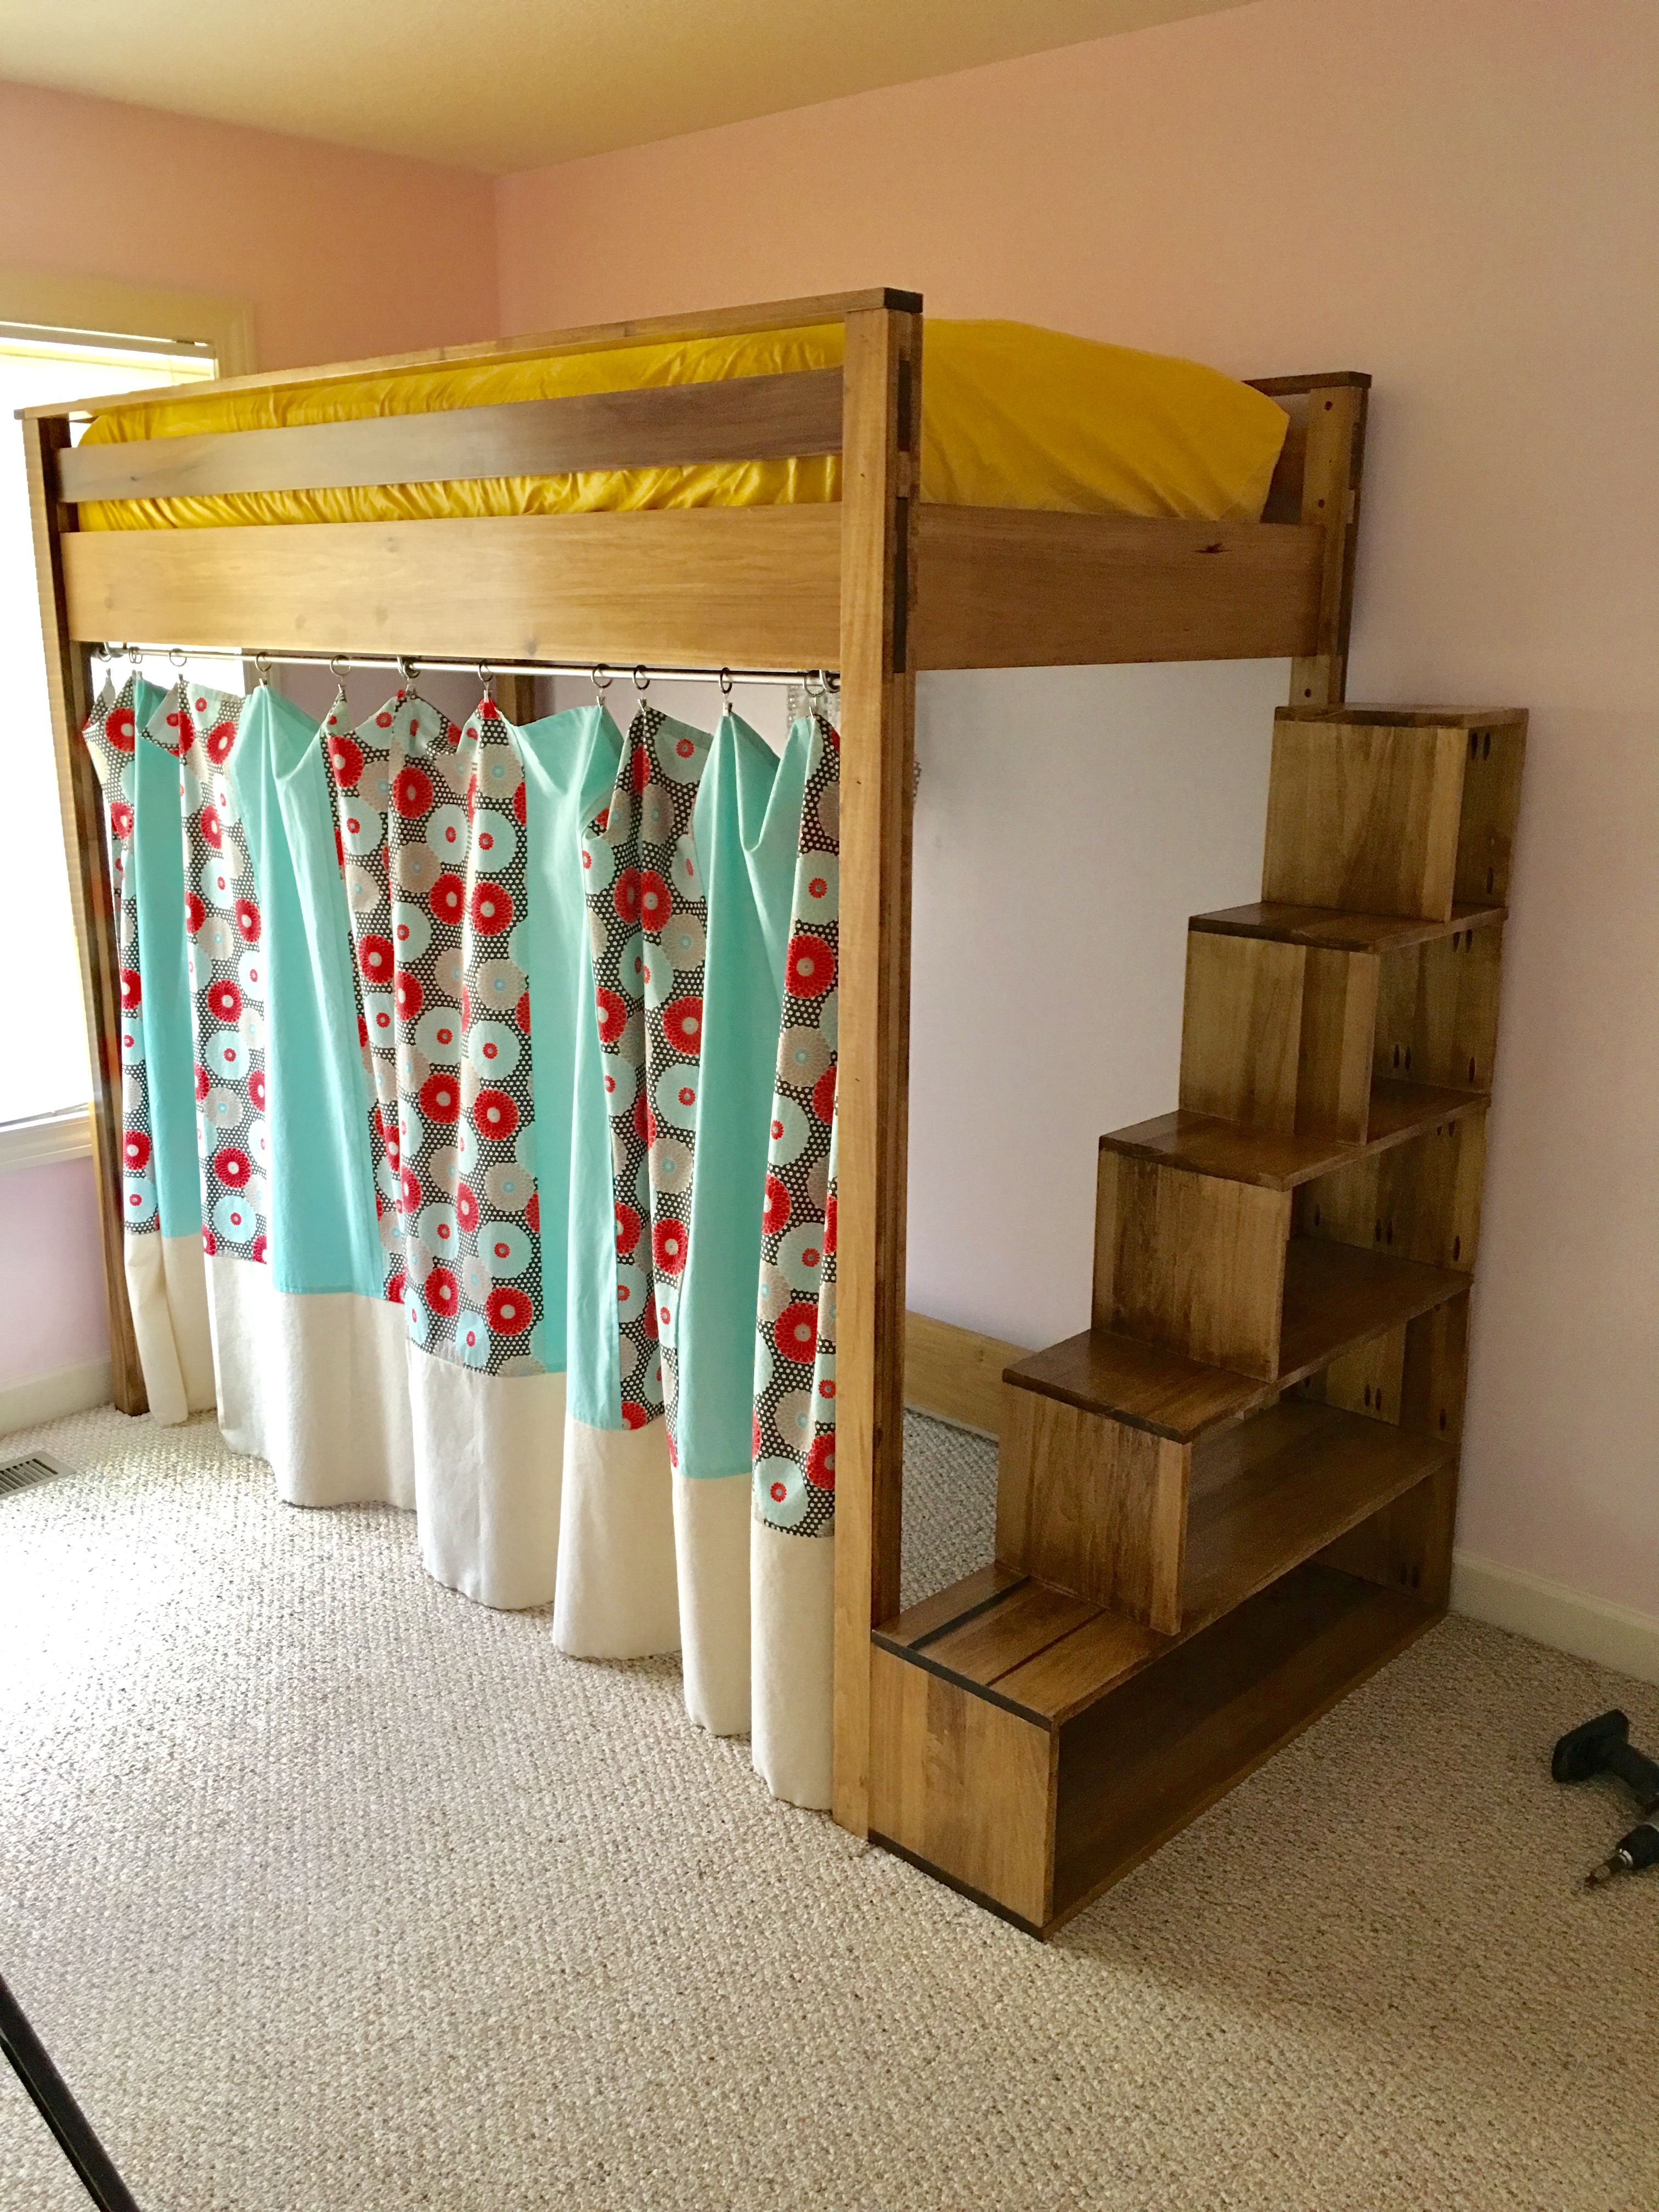
I changed the entrance from the front to the end and added the steps.
Built from Plan(s)
Estimated Cost
$500
Estimated Time Investment
Week Long Project (20 Hours or More)
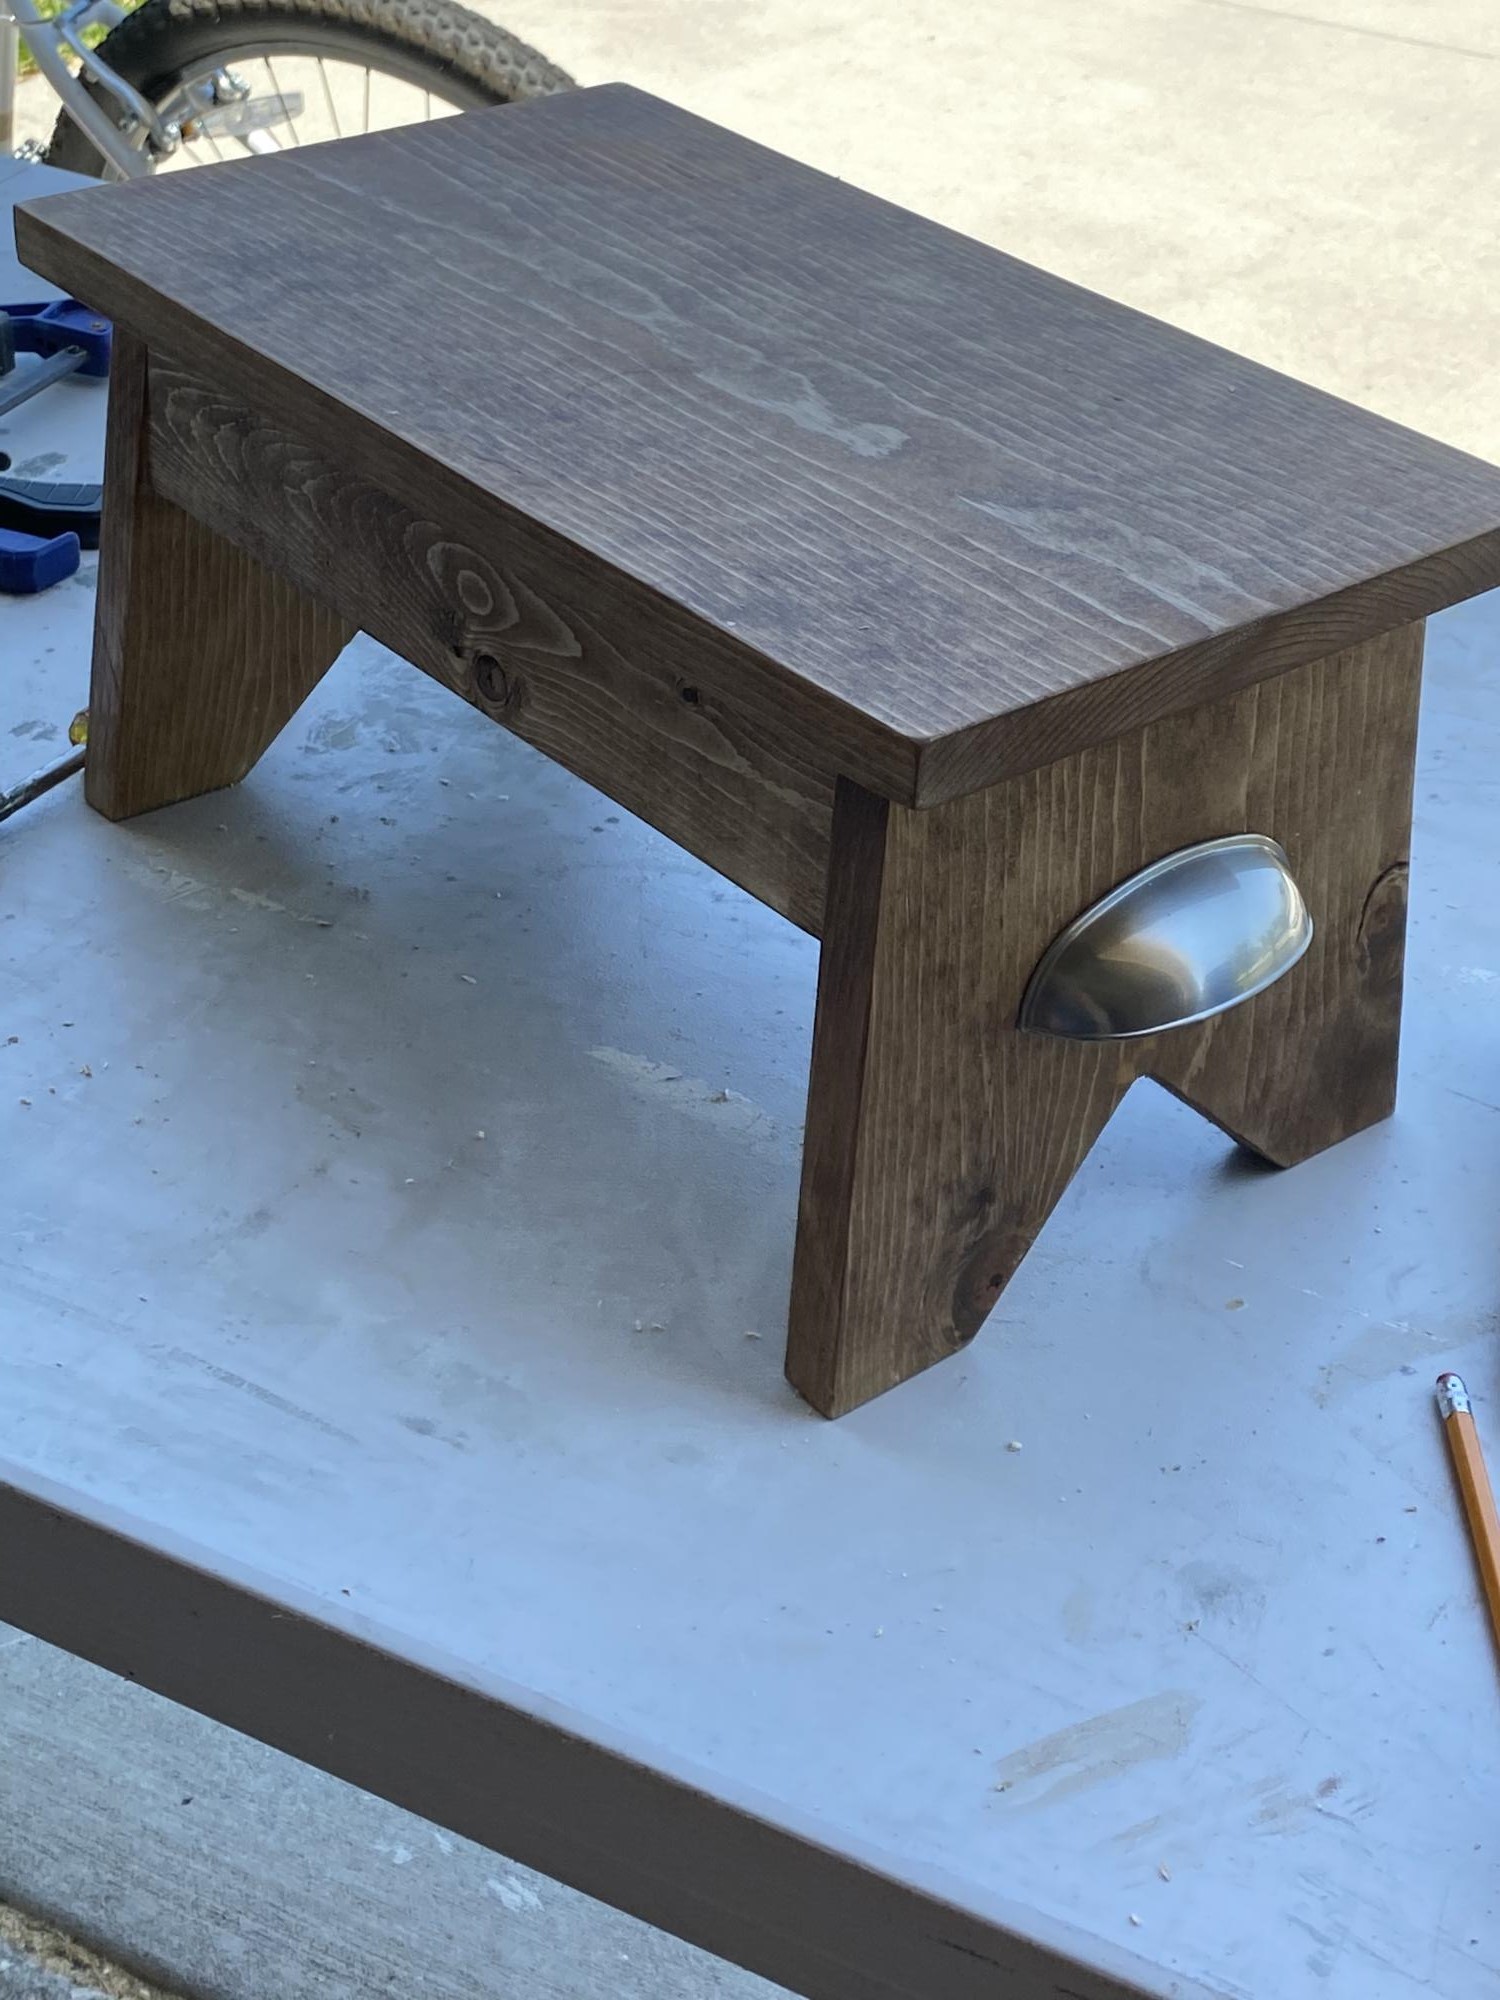
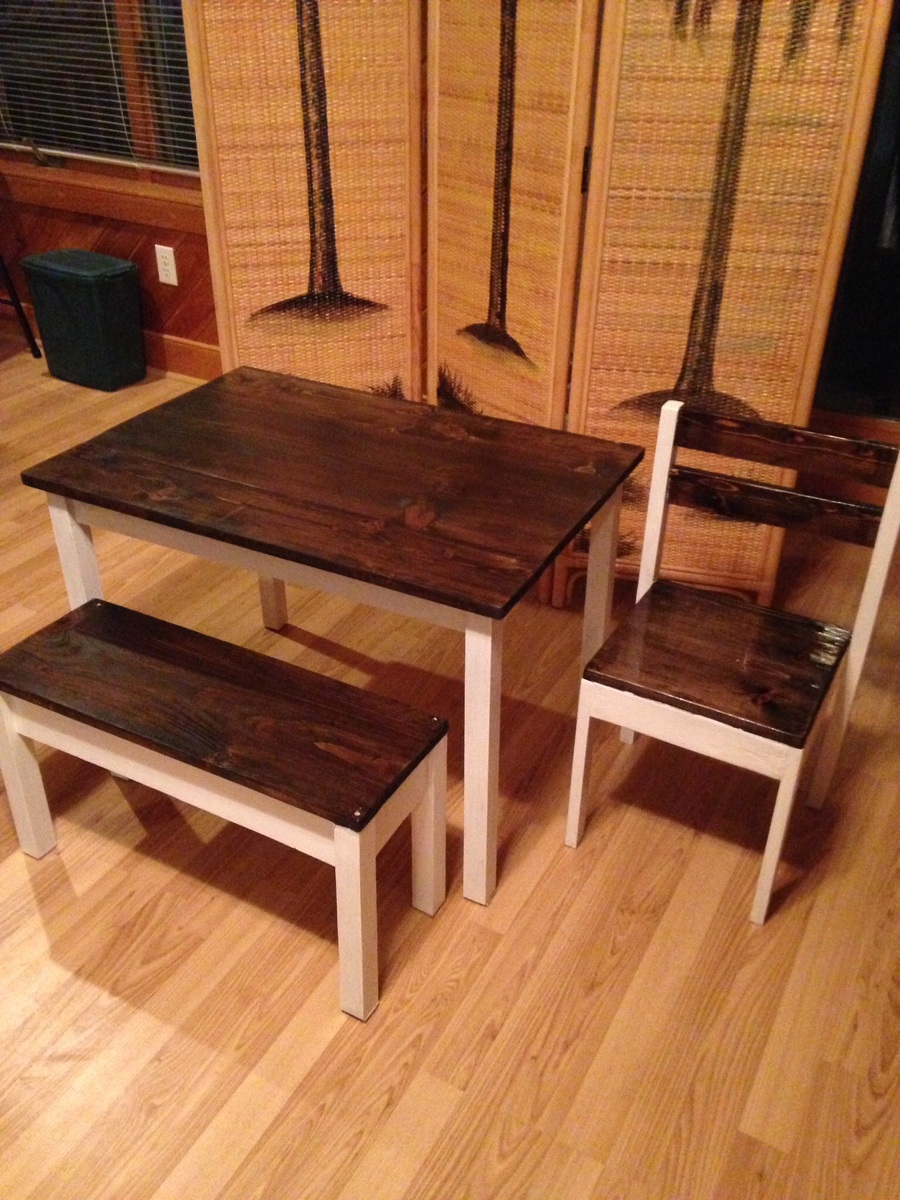
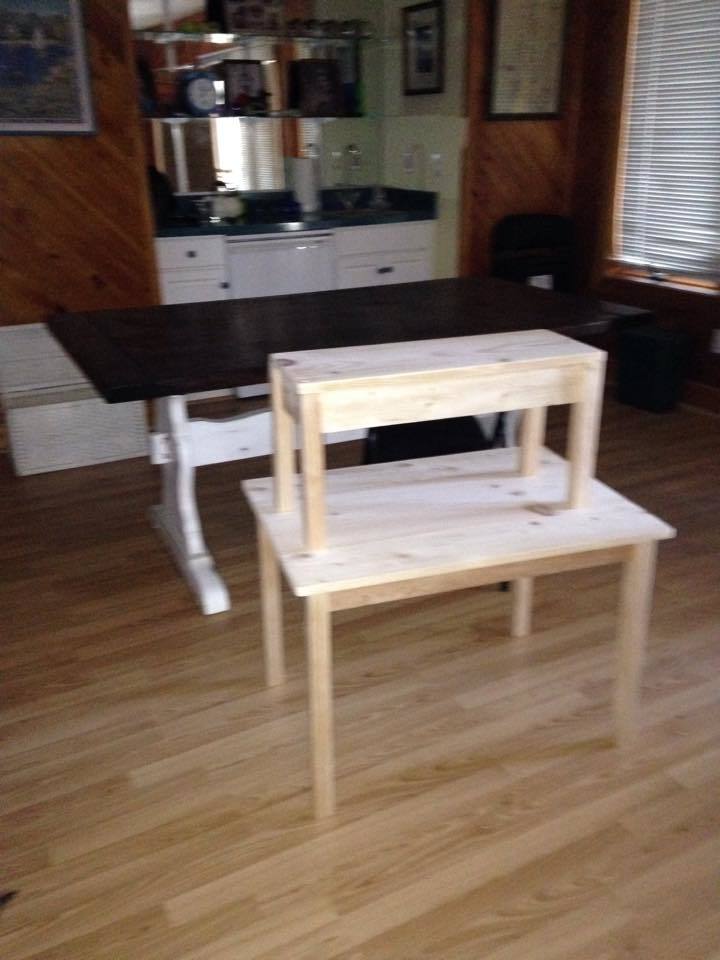
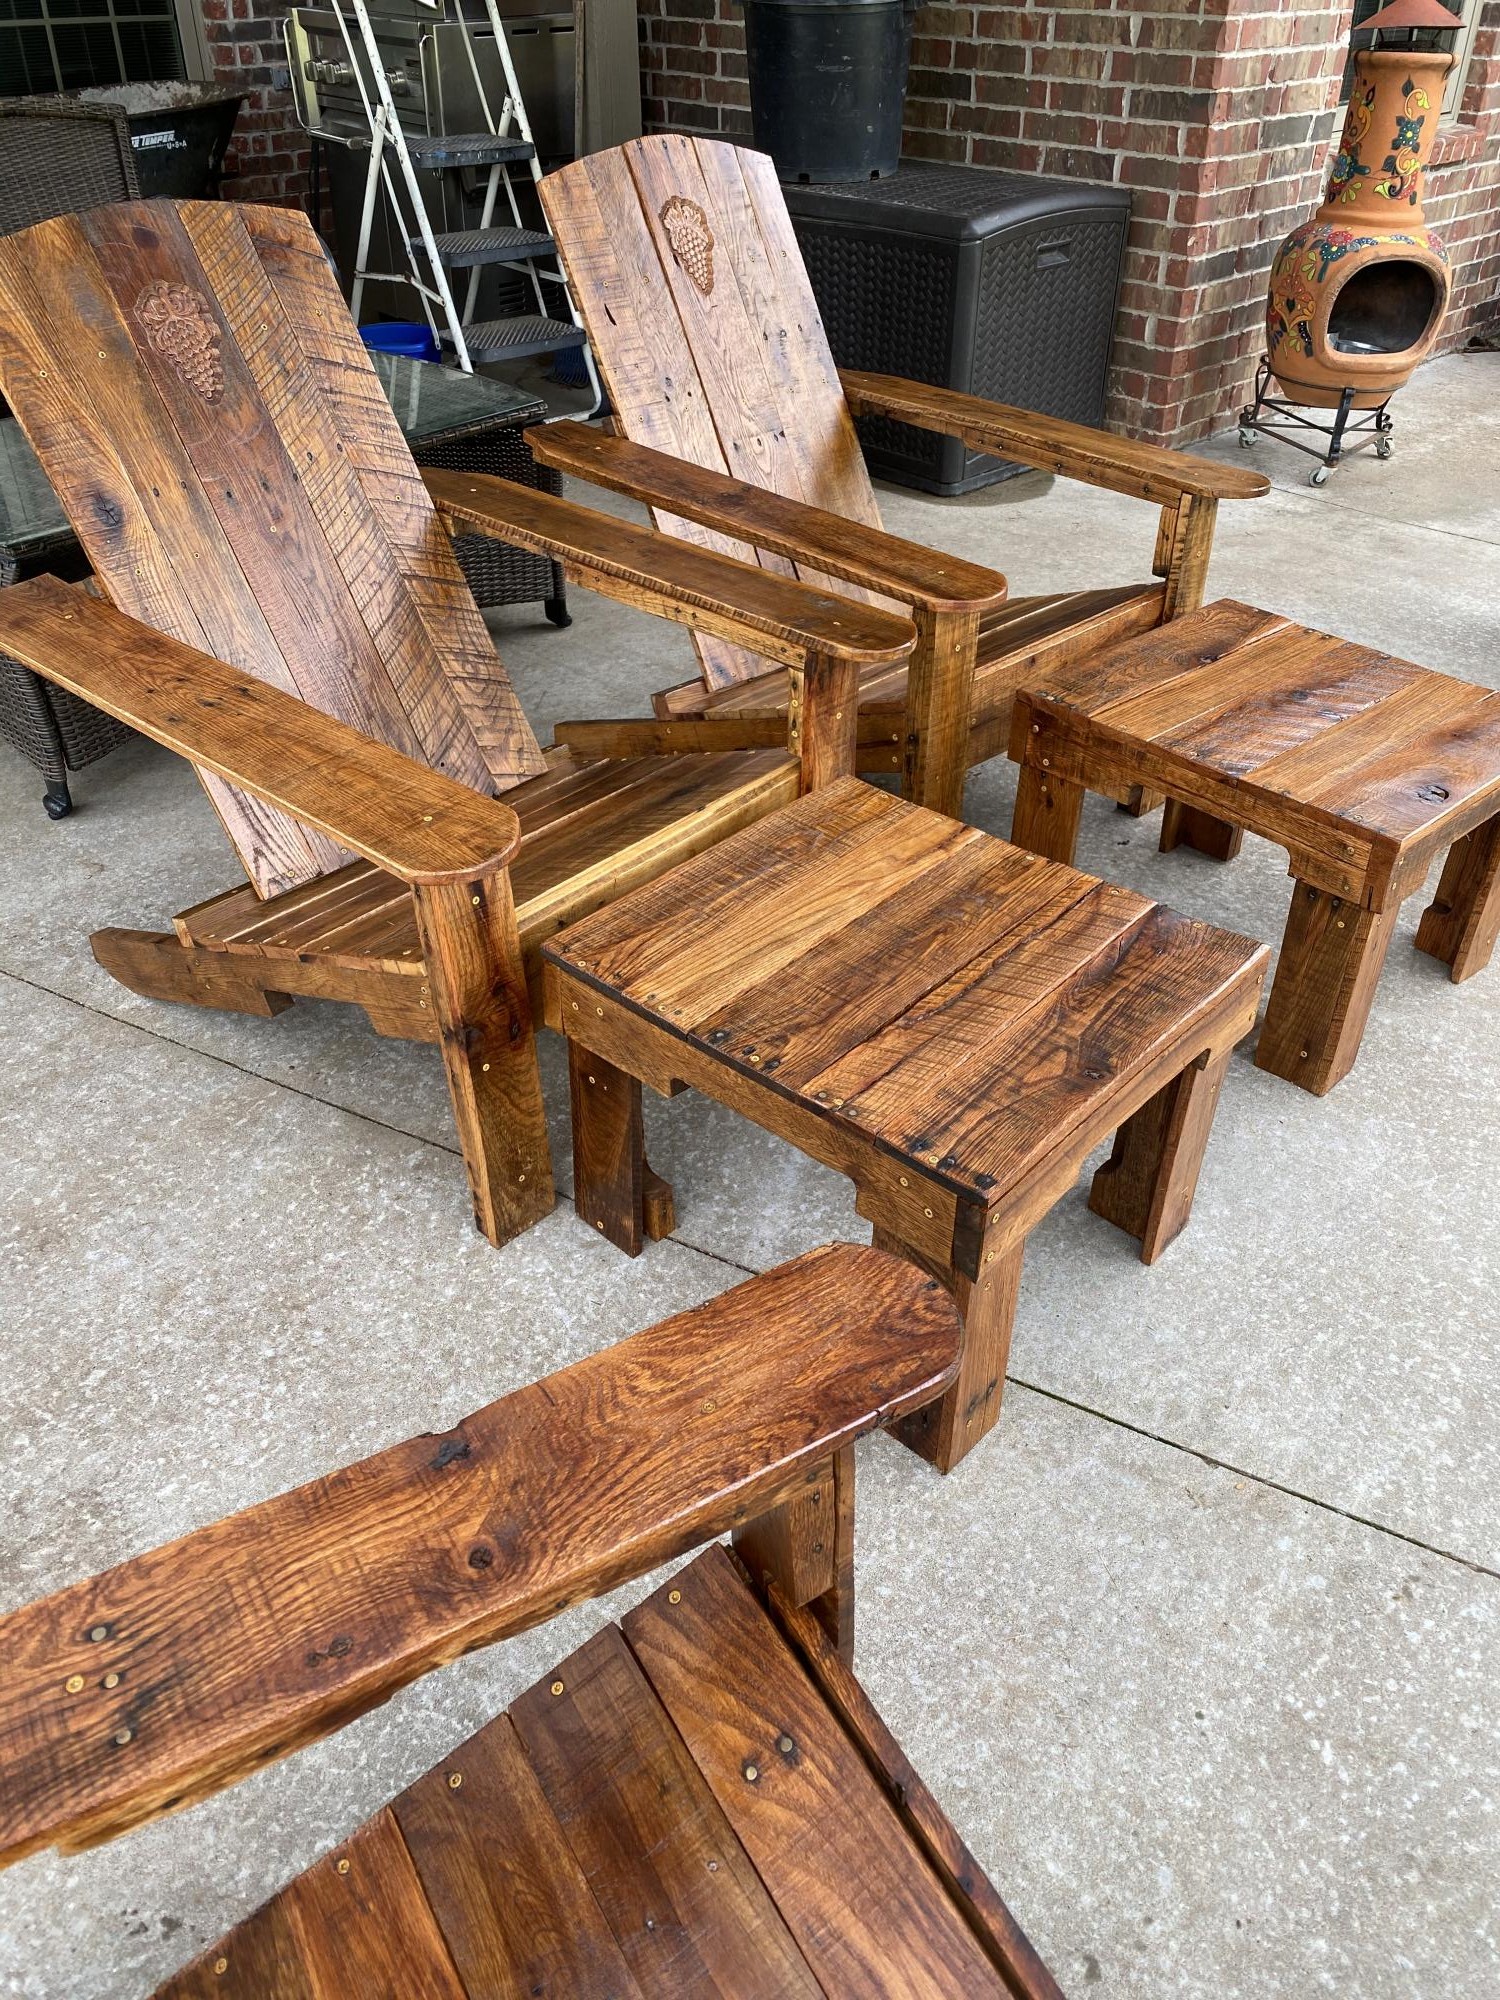
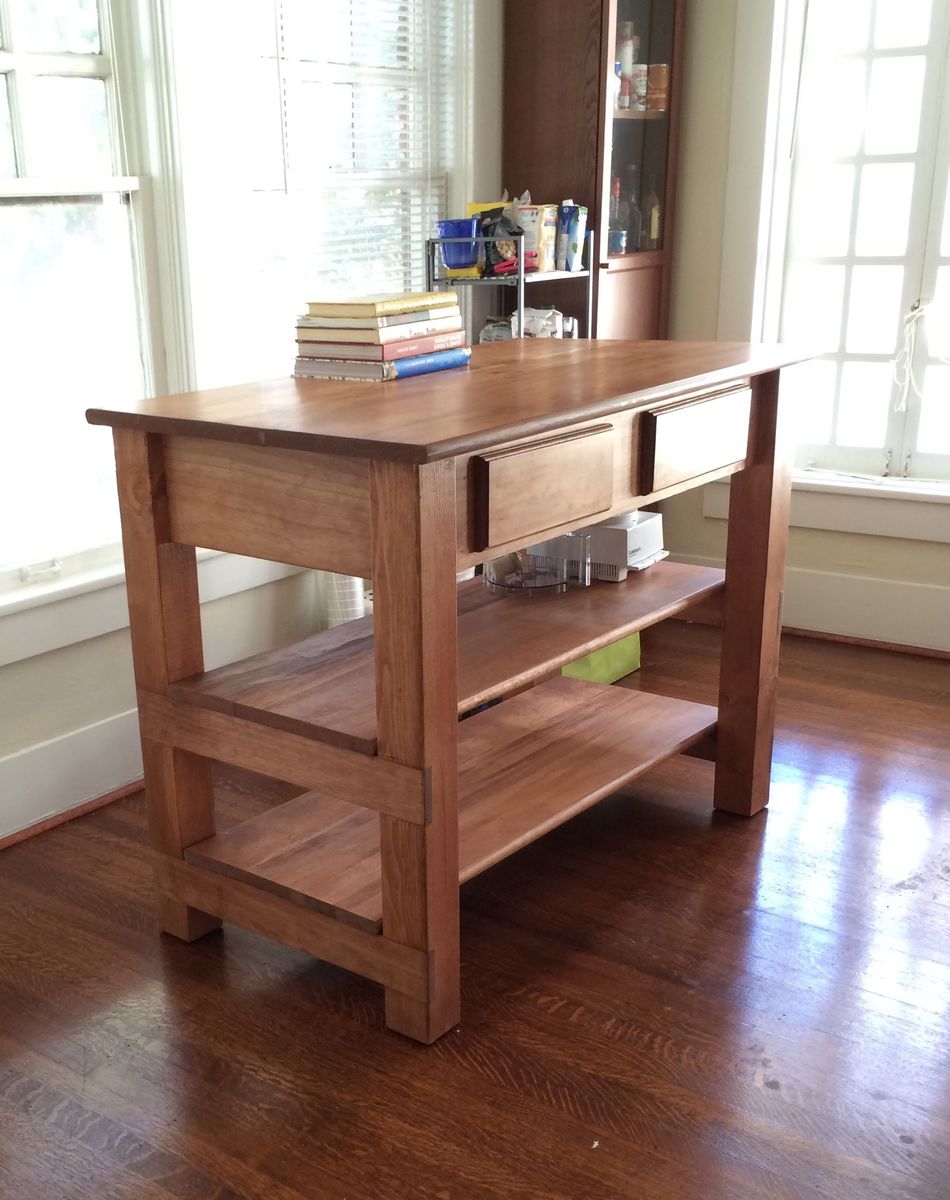
Finish Used
Gel stain with General Finishes Arm R Seal
Recommended Skill Level
Intermediate